Dashwood Studios are masters of all things Christmas. The Festive Friends by Aless Baylis panel is a wonderful Christmas craft project suitable for beginners or seasoned pros. I have used a sewing machine to create my finished calender but this kit could also be sewn by hand.
You will need:
Dashwood Festive friends calender panel
Co-ordingating fabric 1m
Piece of dowel
Wadding
Sewing kit
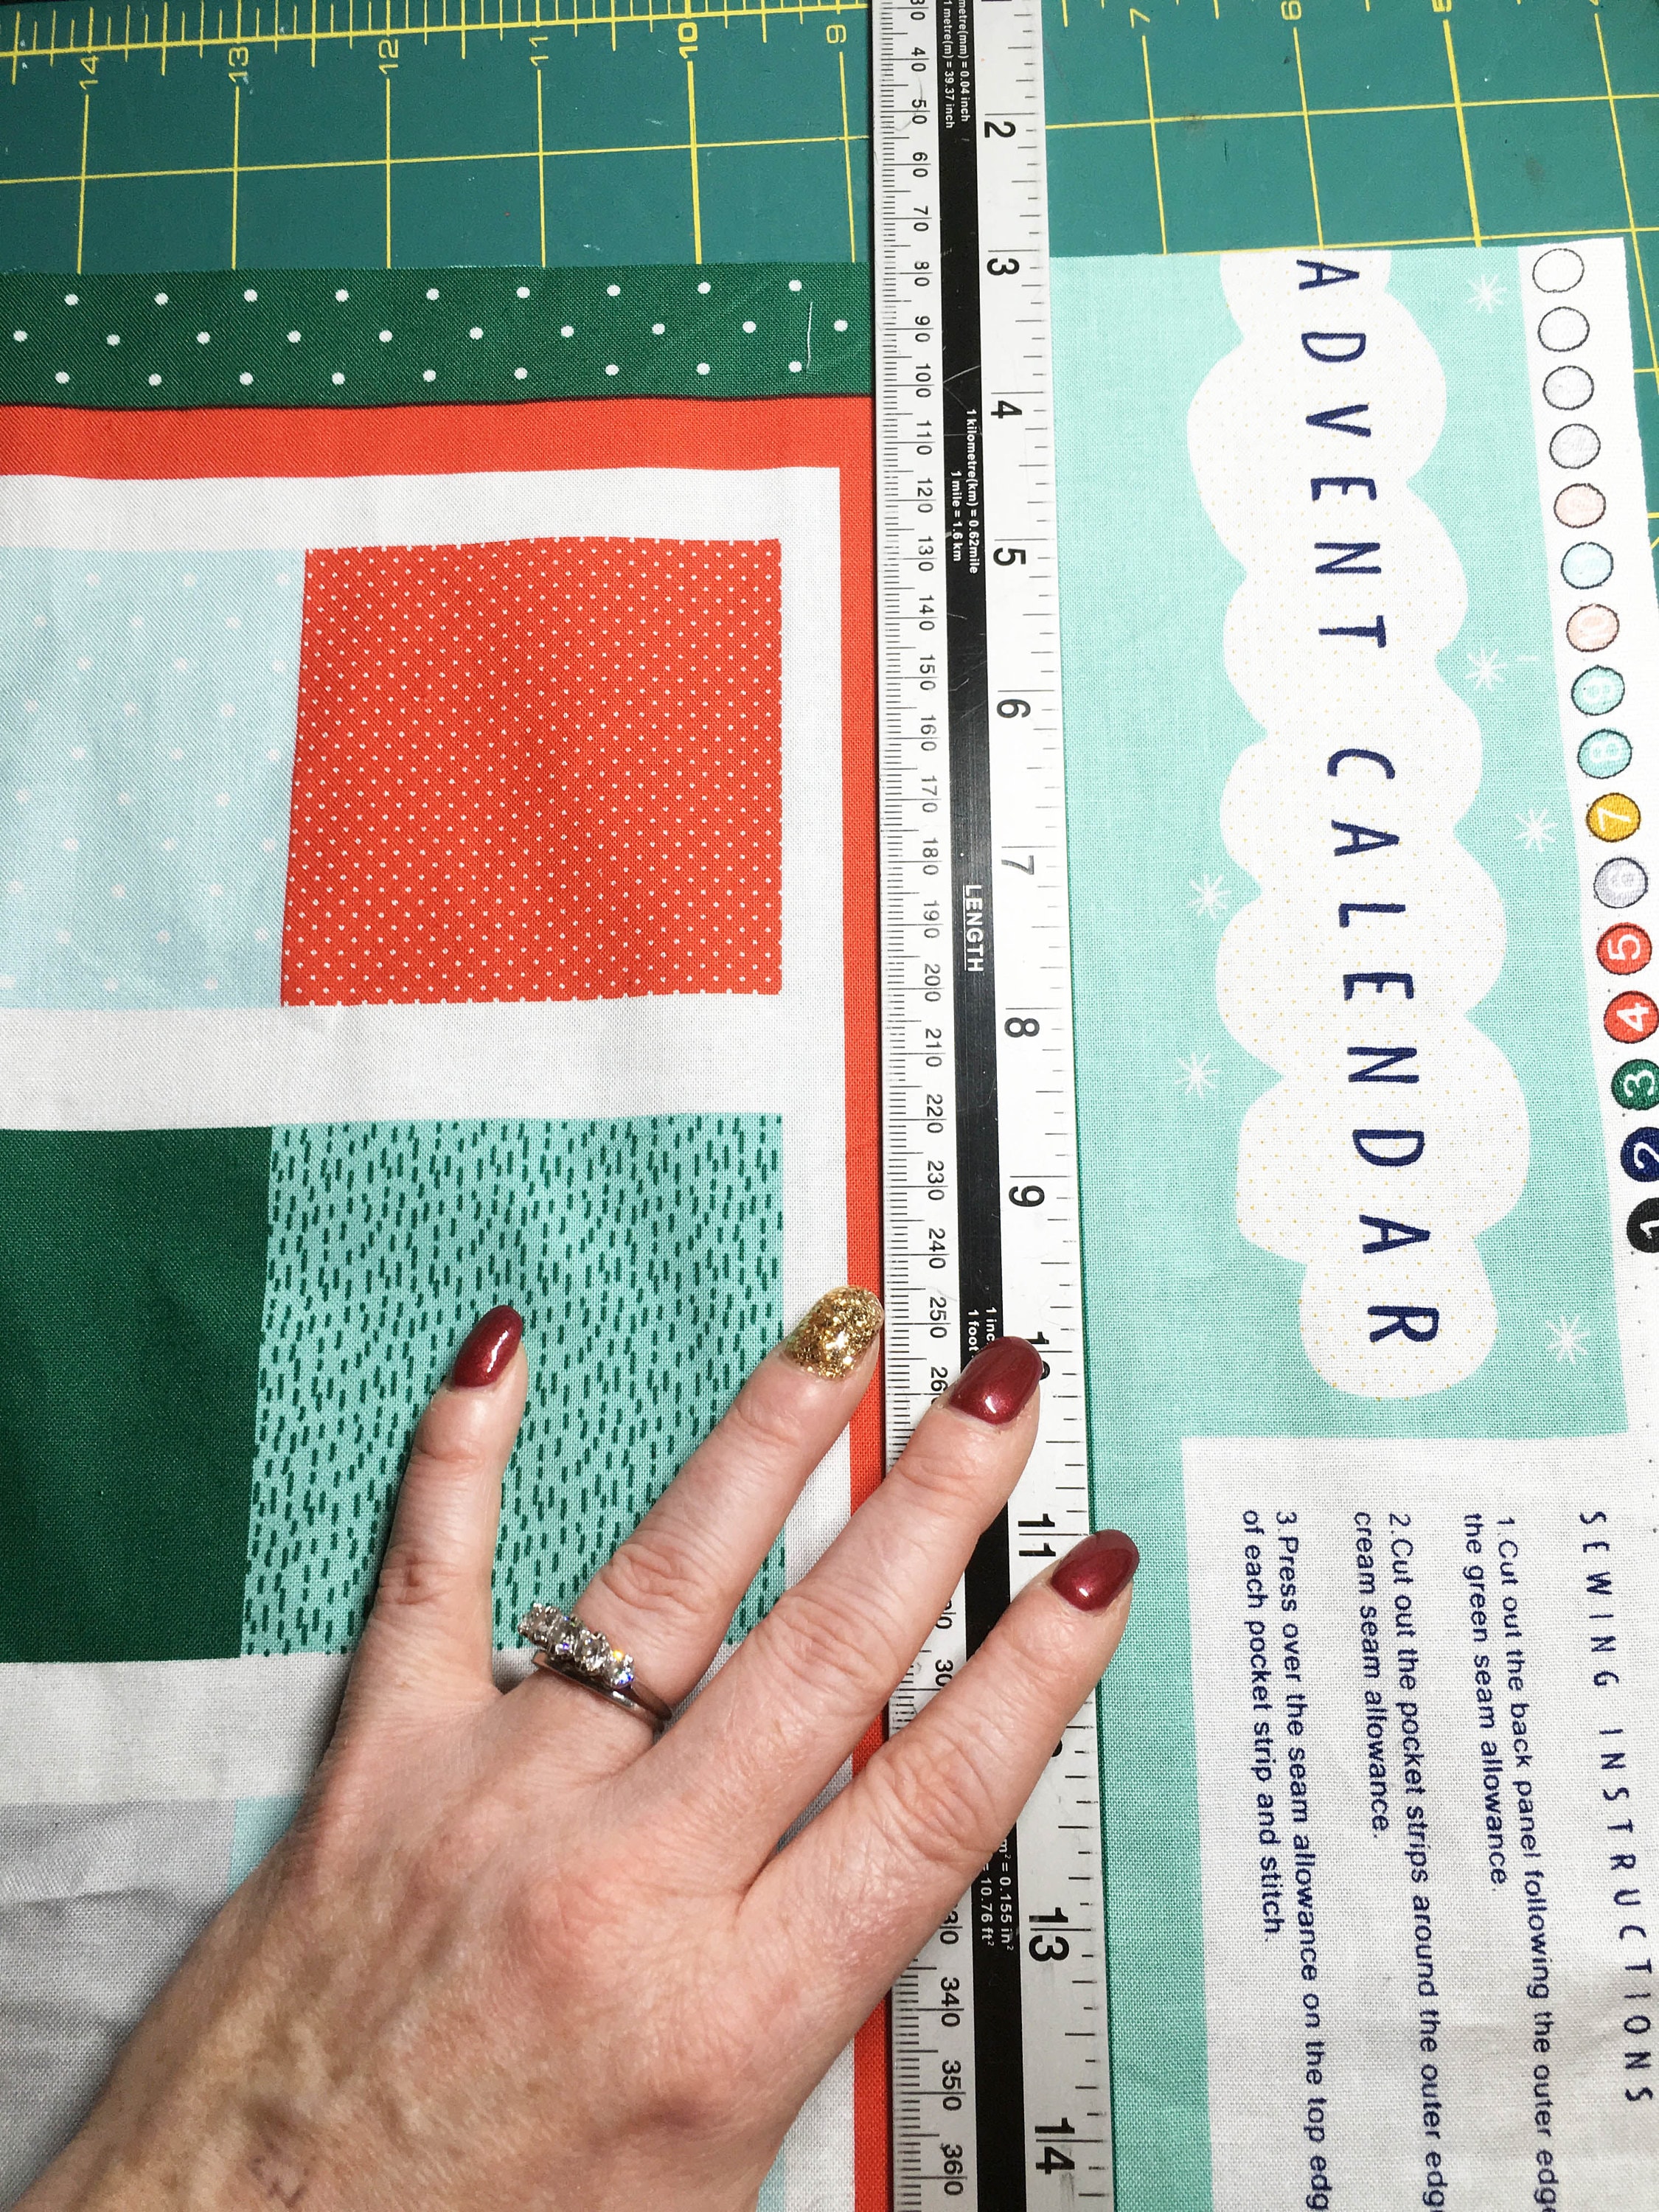
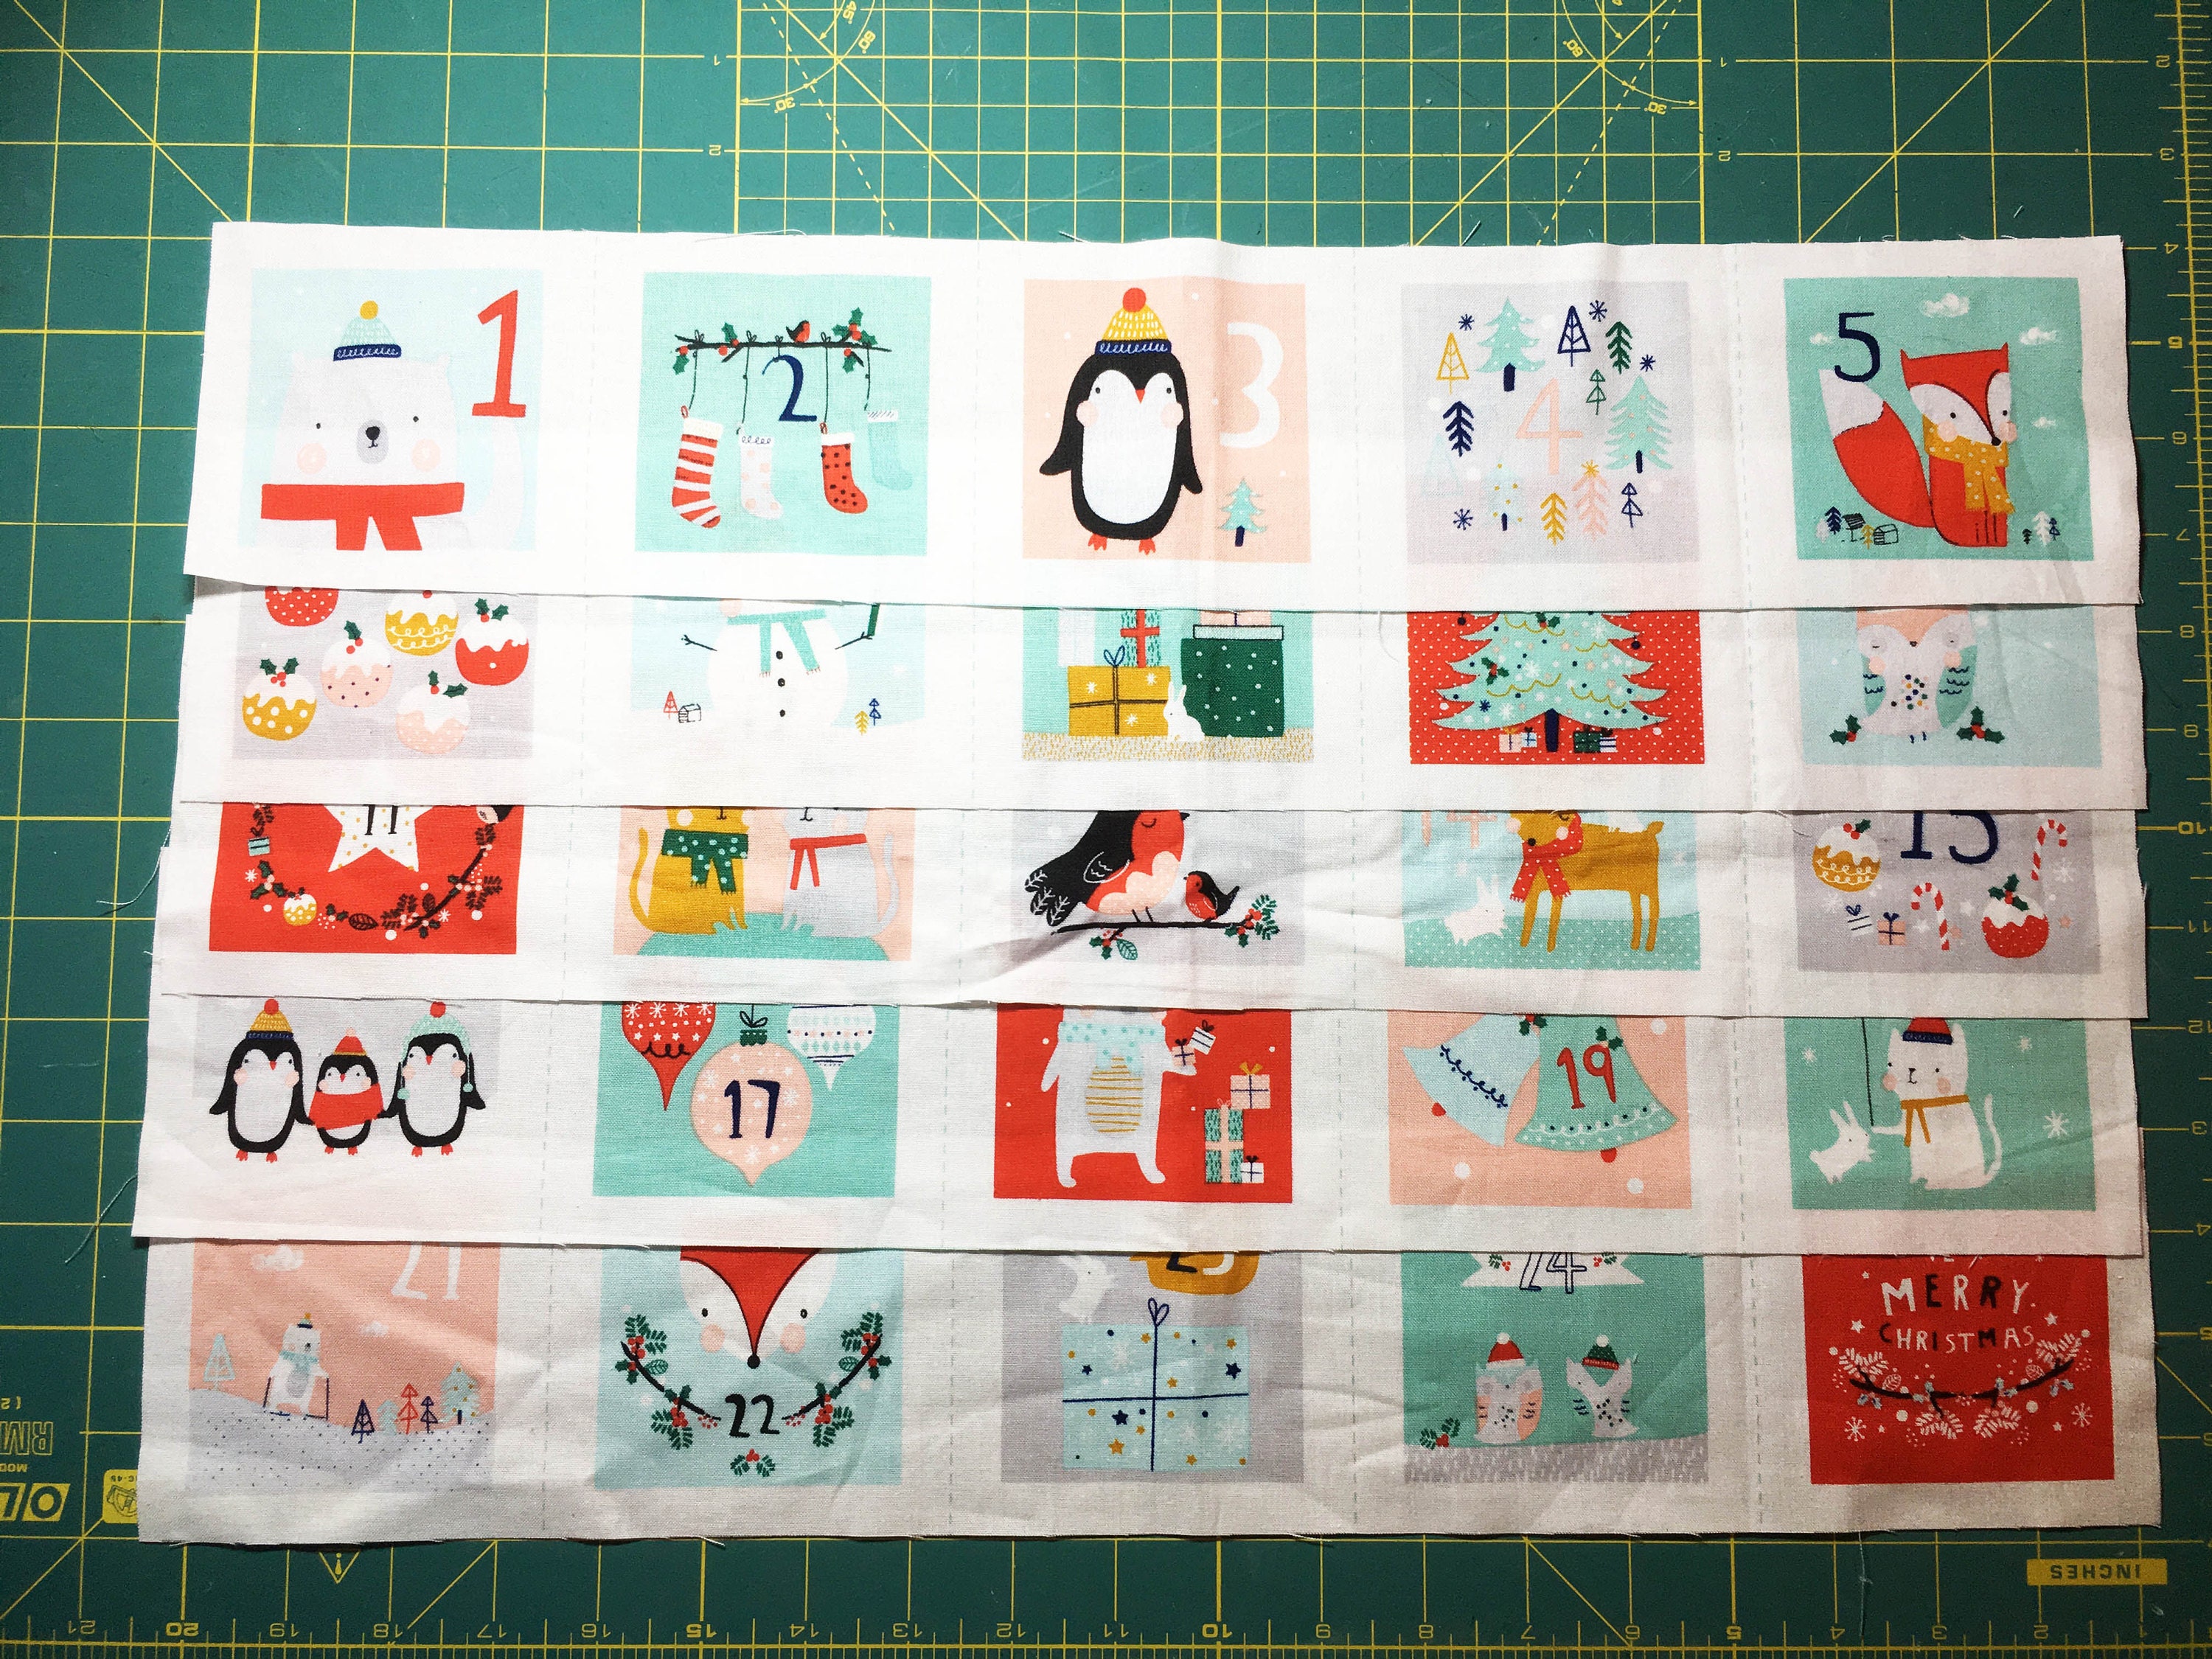
Step one: Cut the panels out
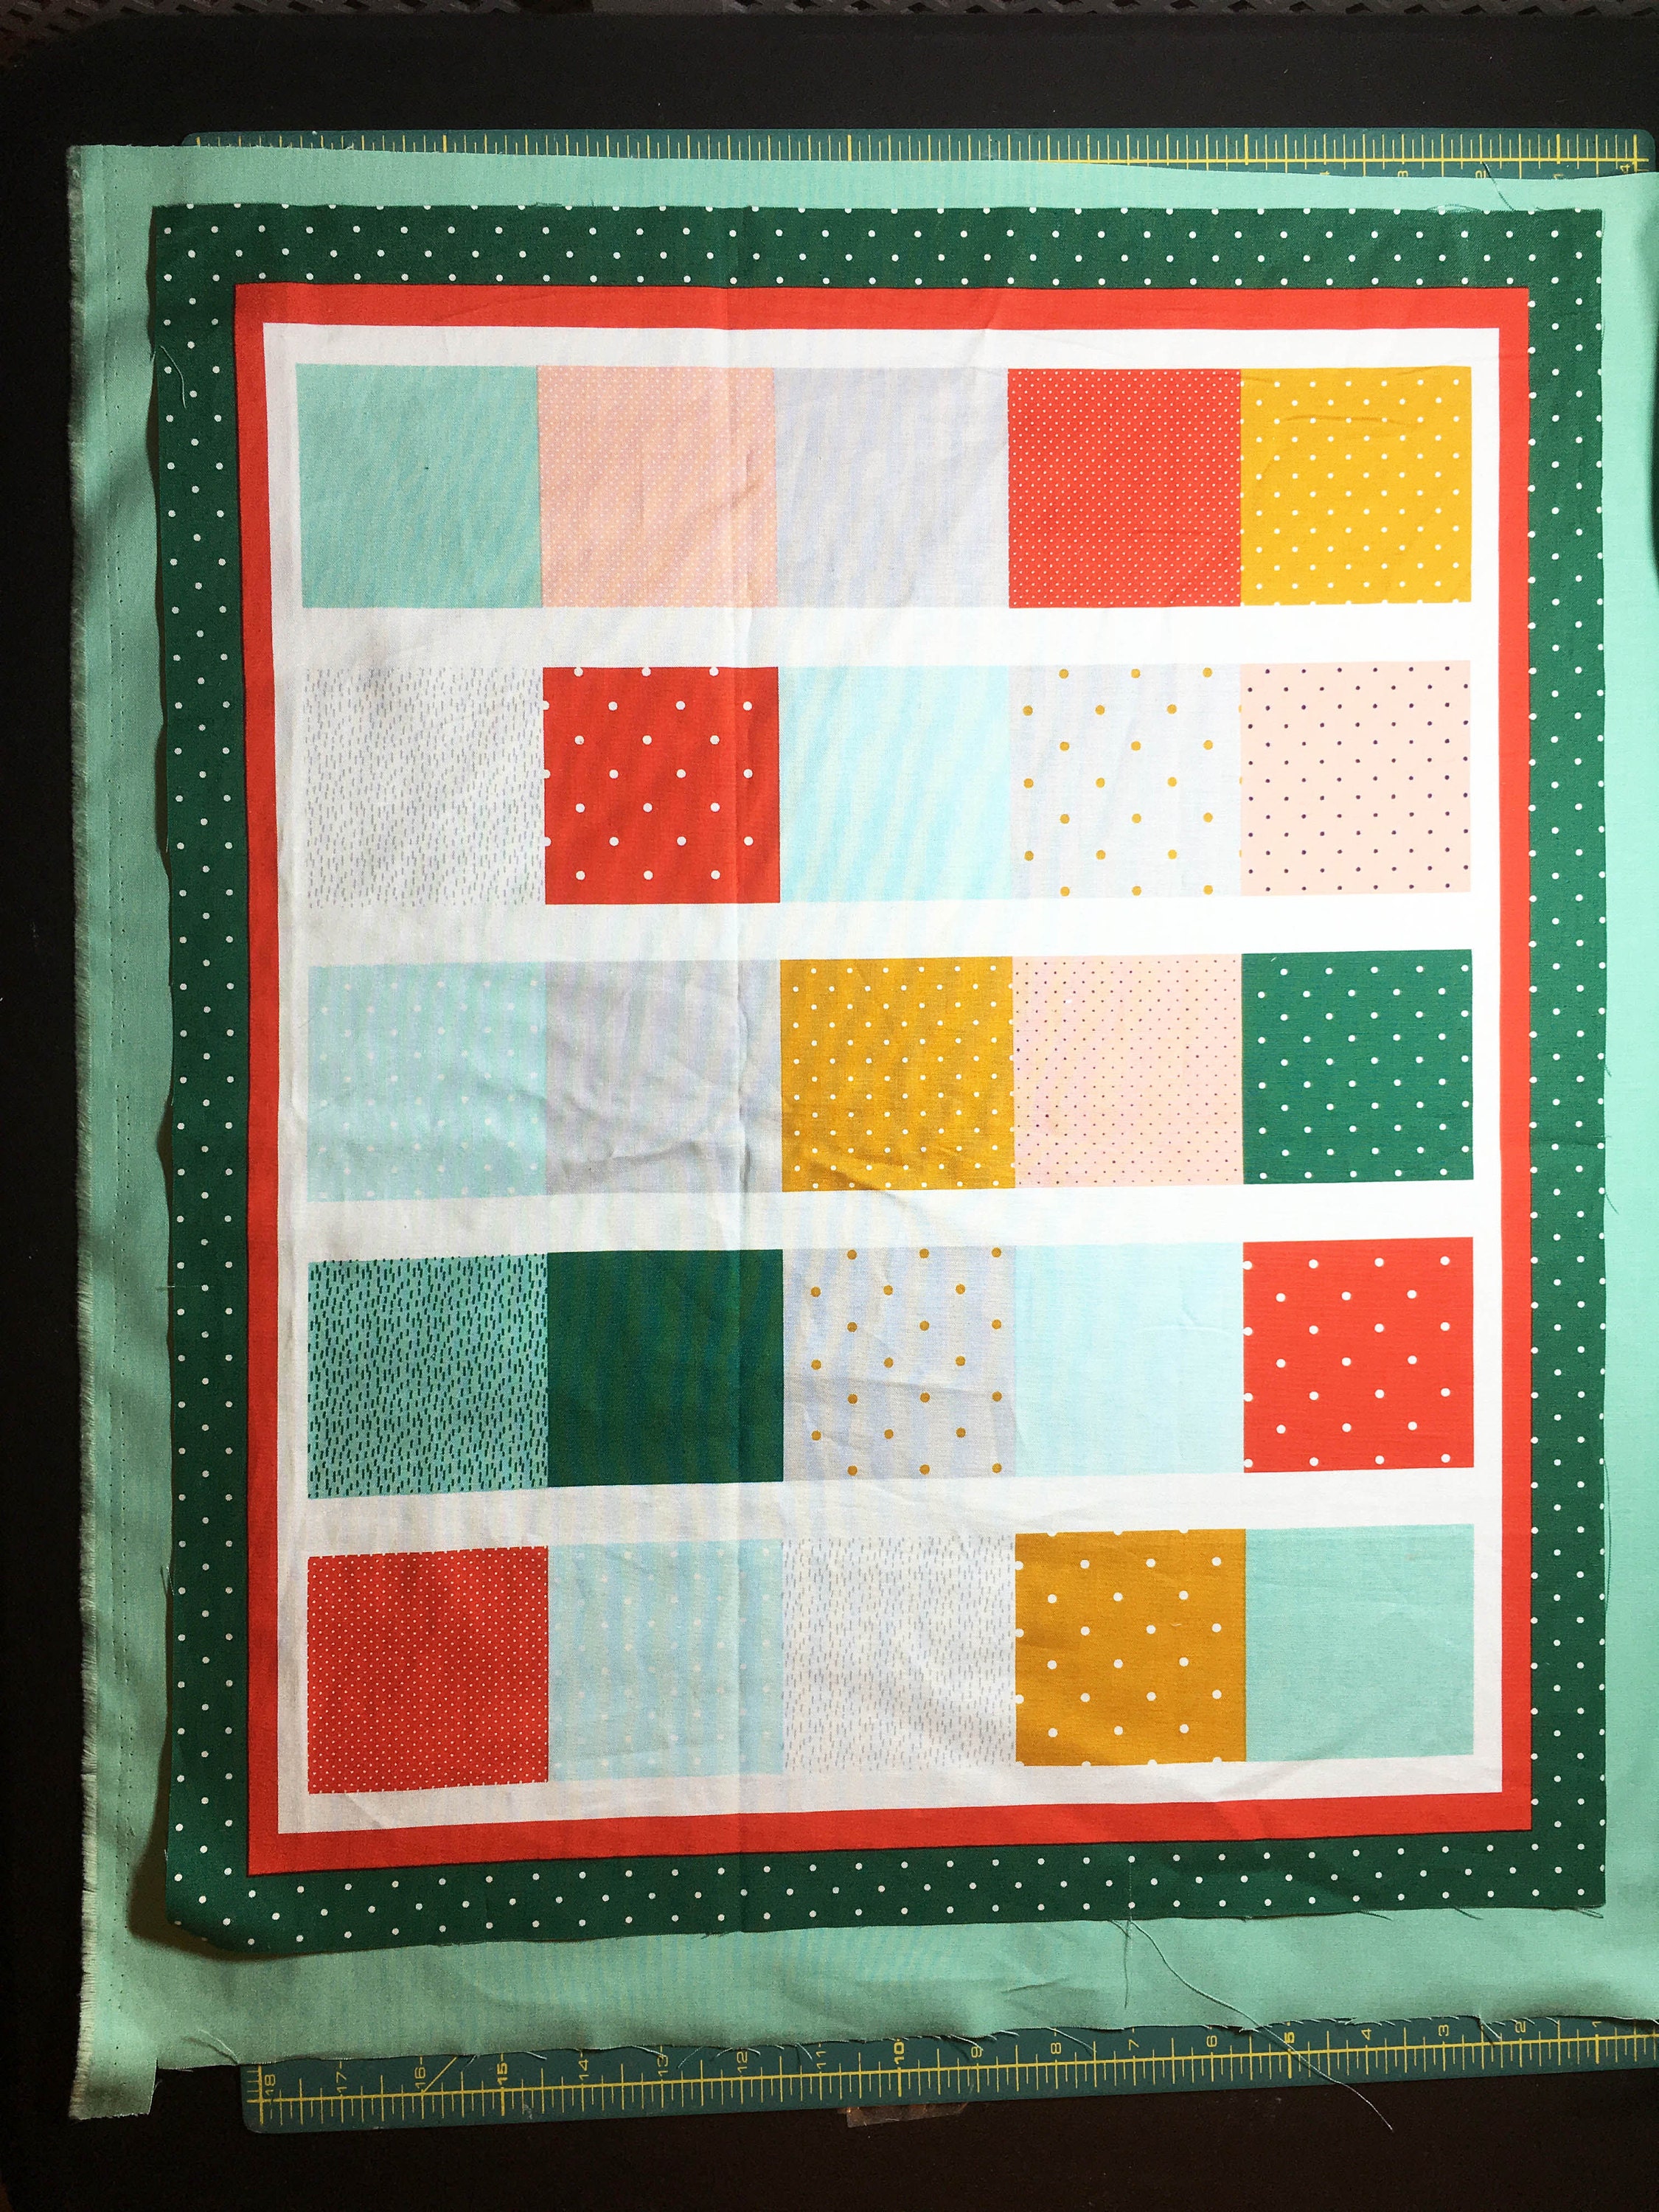
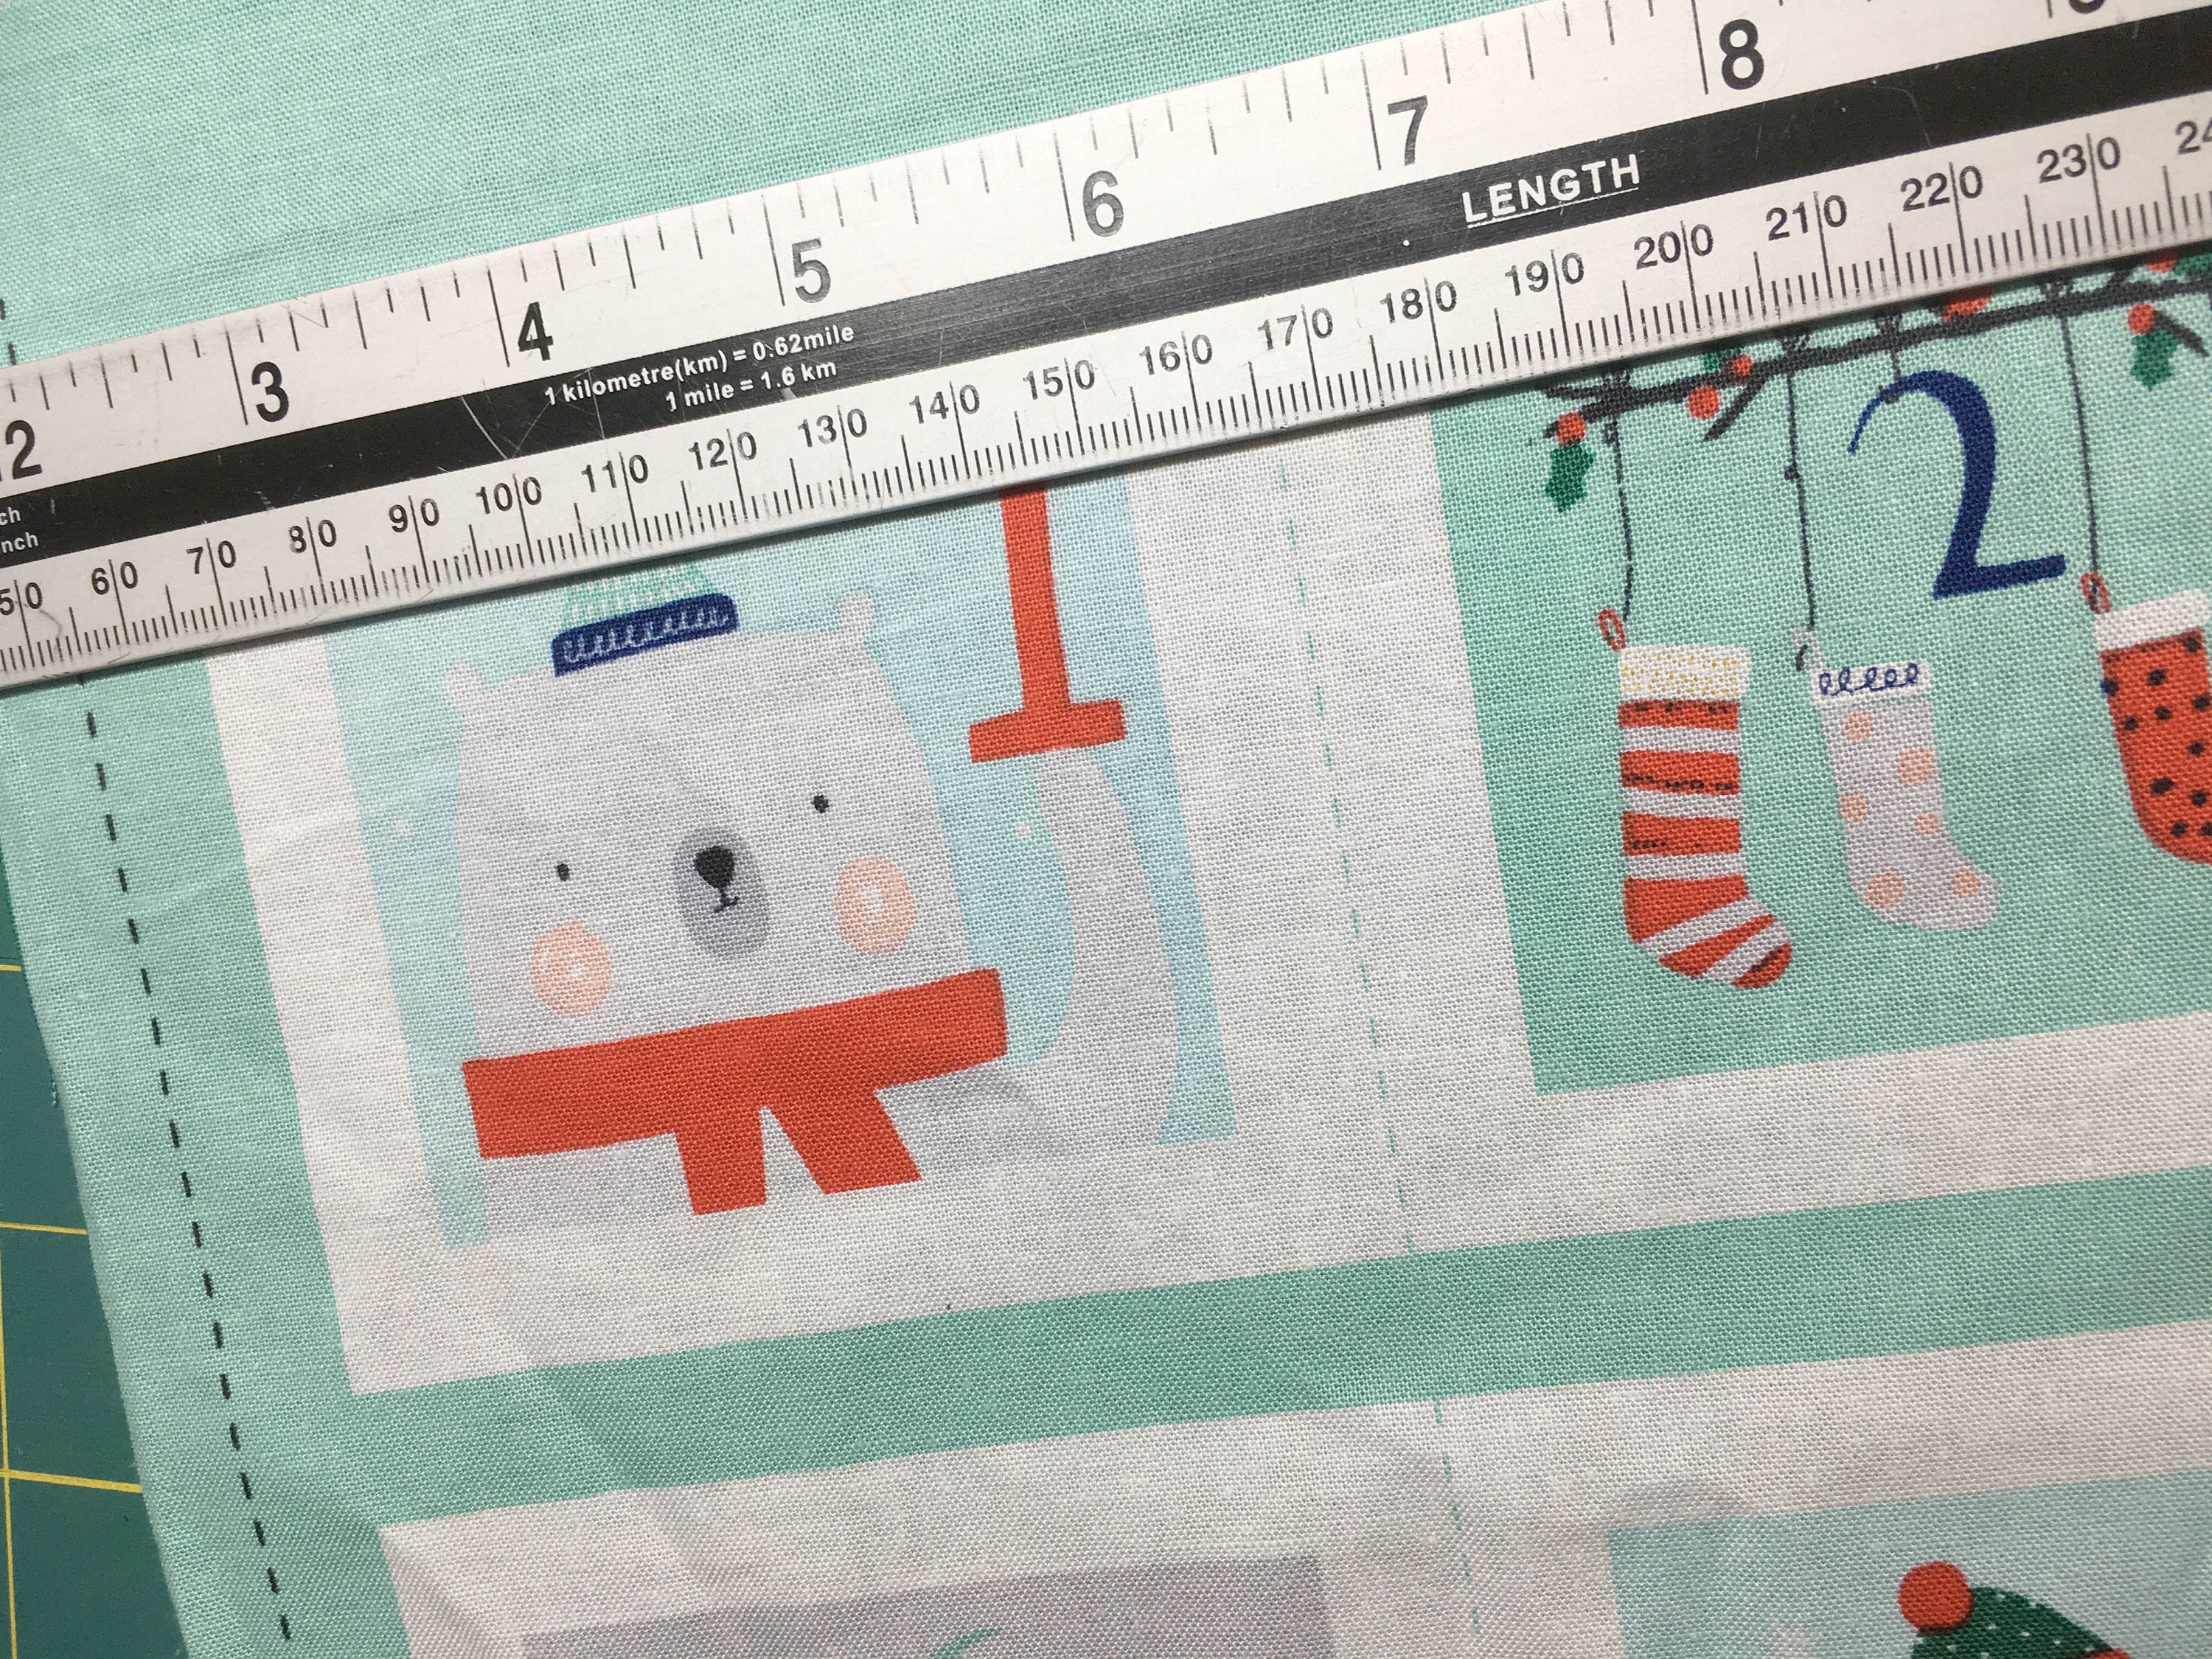
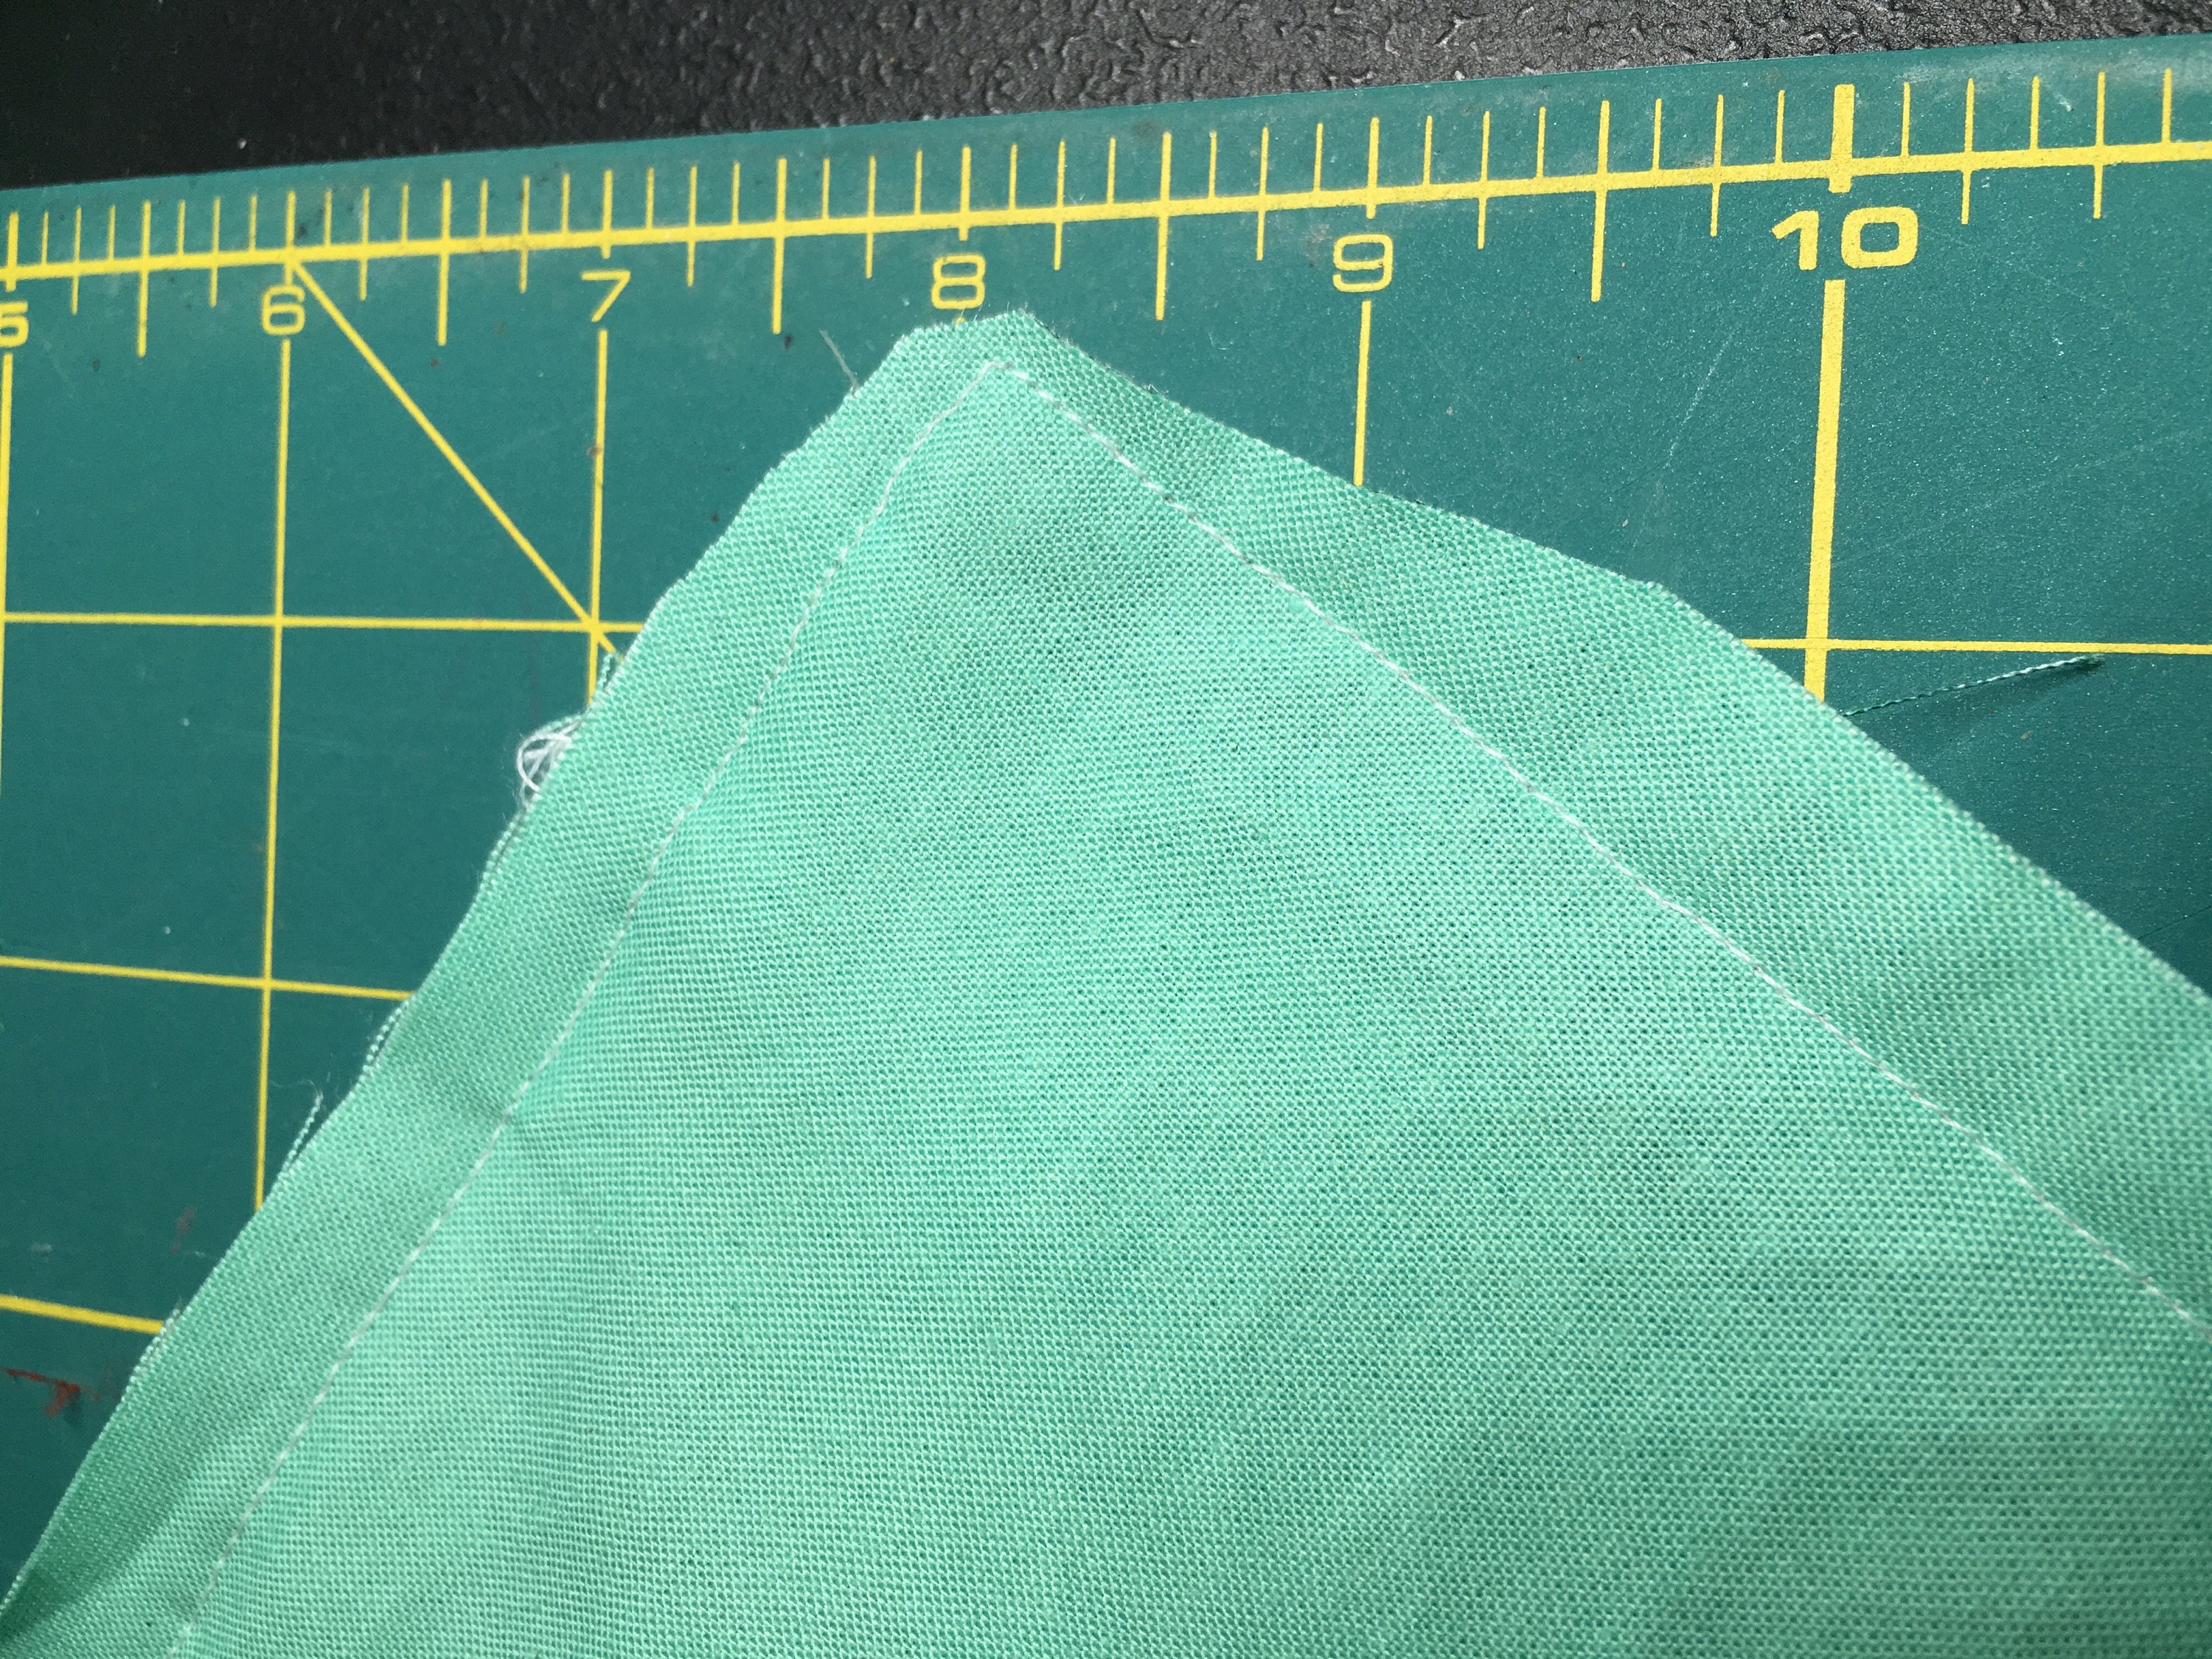
Carefully cut out the front panel following the edge of the green and white spot section.
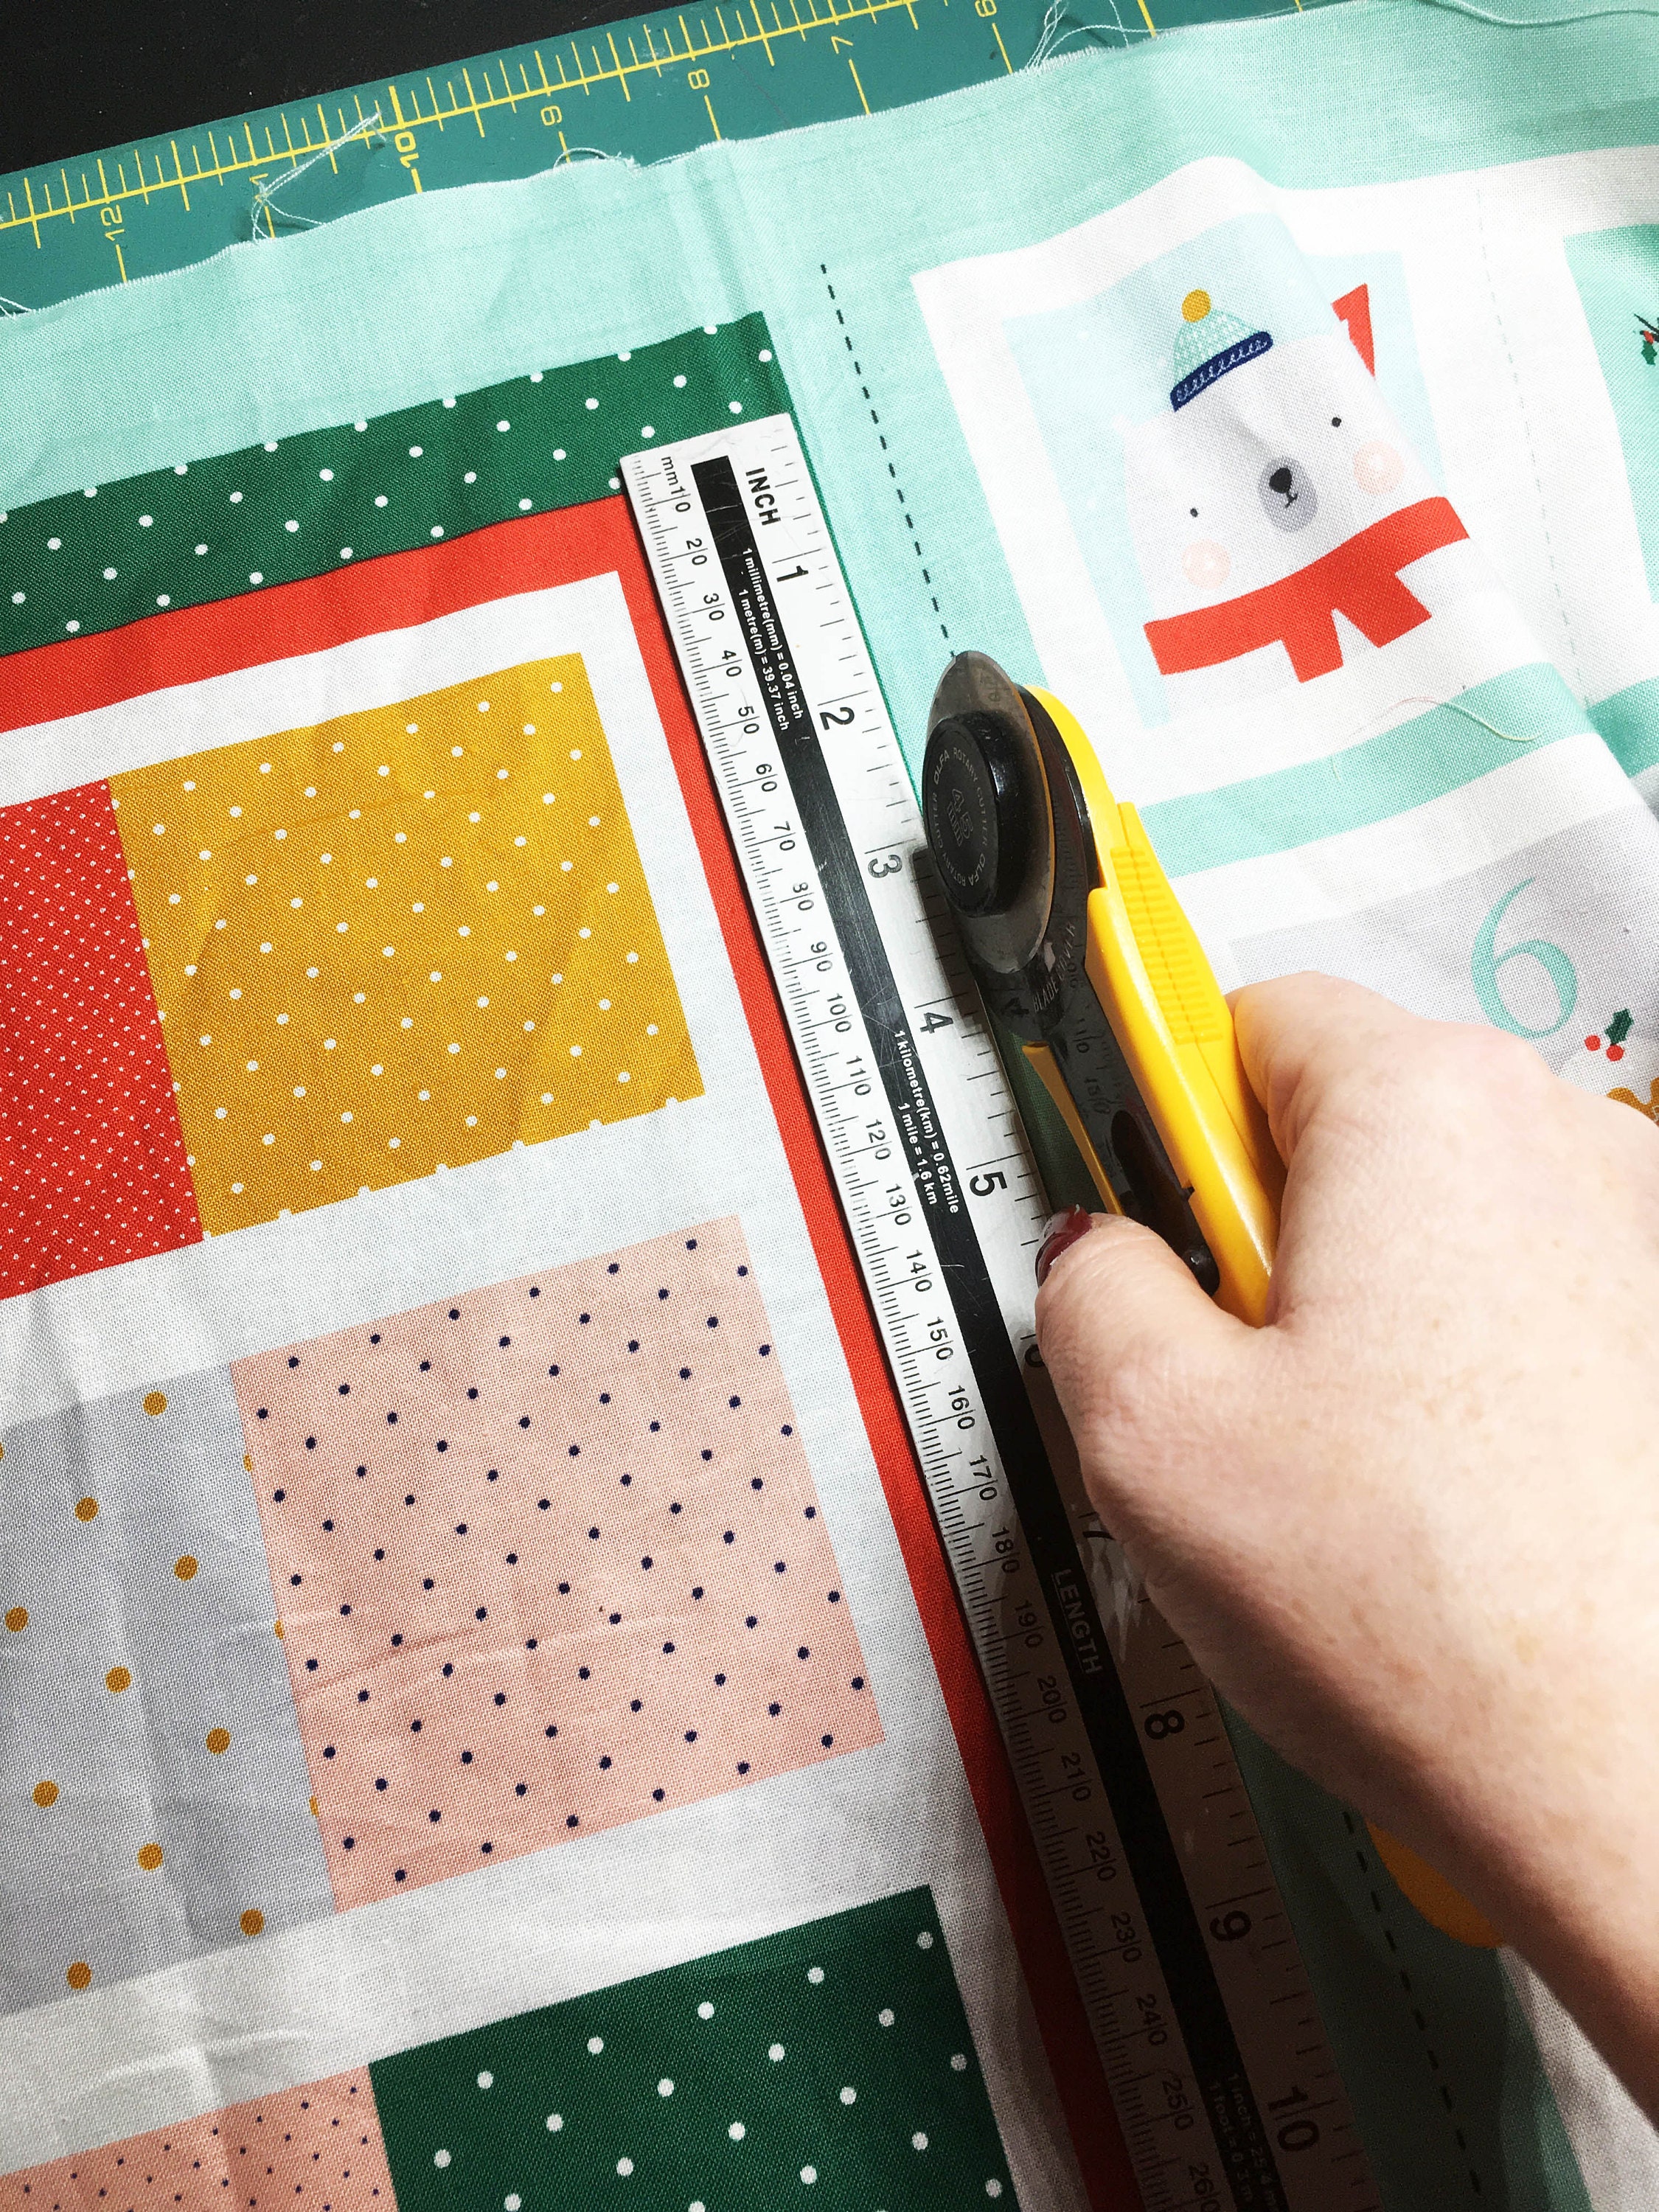
Once the front panel is cut out you can use this as a template for your back panel. Lay the cut out front panel onto your chosen backing fabric and pin in place. Carefully cut around this template.
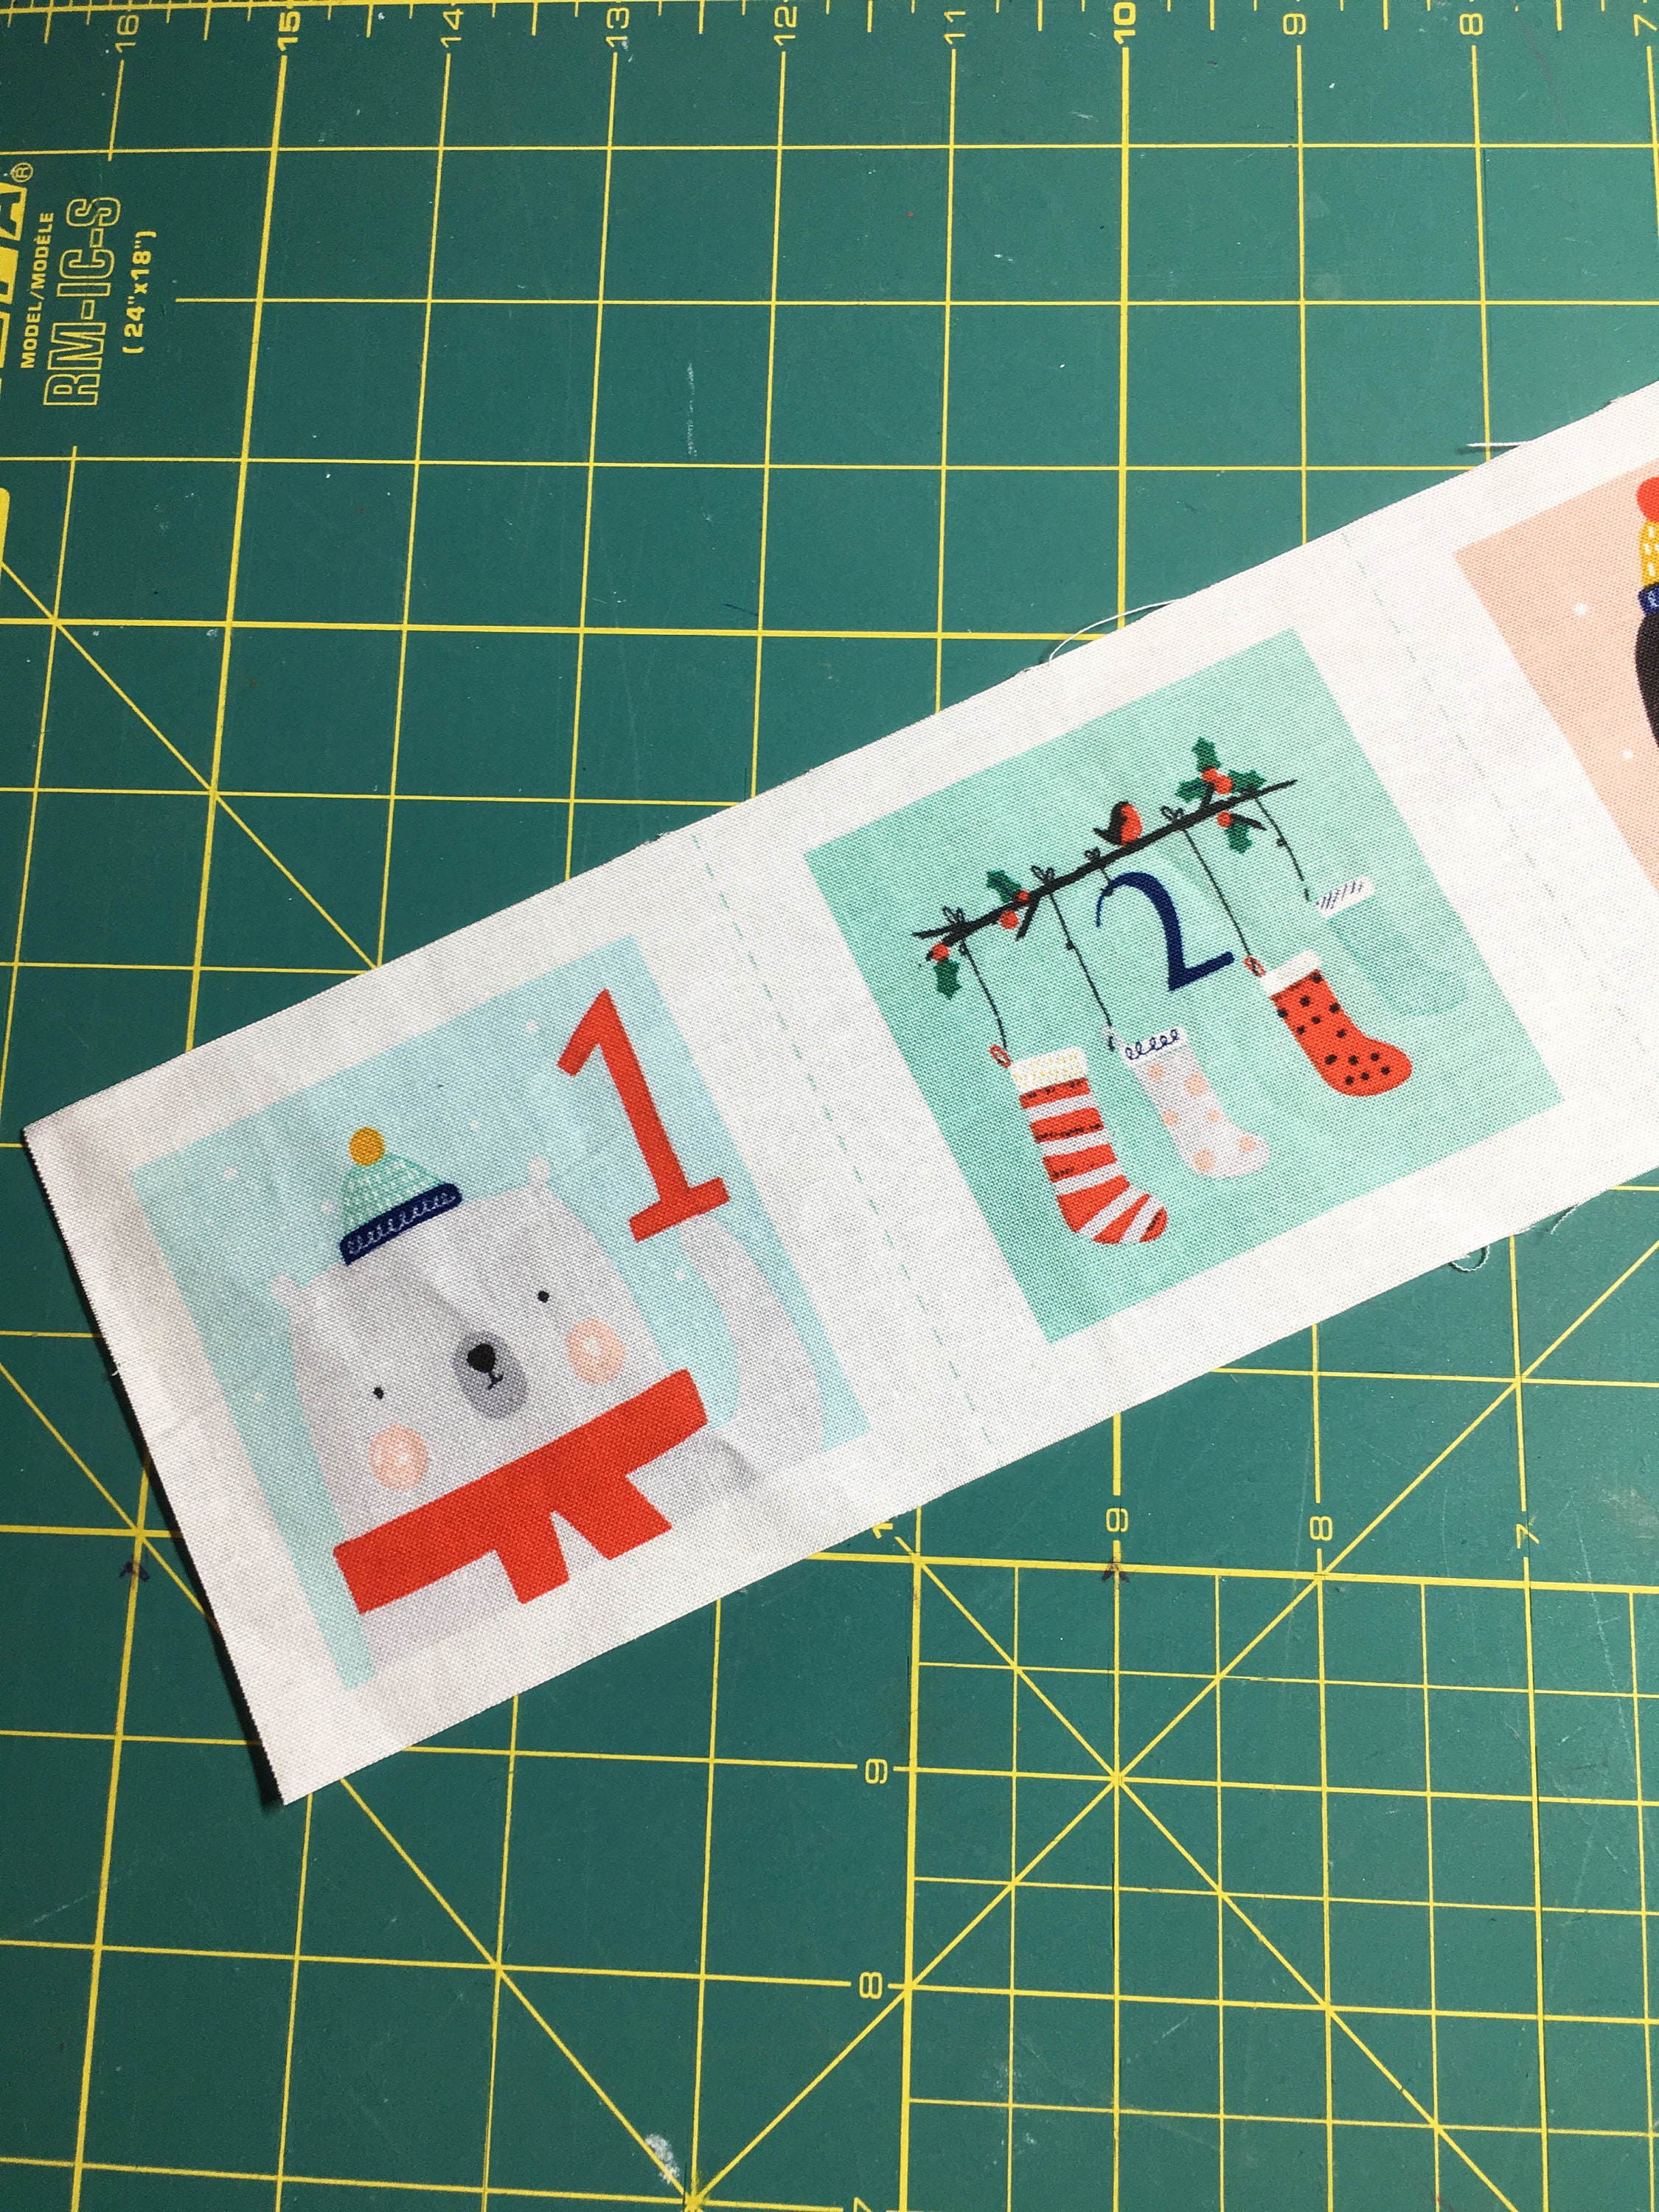
Step two: Cut out the pockets
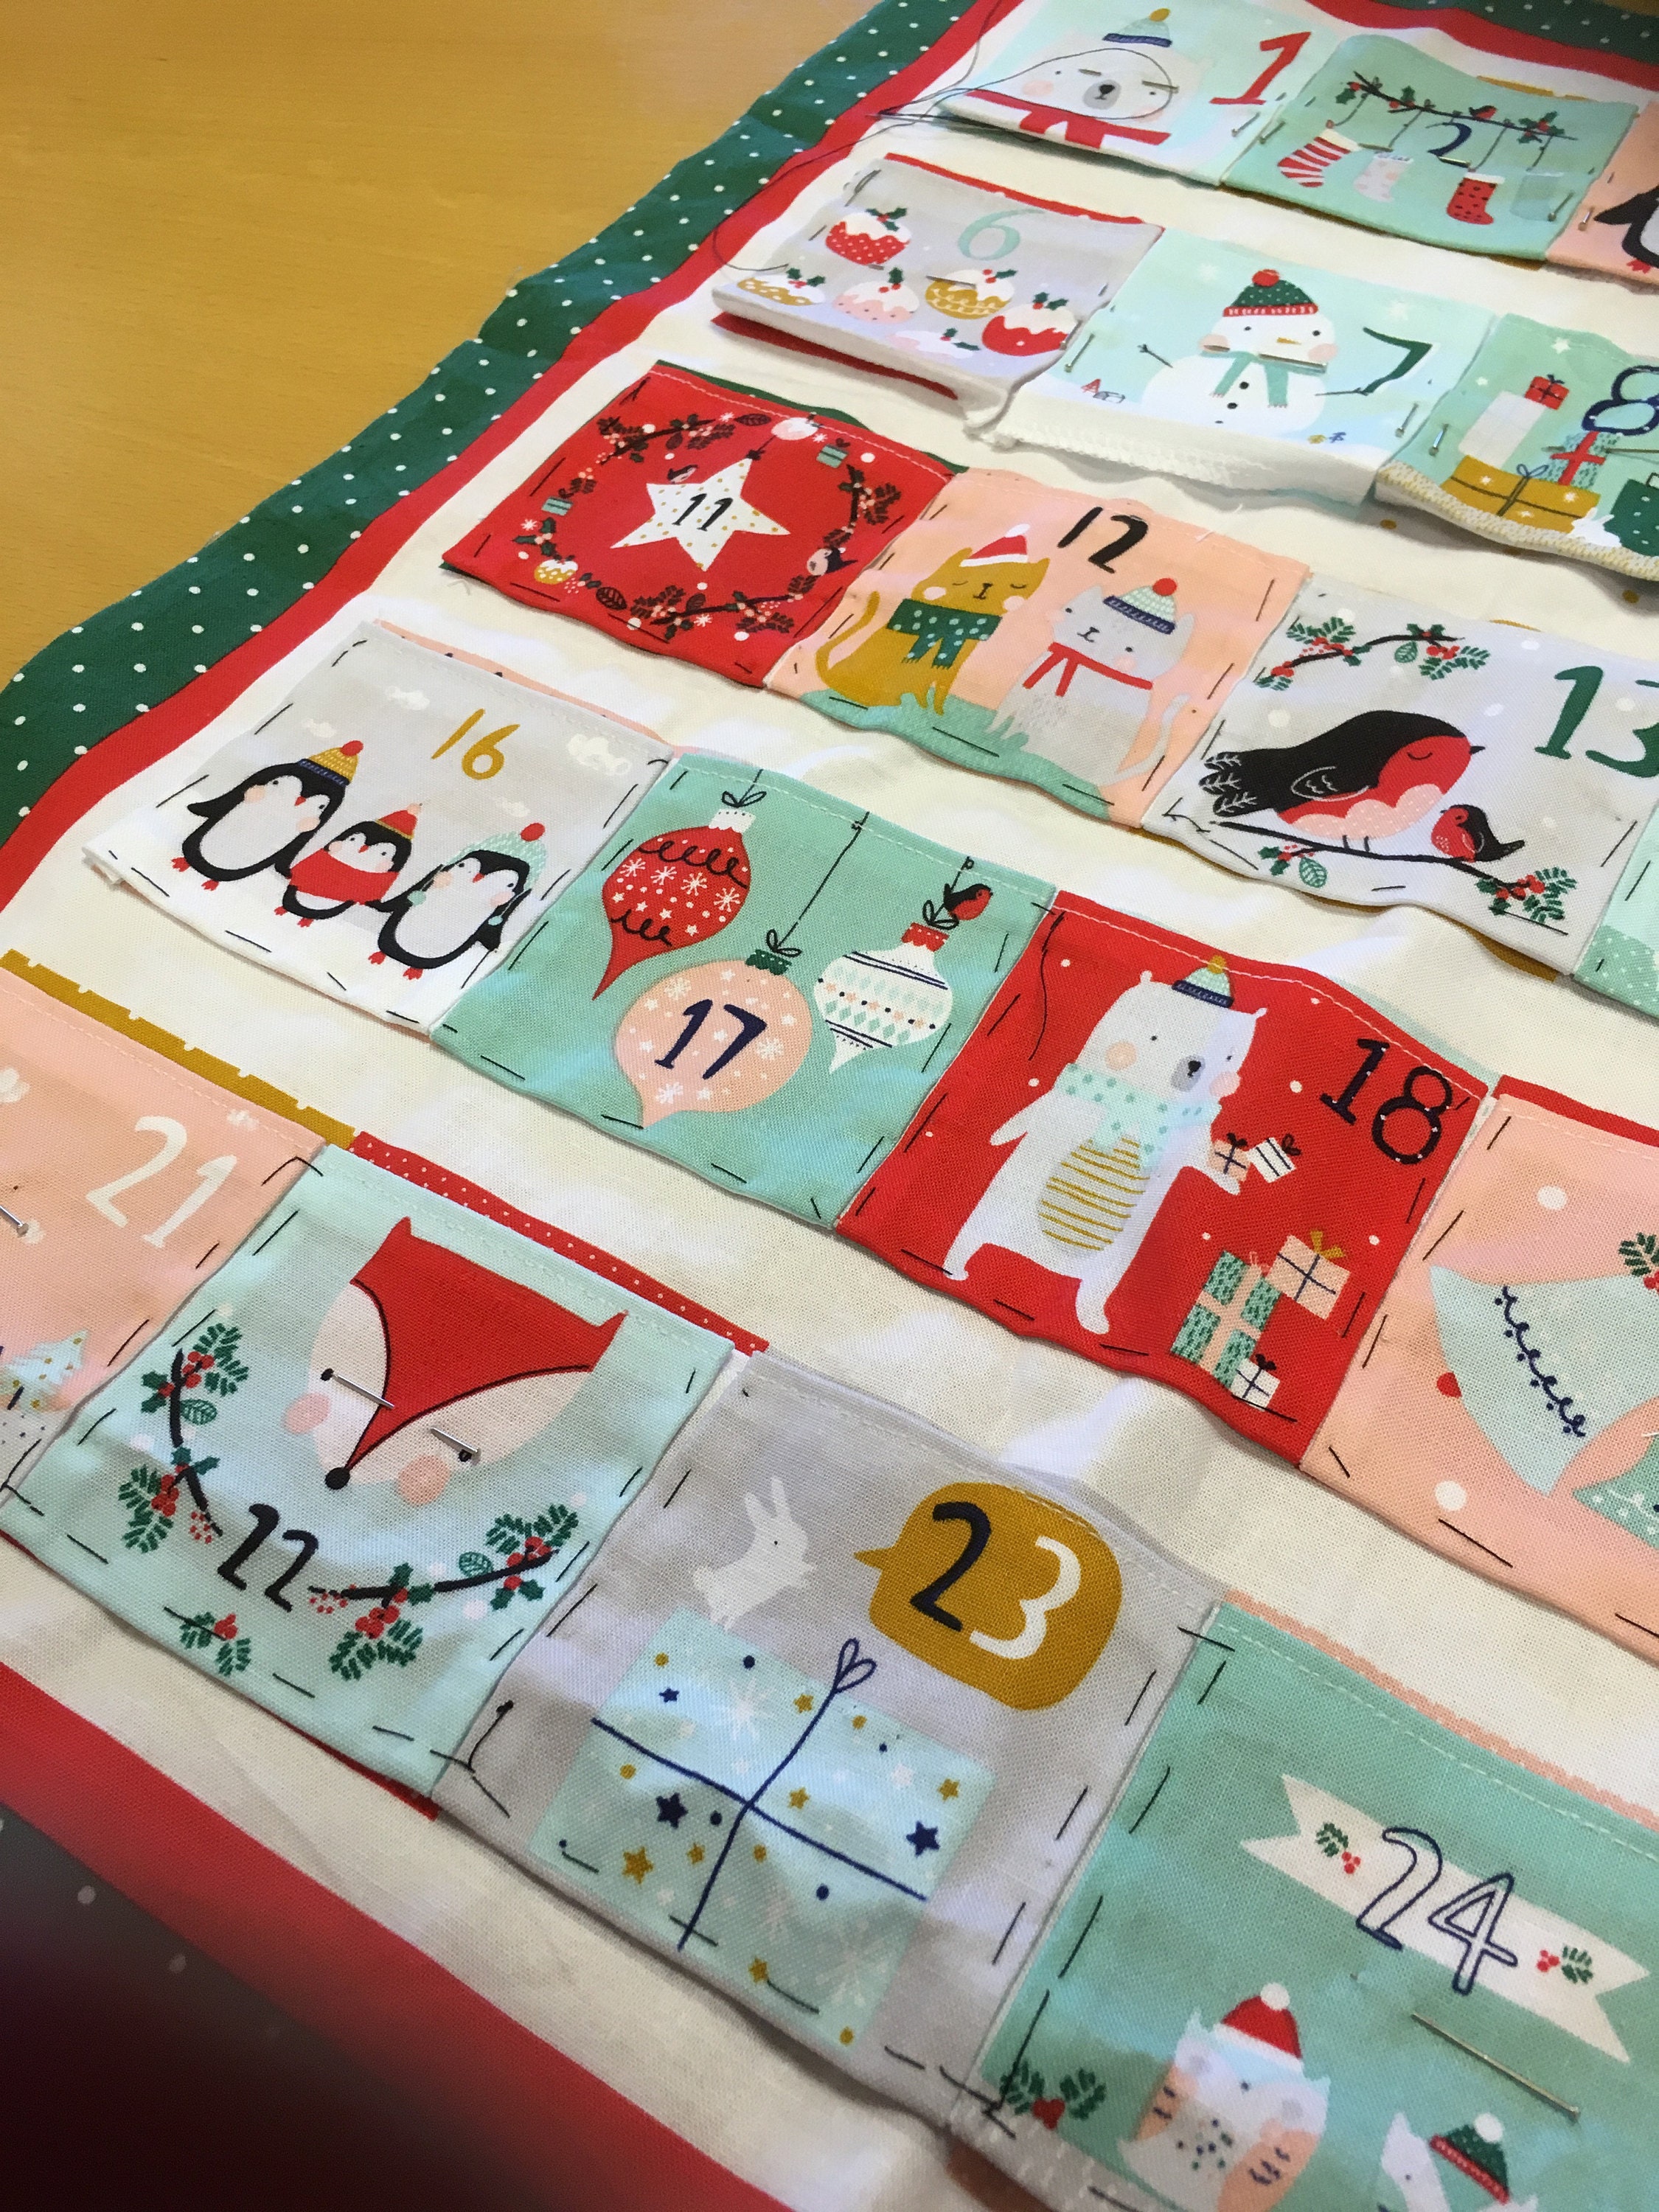
The pockets are attached to the panel in one continuous strip (not as individual pockets) so we need to cut them out as one piece.
Cut out each strip of pockets following the outer edge of the white seam allowance.
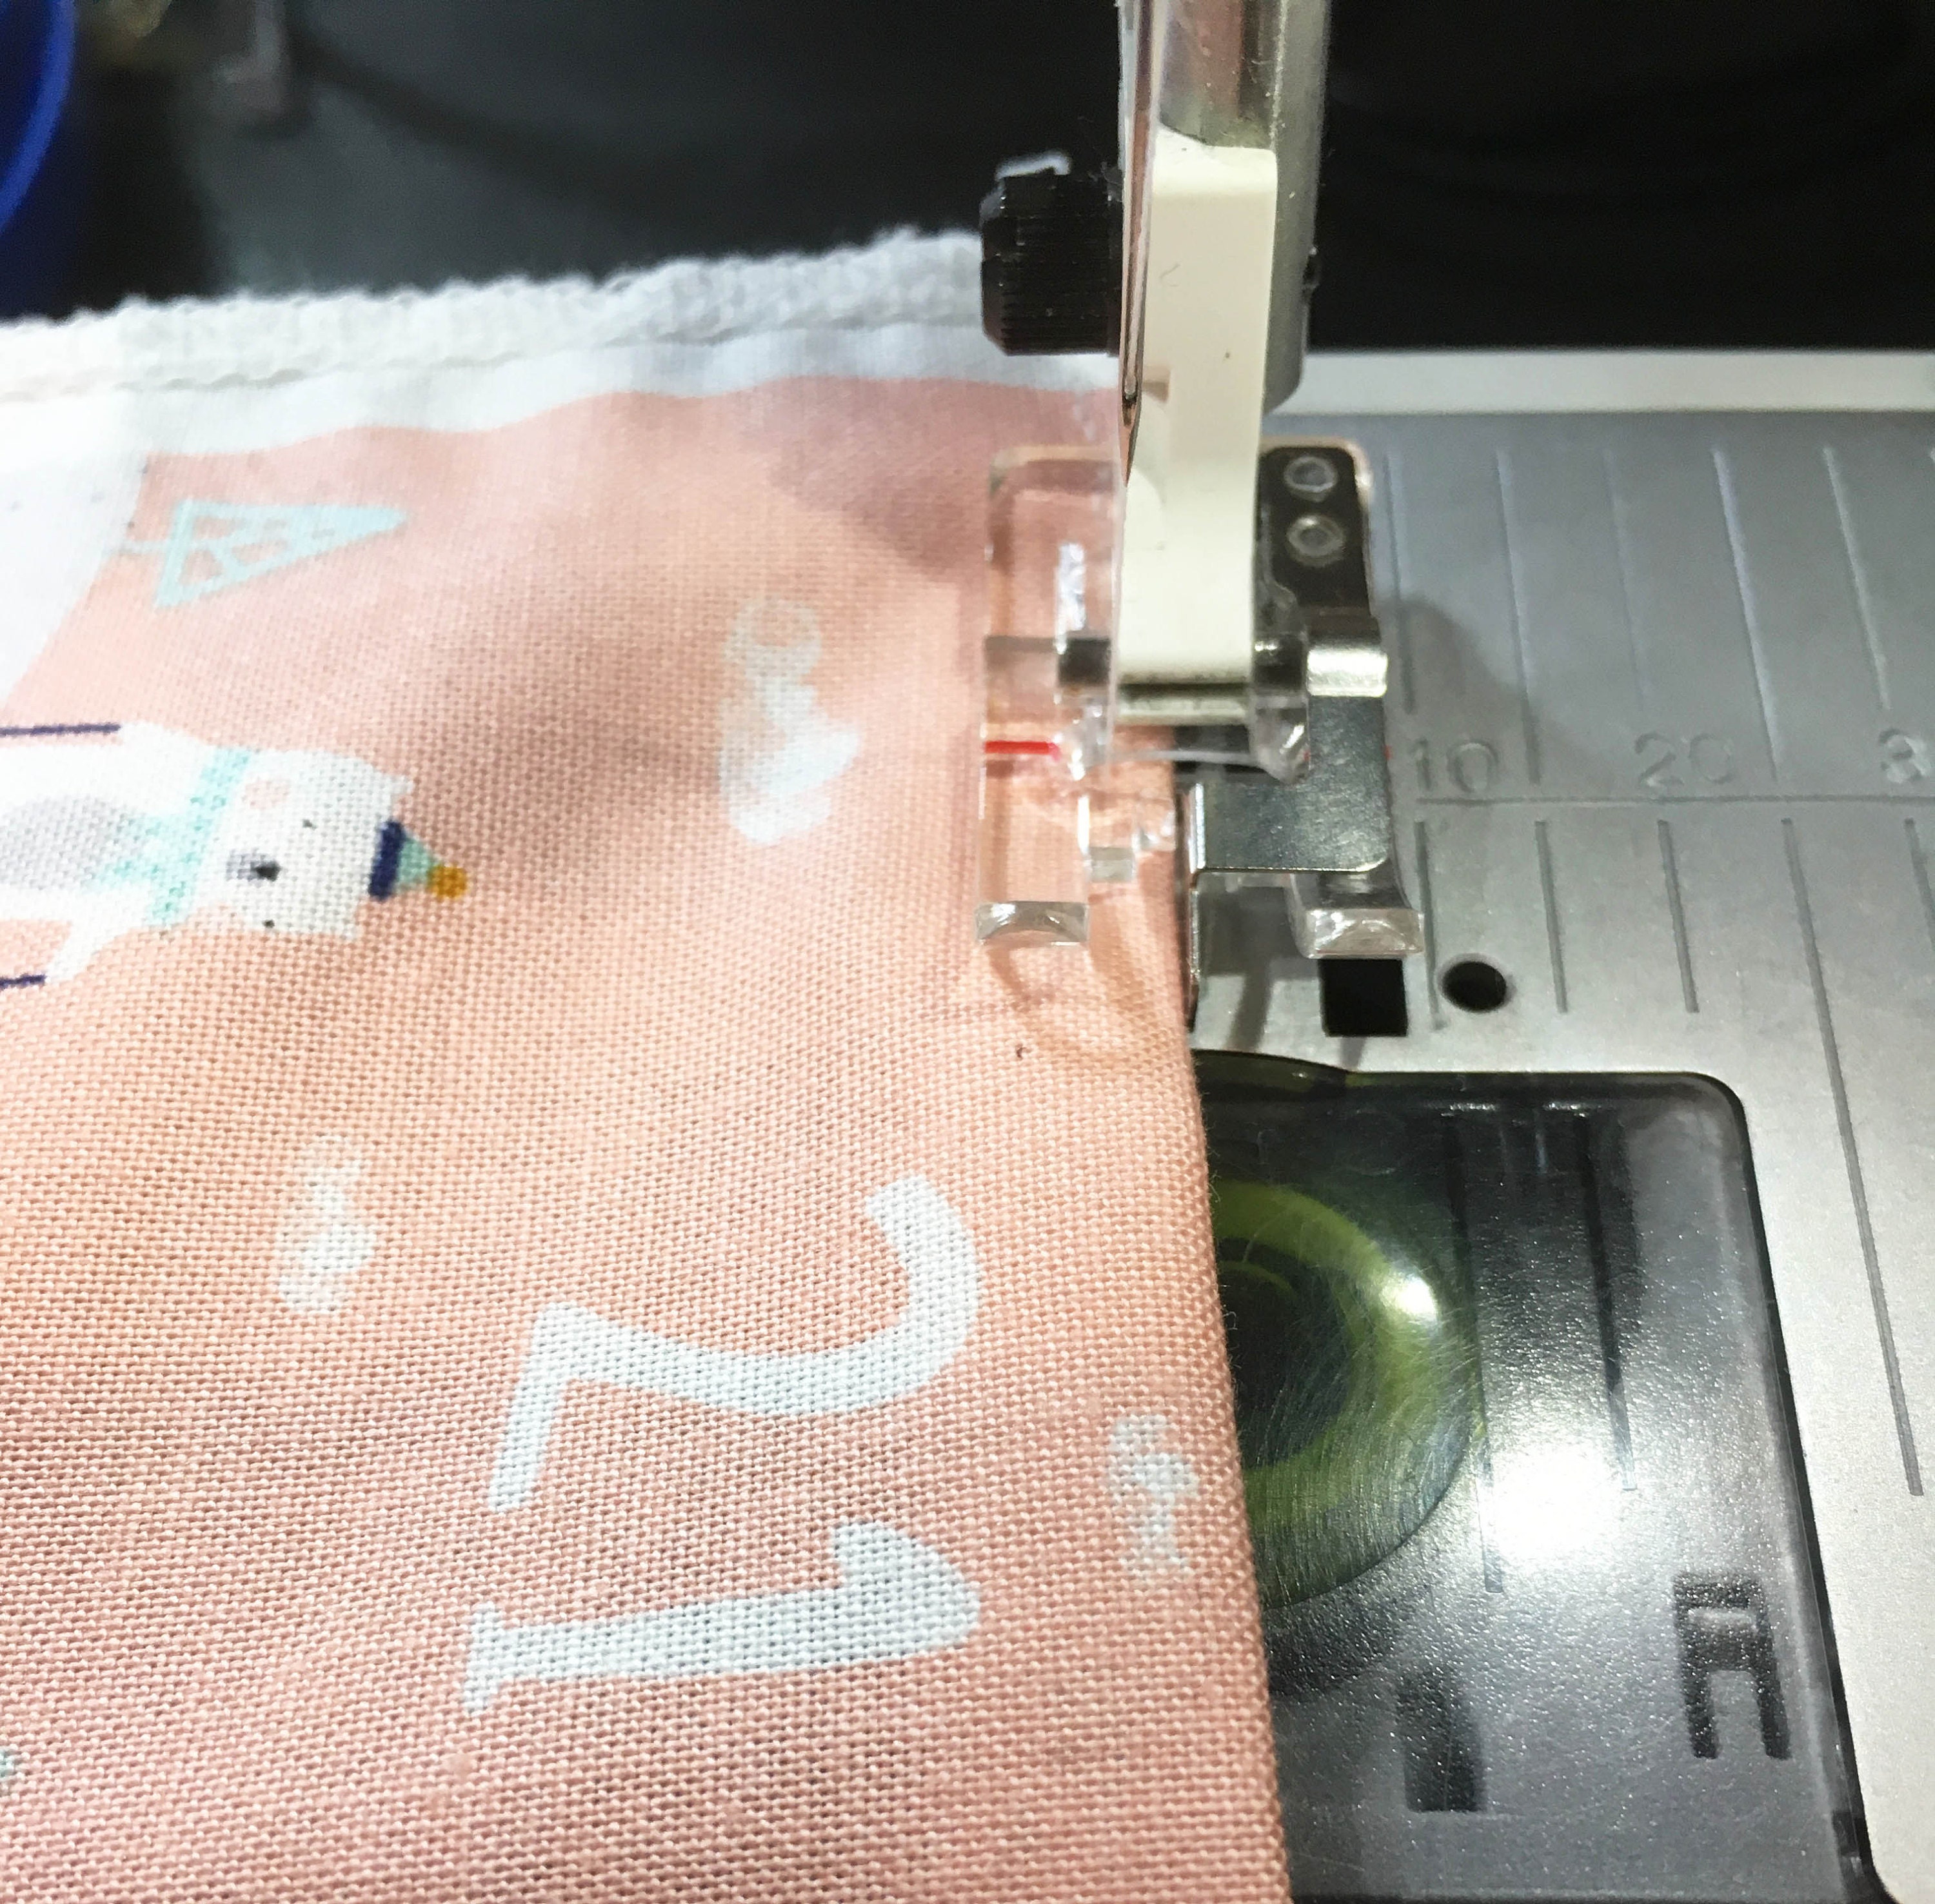
Step three: Neaten top edge of pocket strip
The instructions tell you to press the seam allowance down on the top of the pocket strip and stitch. I am going to overlock the top edge of my pockets first as I like the inside of my work to look as nice as the outside. You do not have to do this, you could leave the edges raw, pink them or fold them over twice (which will hide the raw edges).
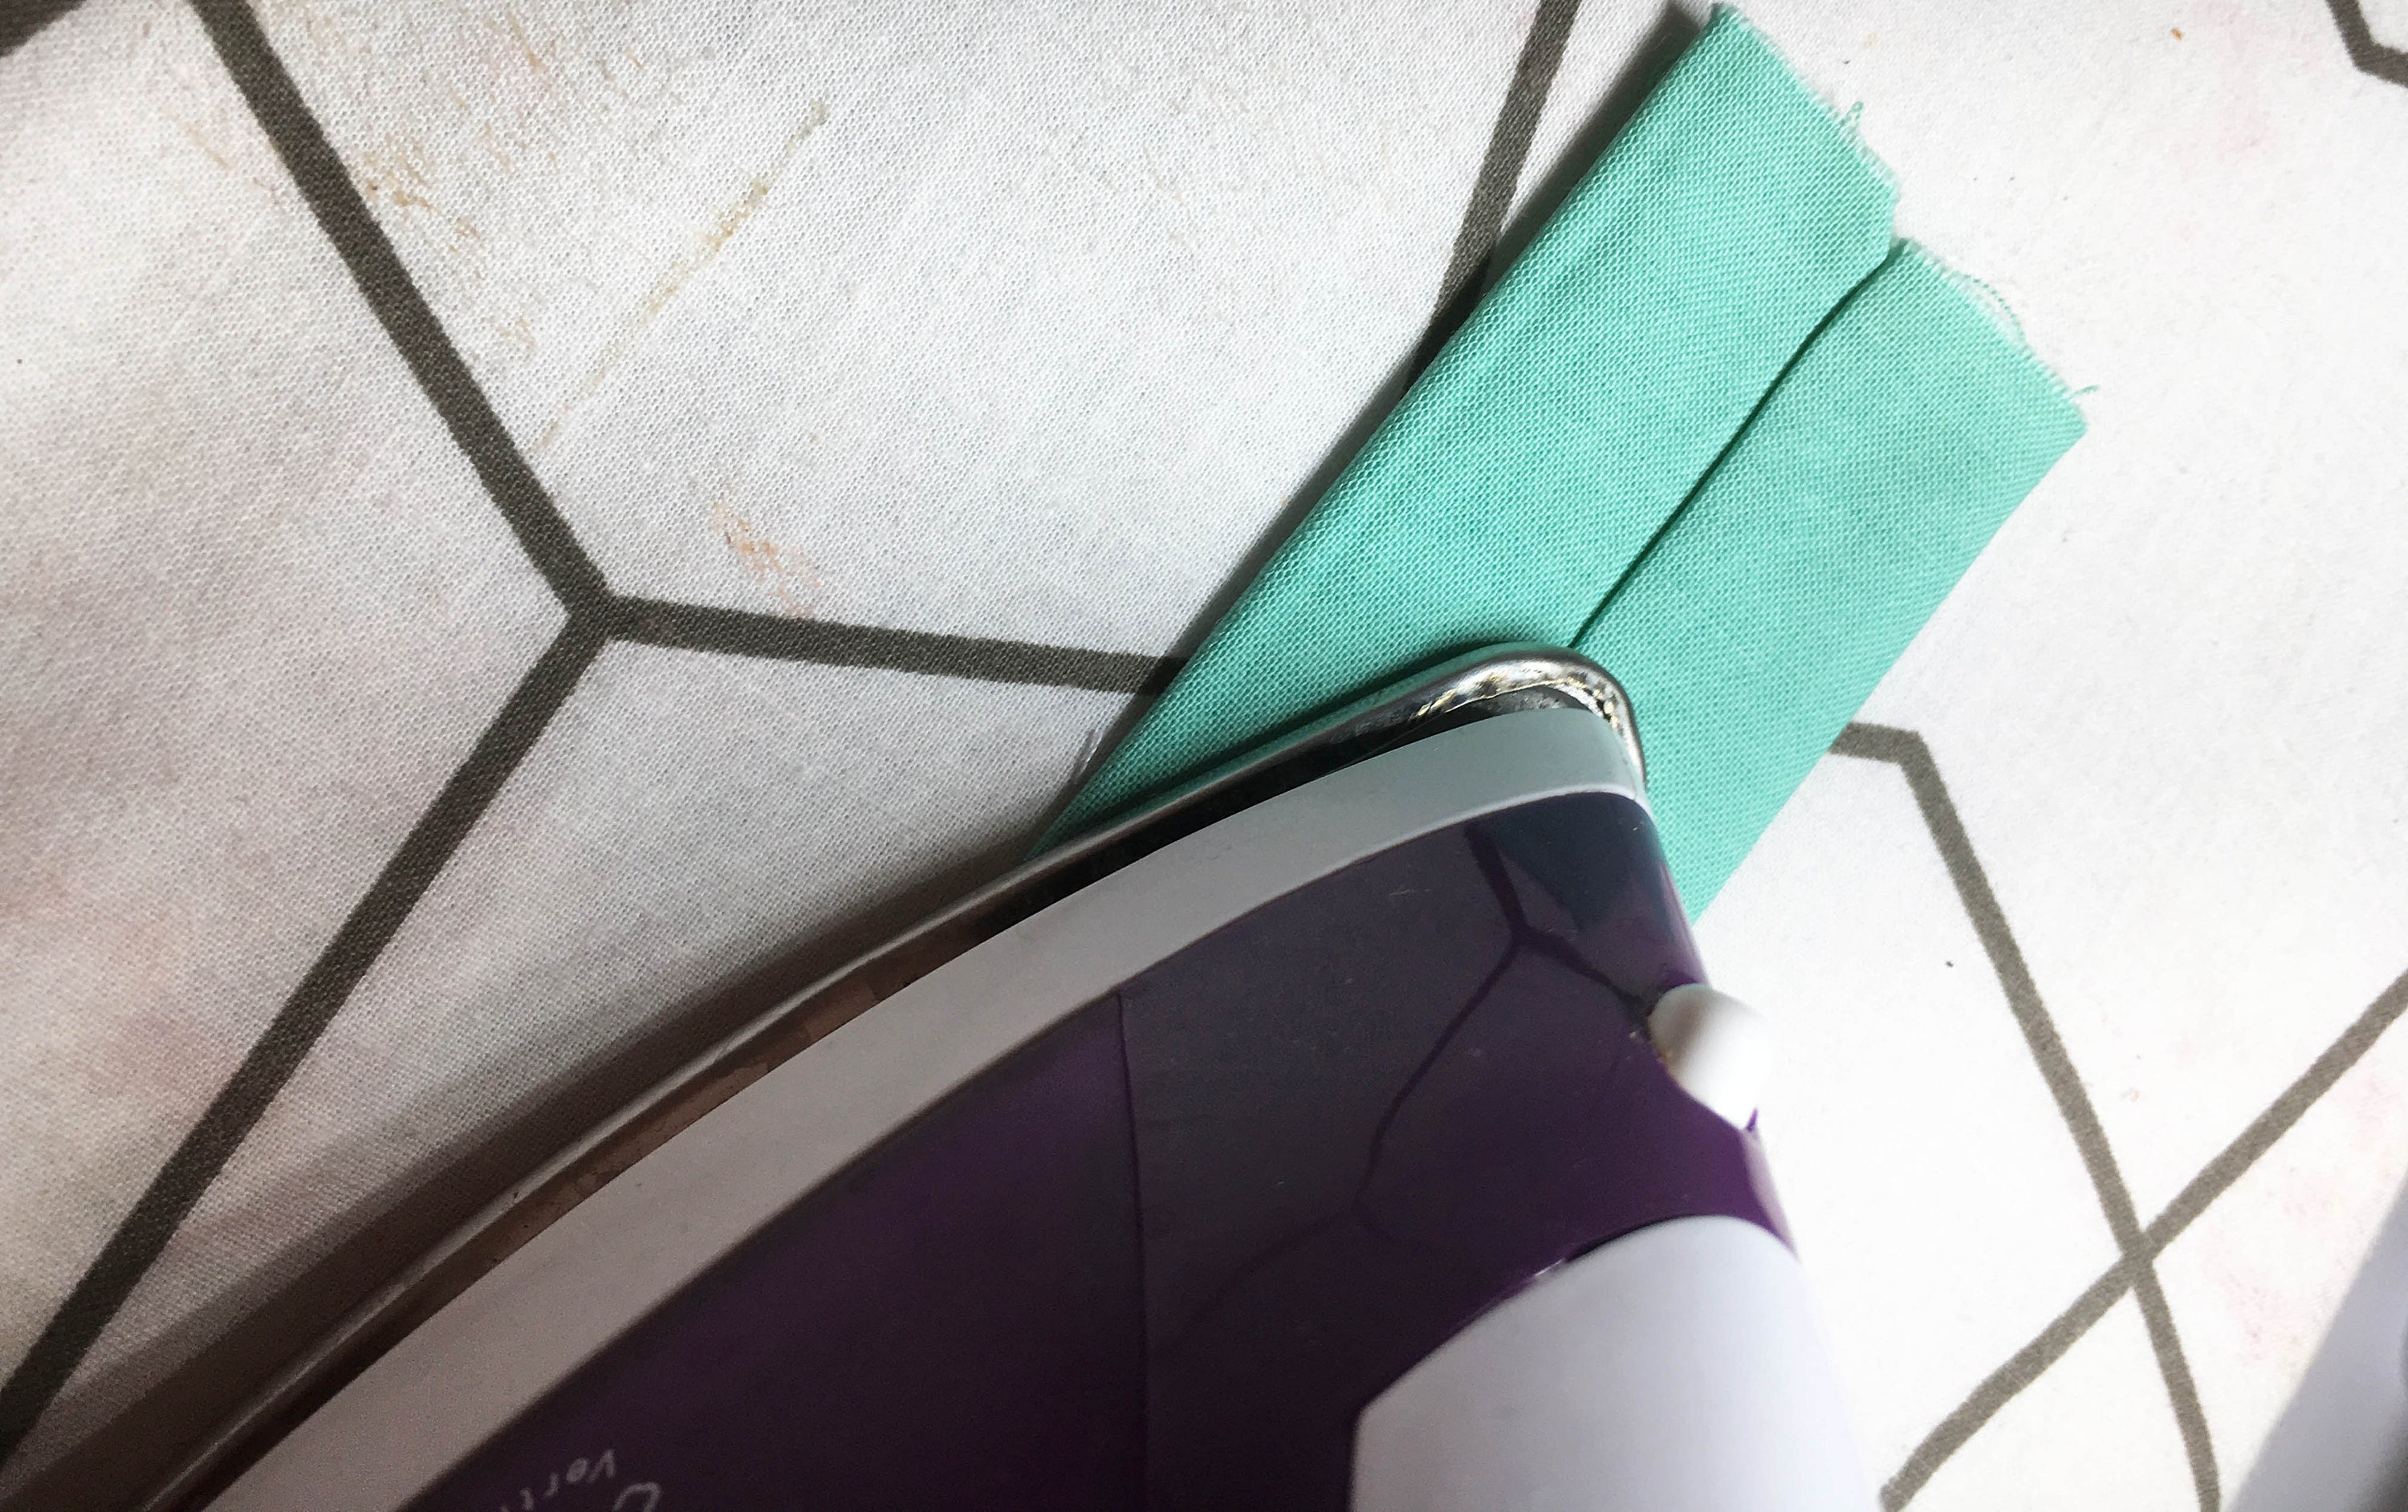
Once (if you are chosing to do so) you have neatened your raw edges you can turn the top edge along the seam allowance and press.
Once pressed stitch along this line. I like to use my edge stitching foot for this job to ensure a beautifully consistant distance from the pocket edge. Repeat for all the pocket strips.
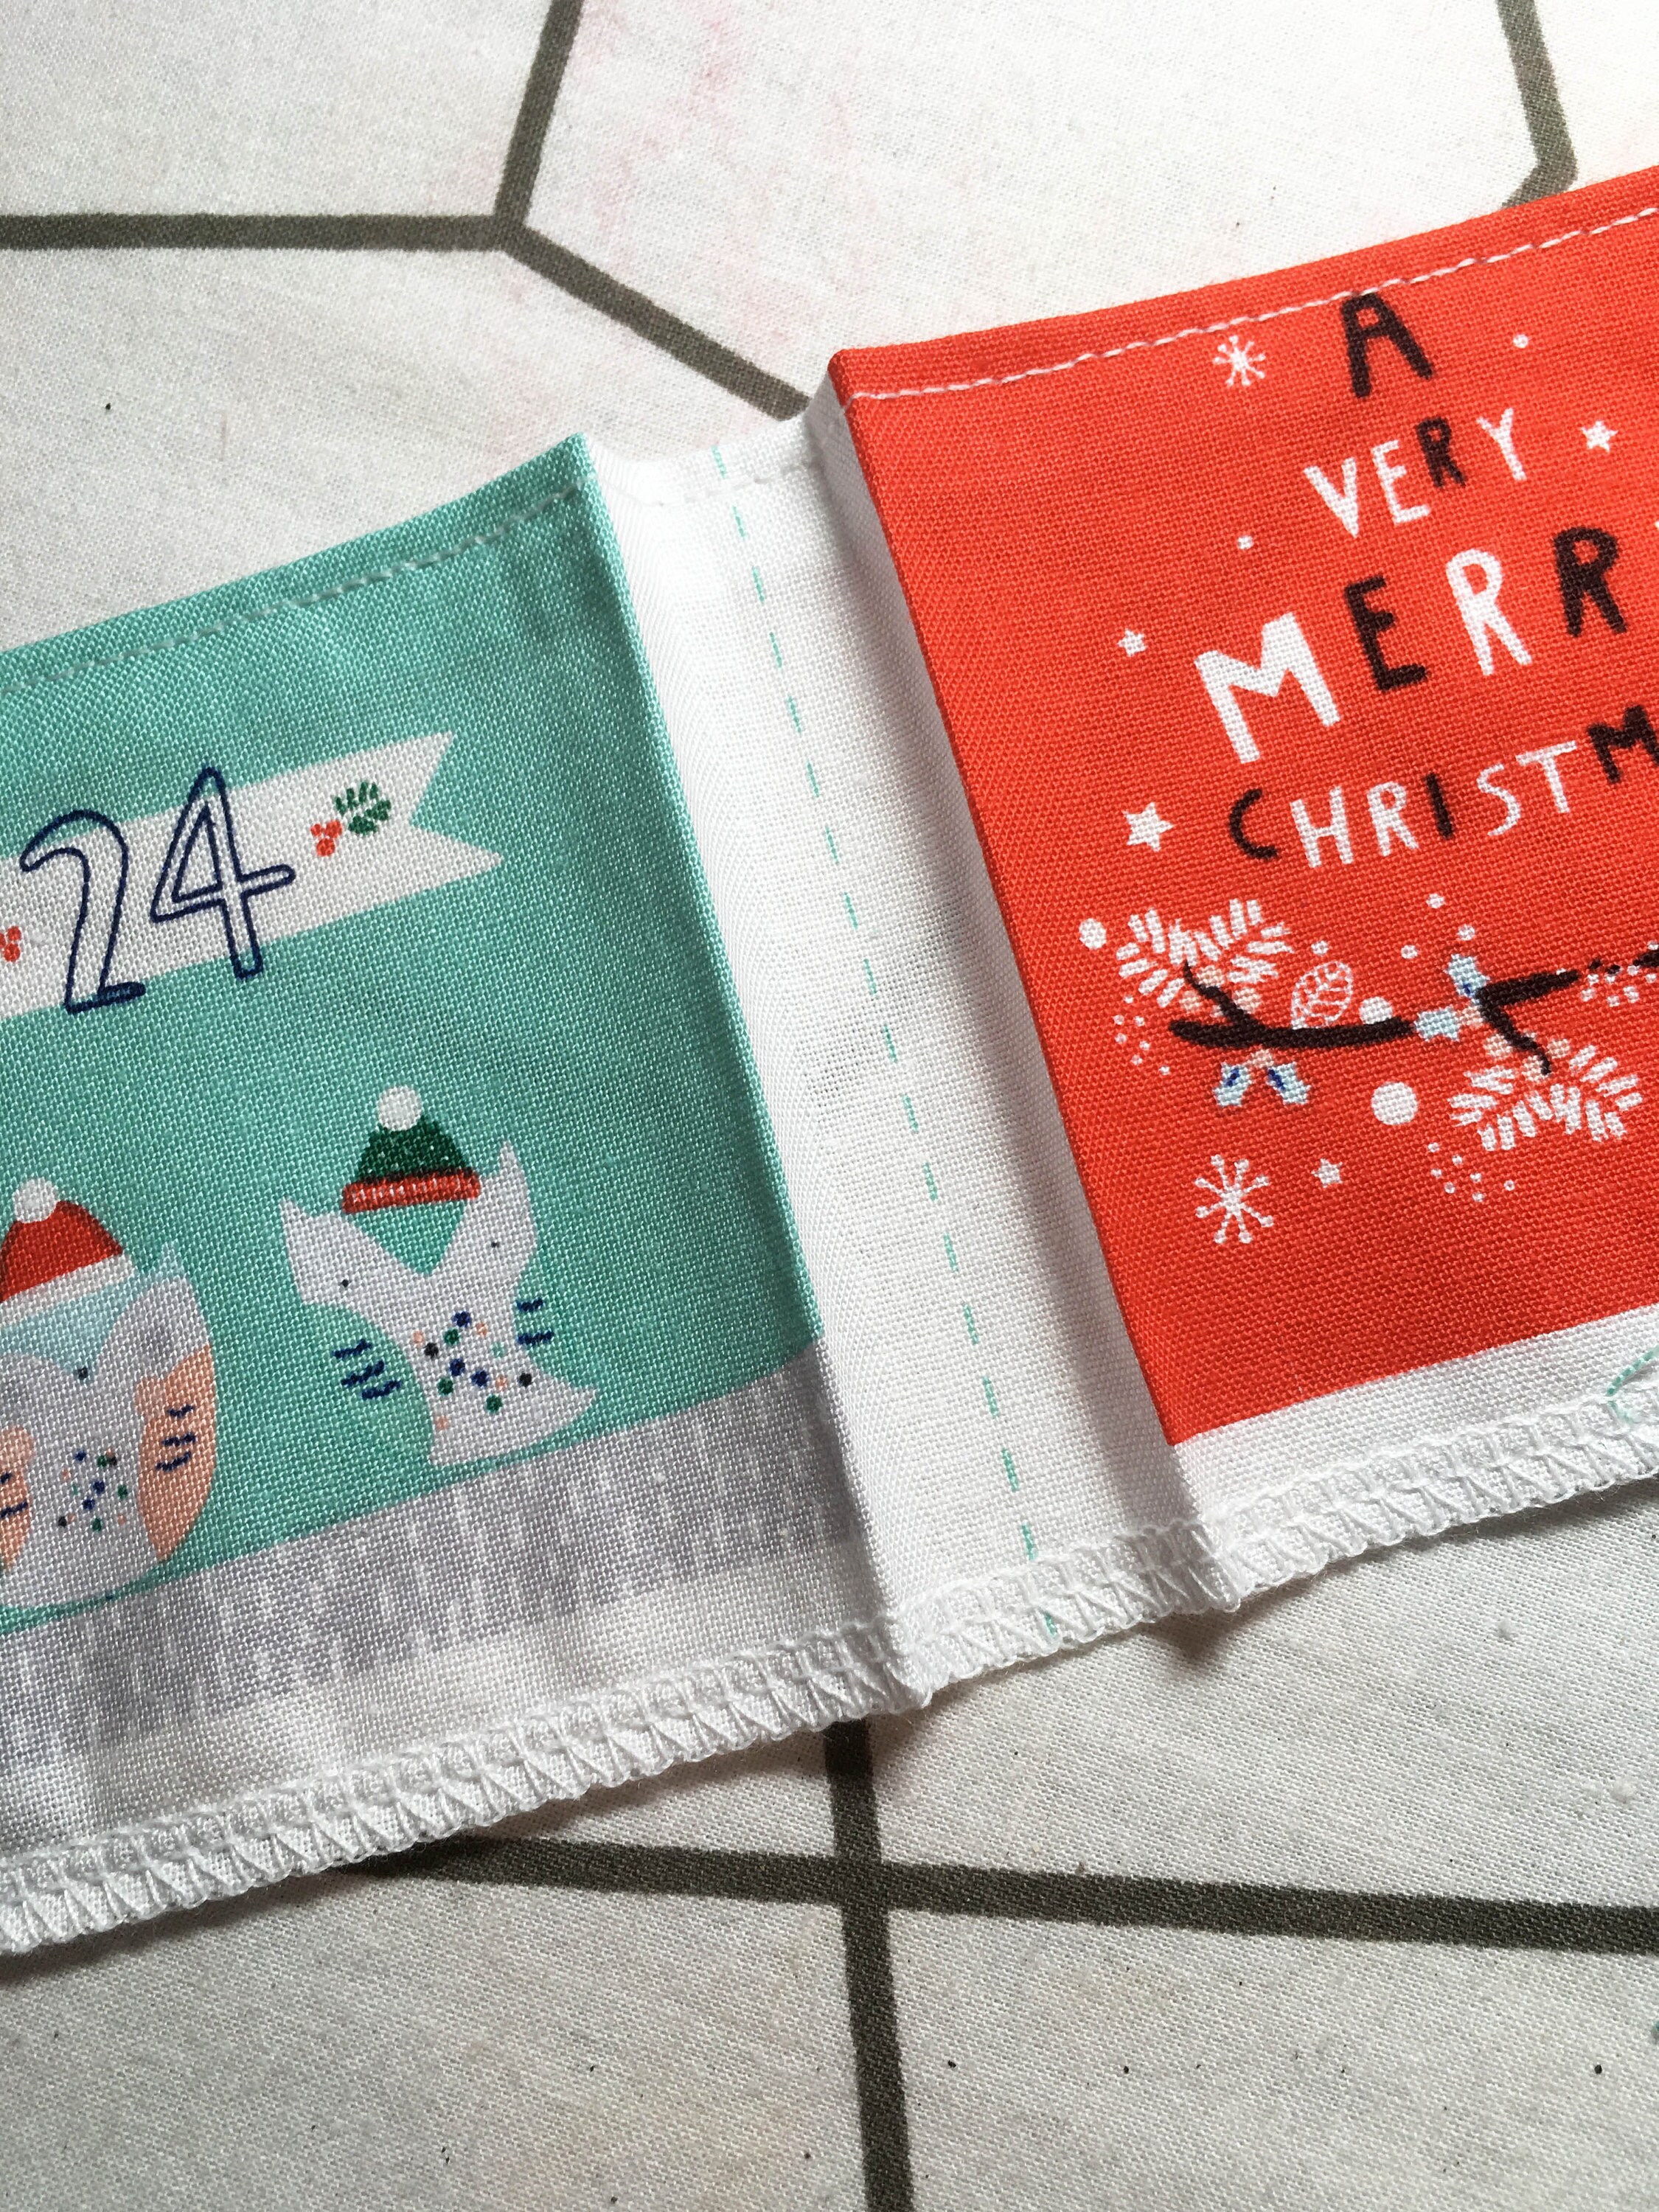
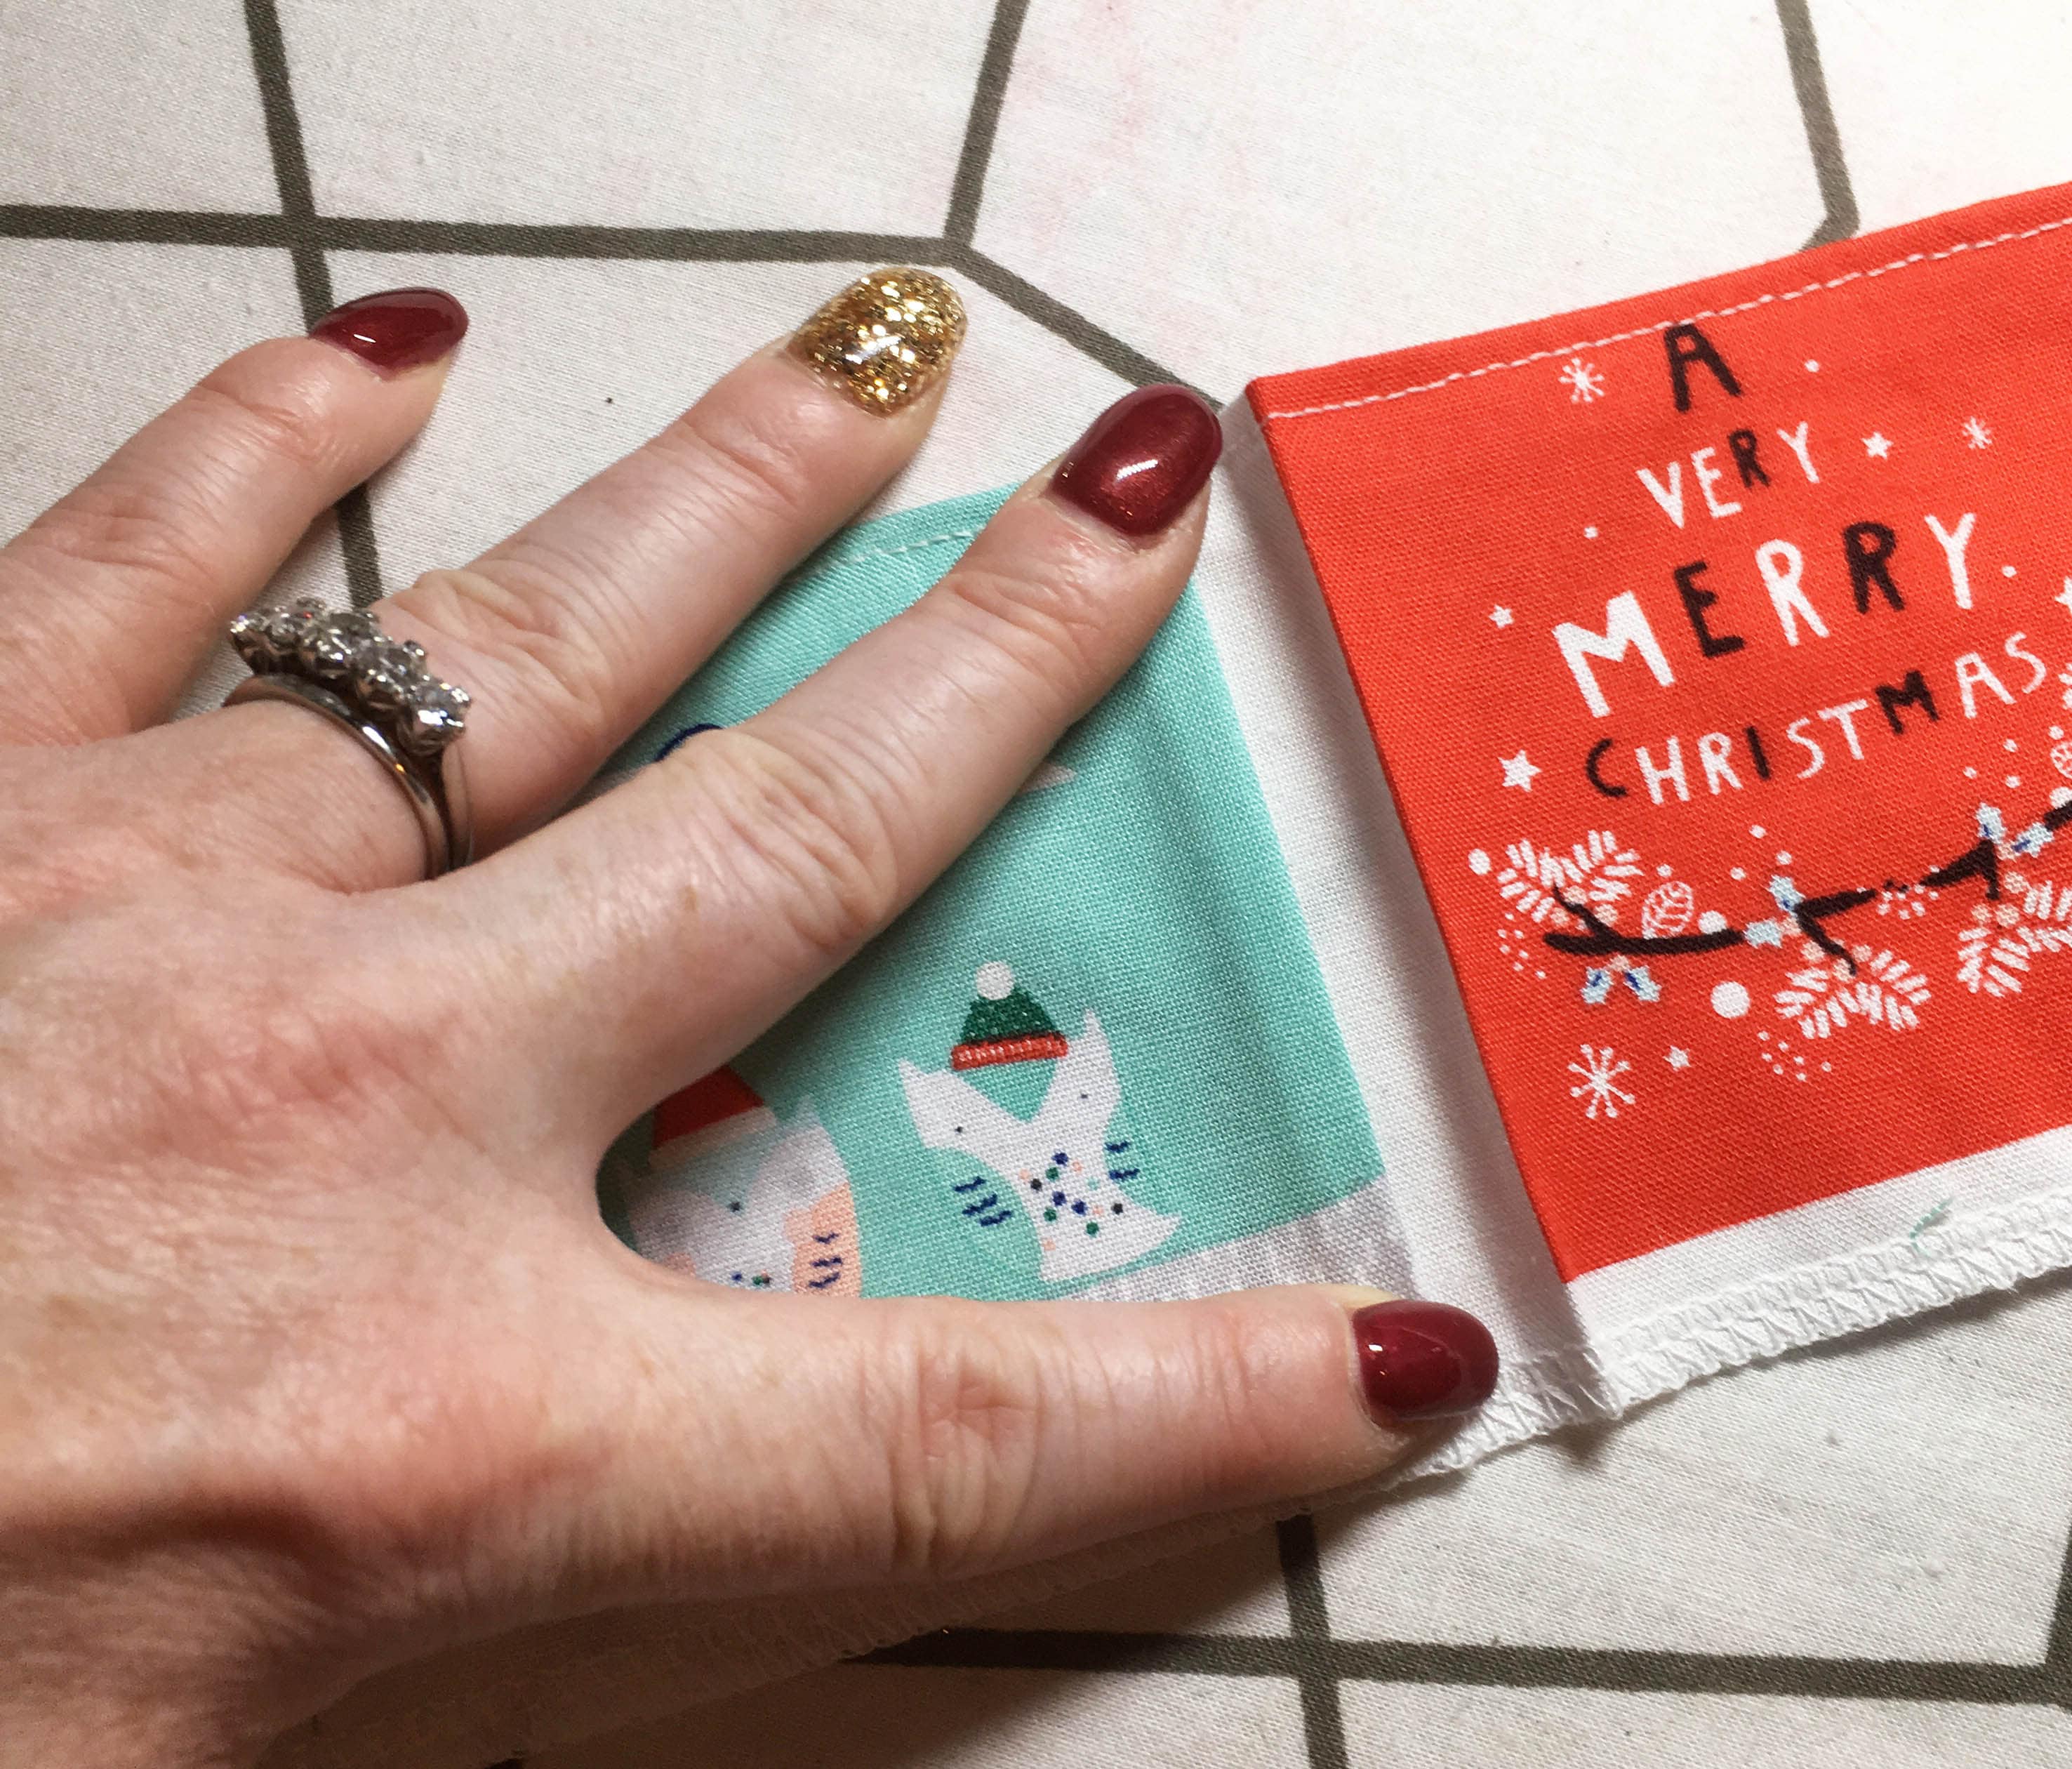
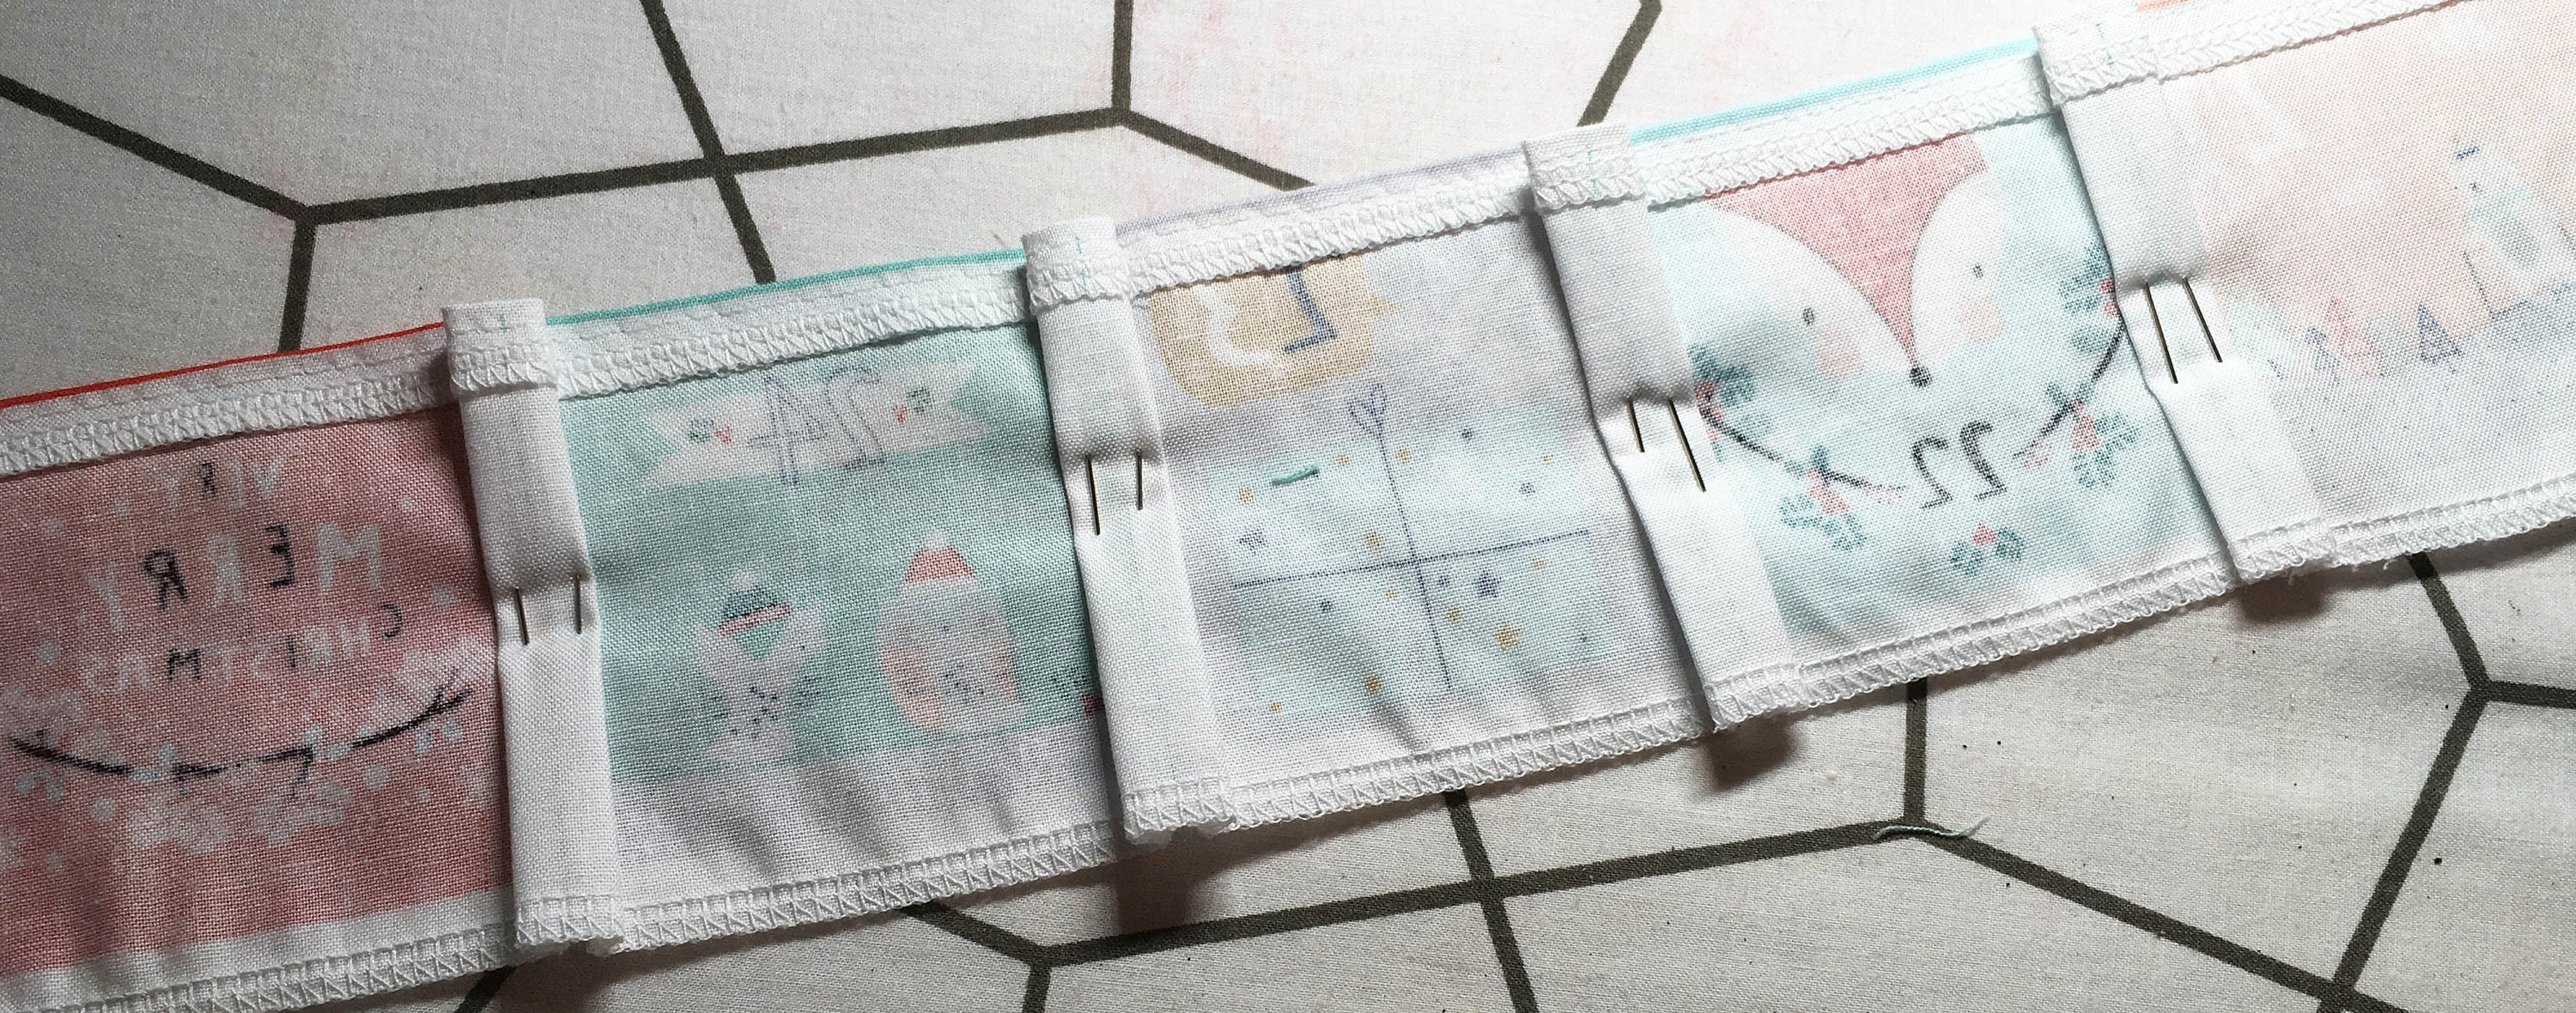
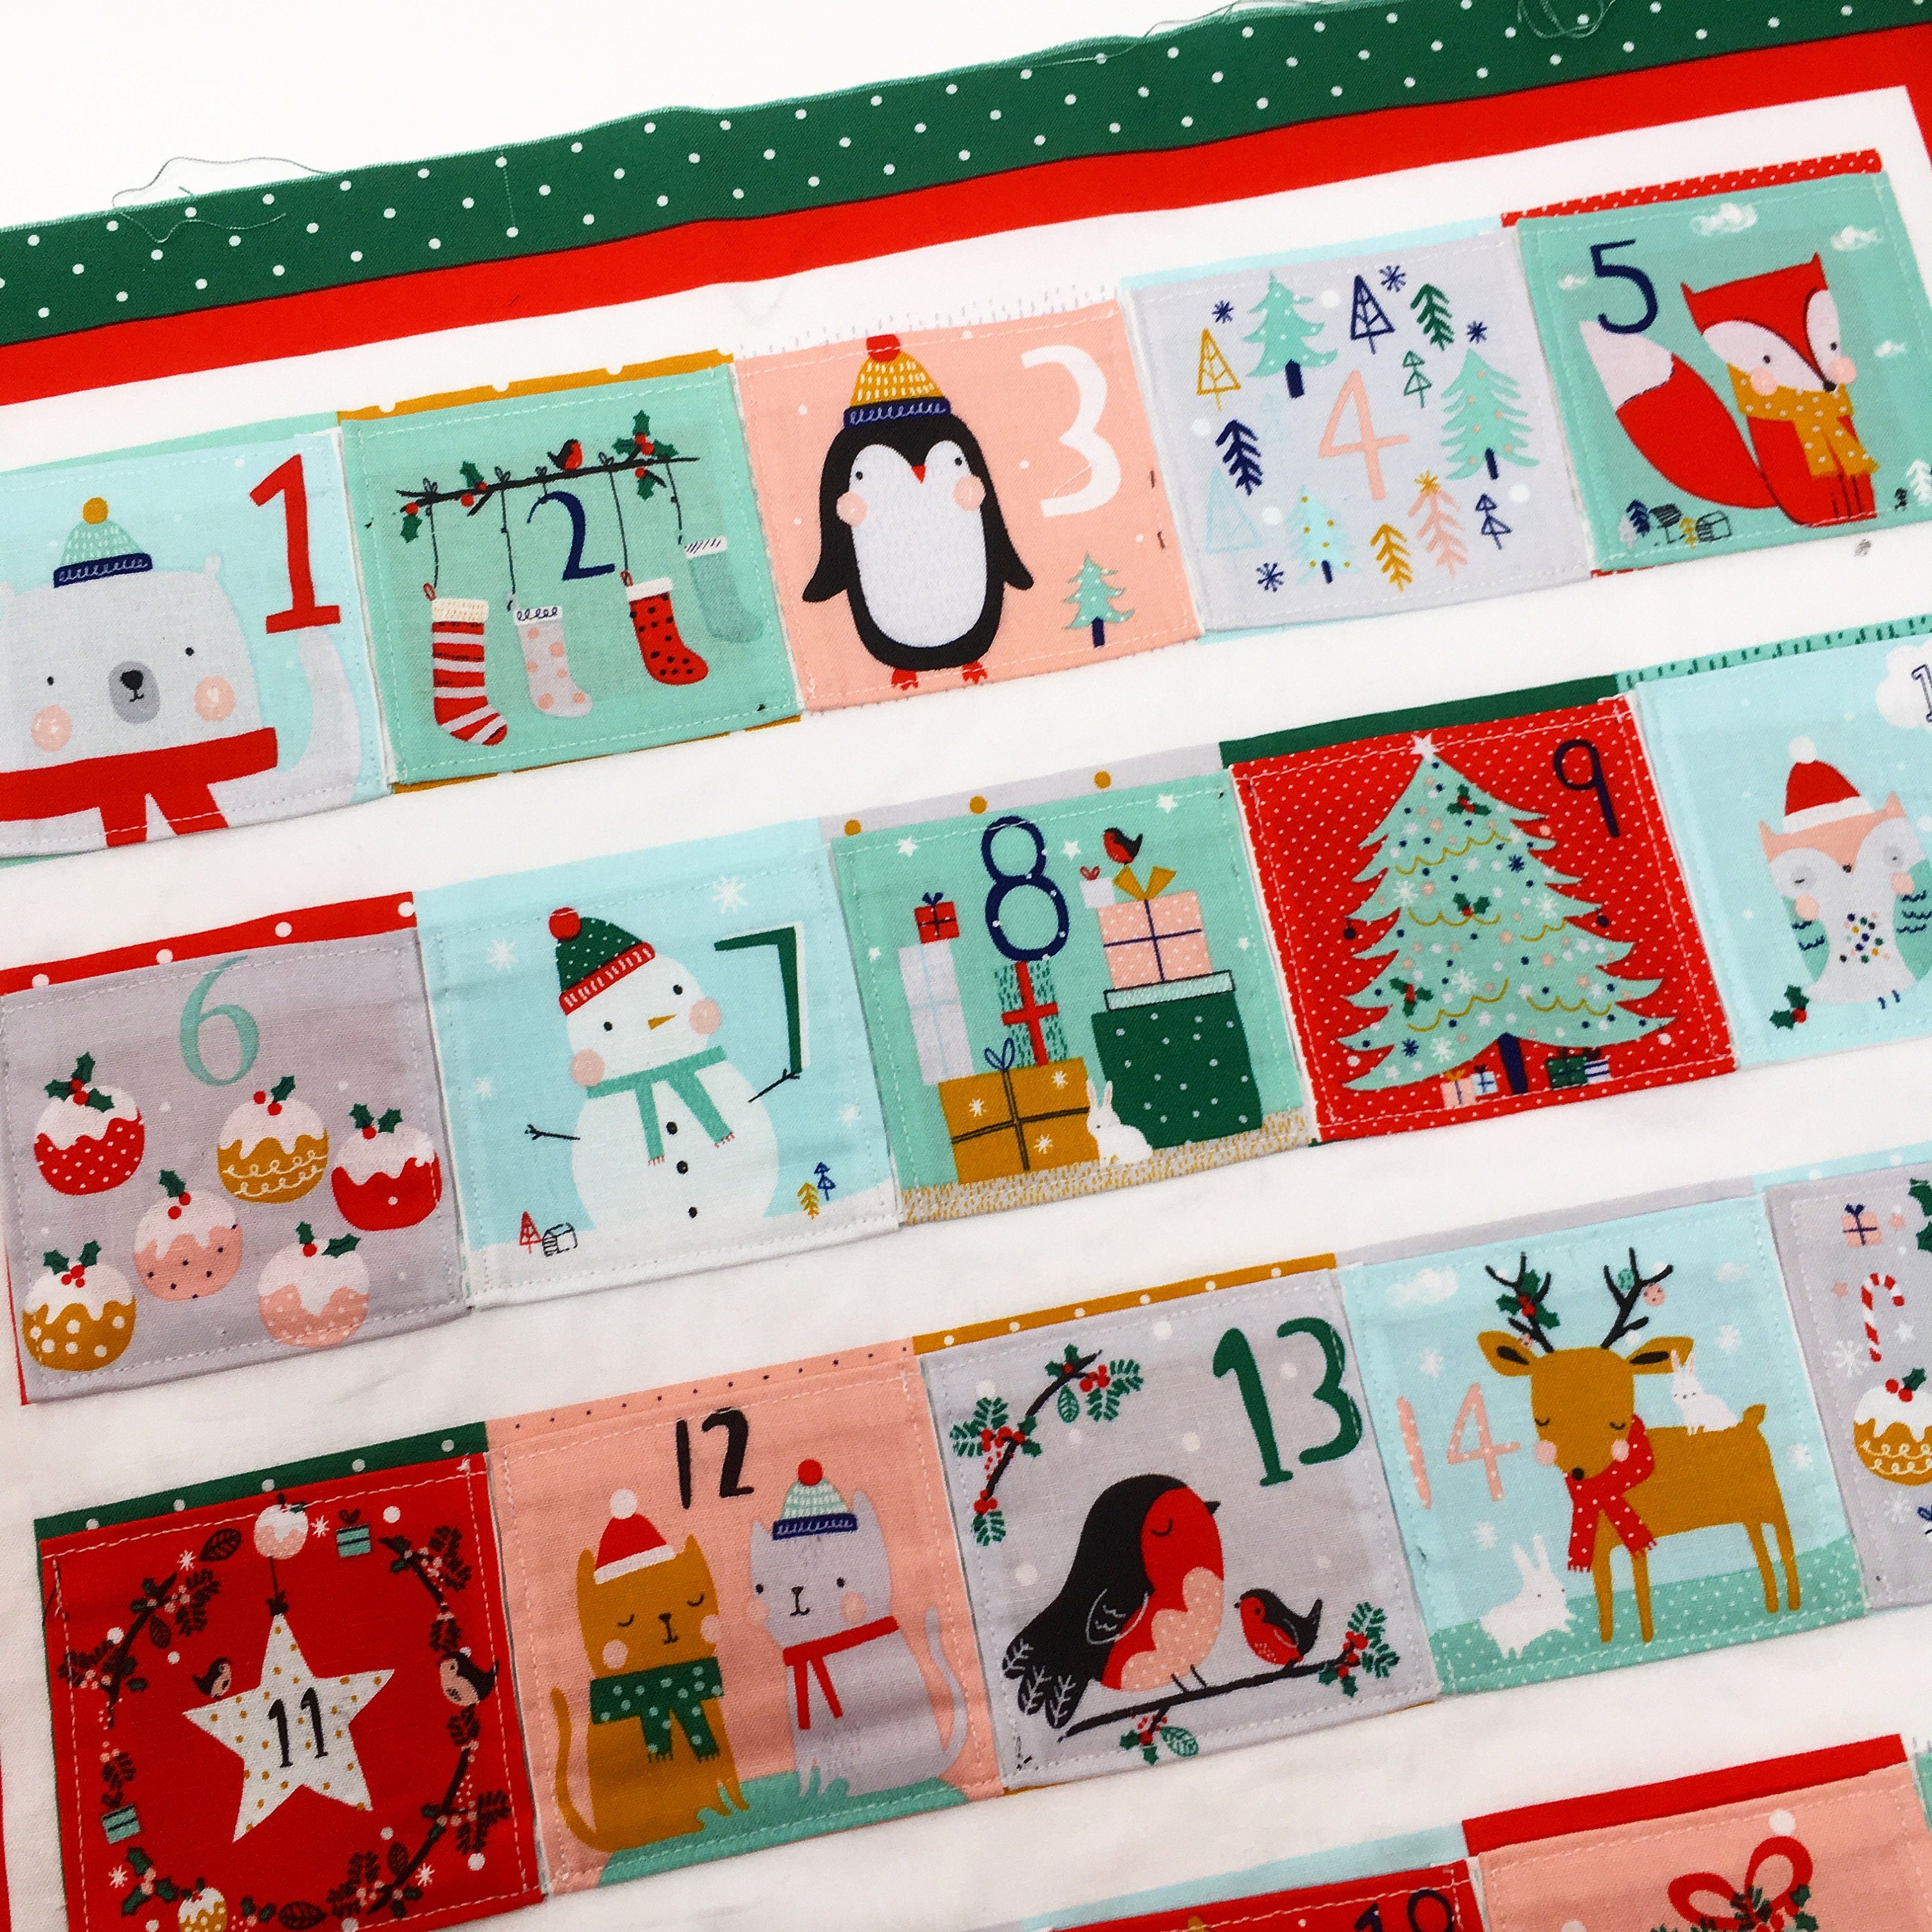
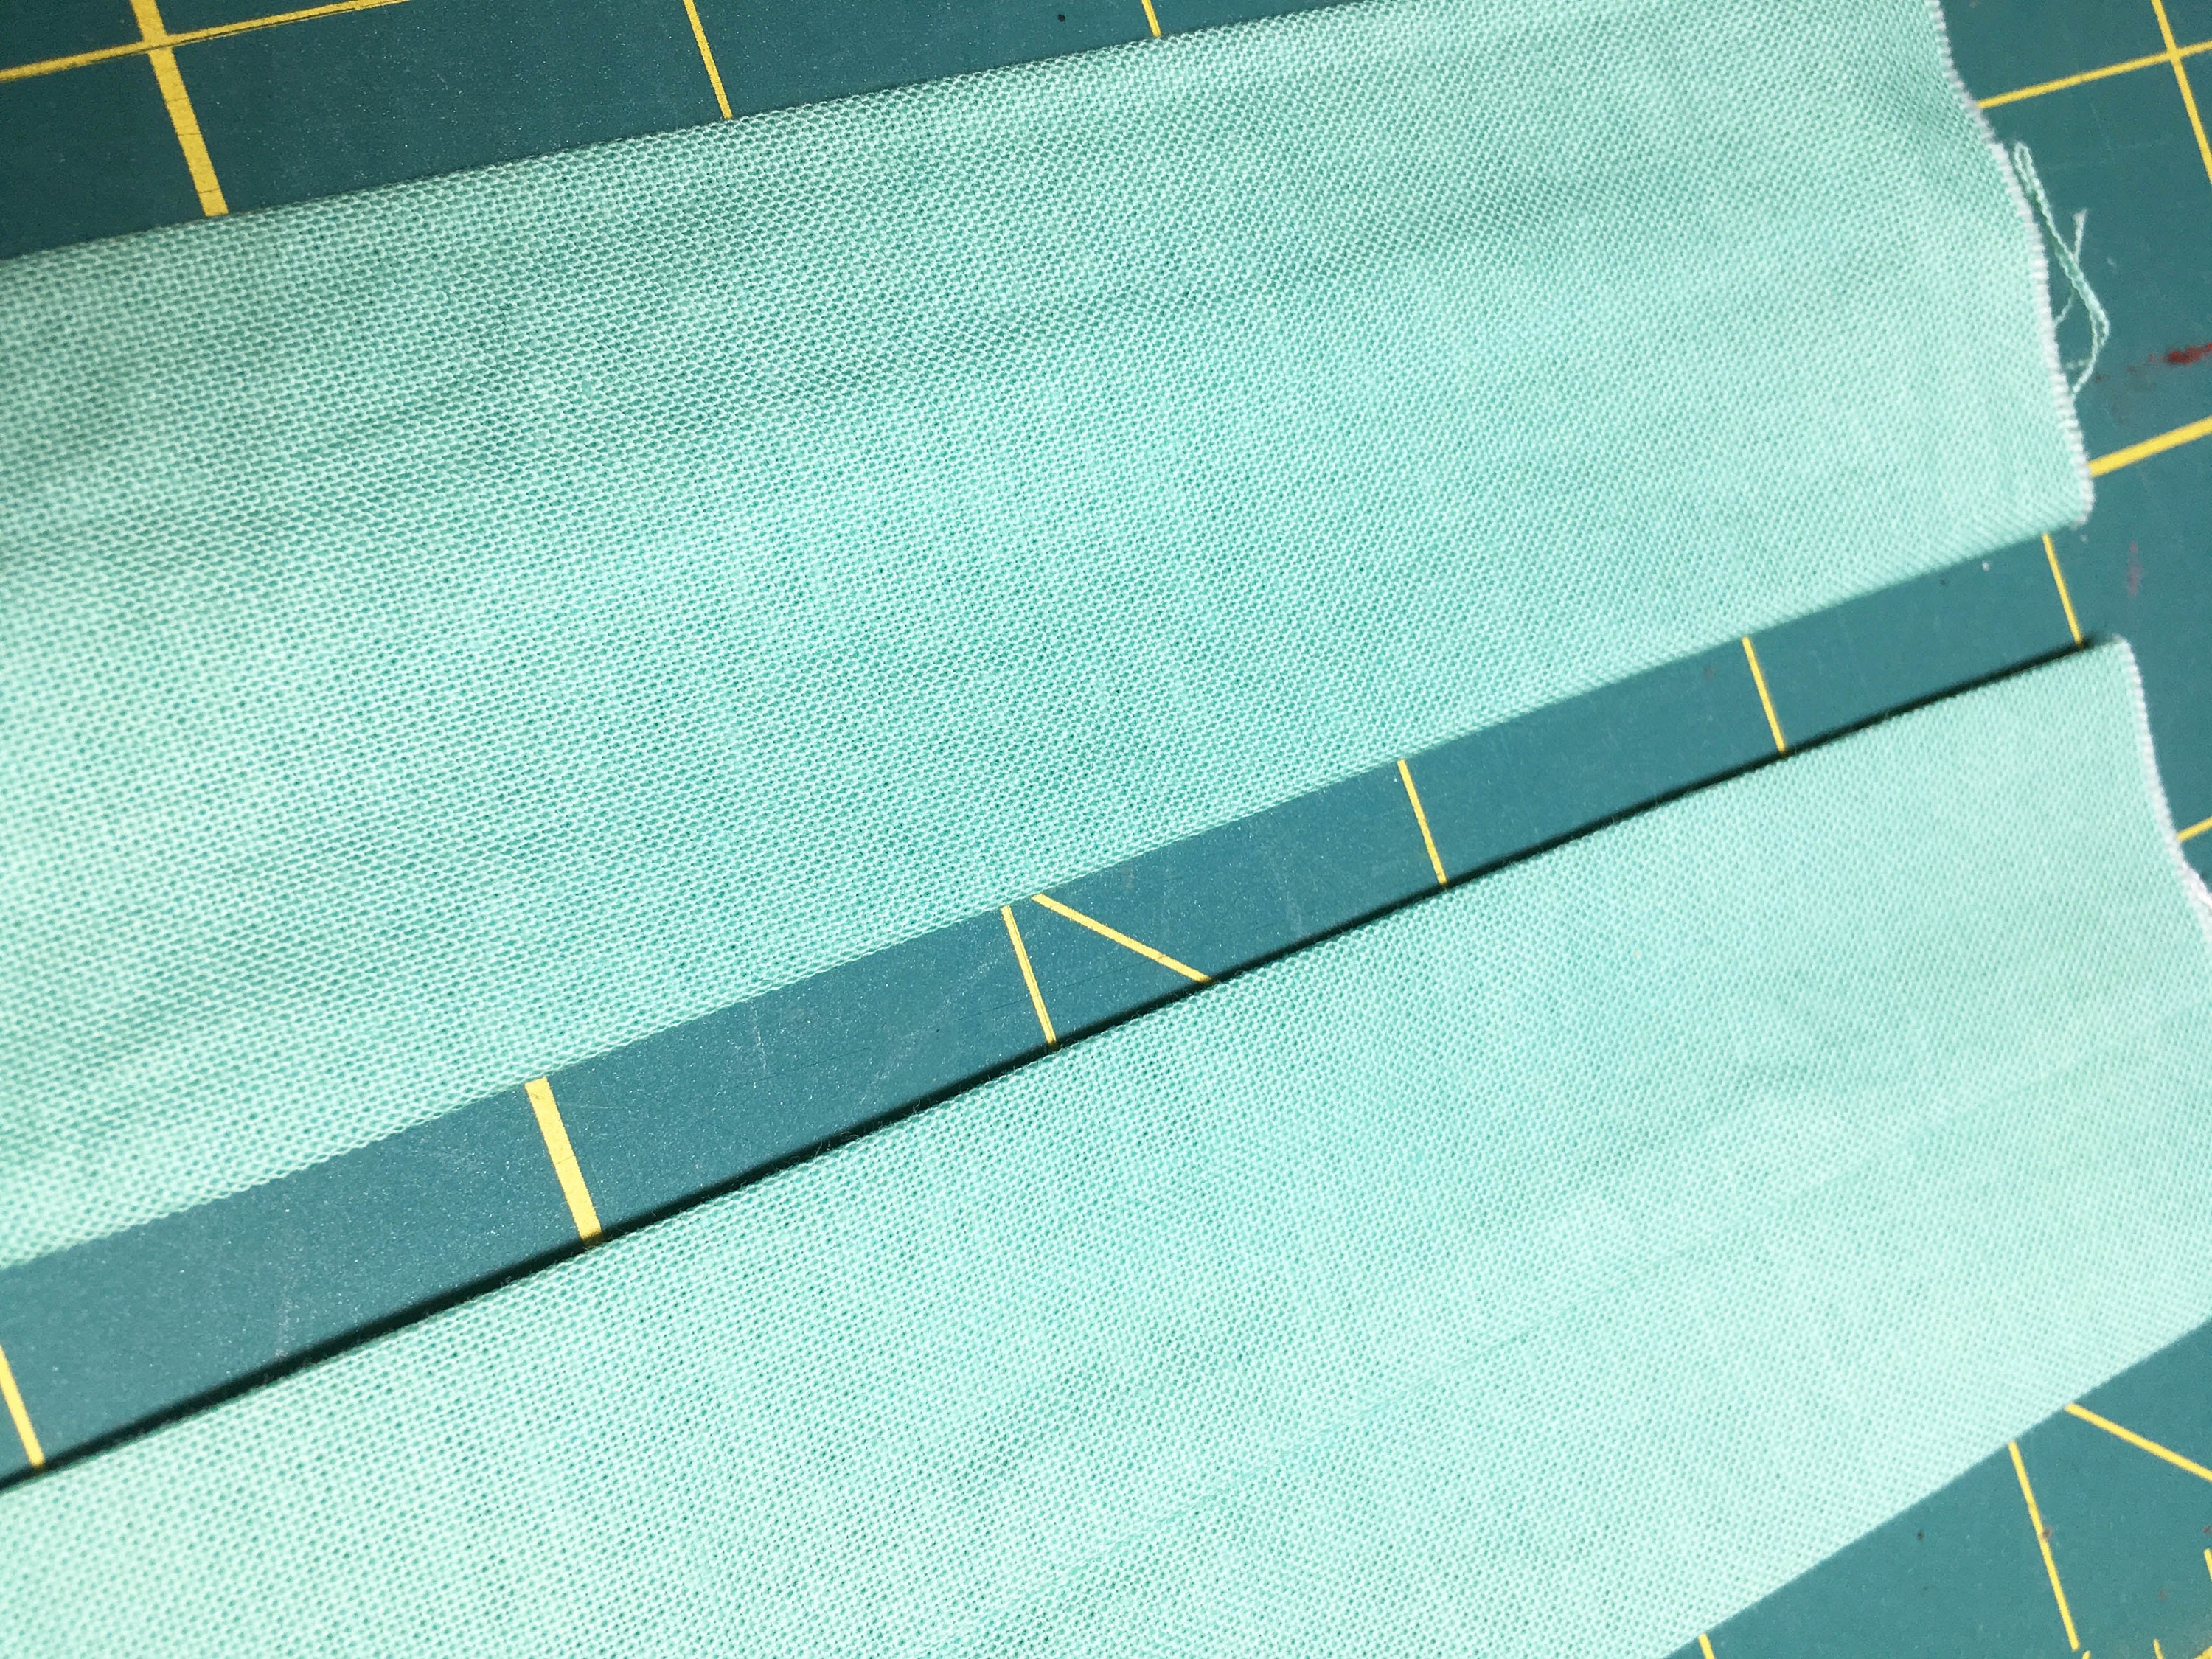
Step four: Make box pleats to form pockets
We need to press the edges of the pockets to form a box pleat. Bring each edge of the adjacent pockets together at the dotted line and press in place. then pin. Repeat for all the pockets.
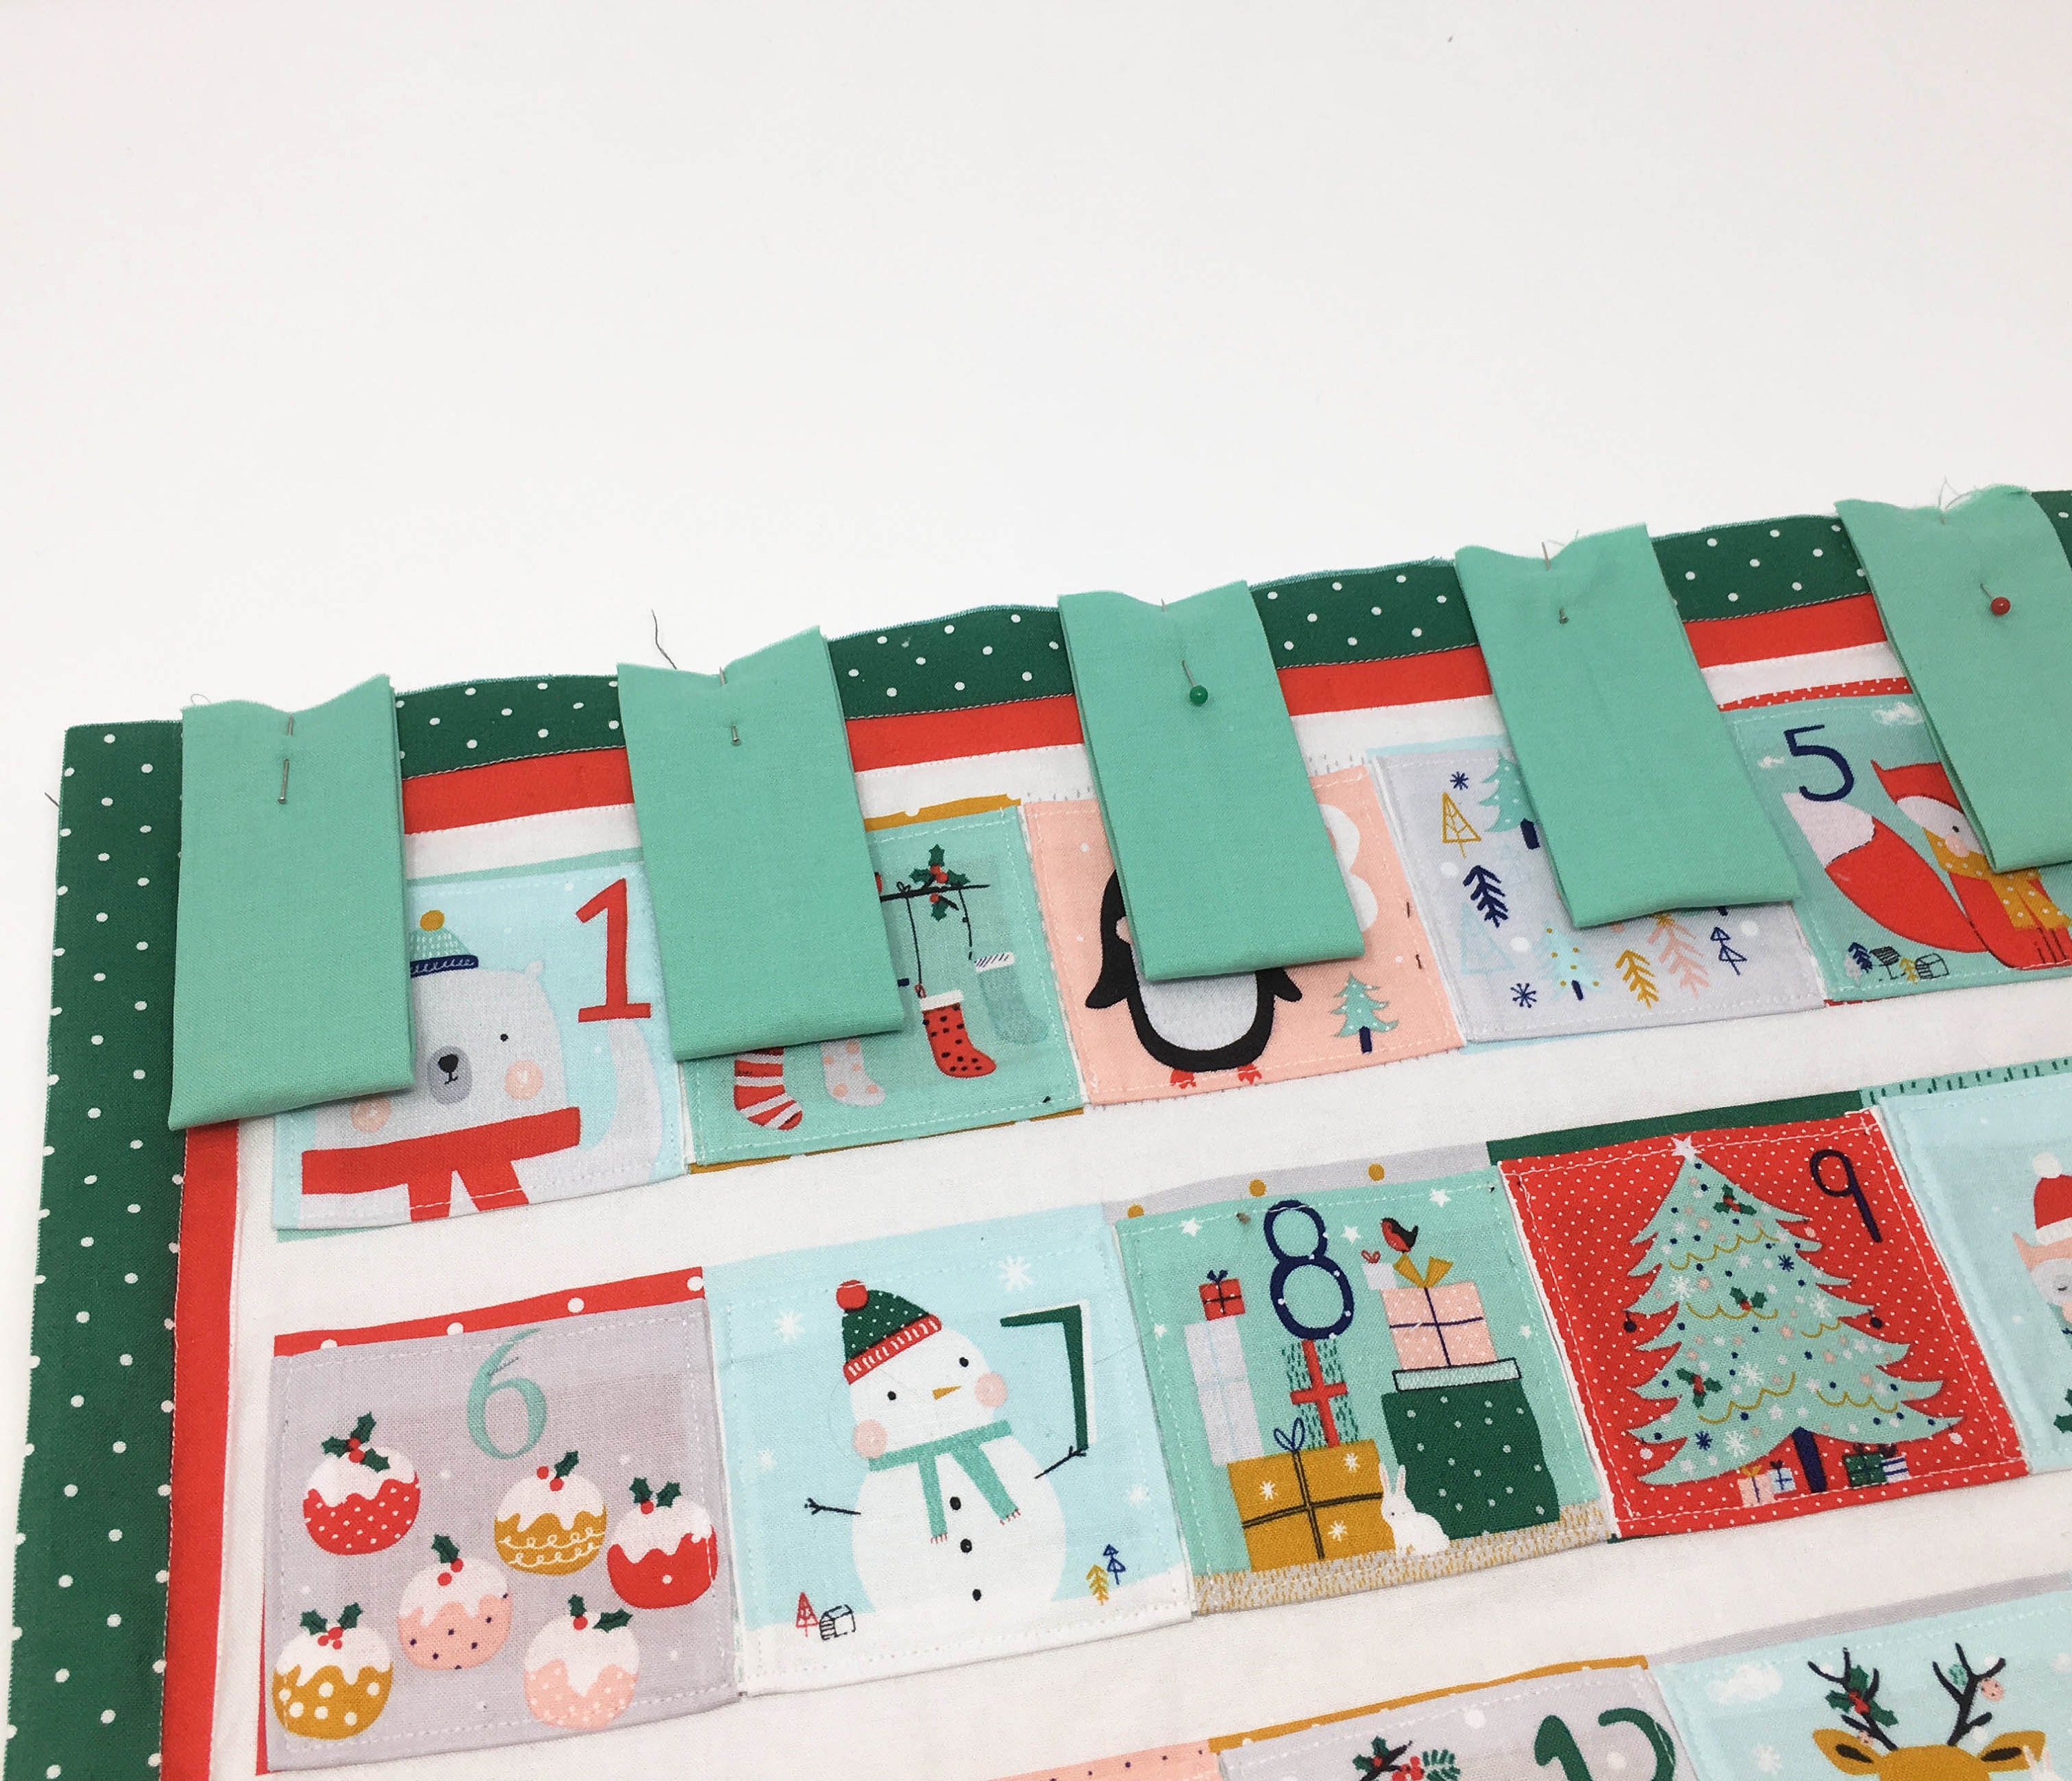
How the pocket strip will look on the back:
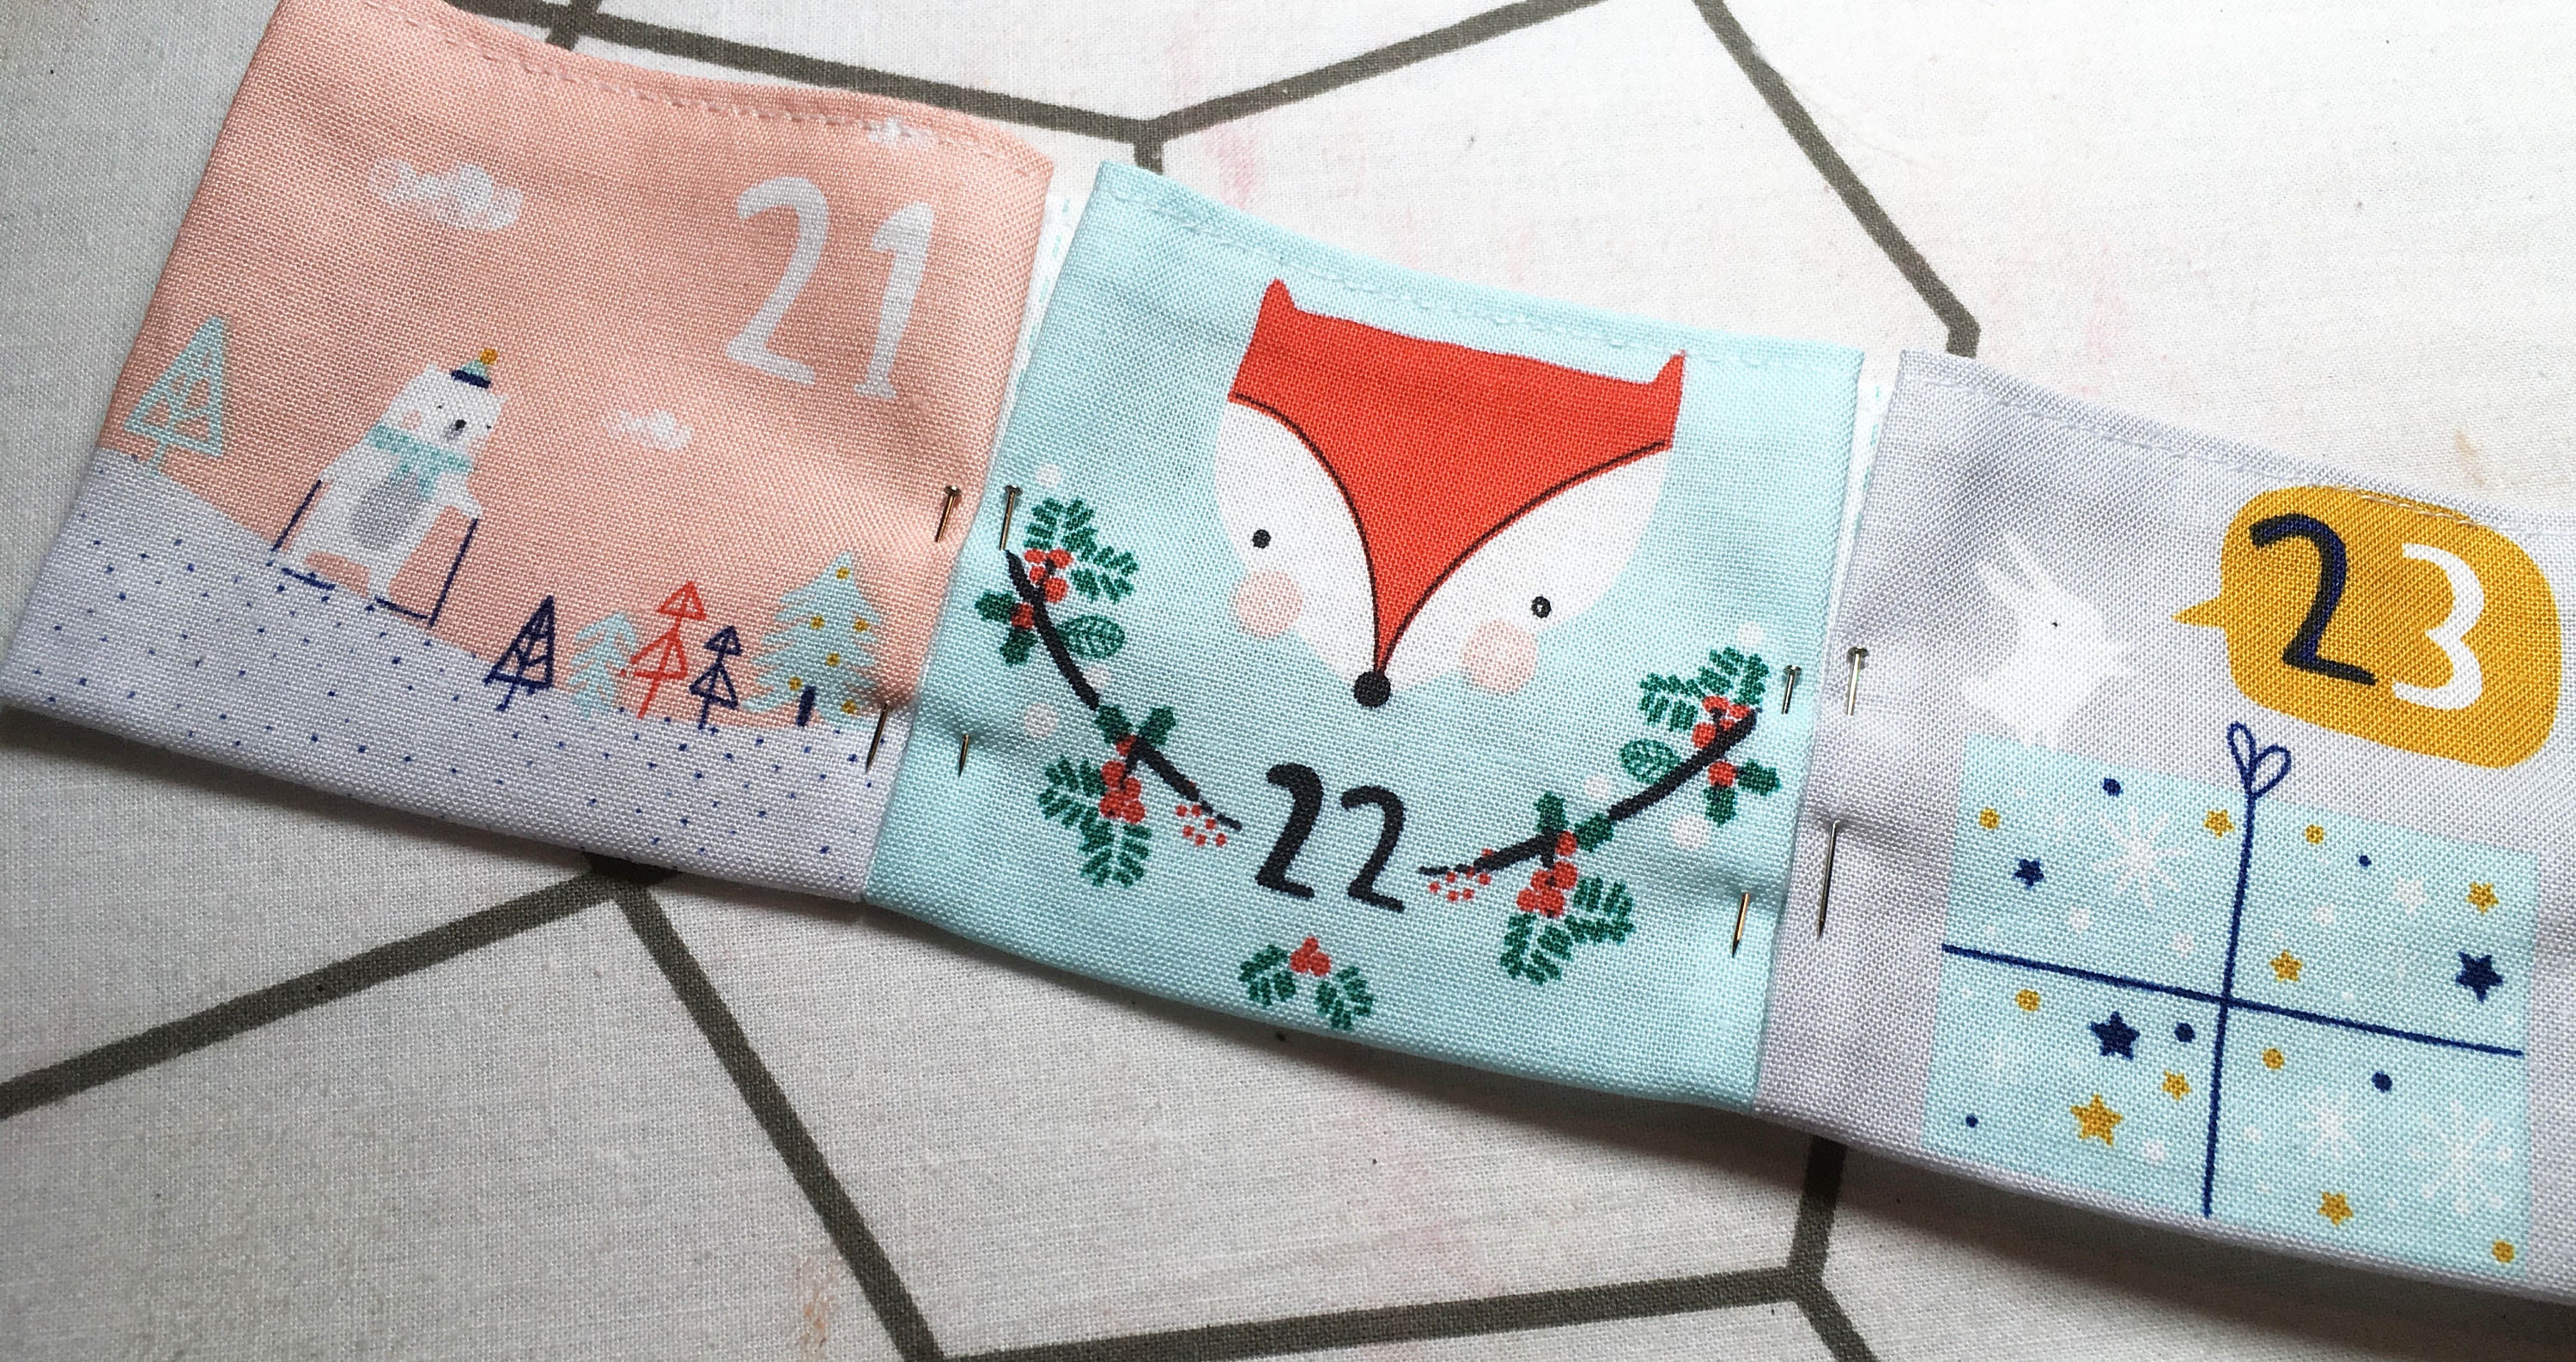
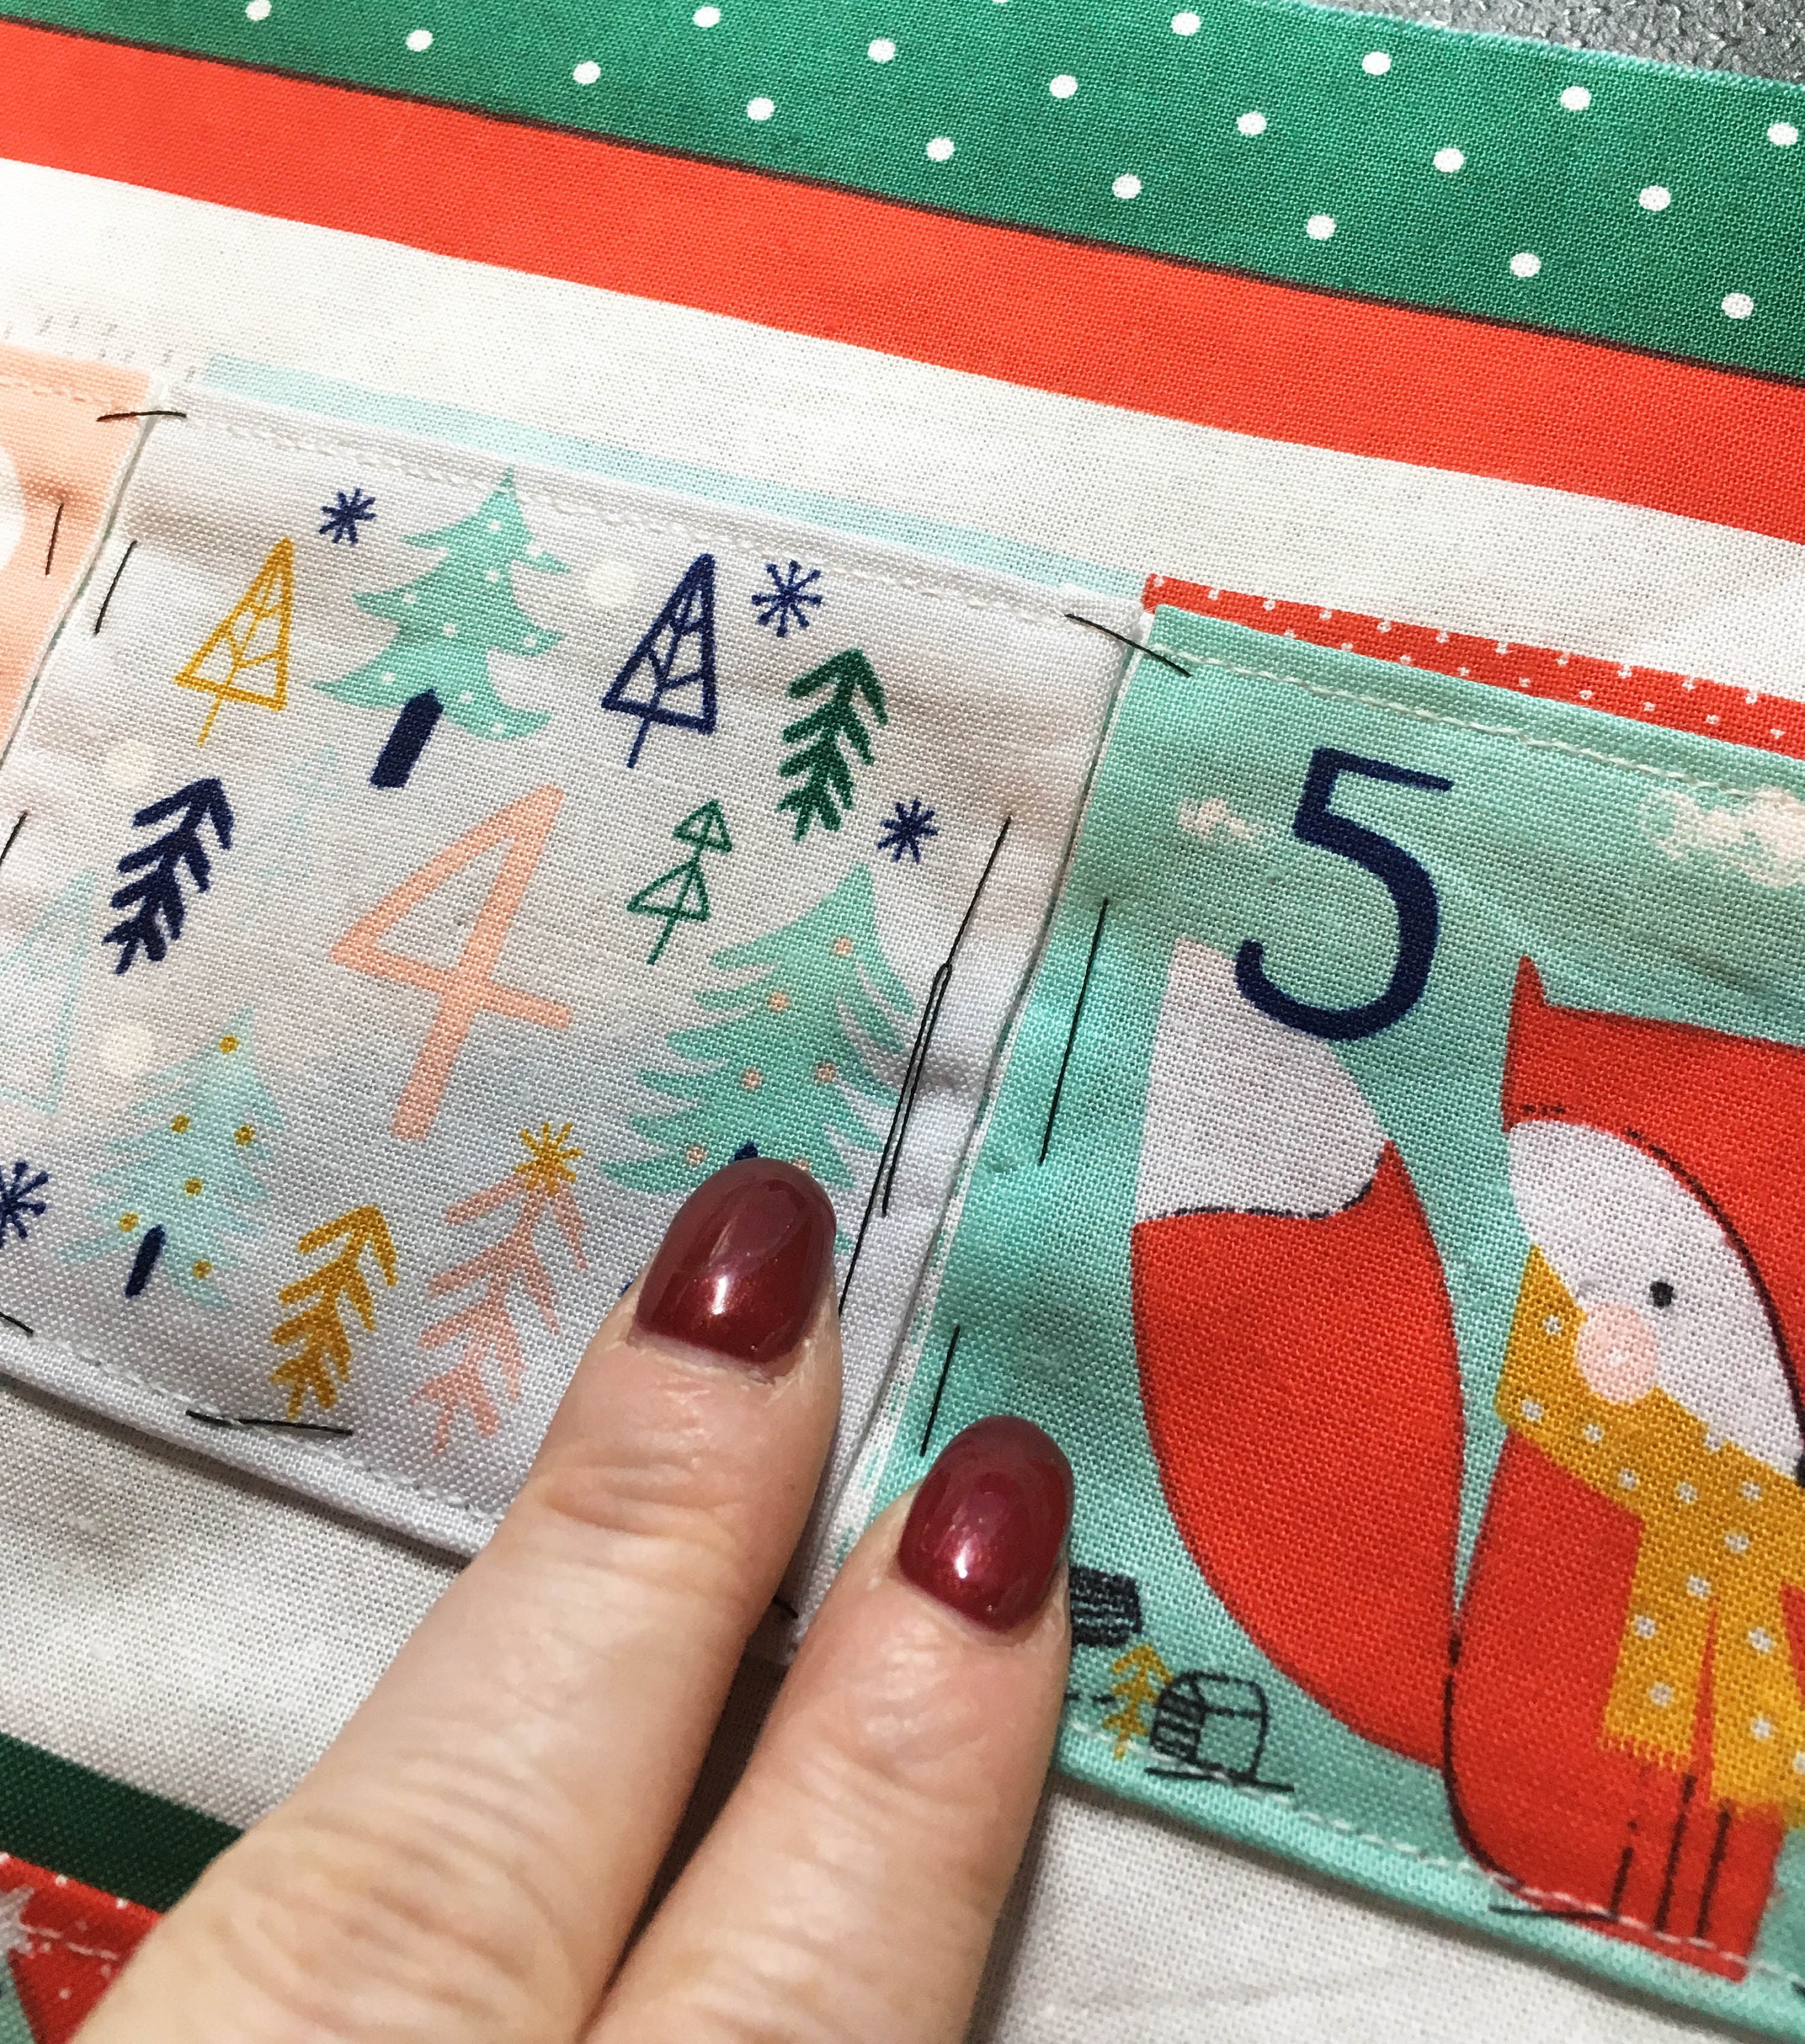
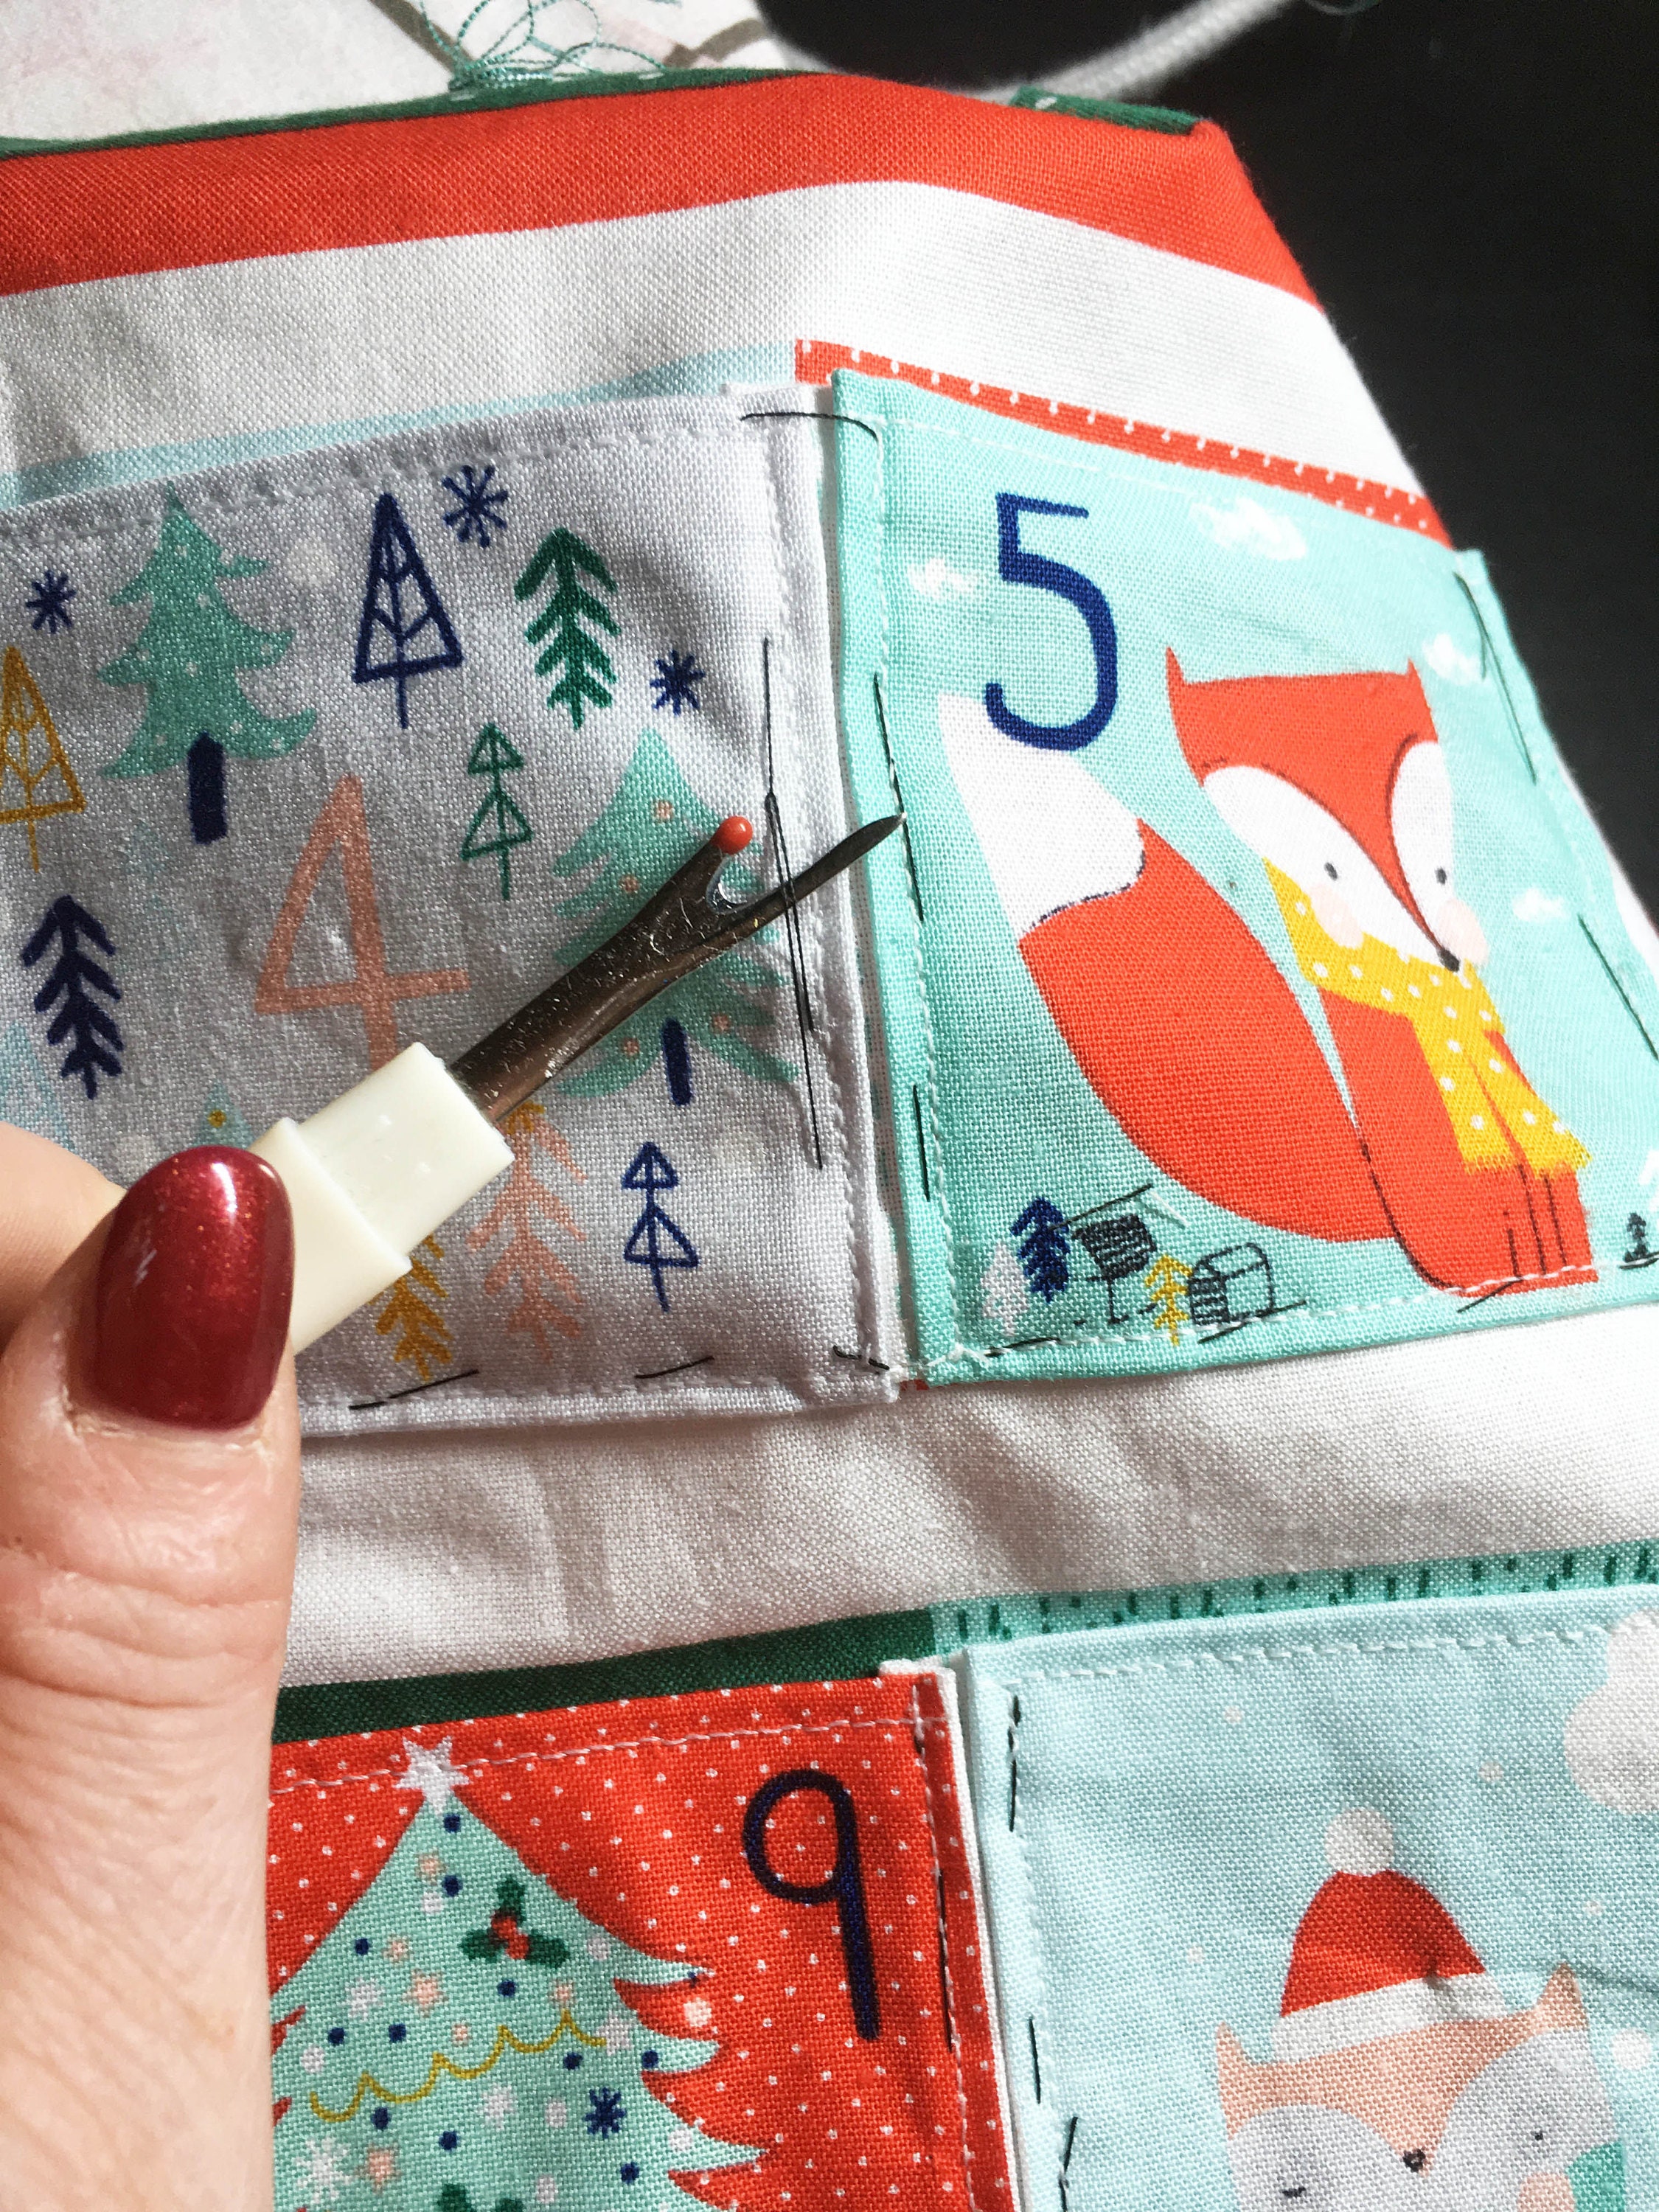
Step five: Neaten the other edges of the pockets
Turn the pocket seam allowances under and press, then tack in place.
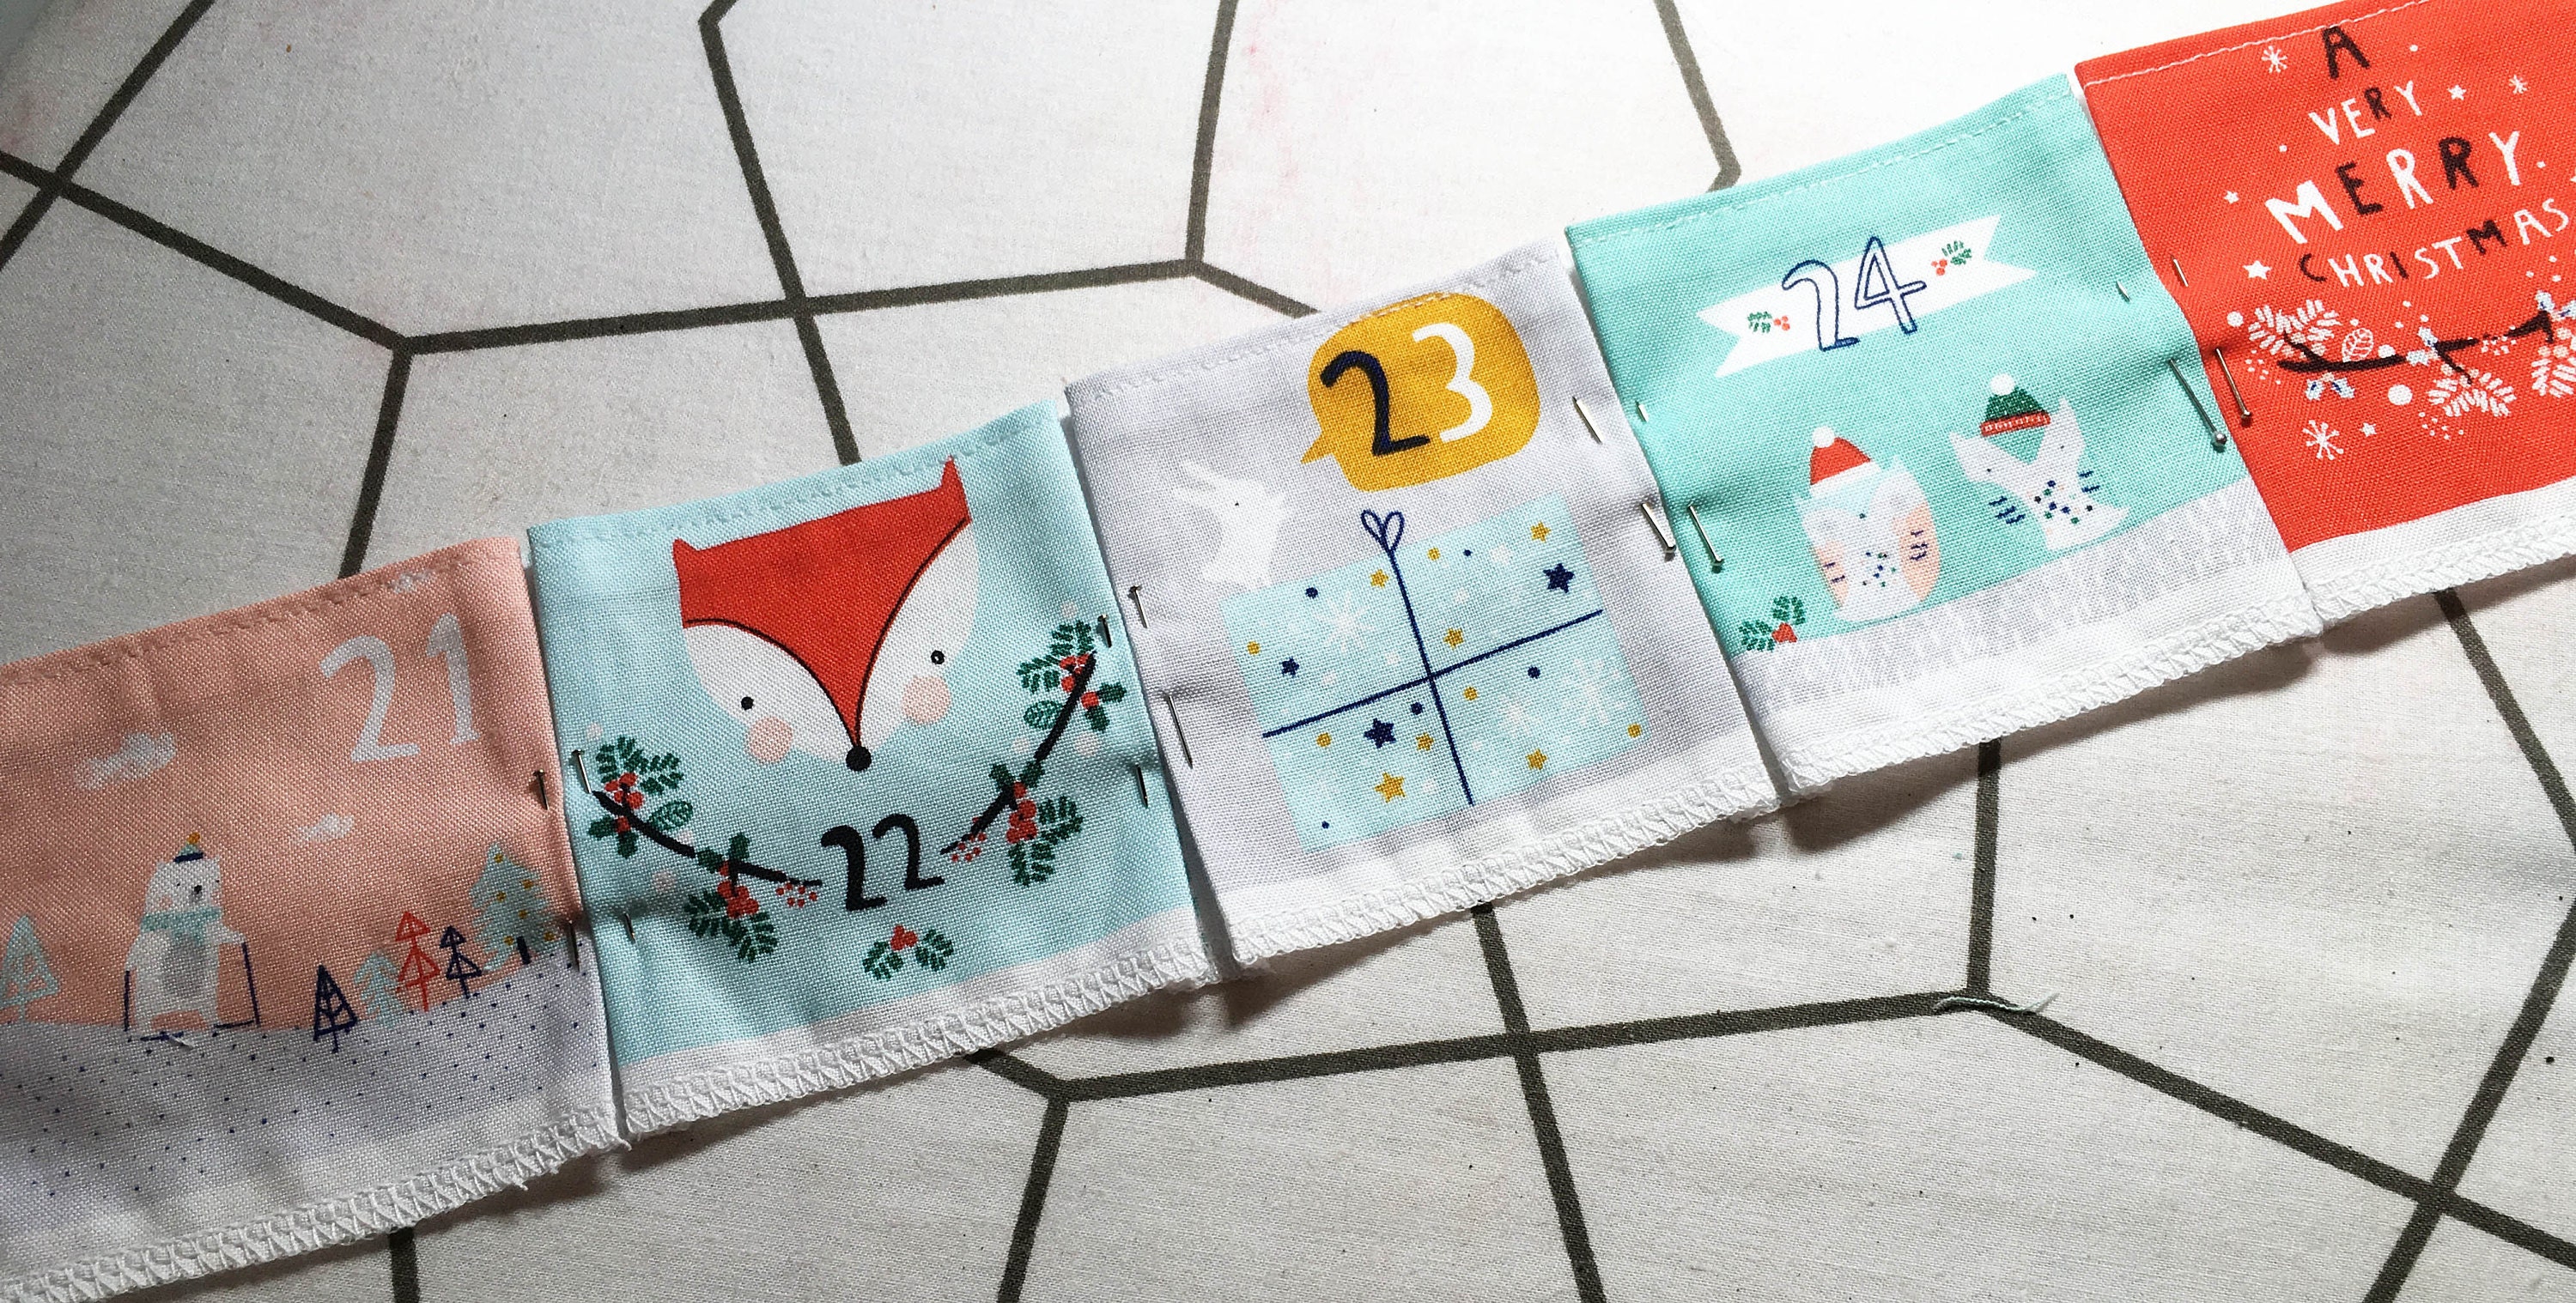
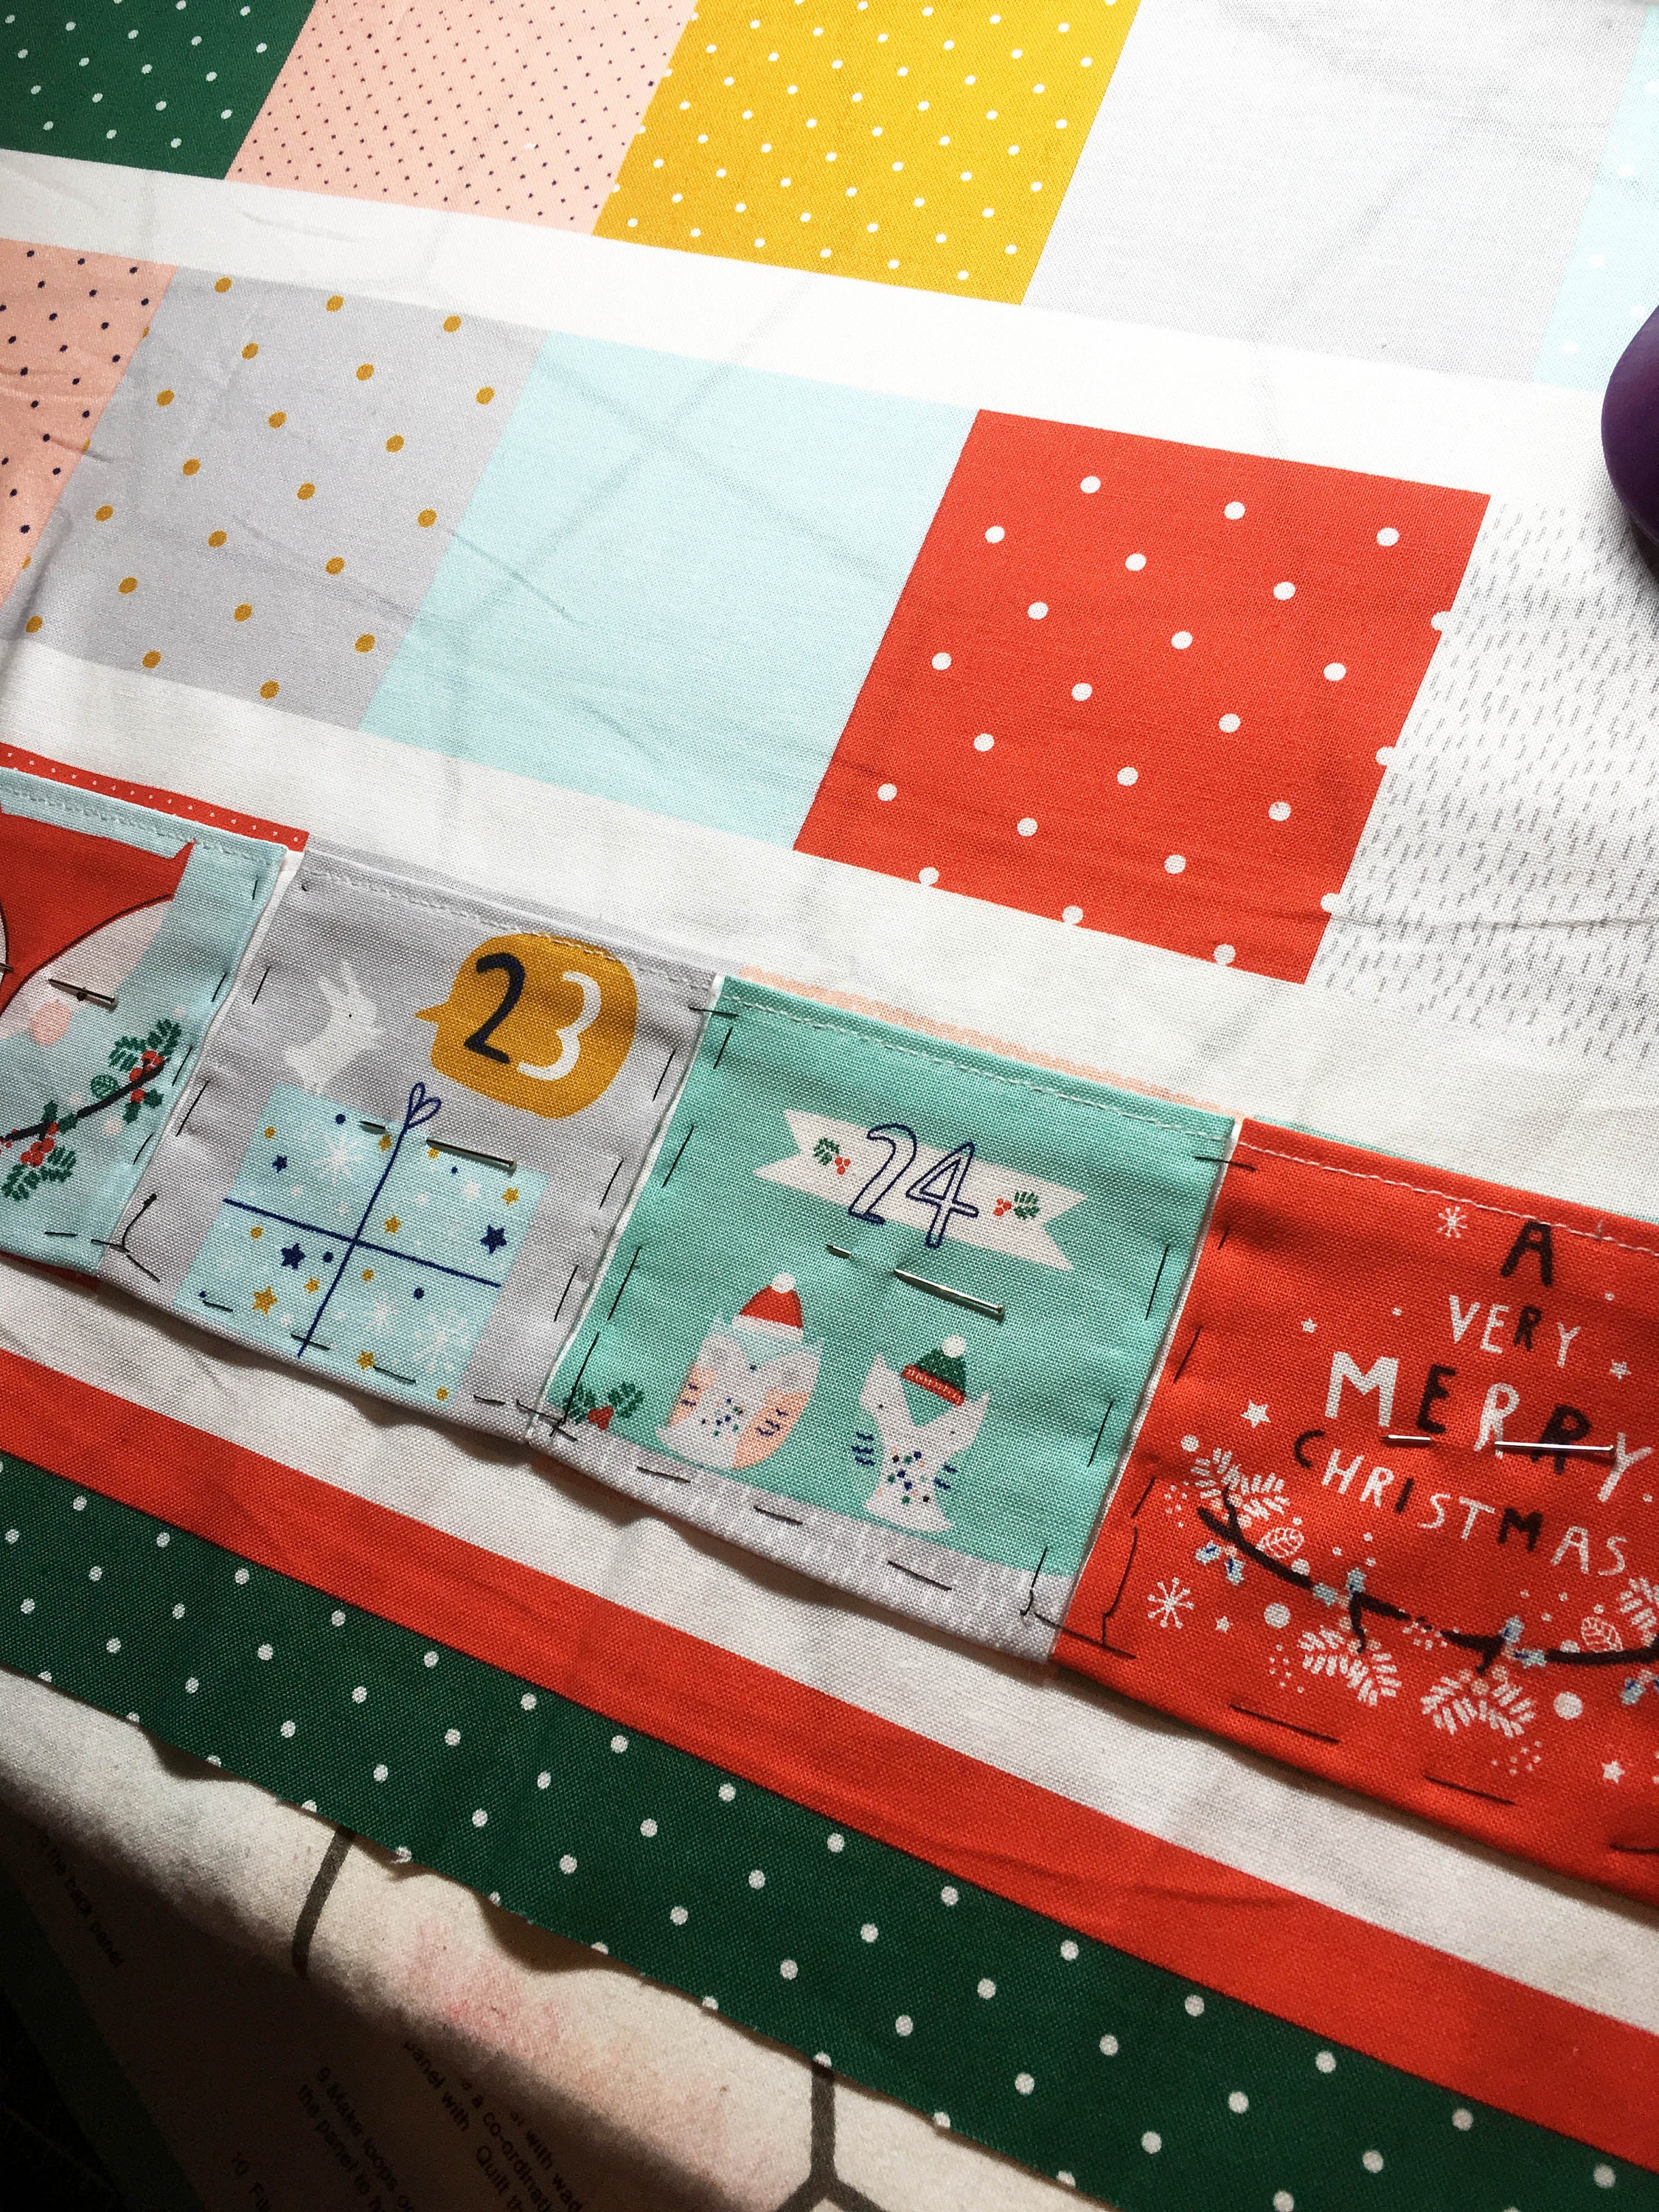
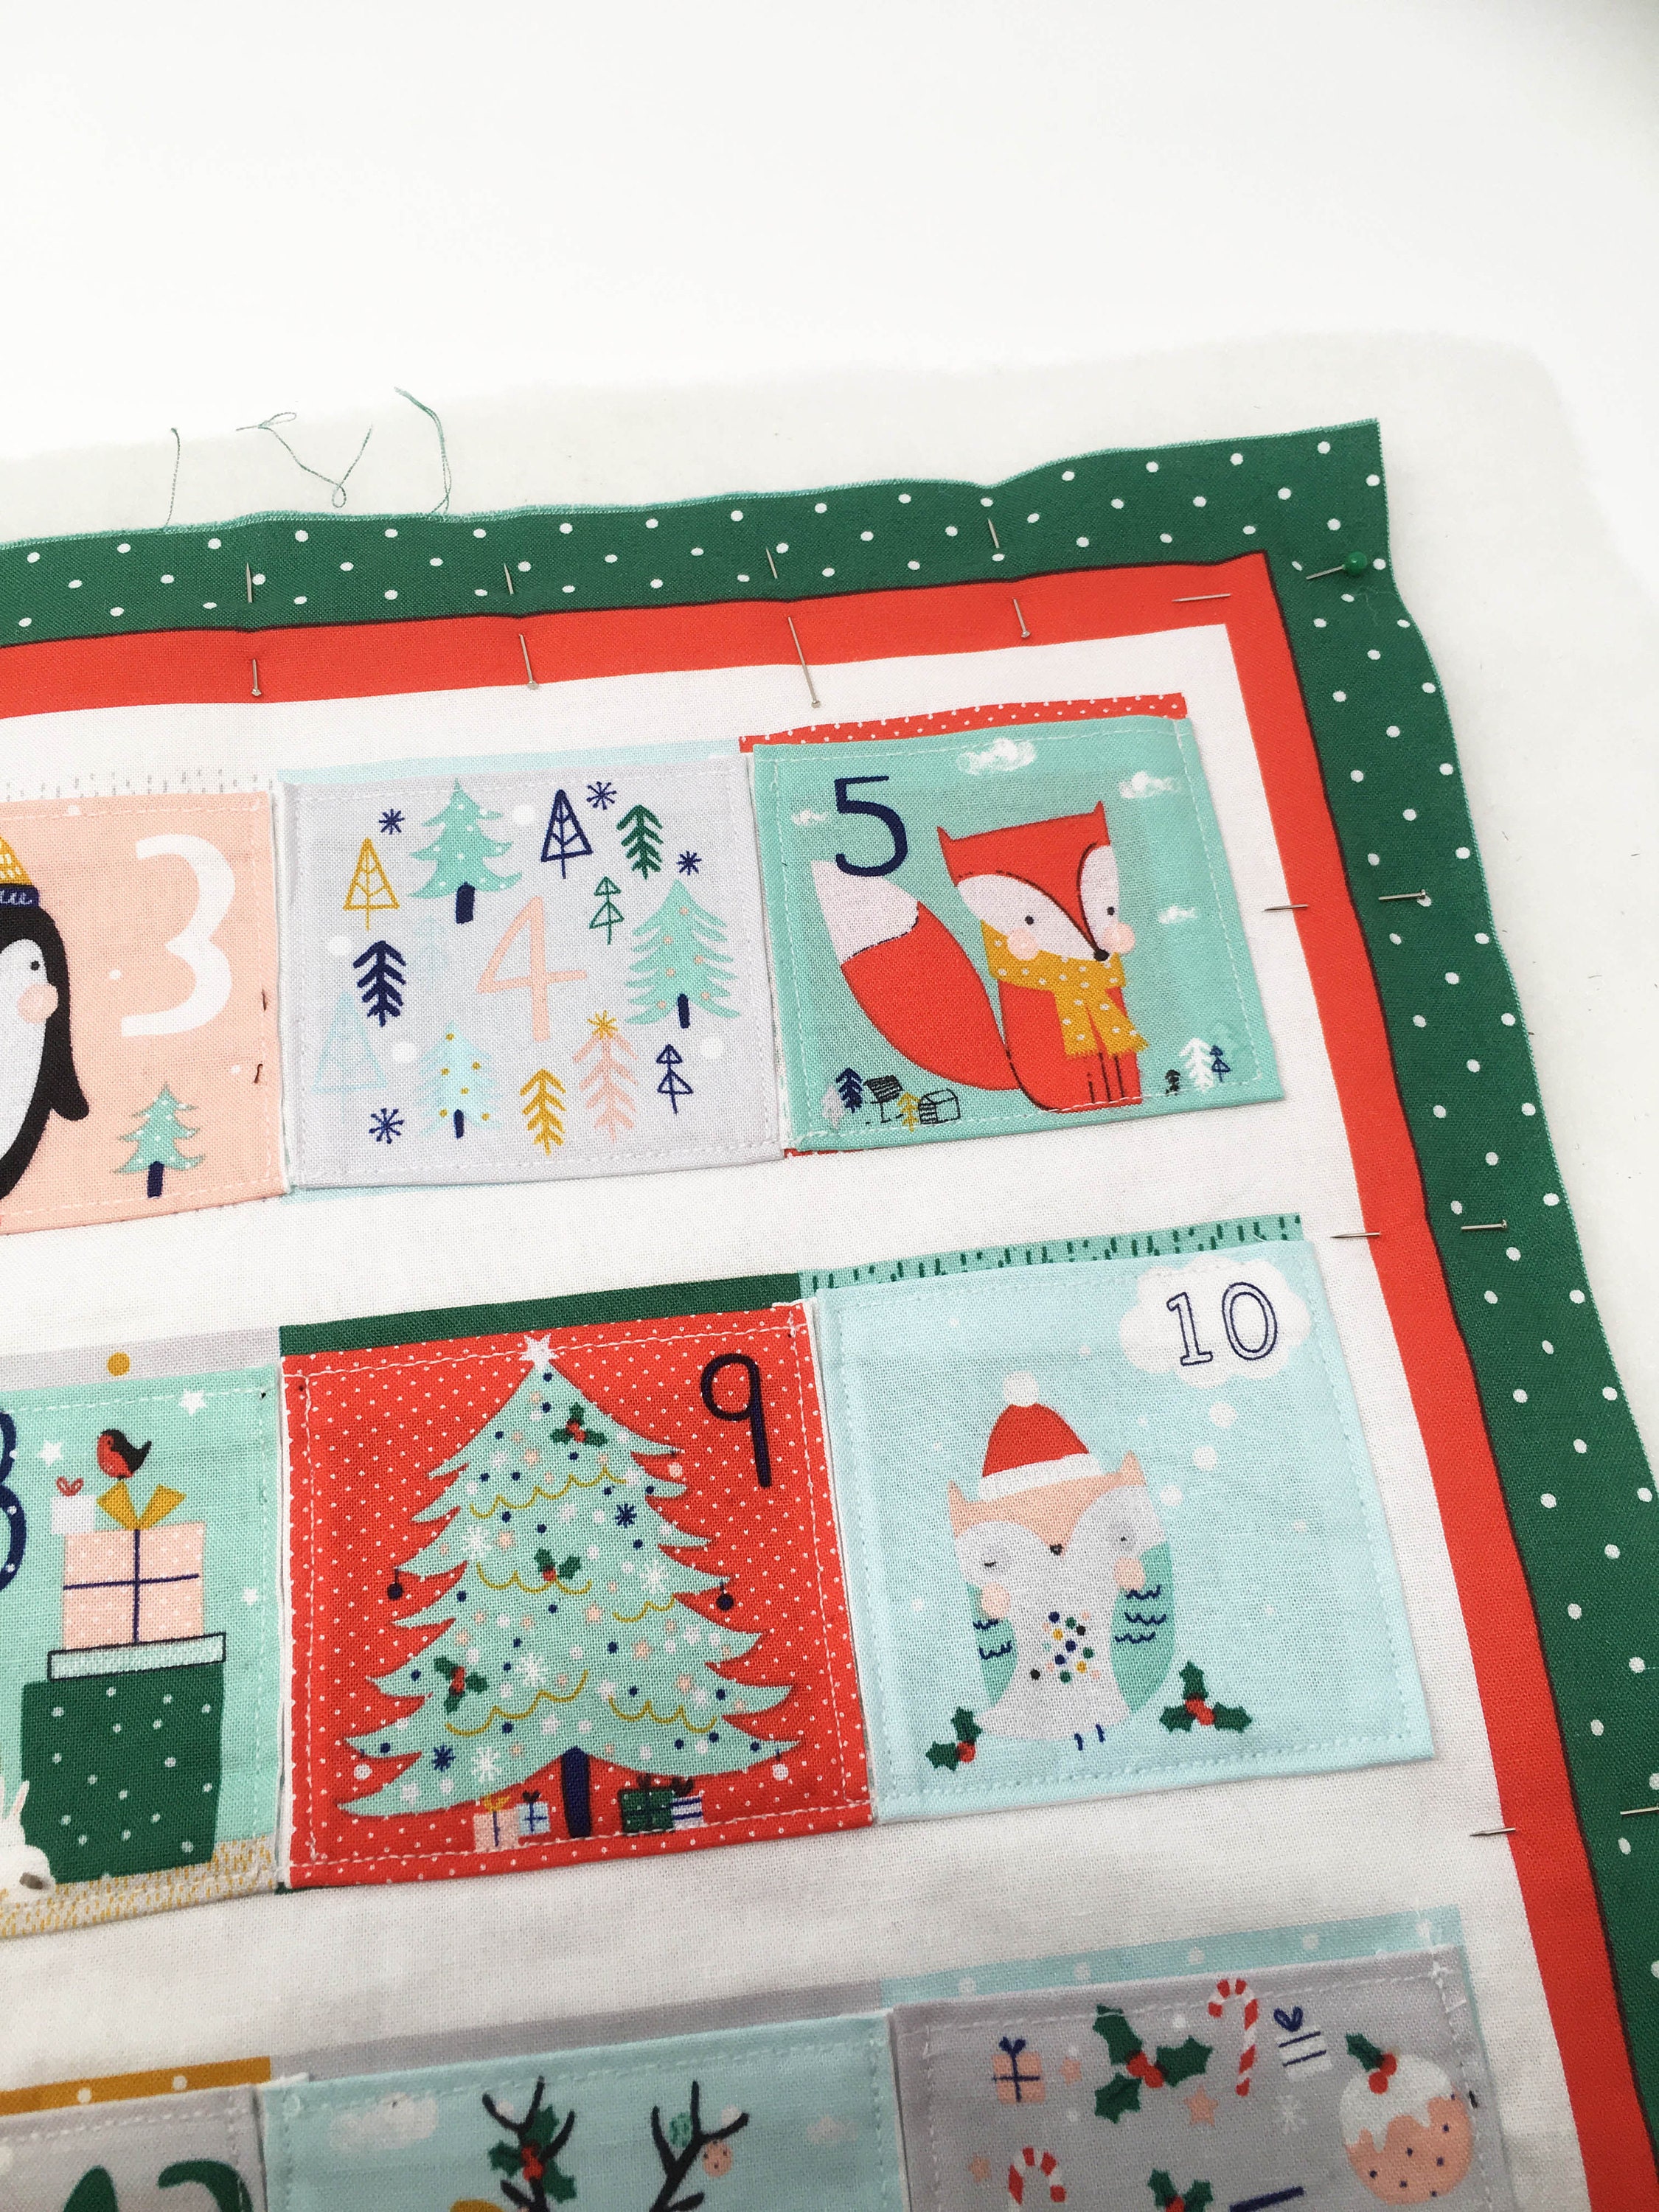
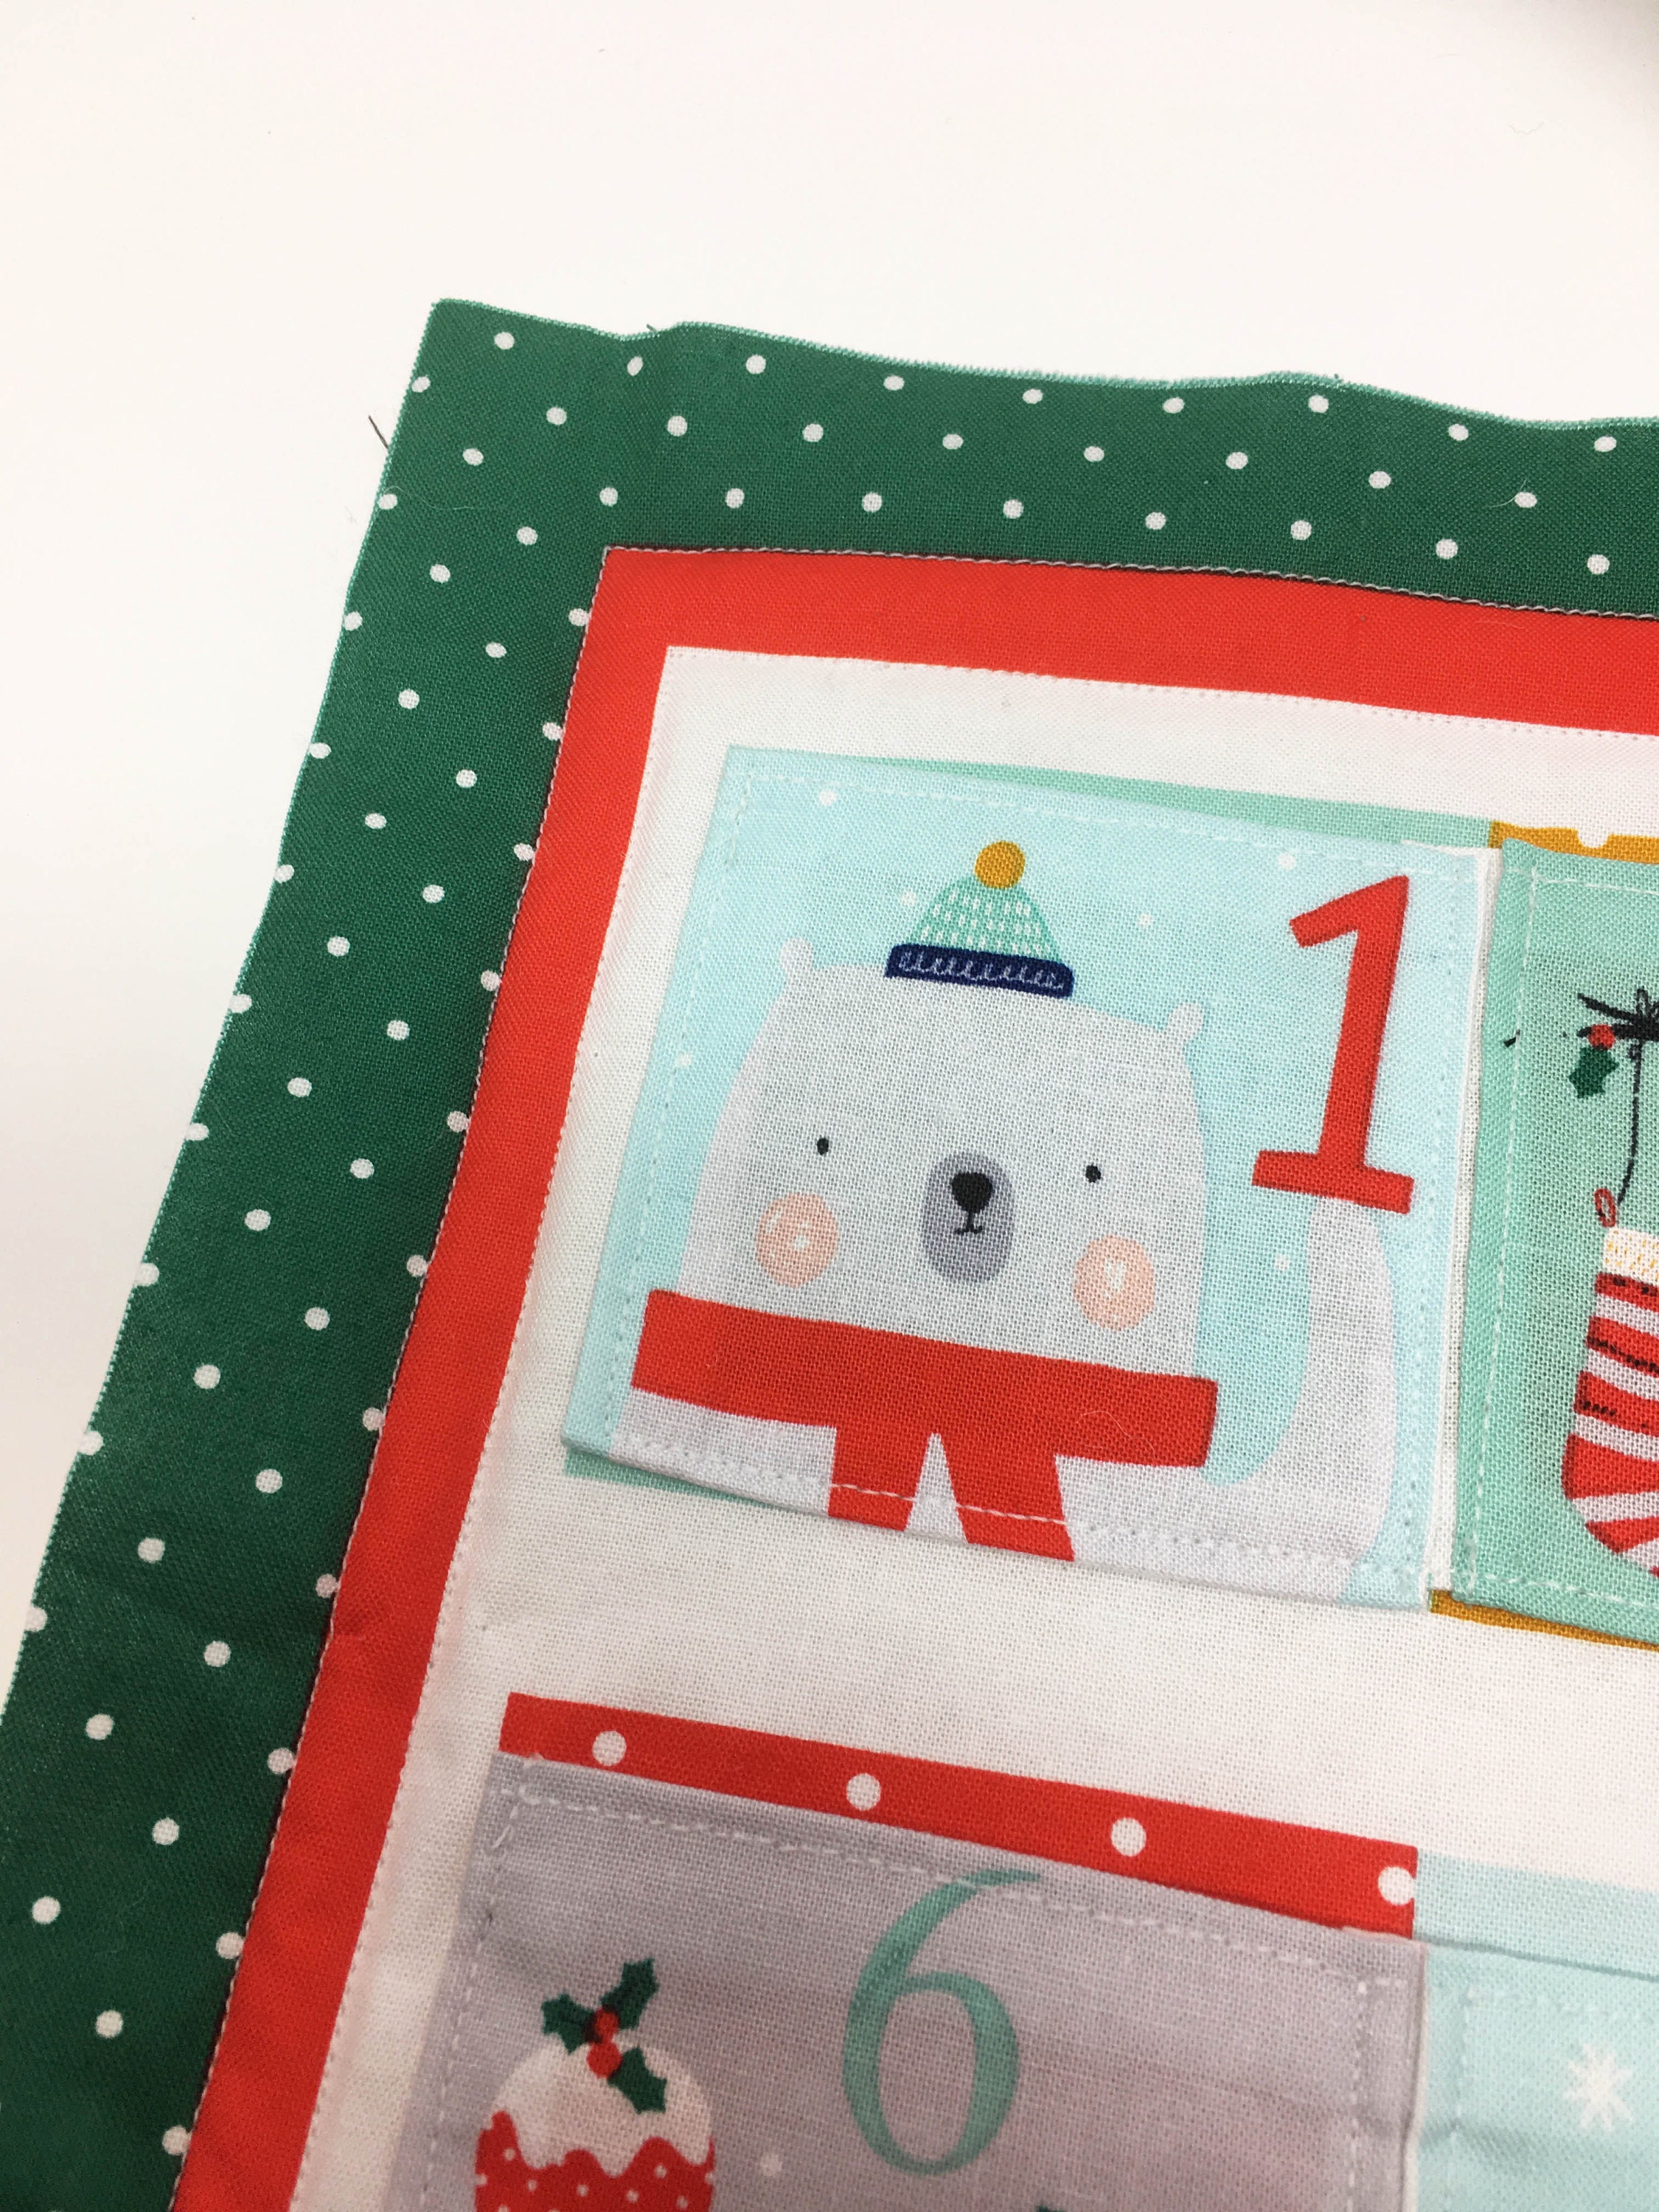
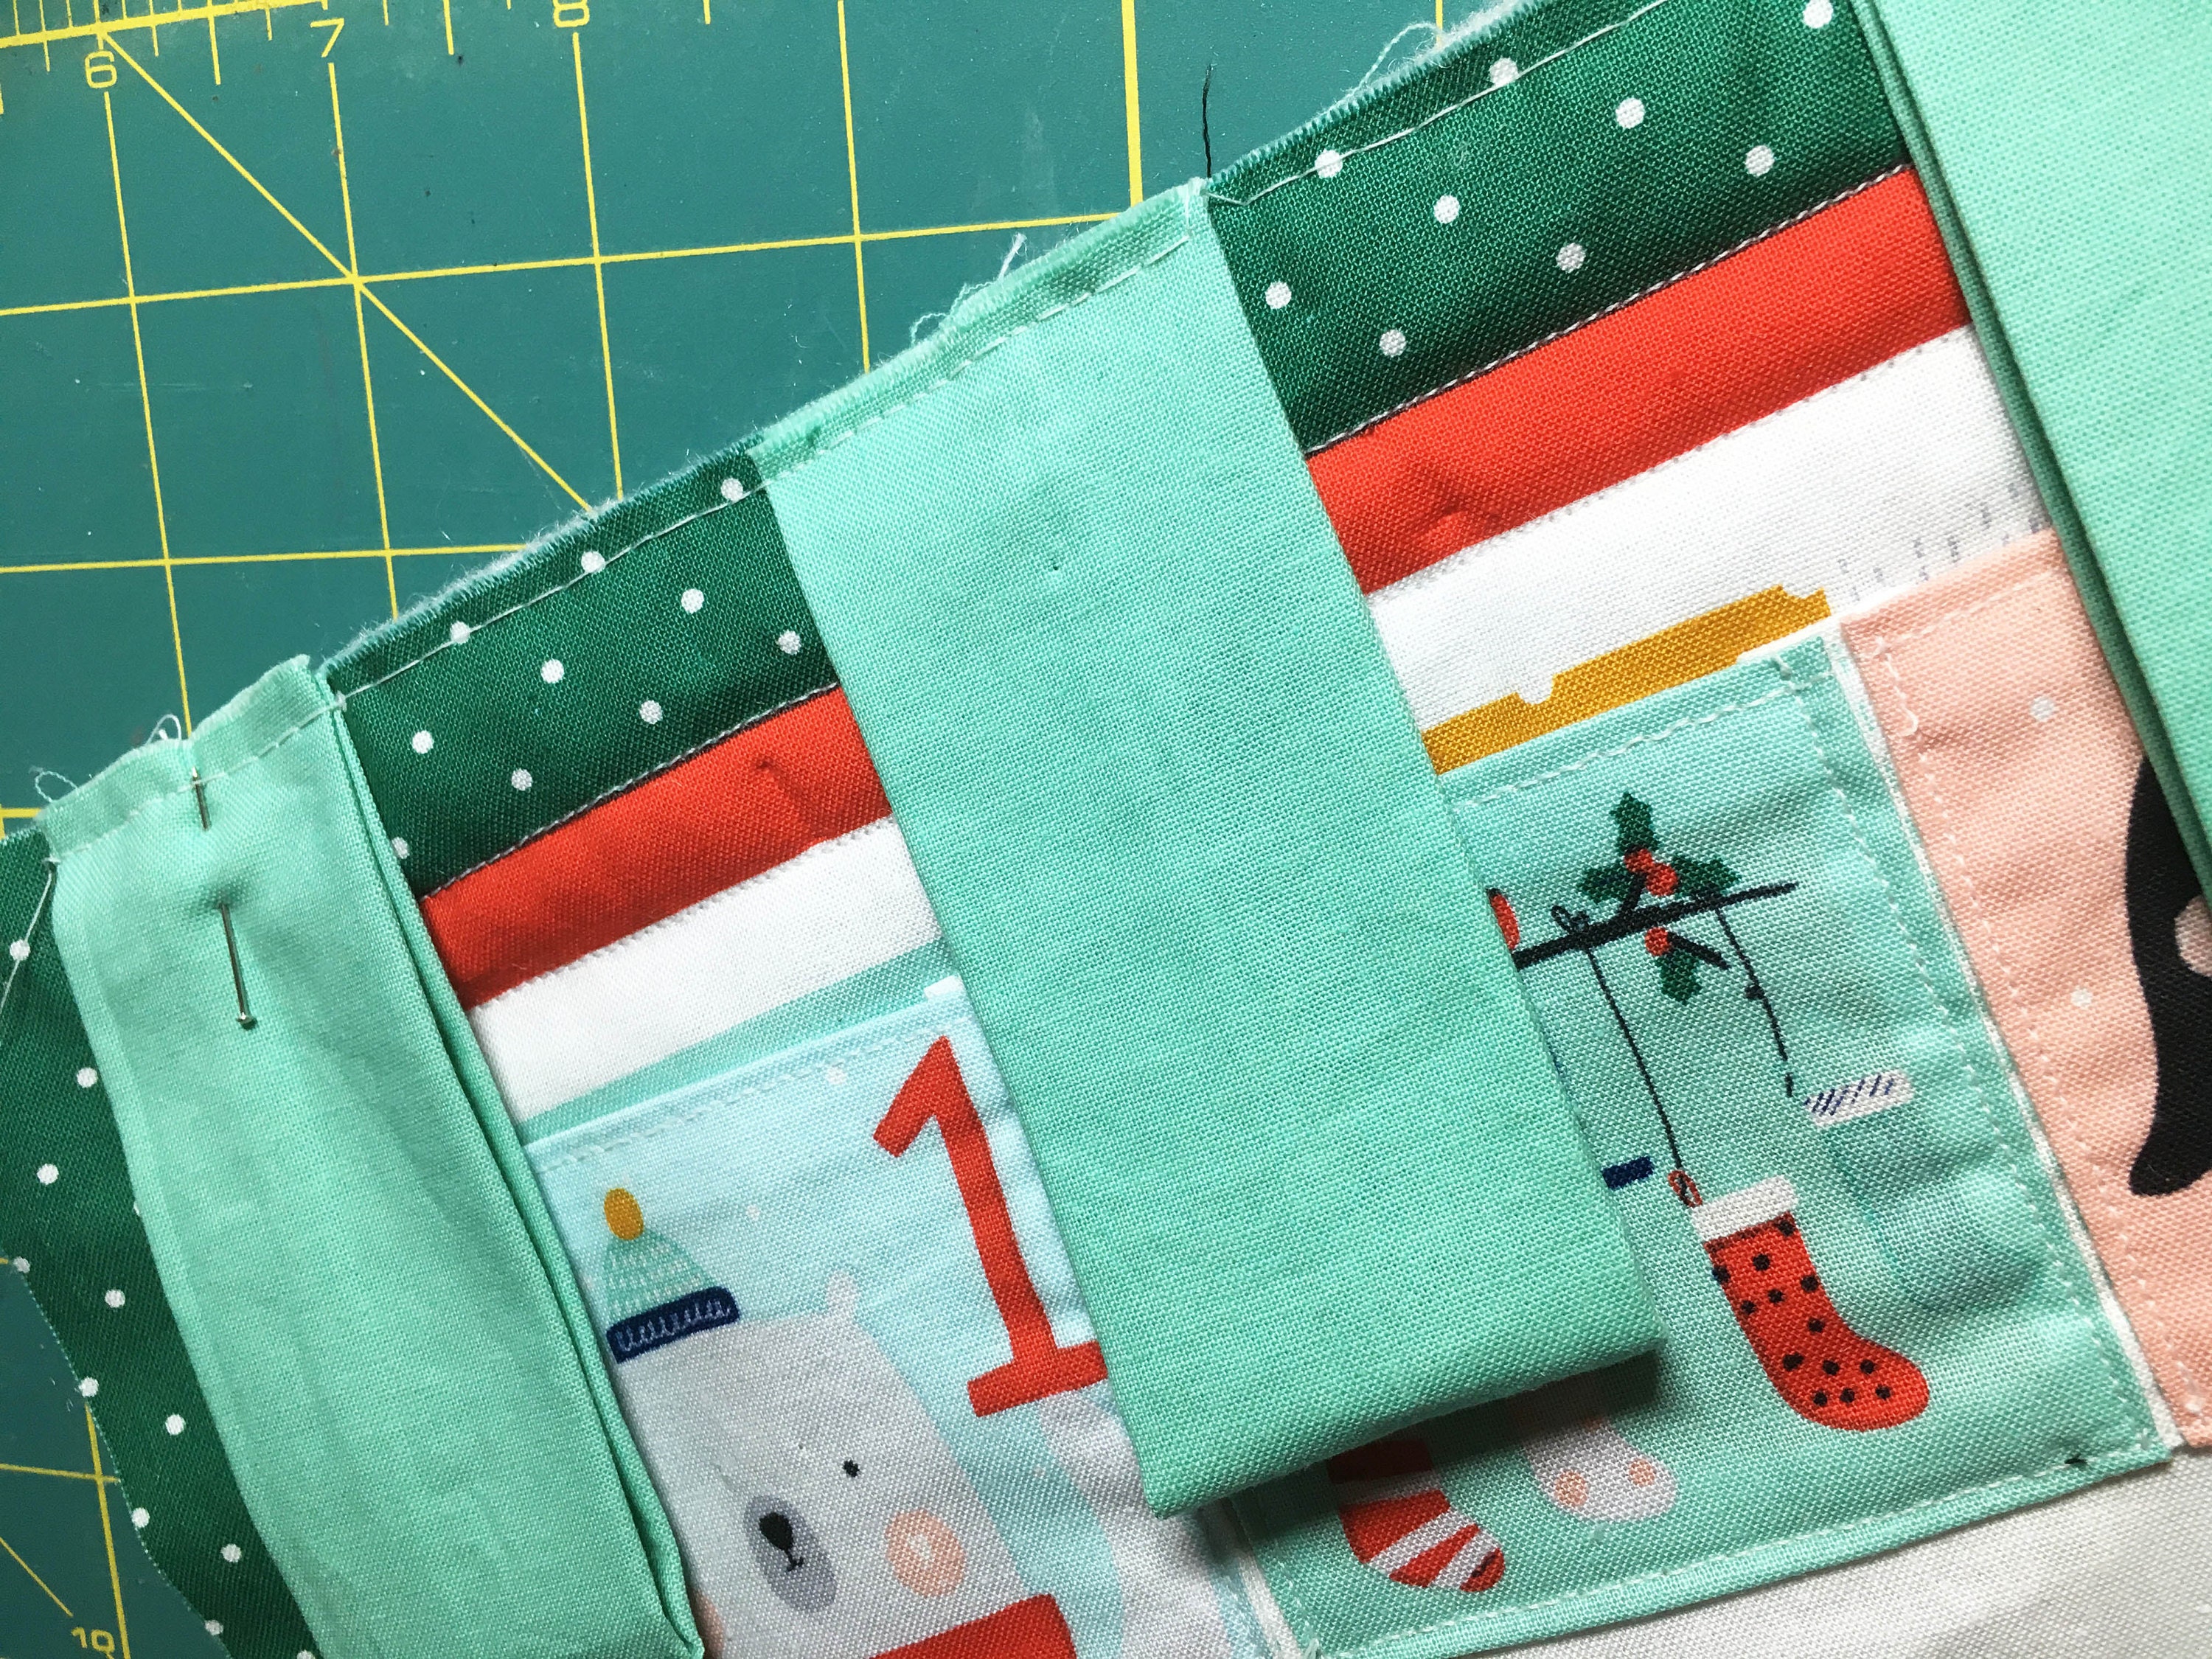
Step six: Pin each pocket strip in place
Position each each pocket strip onto the front panel and pin in place. Once pinned tack in place.
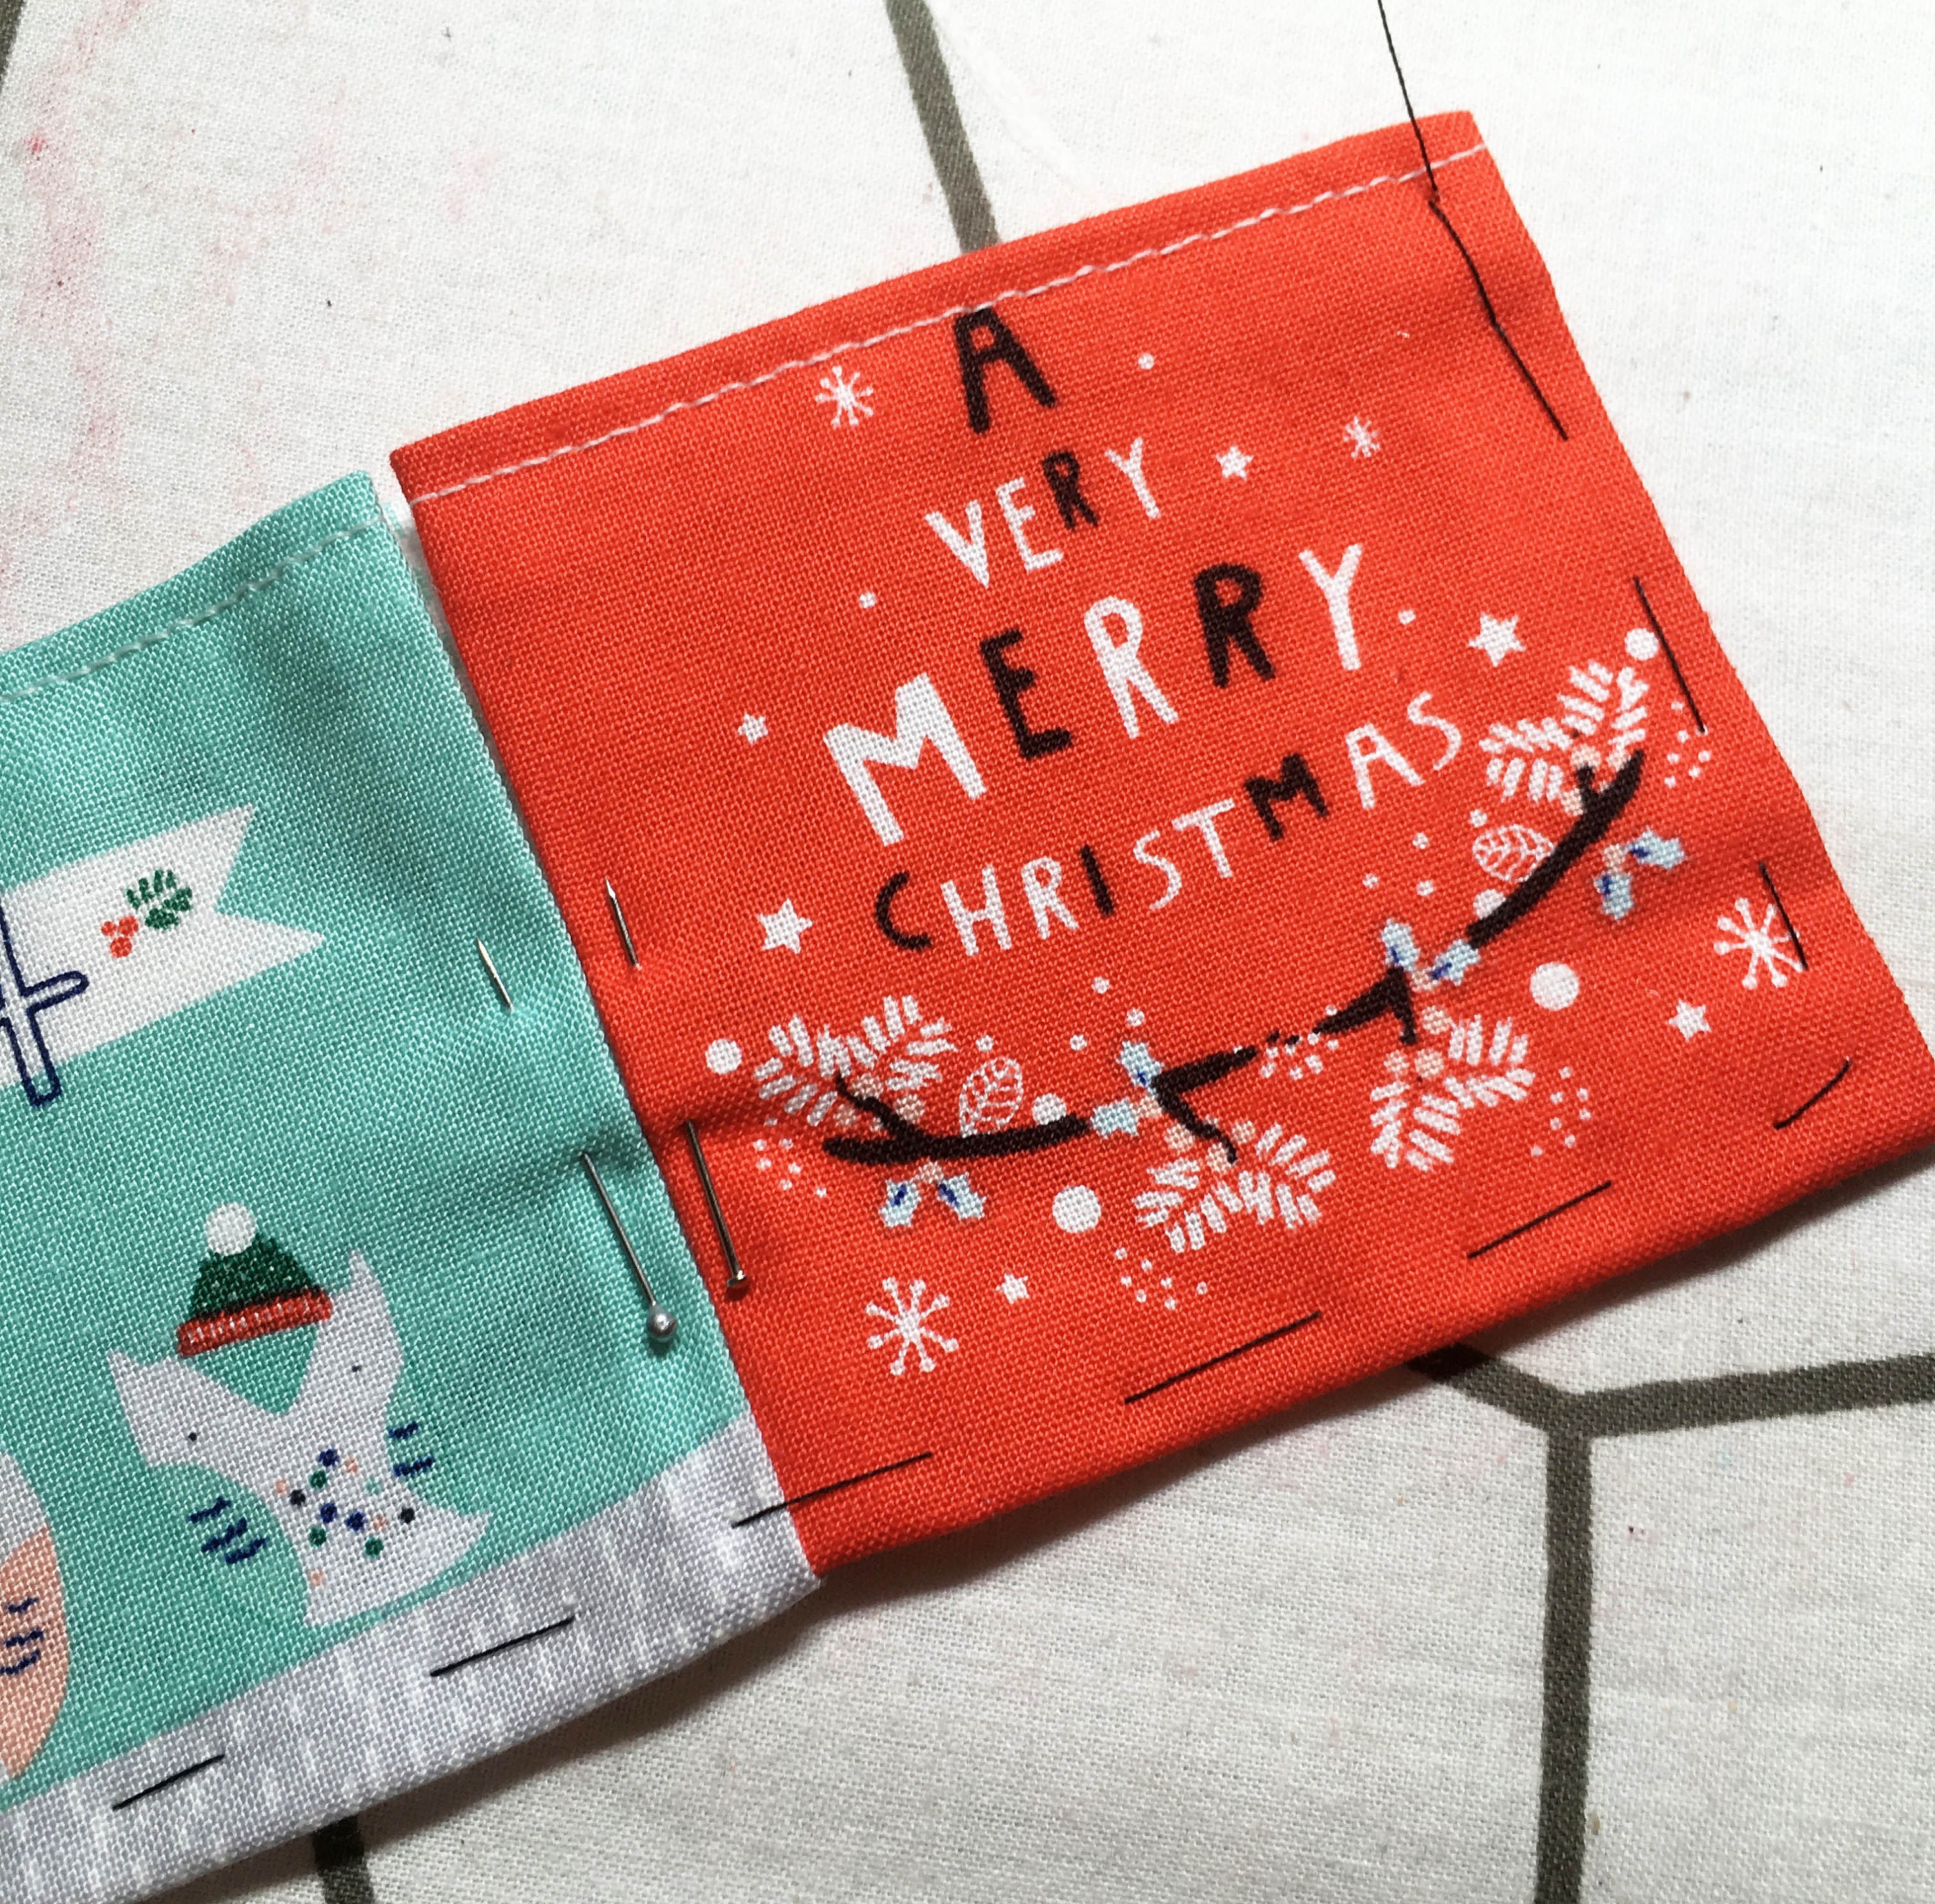
Step seven: Secure pockets to the front panel
Stitch the pocket strips into place and repeat for all the pockets.
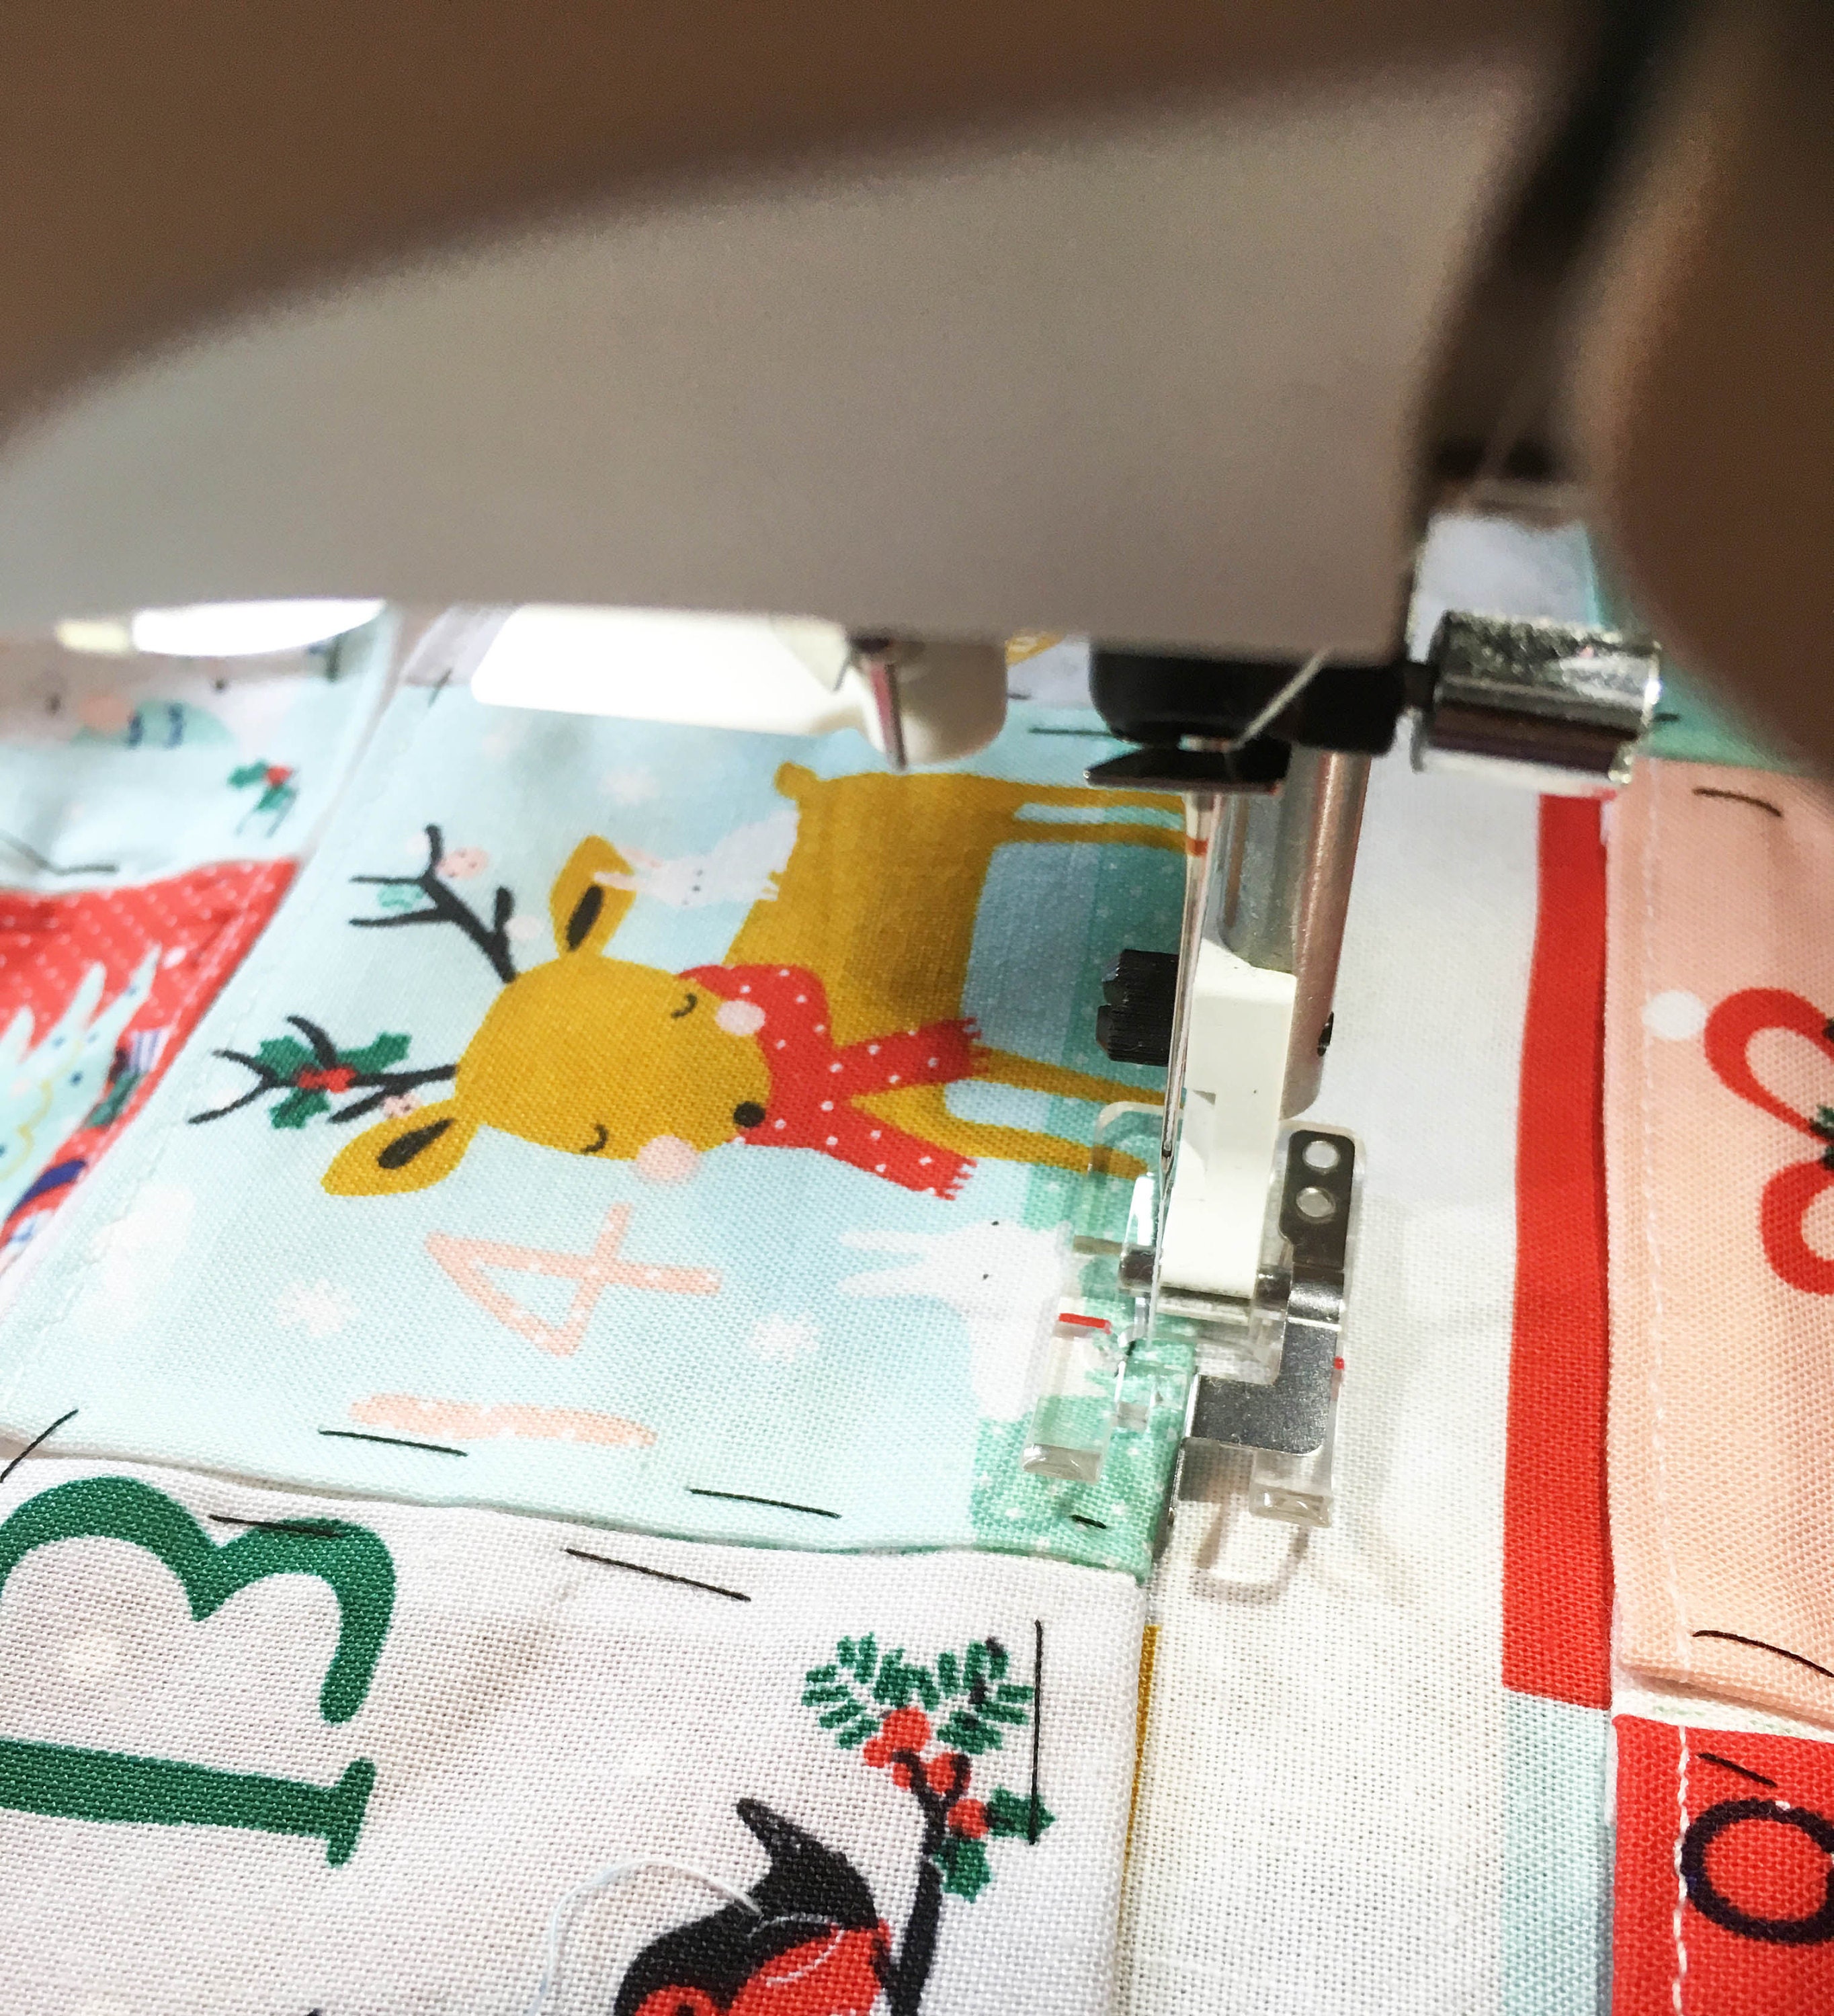
Sew two vertical lines at the pocket edge (where my fingers are pointing).
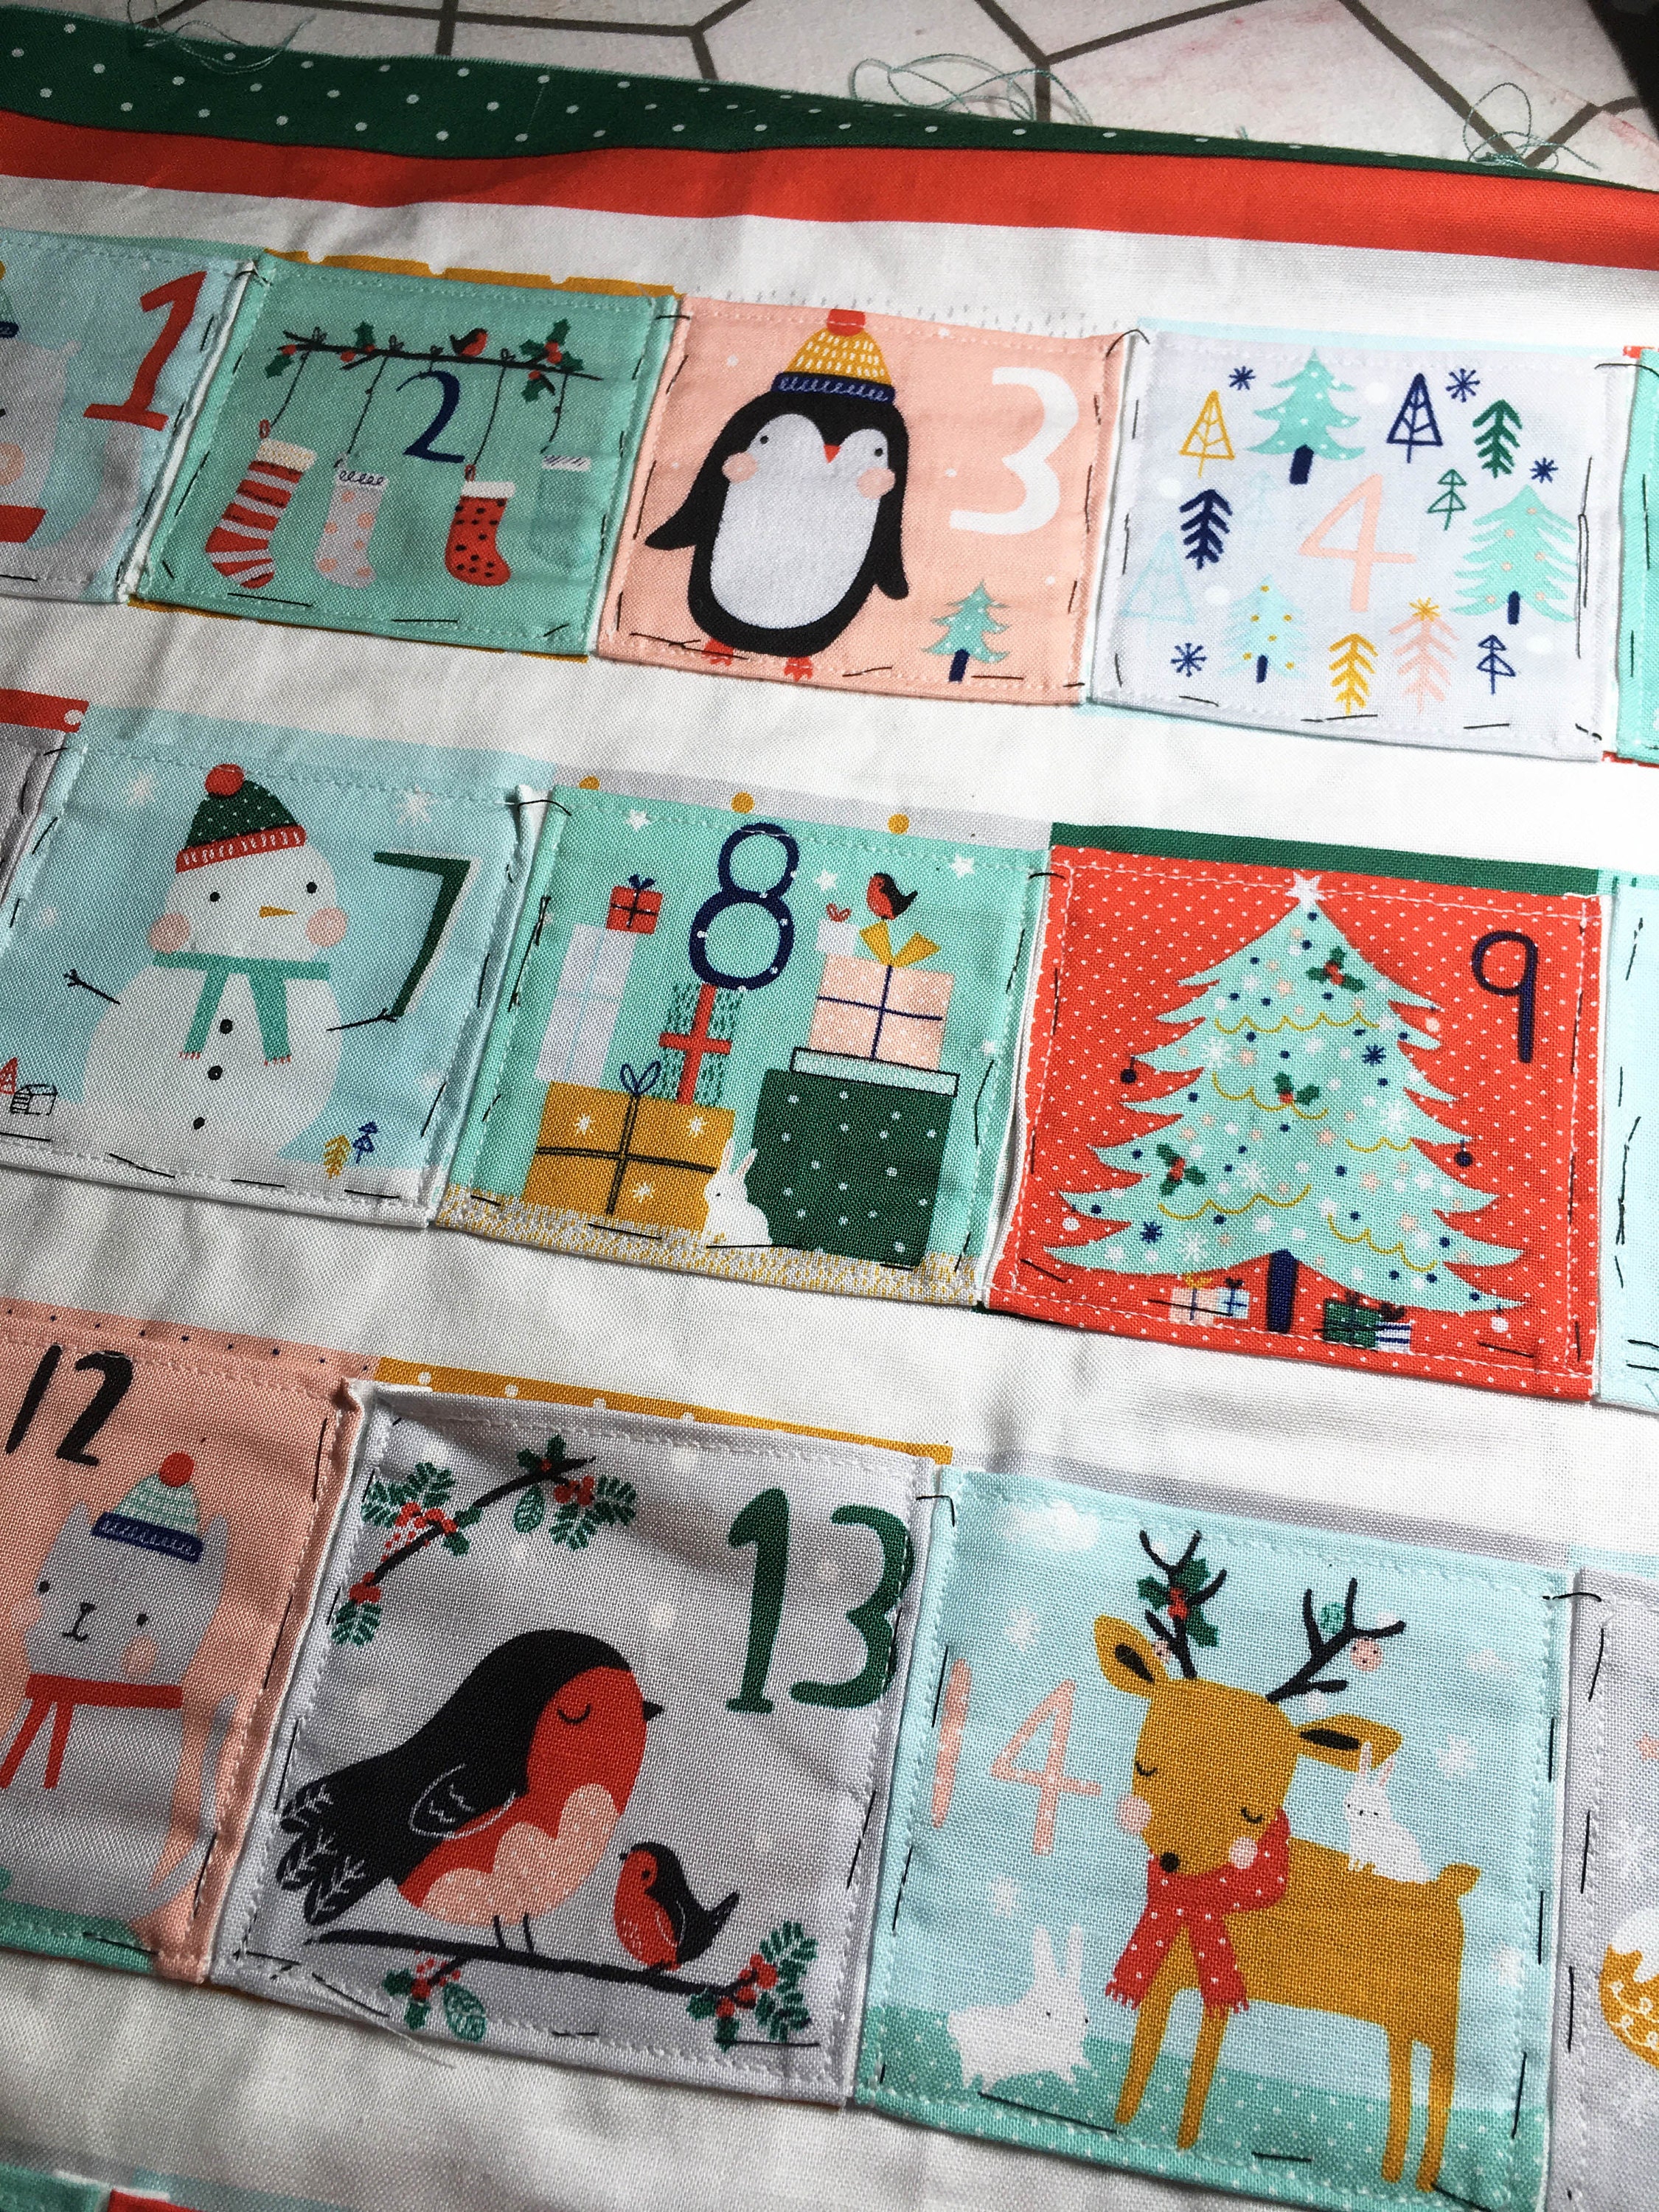
Once all the pockets are attached use a seam ripper to unpick and remove the tacking.
Step eight: Quilt the front panel
Roughly cut a square of wadding slightly larger than the front panel. Pin the fabric in place on top and tack. Once tacked quilt as desired by stitching through the front and the wadding. I quilted along the straight lines on the panel. Once you have finished quilting cut down the wadding to the same size as the panel.
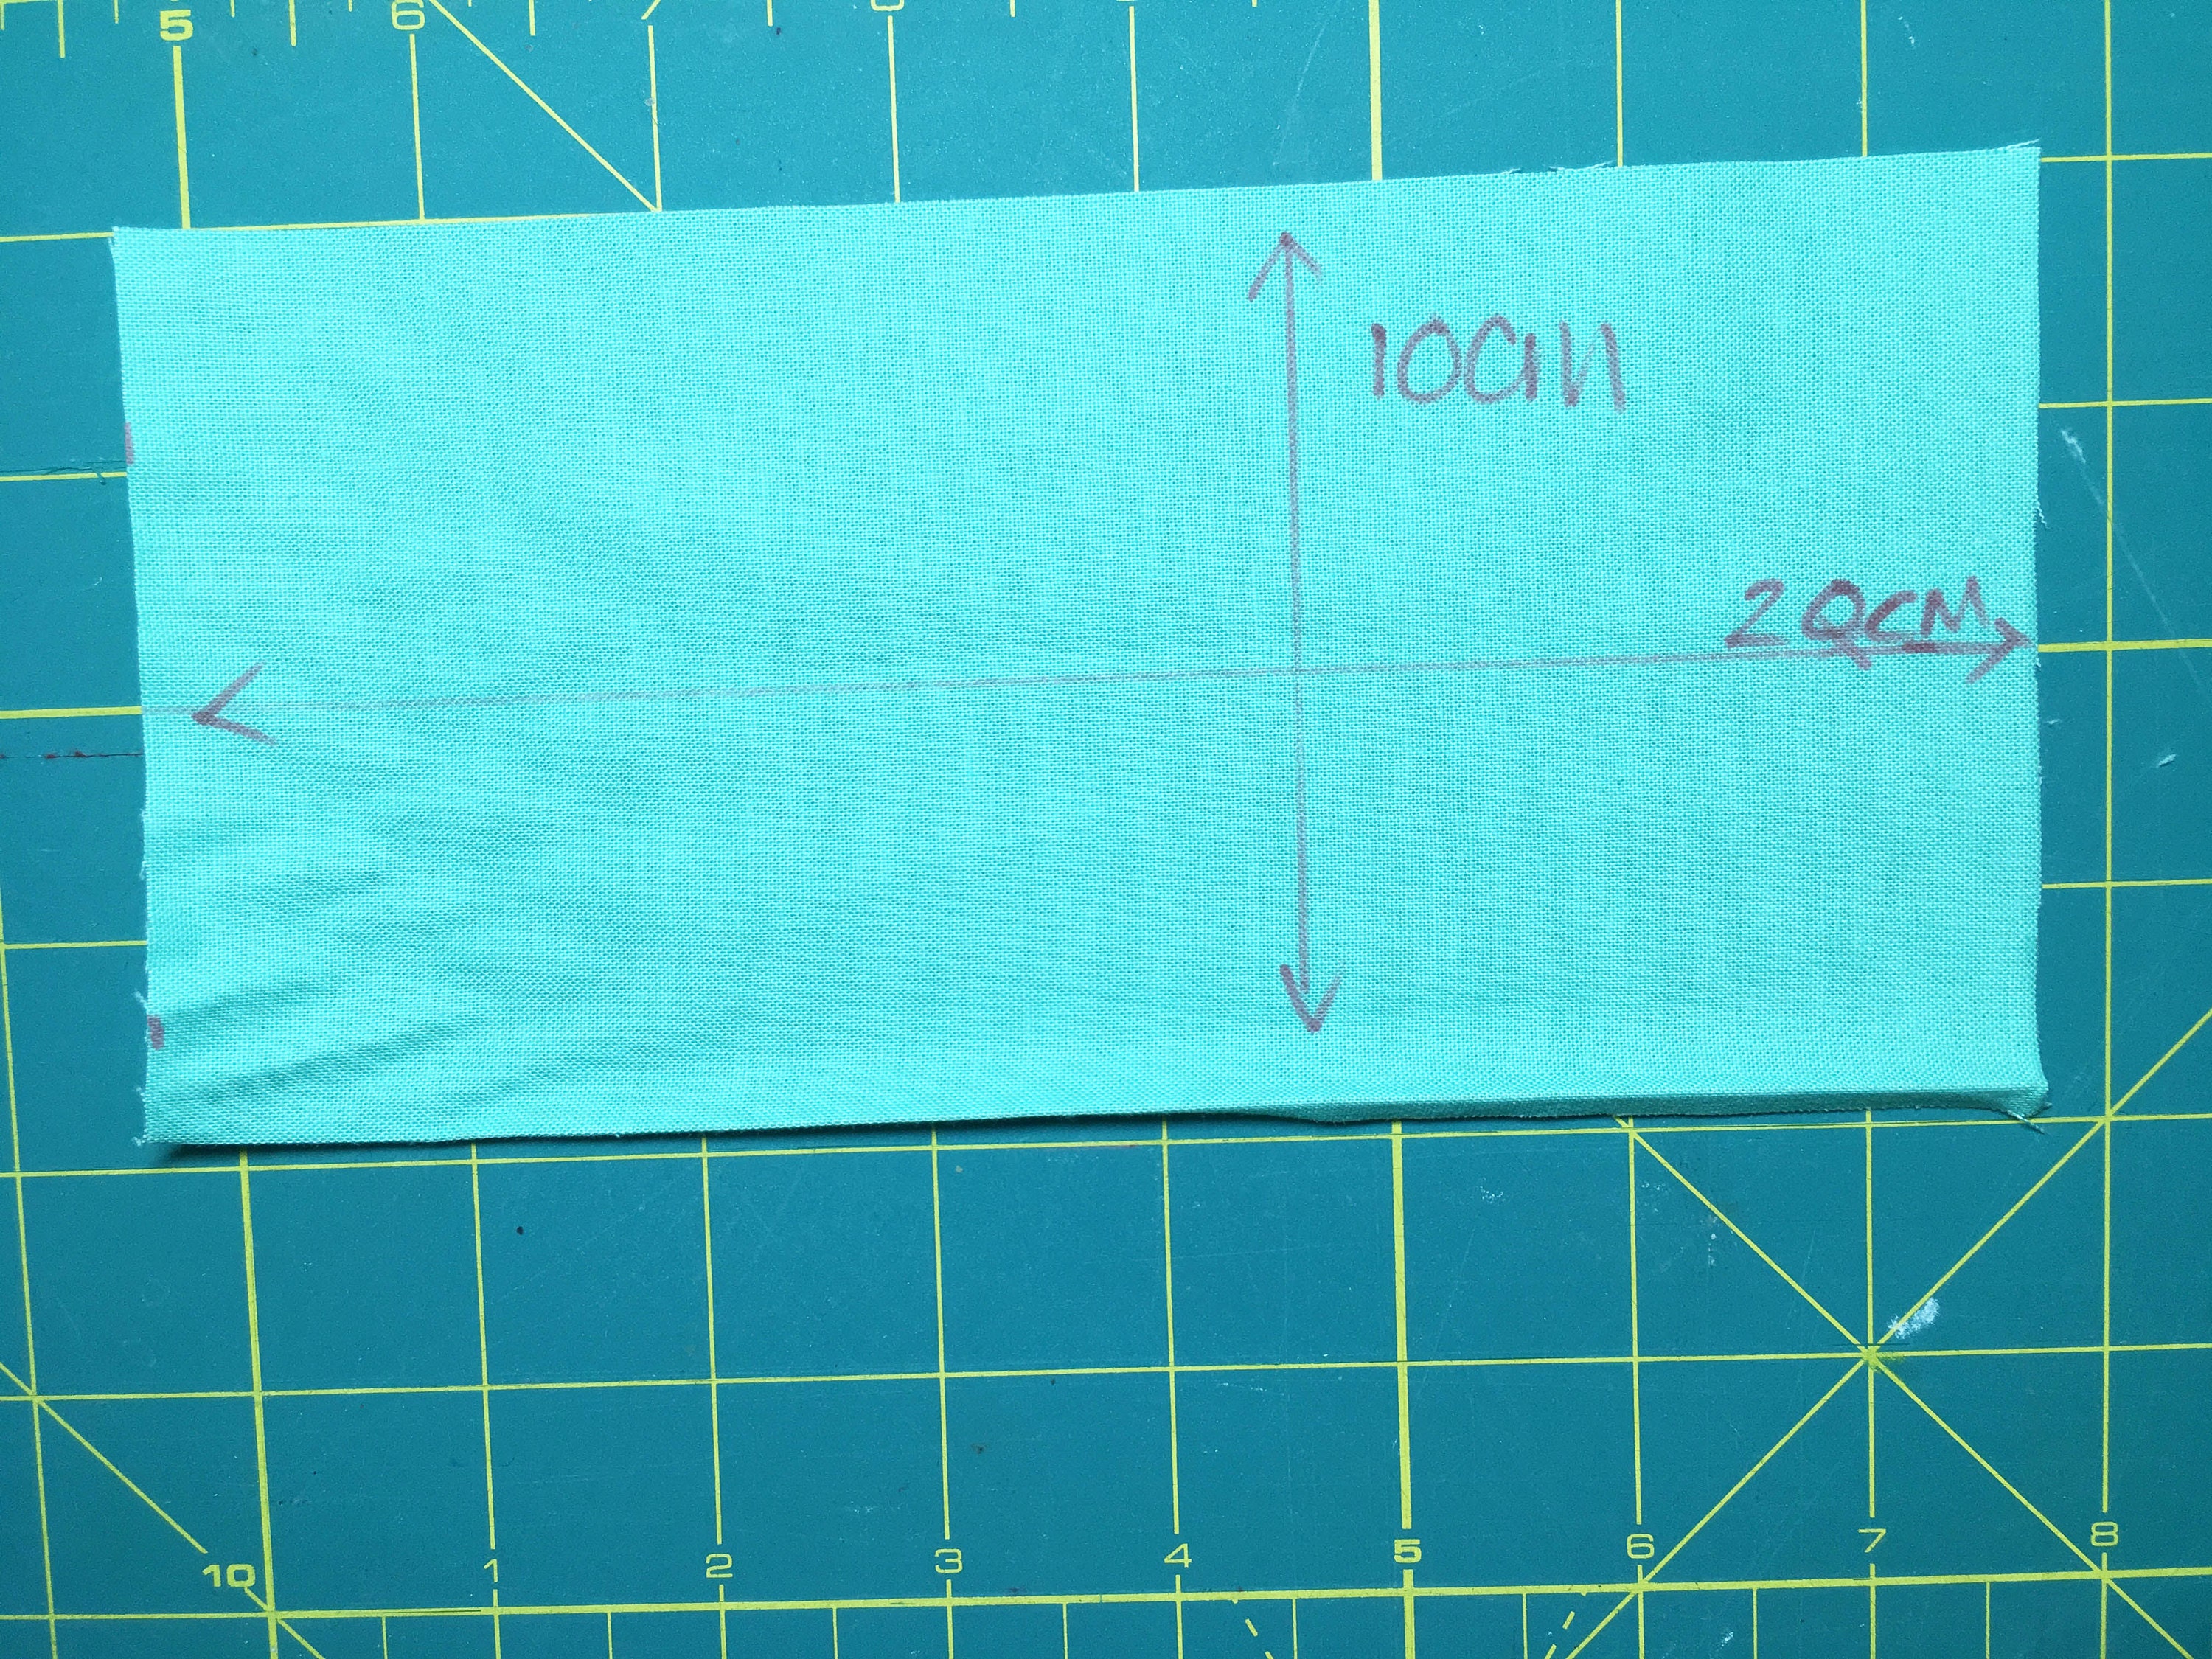
Step nine: Make hanging loops.
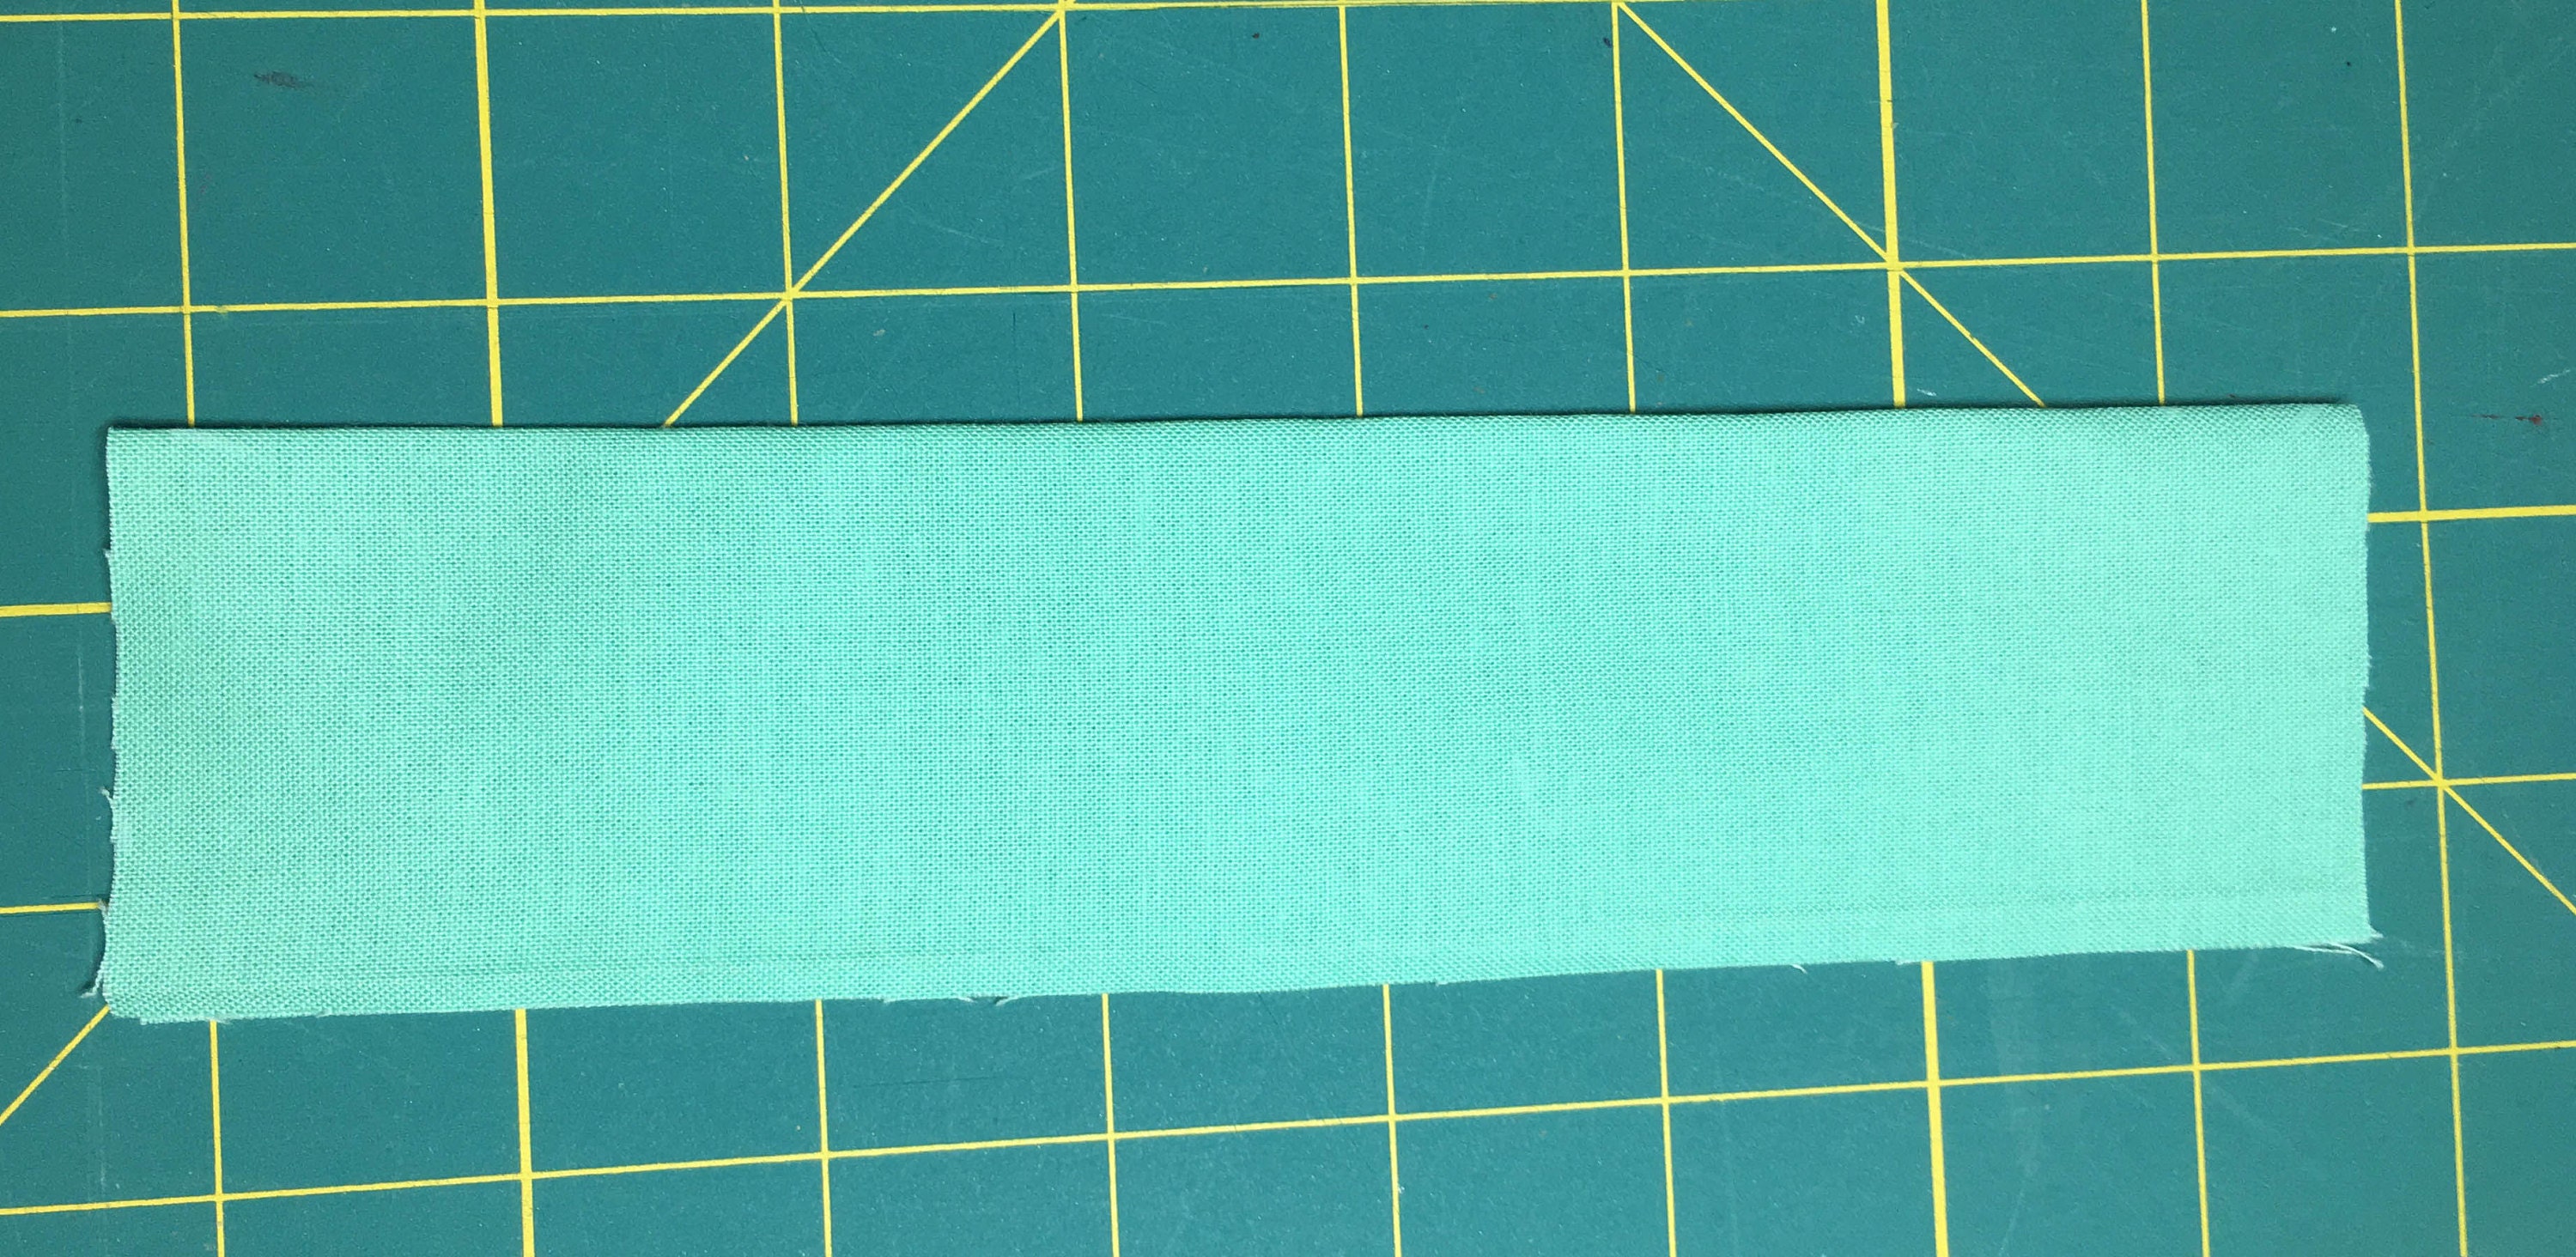
Cut a template measuring 20cm x 10cm Use this template to cut 5 pieces from the co-ordinating fabric.
If you would like more than 5 hanging loops you can reduce the width of this measurement and cut more pieces.
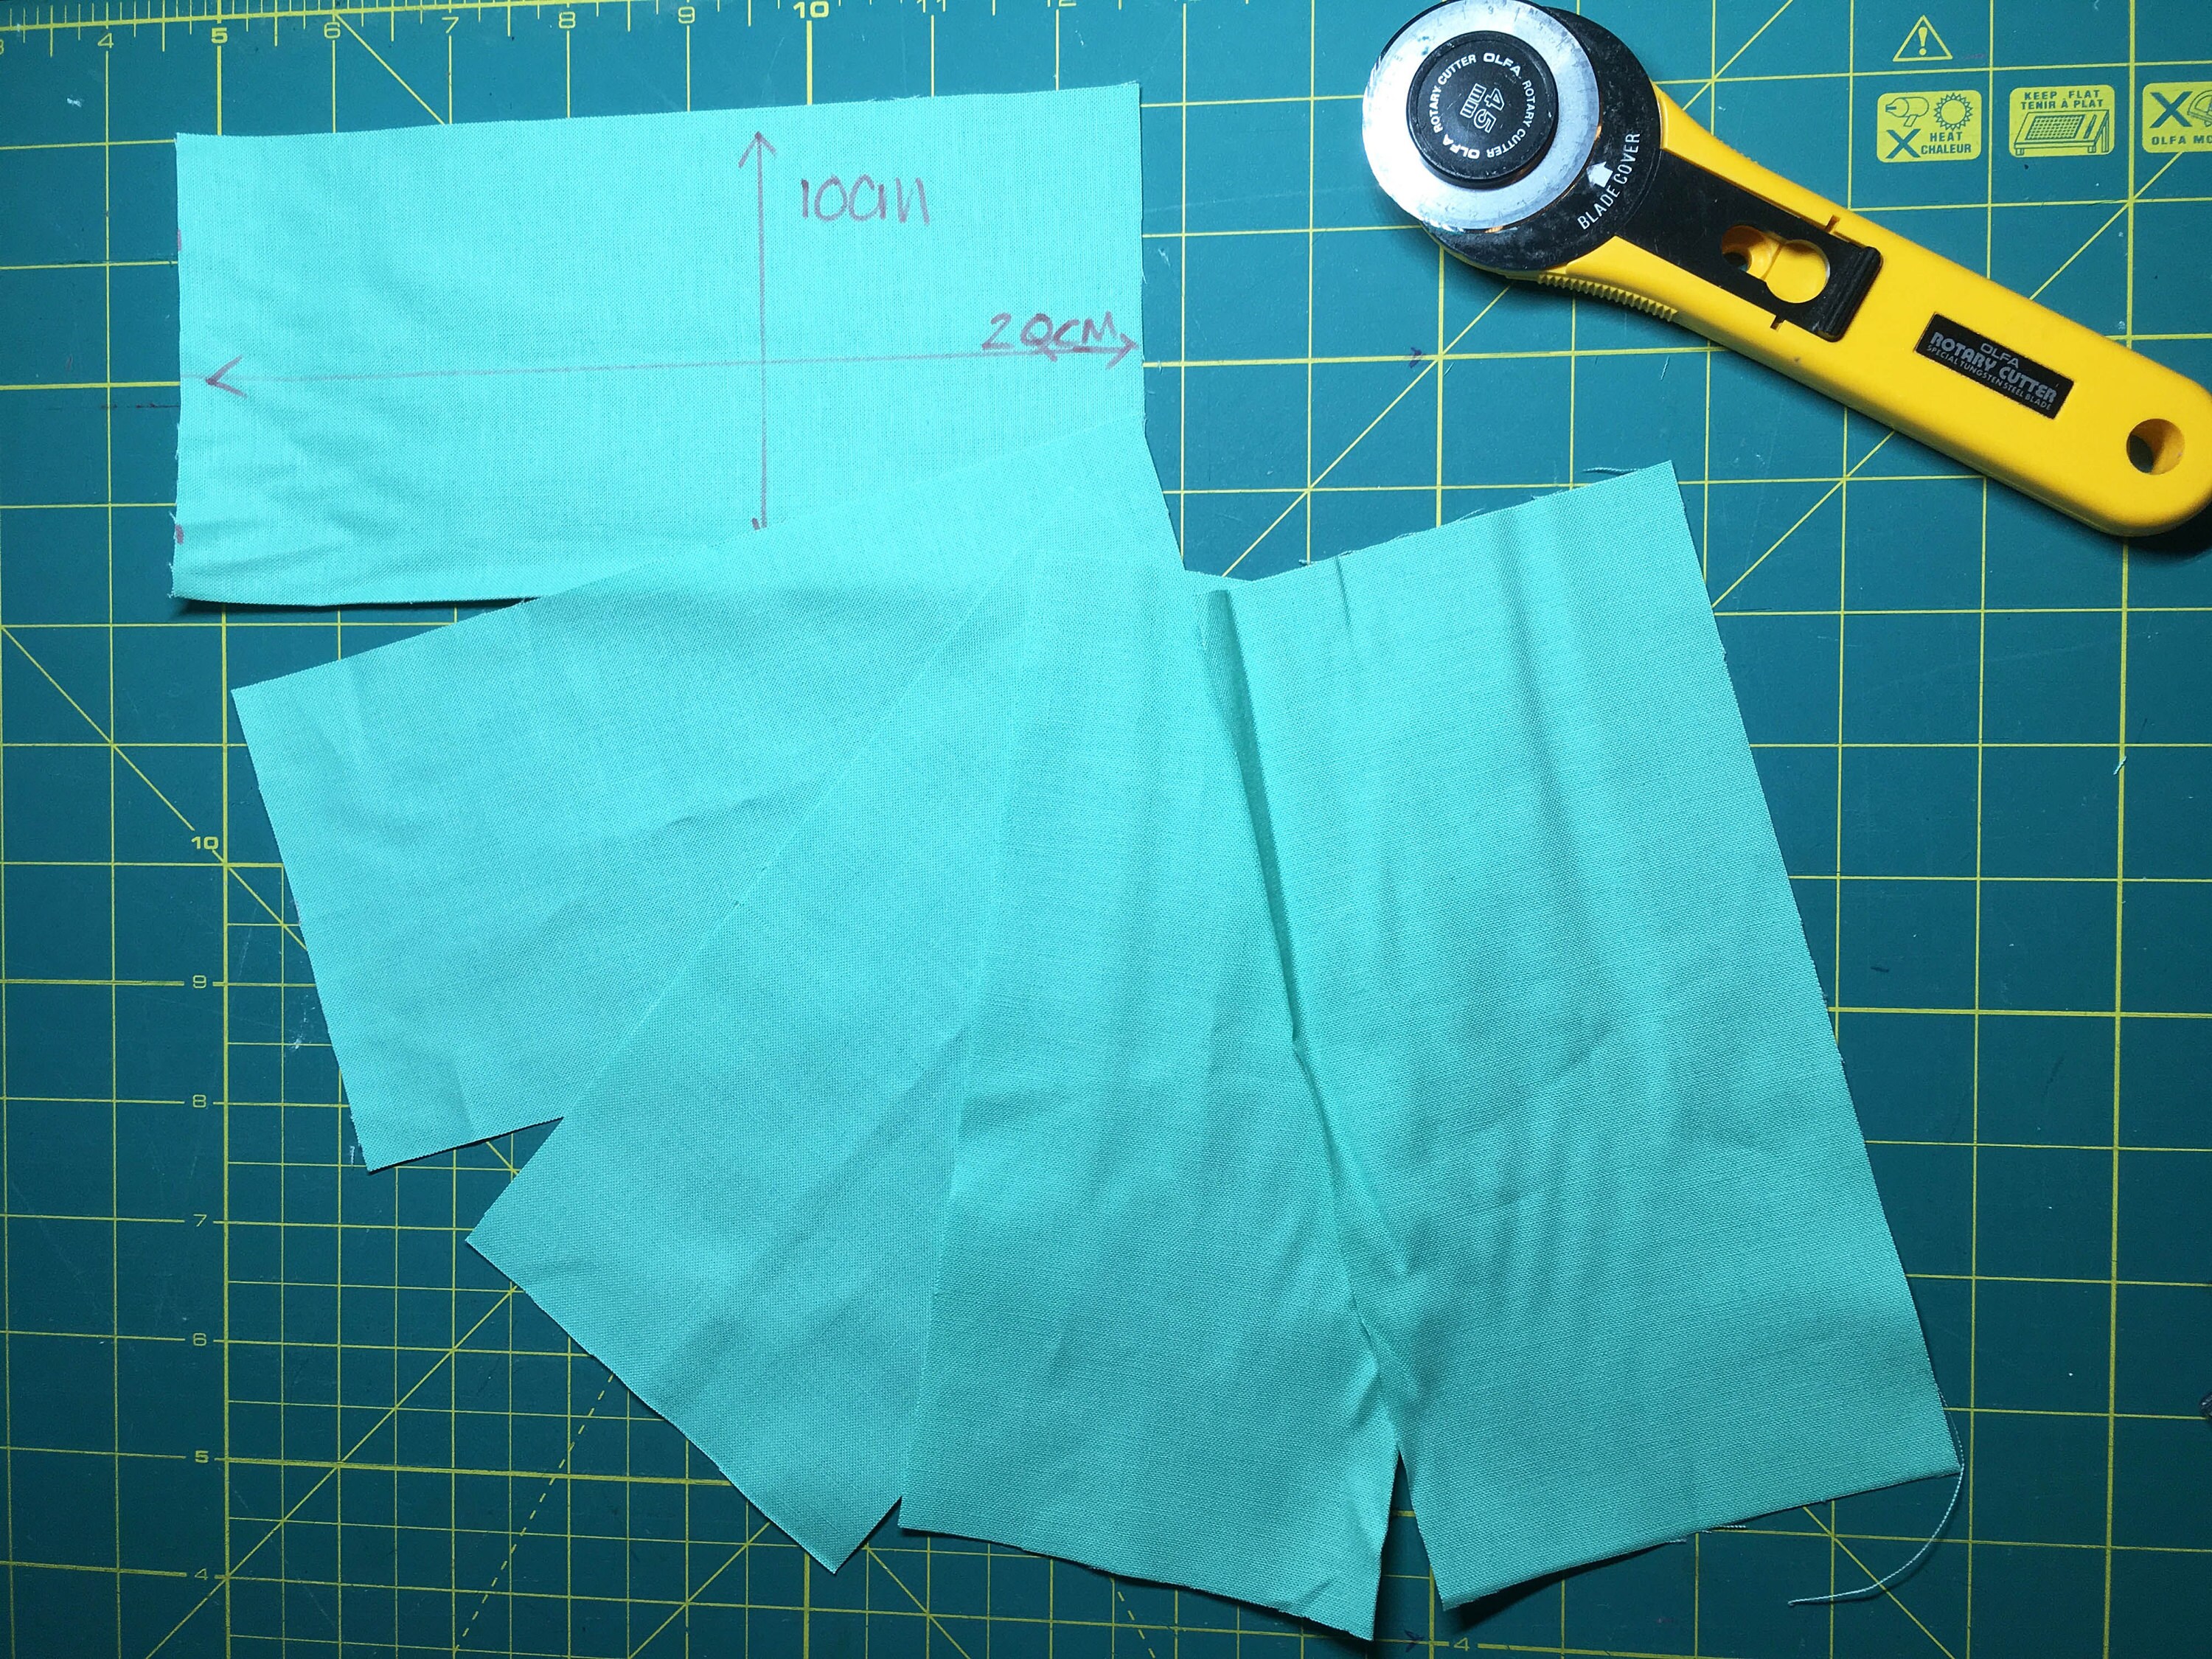
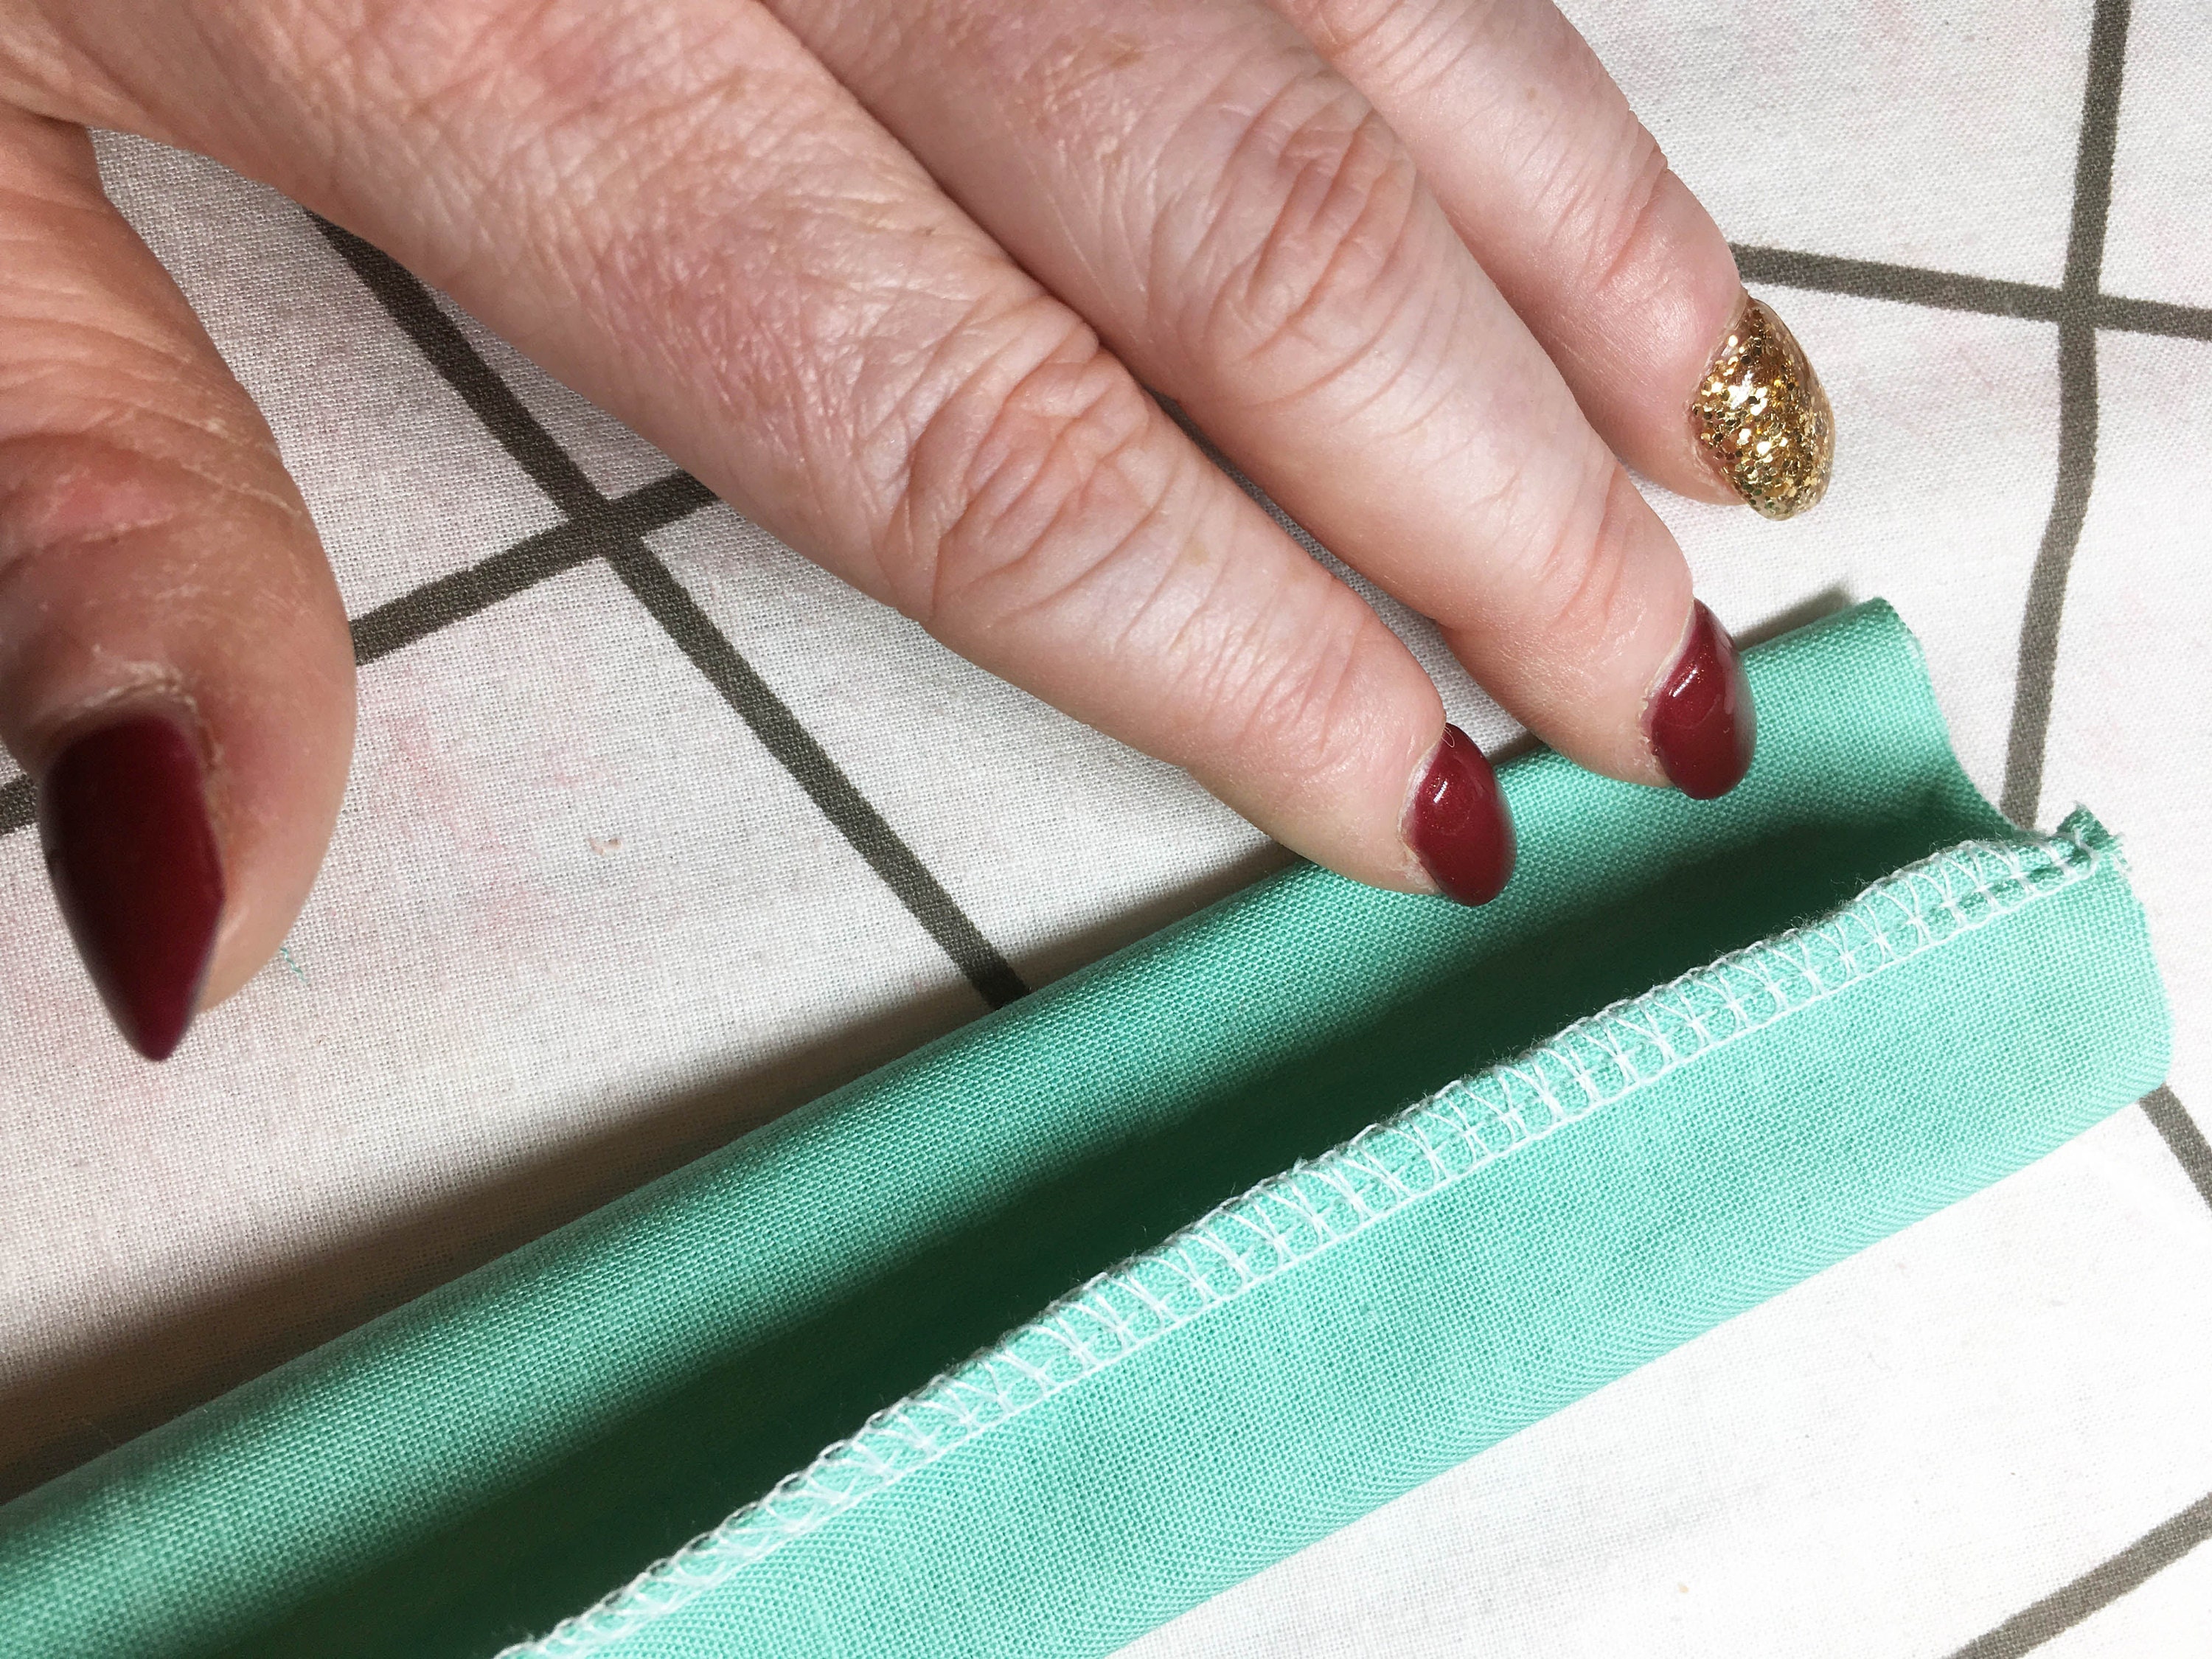
With right sides together fold each piece, matching the long sides together. Stitch using a 1cm seam allowance.
Turn each loop right side out. Press each loop moving the seam to the centre back of the loop.
Step ten: Attach loops to front panel
With raw edges lined up against the top of the panel pin in place, ensuring all the loops are evenly space along the top edge. The loops on each edge should not be closer to the corners than 1cm. Stitch in place using a 5mm seam allowance.
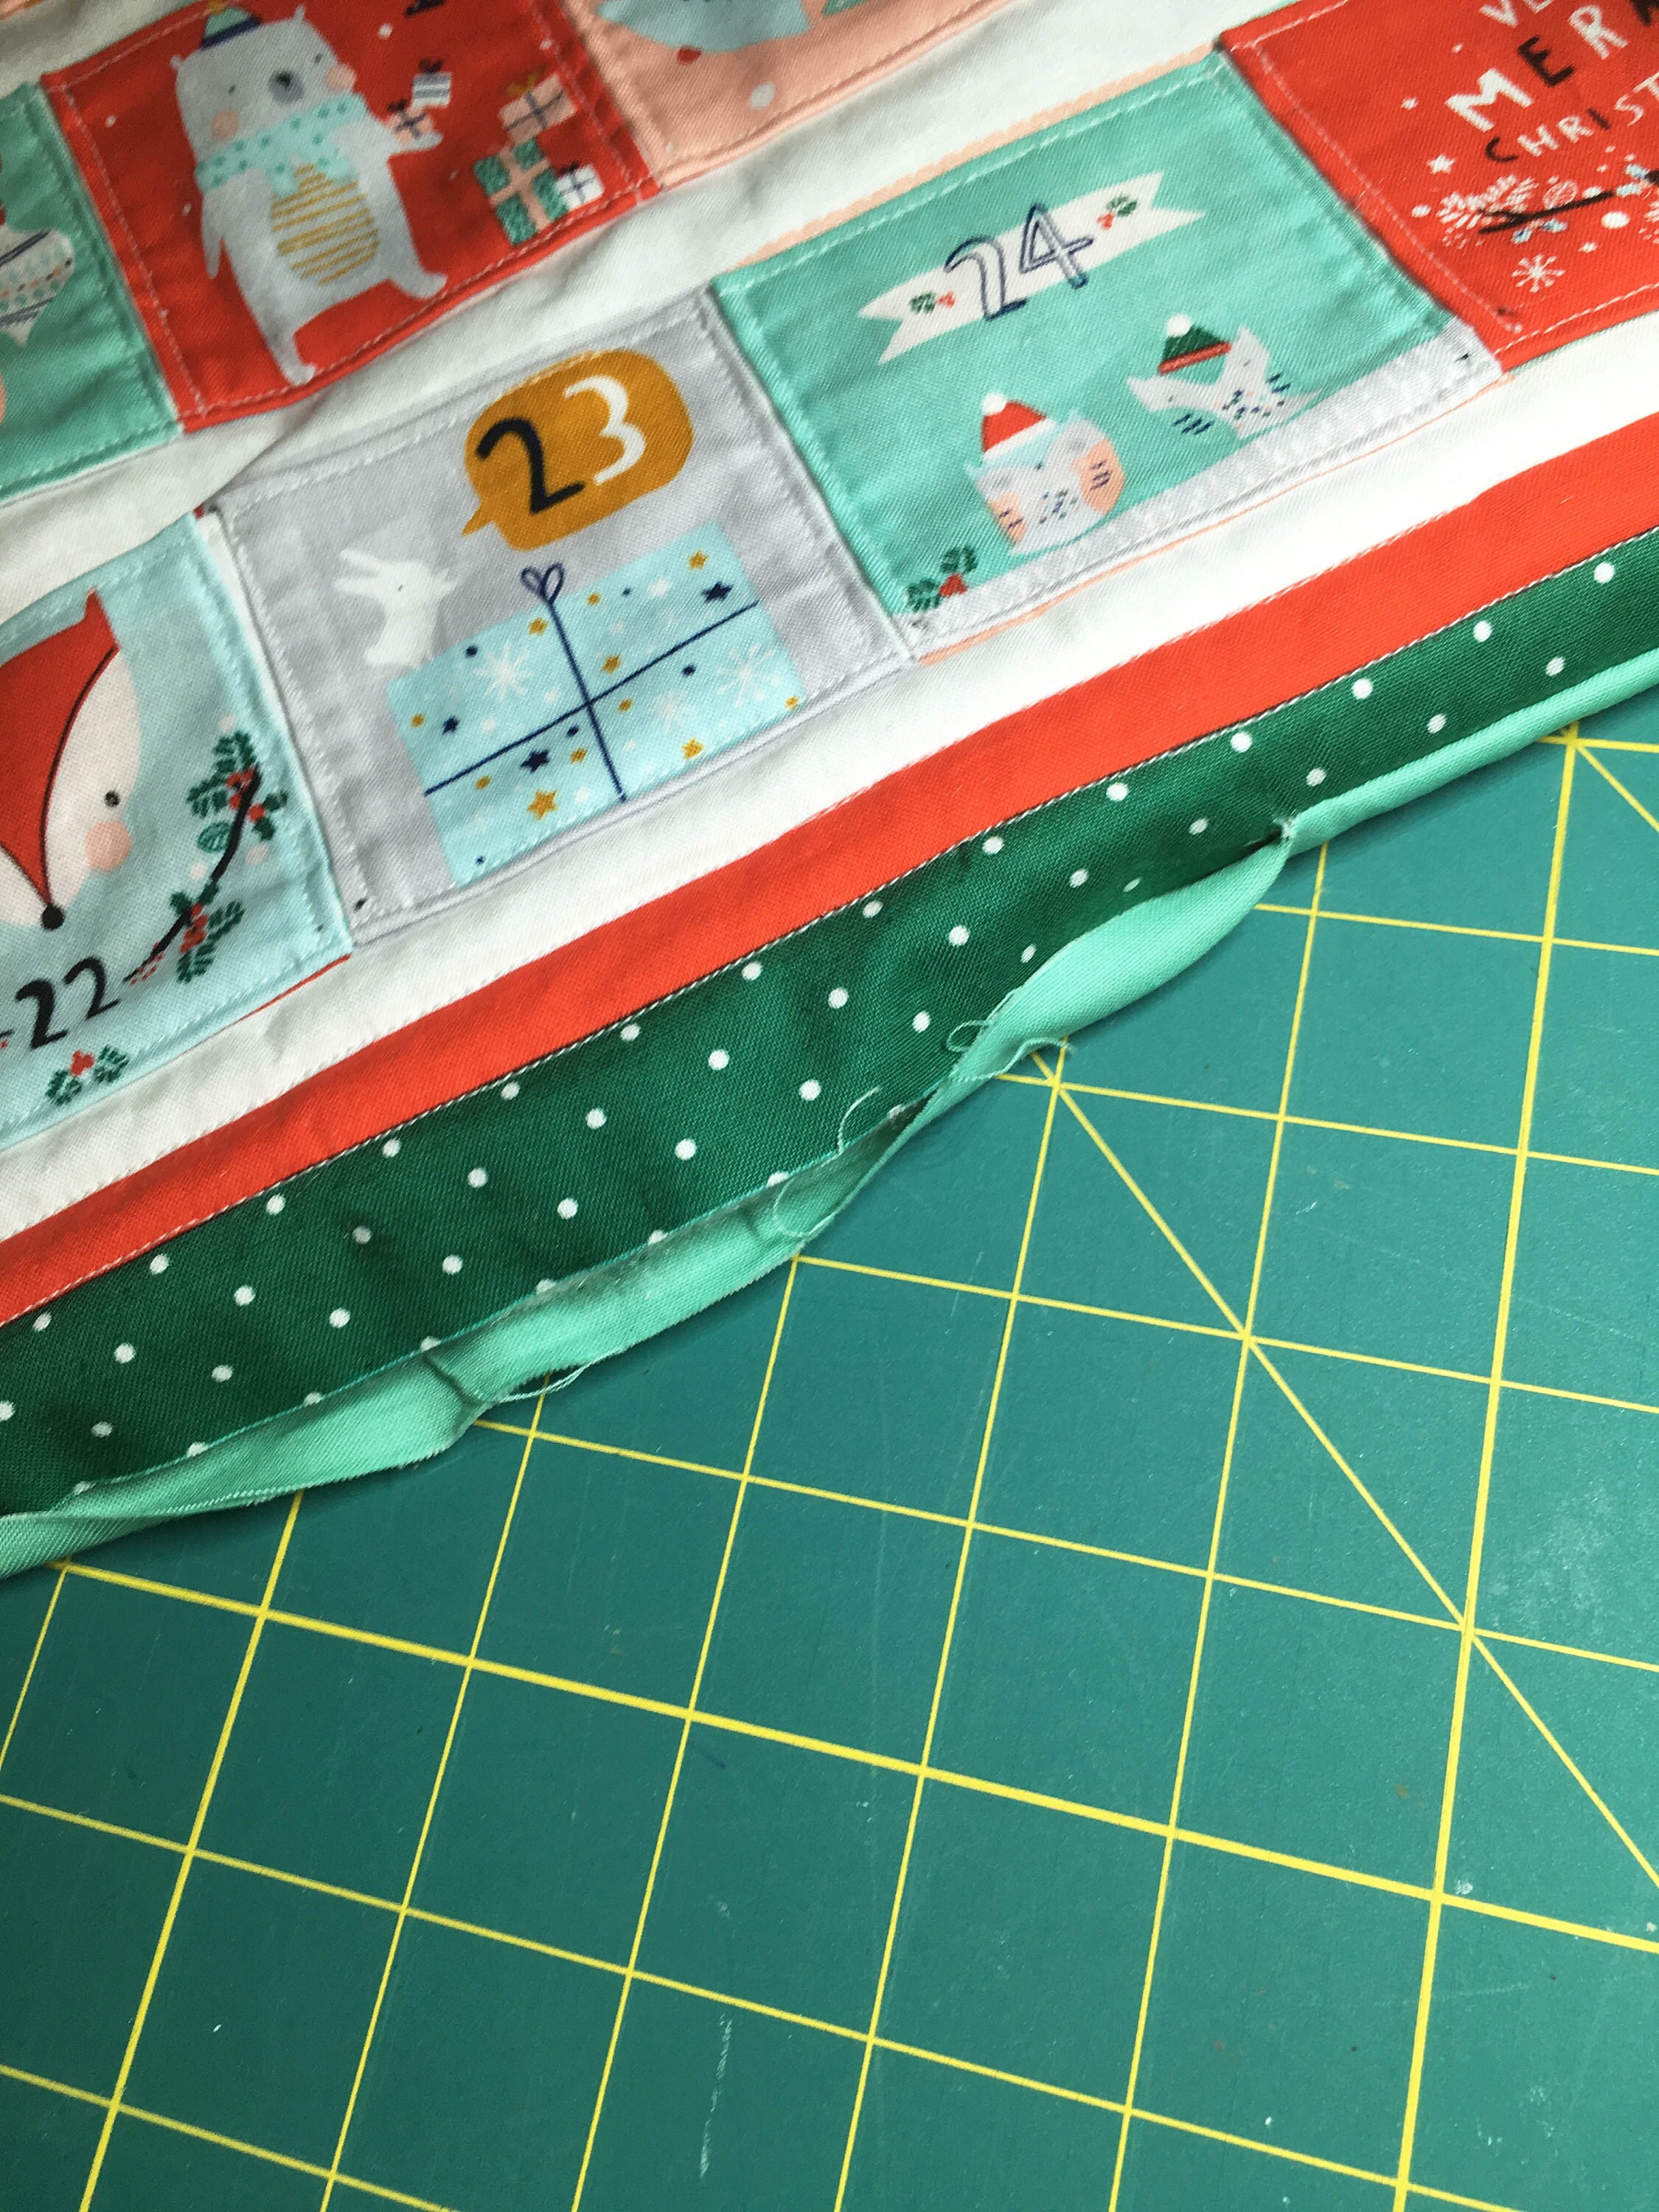
Step eleven: Bag out the front and back panel
With rights sides facing each other, place the front and back panels together (keeping the hanging loops inside the panel) and pin in place. Stitch with a 1cm seam allowance - leaving a gap of approx 15cm at the bottom.
Step twelve: Turn right side out
Turn the panel right side out. Clip the corners and turn the panel right side out and hand sew the opening closed.
Step thirteen: Finishing touches
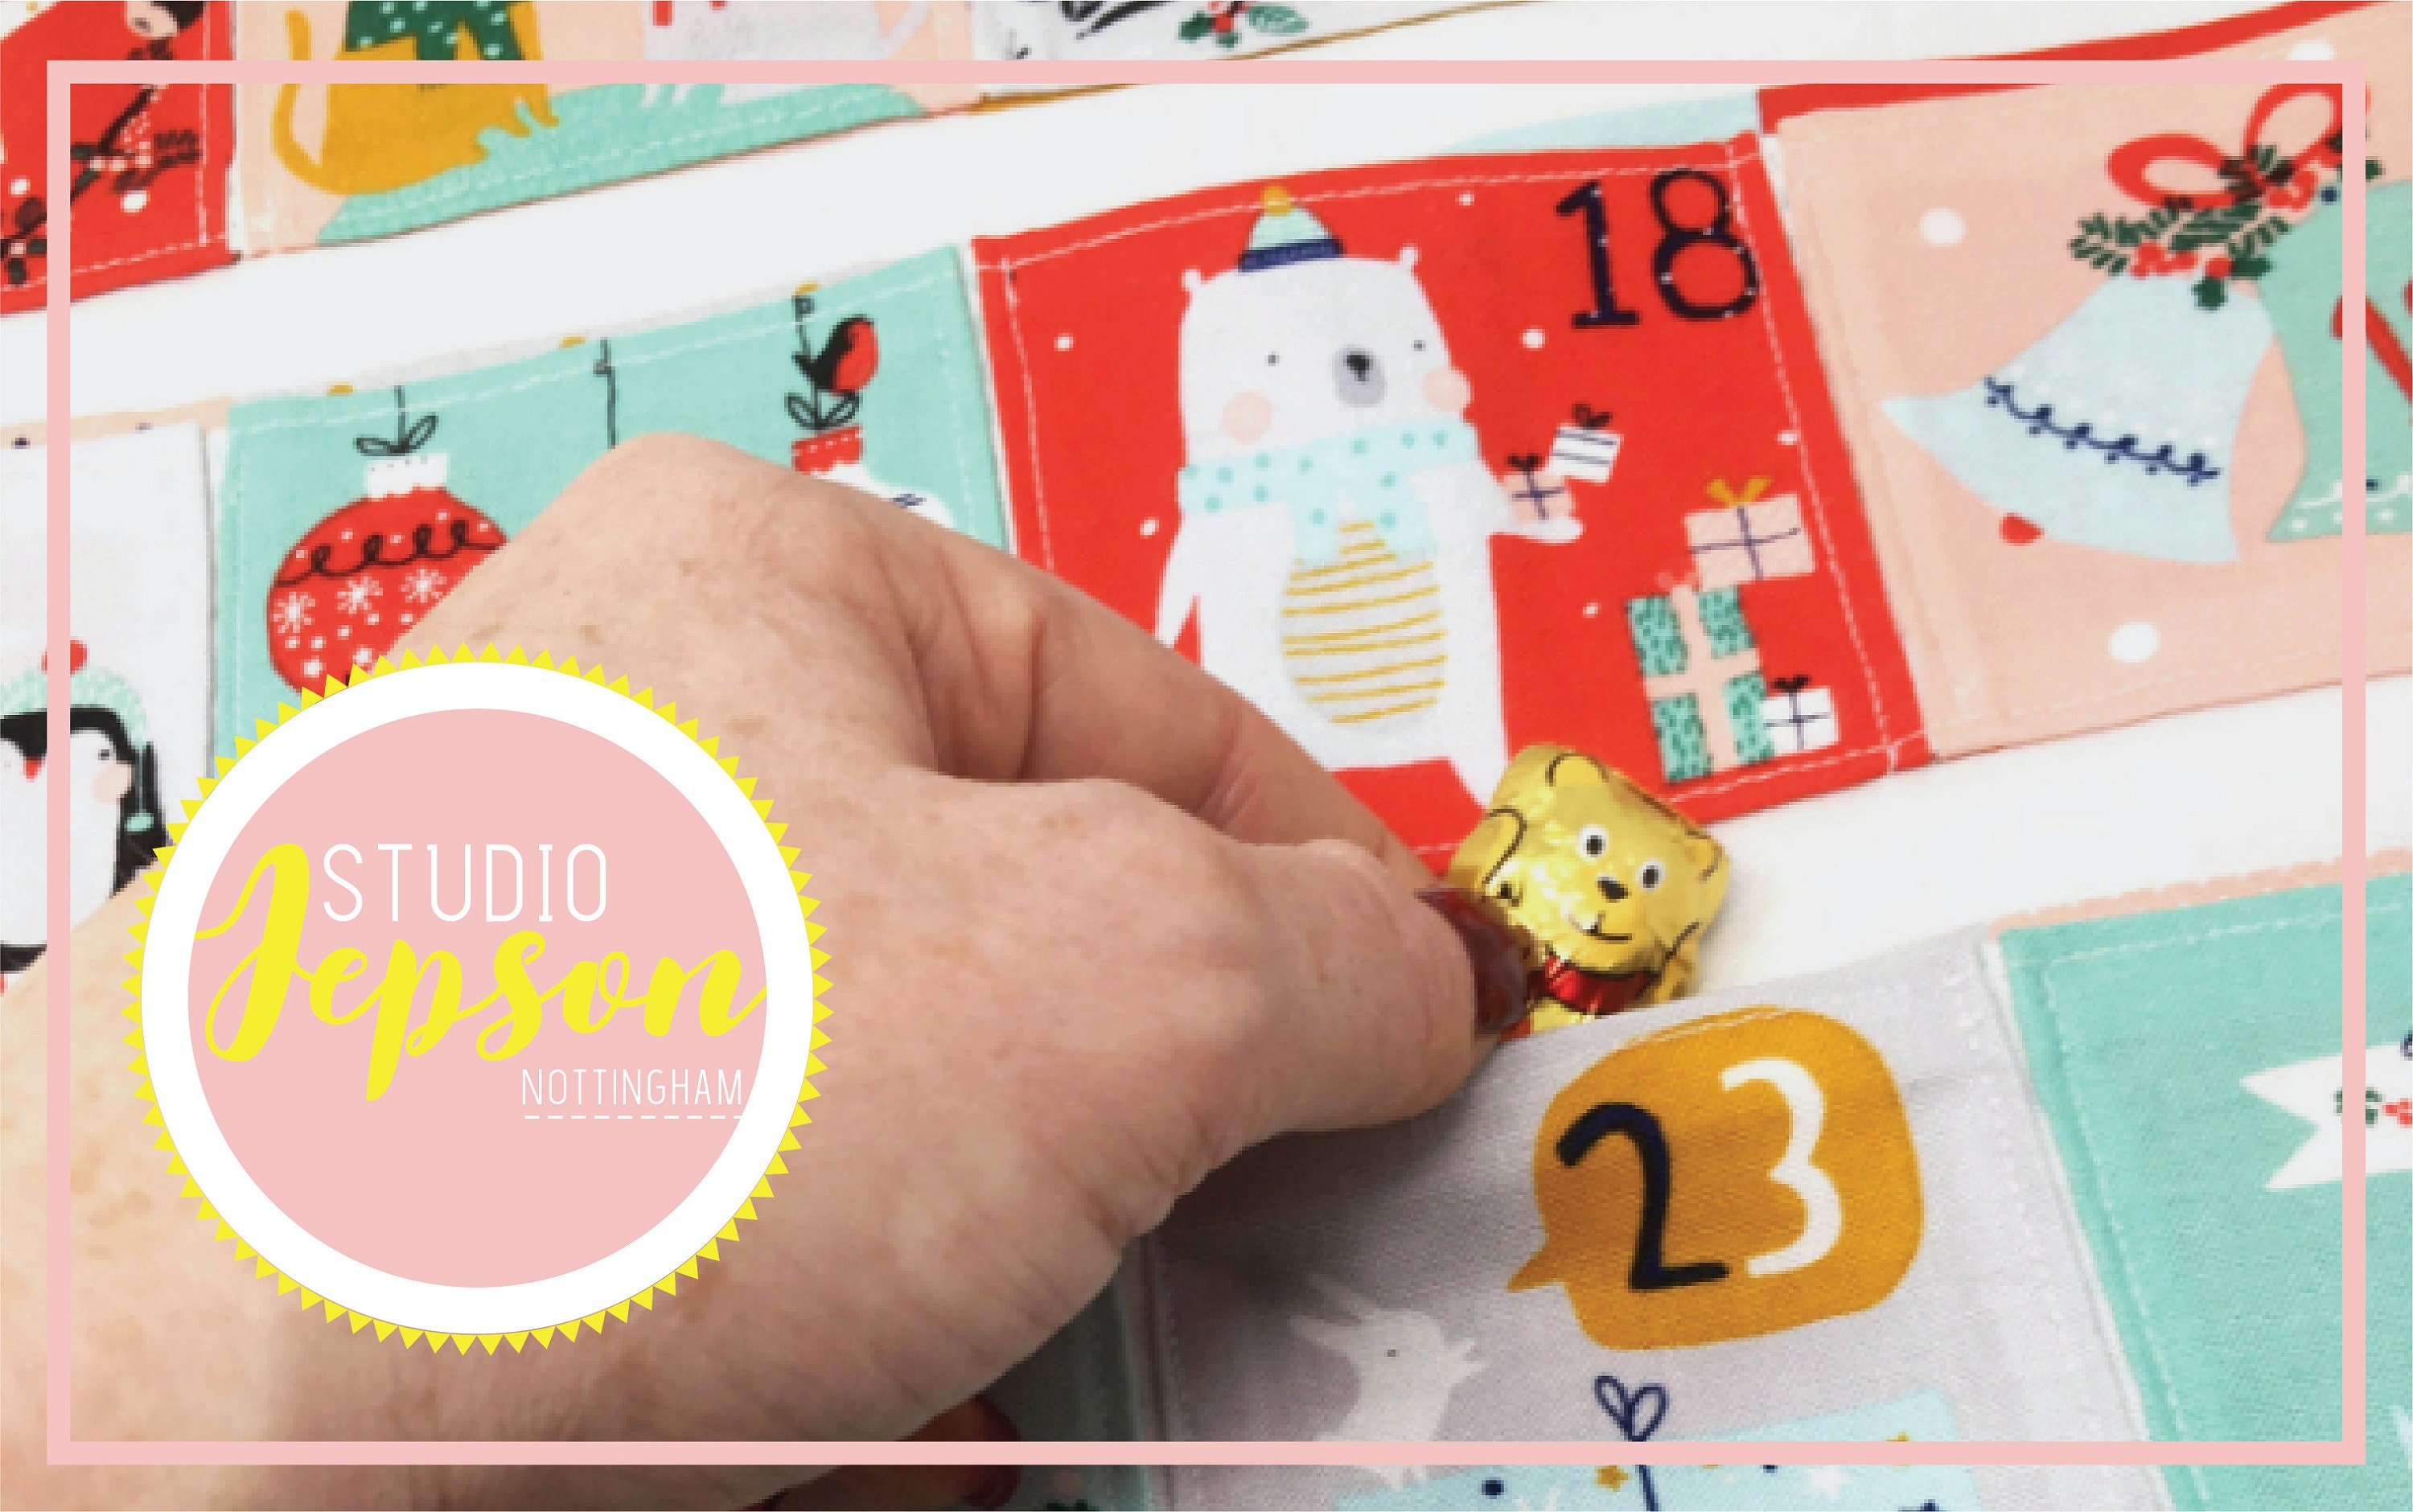
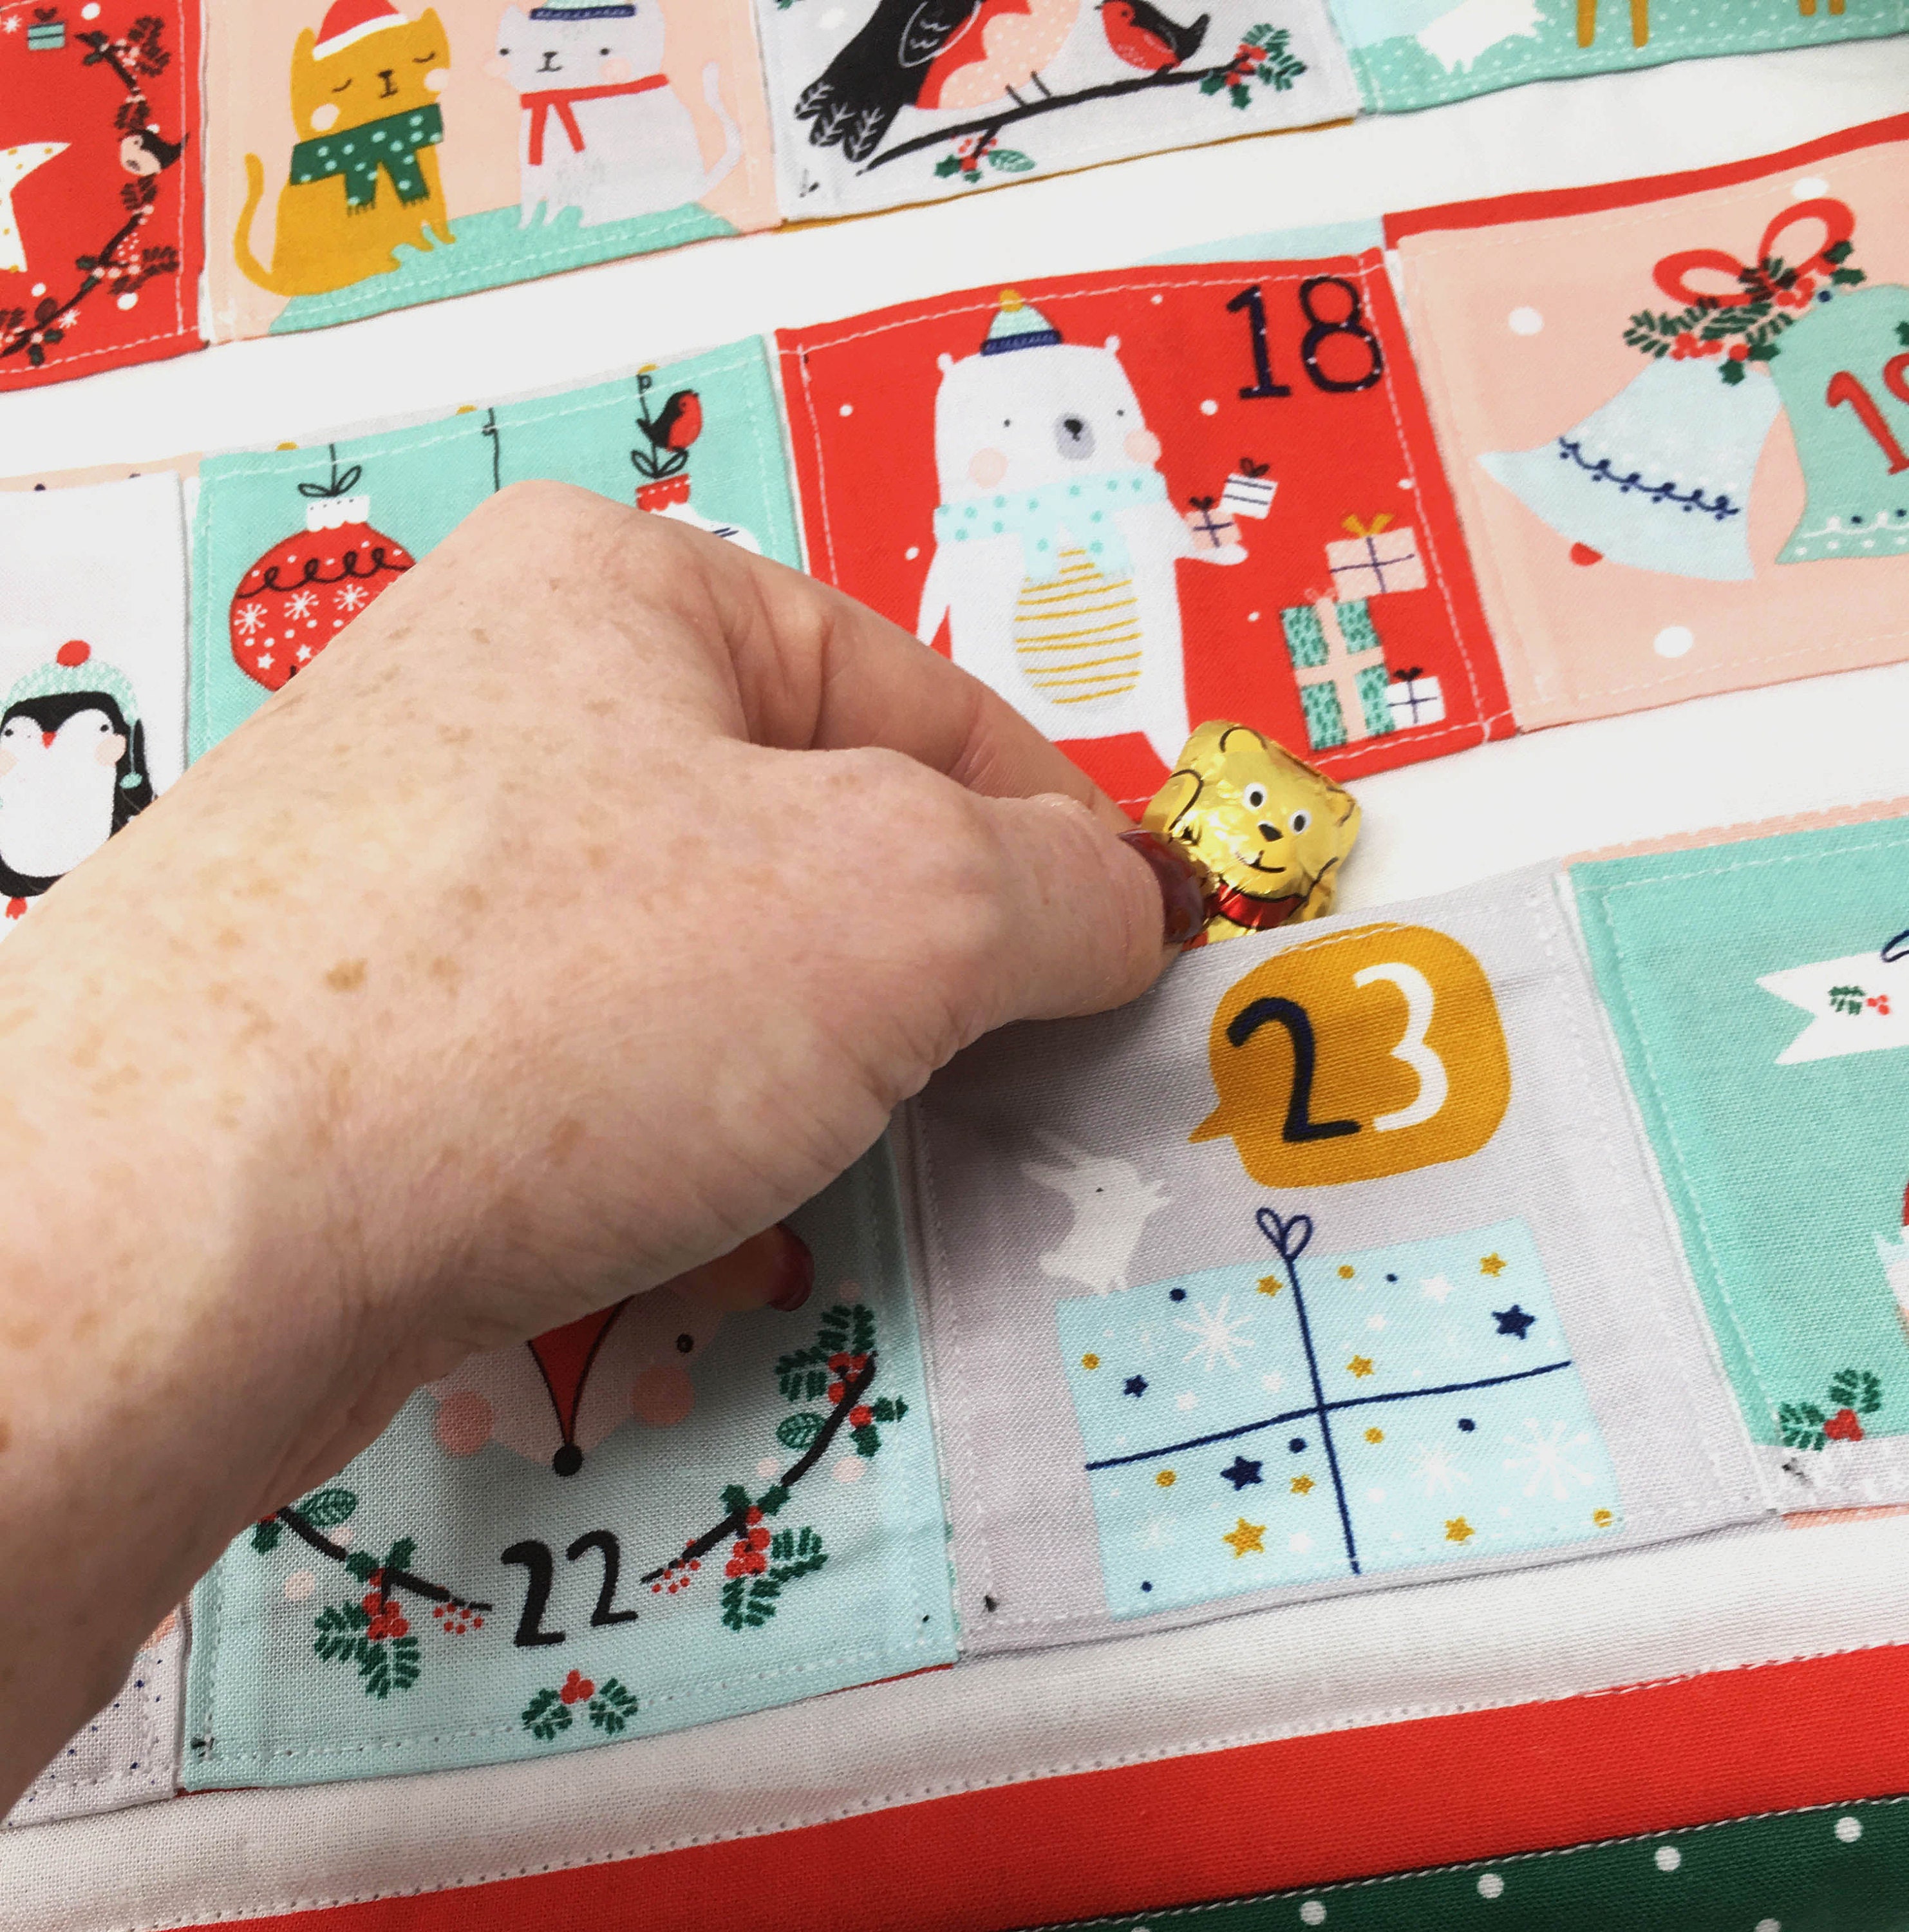
Thread the piece of dowel through the hanging loops. Give the calender a final press, check for thread ends and fill each pocket with chocolates/ toys/ notes or treats.
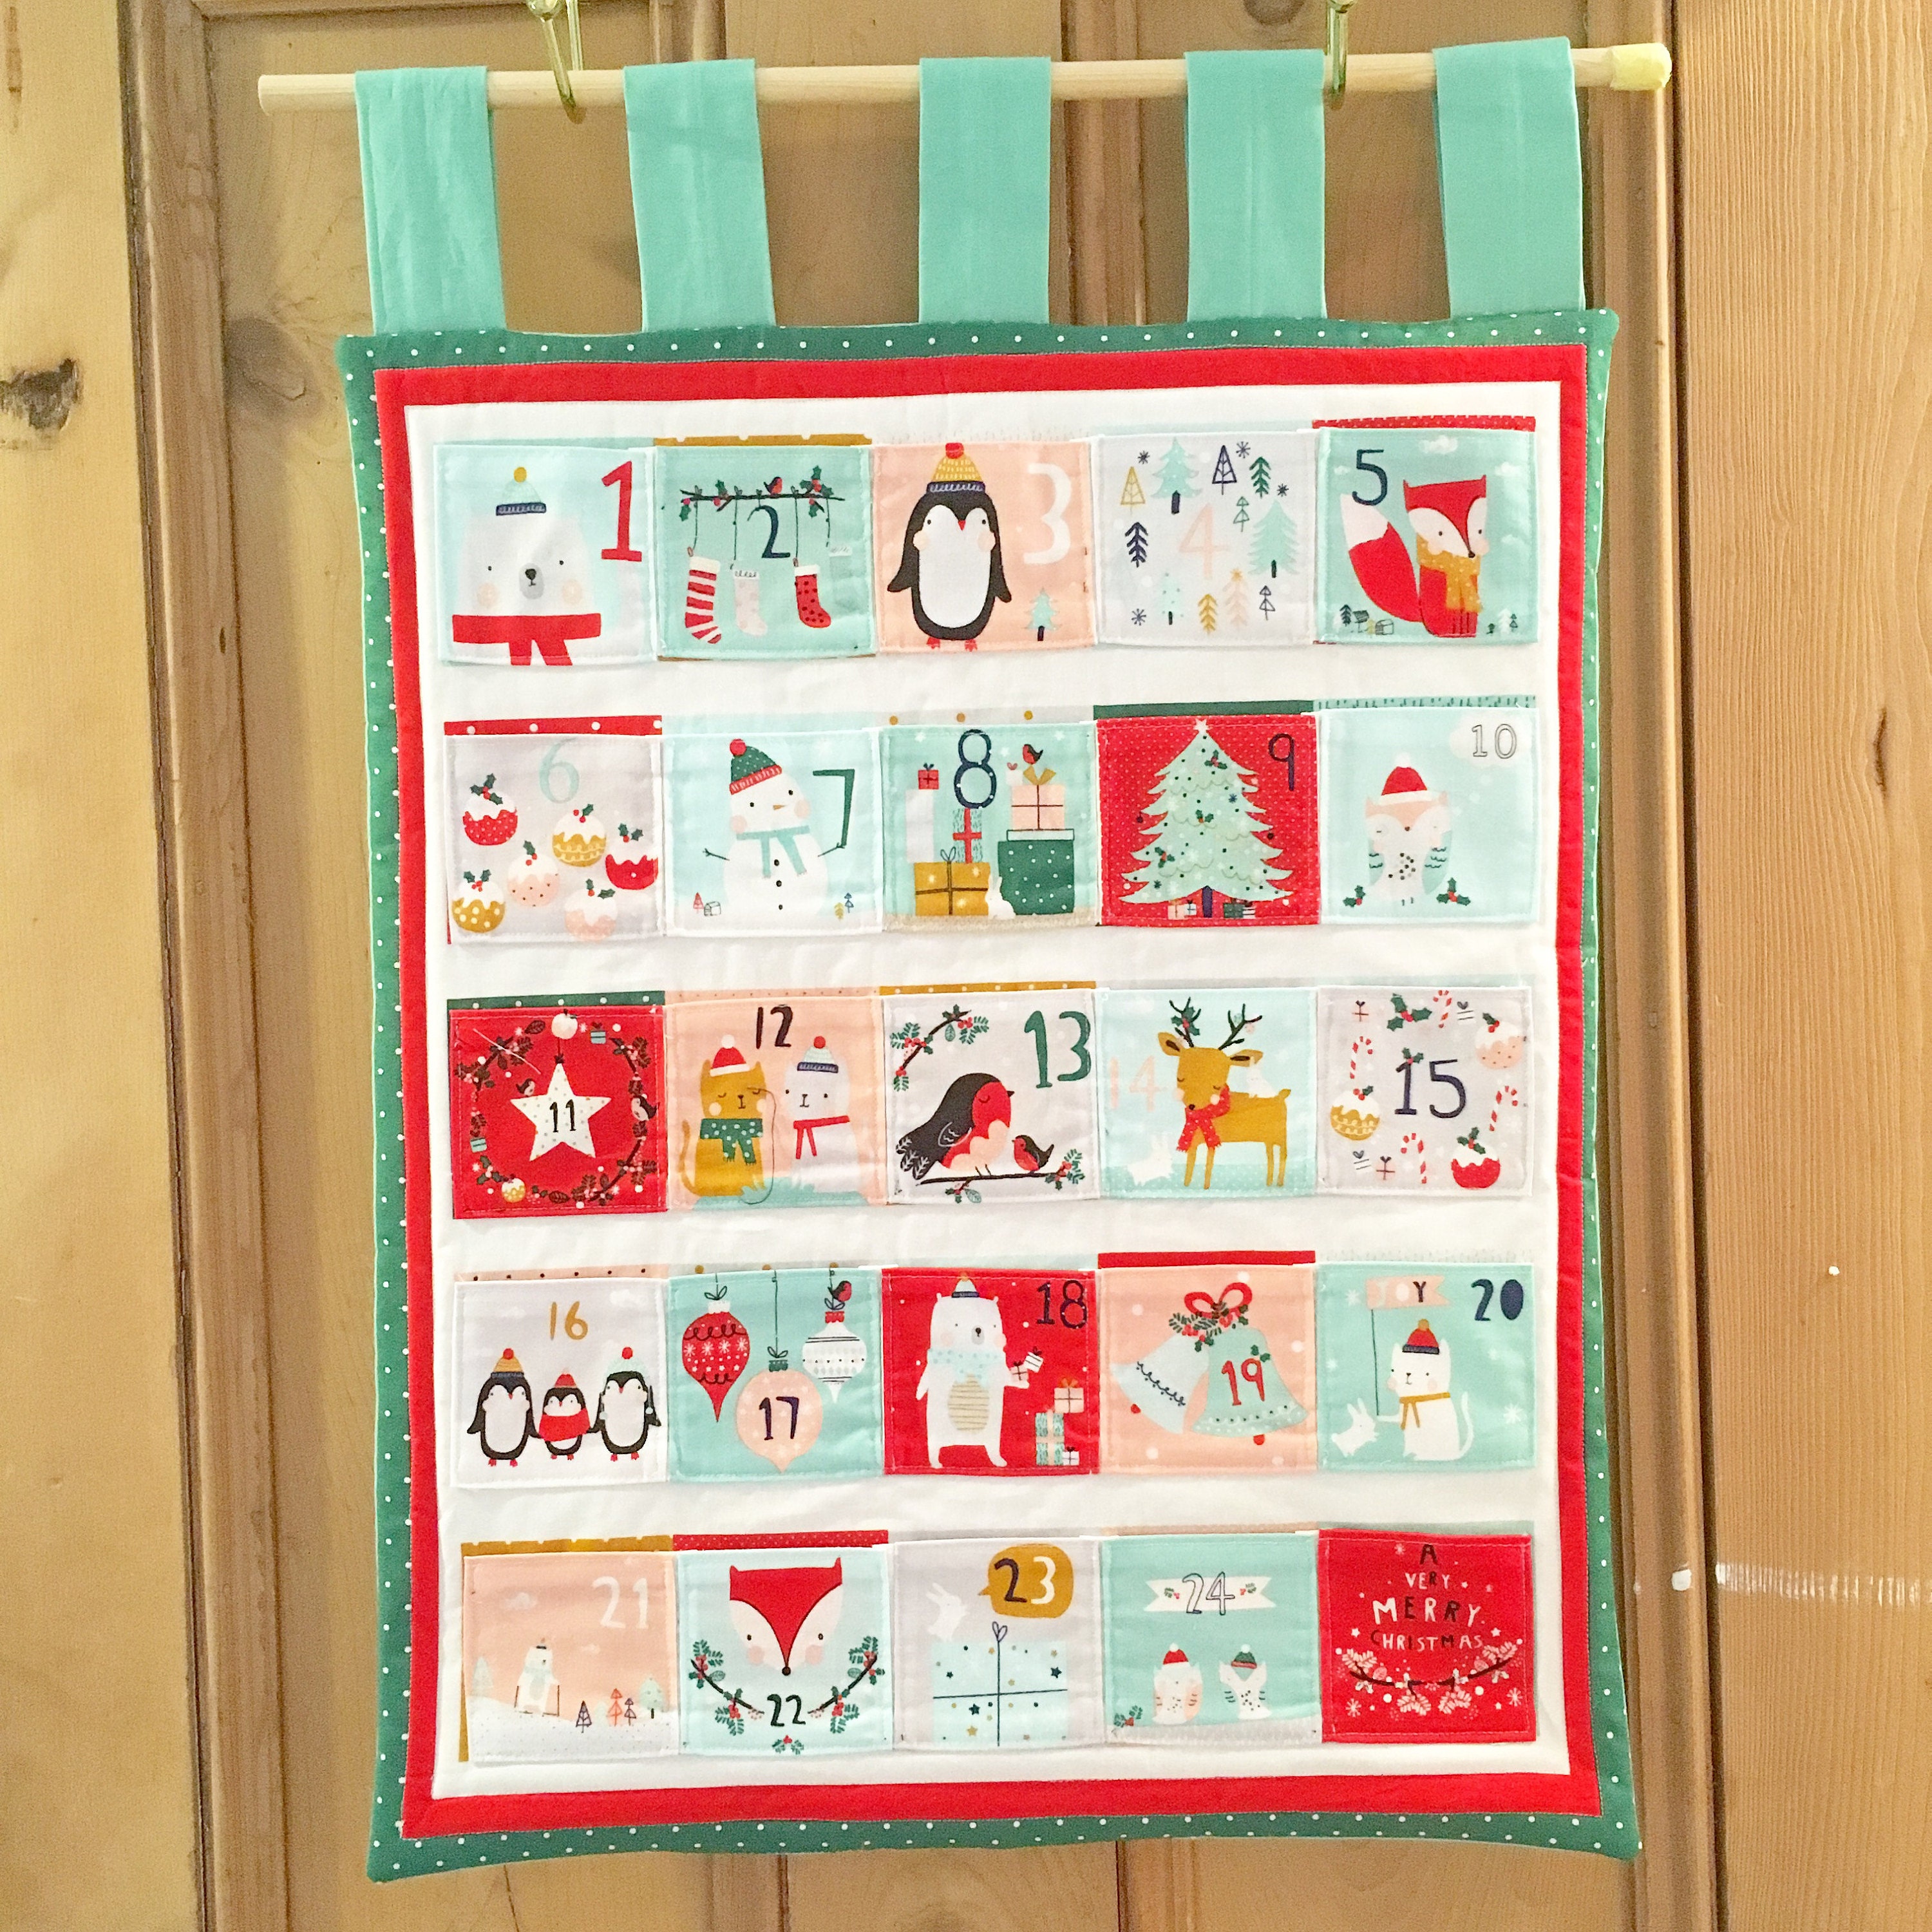

I would love to see your finished calenders!