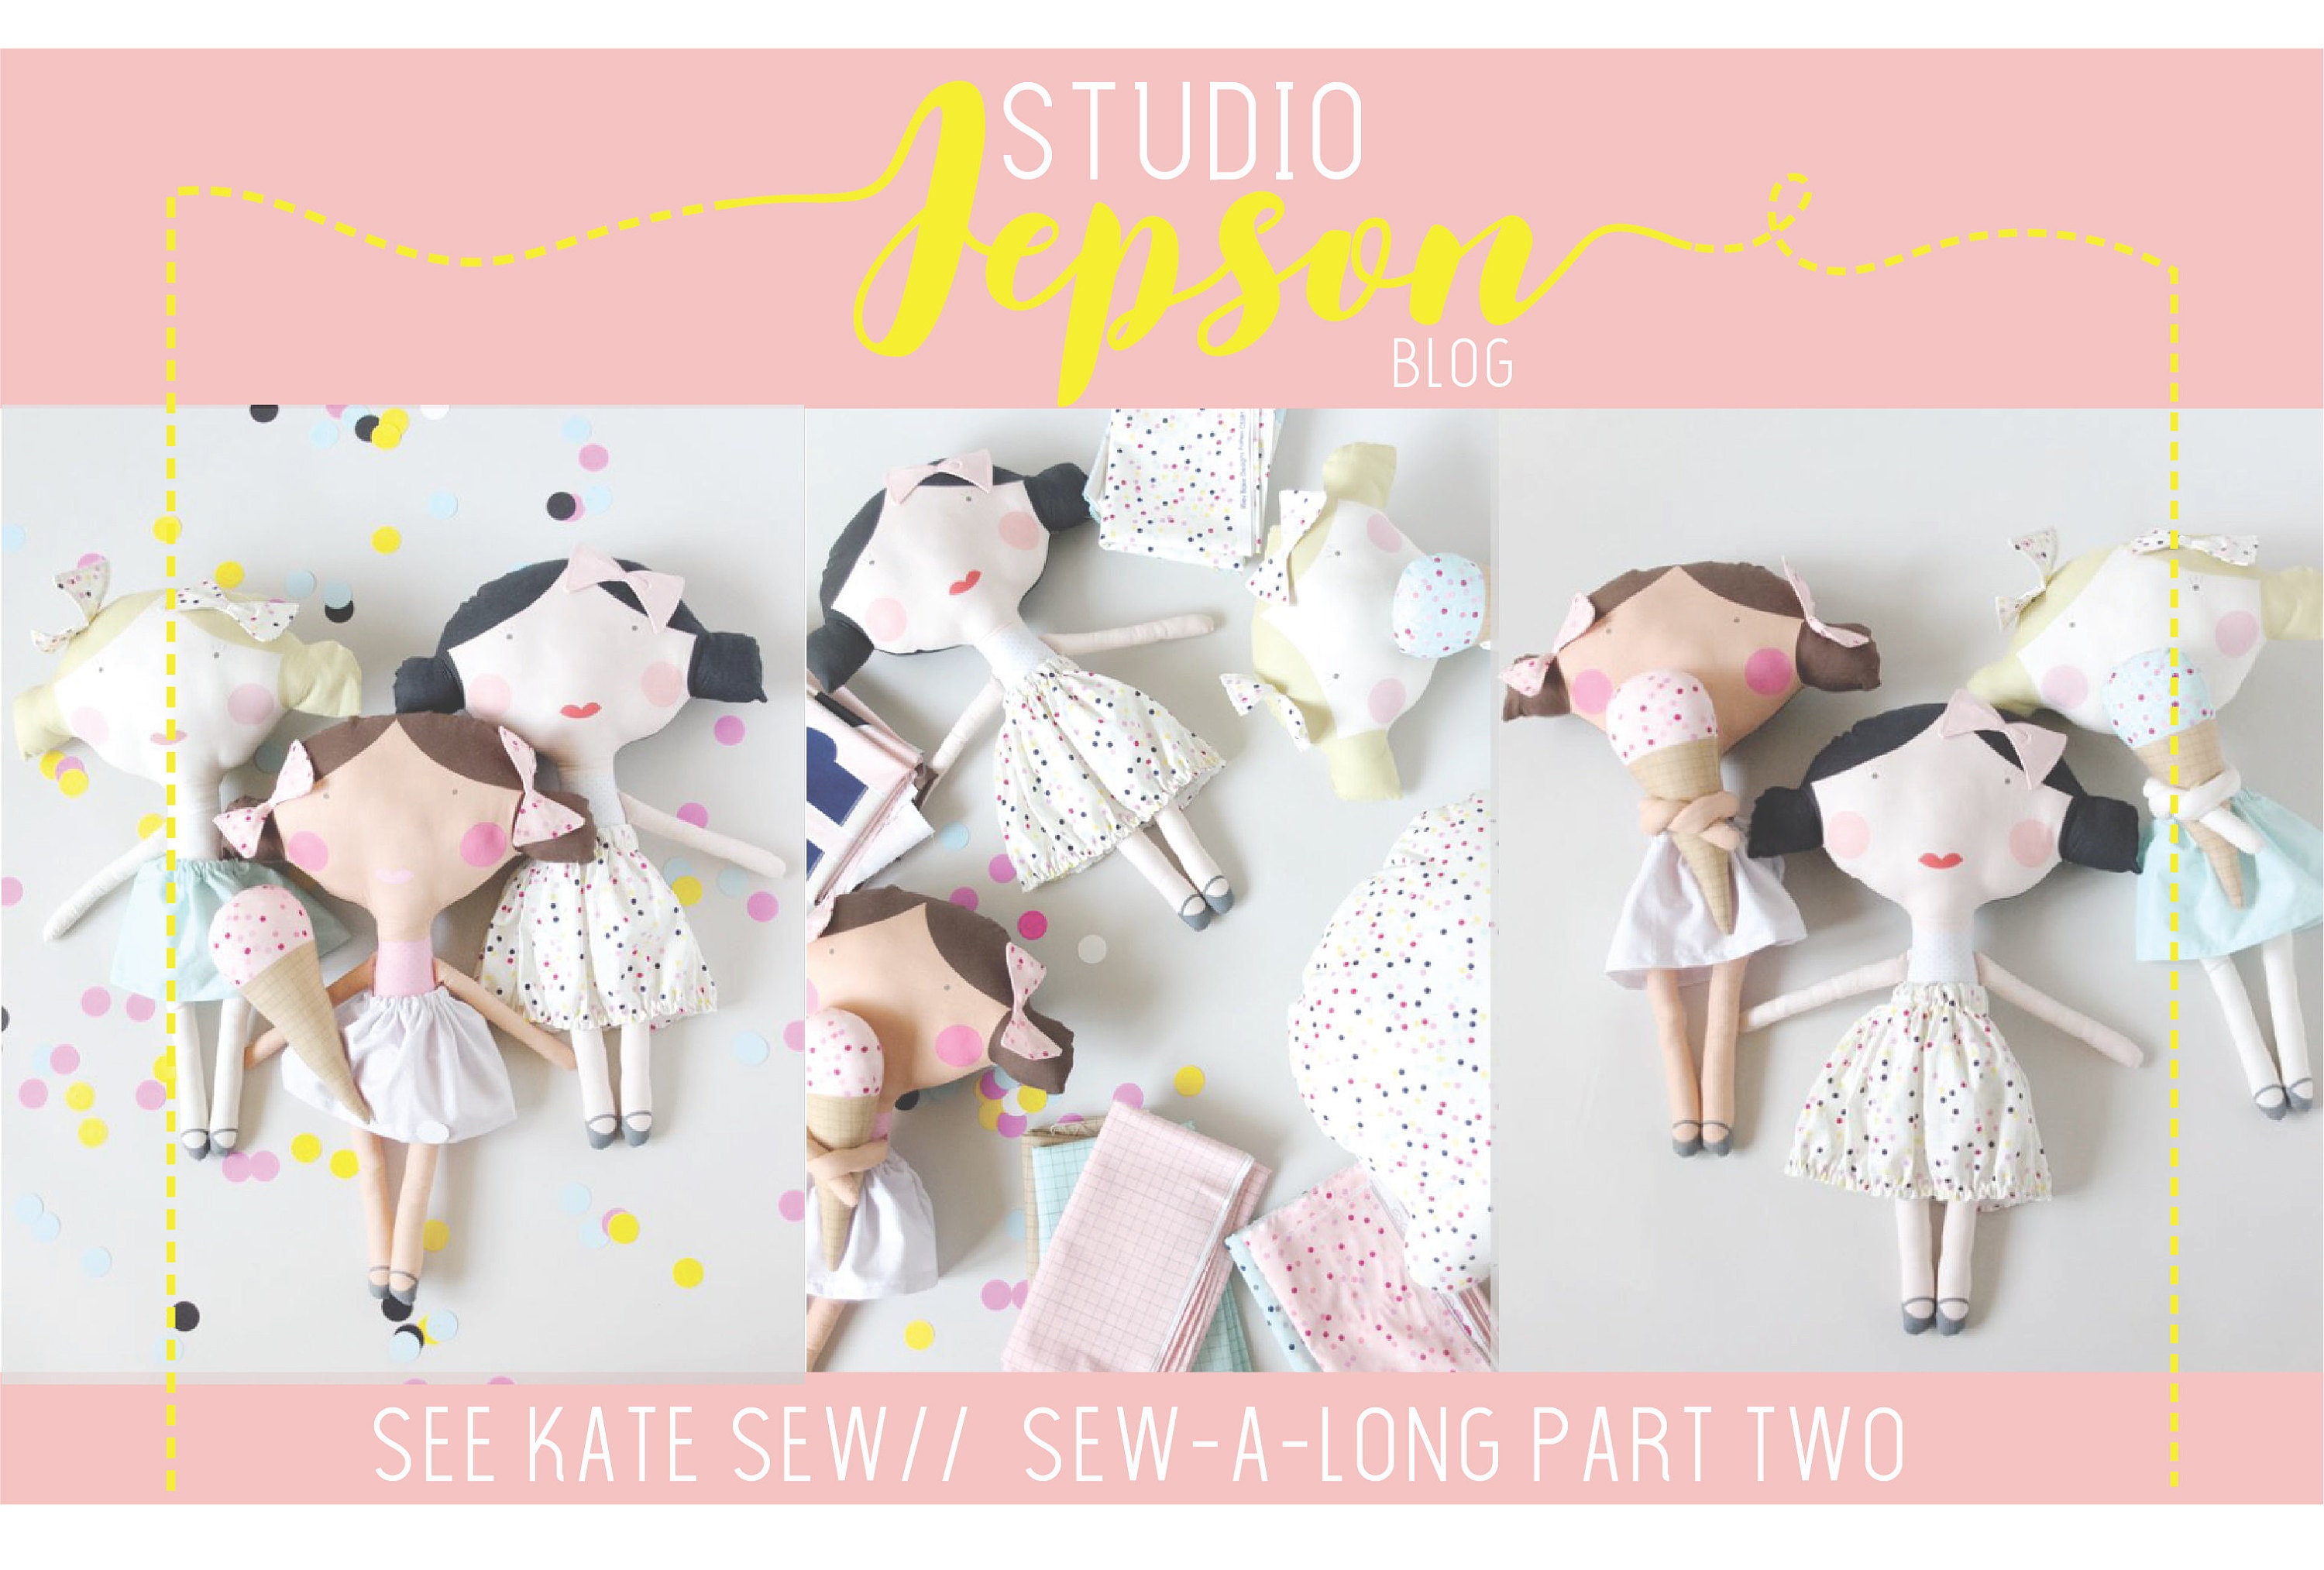
Welcome to the See Kate Sew doll sew-a-long day Two!
Yesterday we cut all the pieces from the Doll panel and constructed a pair of hair bows for Goldie/ Rosie or Olive.
Today we are going to construct the ice cream as well as the full skirt for the girl dolly.
Day Two - Ice cream and skirt make up
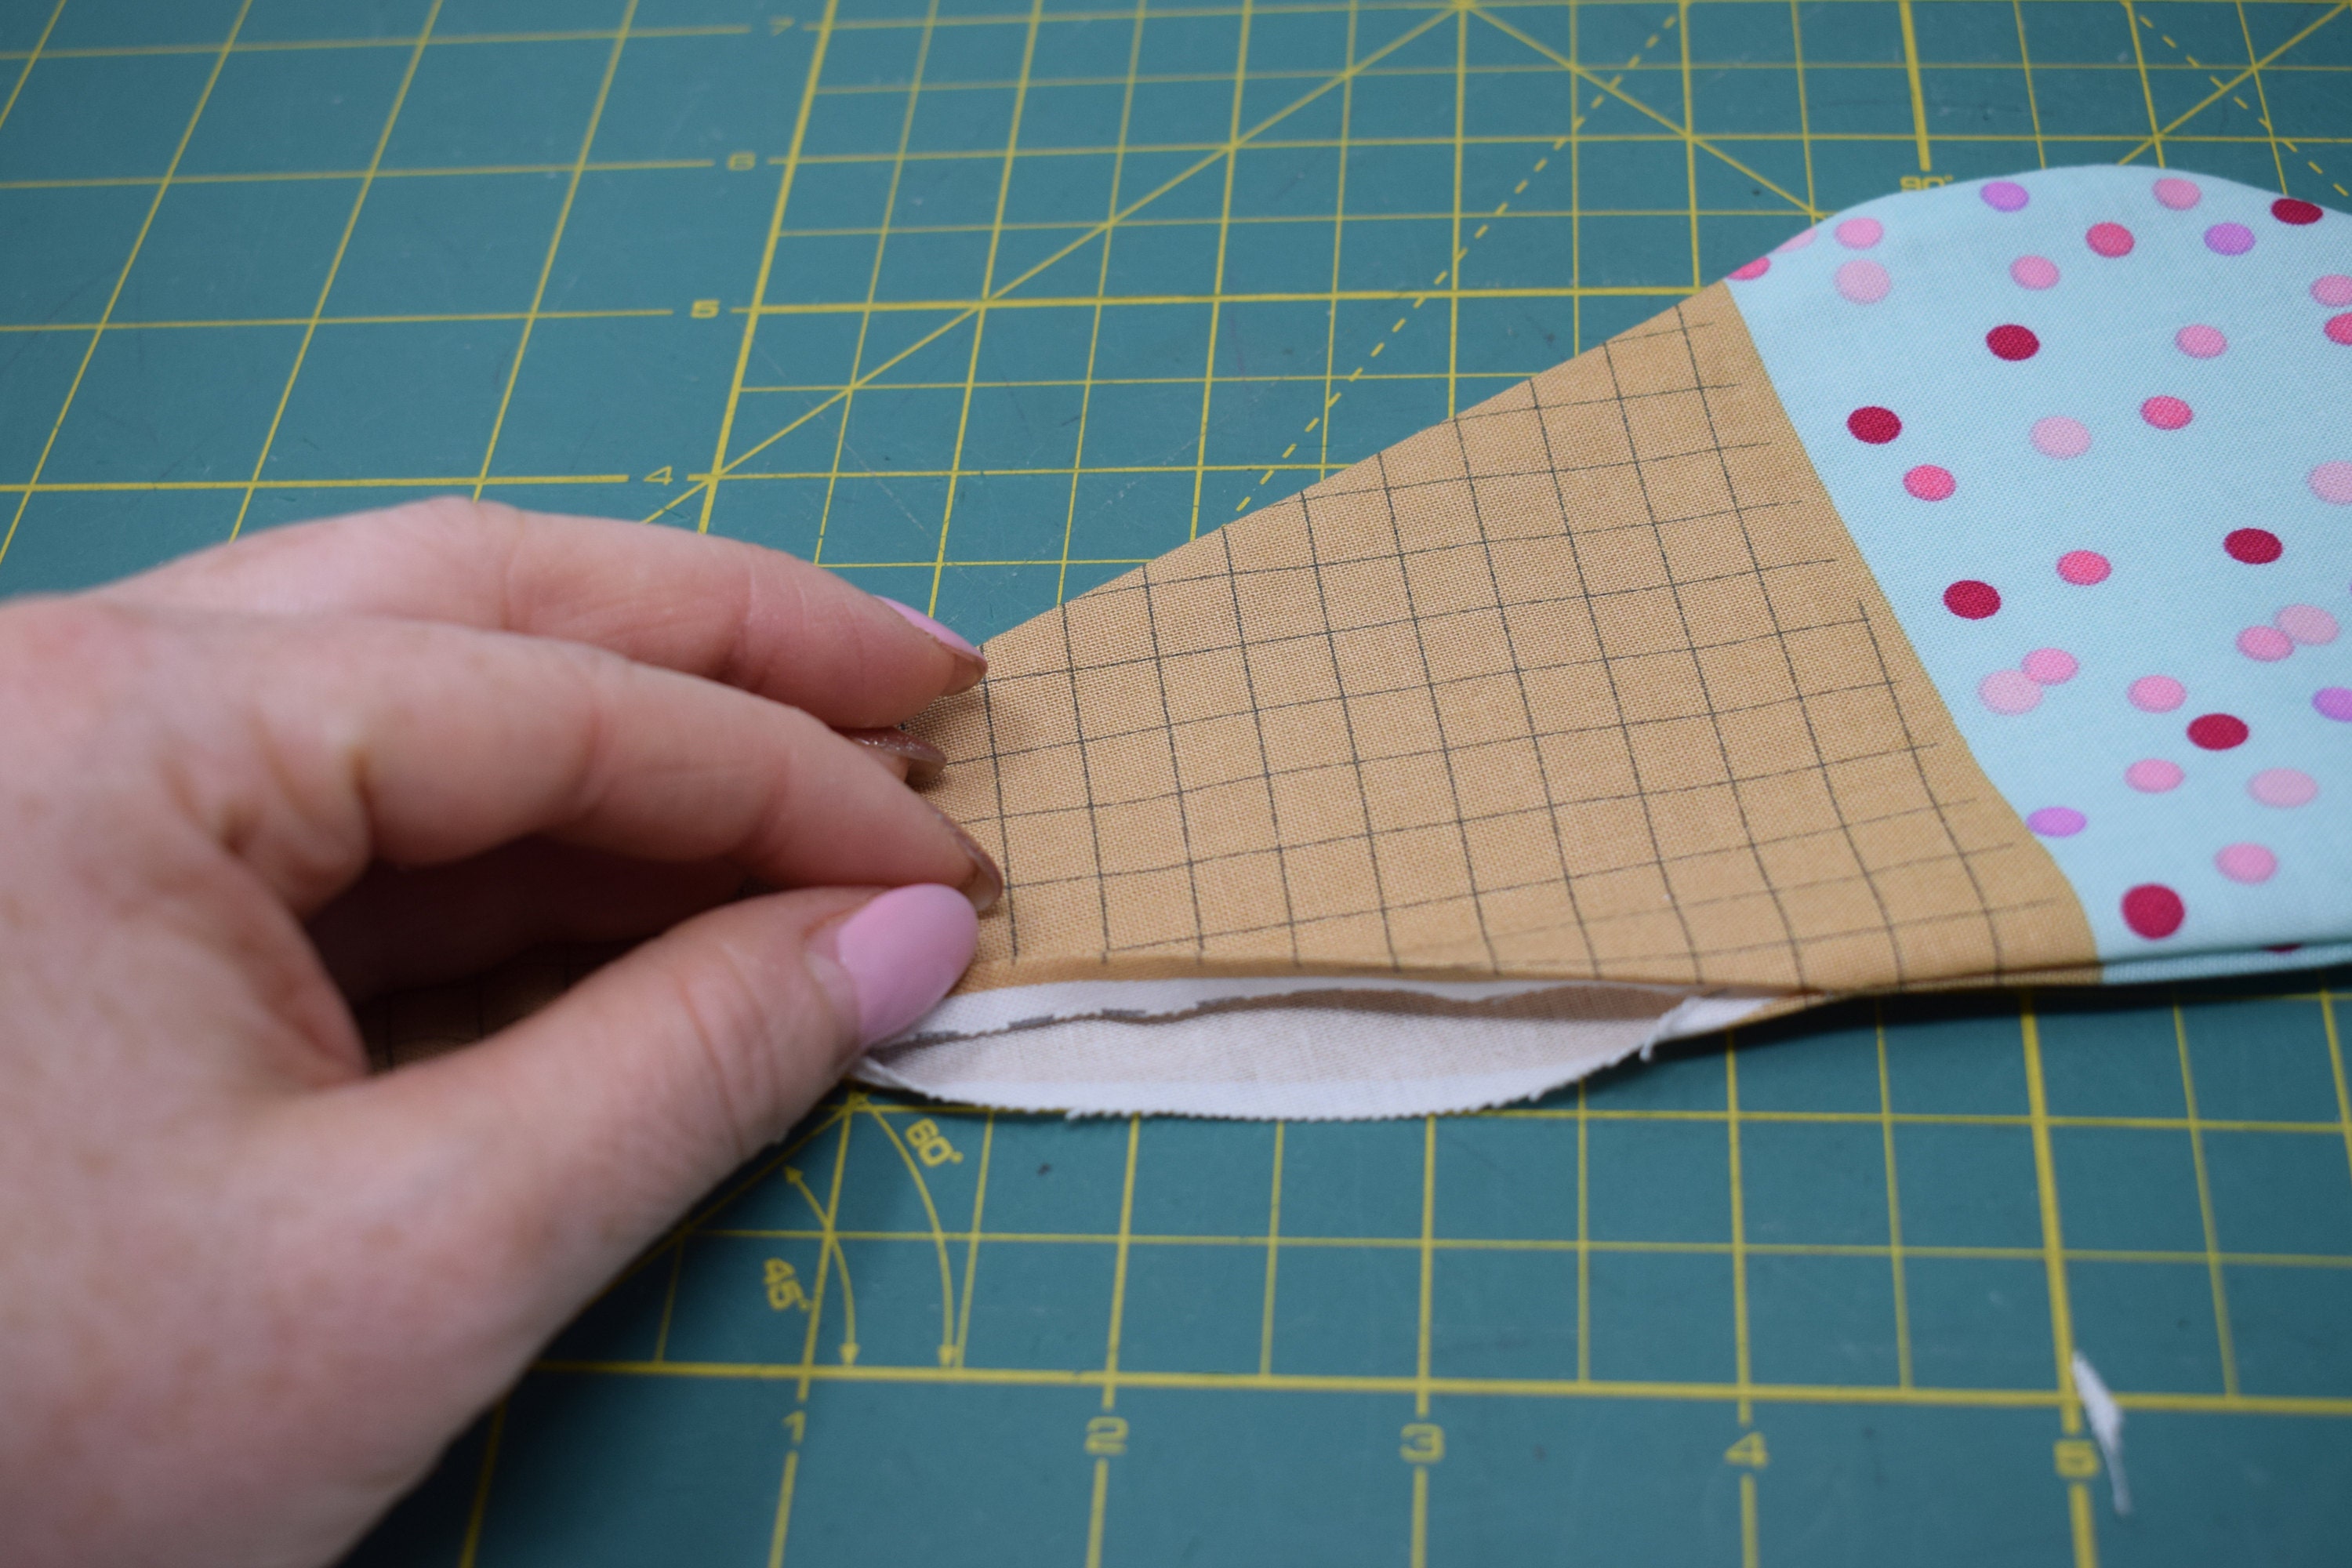
There are two ice cream pieces, lay right sides together and pin.

Take special care to ensure that the tops of the cones are matching on both pieces, otherwise when stitched and stuffed there will be a 'step' and the tops of the cone will not align.
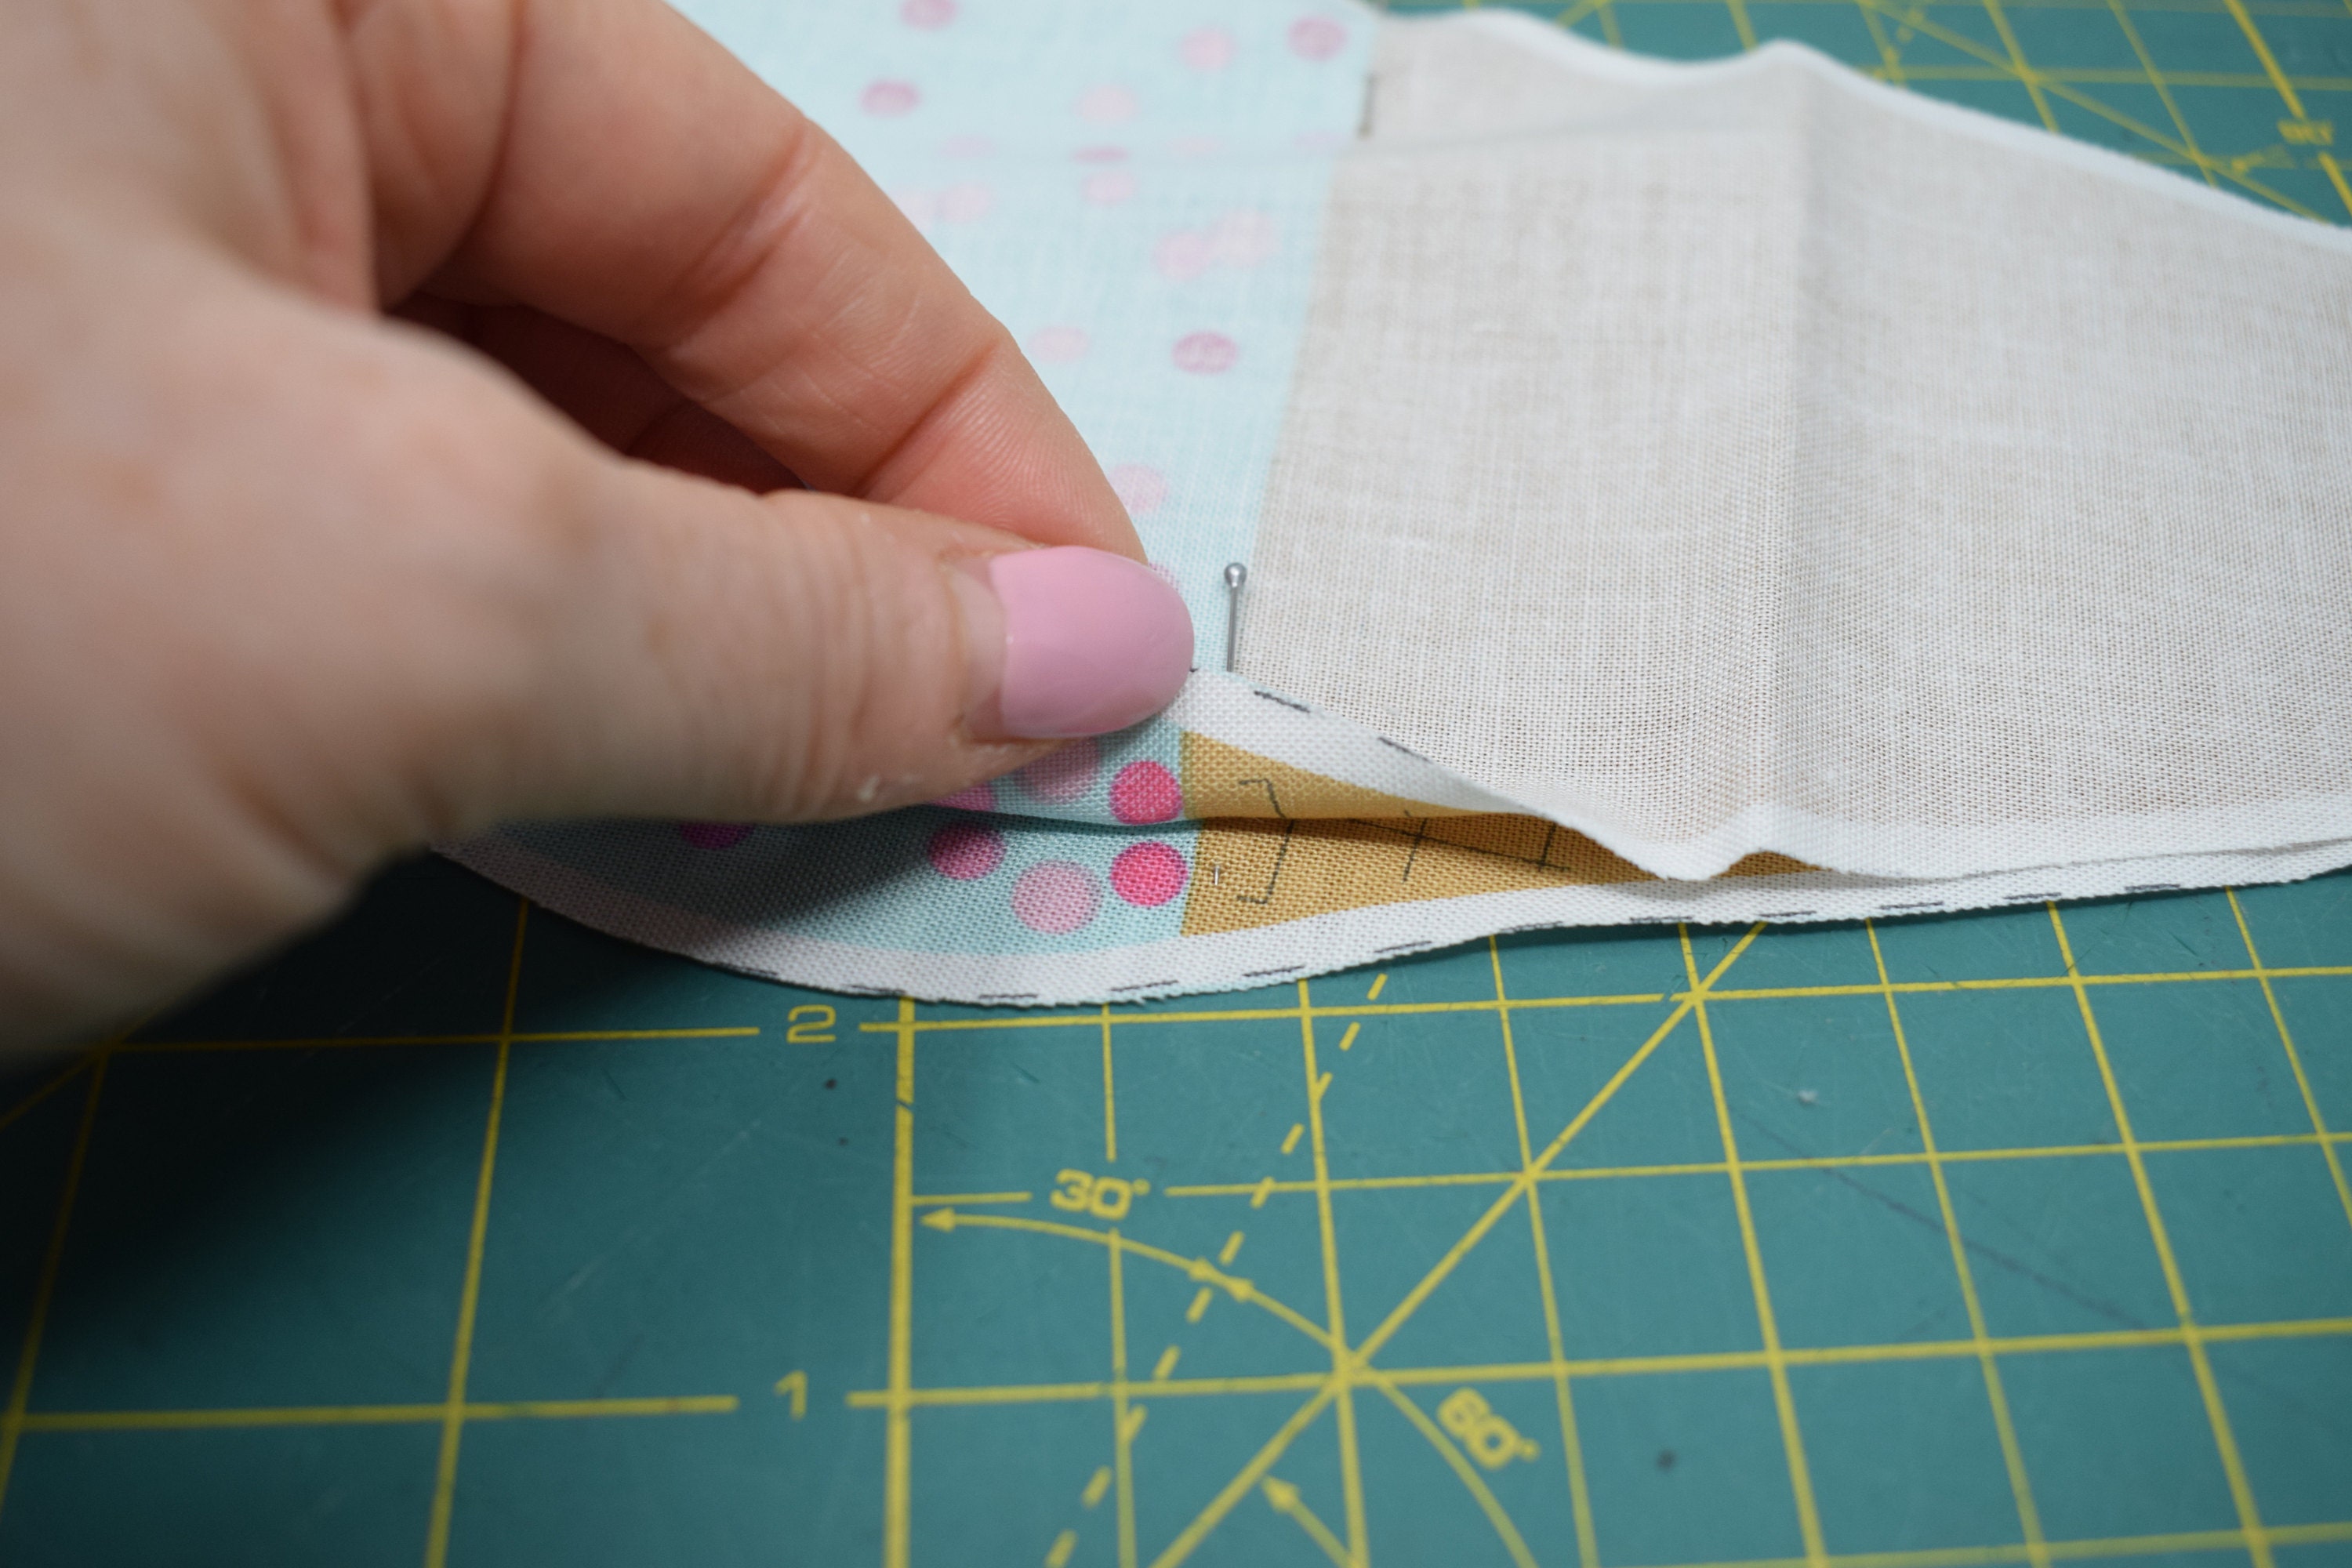
When you have pinned the pieces together, machine stitch around the ice cream using a 1/4 inch (or 6mm) seam allowance. As with the hair bows, you need to leave an opening (as shown below) to turn the ice cream right side out.
Take your time sewing around the curve of ice cream so that its a nice soft curved shape - who wants an angled scoop of gelato?
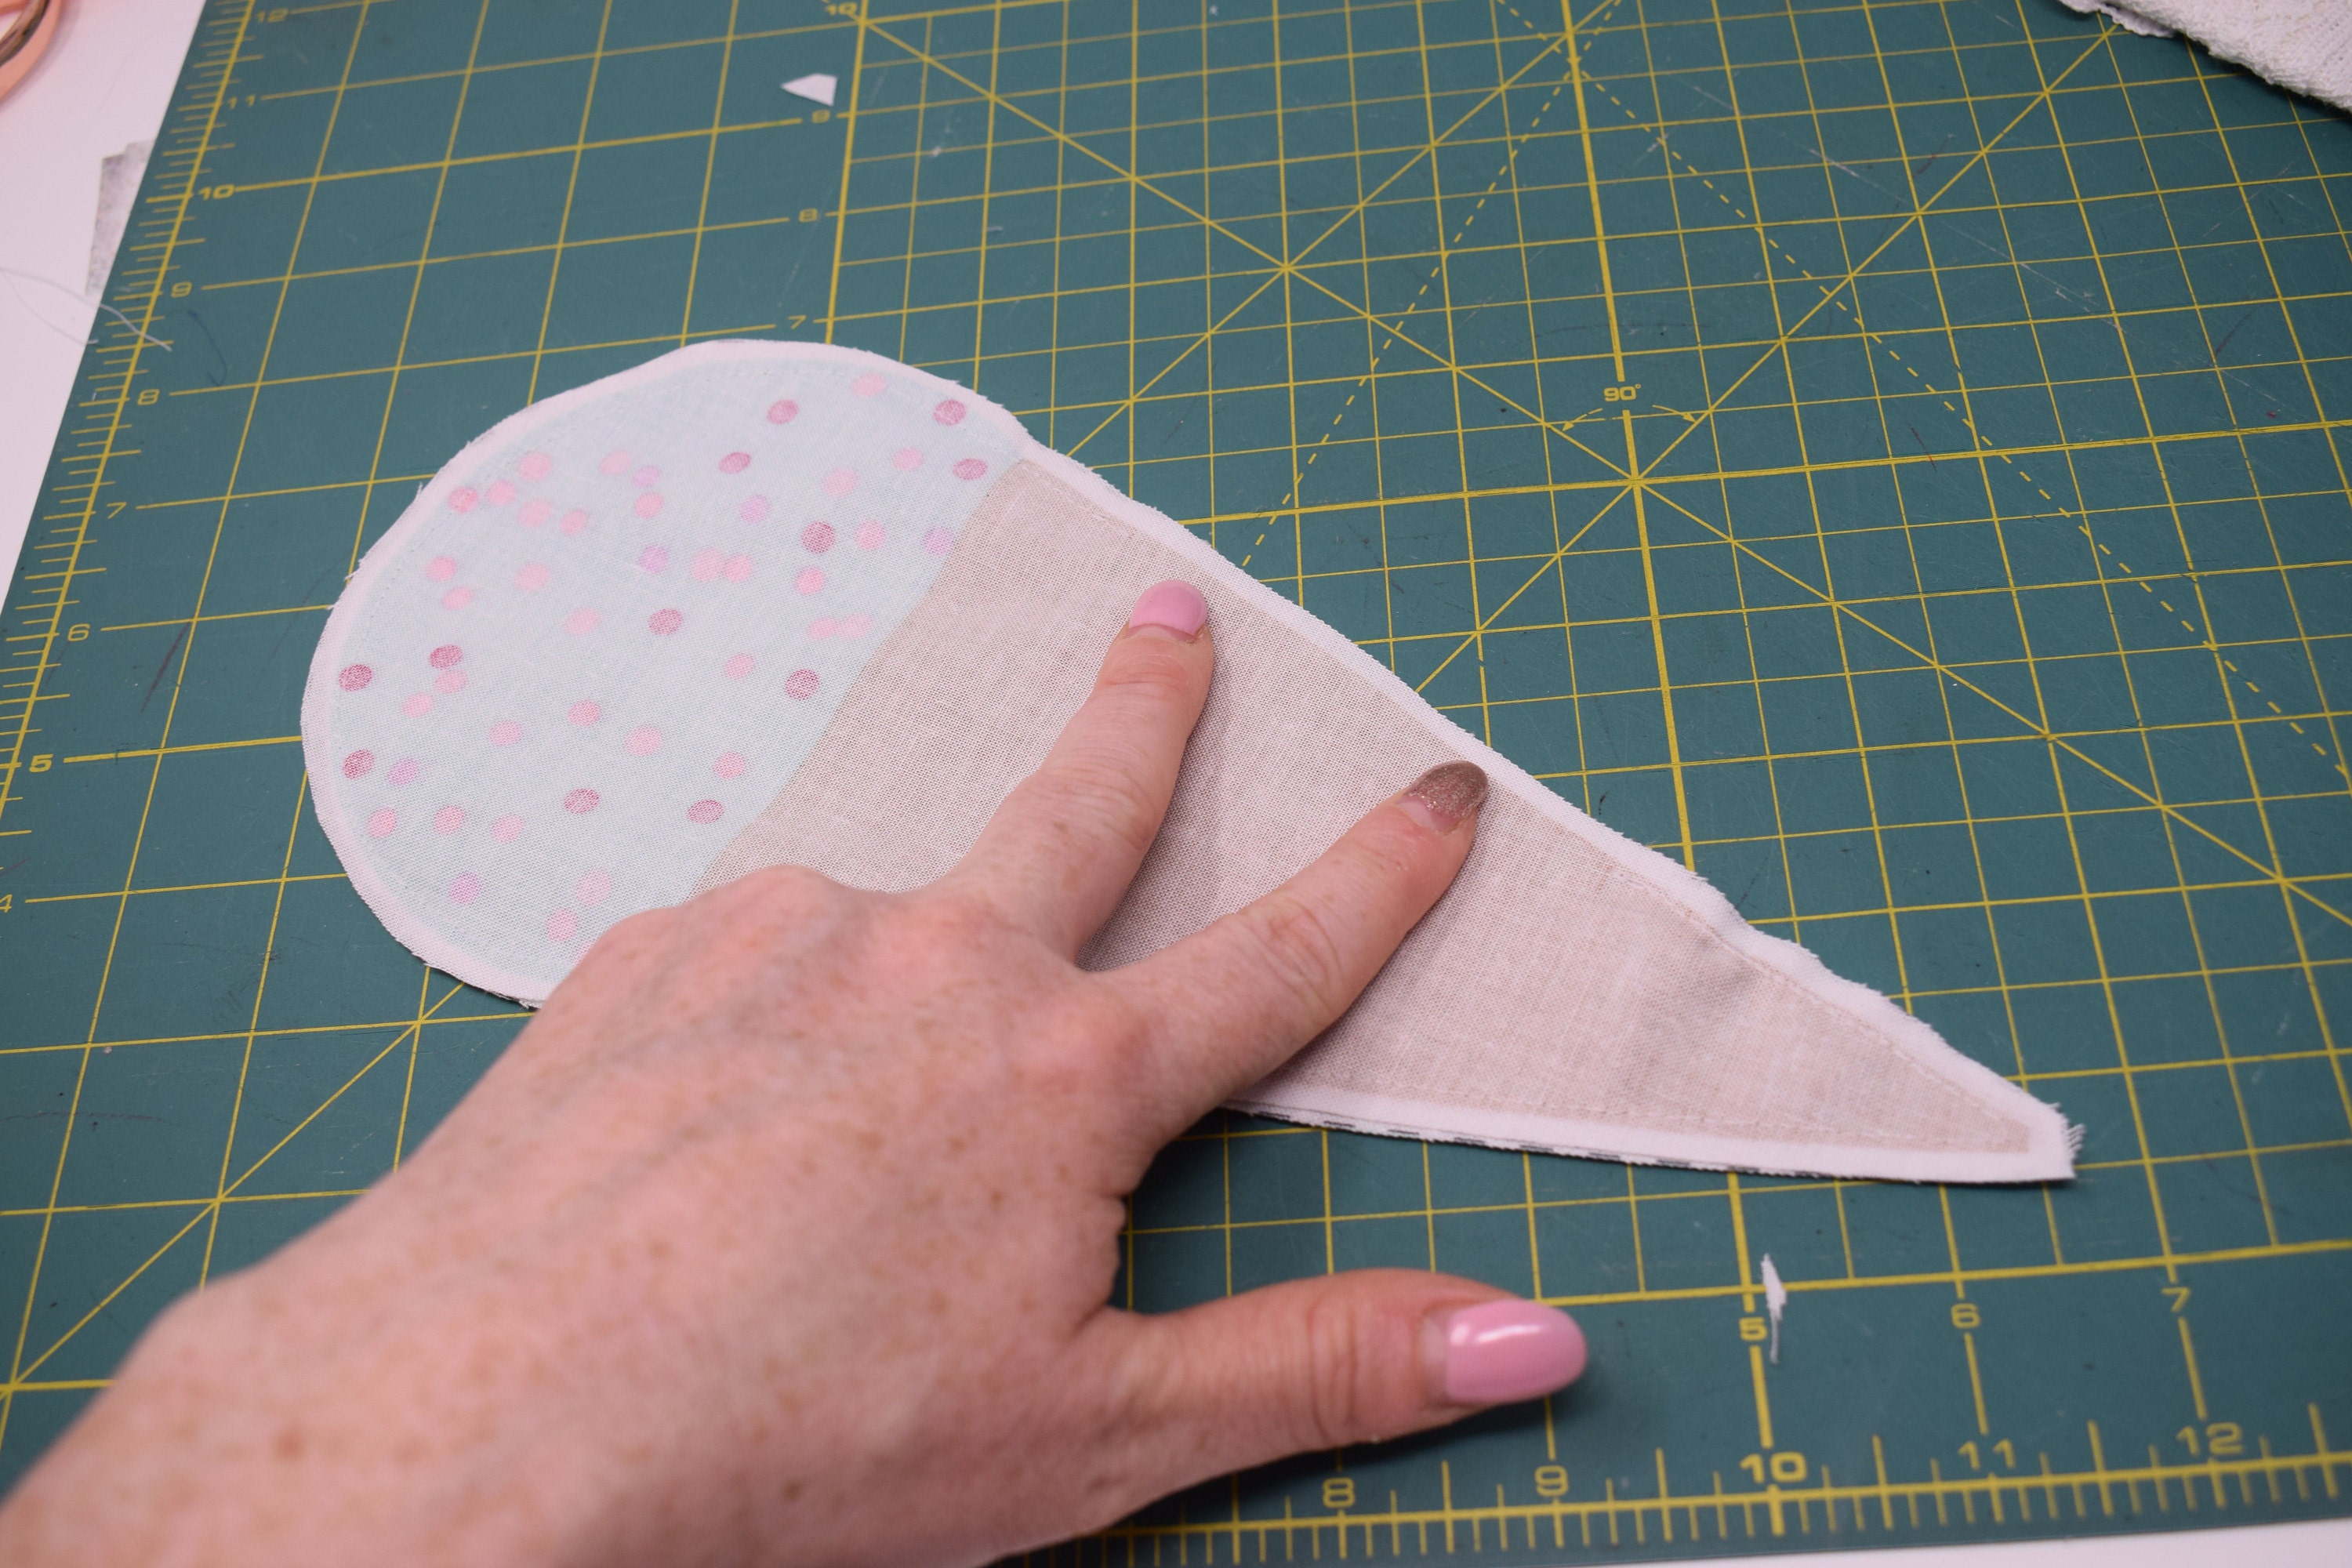
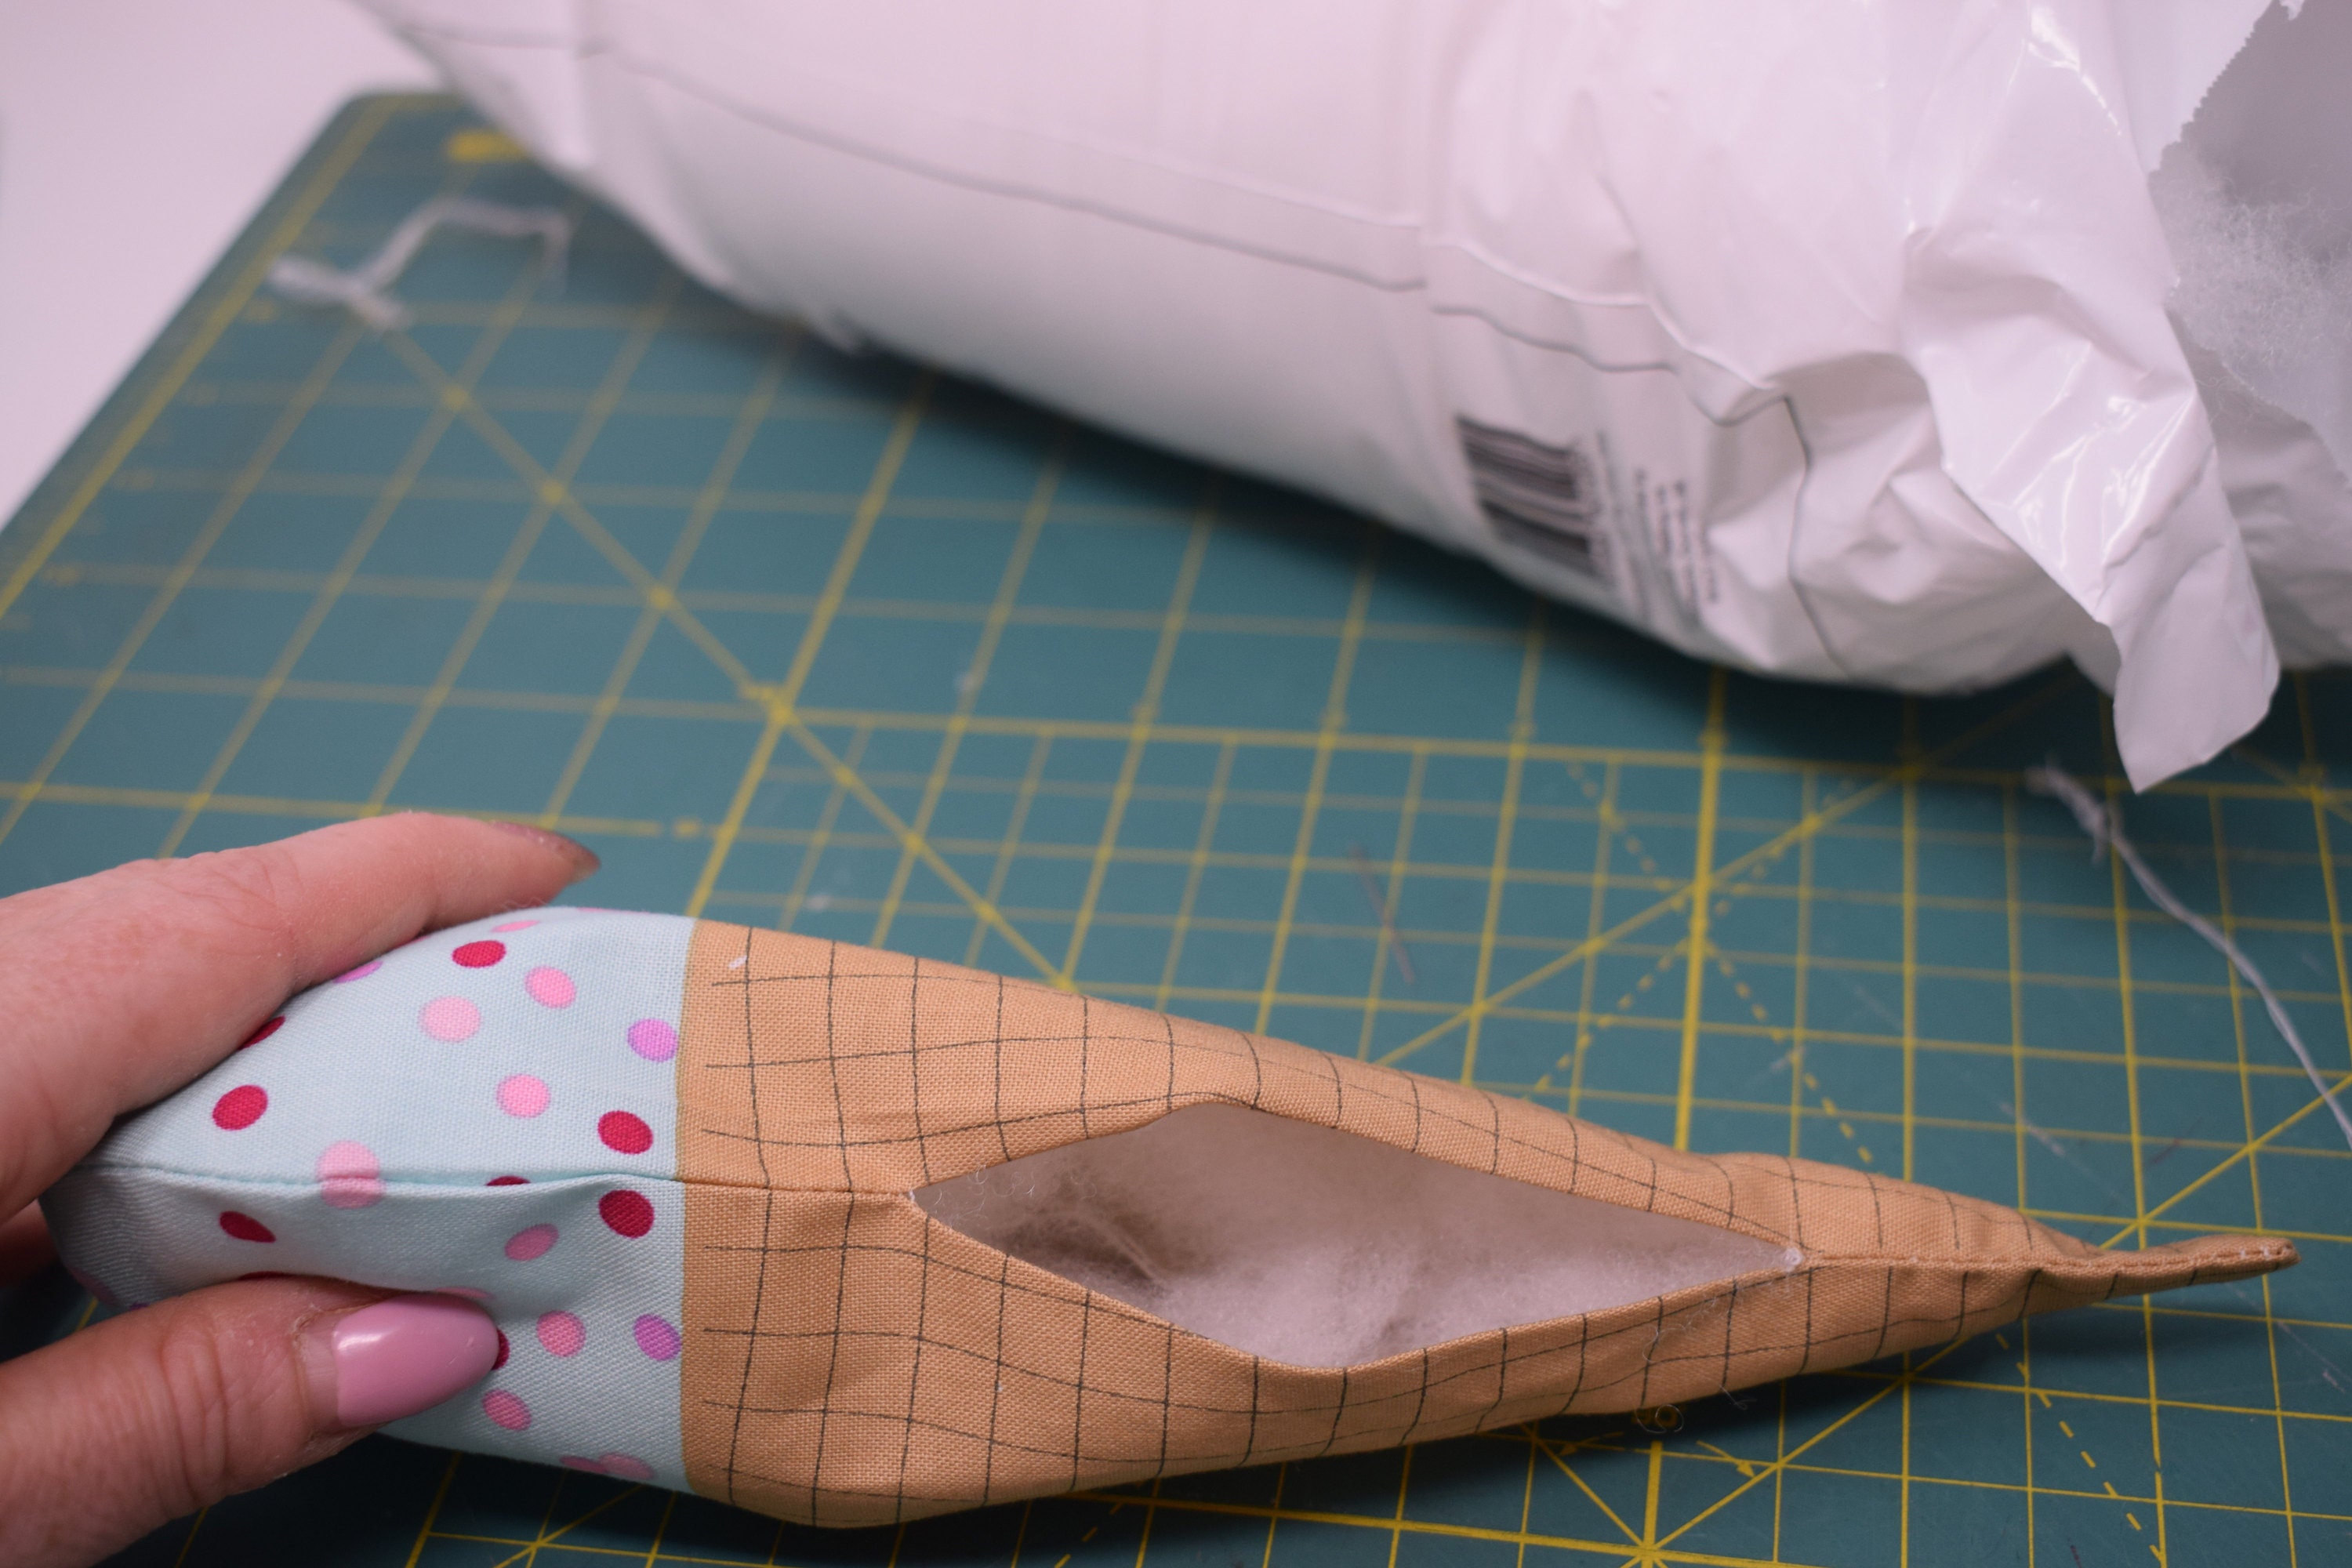
Turn the ice cream right side out and press. As before, press the seam allowance under.
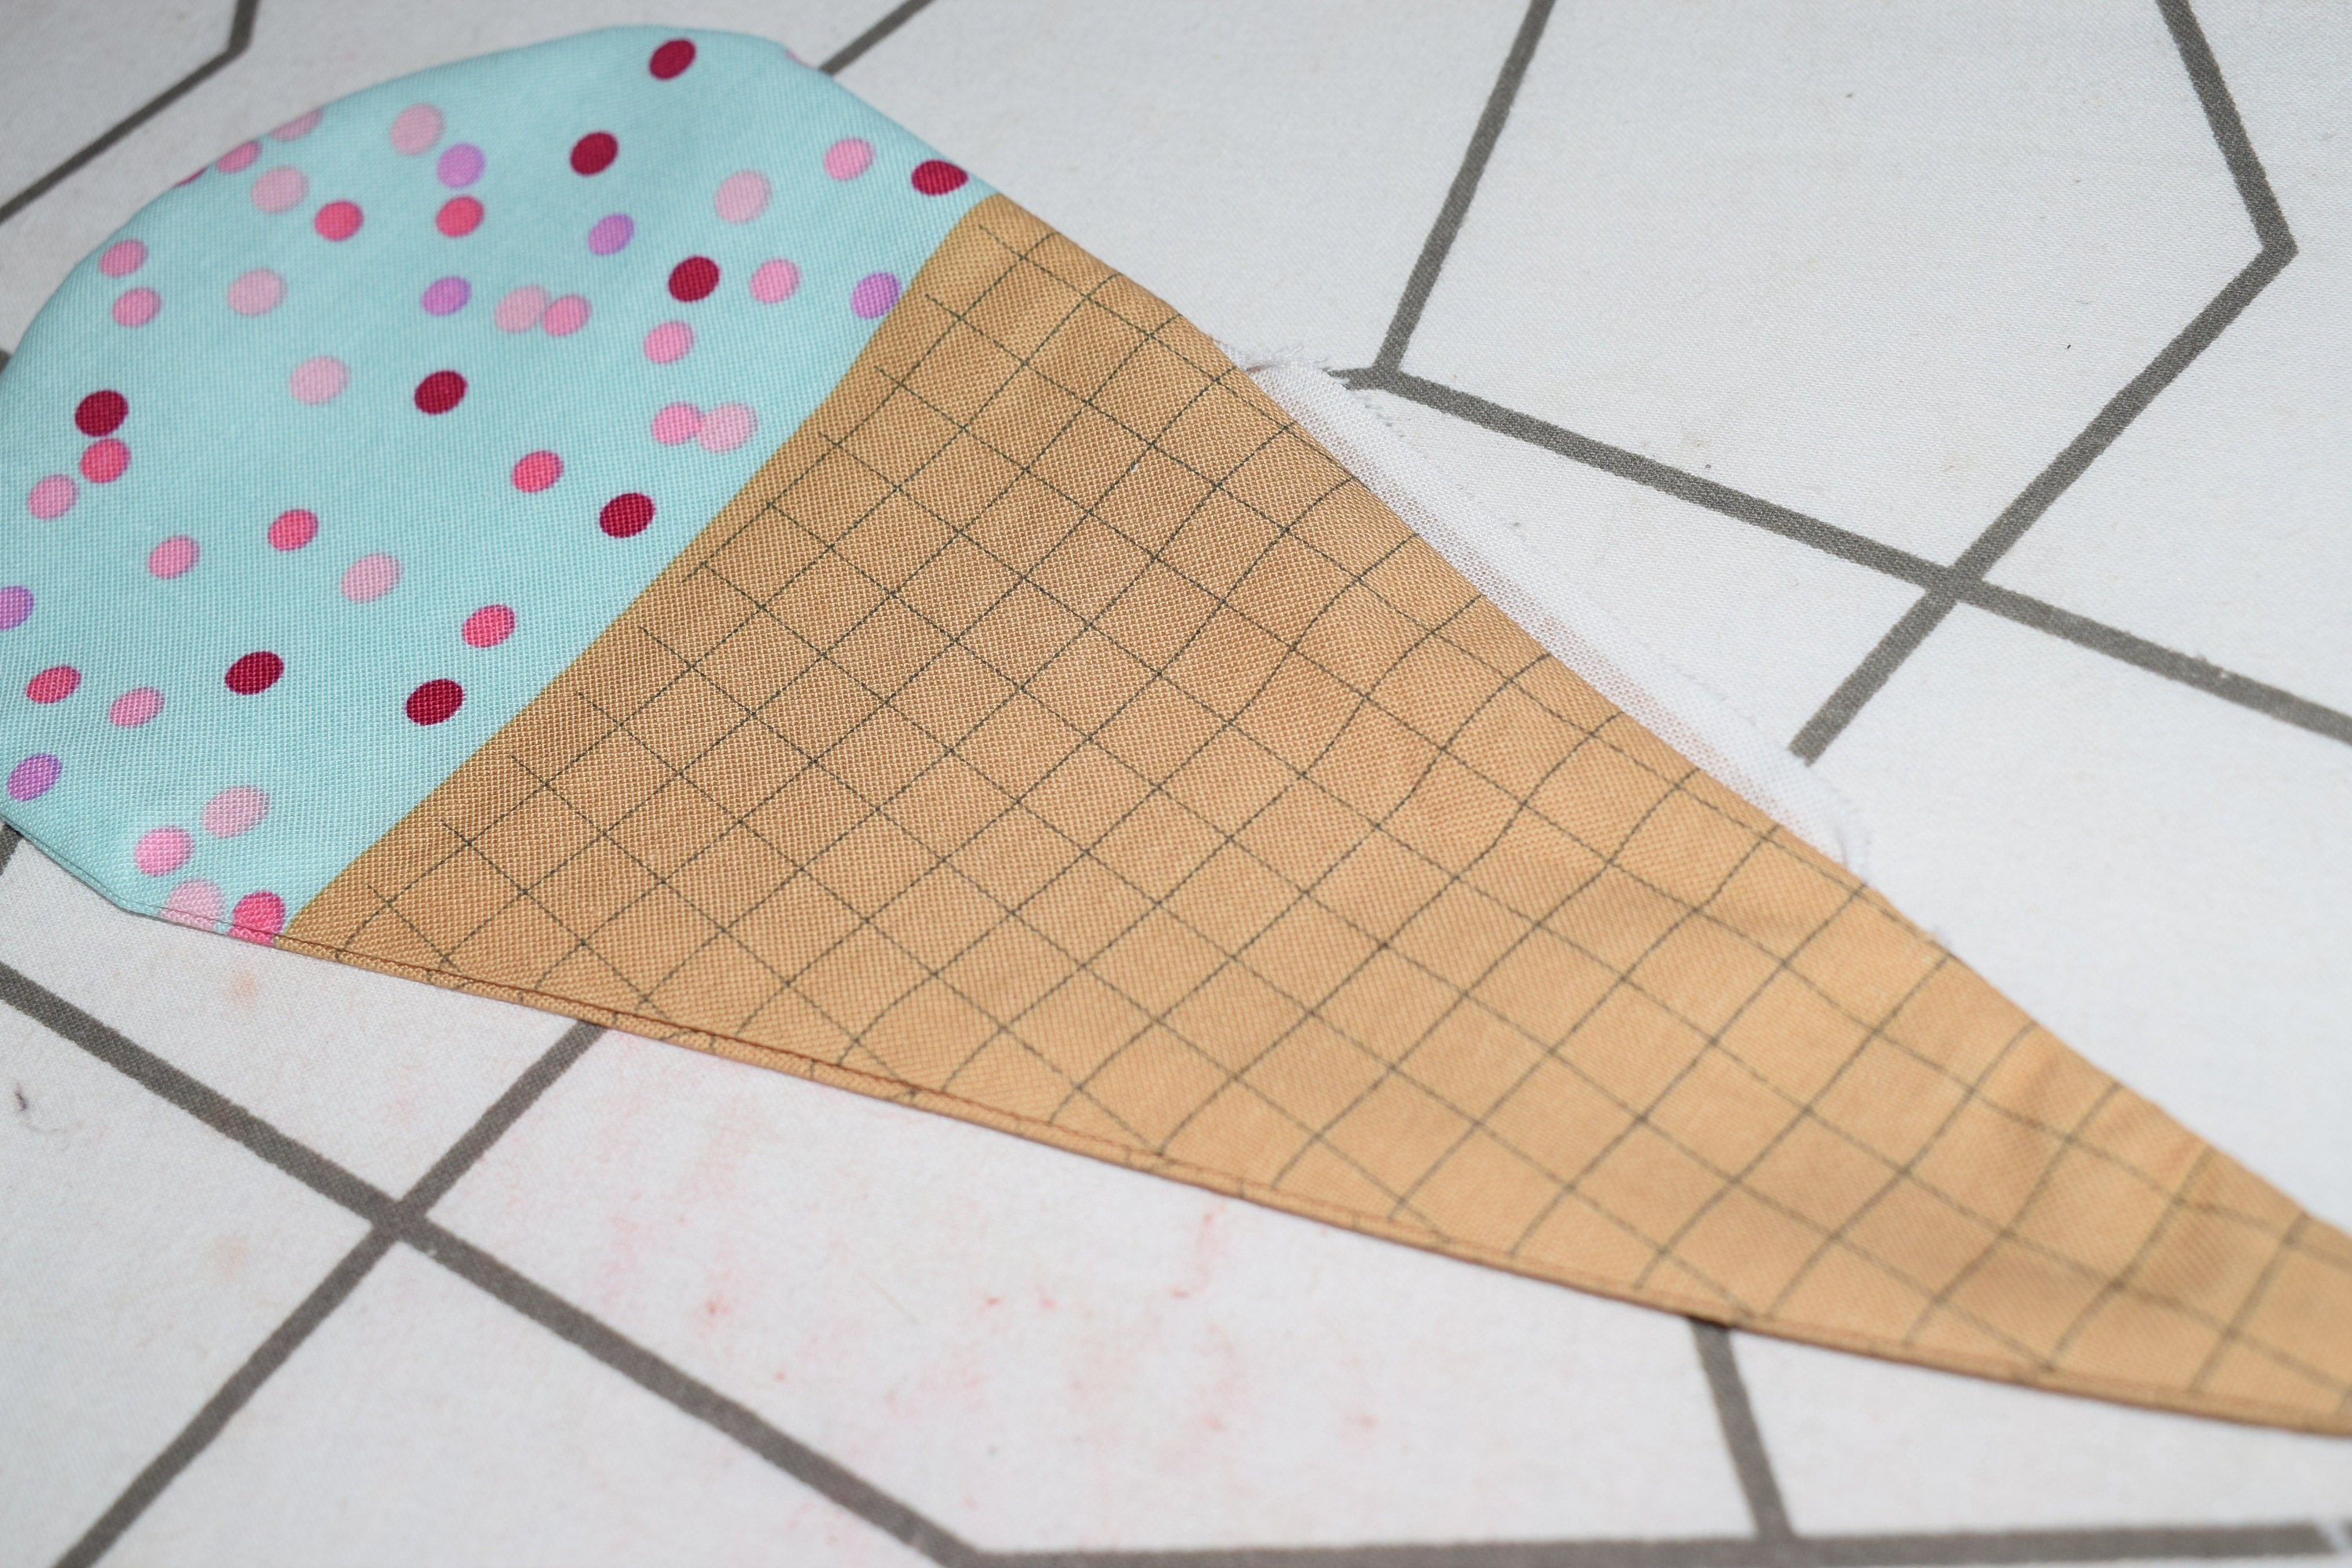
Next we are going to stuff the ice cream. I find it is best to ensure you are pushing the toy filling all the way to edge, rather than just pushing a load in and hoping it will reach the bottom ok! Evenly distribute the filling until your cone looks plump but not lump or over stuffed.

Using a hand sewing needle, close up the opening on the side of ice cream, ensuring you secure the stitching at the beginning and the end.

Now we are going to move onto the skirt. It is worth mentioning that this skirt pattern piece fits onto a fat quarter panel if you wanted to make a jazzier skirt.
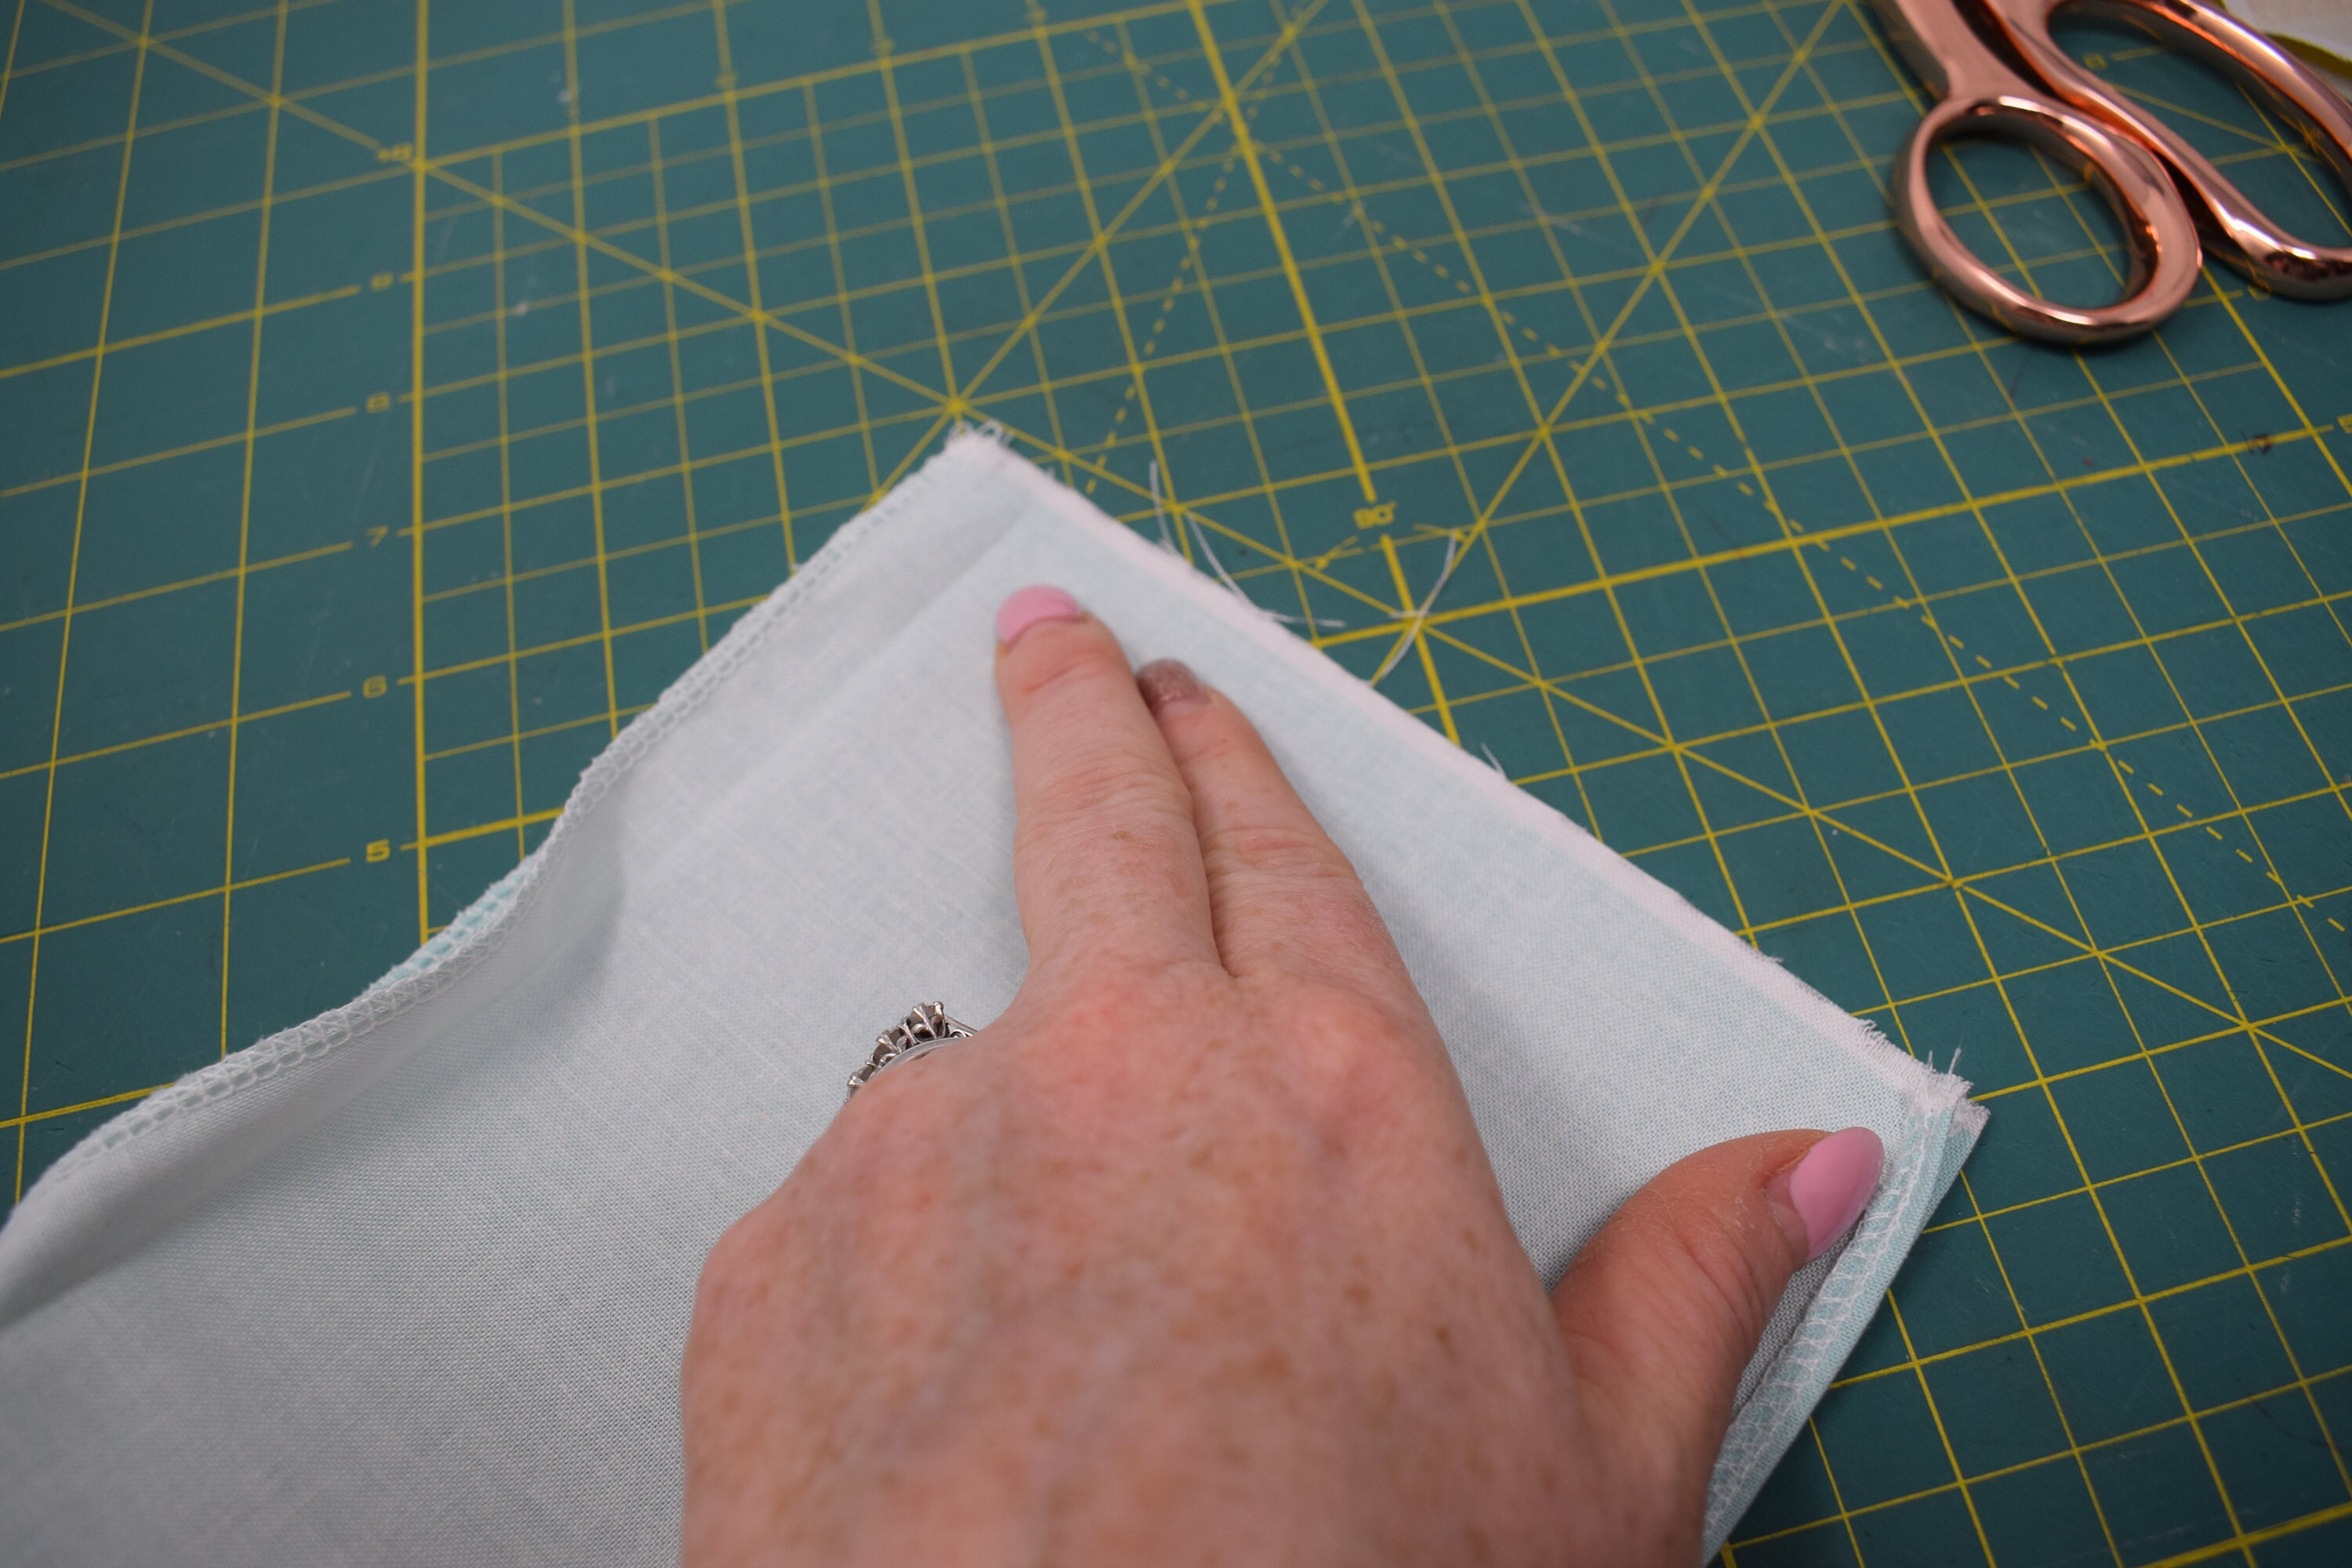
The first job is to neaten the raw edges of the skirt along the long sides. I have overlocked (serged) my skirt but using the overcast or zig zag foot on your machine would be fine!

We now need to press two turnings on the skirt. The top turning is for the waist of the skirt. This will become a casing for the elastic to gather the skirt up. I have turned my waist by 10mm (my elastic is 6mm).
The bottom turning is for the hem. This hem depth is 6mm as I like a nice small hem.

The photo below is stitching the hem - 4mm from the edge. I like to use my edge joining foot for this job as it ensures a nice consistant distance from the skirt edge.

Your skirt should be looking something like this.

With right sides facing, pin the short sides together. Unfold the turning we pressed earlier so that you can sew from top to bottom with no fold.

Stitch/ overlock the side seam. If you have machine stitched use your overcast/ zig zag stitch to neaten the seam. If you have overlocked then ensure you secure your threads at the top and the bottom of the seam as below.

Fold the waist turning back into position and machine stitch in place. You need to leave an opening of about 1 inch.

Cut your elastic to 16cm and place a saftey pin through one end of the elastic.

Thread the elastic through the channel. Please note this skirt needs lots of gathering - therefore this elastic is BLOODY SHORT. Make sure you dont lose the other end of the elastic when threading it through. I popped a pin in the end of mine on the waist so it did not snap into the casing whilst I was threading it through.


Once fully threaded through remove the safety pin and overlap the elastic by 1cm. Machine stitch this in place - ensuring that the elastic within the casing is not twisted. I like to use a zig zag stitch to join the elastic going forwards and reversing several times.

Feed your elastic back into the casing and close the opening by machine stitching.

Your skirt is now complete!

Tomorrow we will be constructing the boy and the girl dollies.
If you have any questions please comment below.
Faye x