Hello and welcome to Studio Jepson!
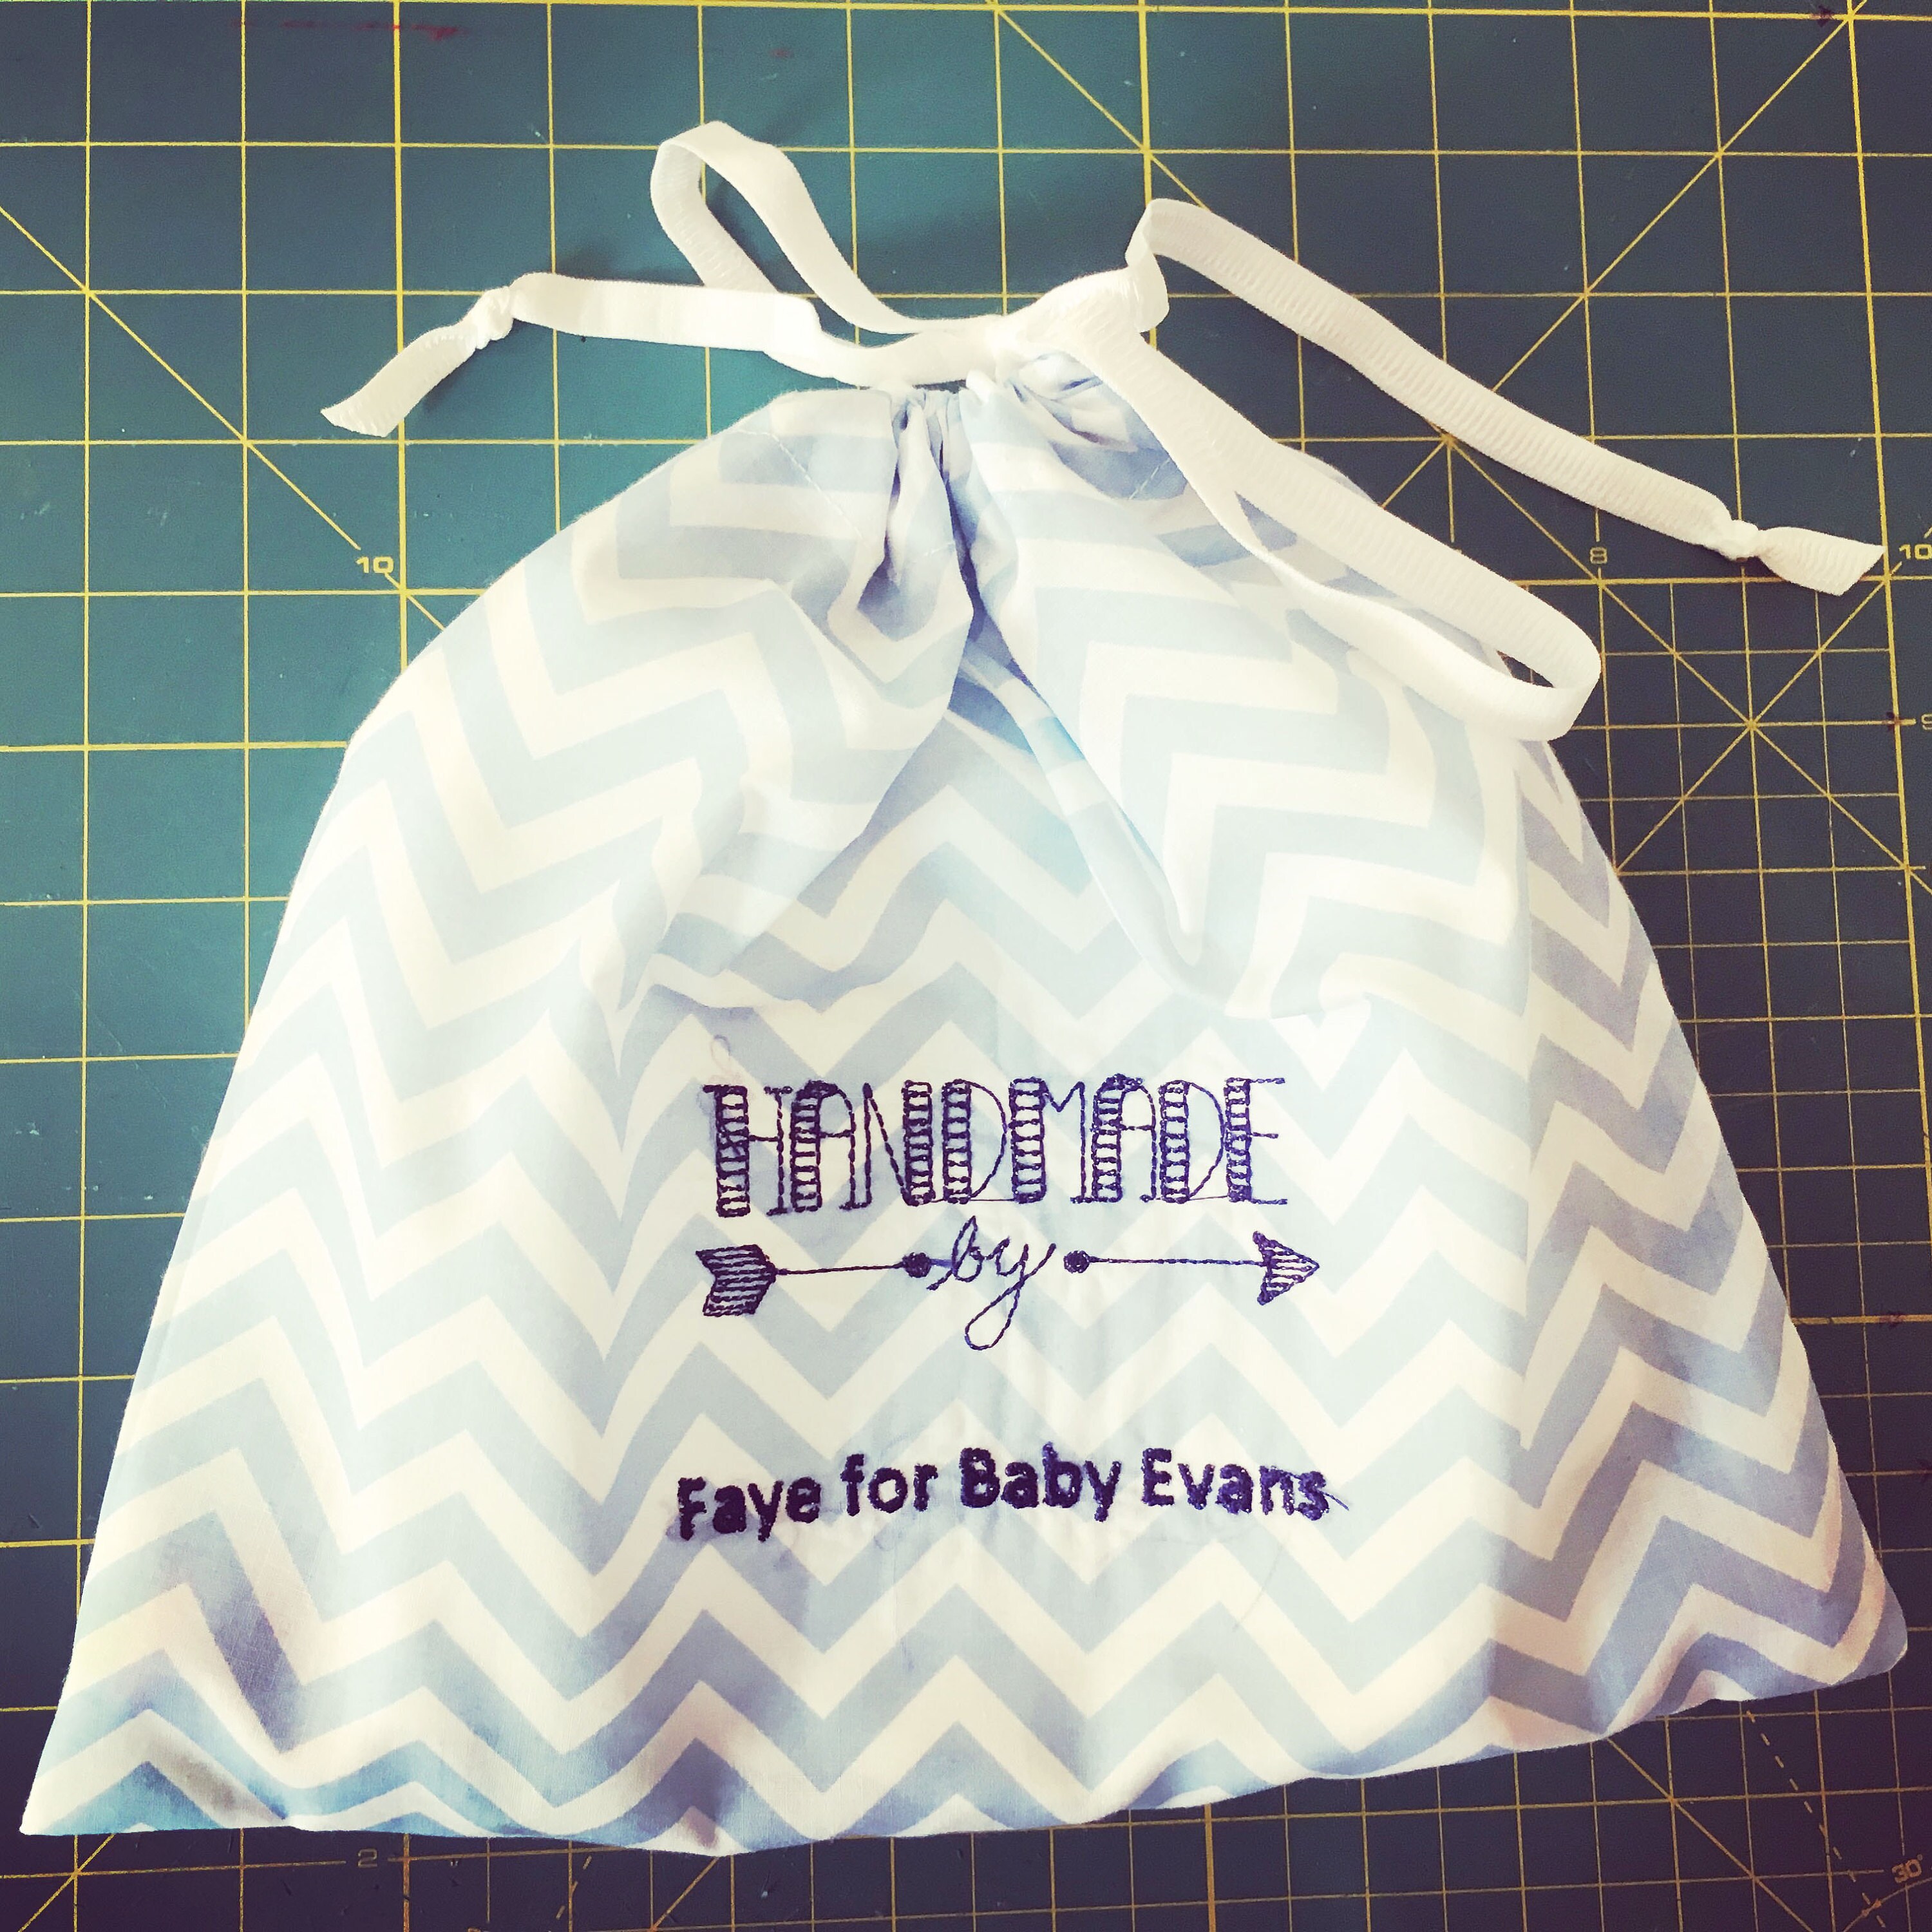
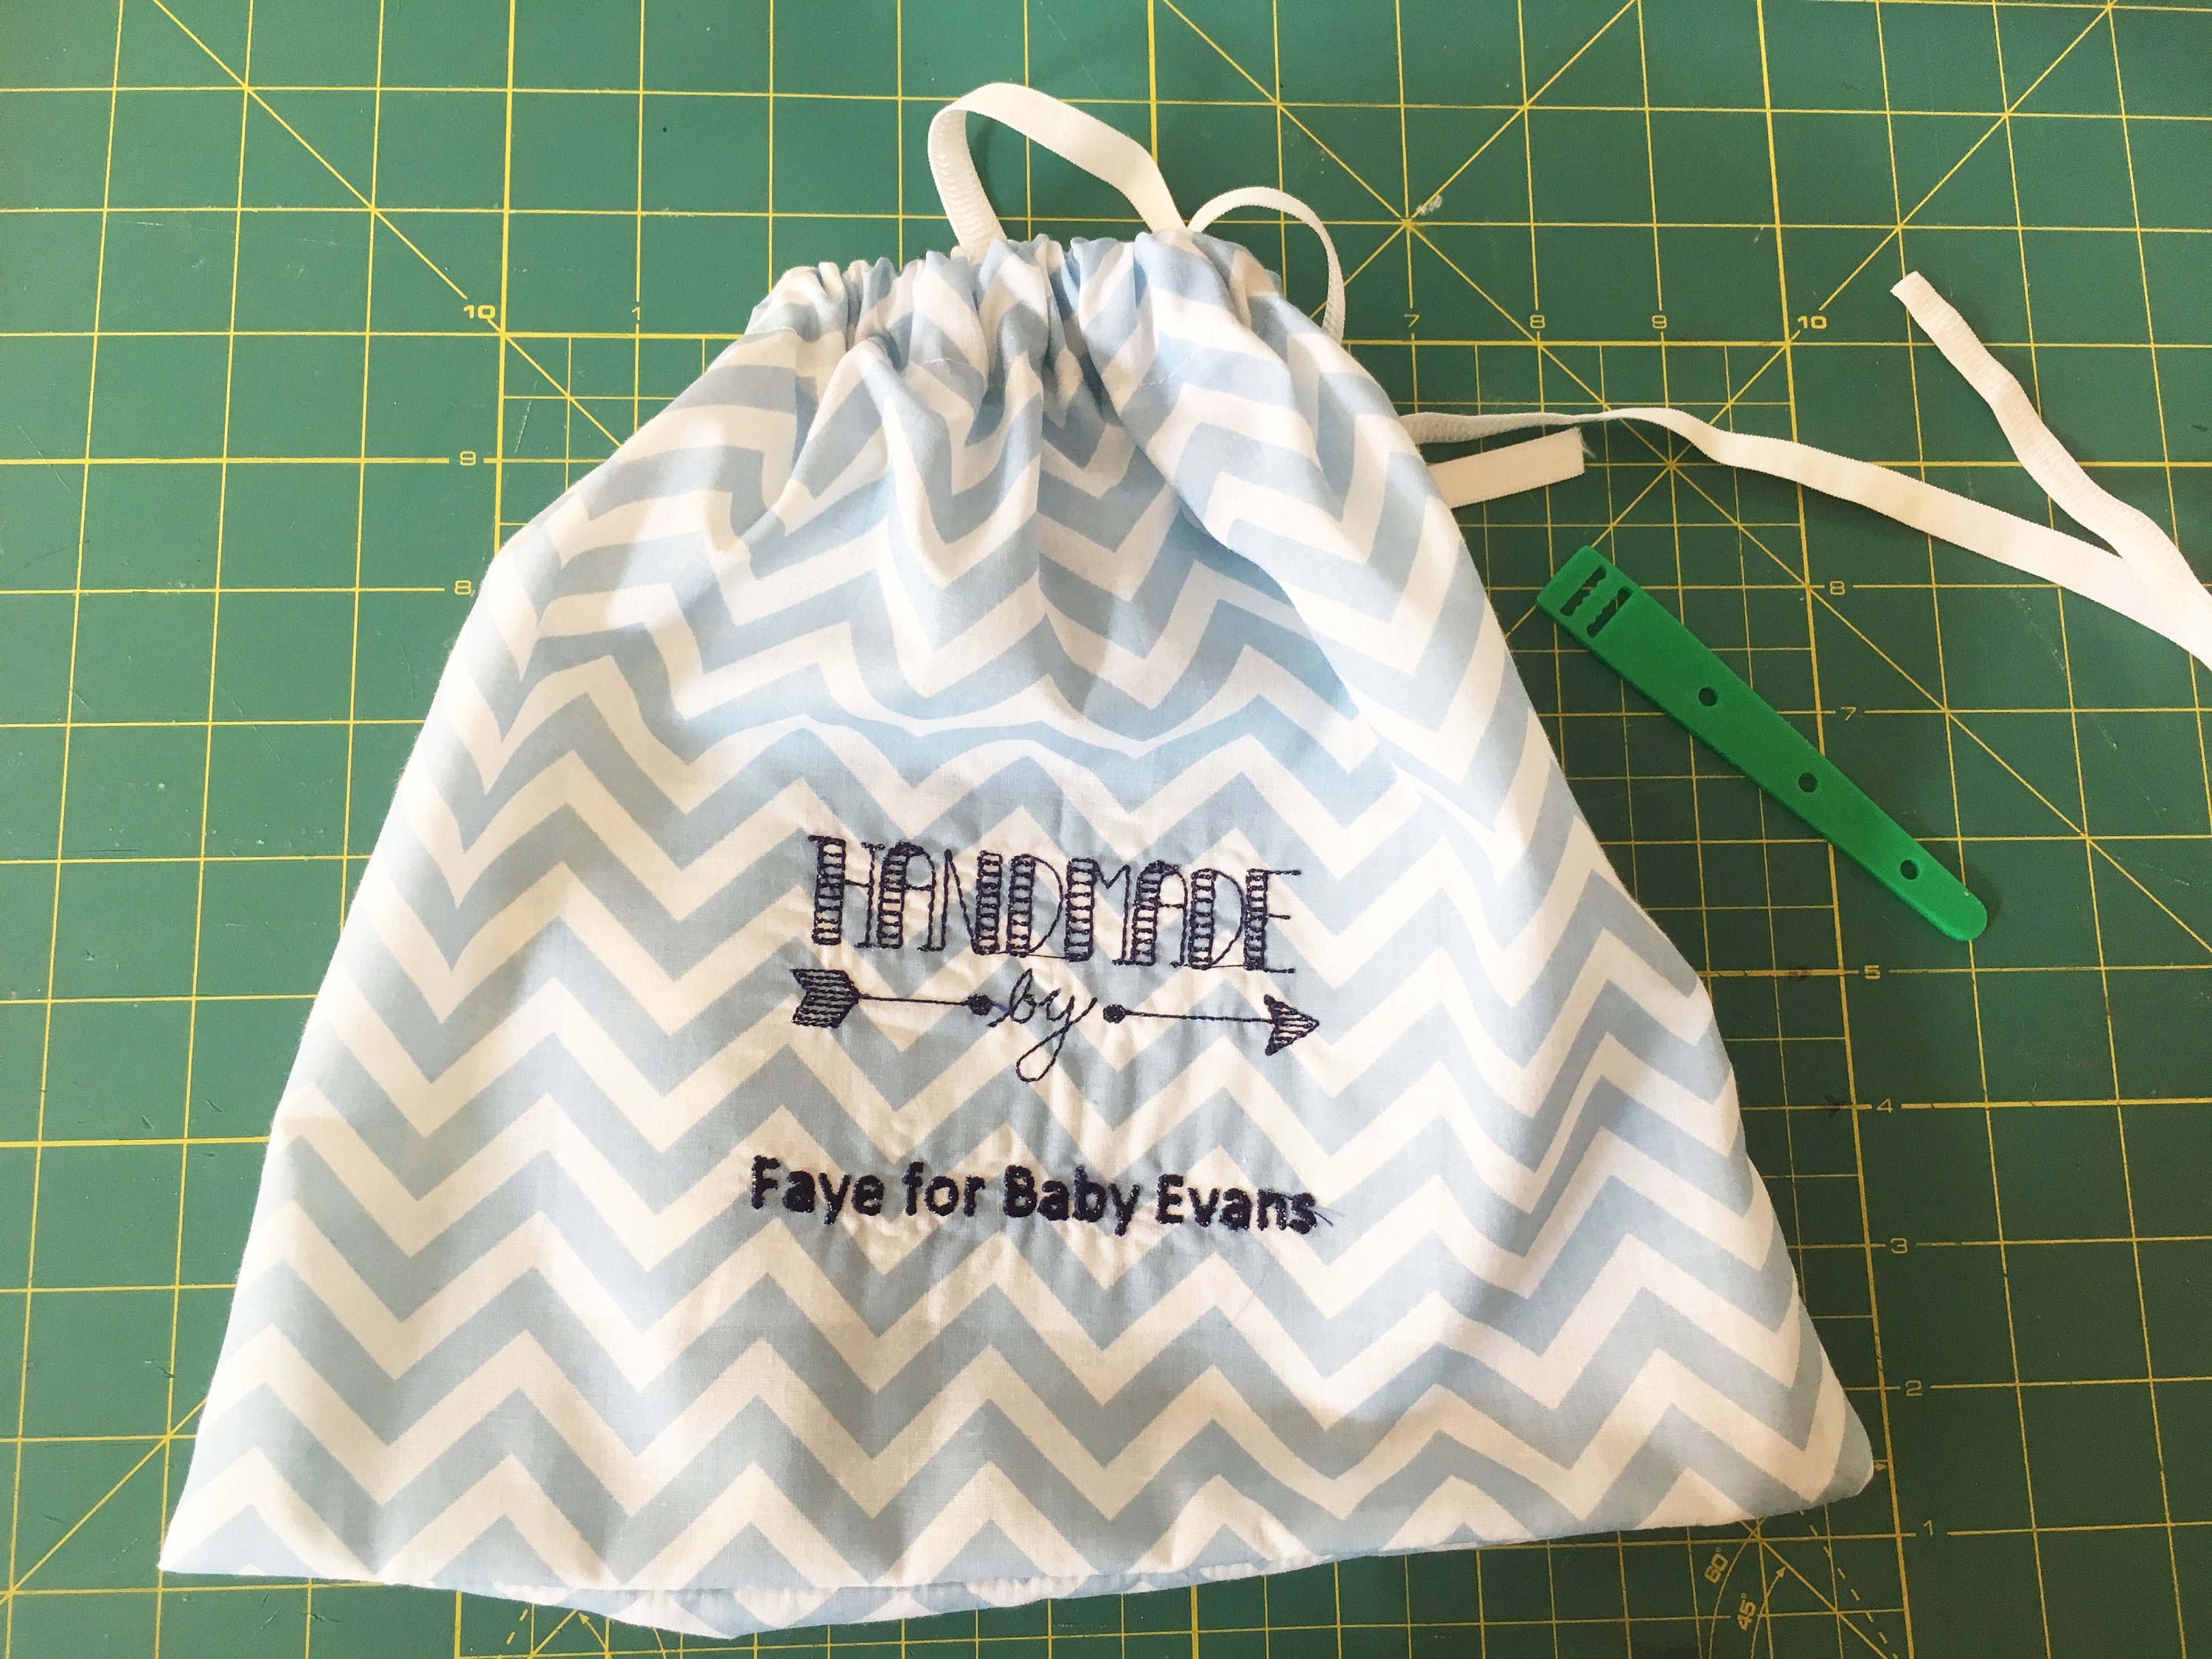
Today I will be showing you how to create a beautiful drawstring bag. This is a simple project with a nice professional finish, perfect for storing kids PJs, sport kits and much more. I also like to use these bags as gift bags, with a personalised embroidered message.
You will need:
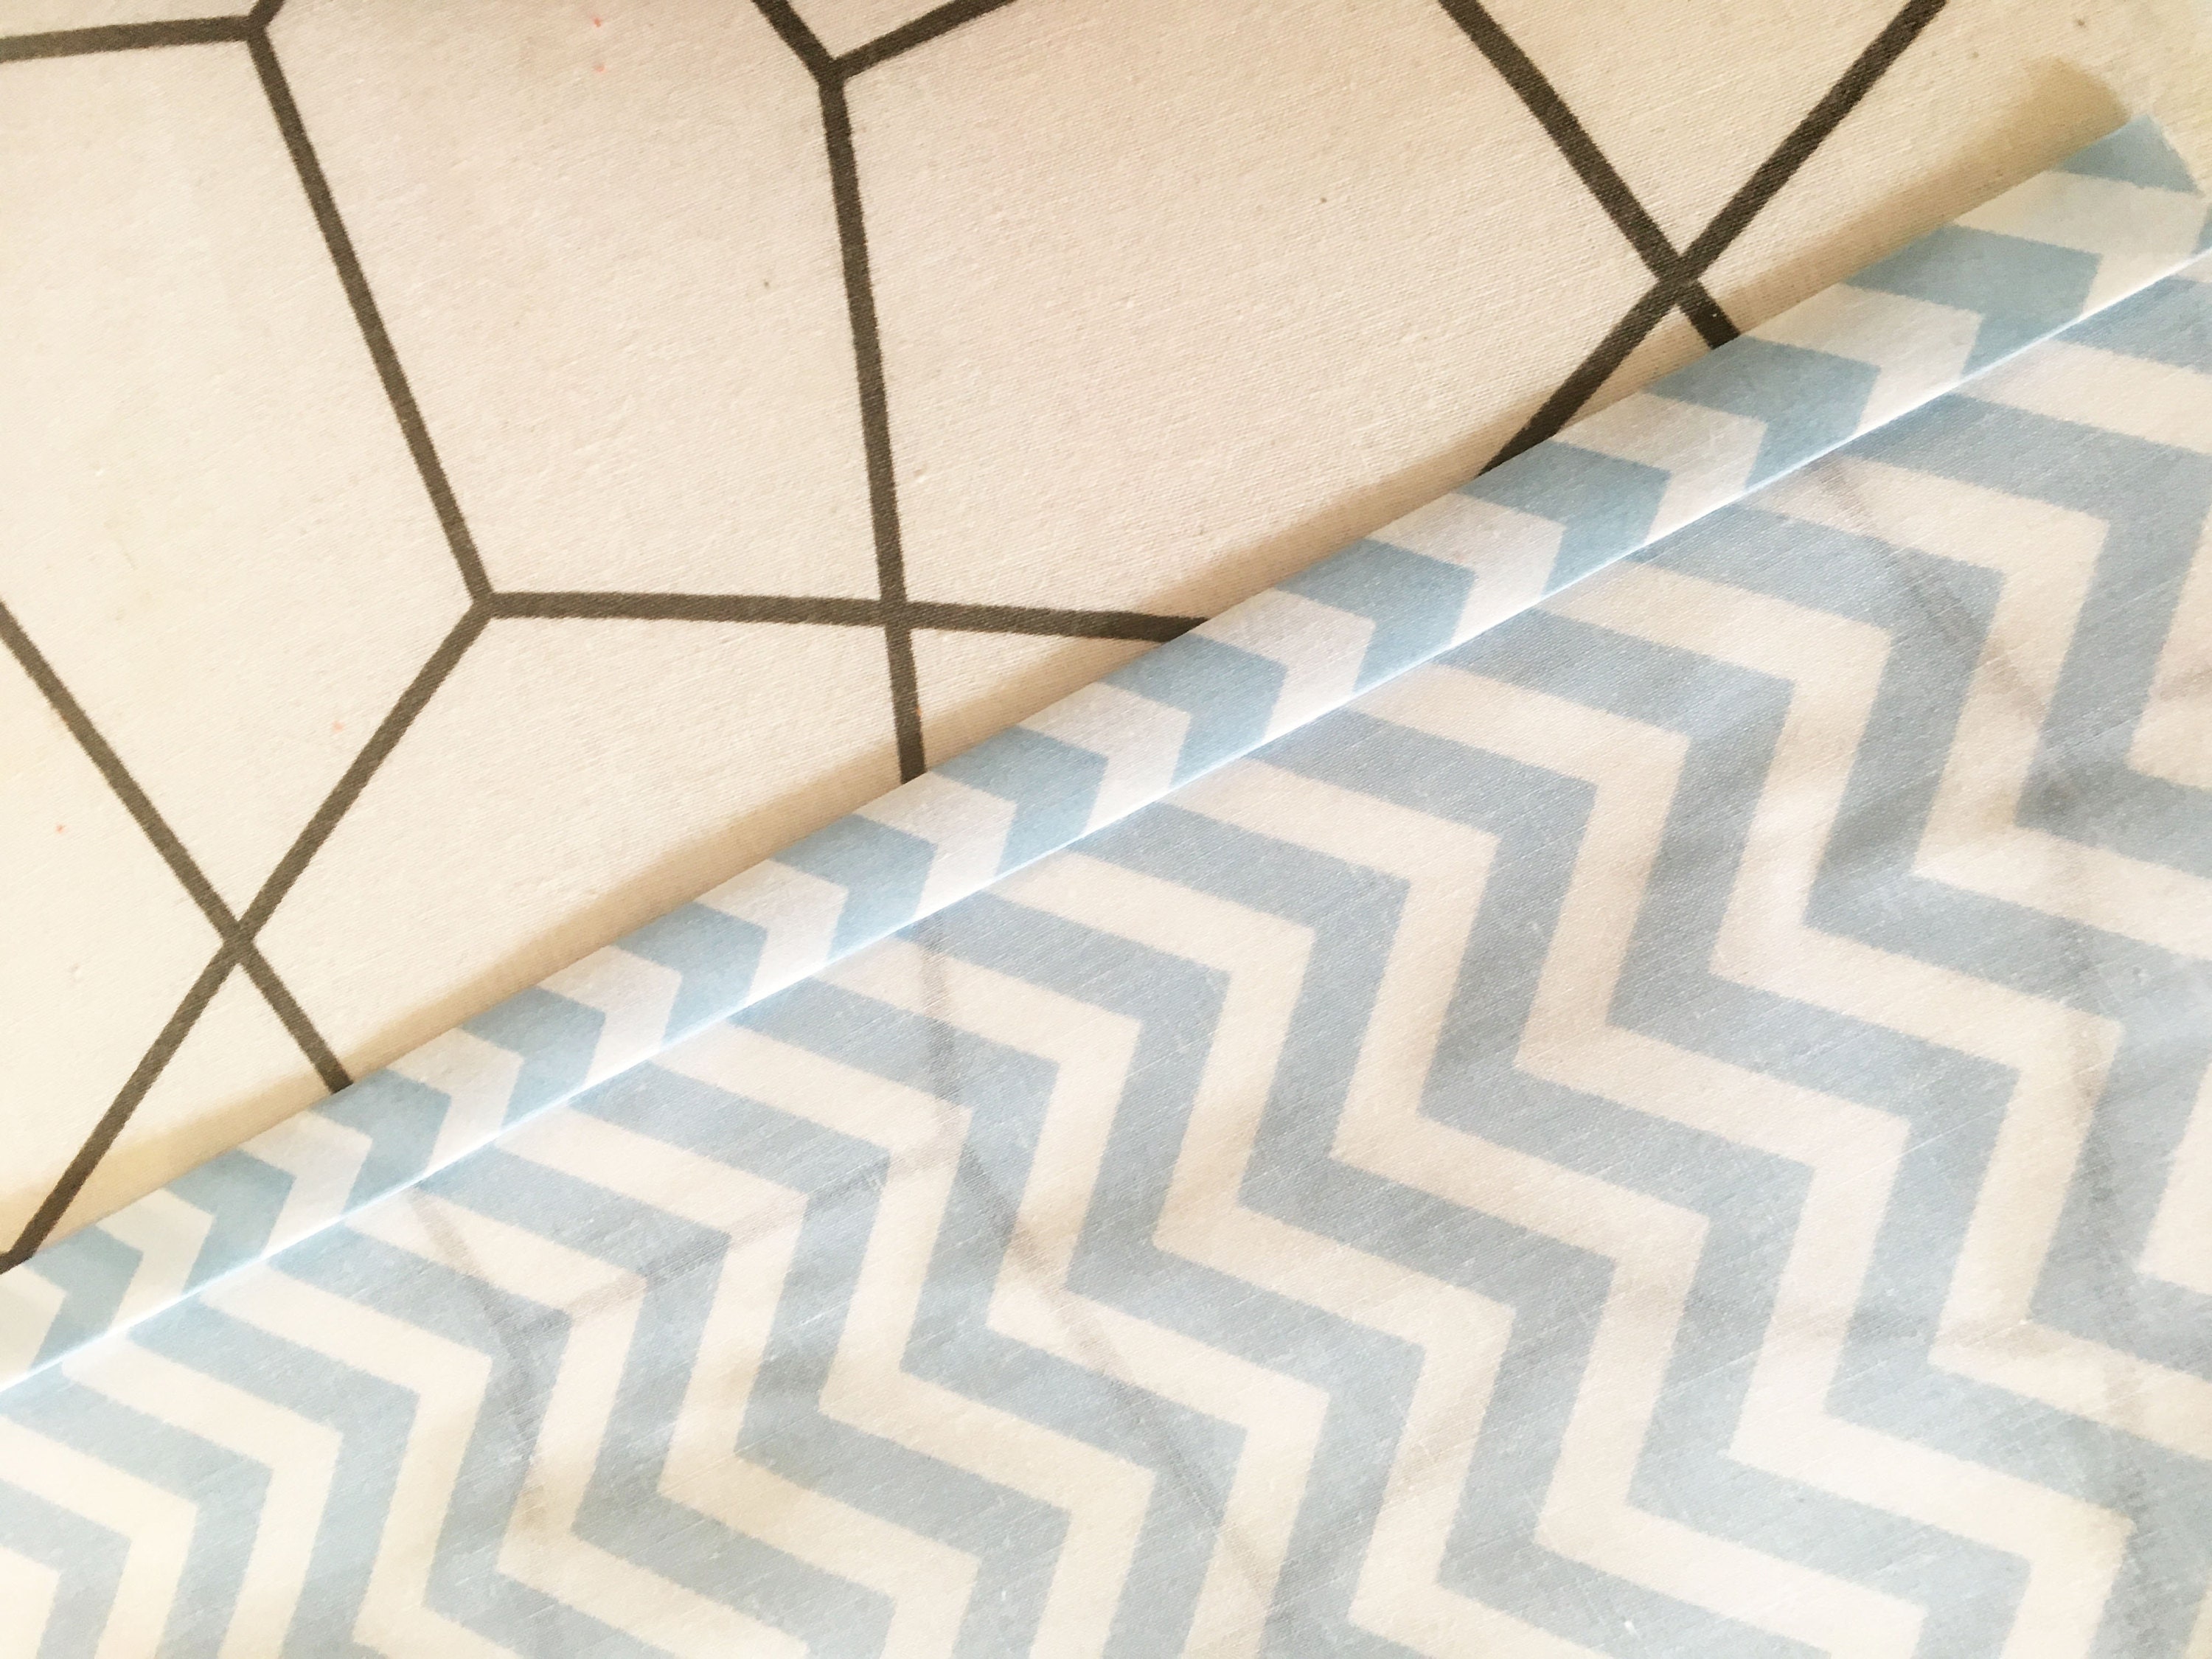
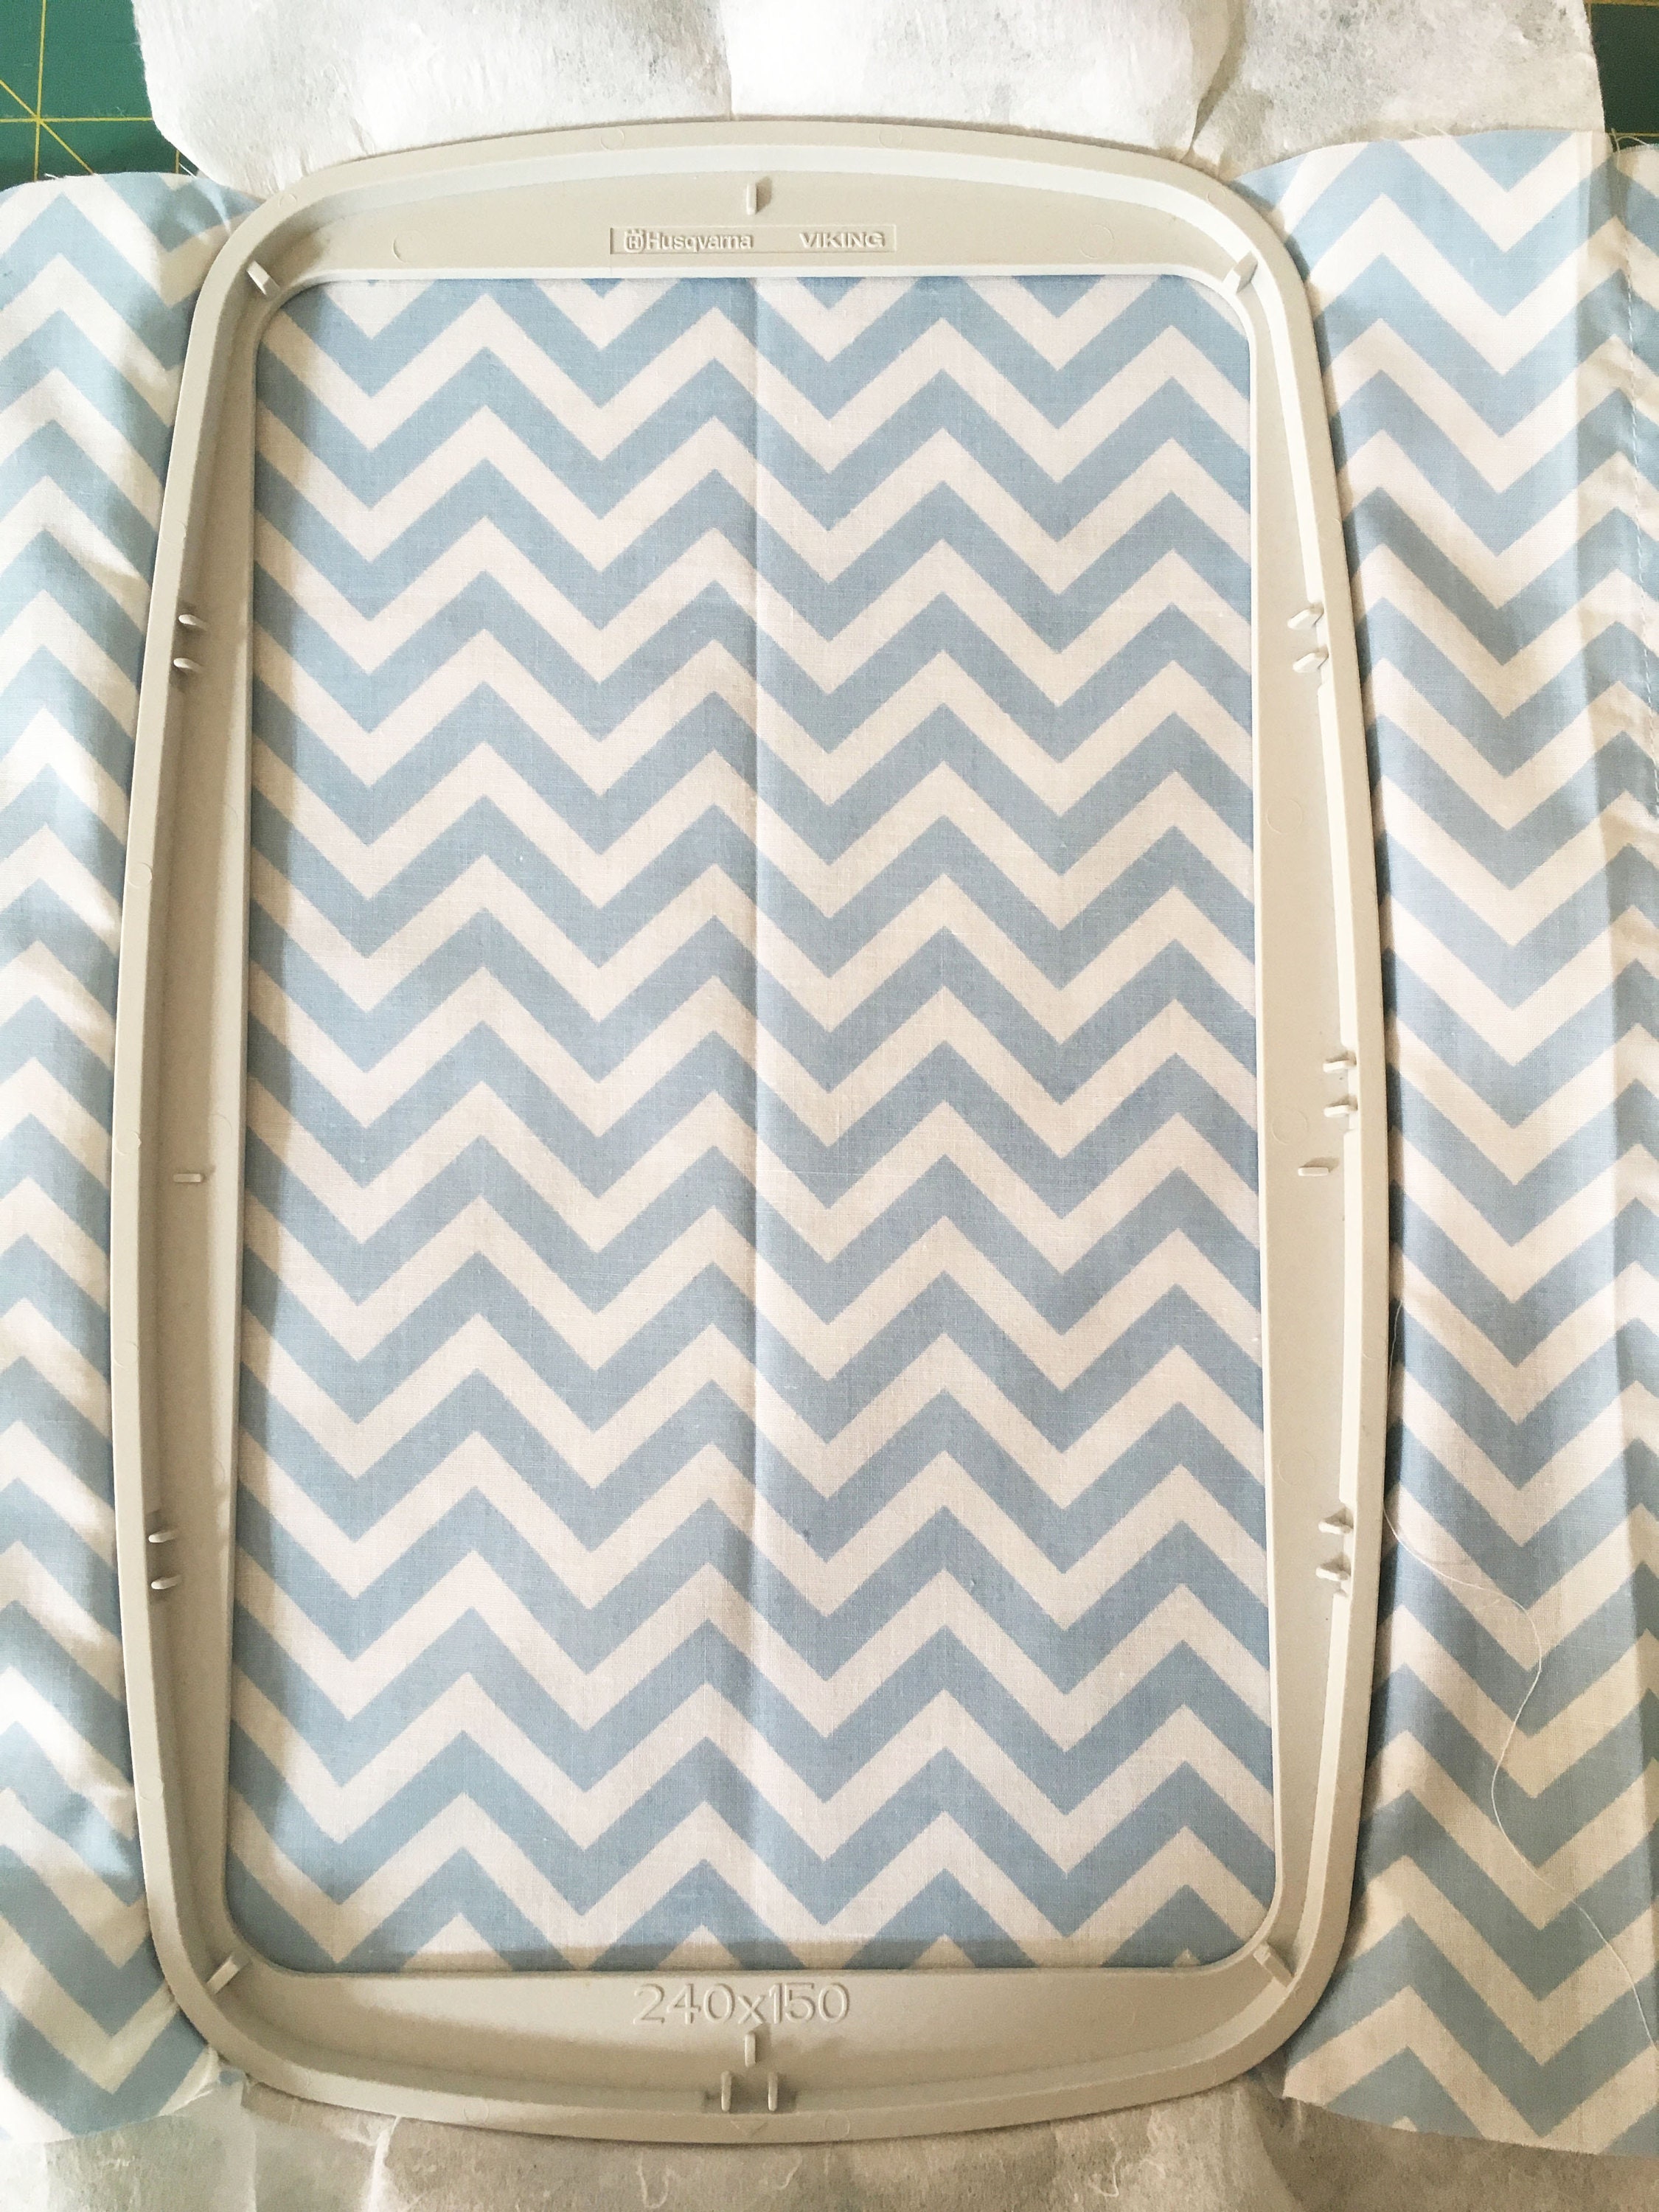
Fabric (I used Studio Jepson chevron polycotton)
Ribbon or elastic to draw the bag in
Scissors
Pins
Saftey pin or elastic glider
Sewing Machine
Lighter to seal trim edges
Tape measure or ruler
Iron and board
A nice cup of tea and some good music
Step one - Establish the size of your bag.

First you will need to establish the measurements of your bag. Measure the item/ items that you would like to store in your bag.
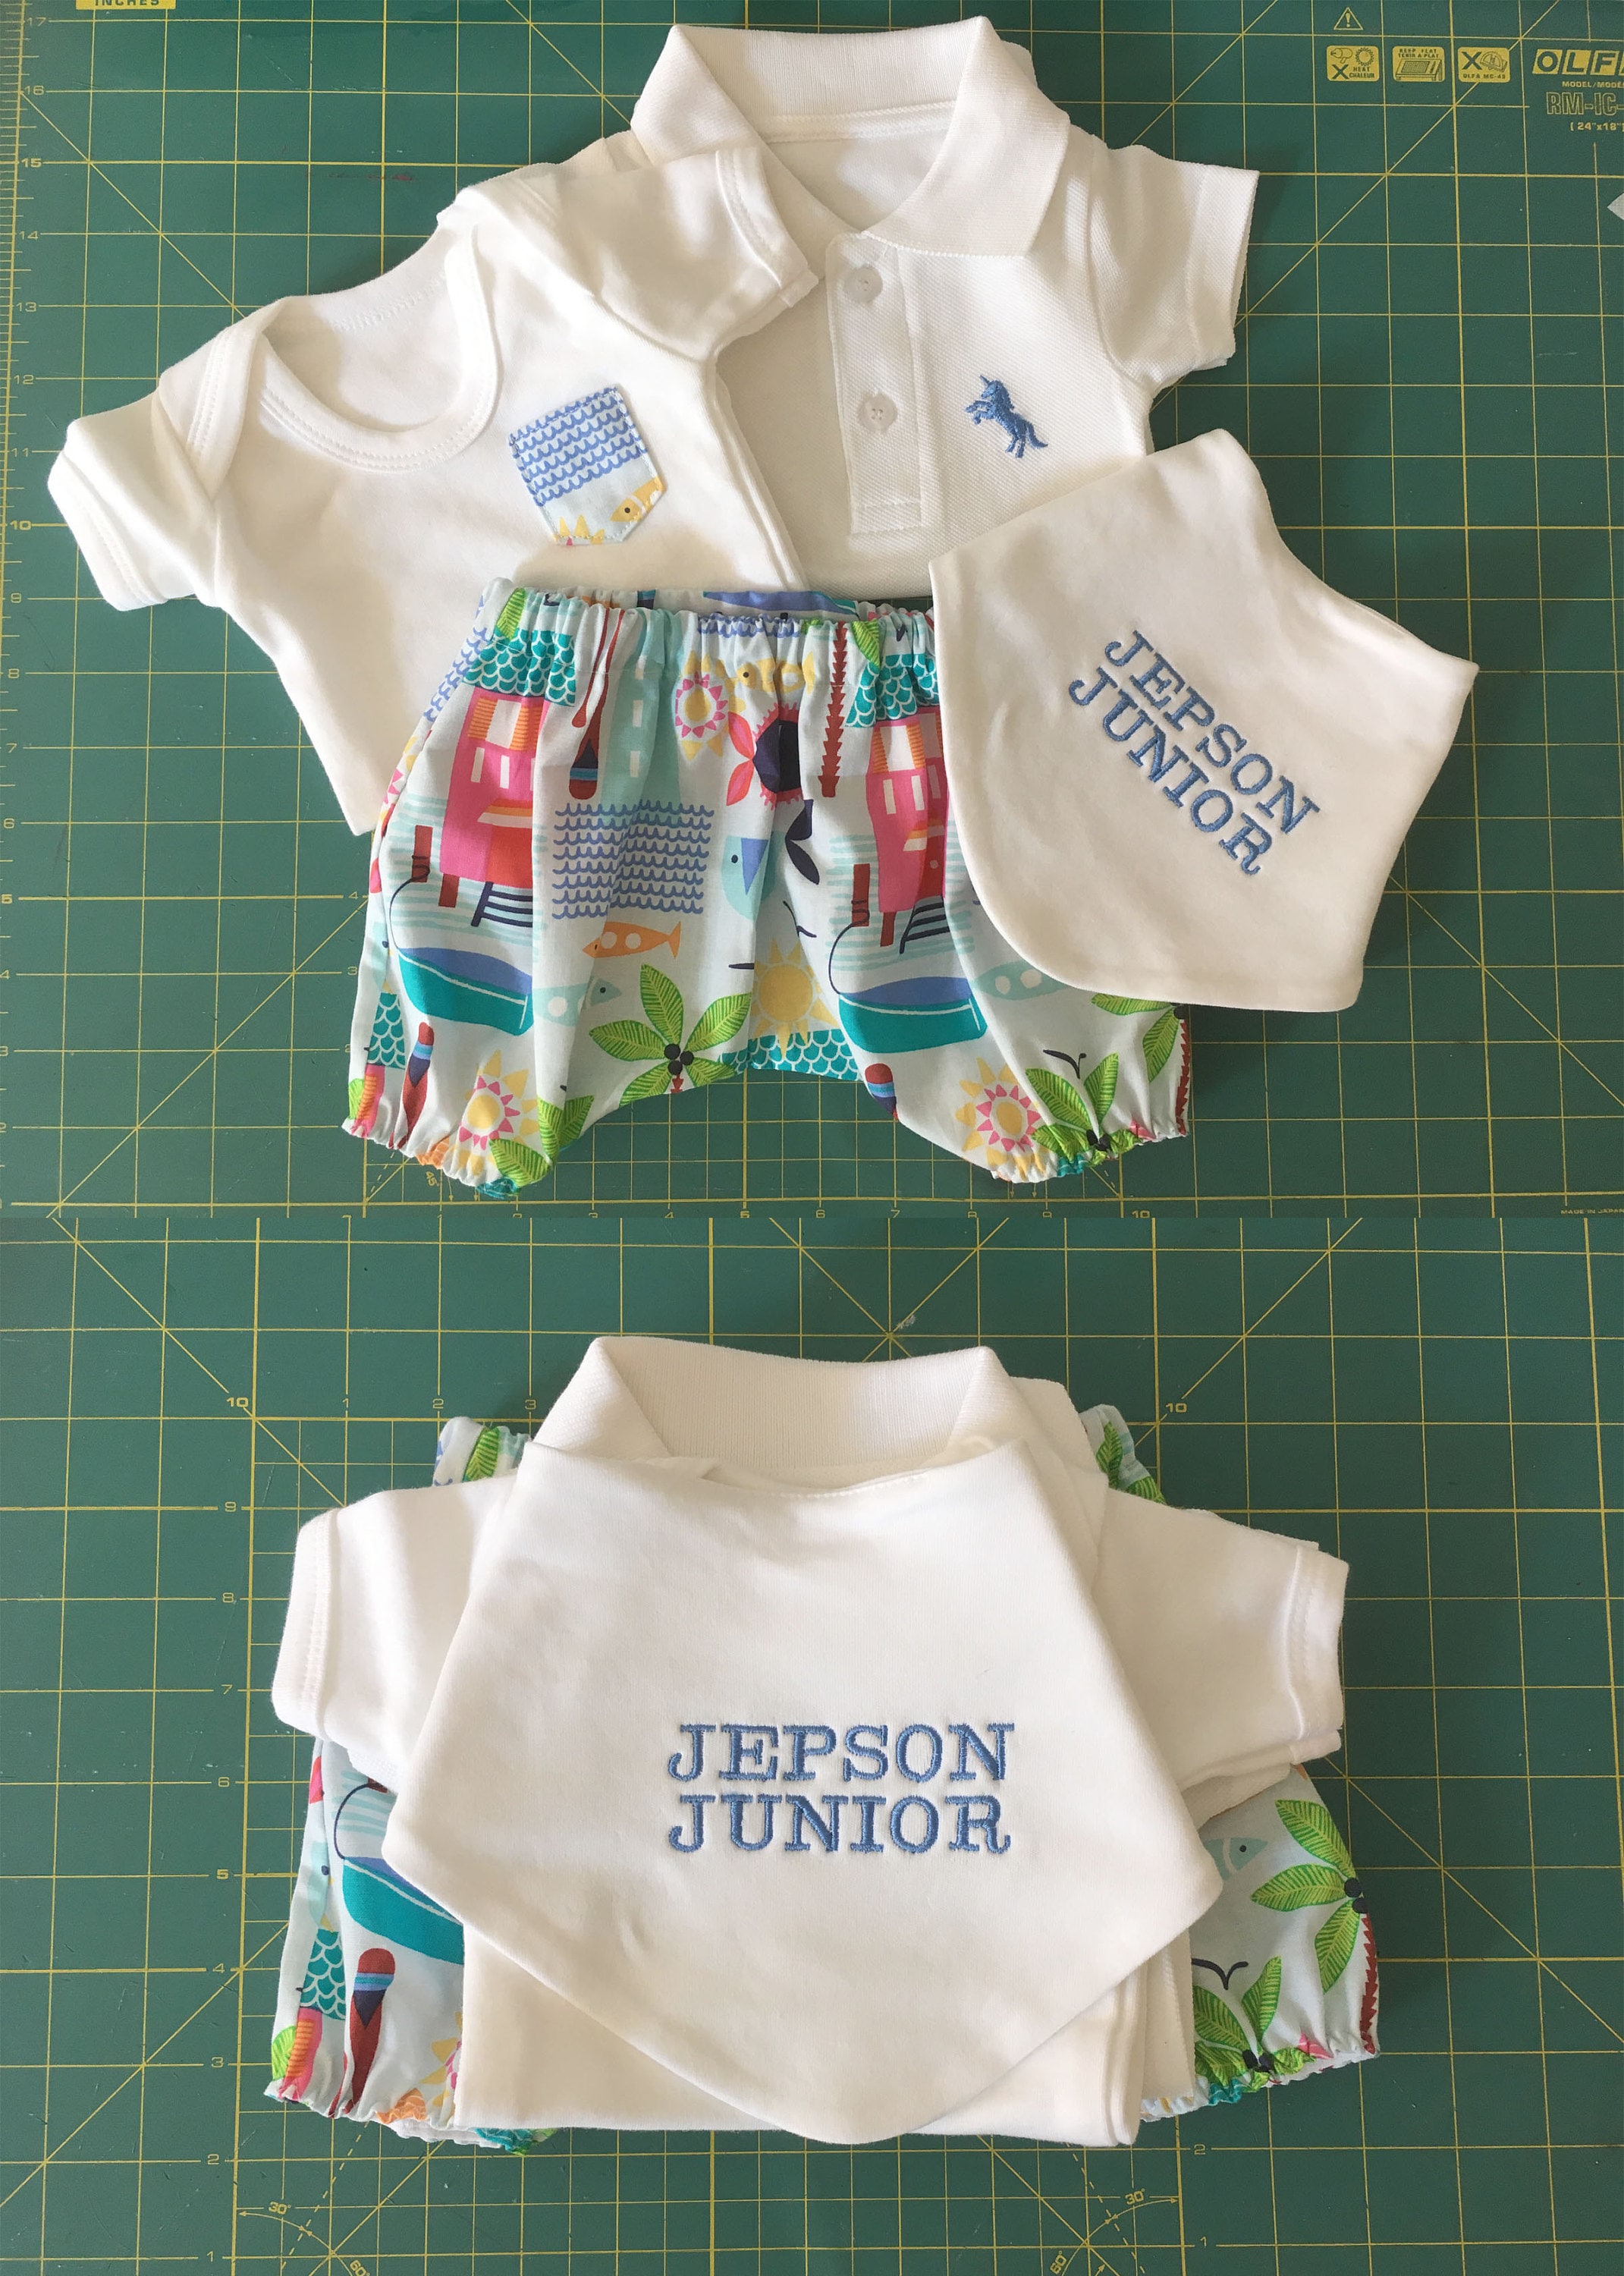
I am making a gift bag for a baby shower that will be personalised, so I need to check the size of the clothing to go inside the bag.
Step two - Calculate the width of your bag.
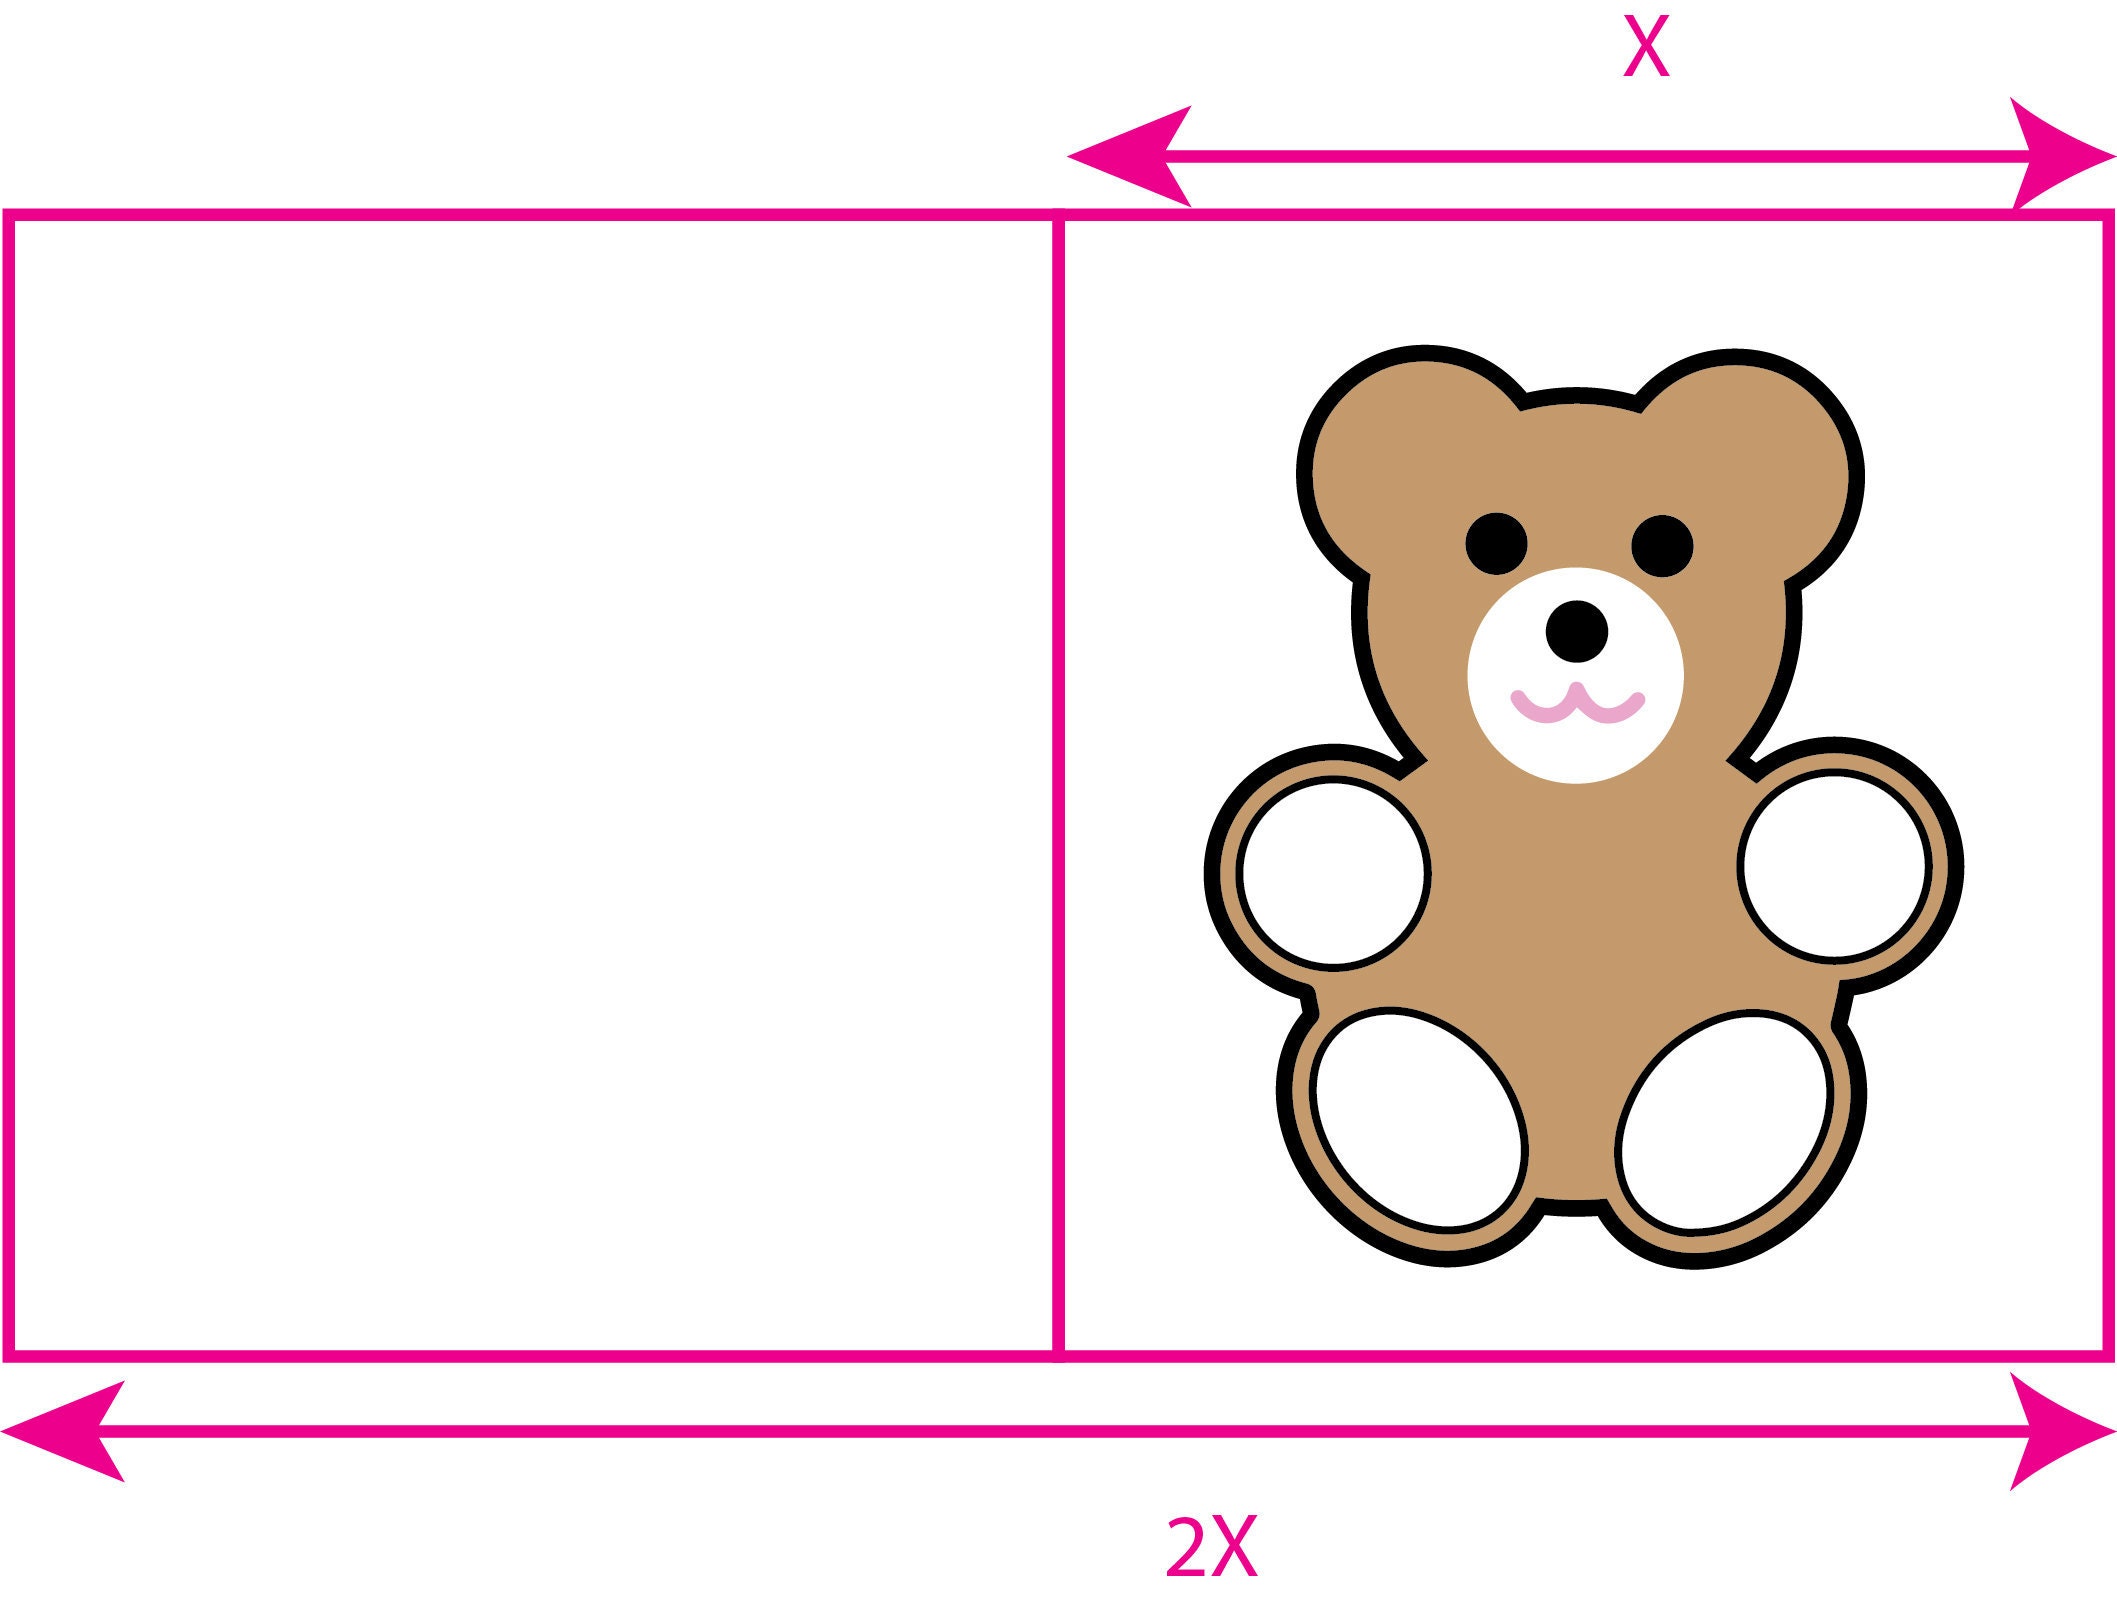
Double the width measurement of your object. This will be the width of your bag. You will notice I have added a little extra to the width of the object. I dont want it to be too snug a fit.
Step three - Add the 'top of bag' seam allowance.

Add 5cm to the length of the bag, this is for the top of the bag, where we are going to turn the edge down by 2.5cm then turn another 2.5cm. Please note that your elastic or ribbon will need to be narrower than 2cm to fit through the channel we are going to sew. If you would like to use a wider trim increase this measurement accordingly.
Step four - Add the 'bottom of bag' seam allowance.

Add 1cm to the length of the bag at the bottom.
Step five - add the 'side of bag' seam allowance to each side.

Add 2.5cm seam allowance to each side of bag.
The completed pattern is shown below.

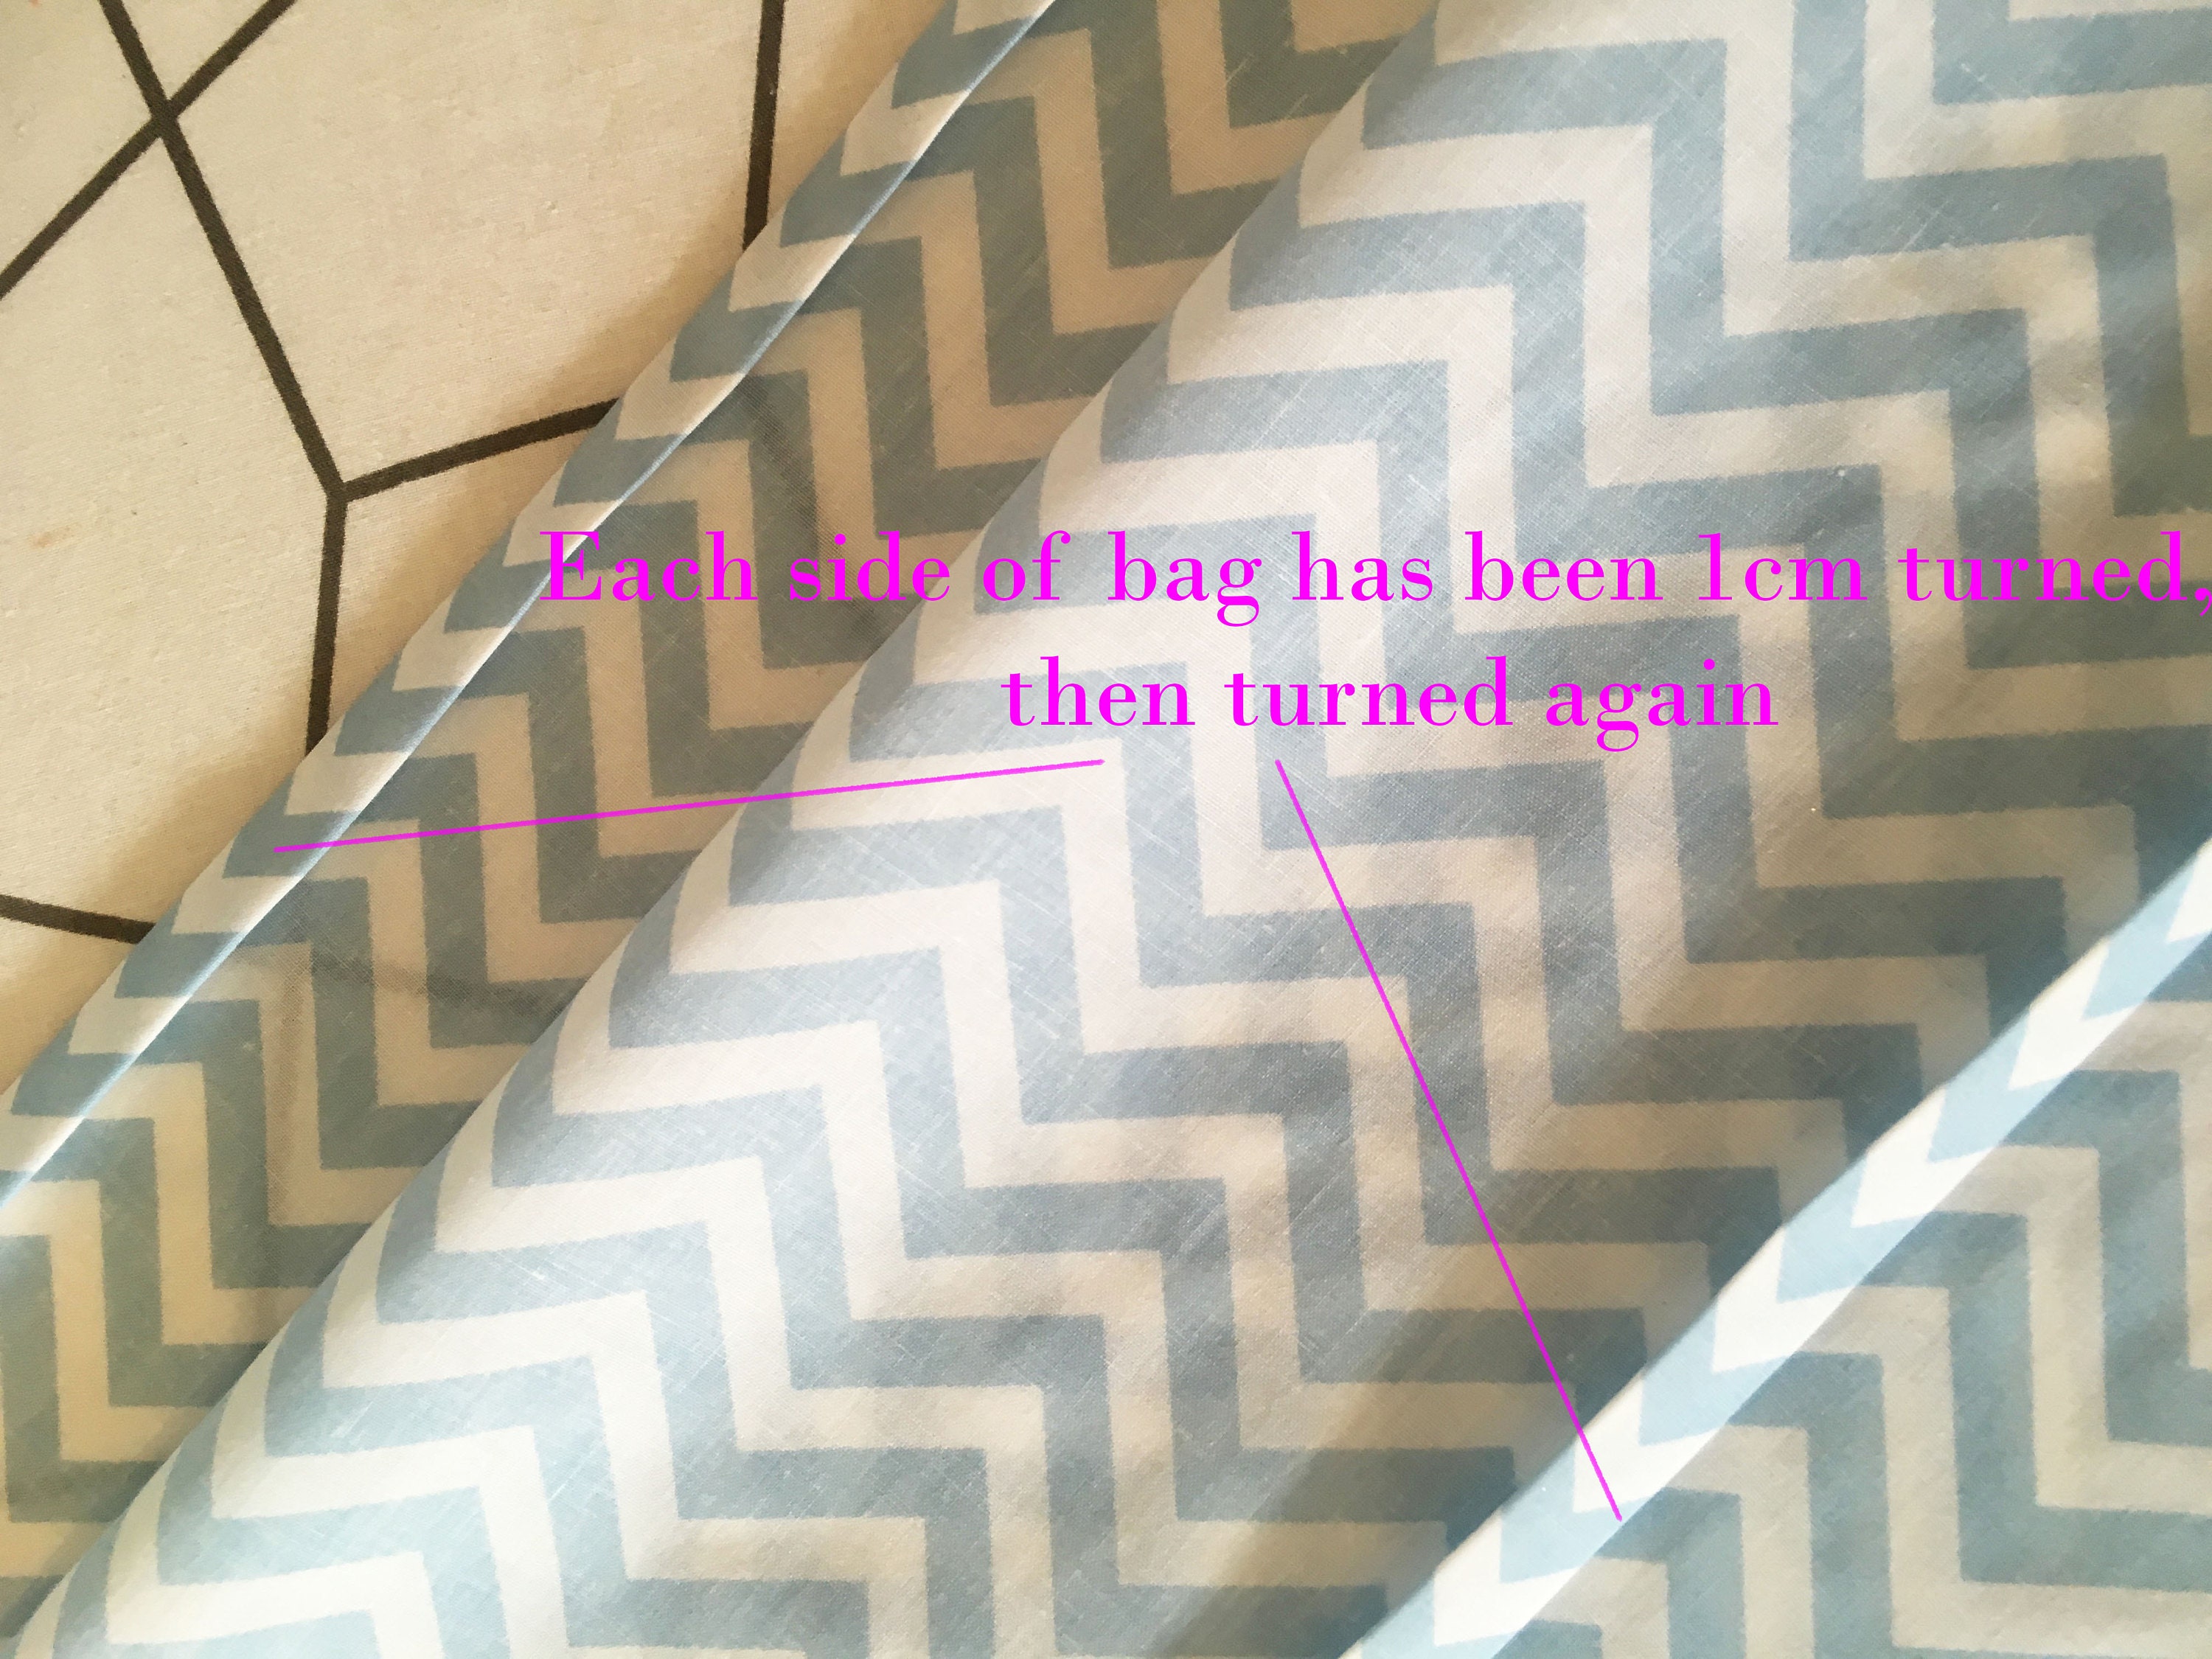
Step five - neaten the two side edges of the bag
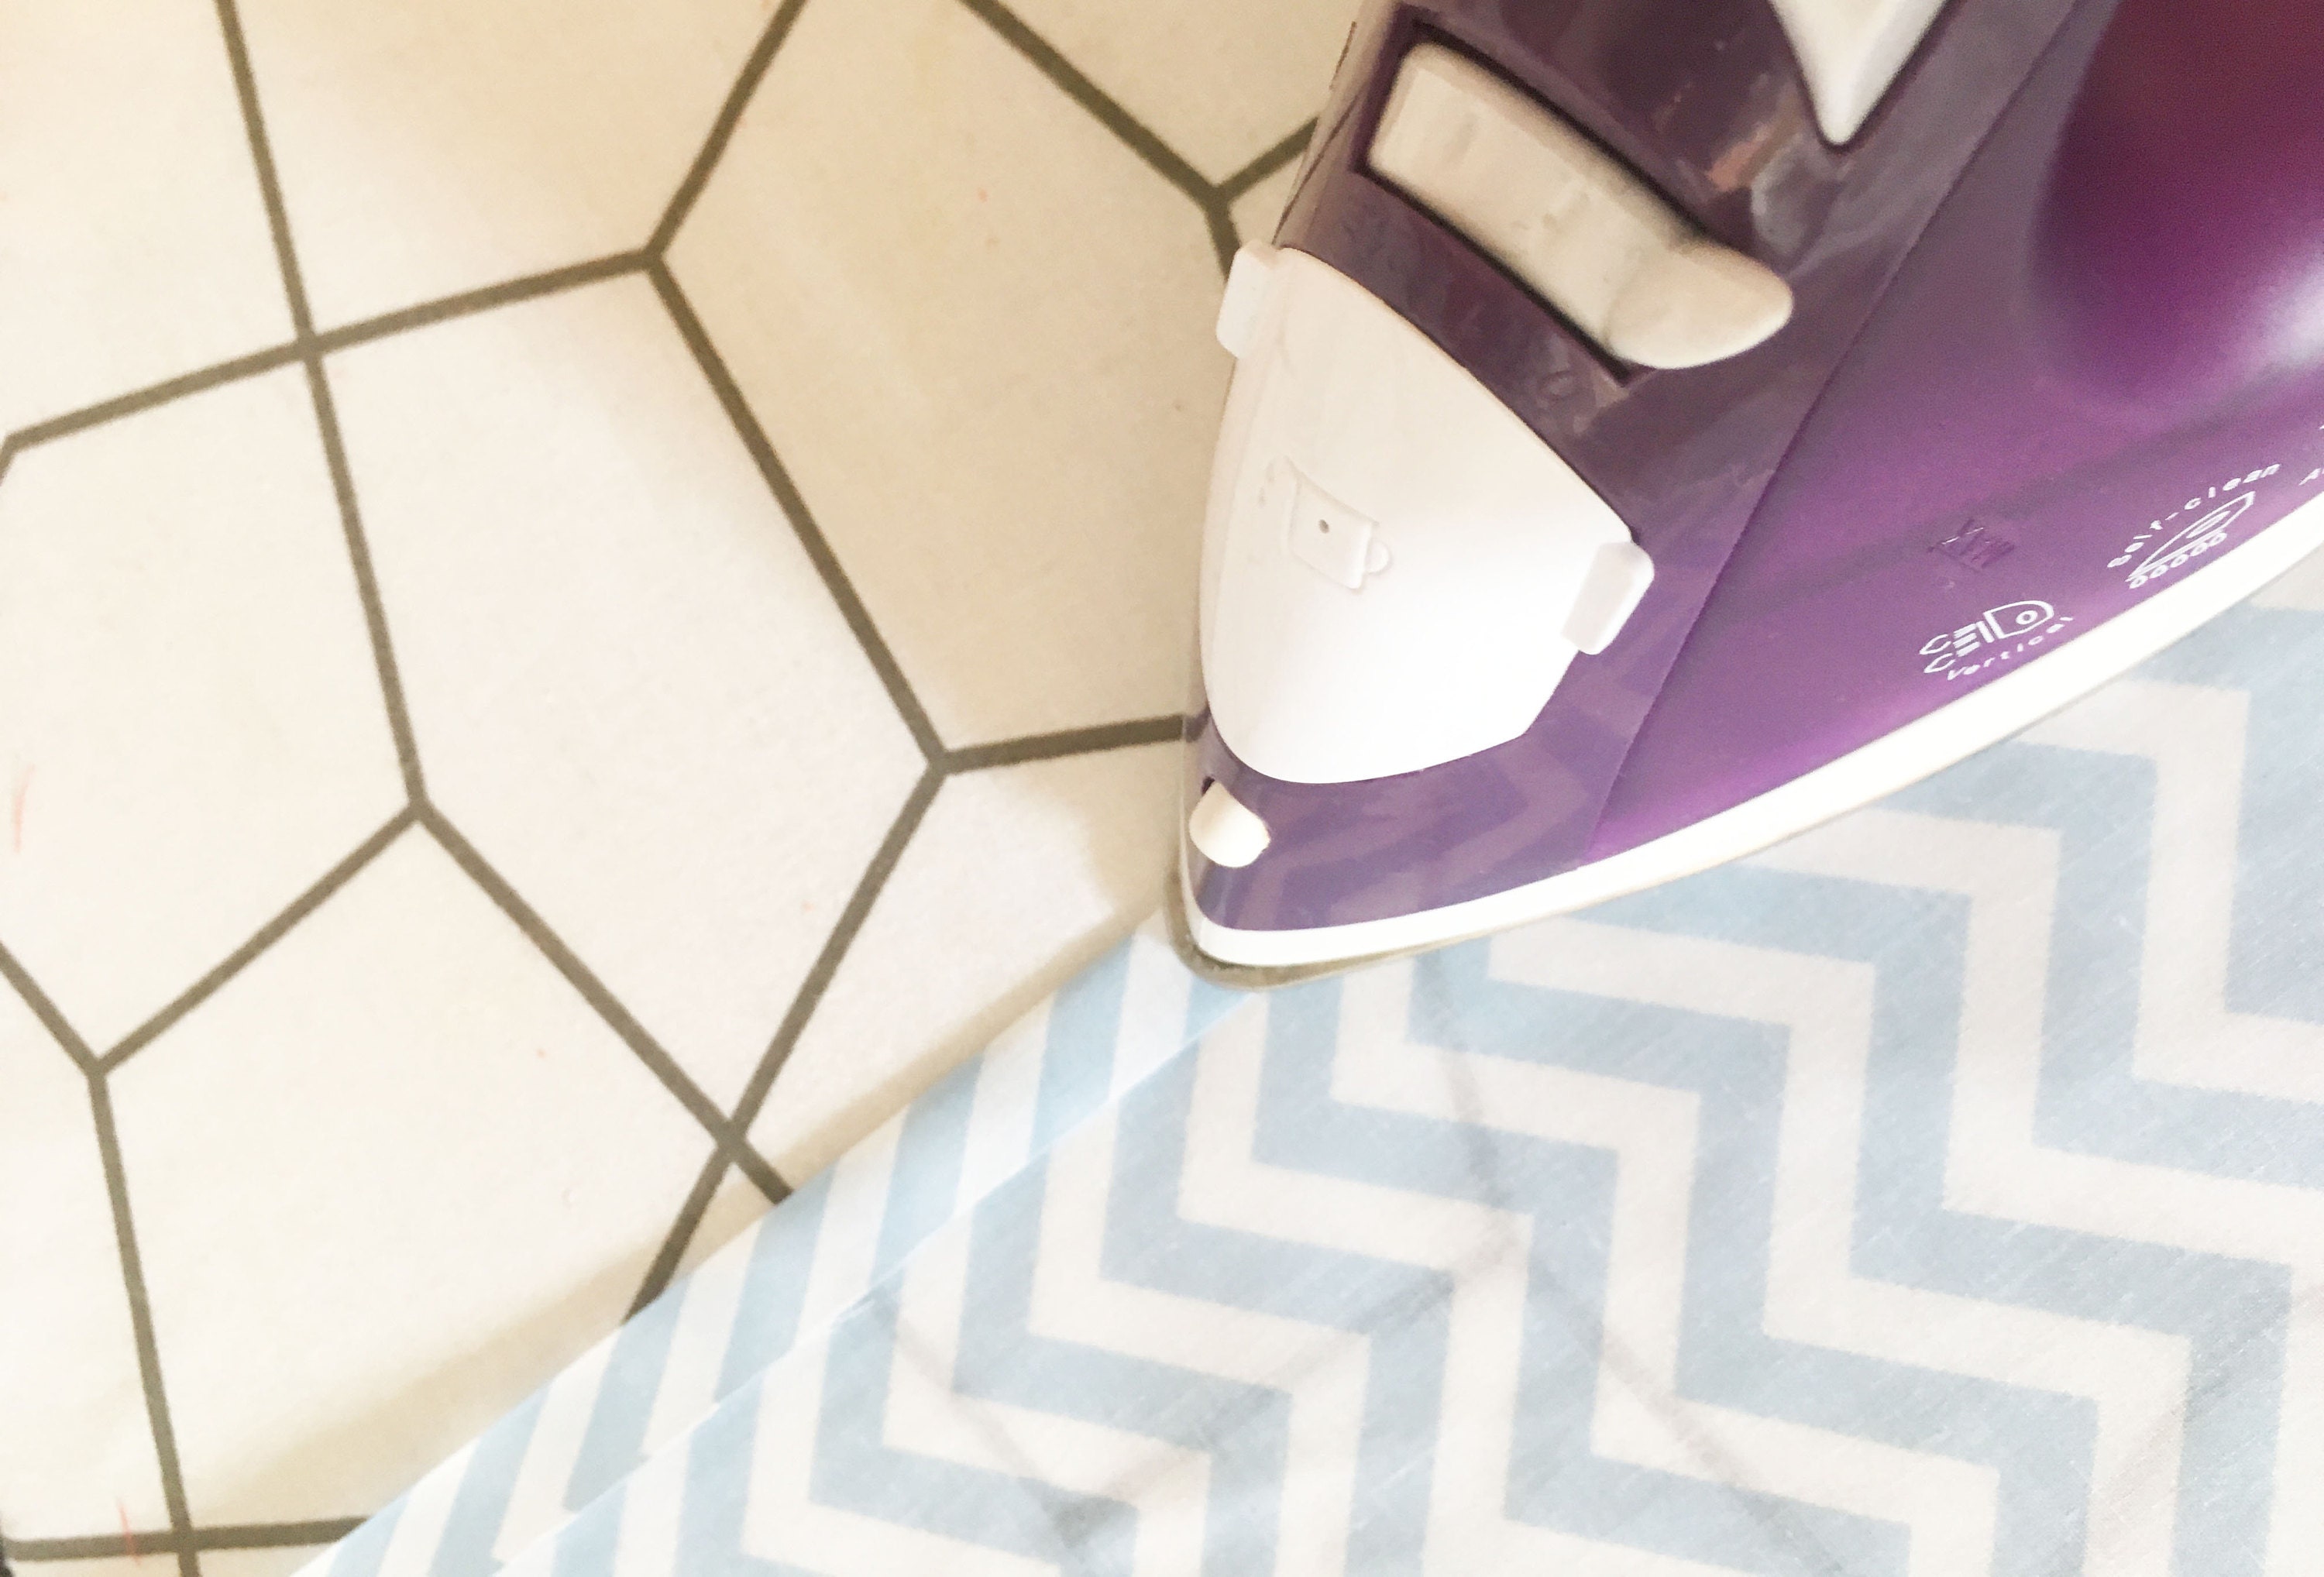
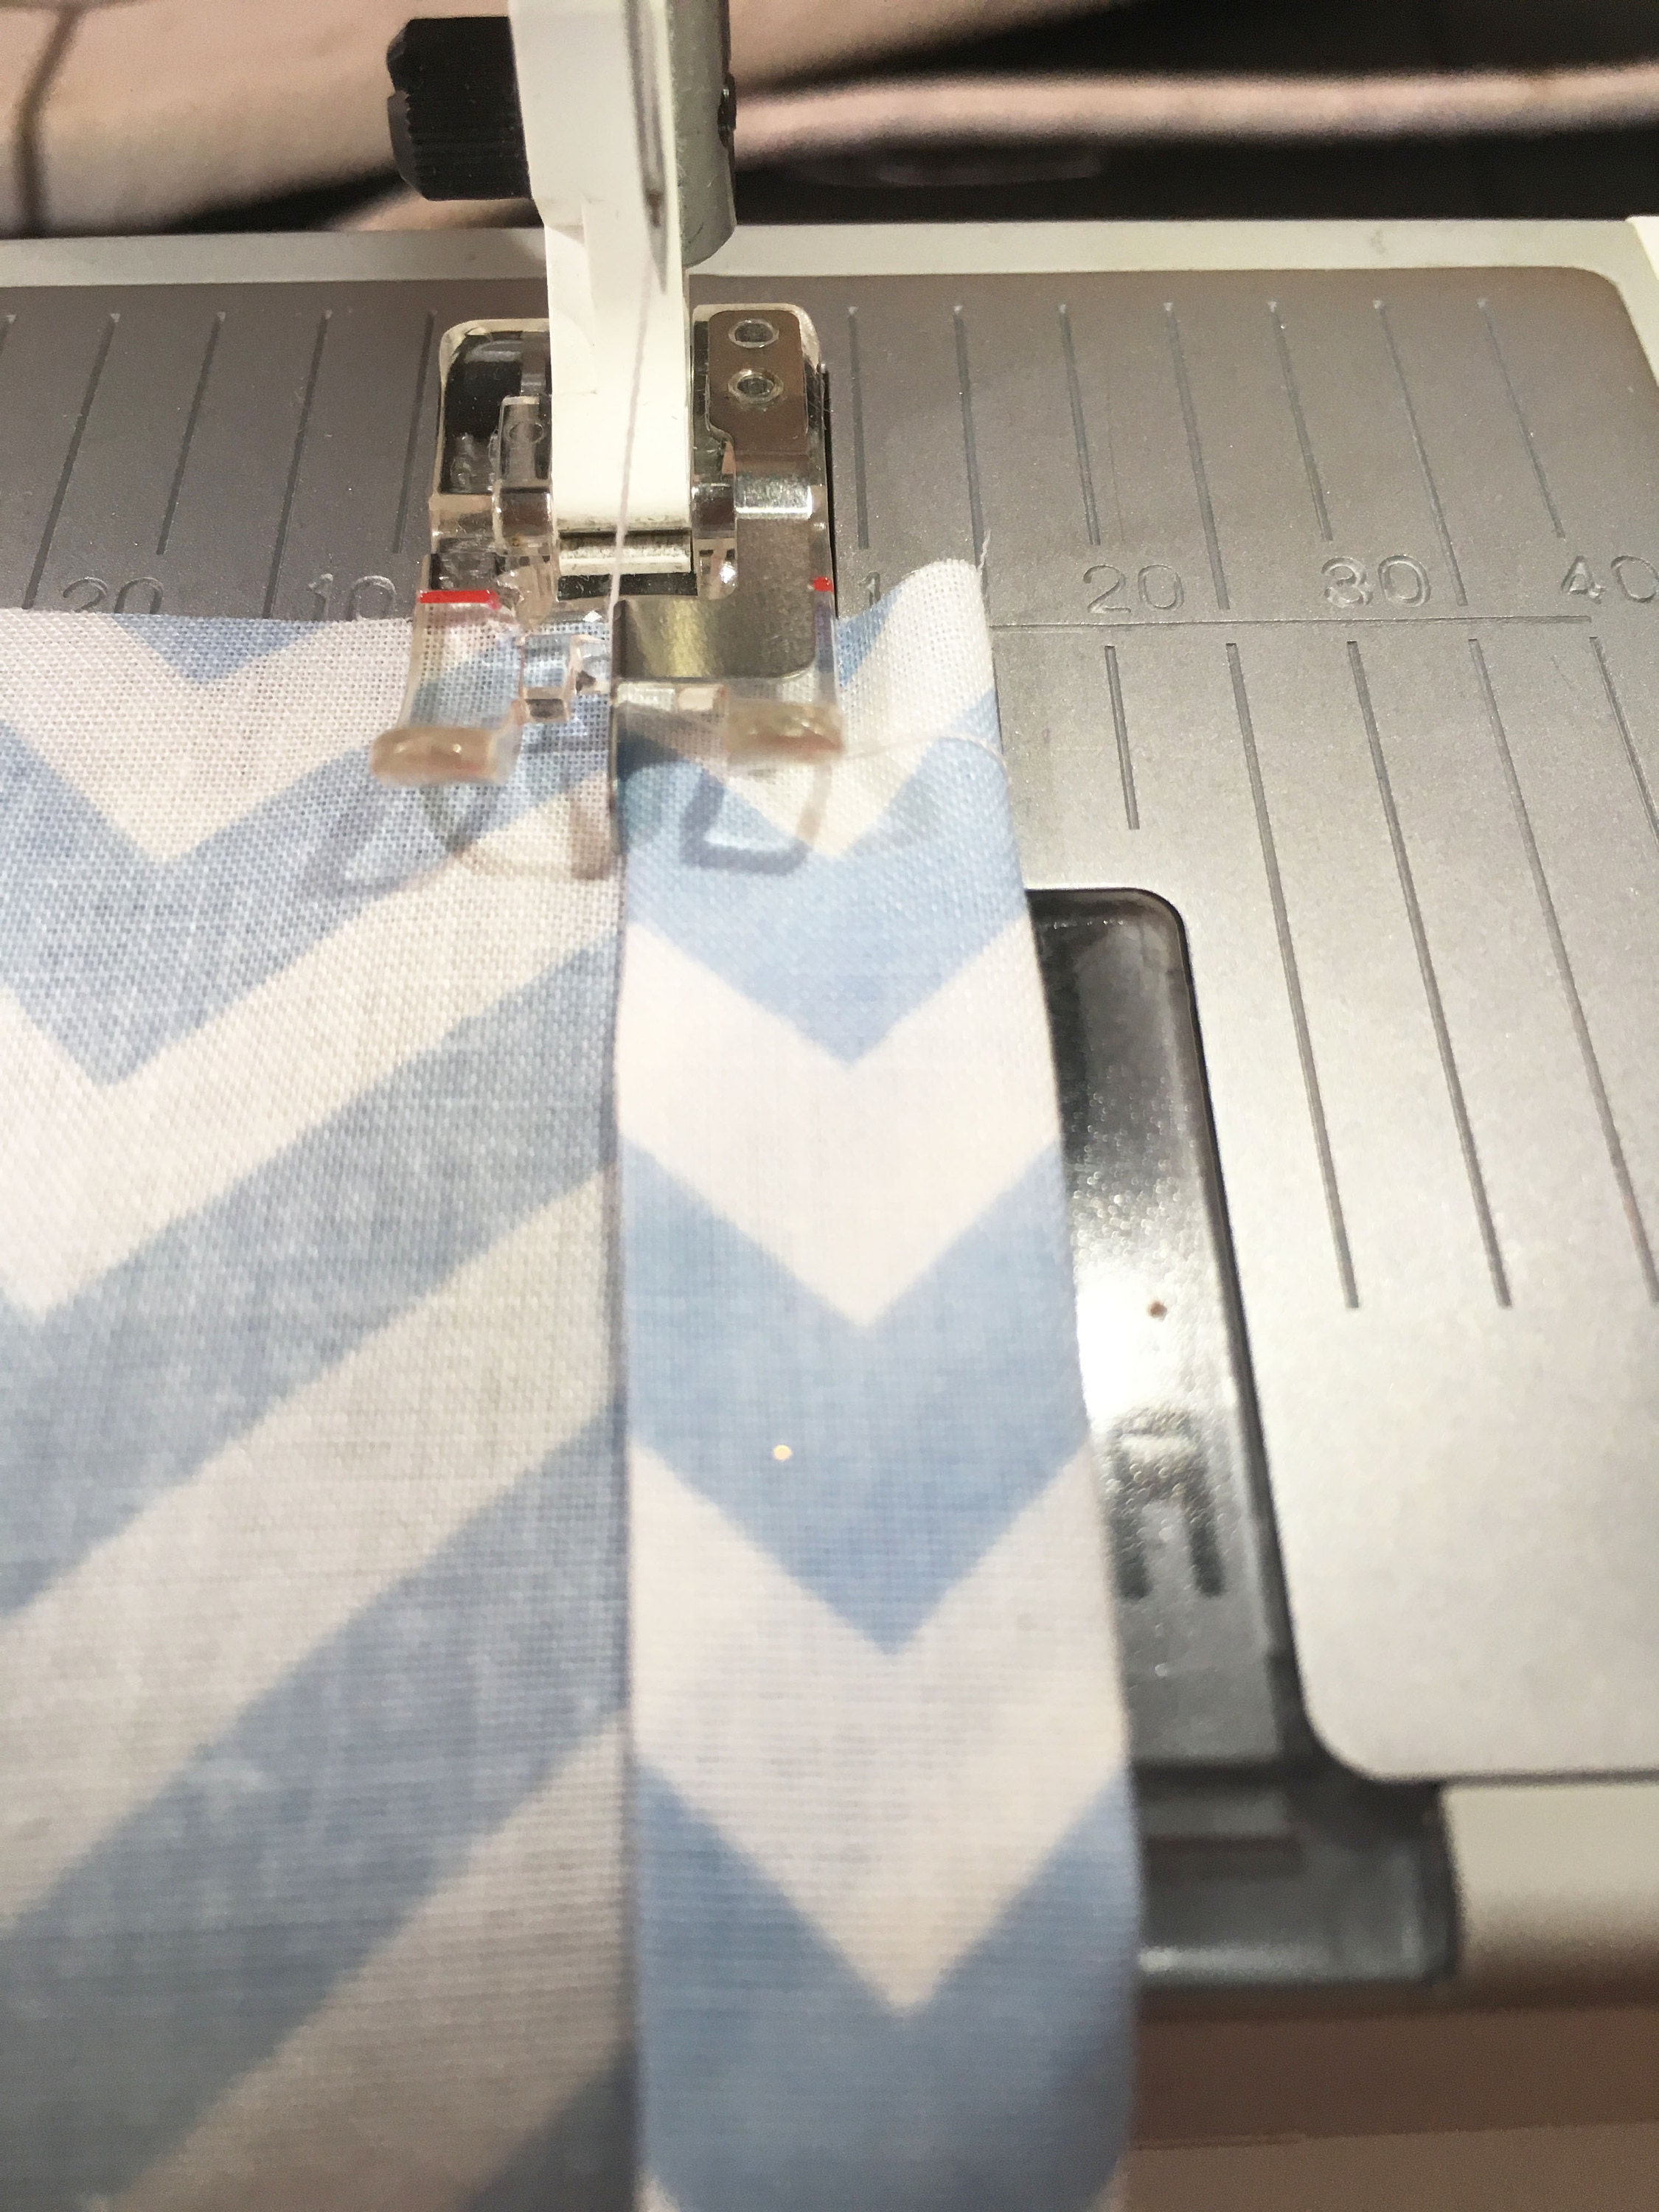
The edges of the bag will be visible when the bag is drawn up, so we need to neaten them nicely. Fold each edge over by 1cm and press, then turn them again another 1cm.
Once pressed, stitch these turned hems down. I like to use my edge joining foot for this job as it enables you to get very close to the folded edge.
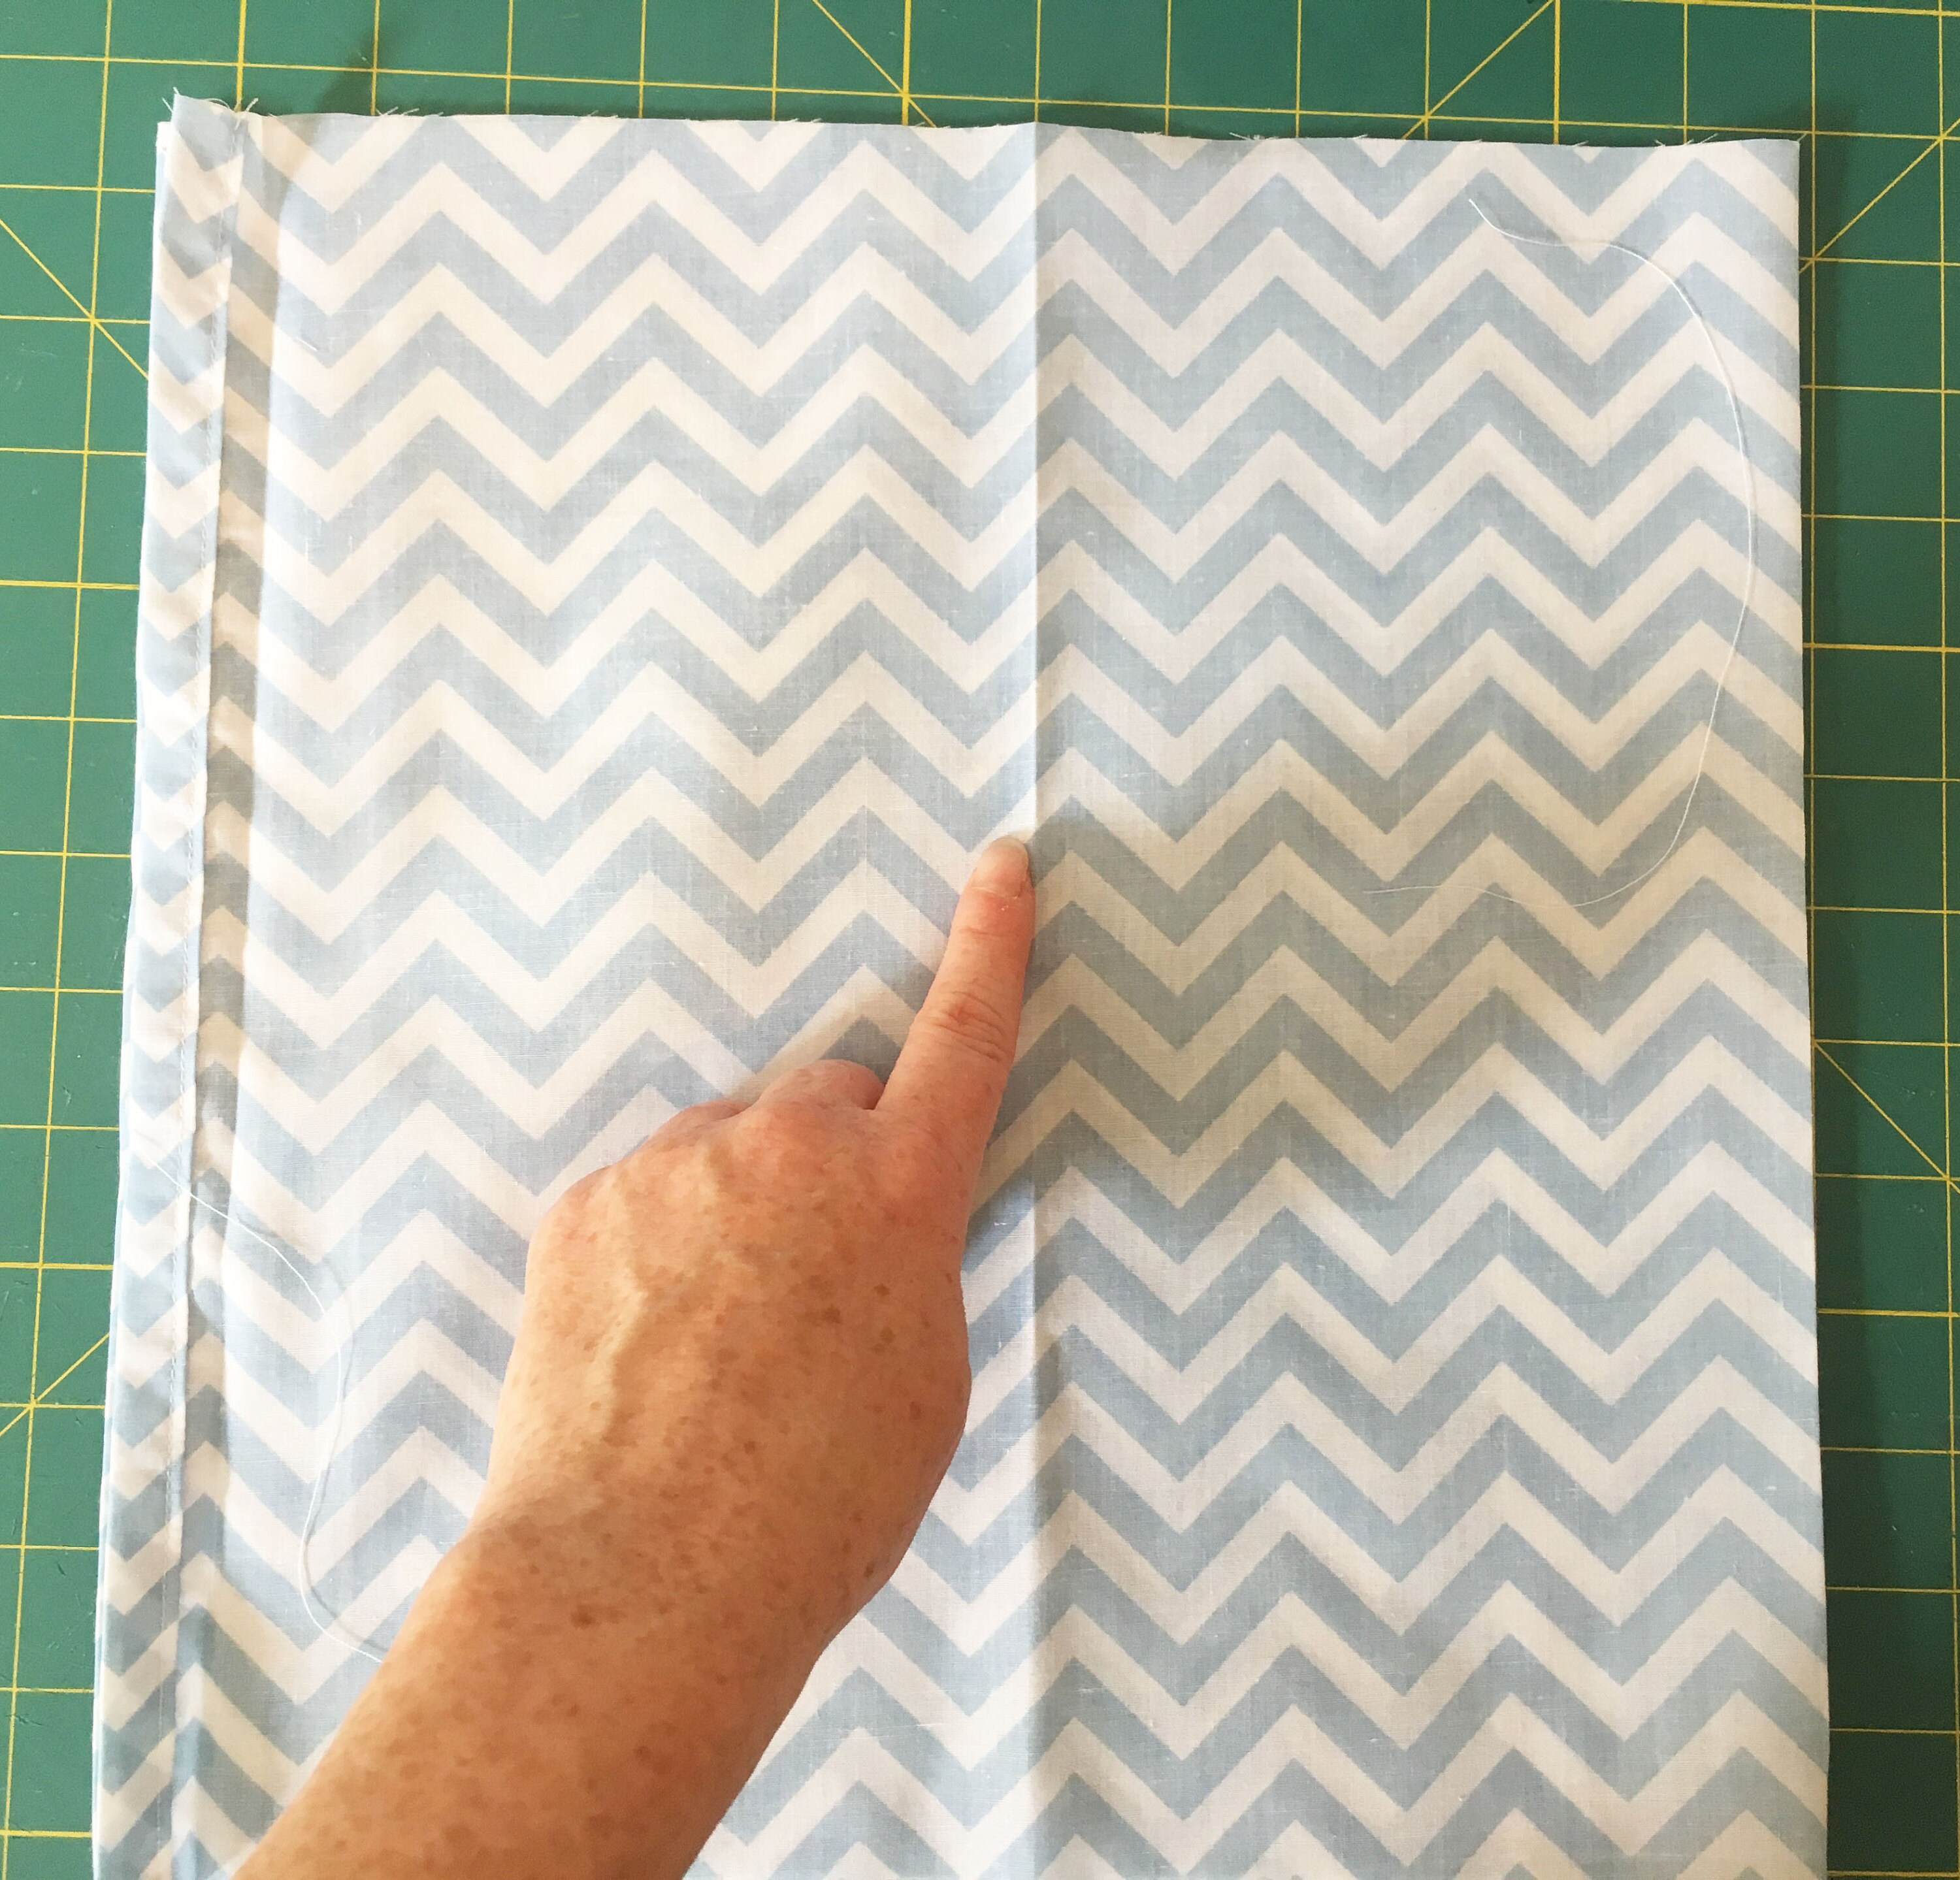
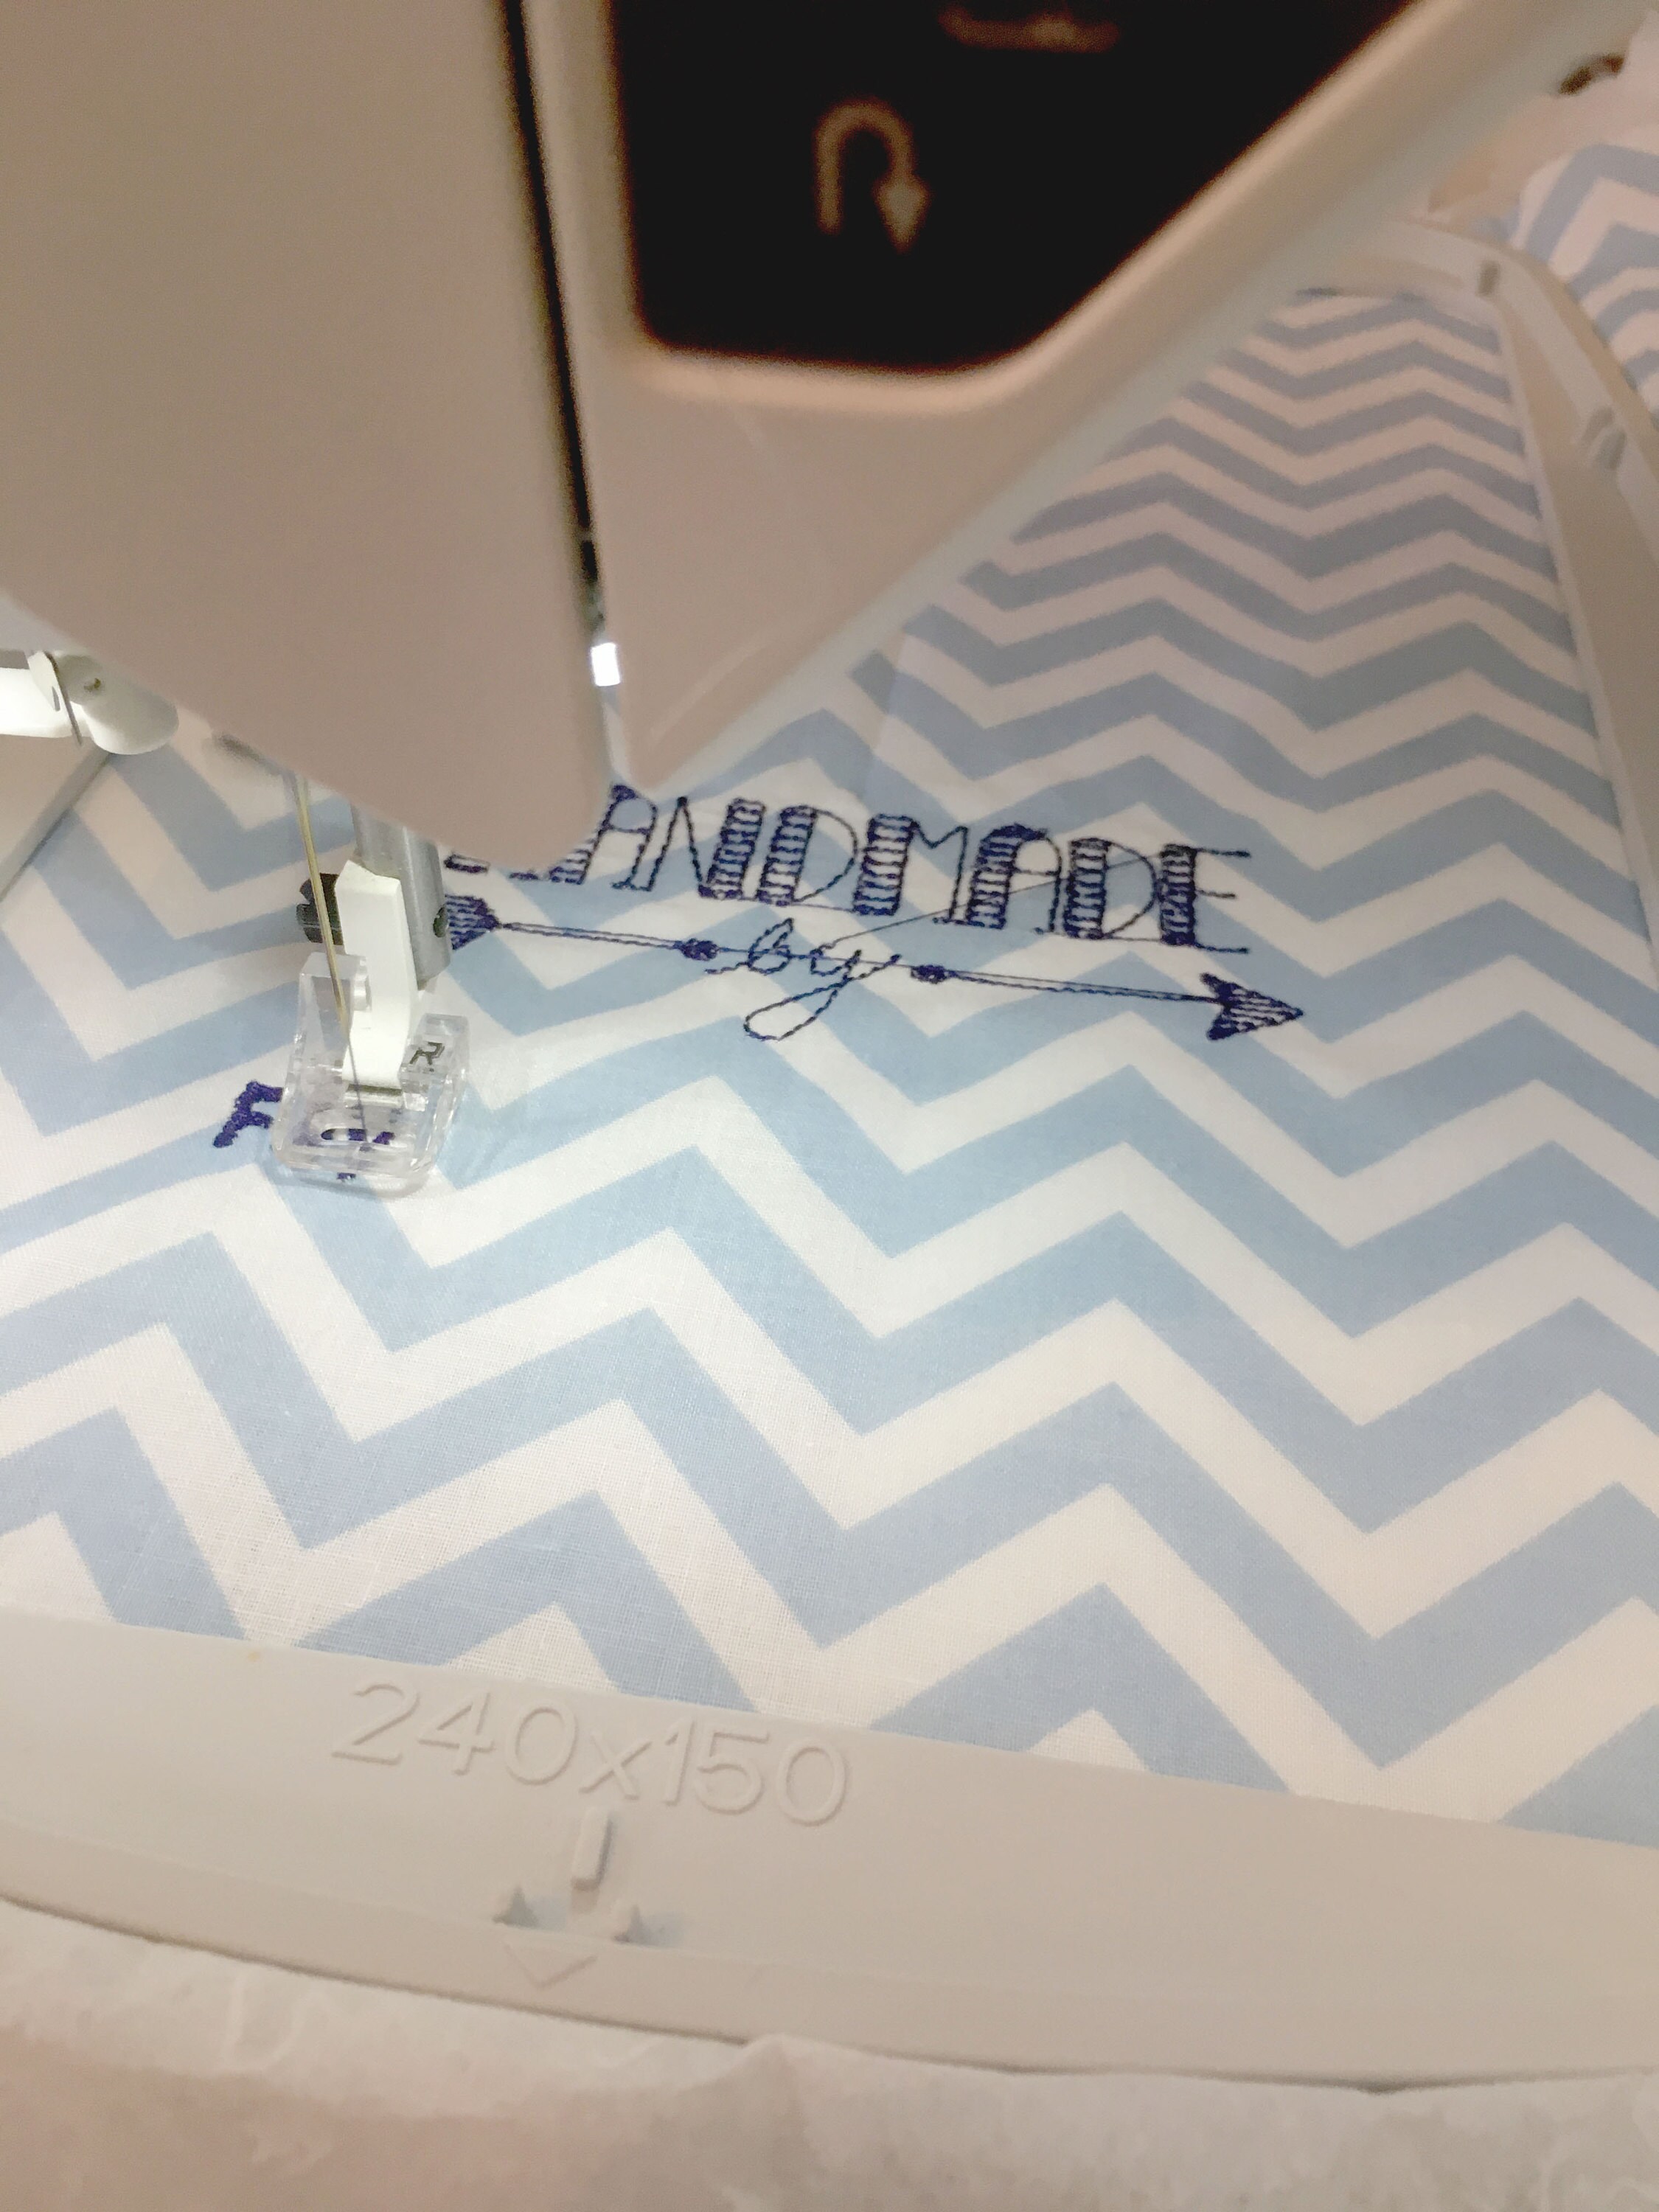
Step six - OPTIONAL - mark centre of front to add embroidery and stitch
I am going to embroider my bag, you could also decorate with a pocket or an applique for example. I have pressed a crease in the centre of the front panel to centre my embroidery.
Once the centre is marked, hoop up your embroidery and stitch out the design.
Step seven - neaten the top edge of the bag.
We are going to use the same process to neaten the top edge as we used on the side. Turn the top edge of the bag down by 2.5cm and press, then turn another 2.5m and press.
Once pressed stitch this turned hem in place.
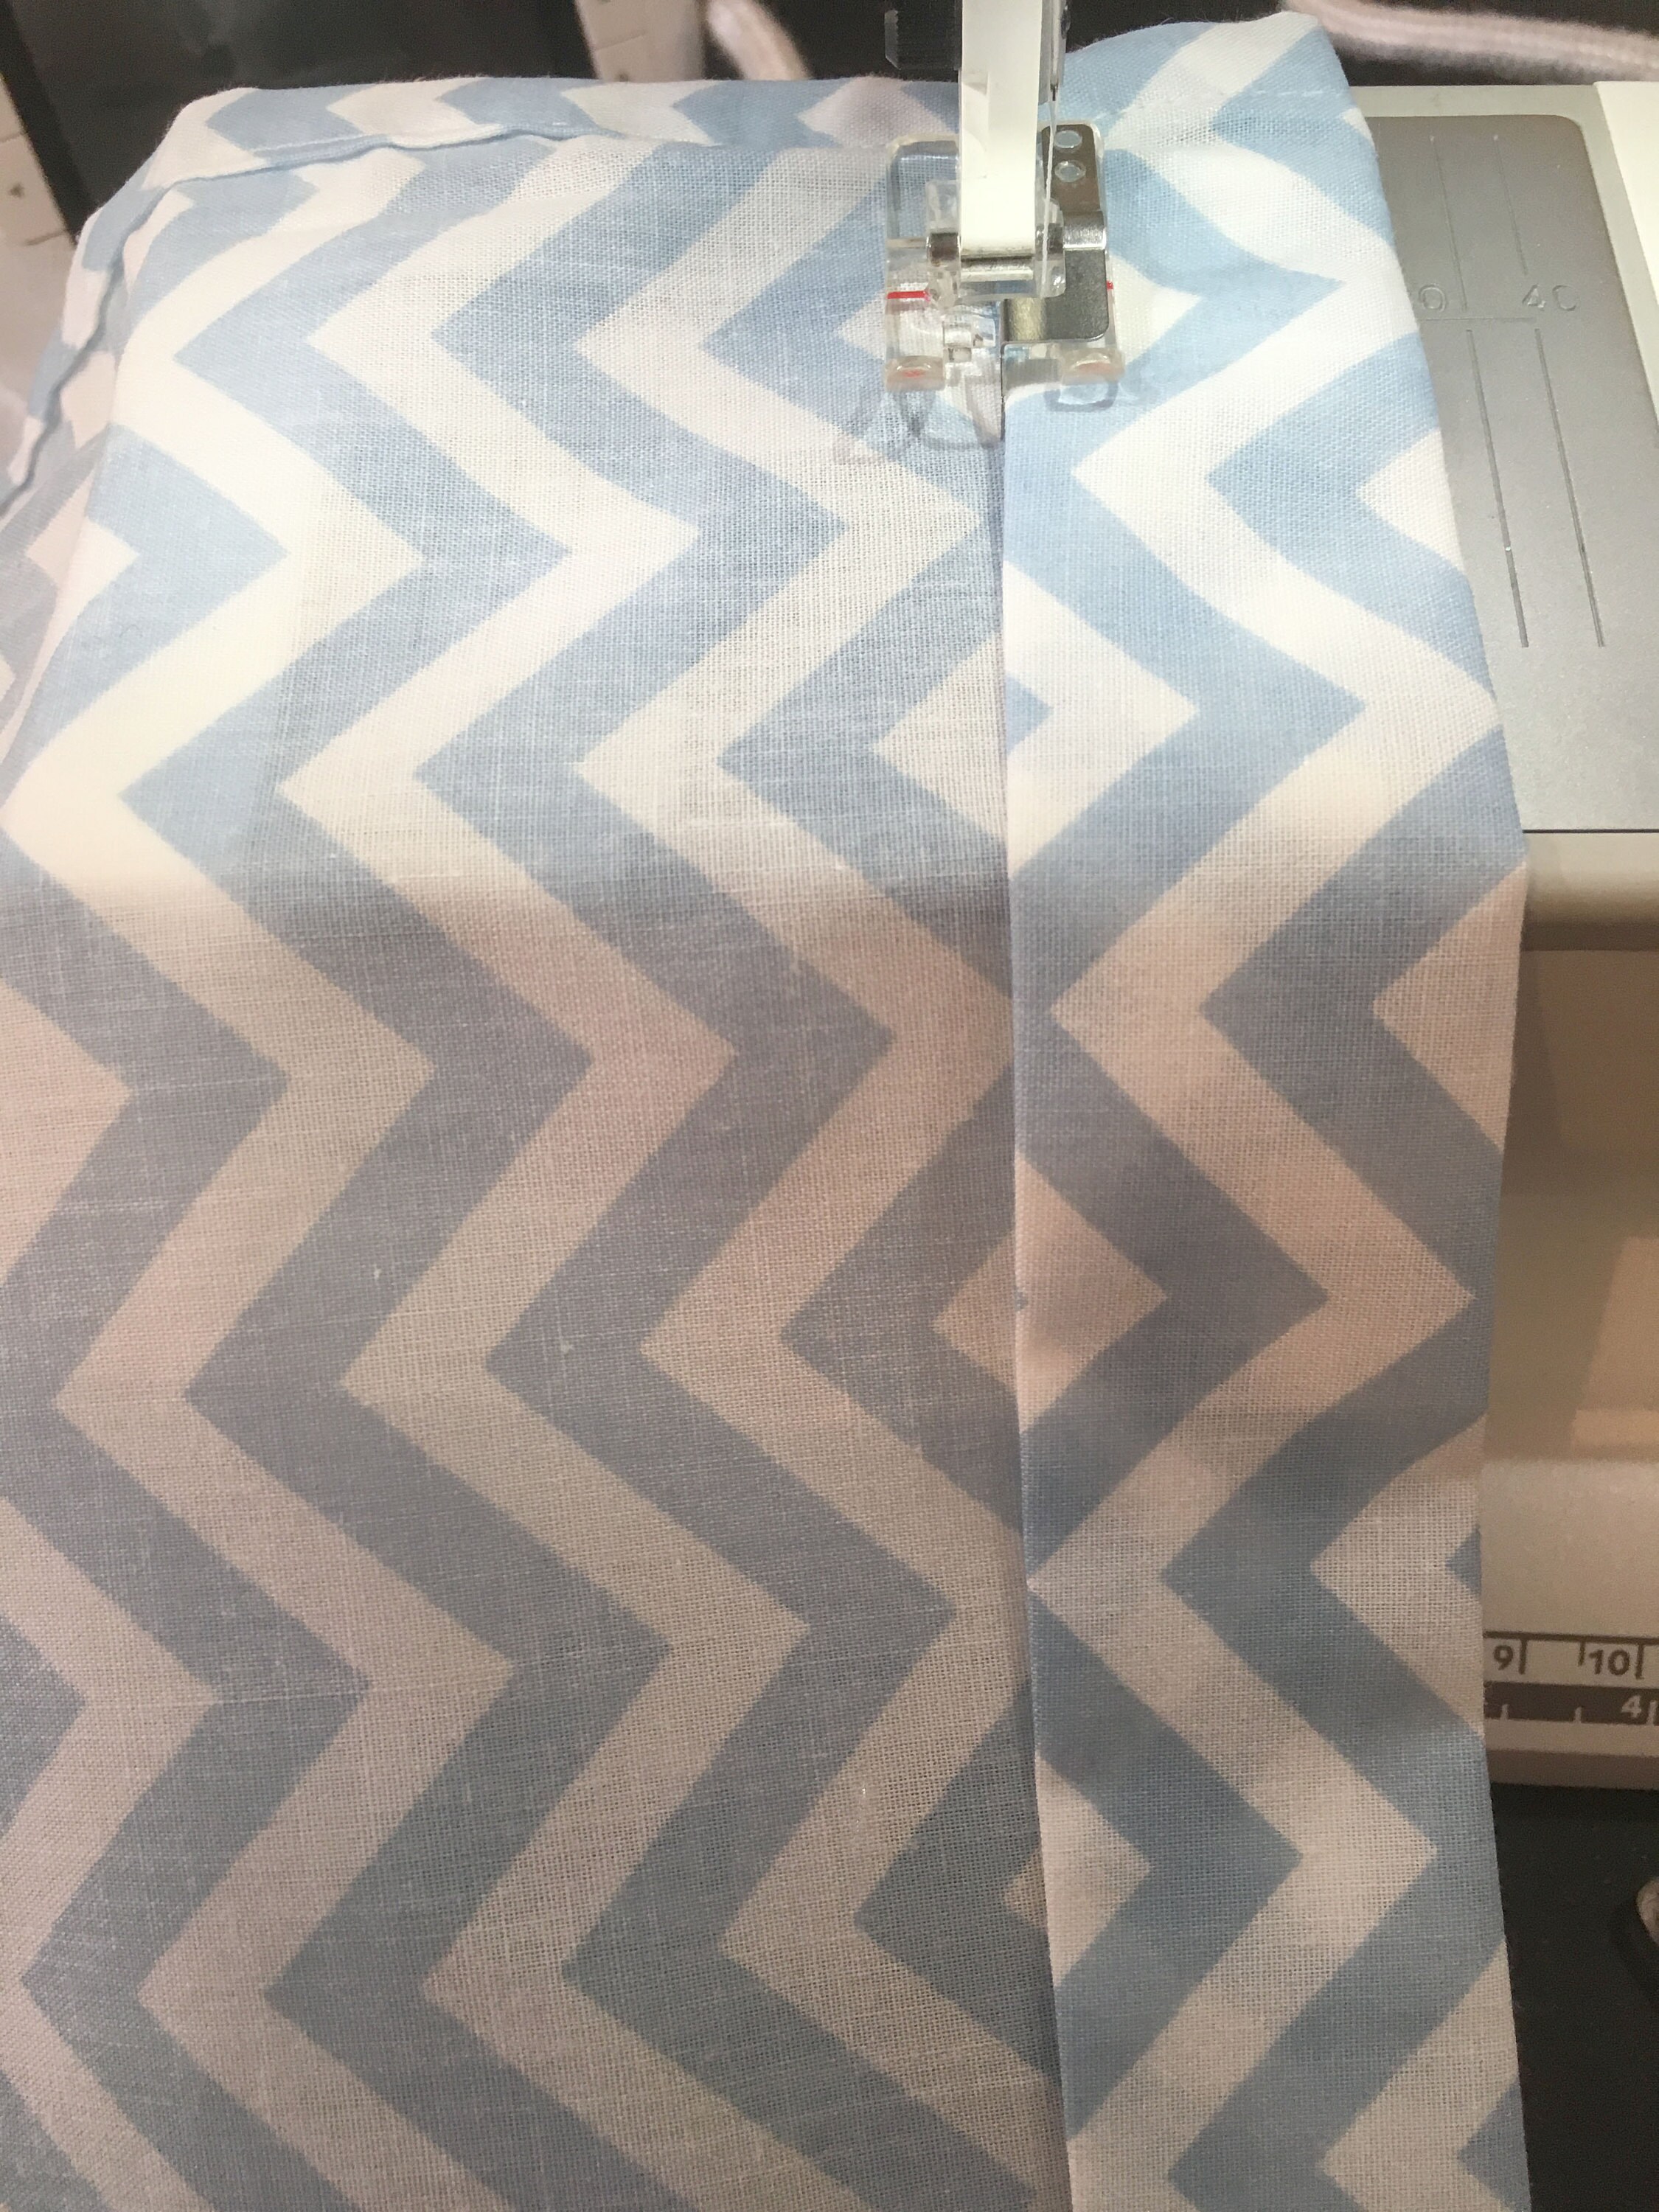
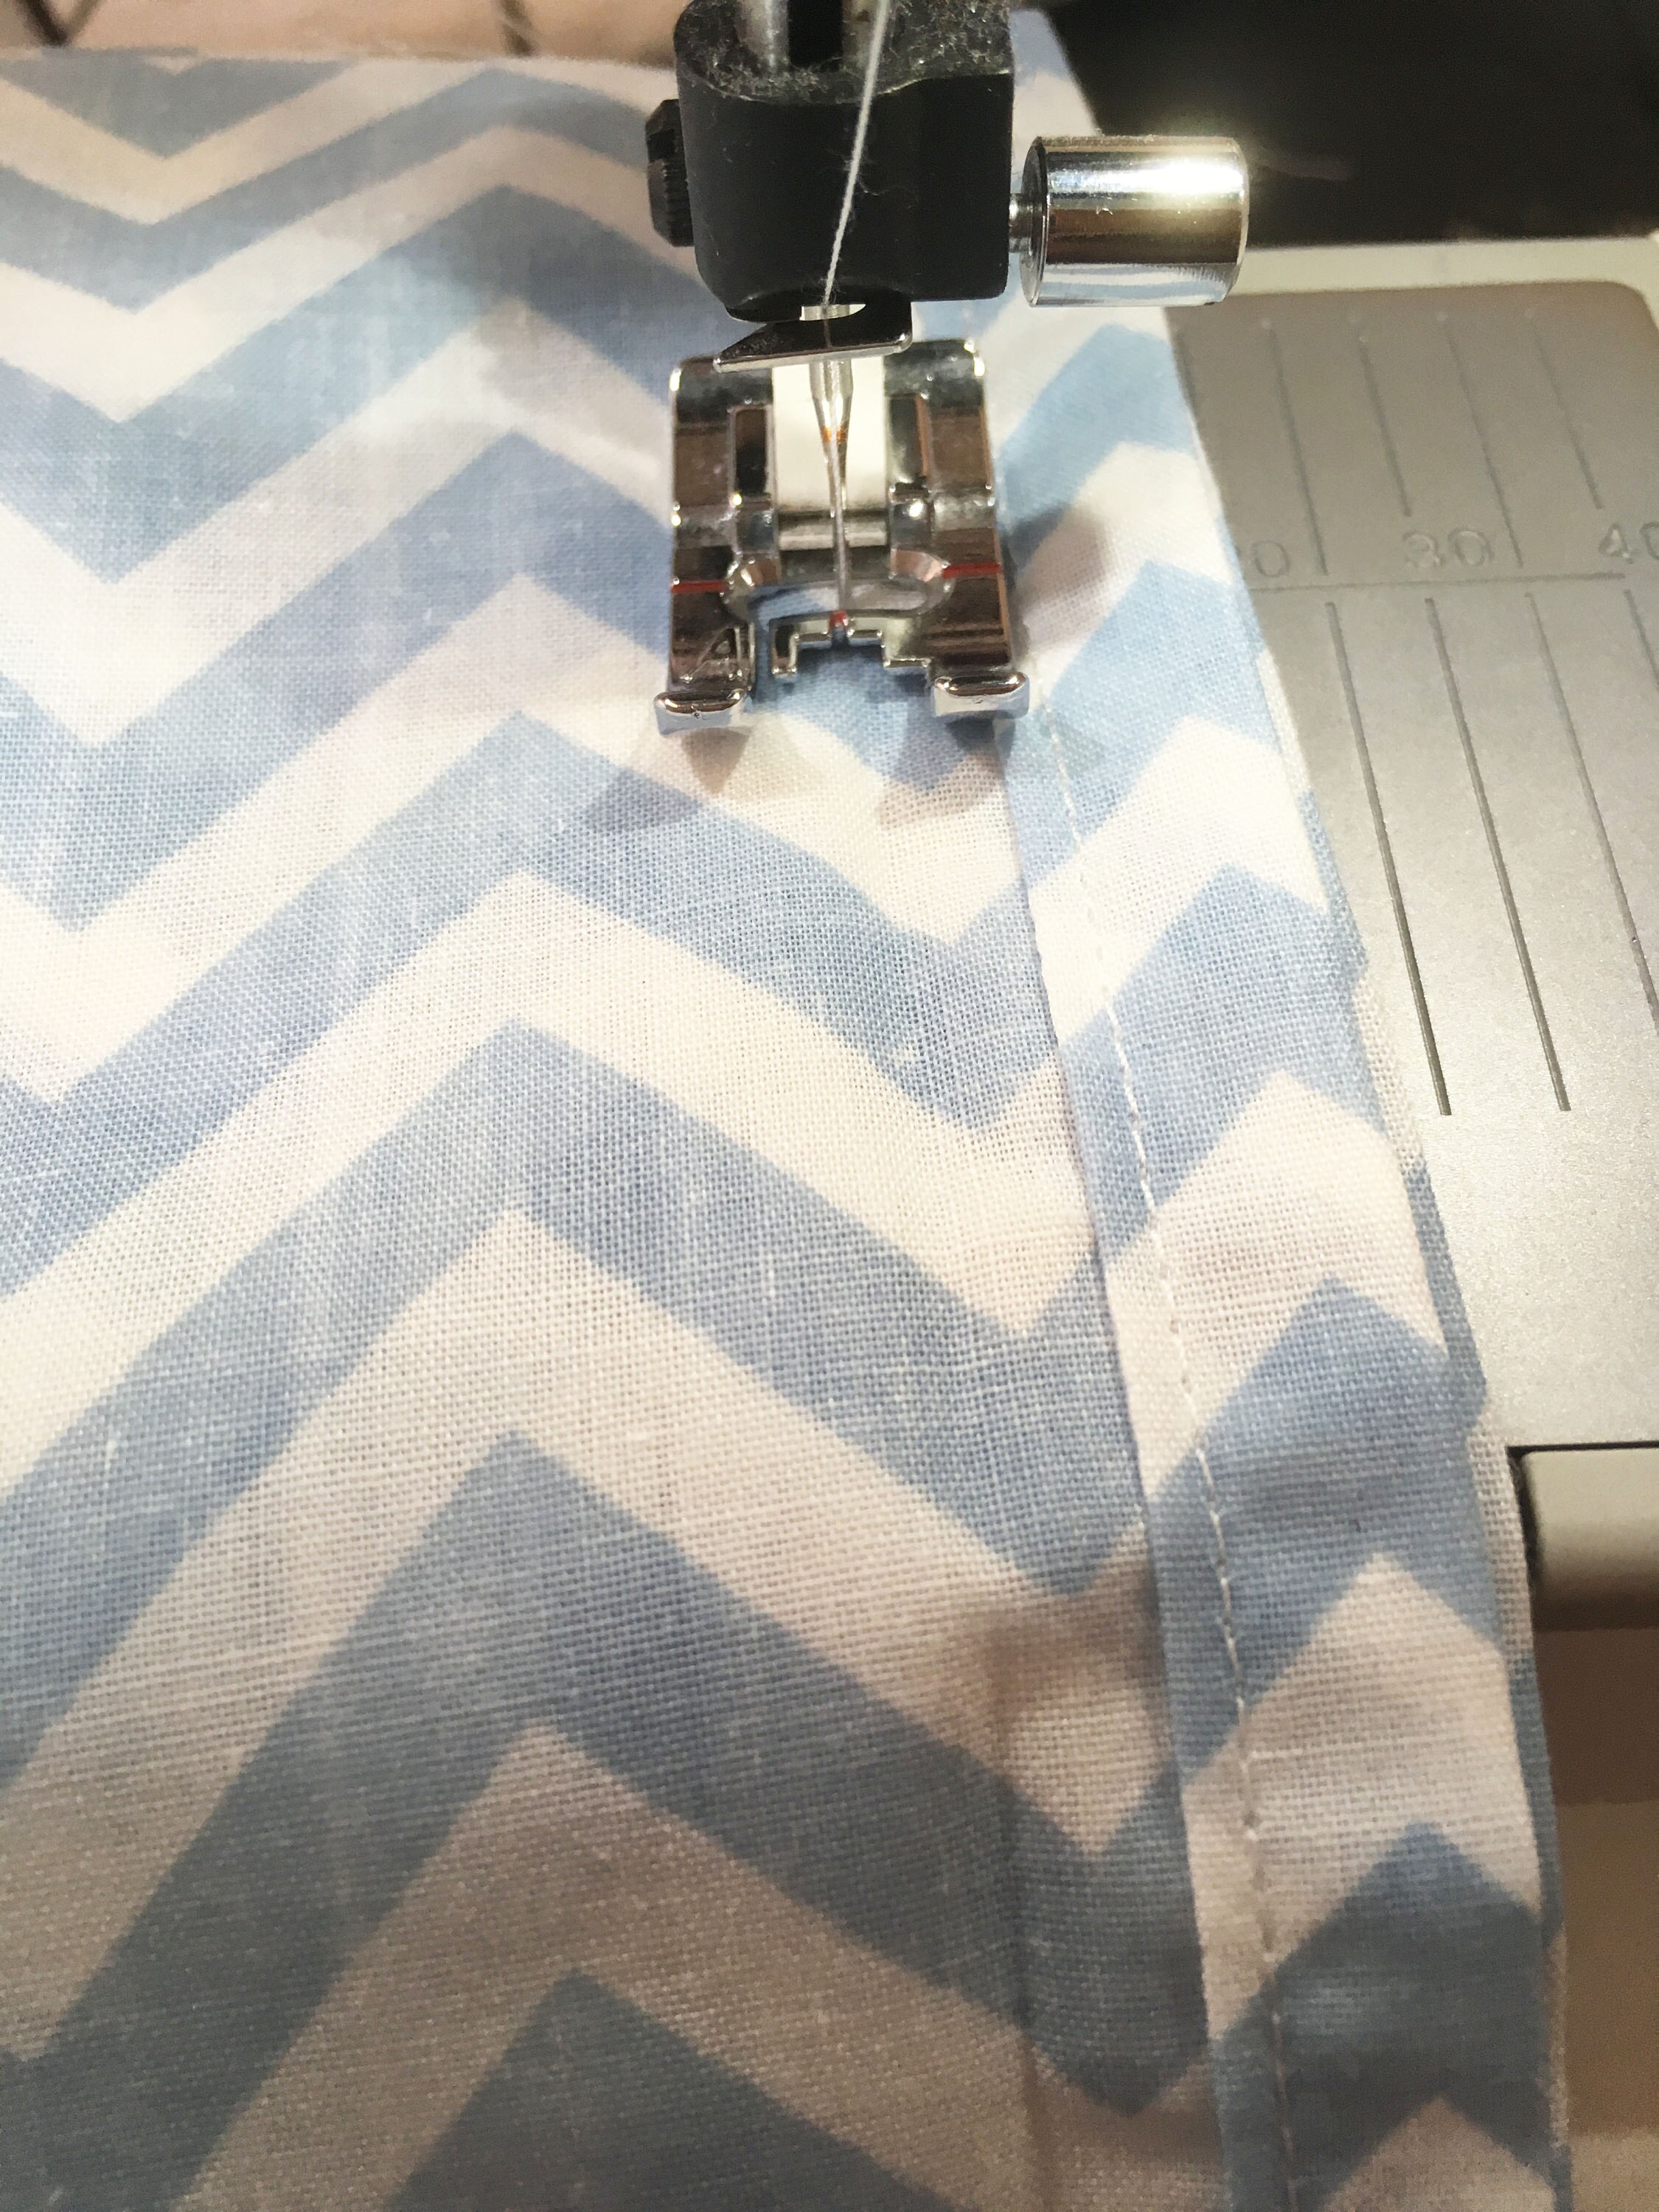
Step eight - join the two edges to make the side seam.
We are now going to stitch the two edges together to make the side seam. Place the right sides of the edges together and pin. Always use your pins at 90 degres to the seam, as this allows you to sew over the top of your pins (carefully) without having to remove them.
Pin up to the top folded edge. The channel at the top must not be stitched over or you will not be able to thread the ribbon through and draw the bag together!
We are going to stitch 5mm from the folded edge. If you are new to sewing and finding it a challenge to maintain a 5m seam allowance from the folded edge then you might want to try using a piece of masking tape on your machine to follow whilst lining up with the outside edge of the bag.

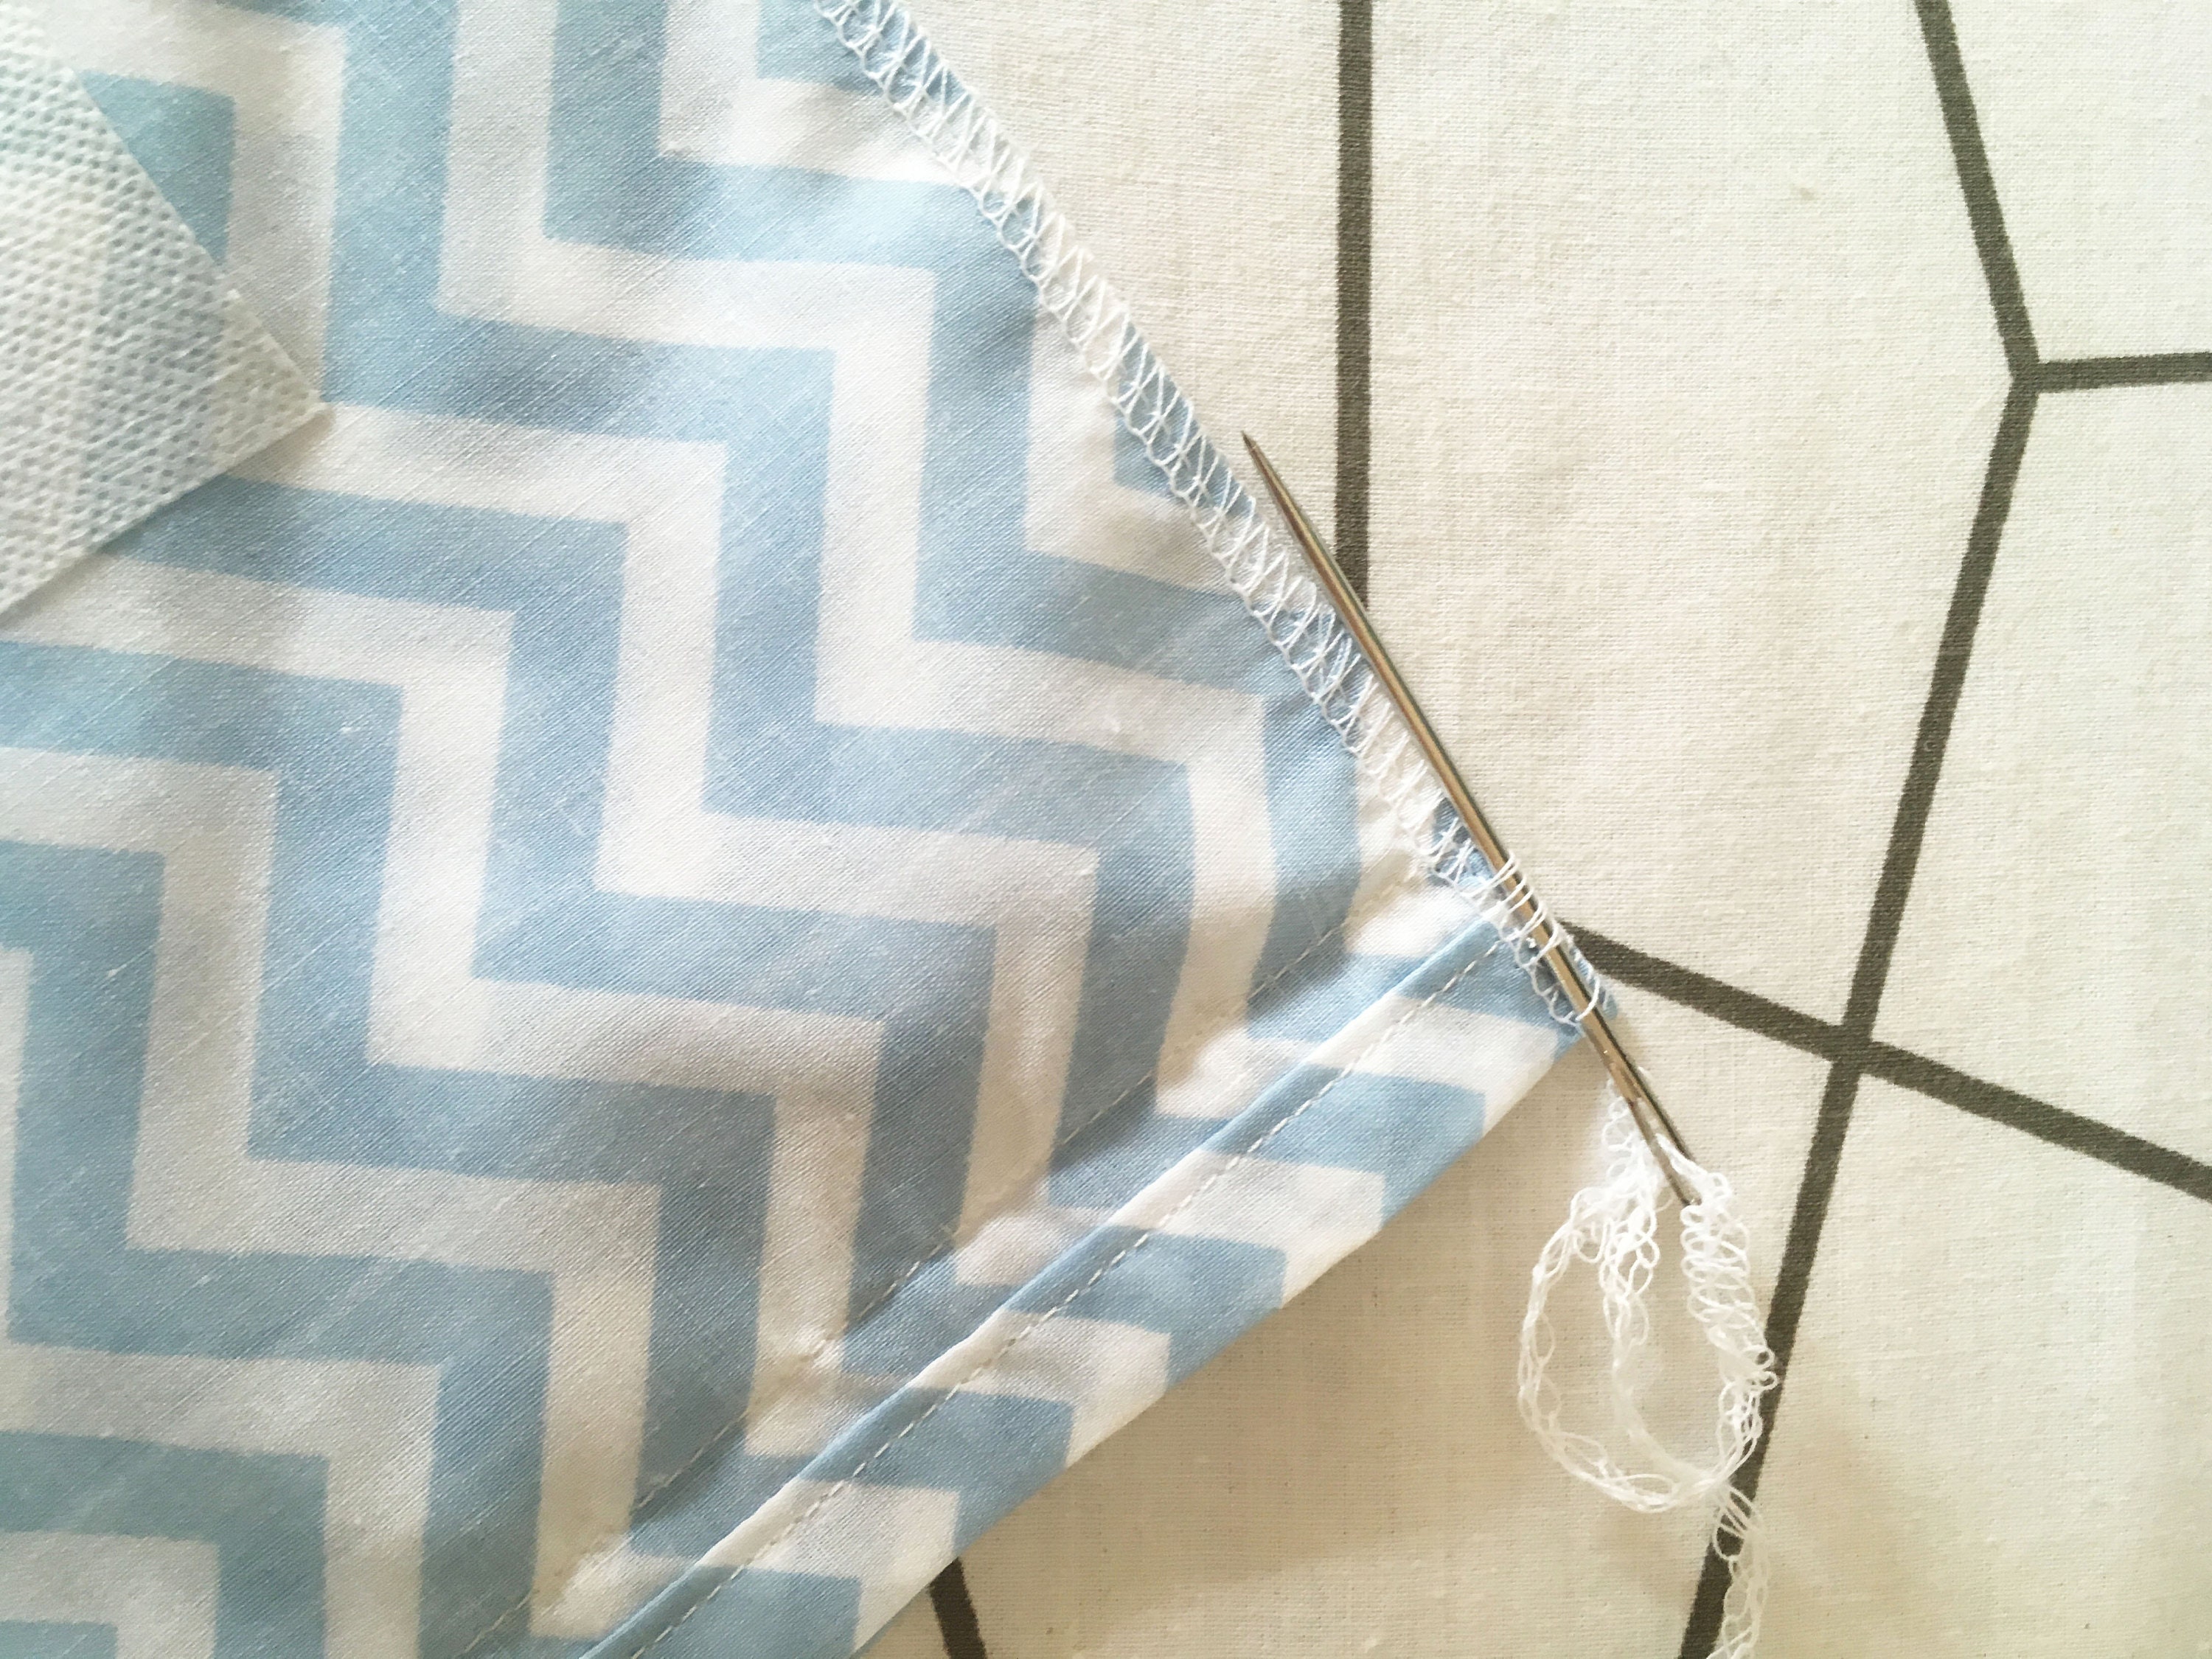
Step nine - join the bottom edge of the bag.
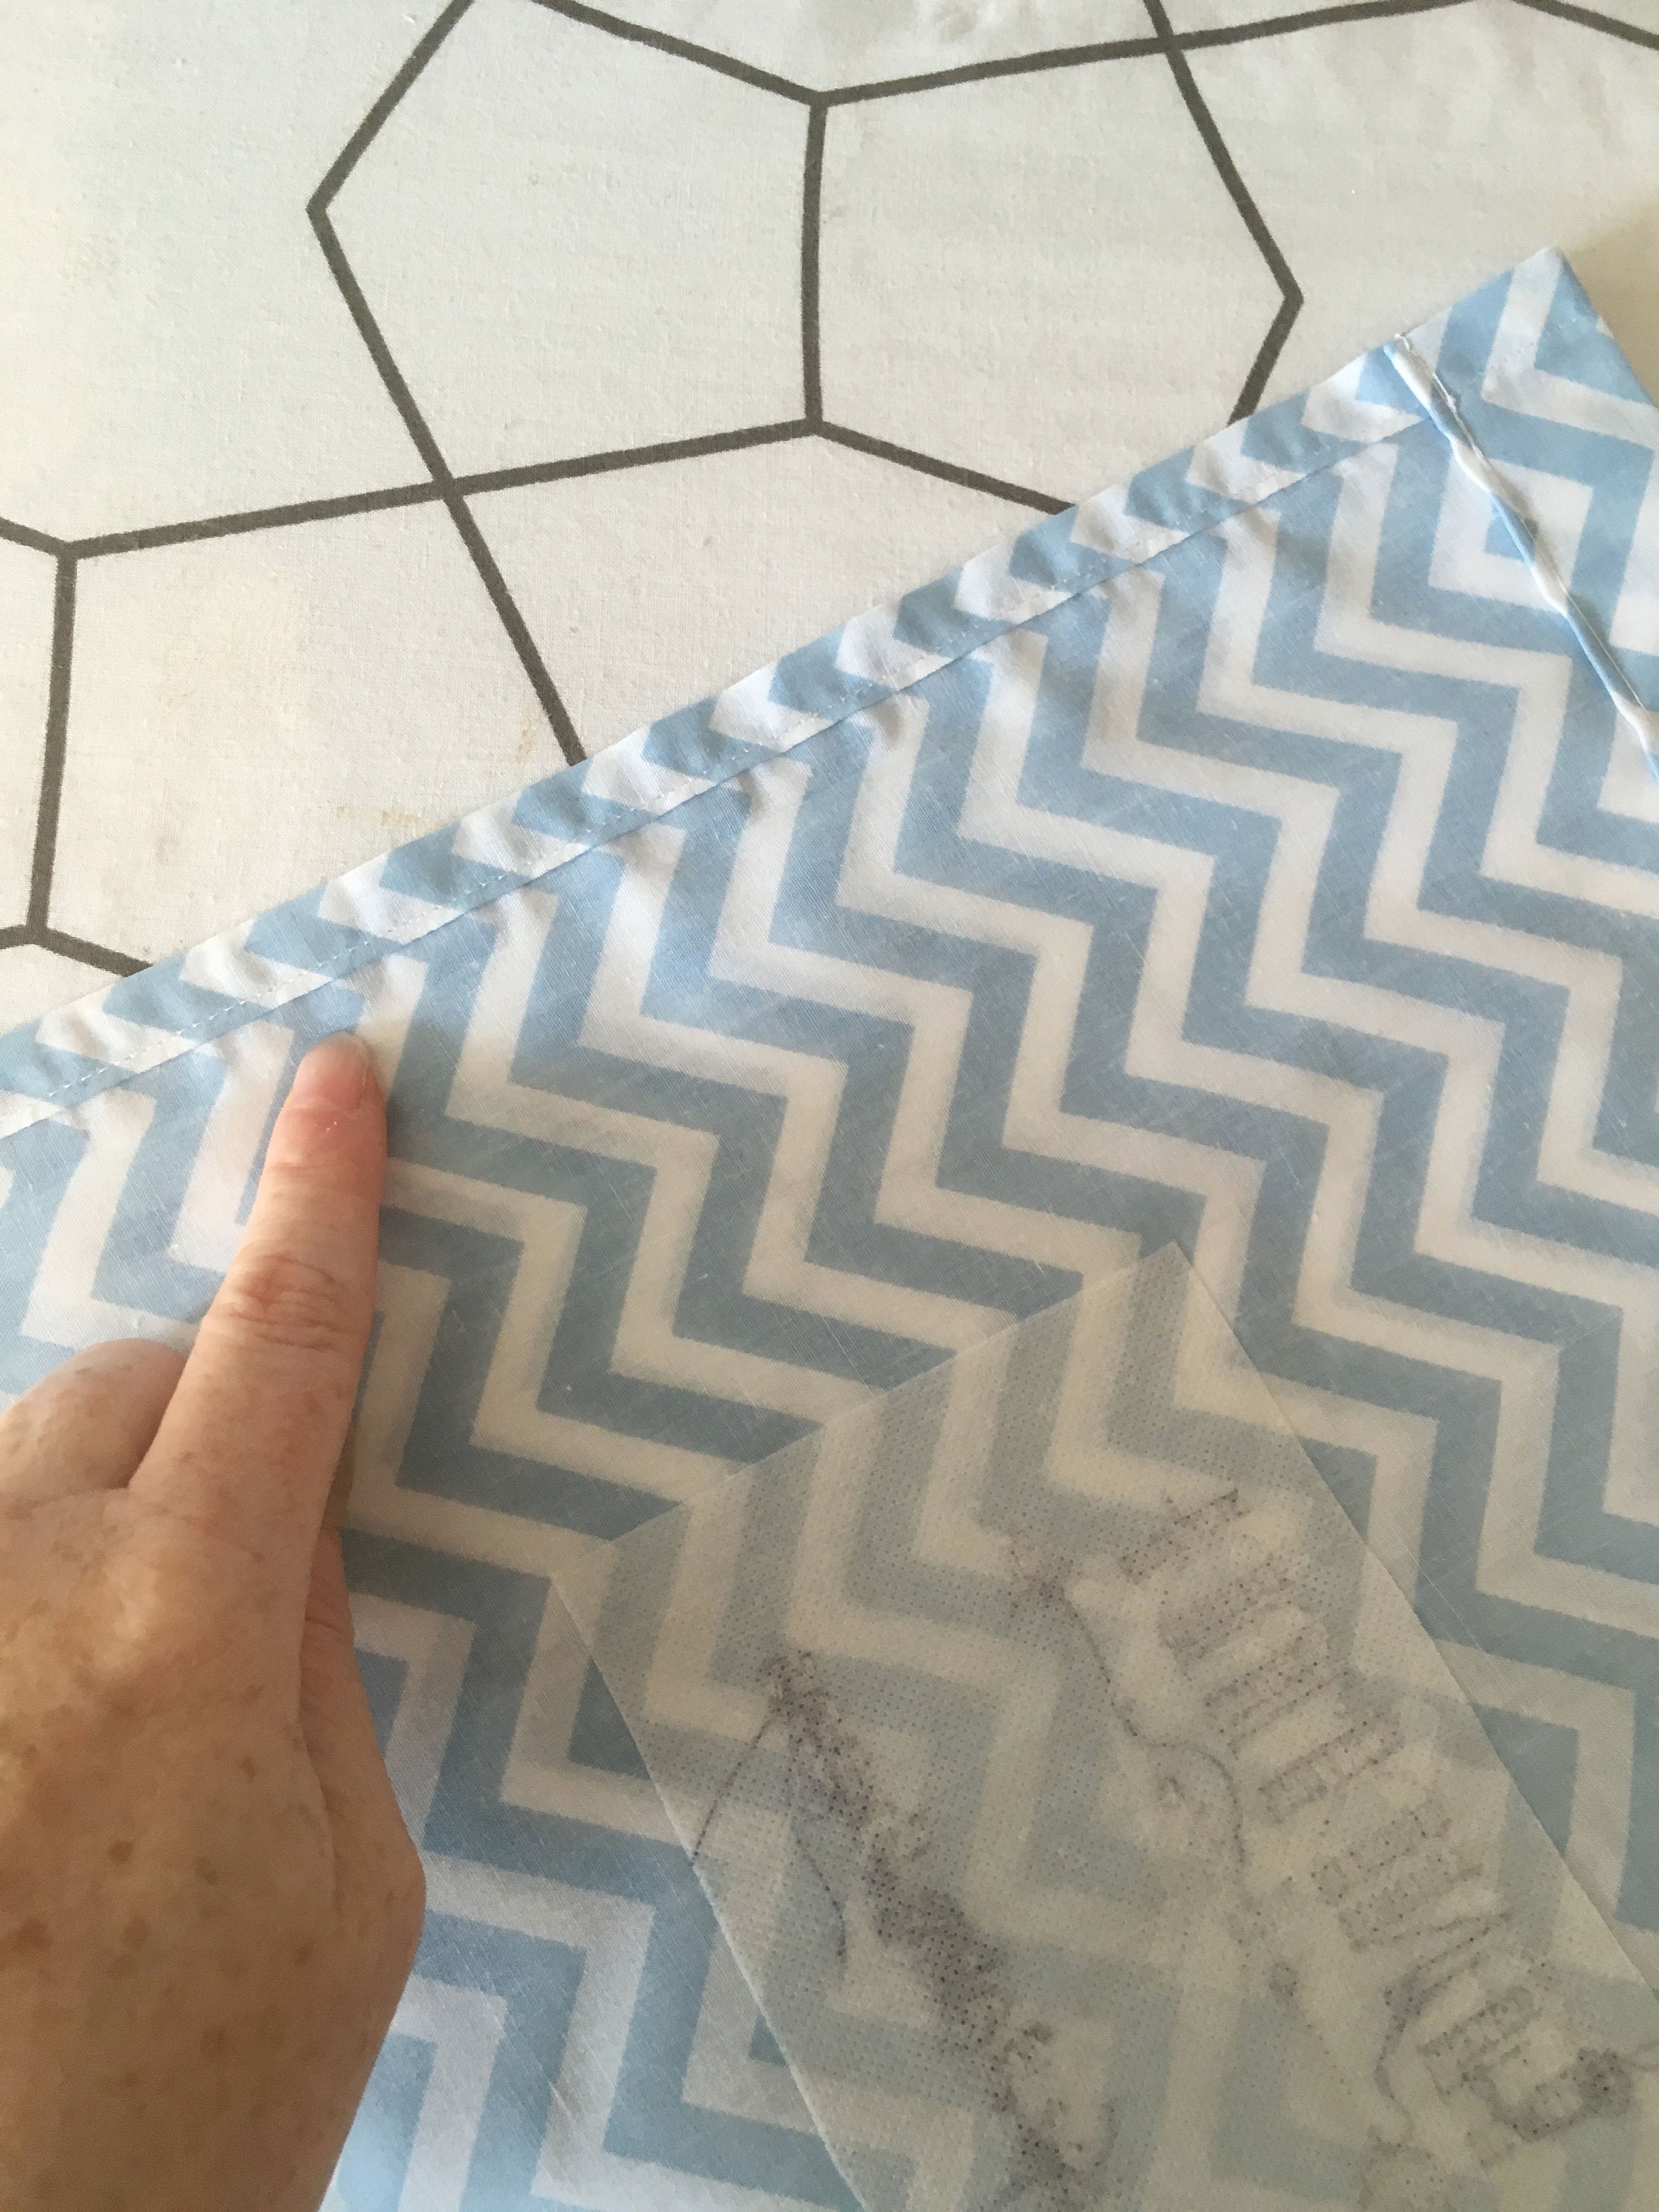
The last sewing step is to join the bottom of the bag. Using a 1cm seam allowance stitch the bottom edge seam. Next either pink the raw edges or neaten them with an overlock seam or zig zag stitch.
This photo shows where I have overlocked the seam instead of sewing. If you are going to overlock remember to secure your thread ends.
Step ten - insert ribbon or elastic tie.
Turn the bag right side out and cut your ribbon or elastic to length. I have added 10cm extra to the width of the bag.
To insert the elastic or ribbon you can use a saftey pin or elastic glider. A safety pin works absolutely fine, but as I make a lot of elasticated children's clothing I find my elastic glider to be an important part of my sewing kit. Pin through the elastic and feed it through the top channel.


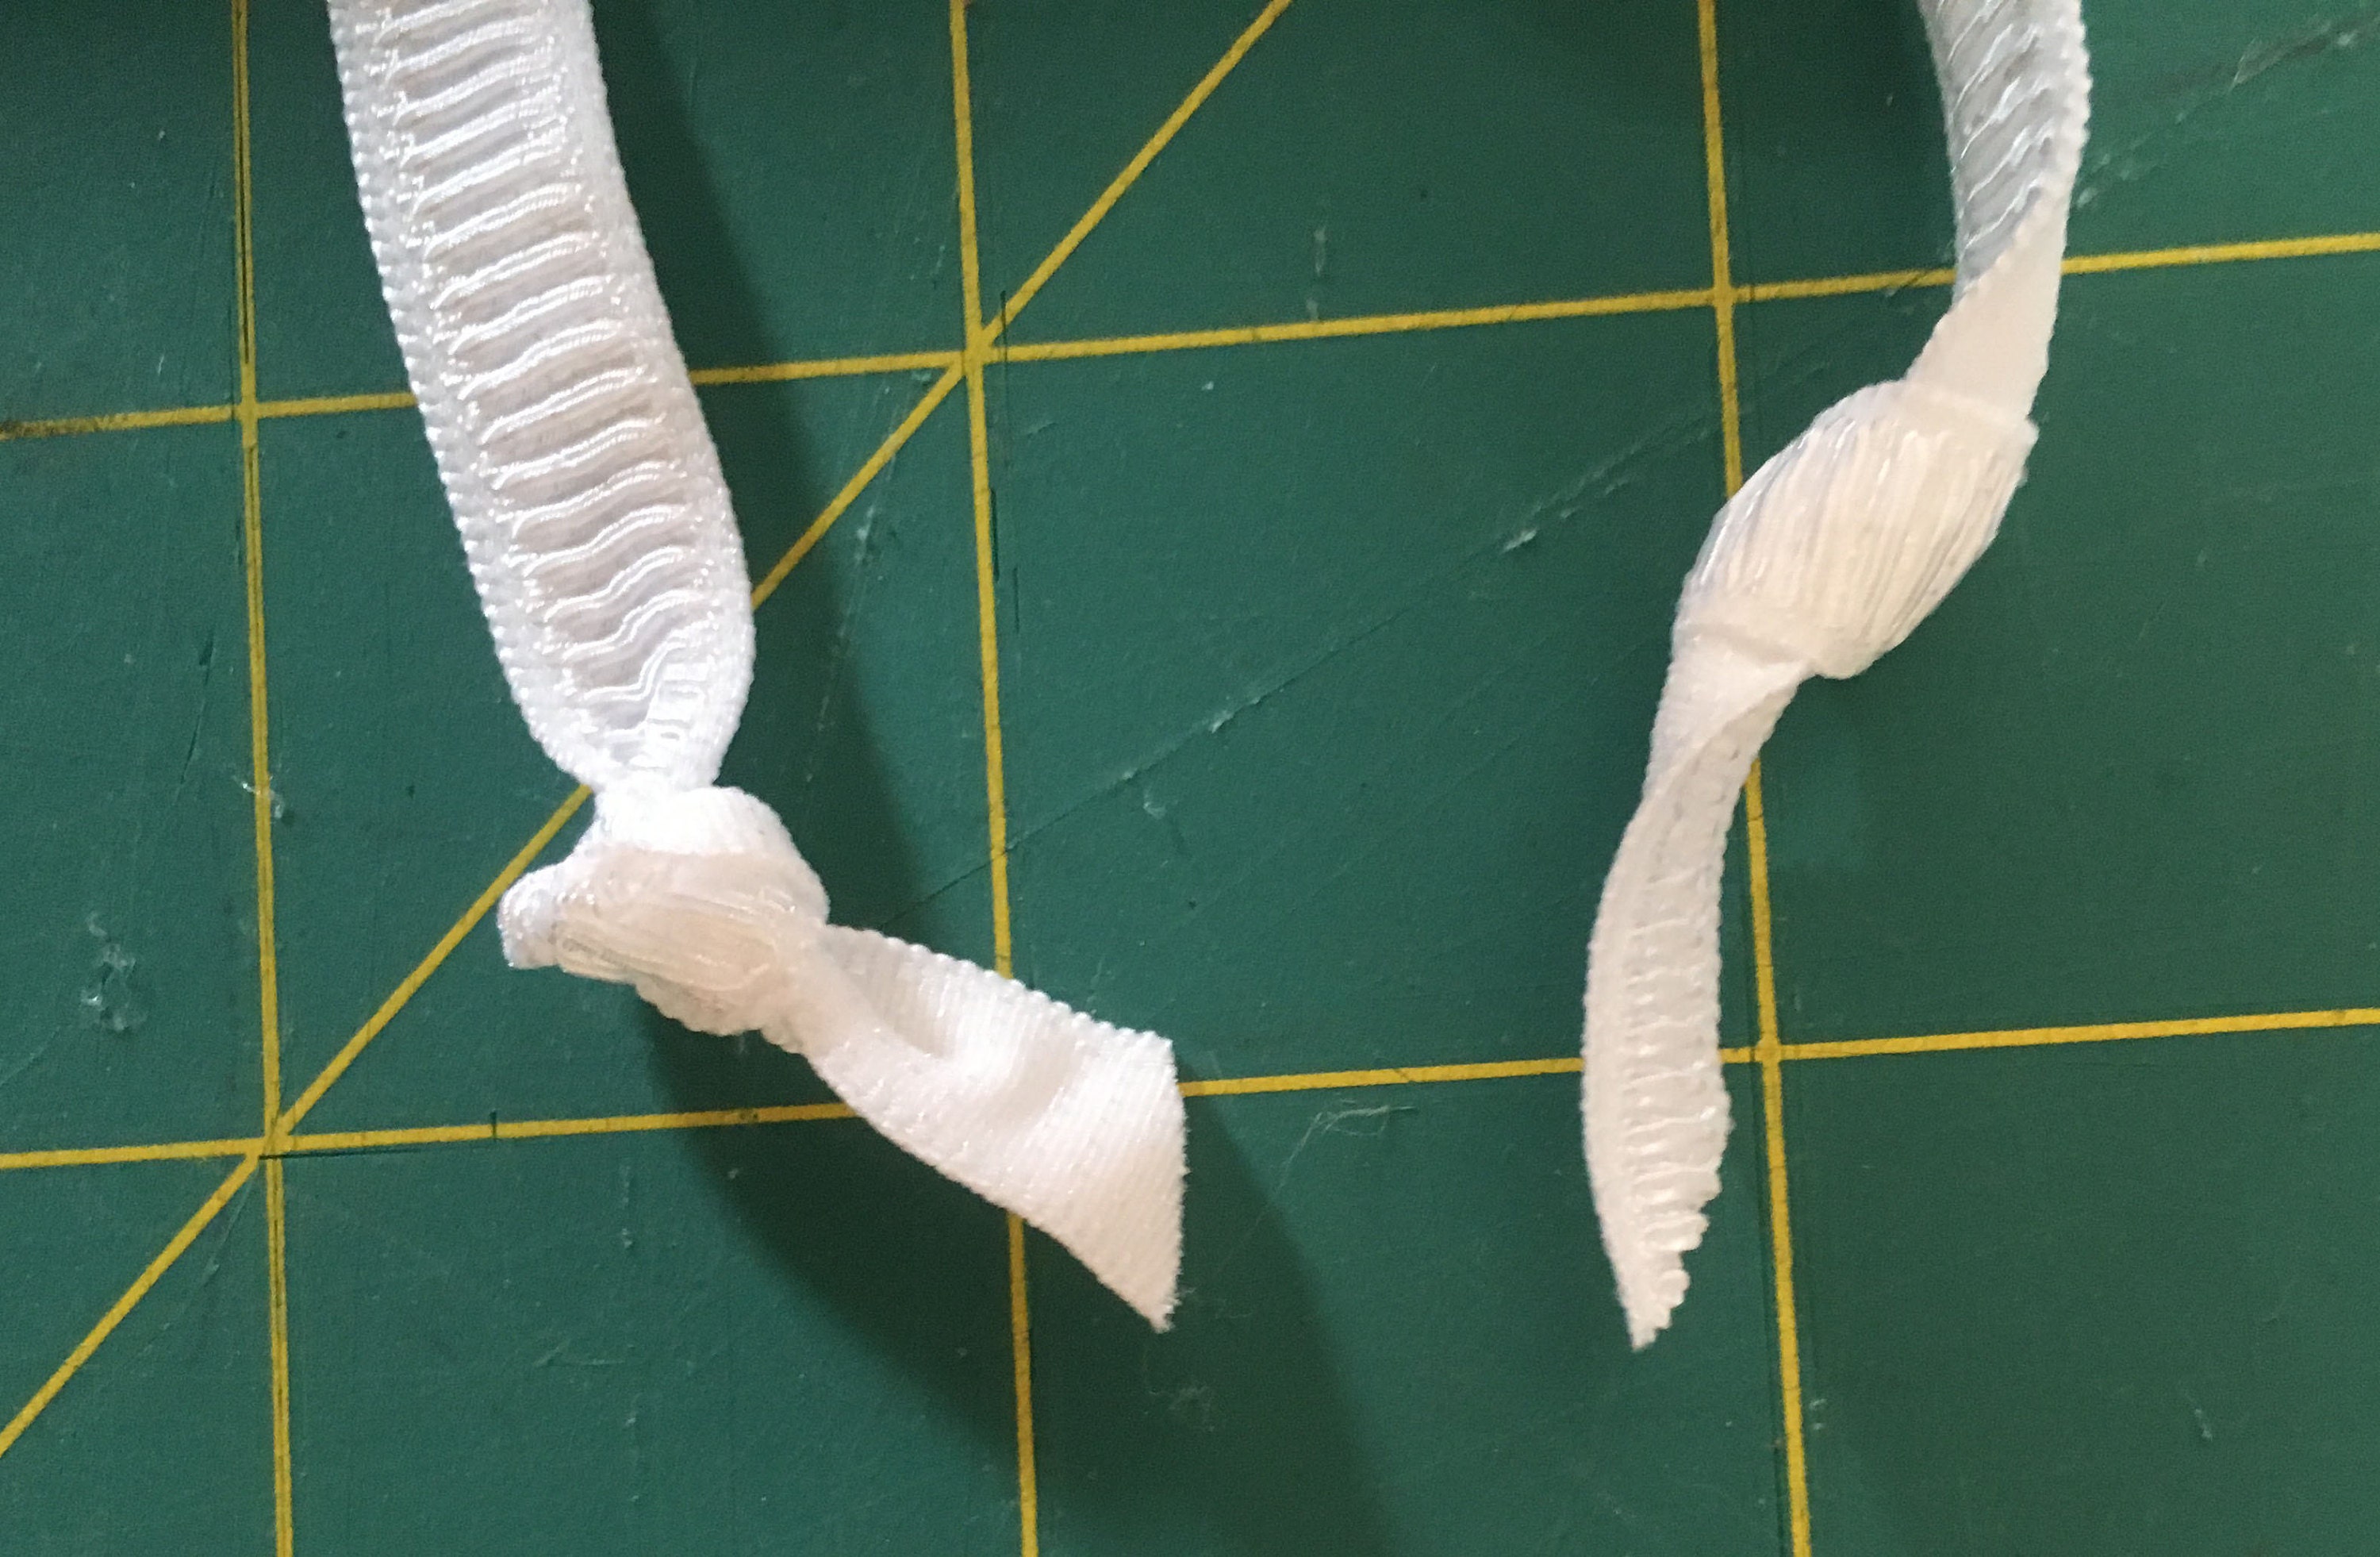
Step eleven - neaten the raw edges of the elastic or the ribbon.
The ballet dancers amongst us will be very familar with this technique! To prevent the raw edges of our trims becoming frayed we are going to seal them with a flame. I like to put a knot in end of the elastic, then, using a lighter I gently run a small flame over the edge of the trim to seal it. If you are new to this process please take care and try a test run on a scrap of ribbon before you go near your brand new bag with a flame!
You can find a short video showing how to heat seal here:
https://www.instagram.com/p/BWhuFwuhjoK/?taken-by=faye_jepson_illustration
Alternatively, if you didnt want to heat seal the trim ends you can turn and turn again then stitch in place.
Step twelve - final press
Now your bag is complete you can give it a final press and admire your handywork!