
Today I am going to show you how to draft a simple legging pattern using an existing garment. This technique wont cause any damage to your original garment and is quick and easy to do.
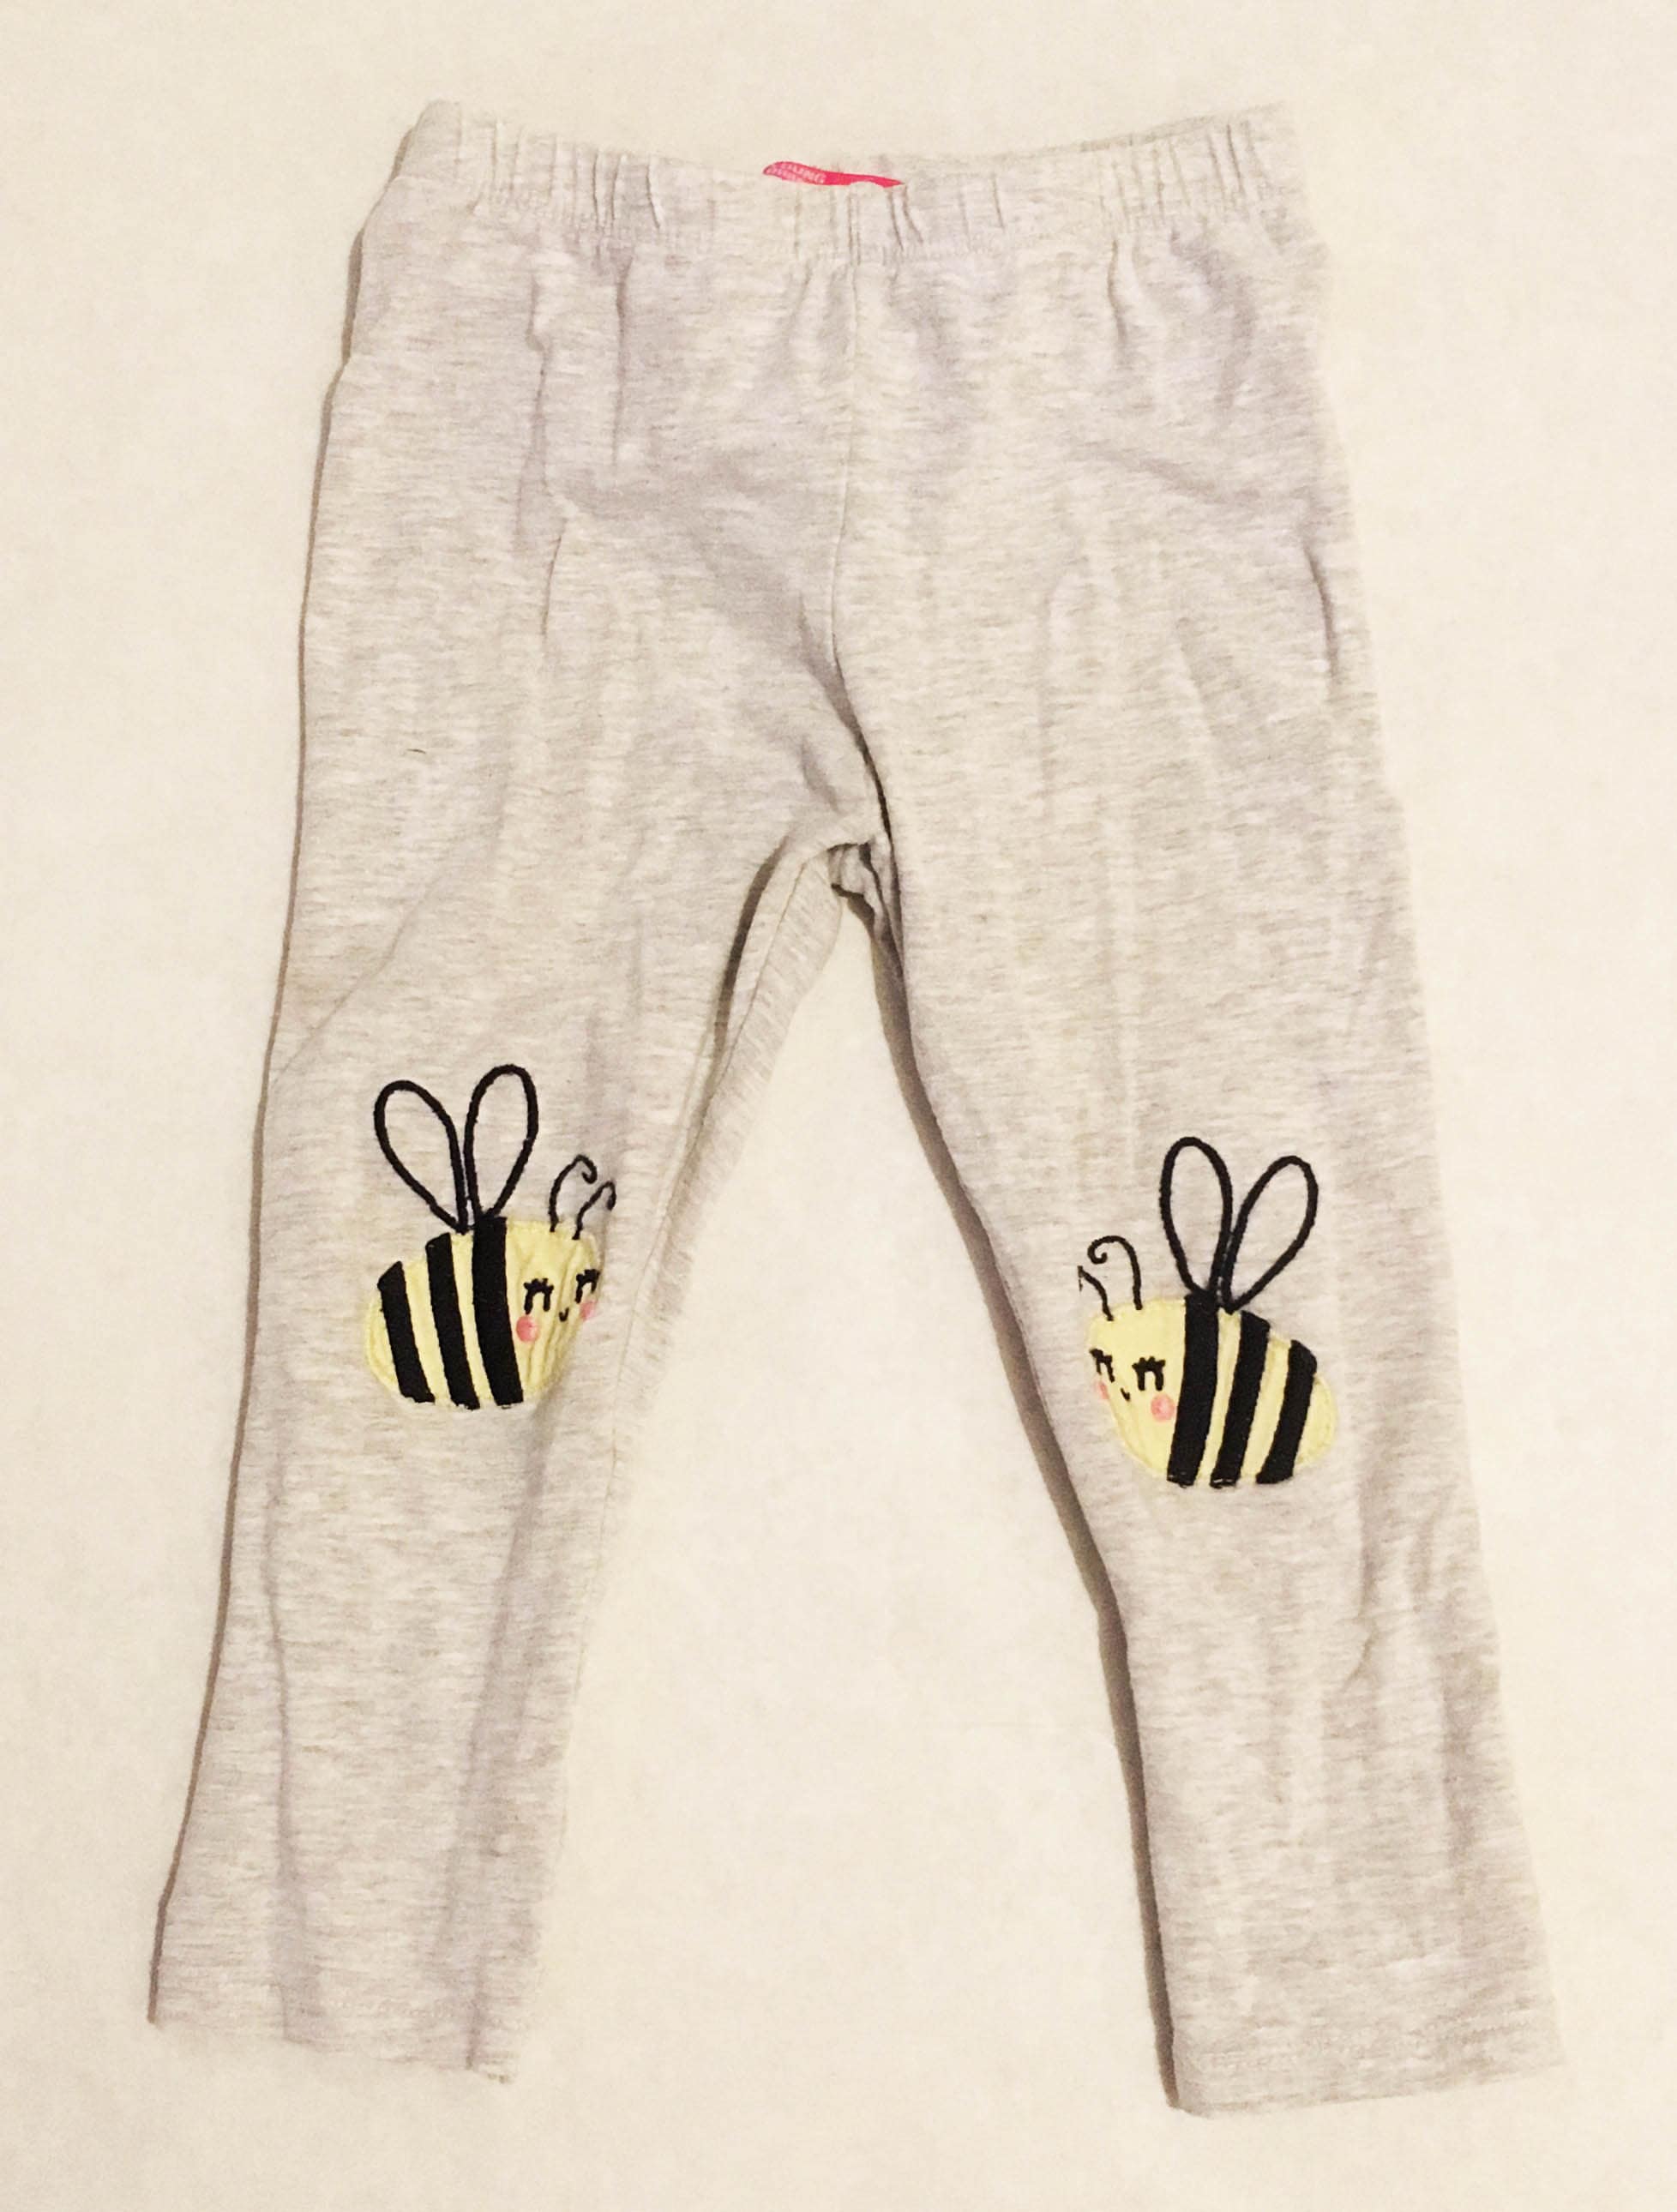
I will be making a pair of legging for my 2 year old daughter. I will be drafting the pattern from her favourite pair with bumble bees on. These leggings have only 1 piece per leg i.e only an inside leg seam, no side seam.
You will need:
- Leggings to copy
- Paper
- Pins
- Pencil
- Set square/ pattern master/ ruler
- Tape measure
- Mountboard/ corkboard/ something soft to pin into
Step One:
You will need a soft surface to pin into such as a piece of mountboard or cork. Lay your paper down on the mountboard and draw a long vertical line. This is going to be a mirror line for the leg piece.
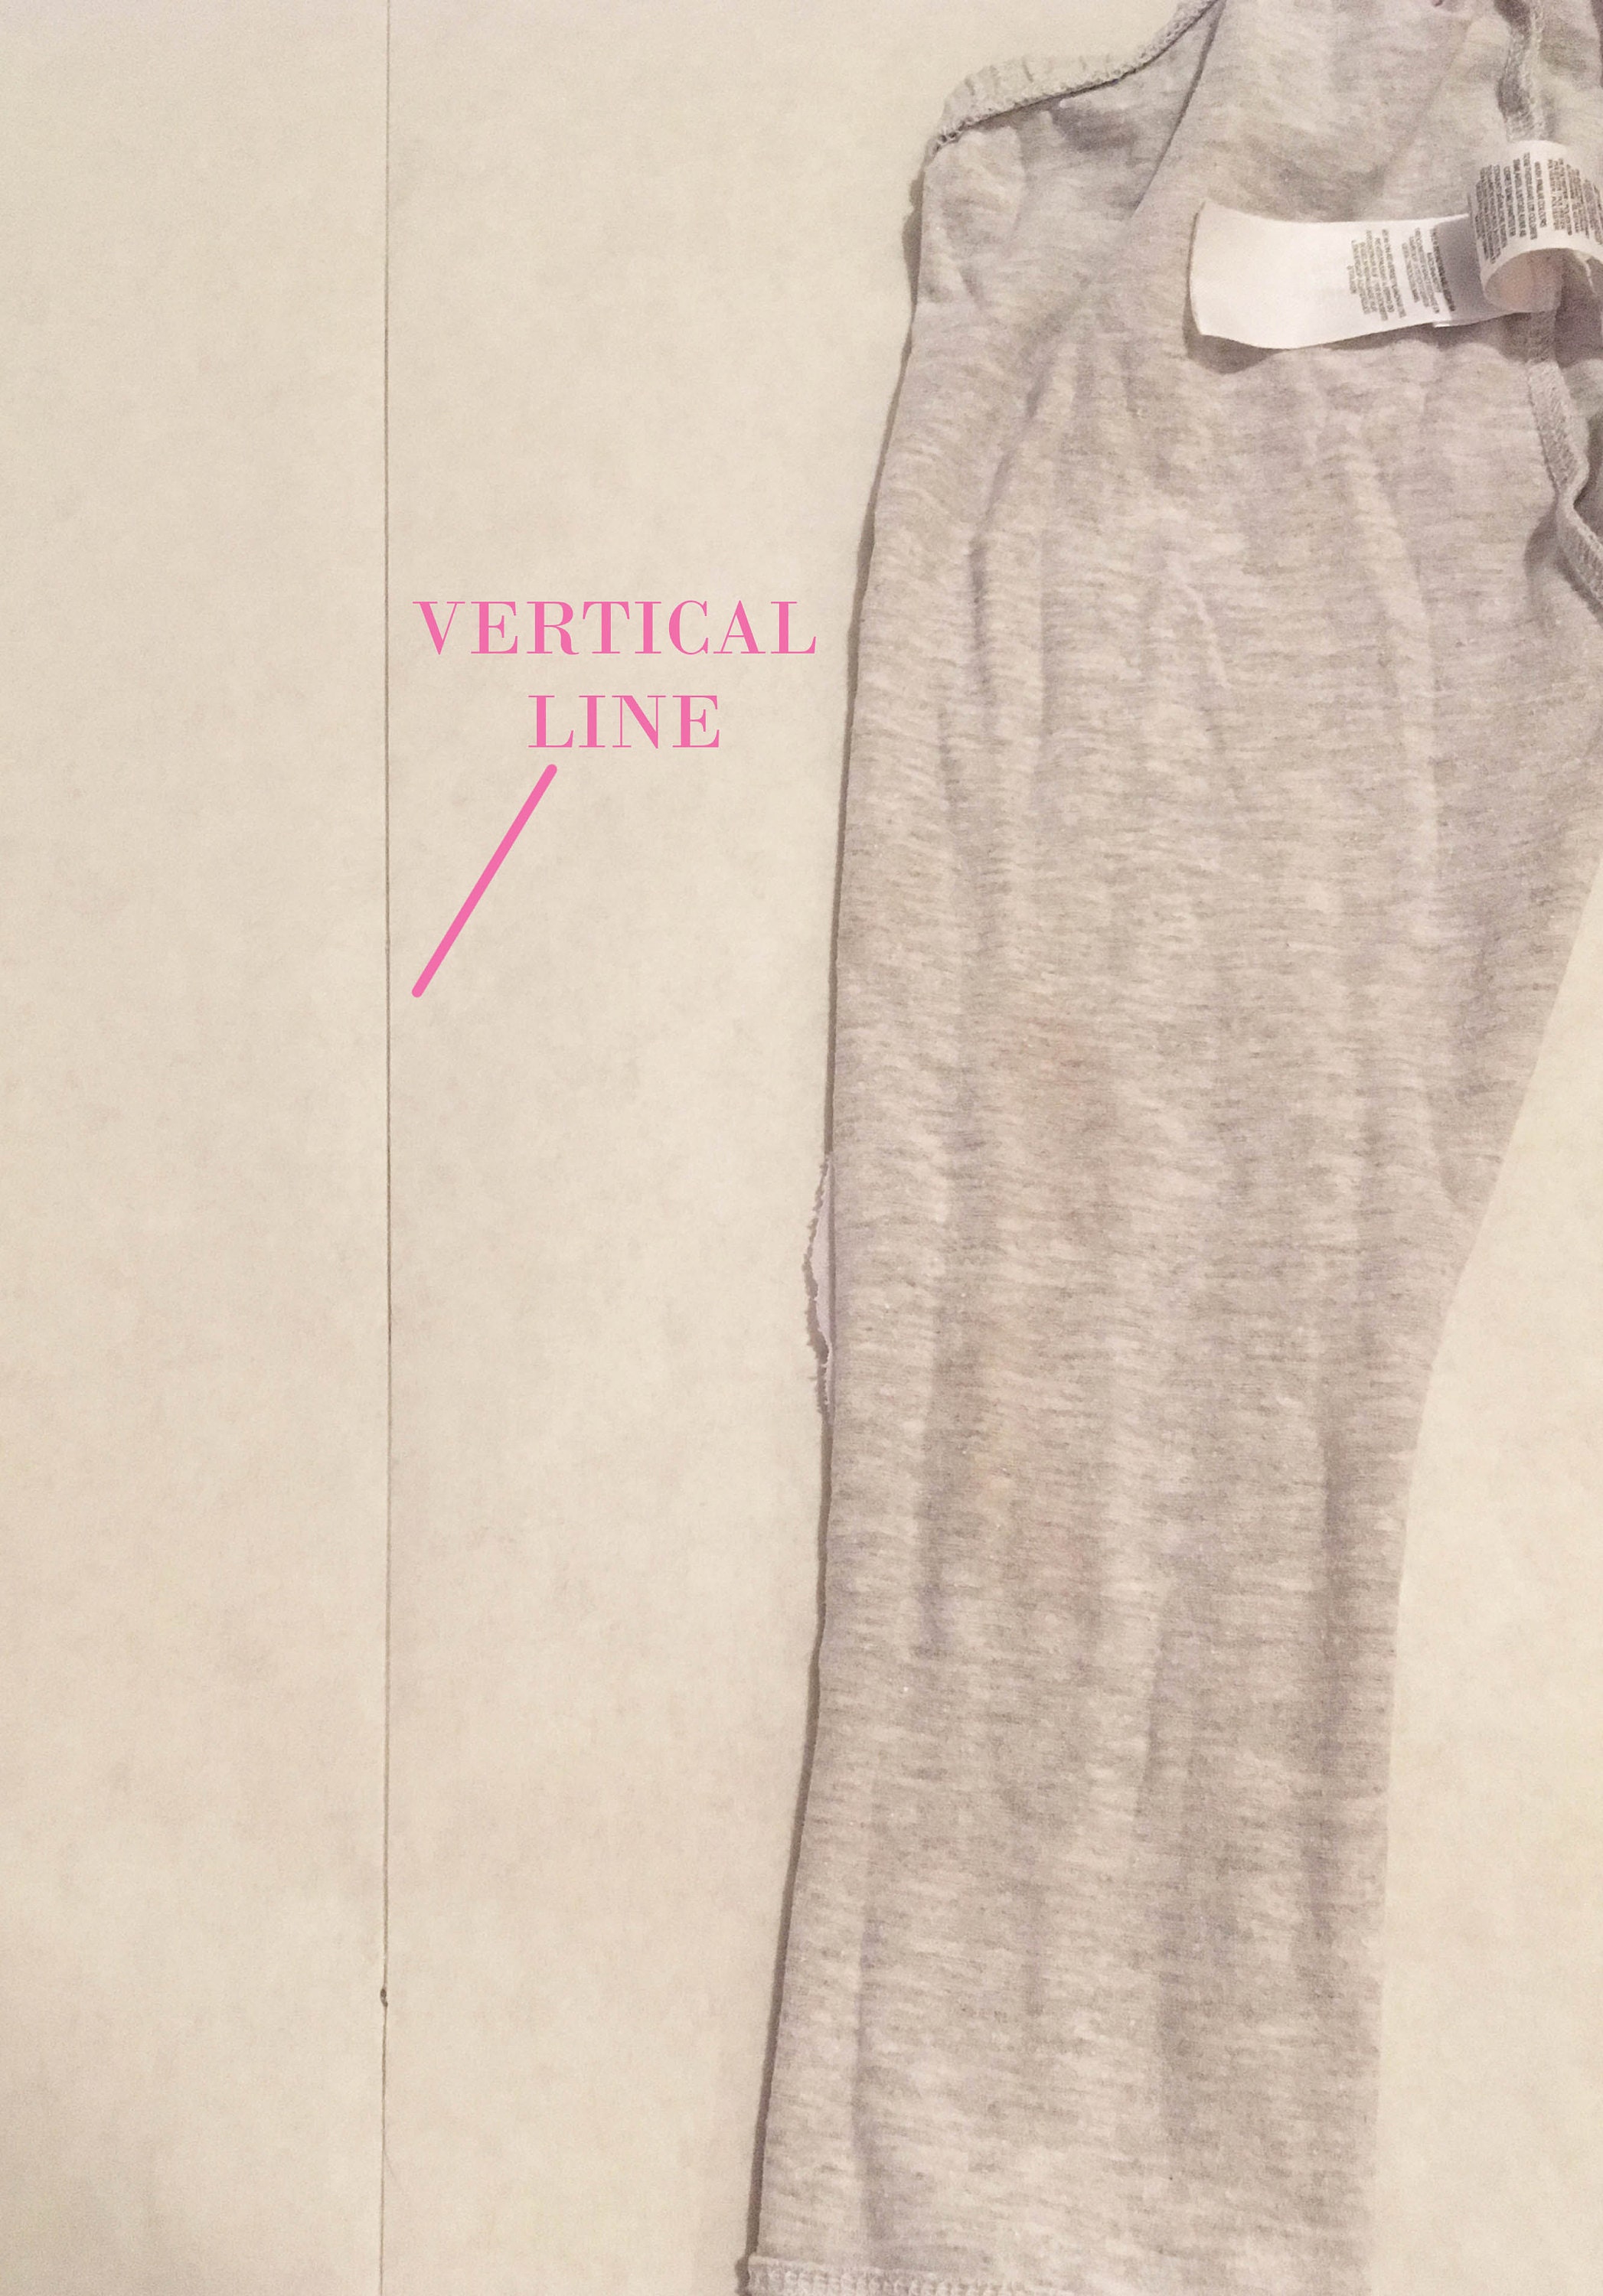
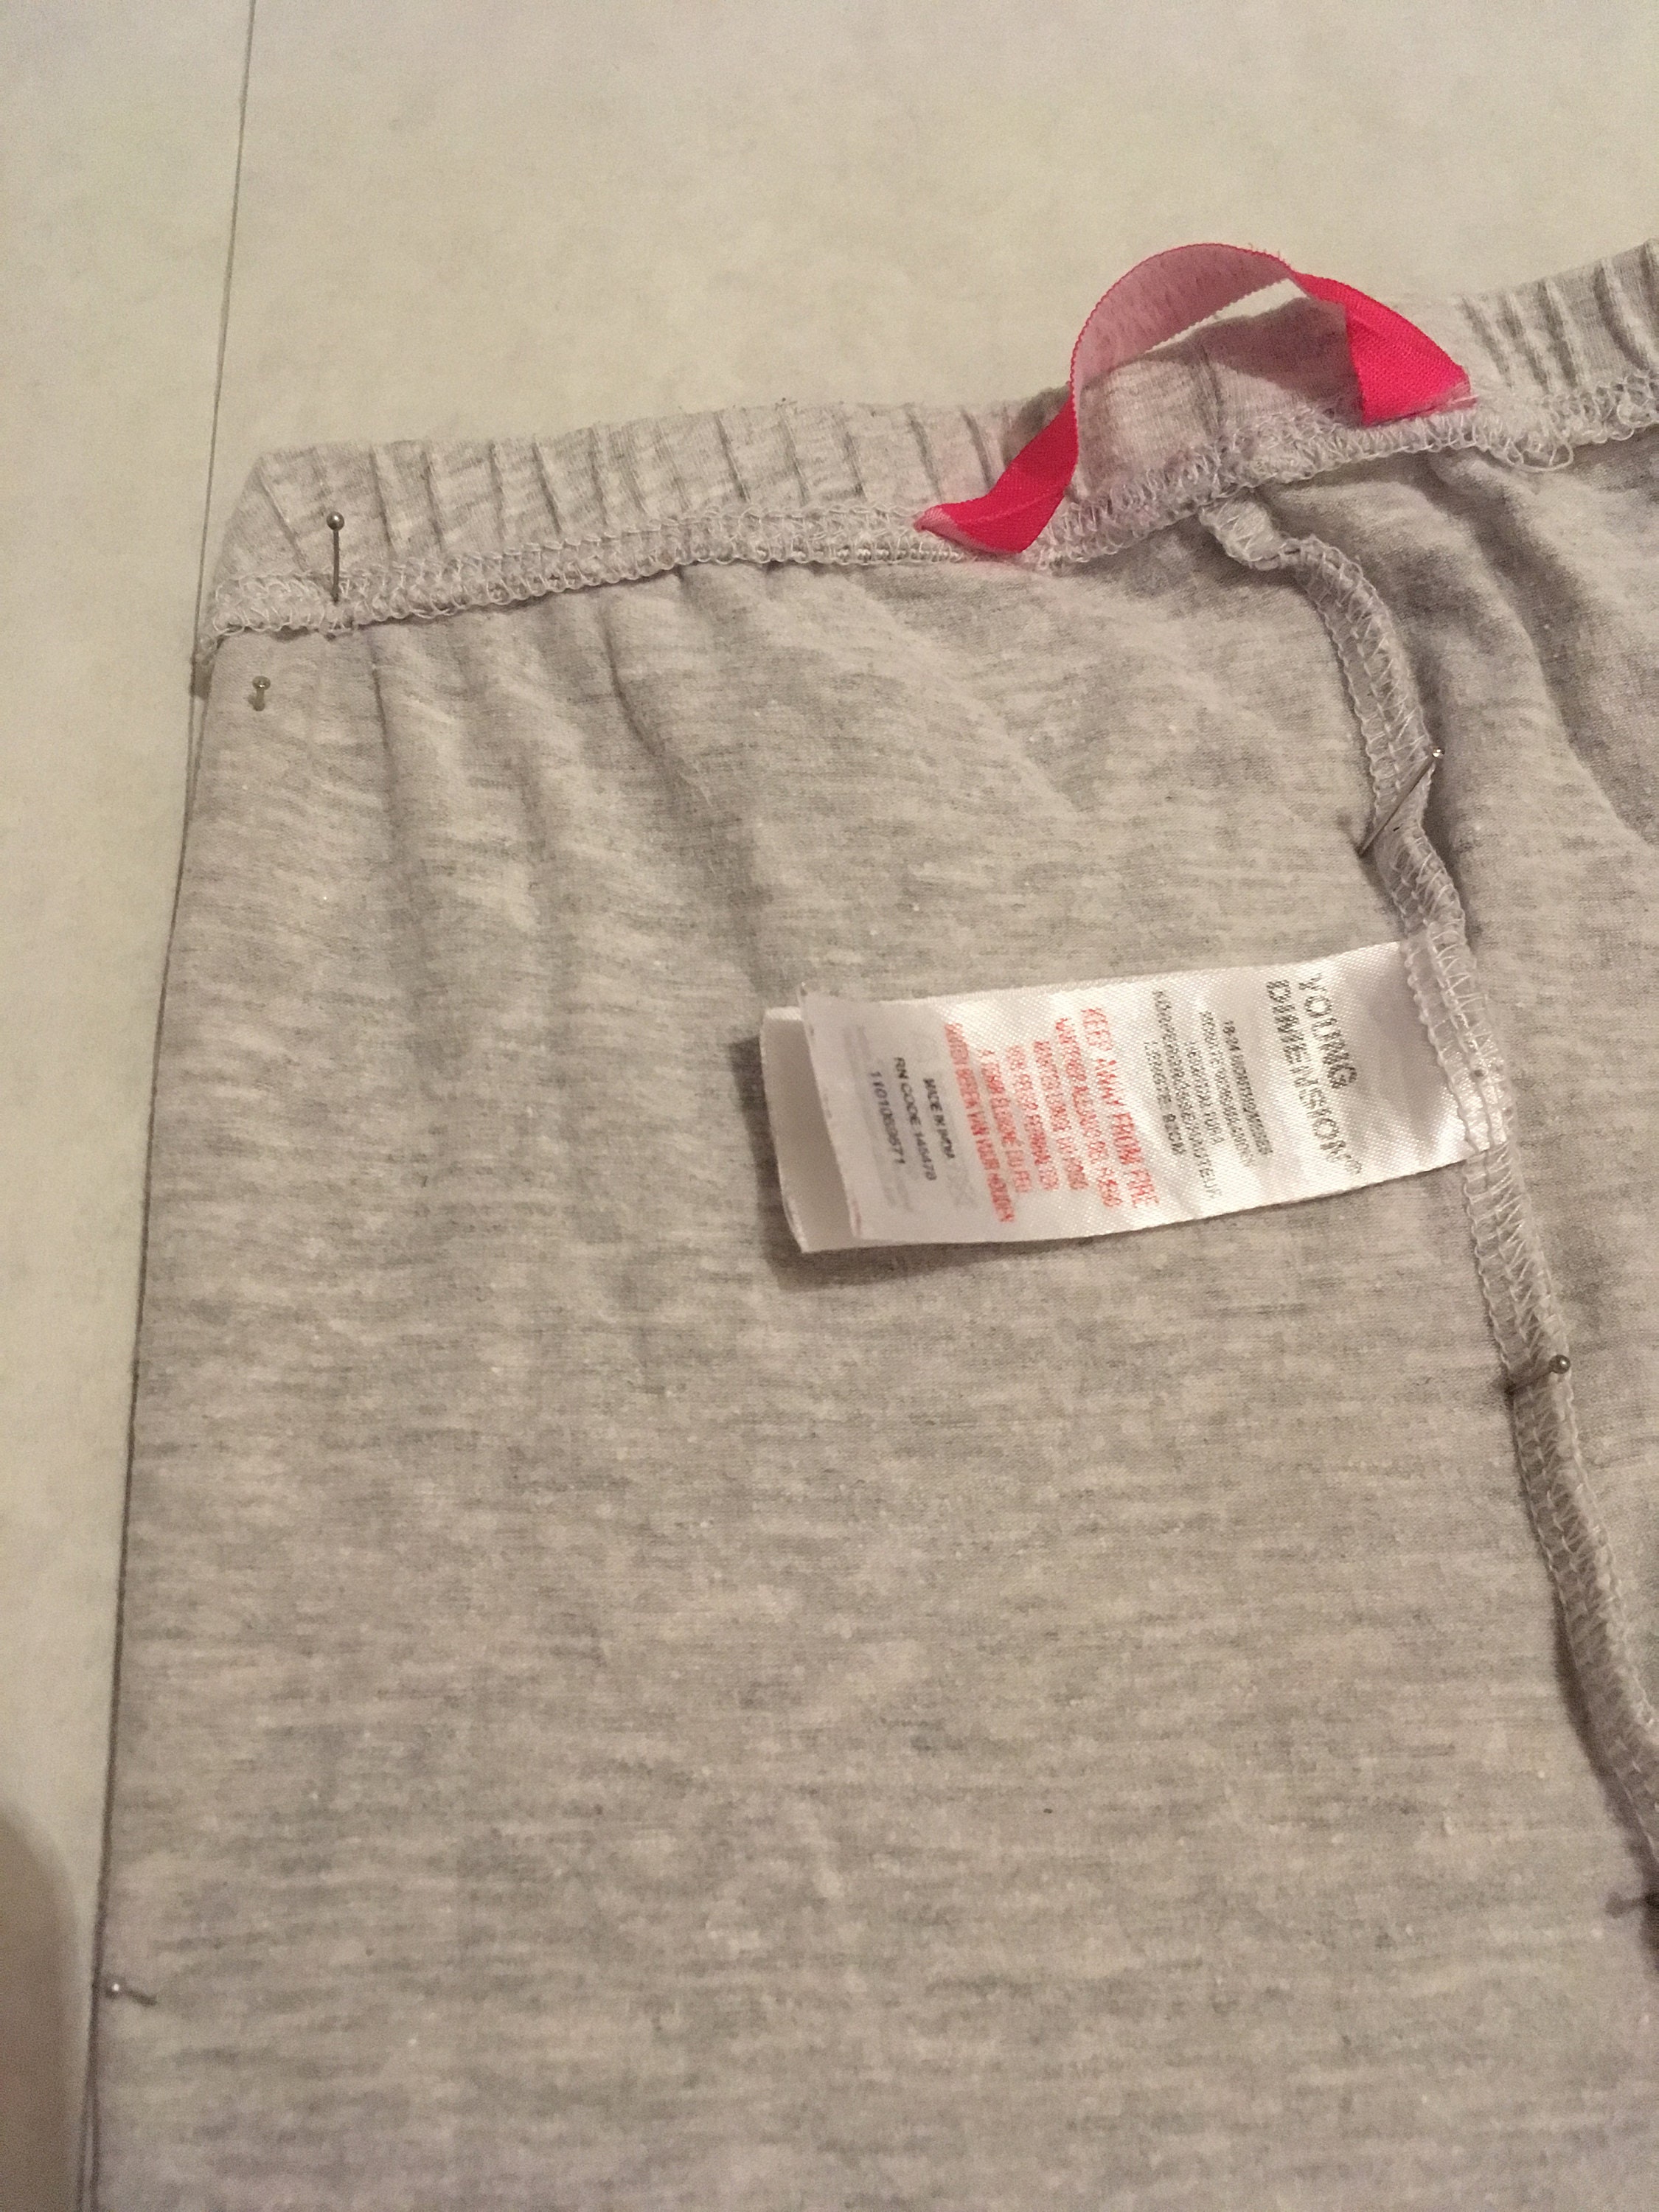
Next, turn the leggings inside out and place the front rise seam onto the back rise seam - this will show the mirror line of the leg piece. Lay this folded edge up to the straight line you have drawn on the paper.
Step Two:
The next step is to carefully pin the garment down onto the paper. Start by pinning the folded edge onto the drawn line then work your way around the leg, taking care to maintain the right angles of the trouser leg.
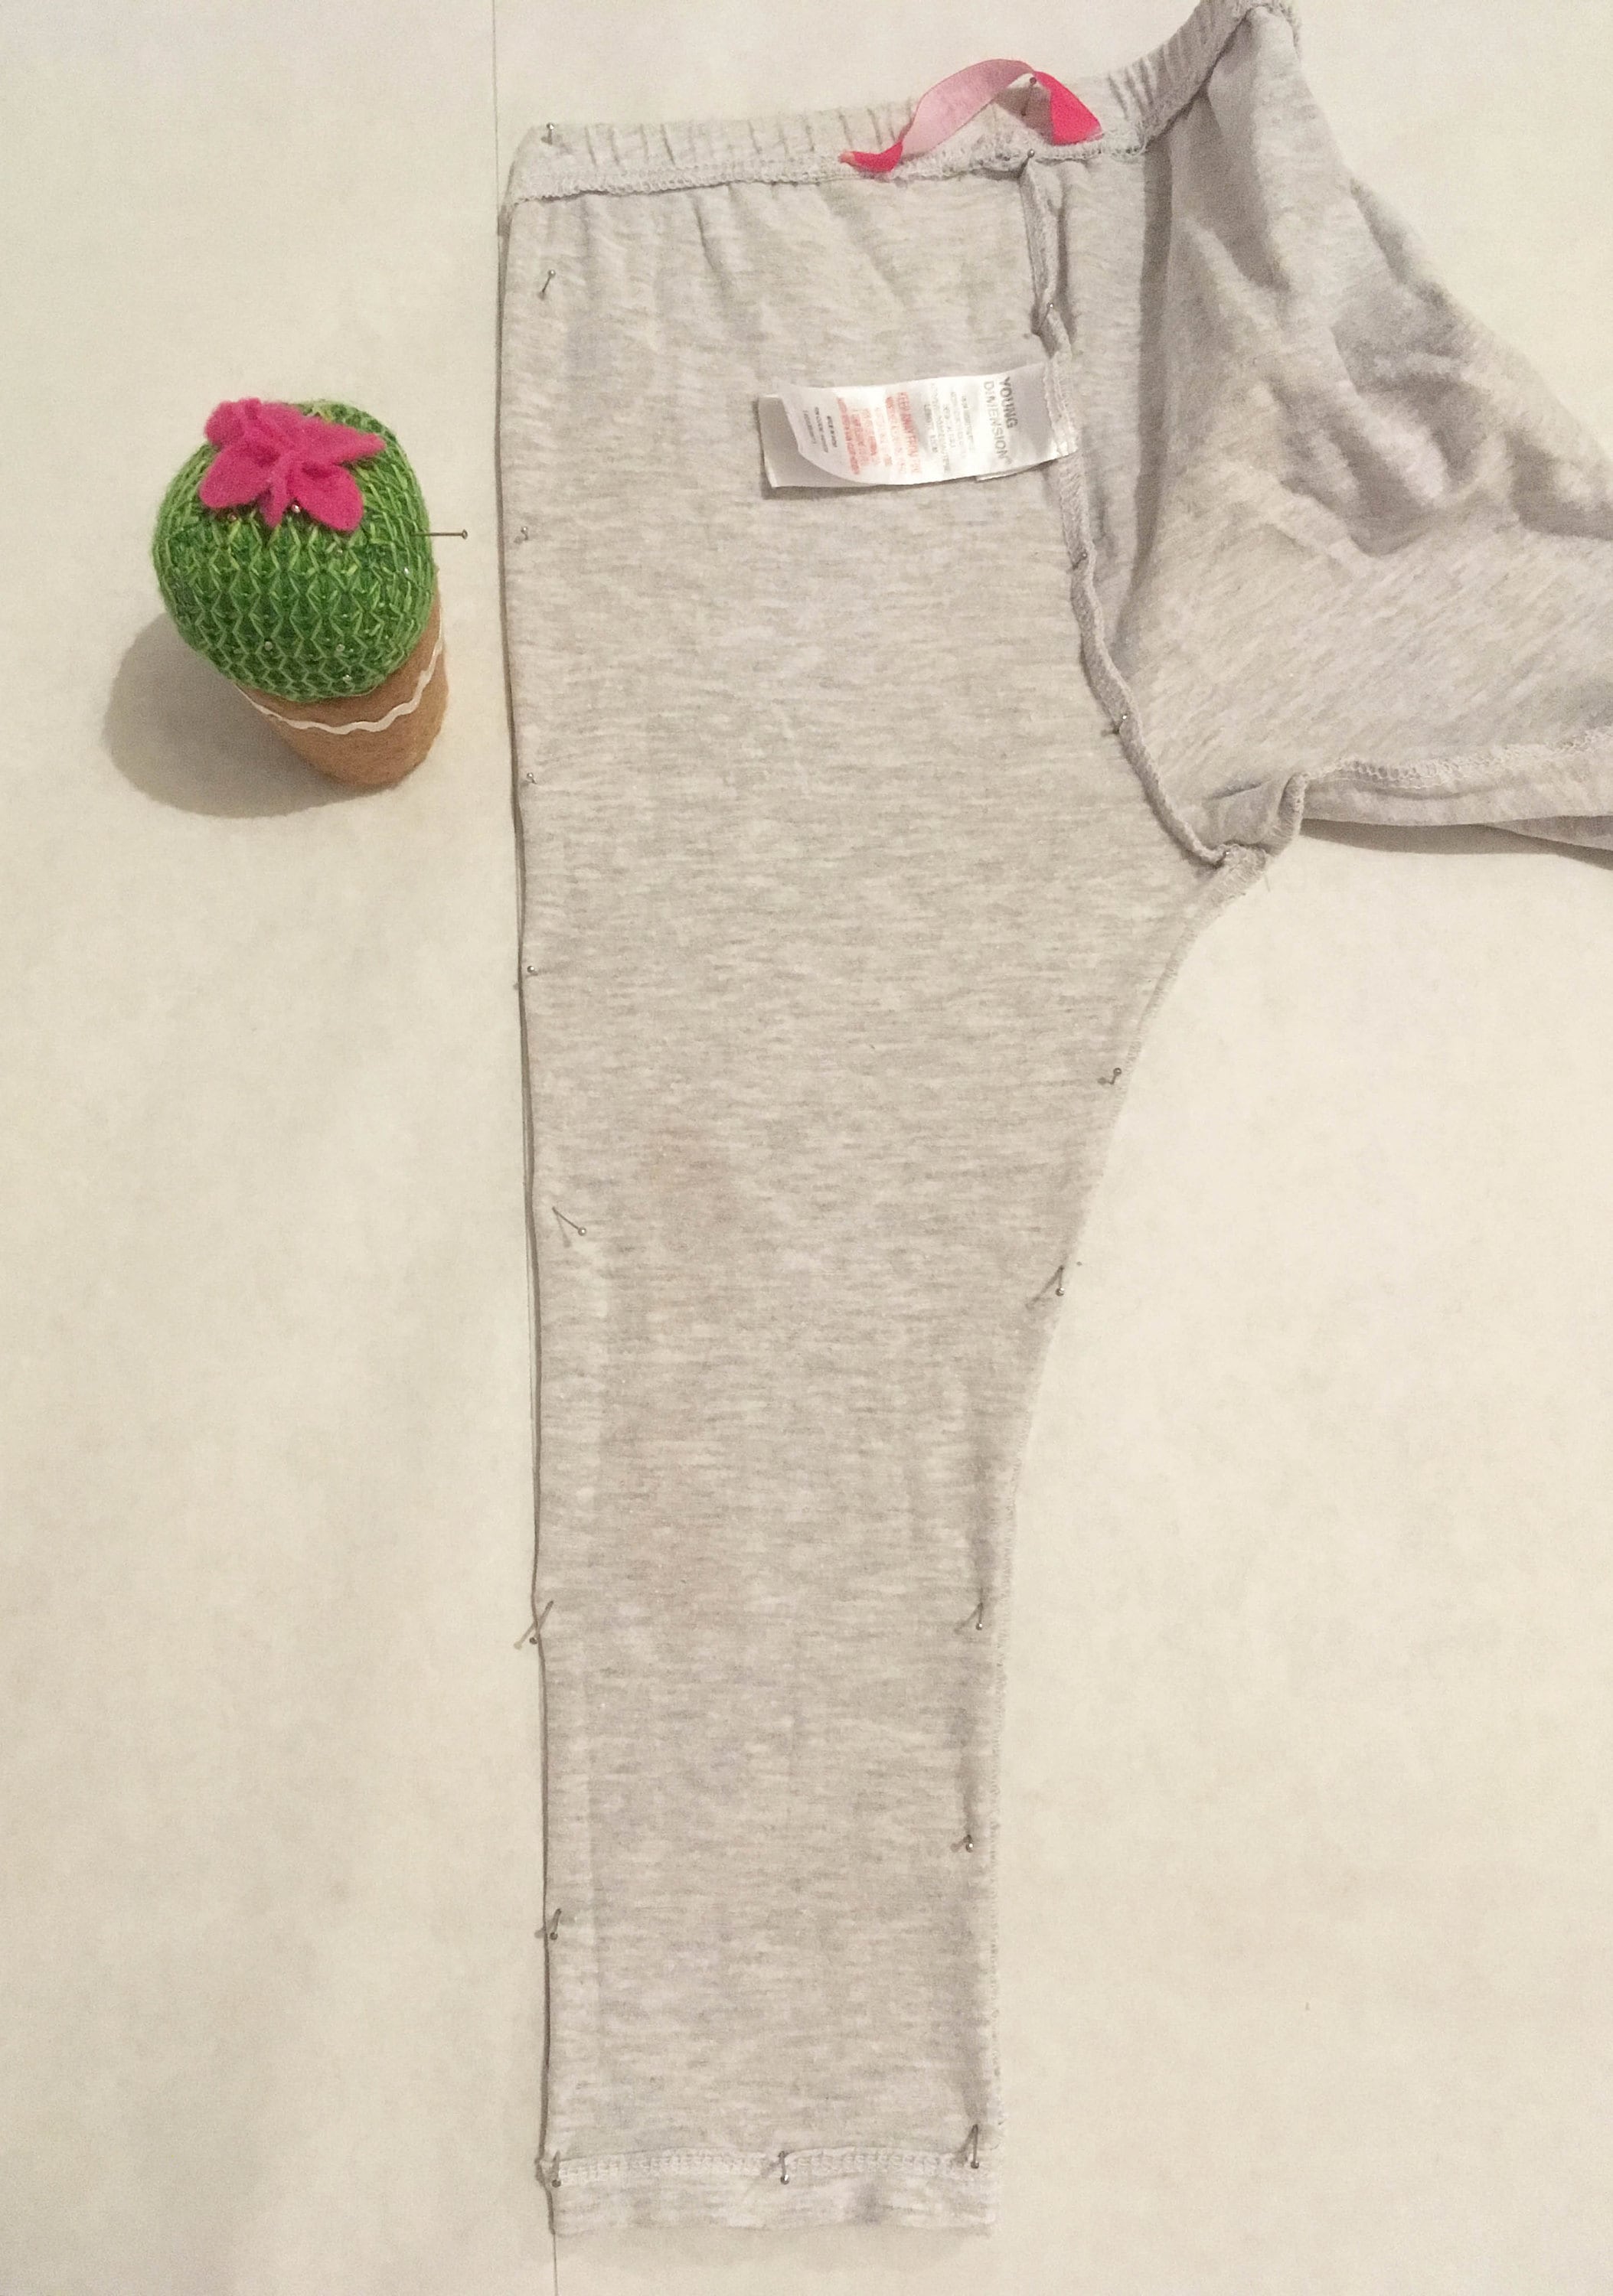
The waist of the leggings will be gathered with elastic so you will need to gentle stretch the waist out adding lots of pins as you go.
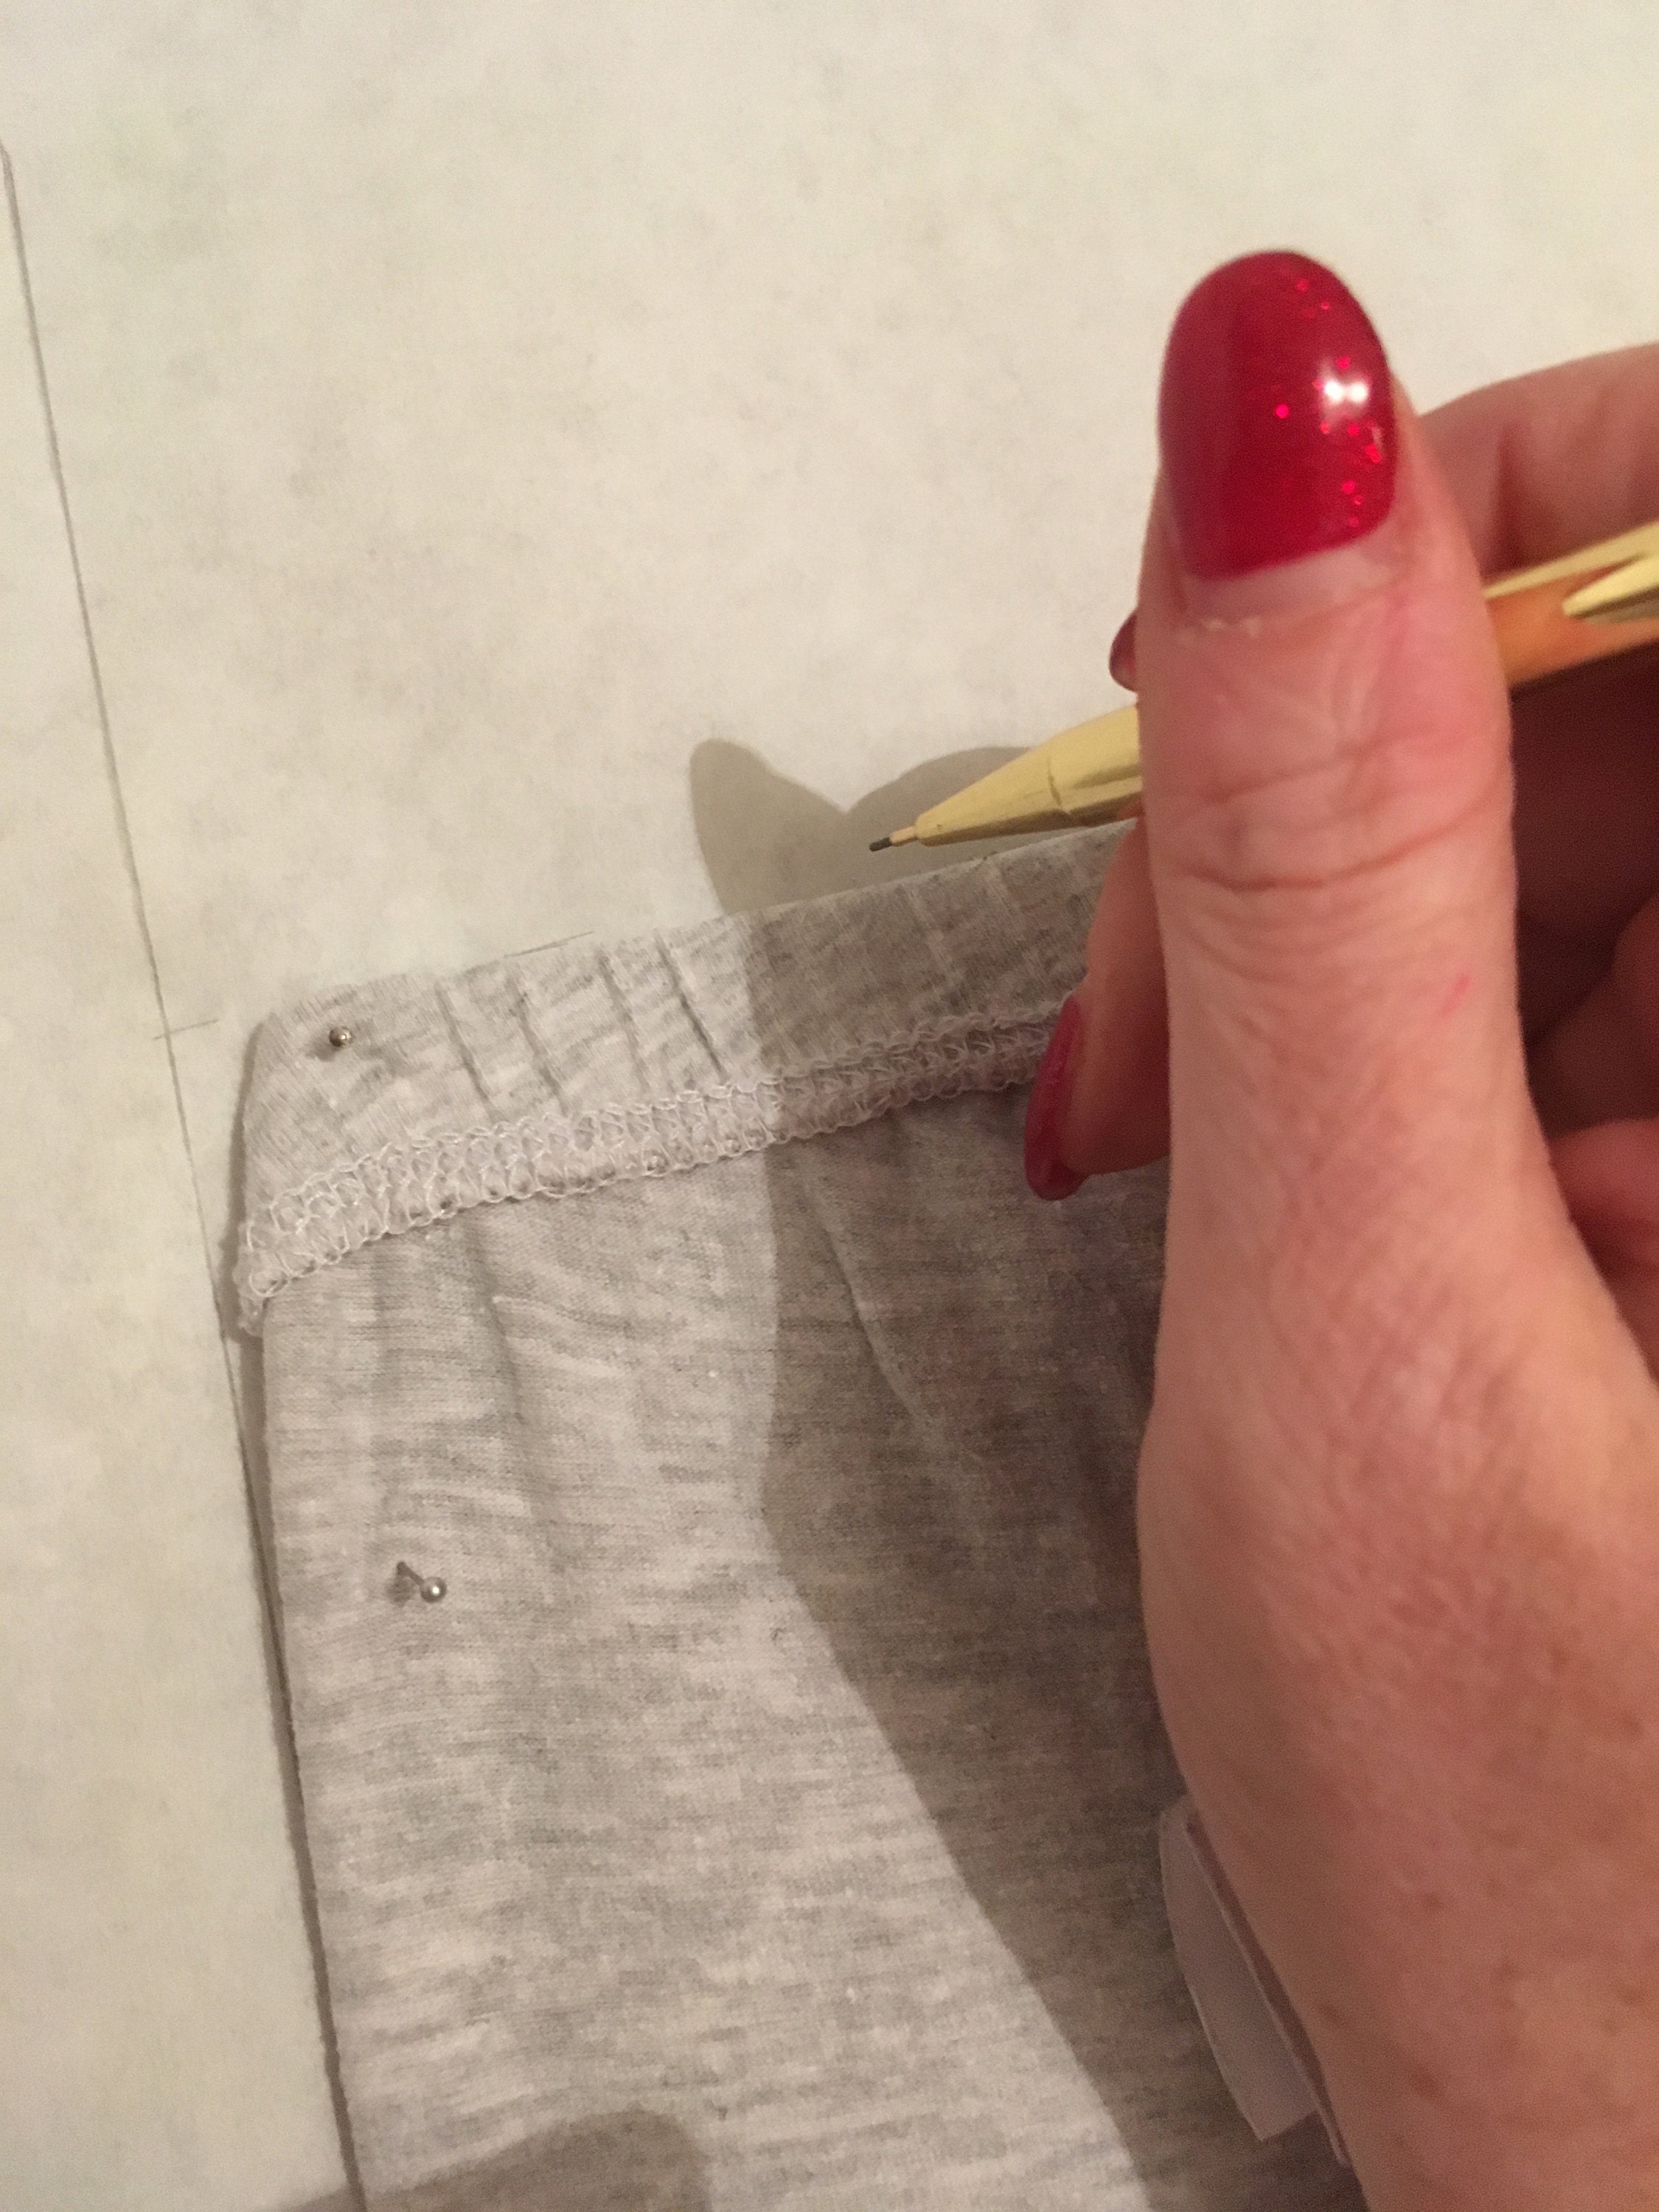
Step Three:
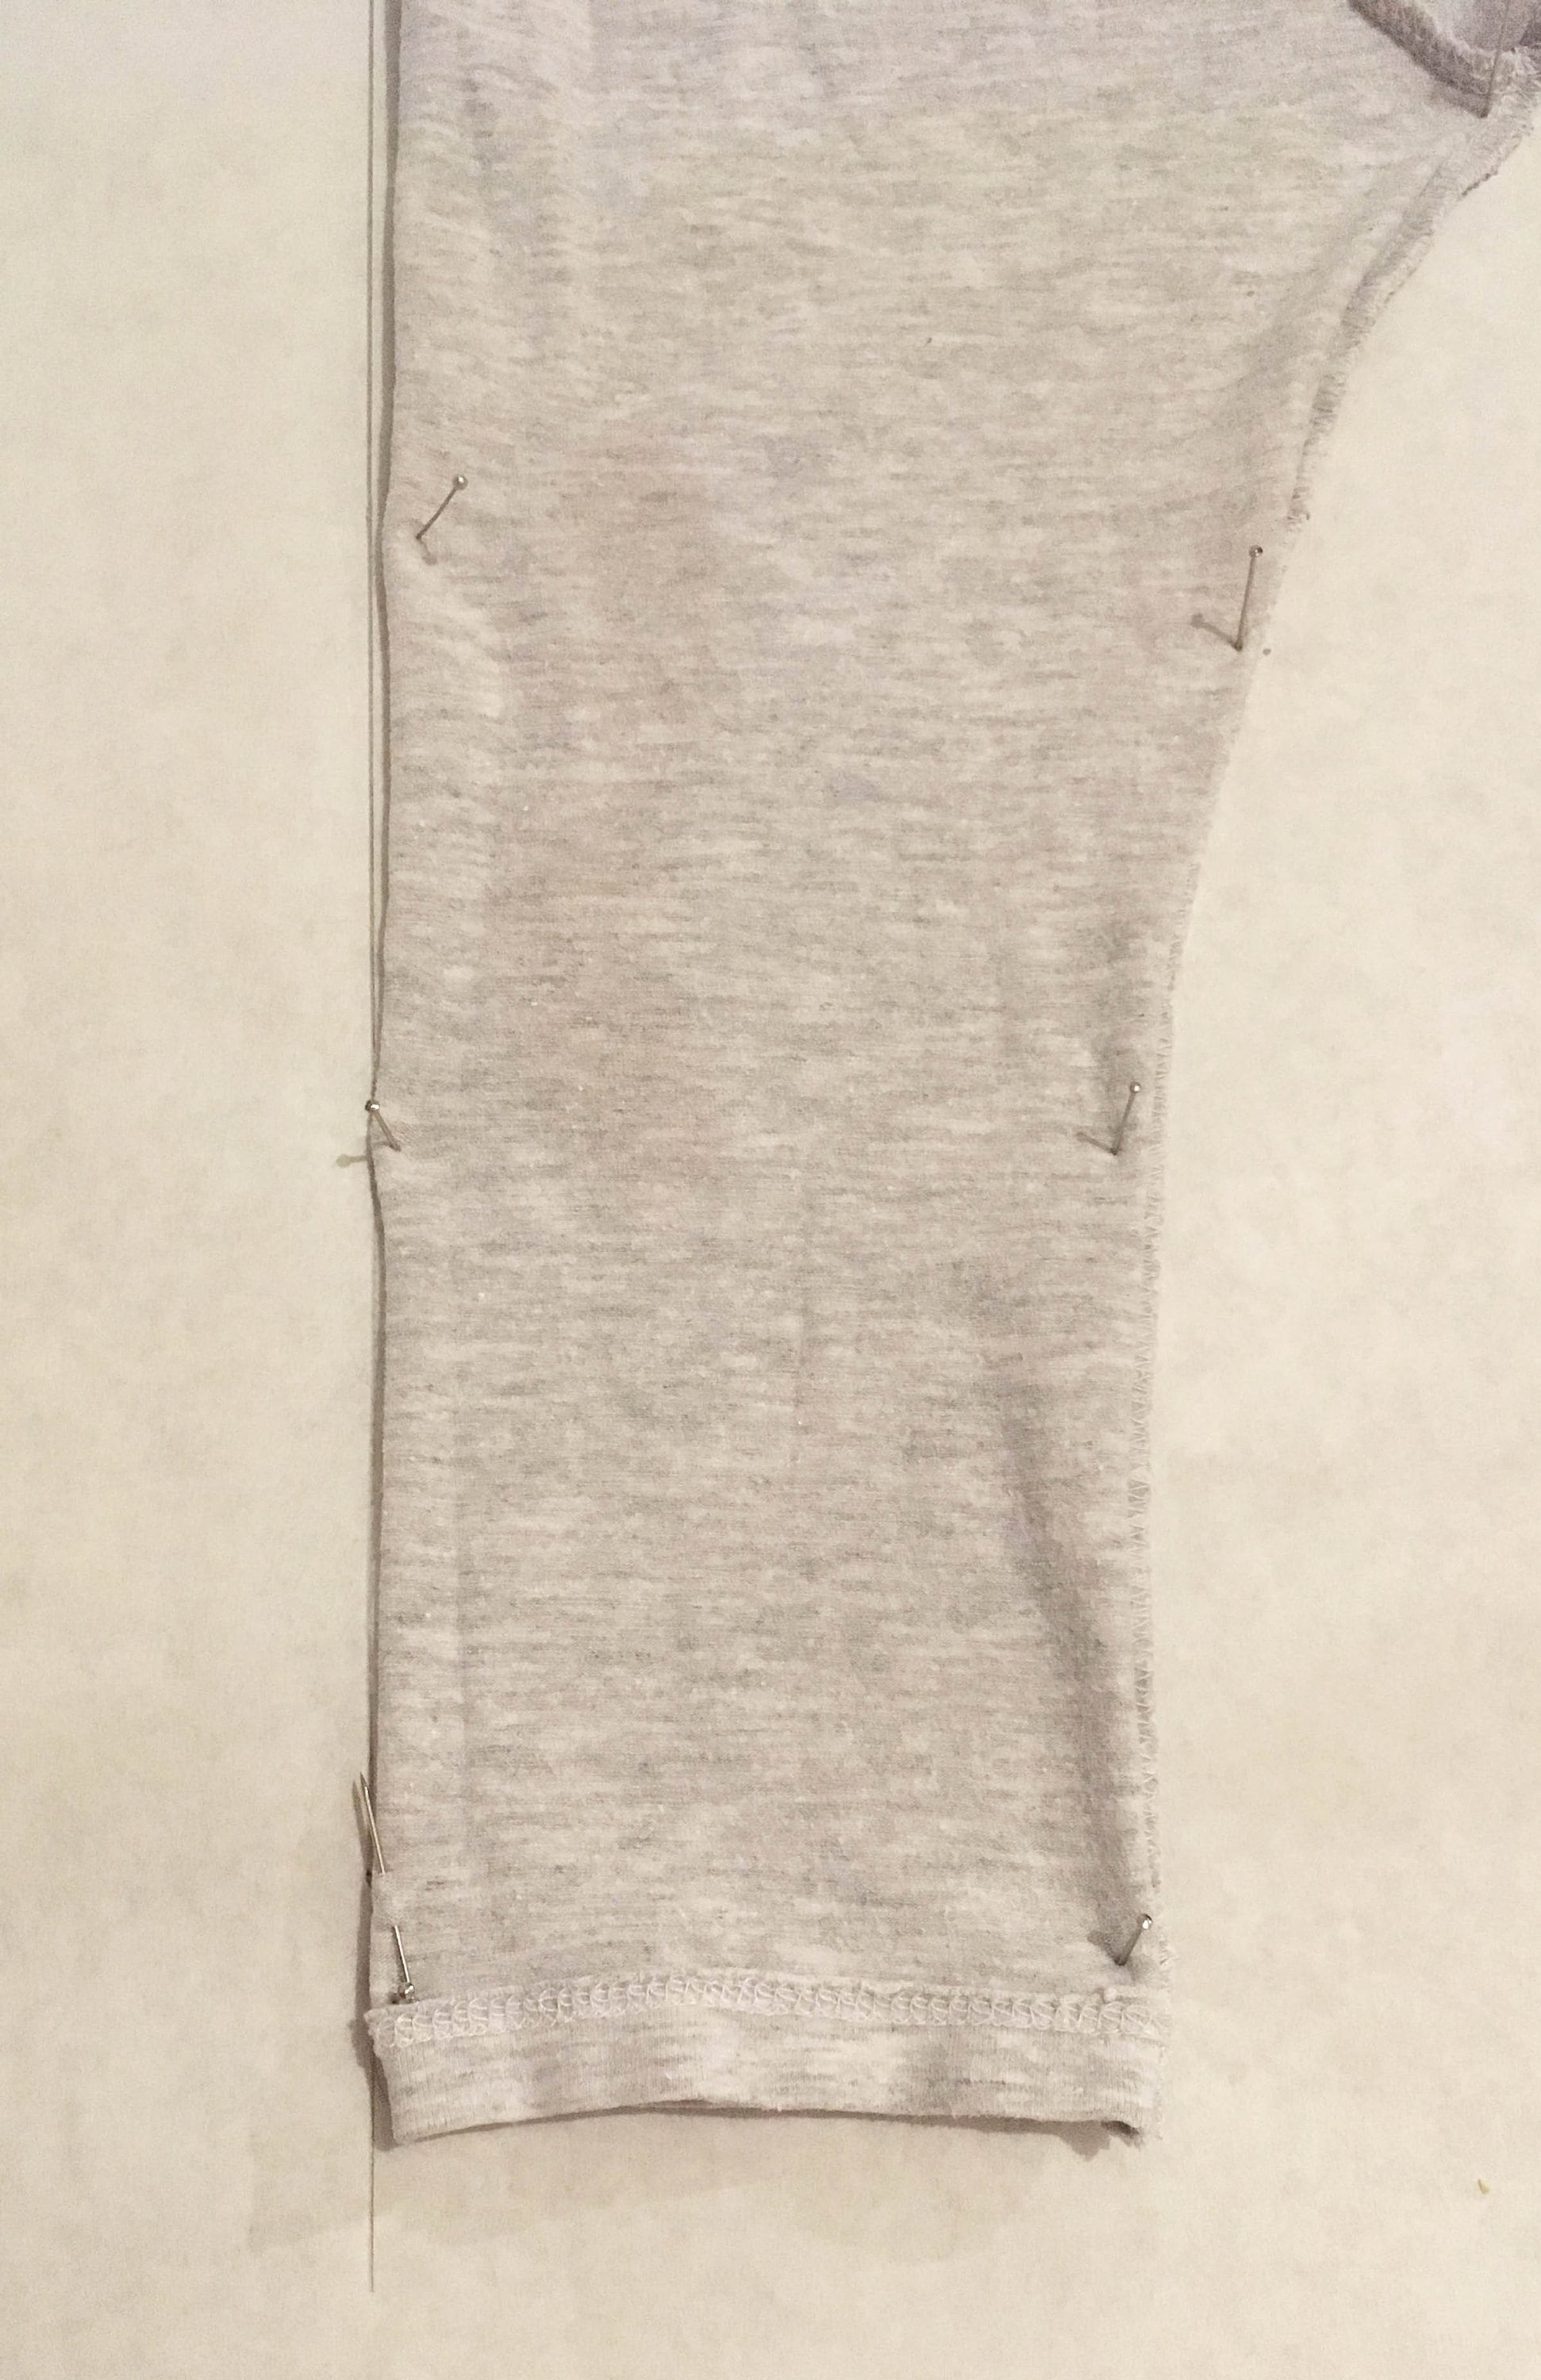
Using a pencil draw around the legging at the inside leg and at the waist. If you have a tracing wheel gently trace along the rise seam. If you do not have a tracing wheel then you can use a pin to mark the shape of the rise seam. Pin through the fabric along the seam every few cms. Where you pin will leave a mark on the paper beneath that you can join up later.


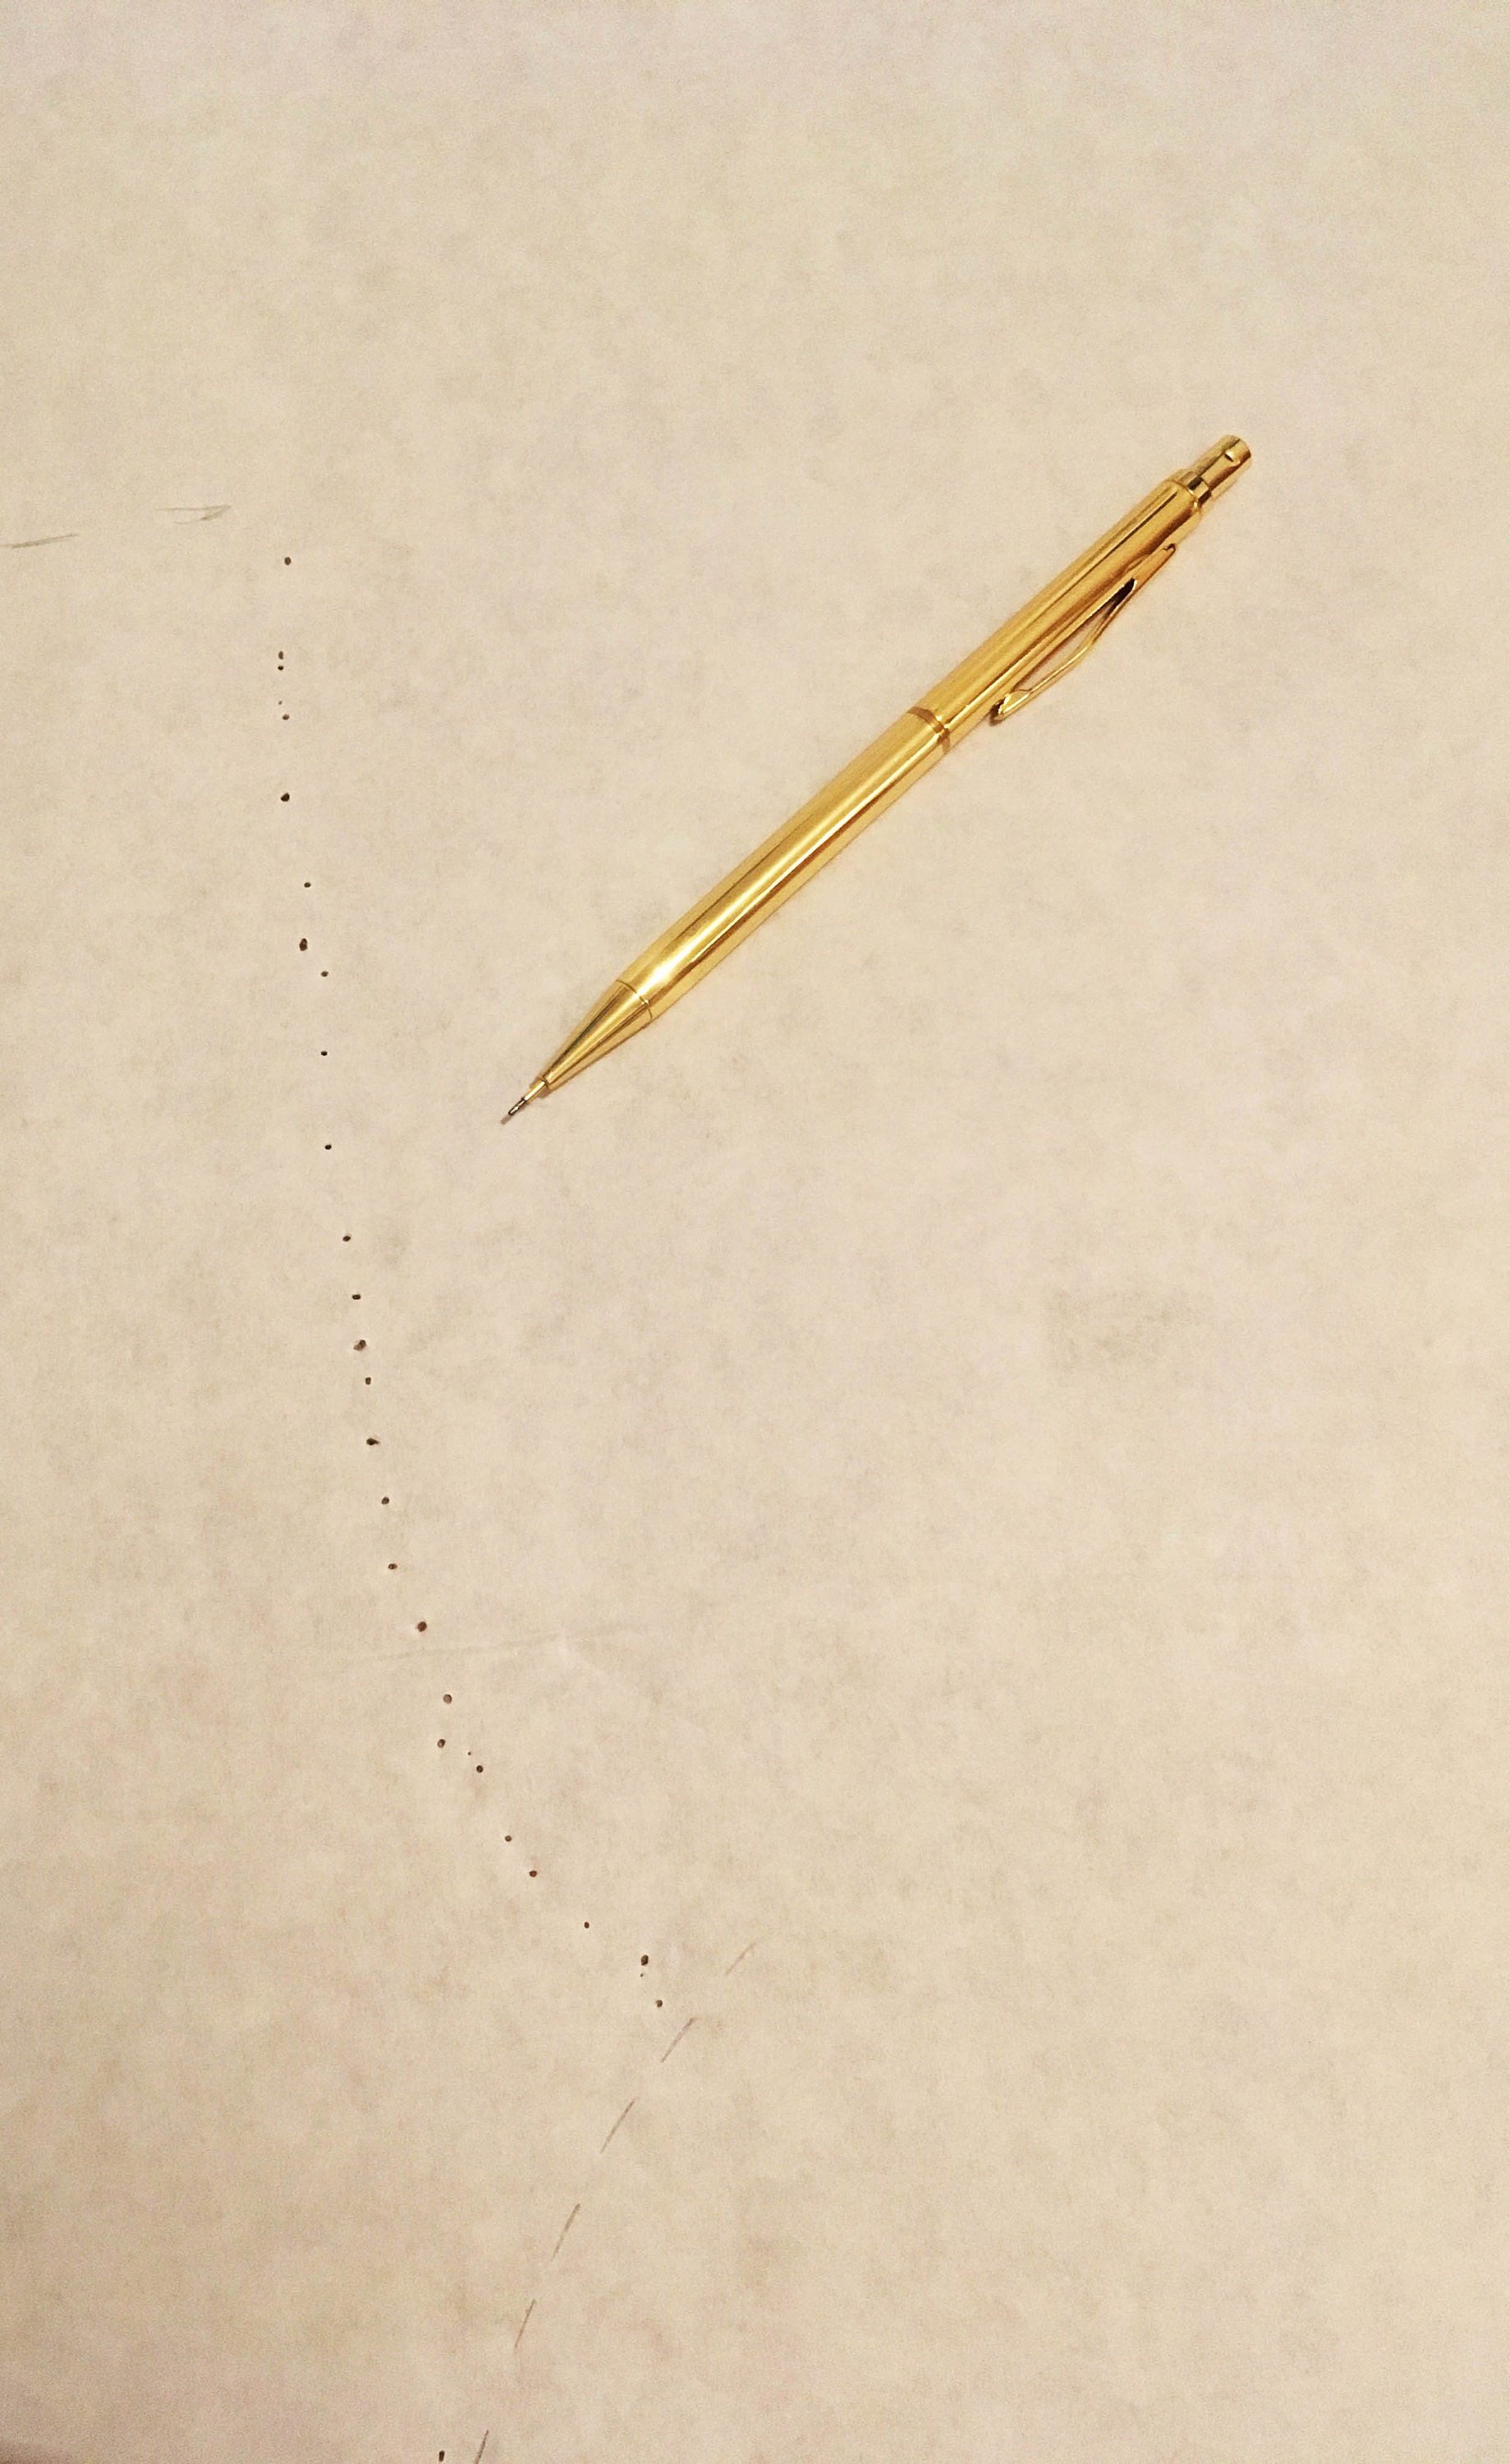
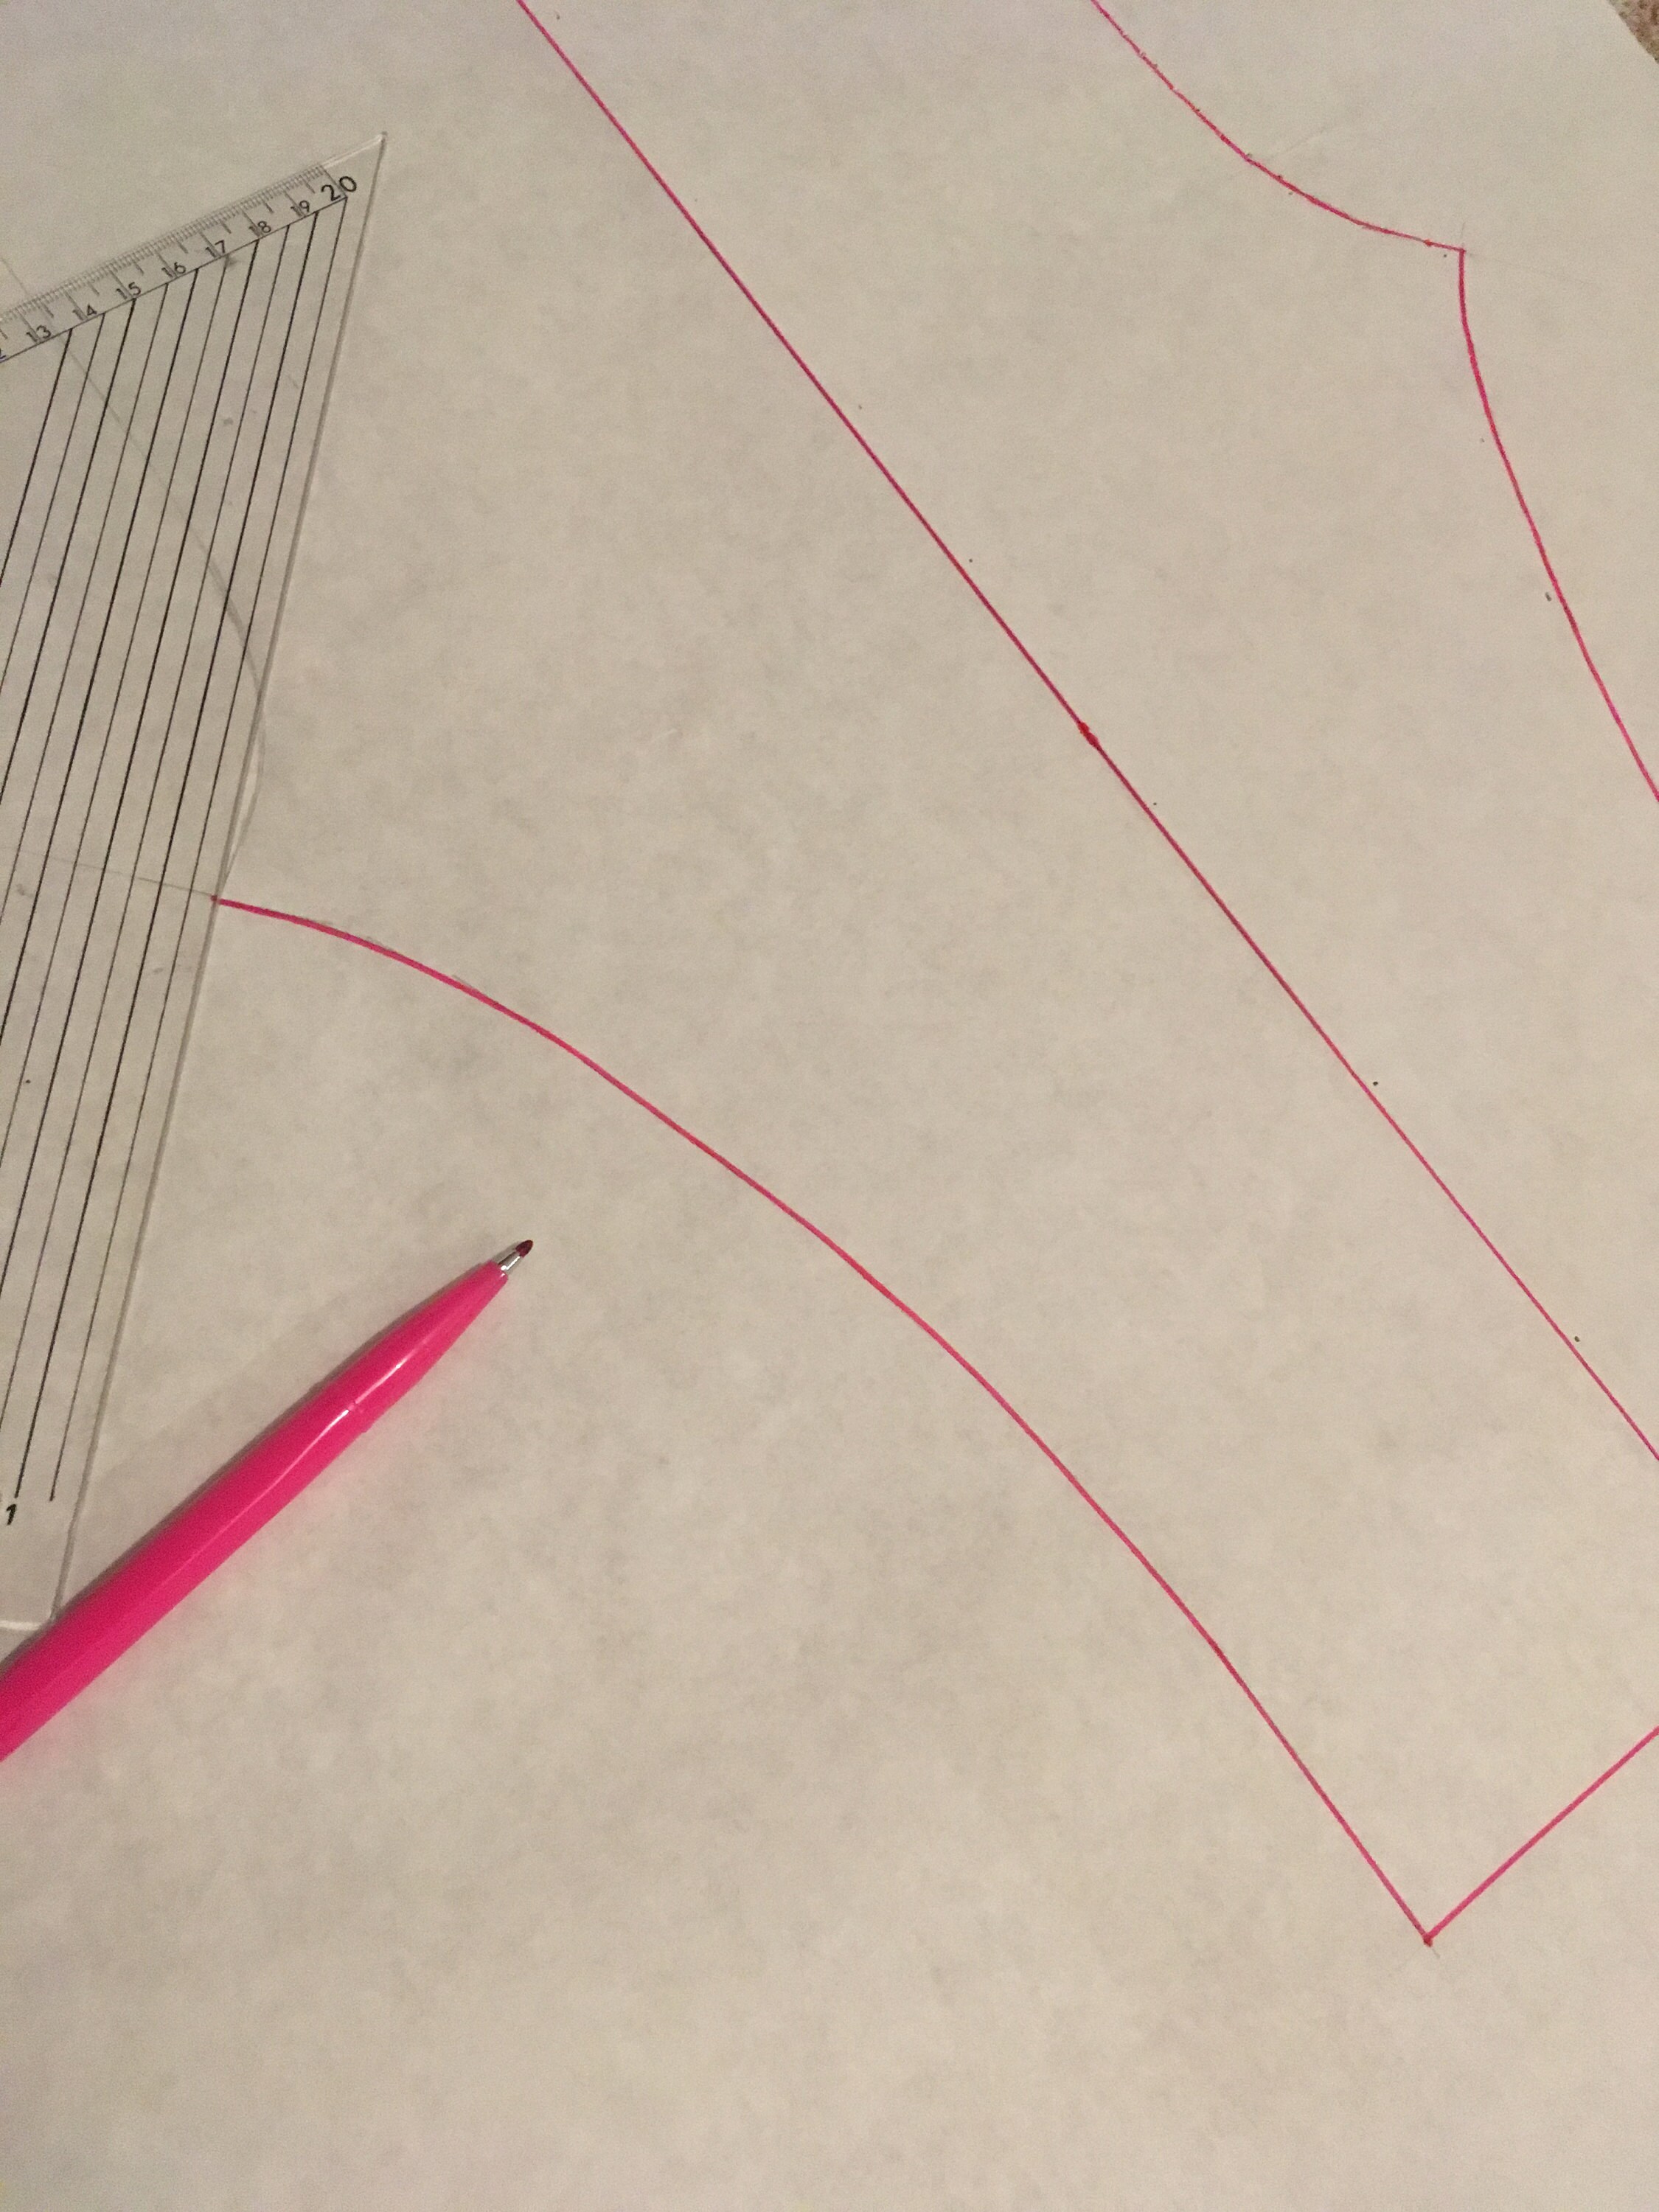
Step Four:
Remove the leggings from the paper and connect up the dots on the paper to form the rise seam.
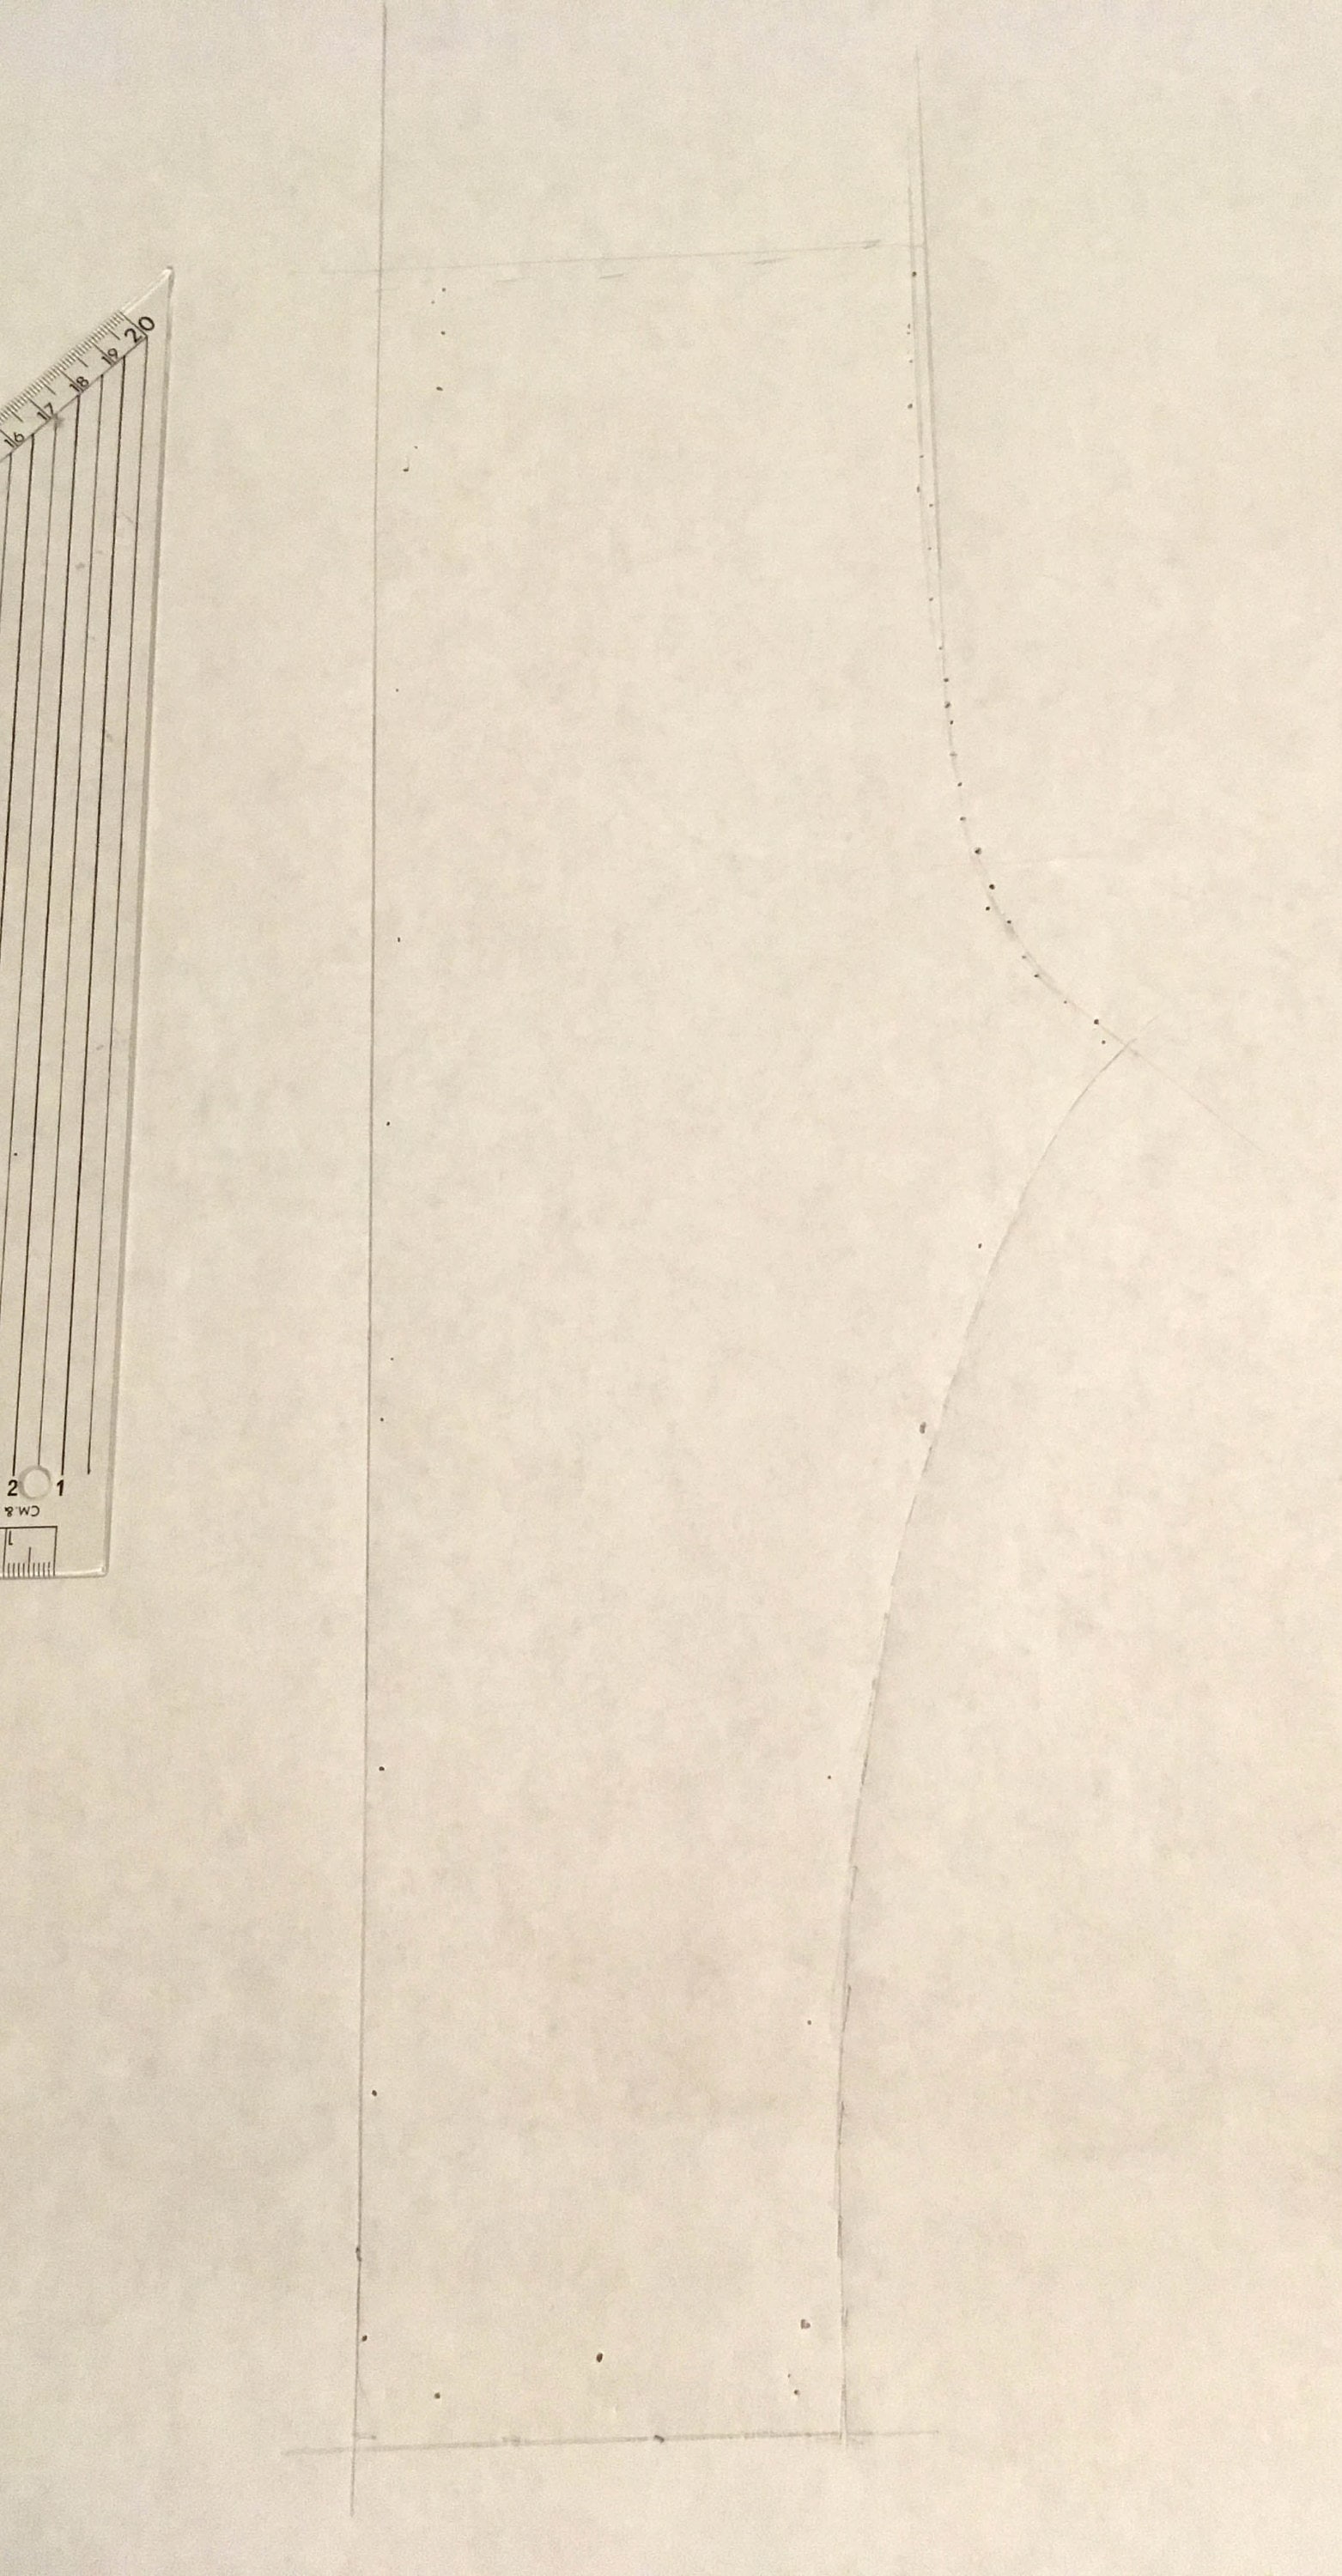
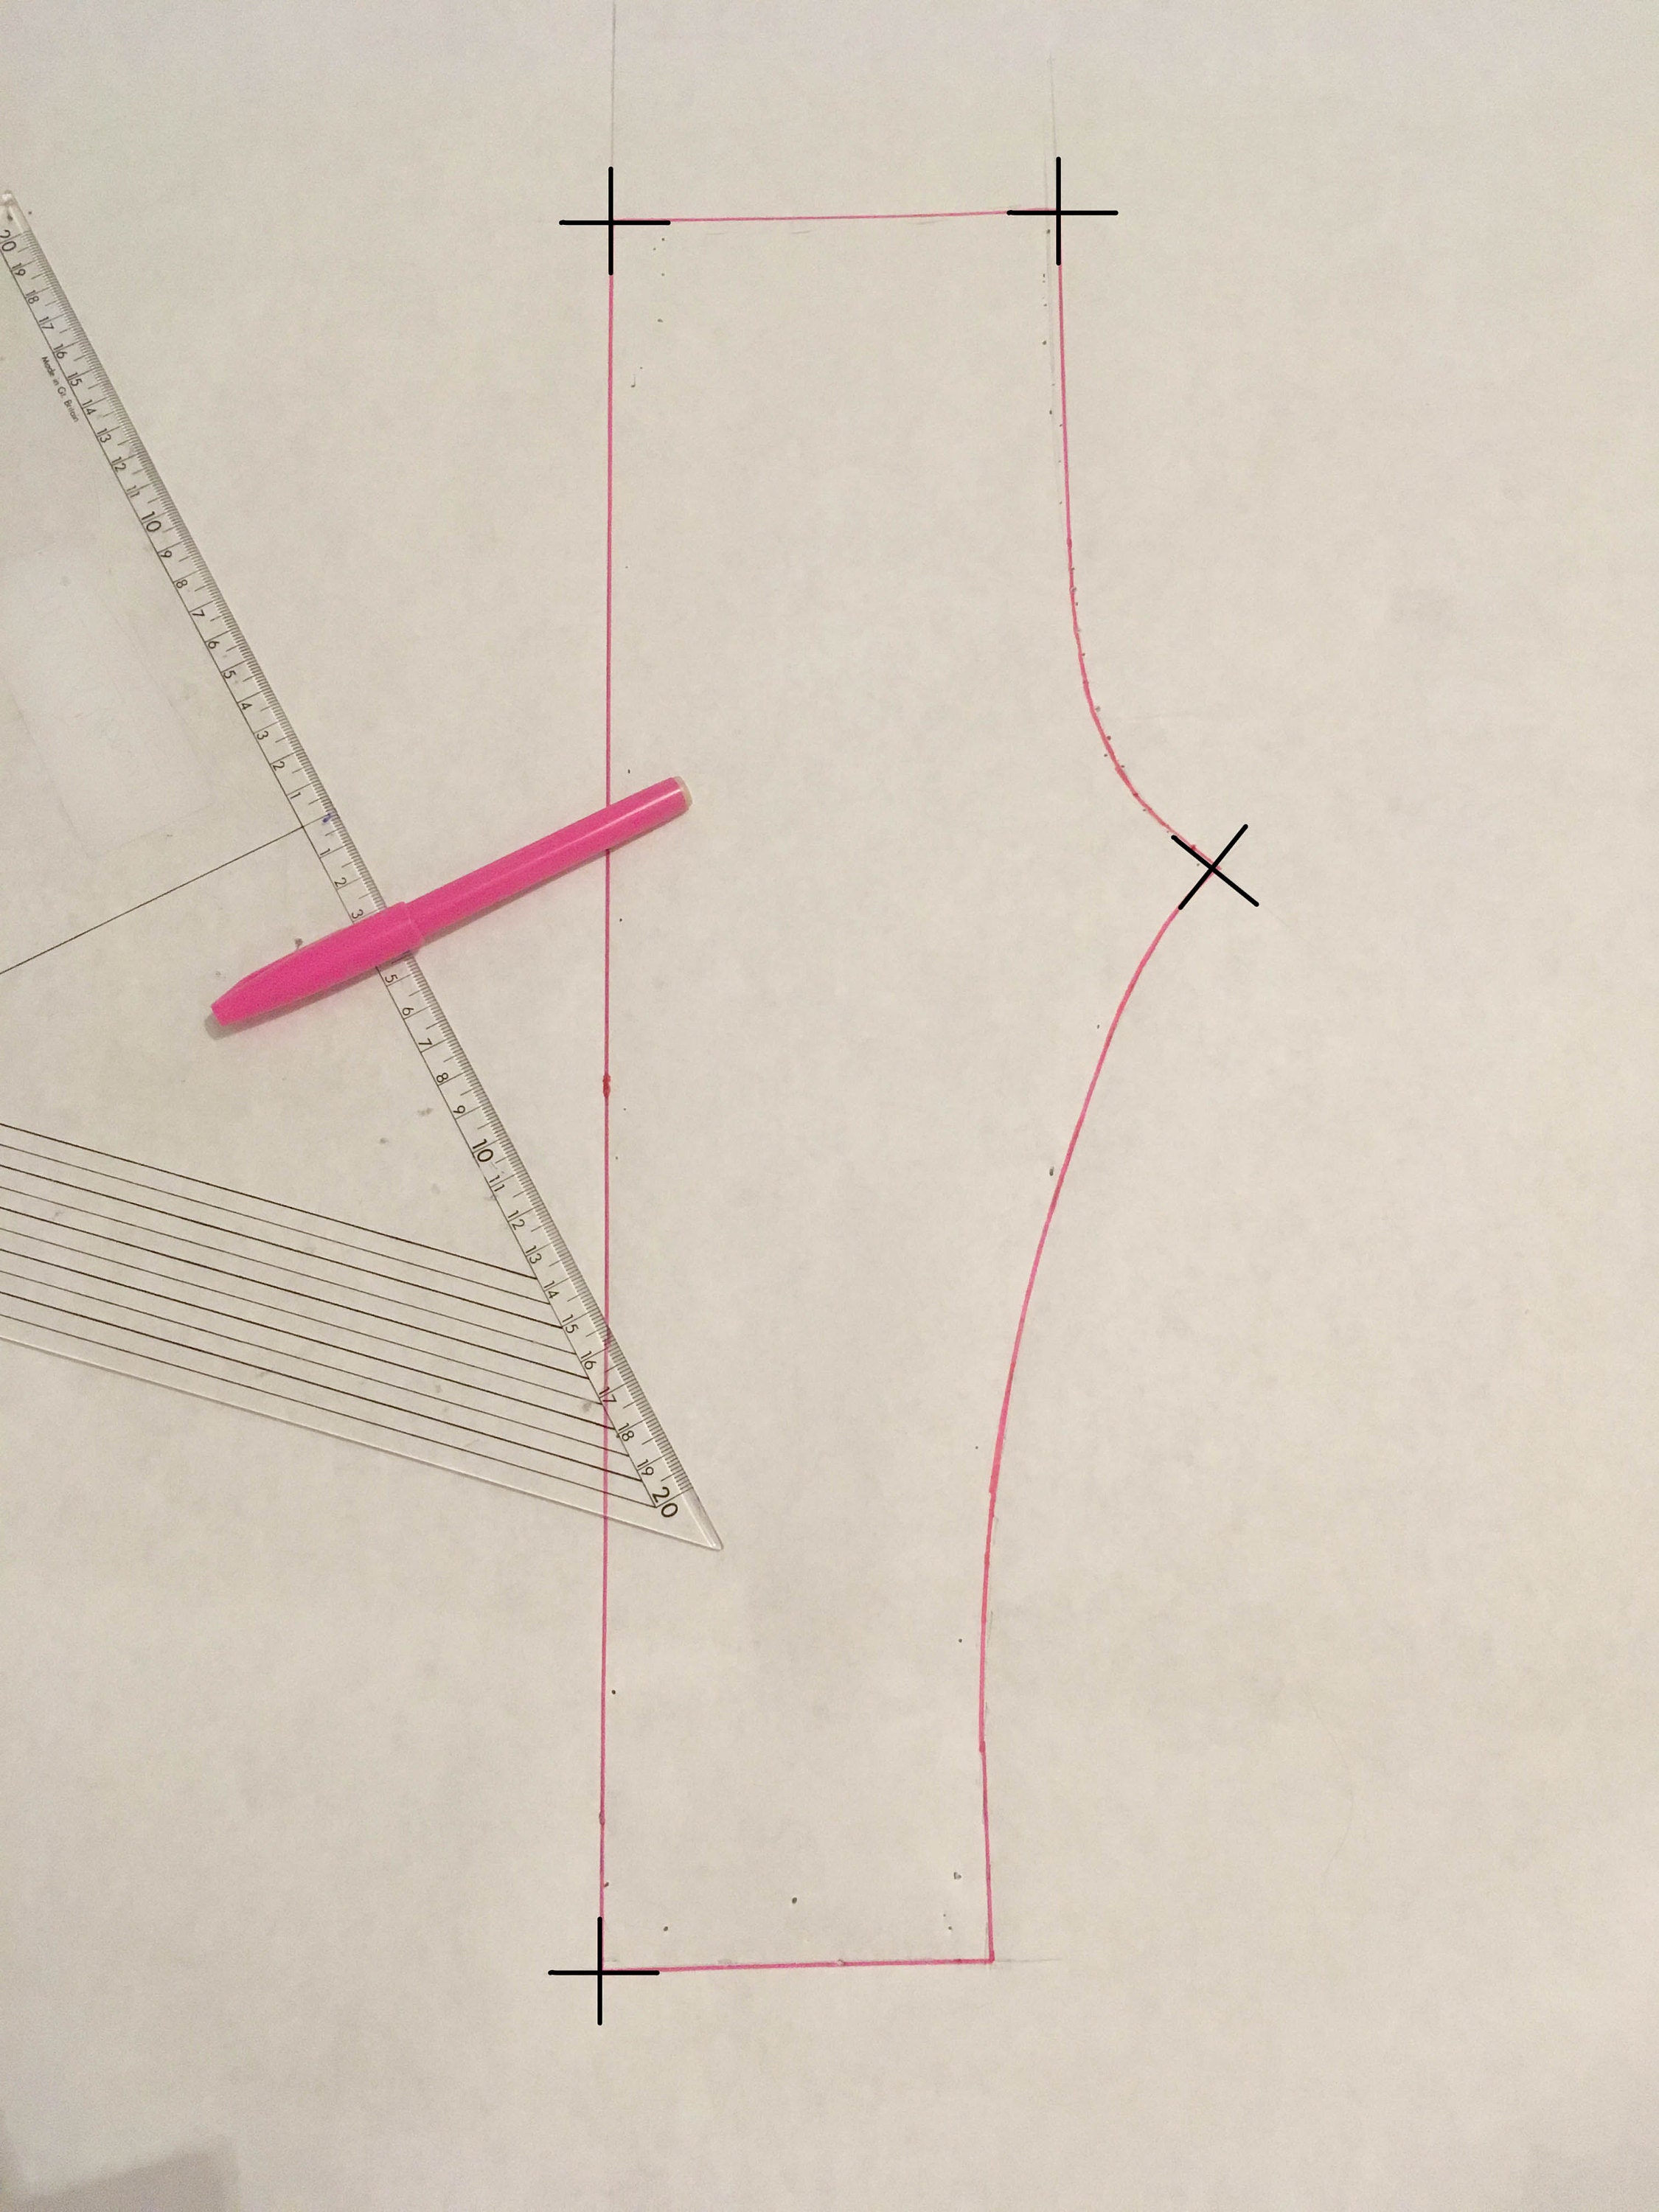
Step Five:
Neaten up your pattern, ensuring there are right angles at the points shown below:
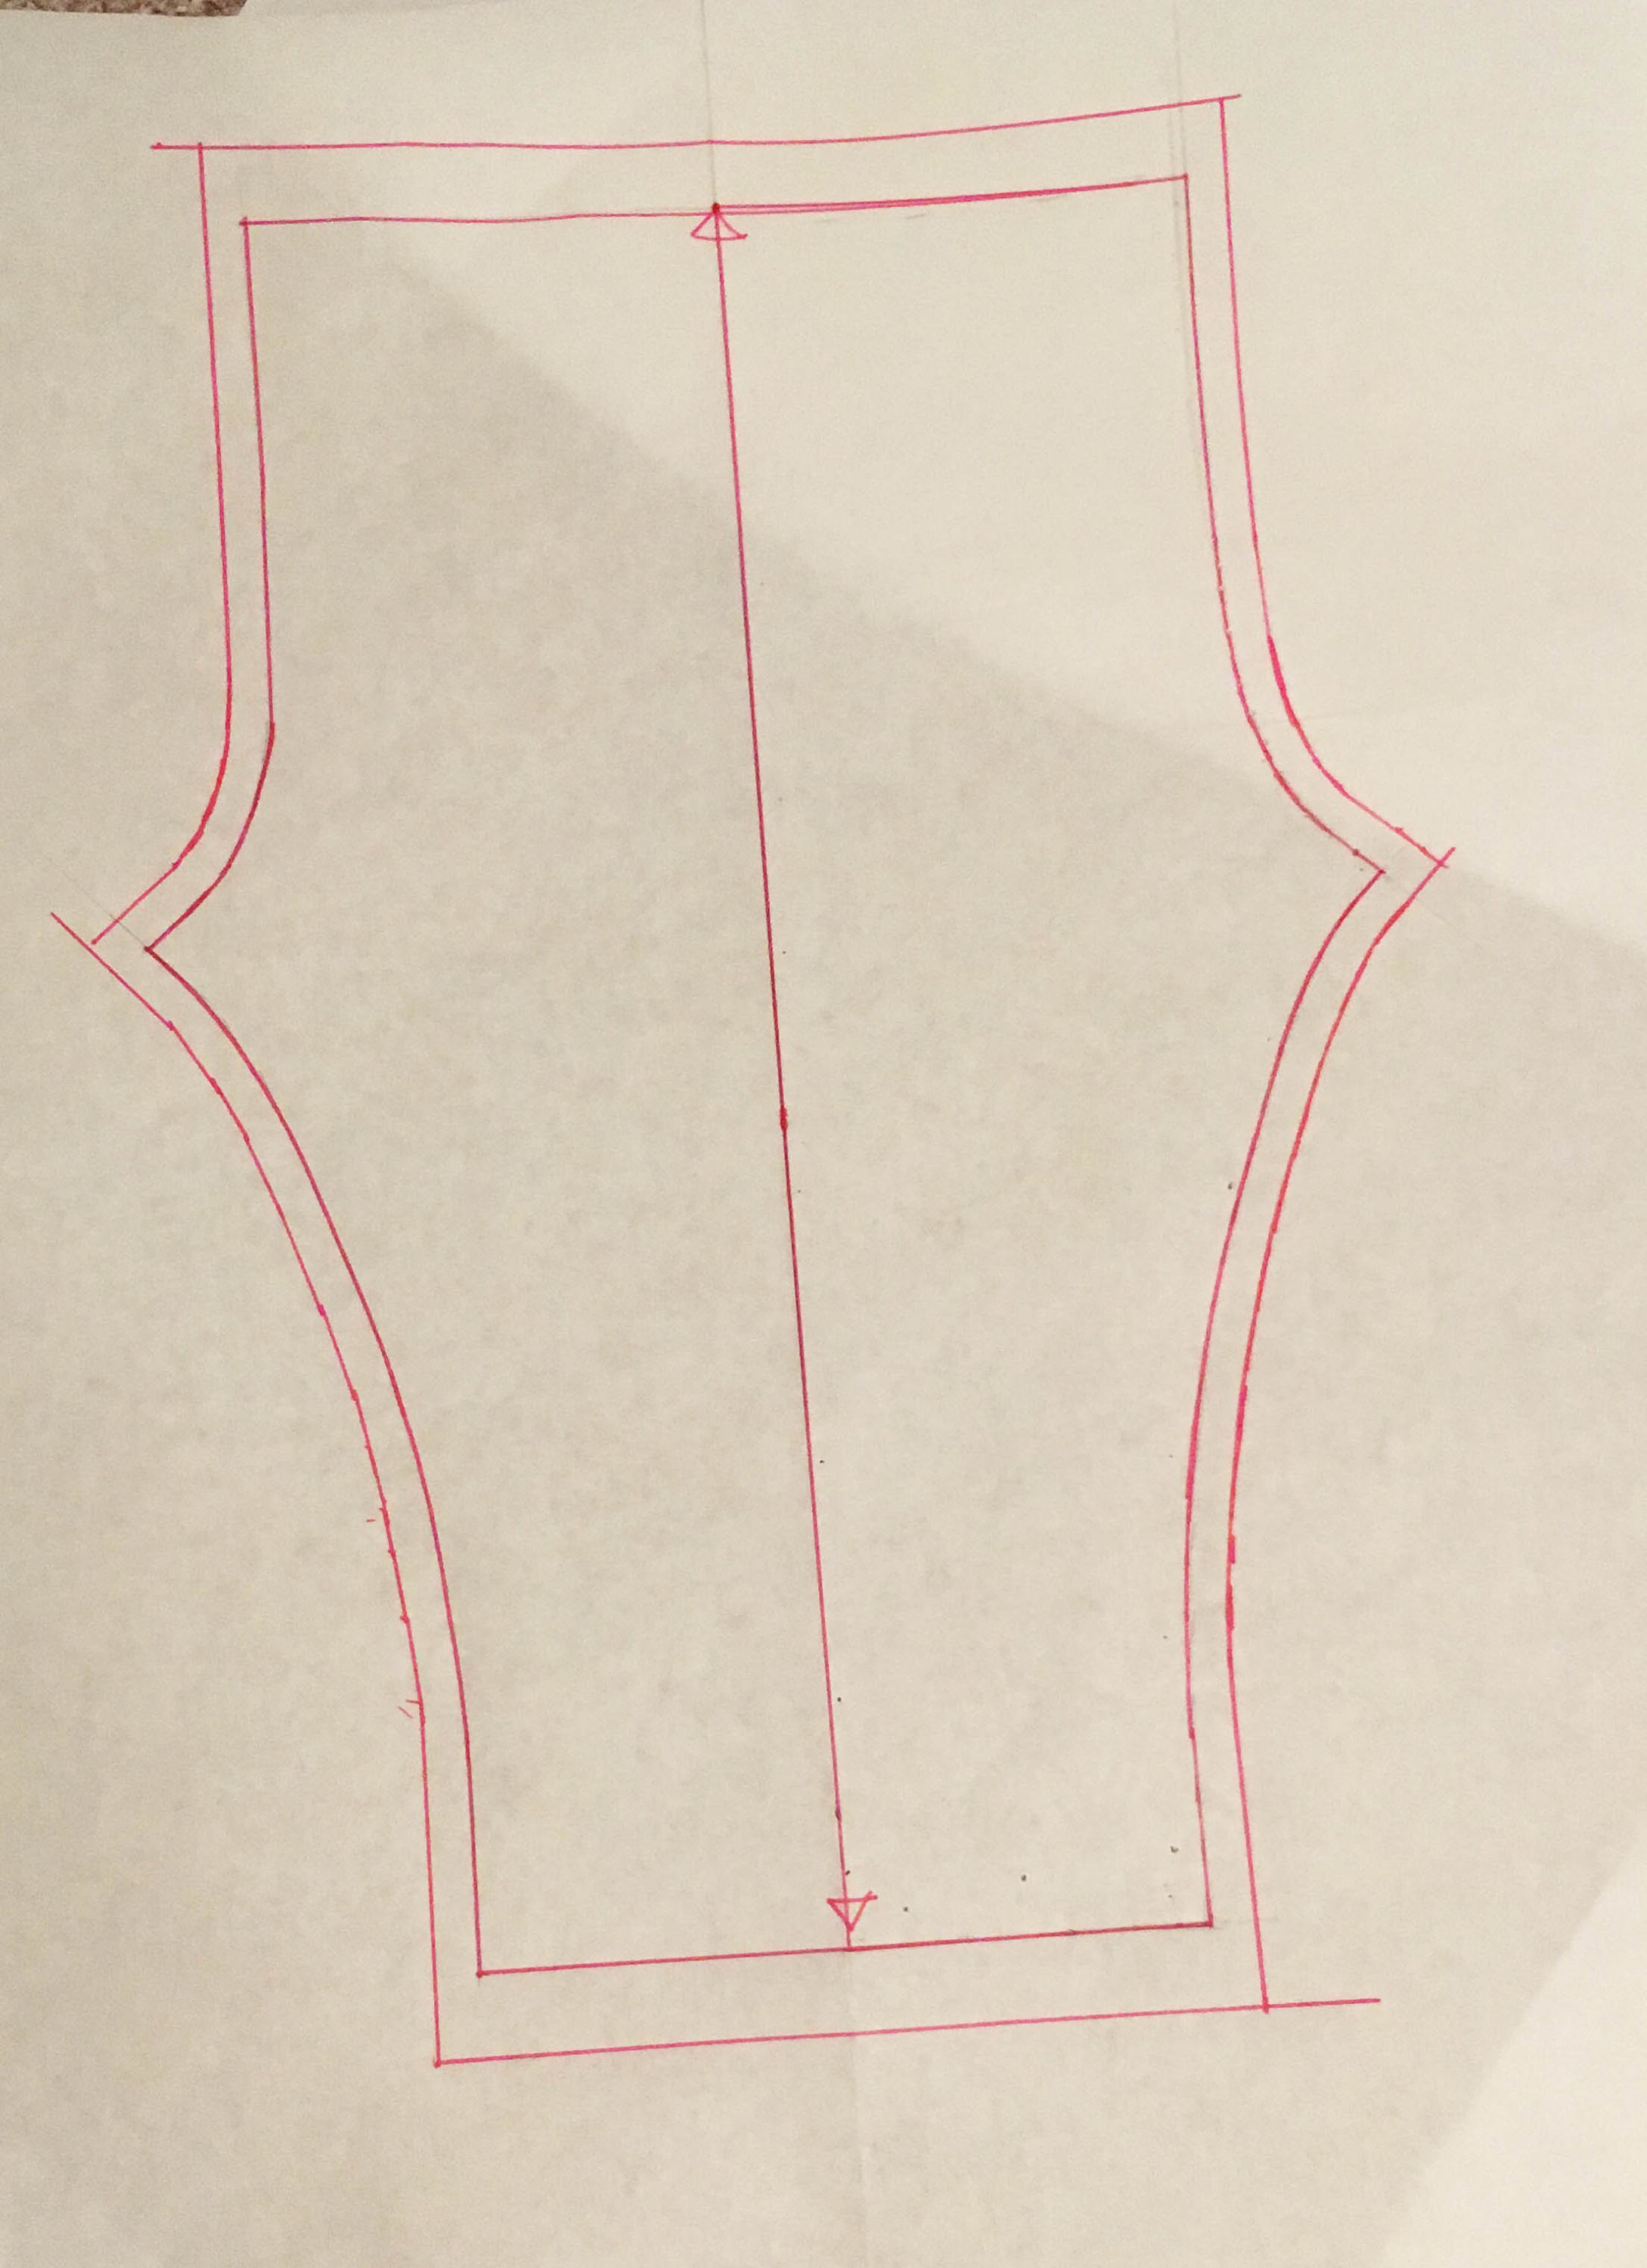
Step Six:
Mirror your pattern to form the final pattern piece and add seam allowance. I will be overlocking the inside seam so I add 1cm there. I will be twin needle coverseaming the waist and hem so I add 2cm on those seams.
Step Seven:
The final step is to note down the elastic length. Measure the waistband on the legging sample. Take care not to stretch the elastic whilst you are measuring it. Note this measurement on your paper pattern for when you come to sew your new leggings.
Your pattern is now finished and ready to cut!
My next blog post will feature step by step instructions on how to sew your leggings.