In my last blog post I showed you how to draft a simple legging pattern from an existing garment.
Now that you have your pattern we can start to sew!
You will need:
Jersey (with a similar amount of stretch to your original sample)
Pins and Scissors or Cutting mat, weights and rotary blade
Waist elastic (I have used 15mm)
Step one: Check stretch
Before you start cutting just double check the stretch of your jersey is similar to the leggings you copied. If you use a jersey with less stretch then you will find that your new leggings will be too small!
If you do find that your fabric is not as stretchy as your sample its not a problem - you will just need to increase the width of your pattern to accommodate for less stretch.
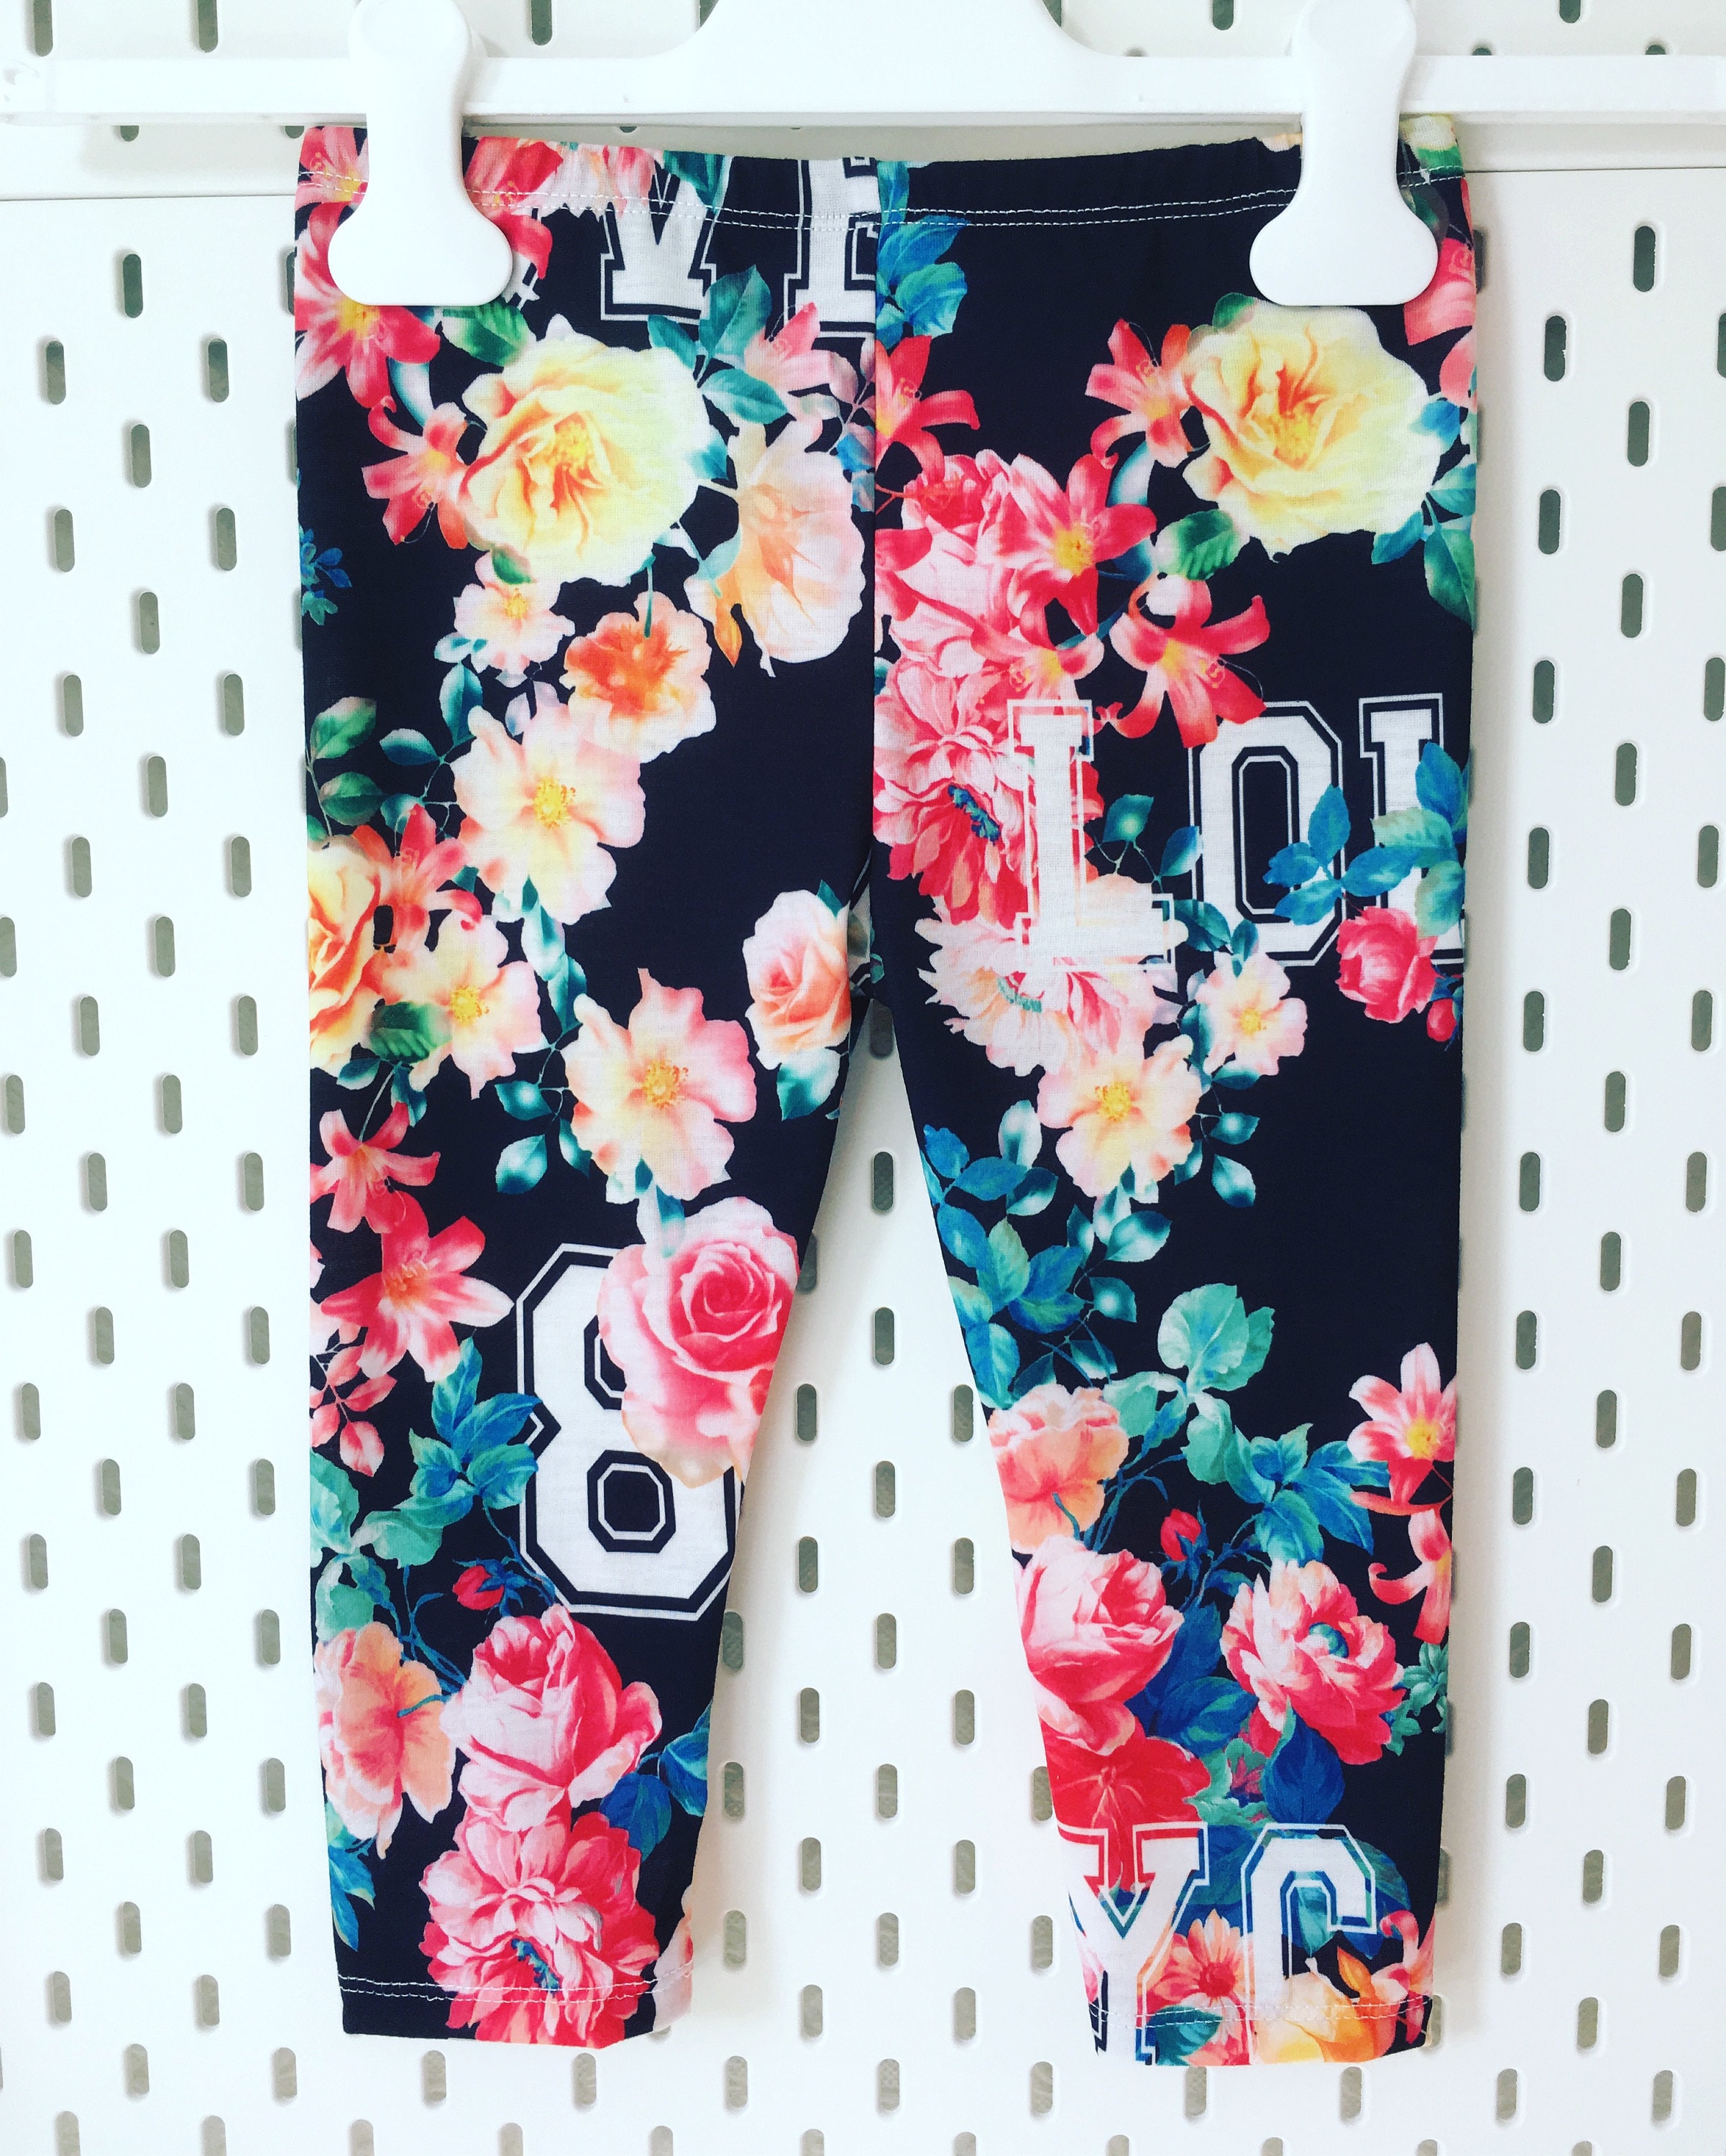
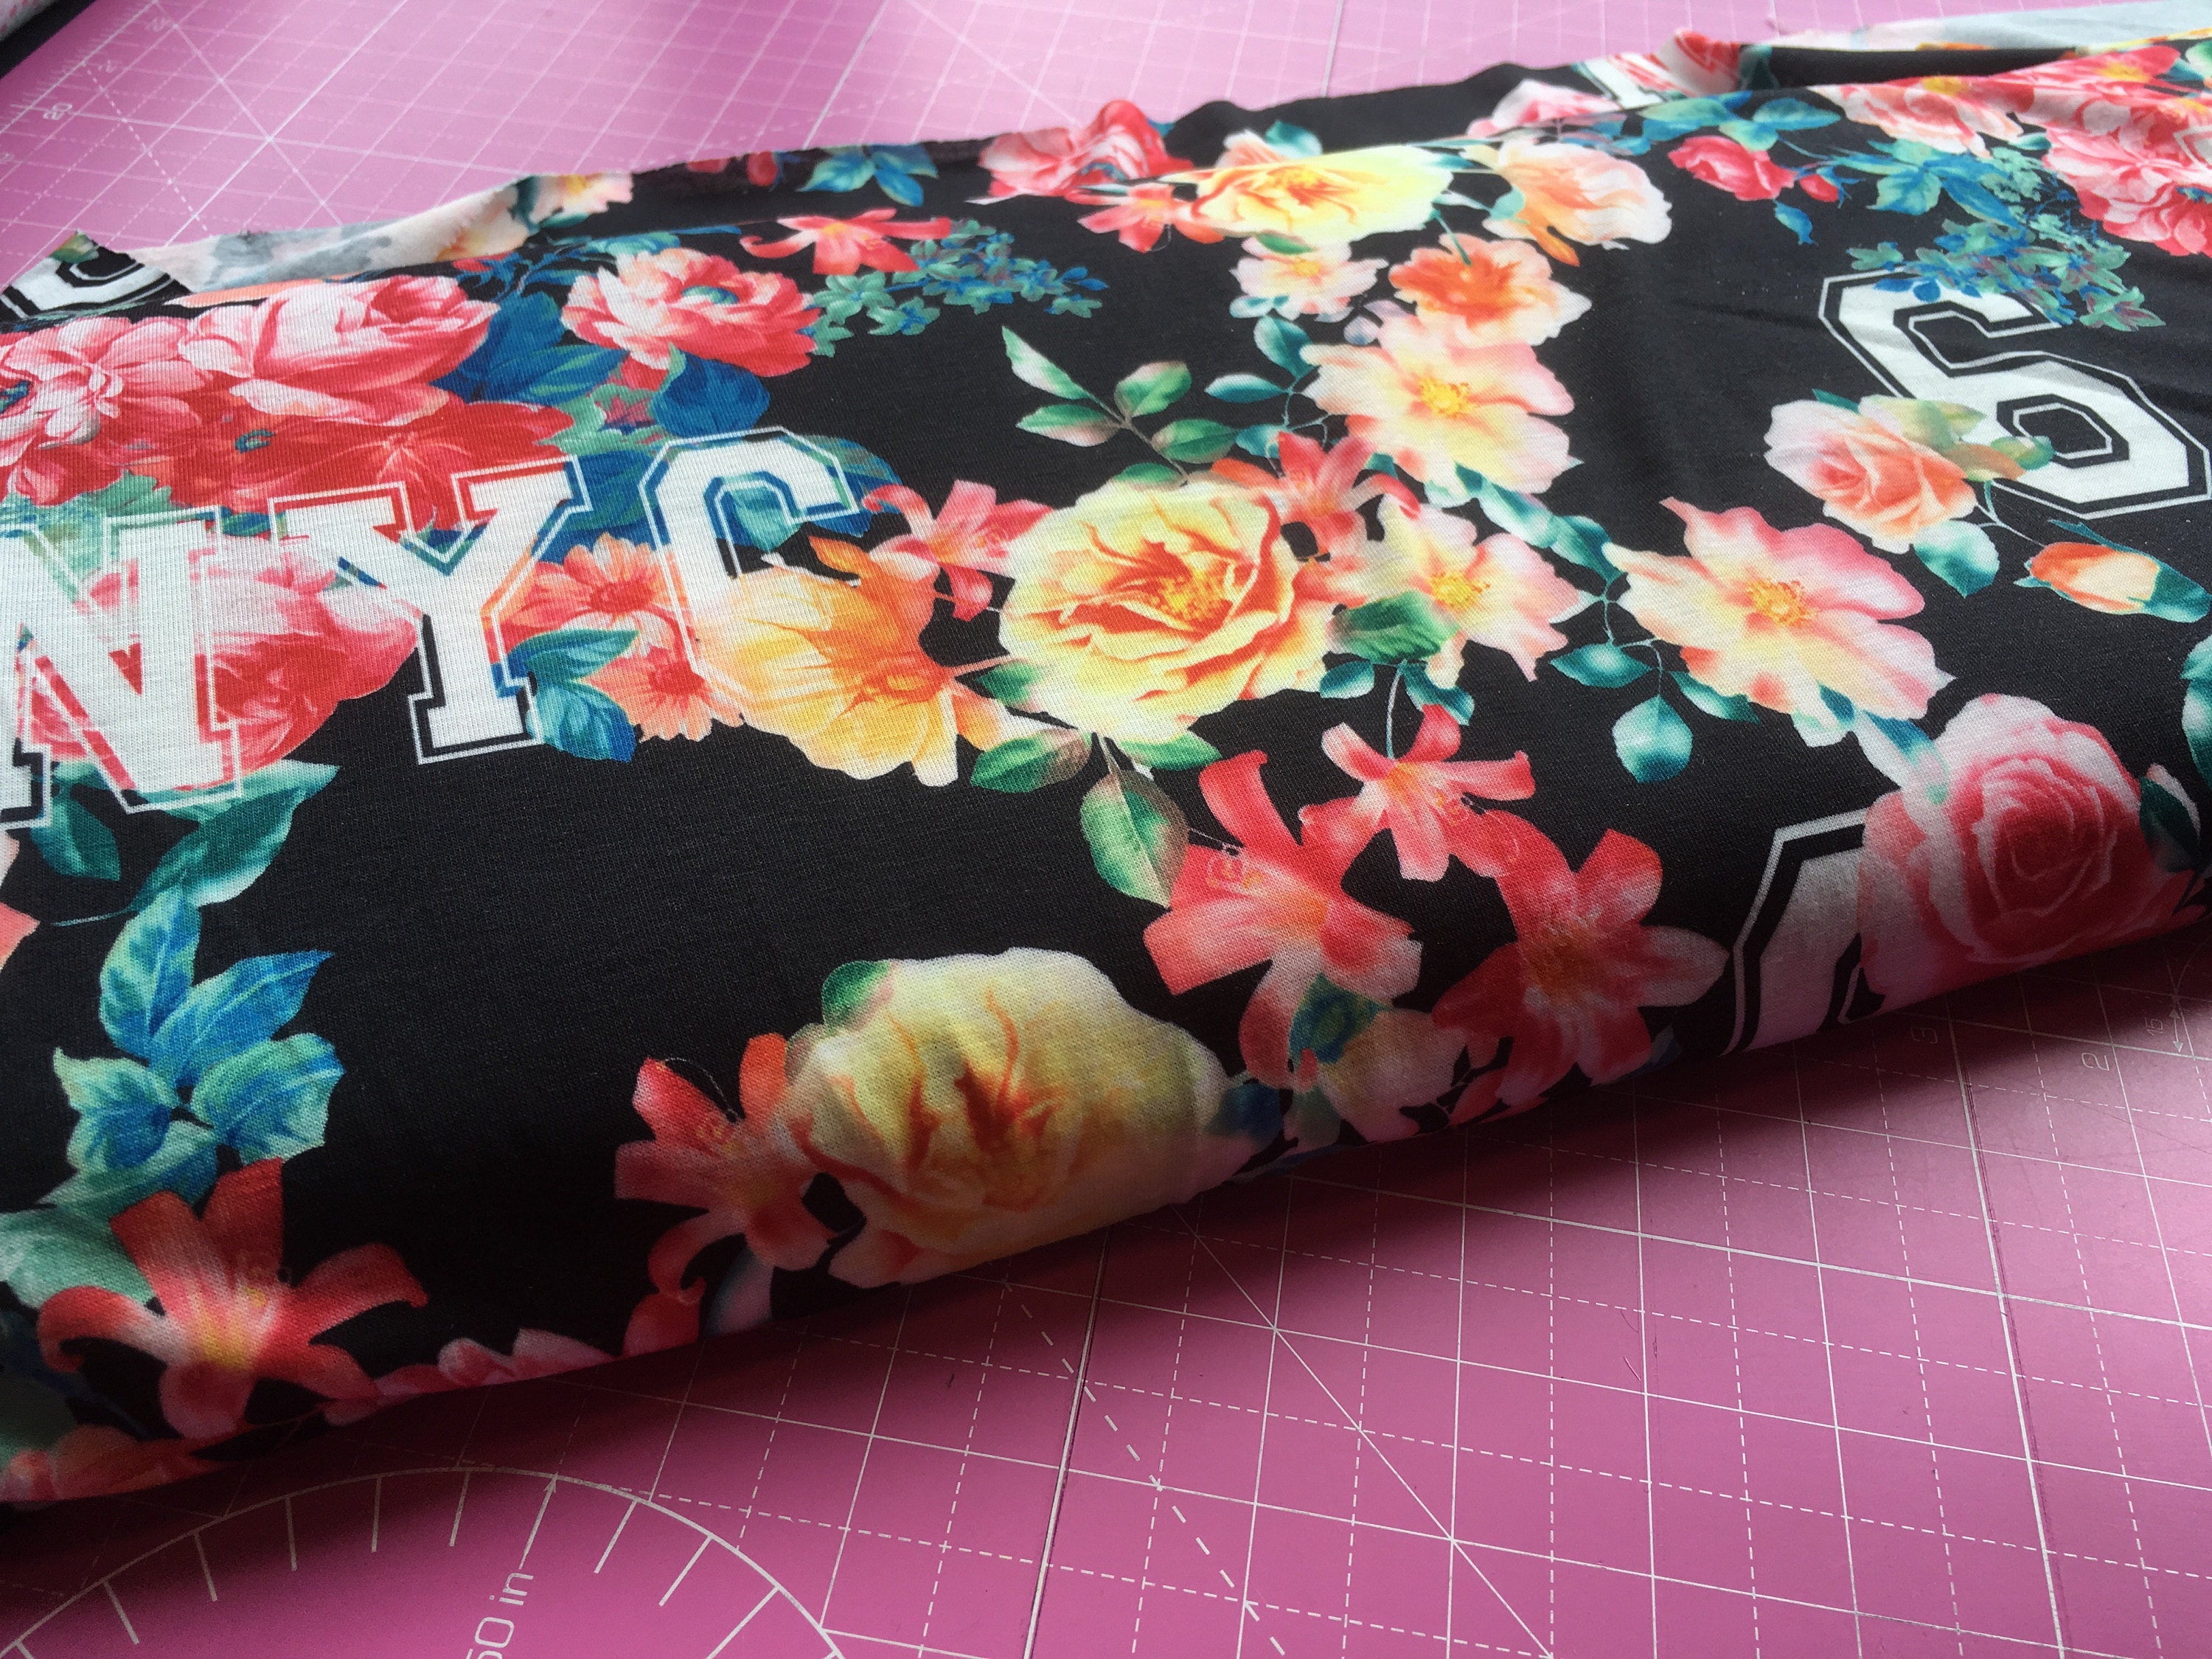
I am using this lovely digital print jersey with a floral and text design.
https://www.studiojepson.com/listing/462130731/digital-print-jersey-stretch-knit-jersey
The stretch matches my original sample so I am all set to start cutting.
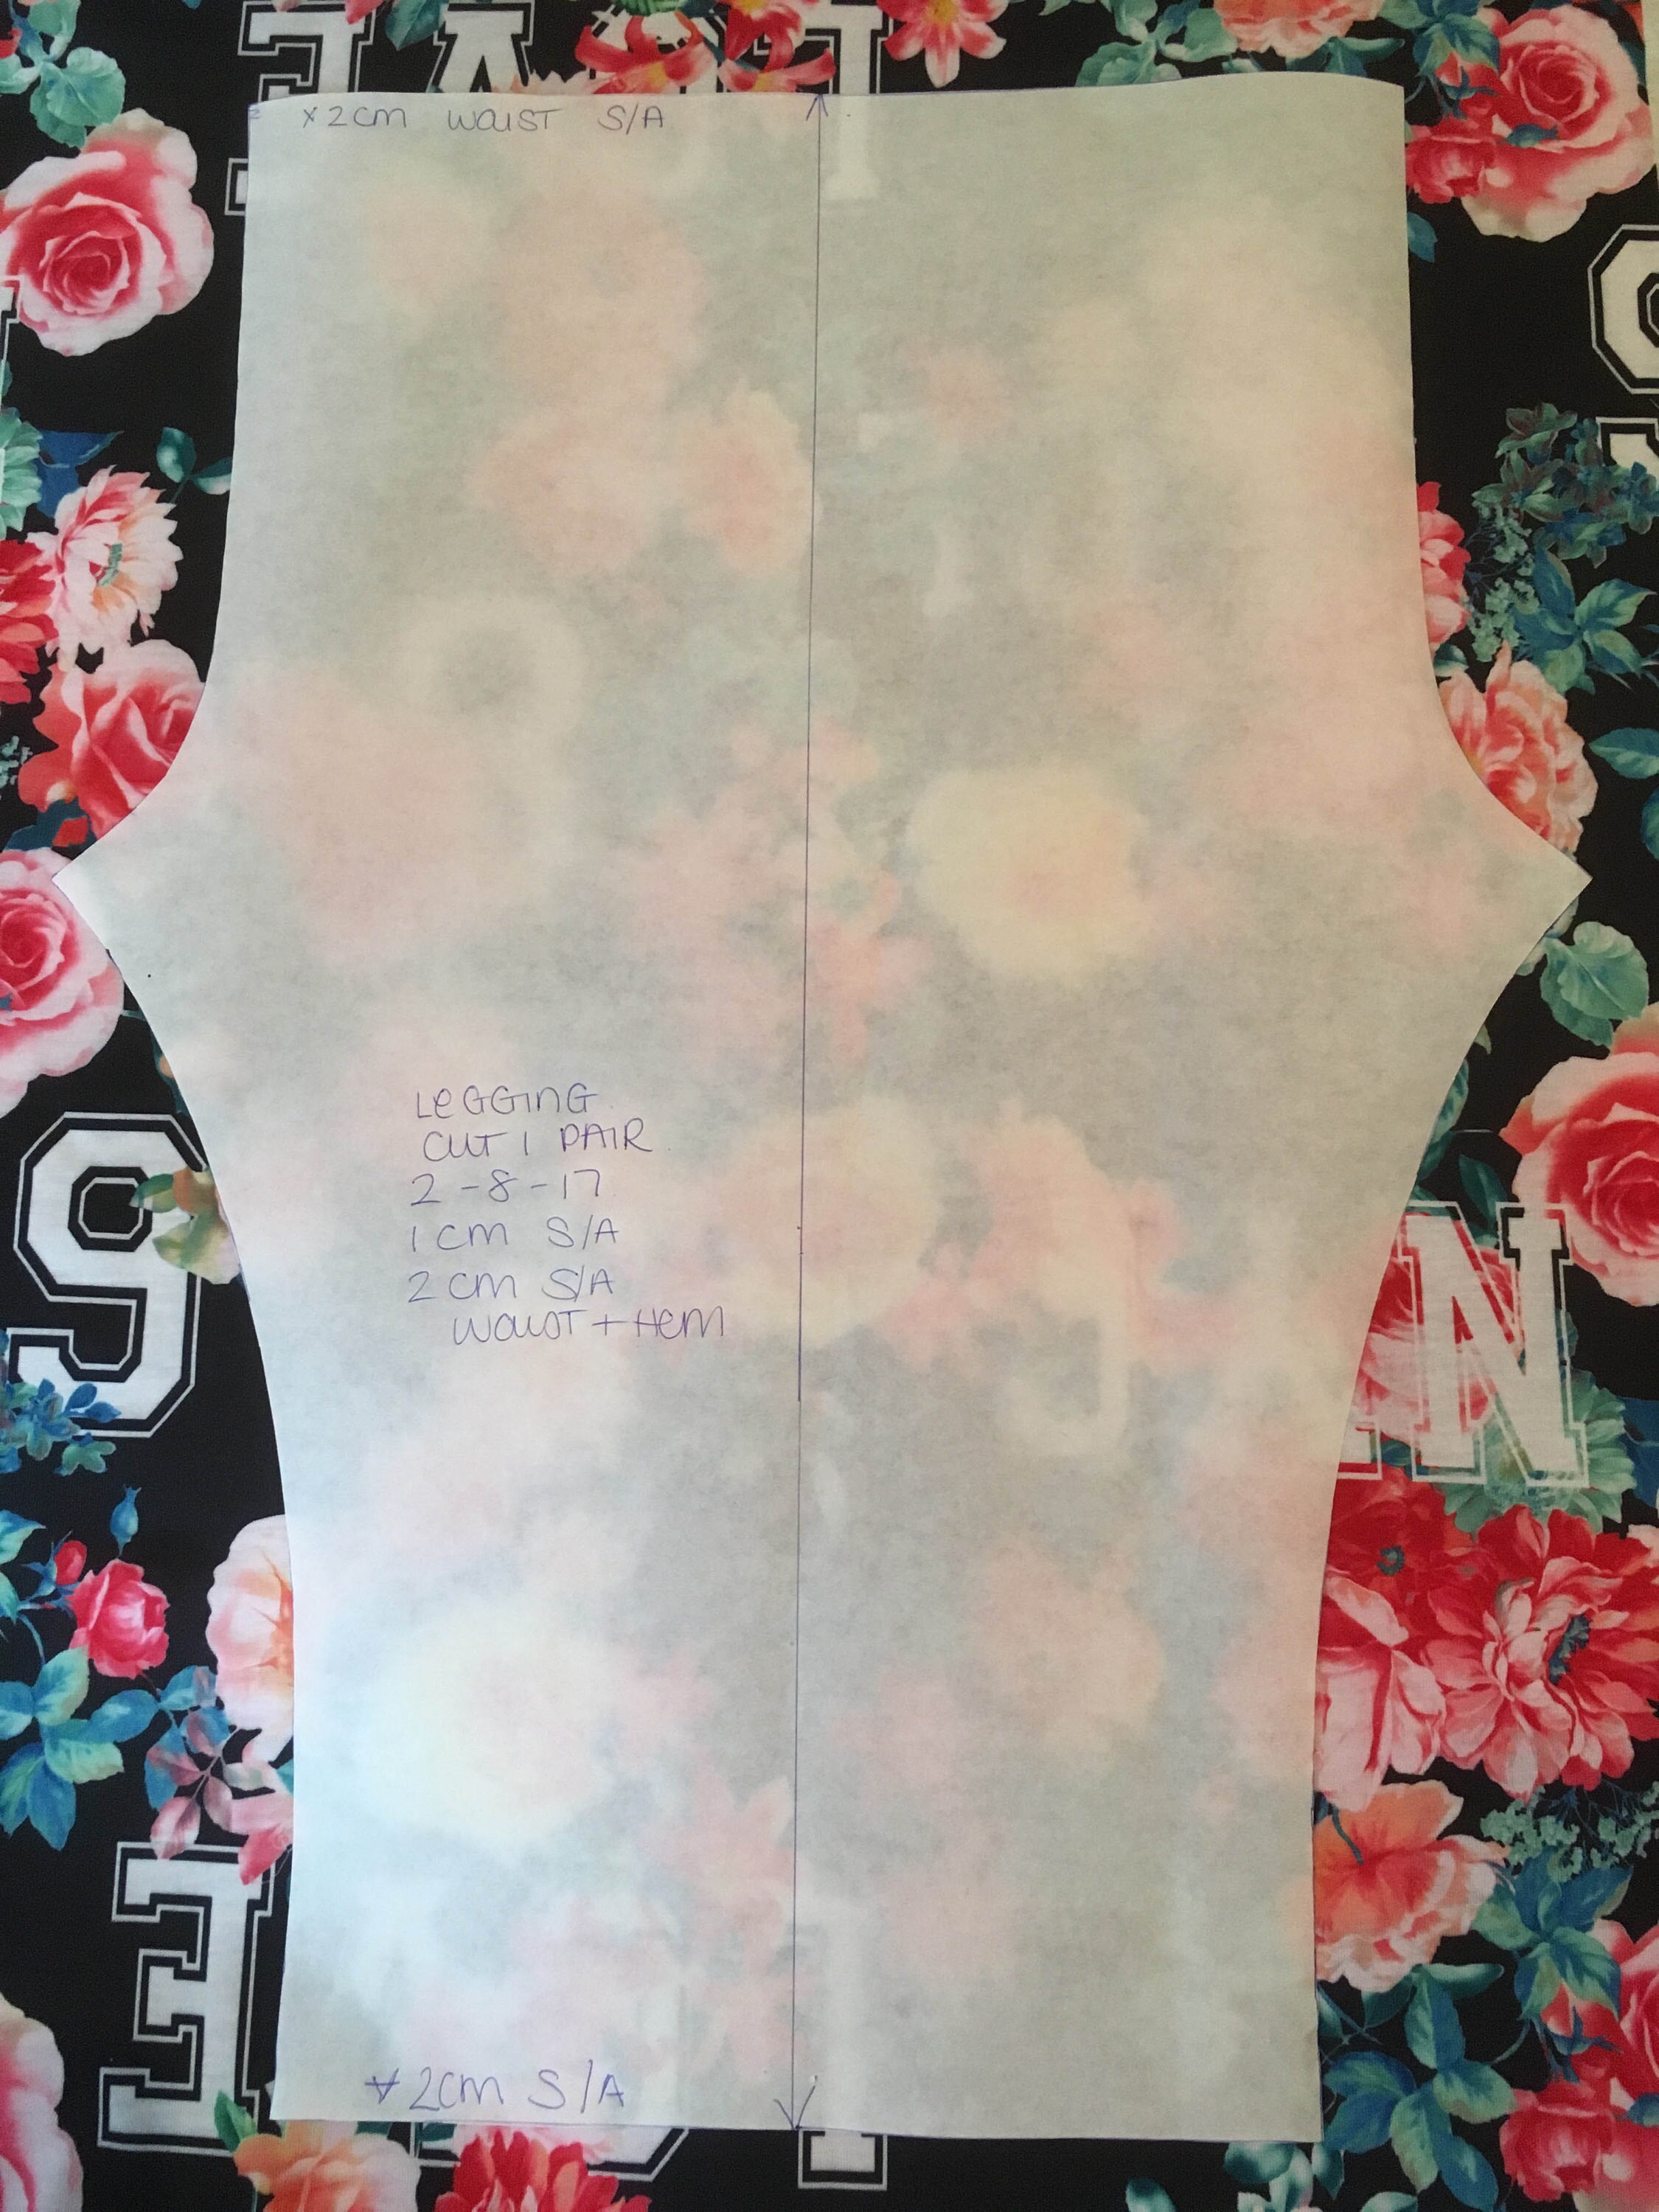
Step two: Cut out
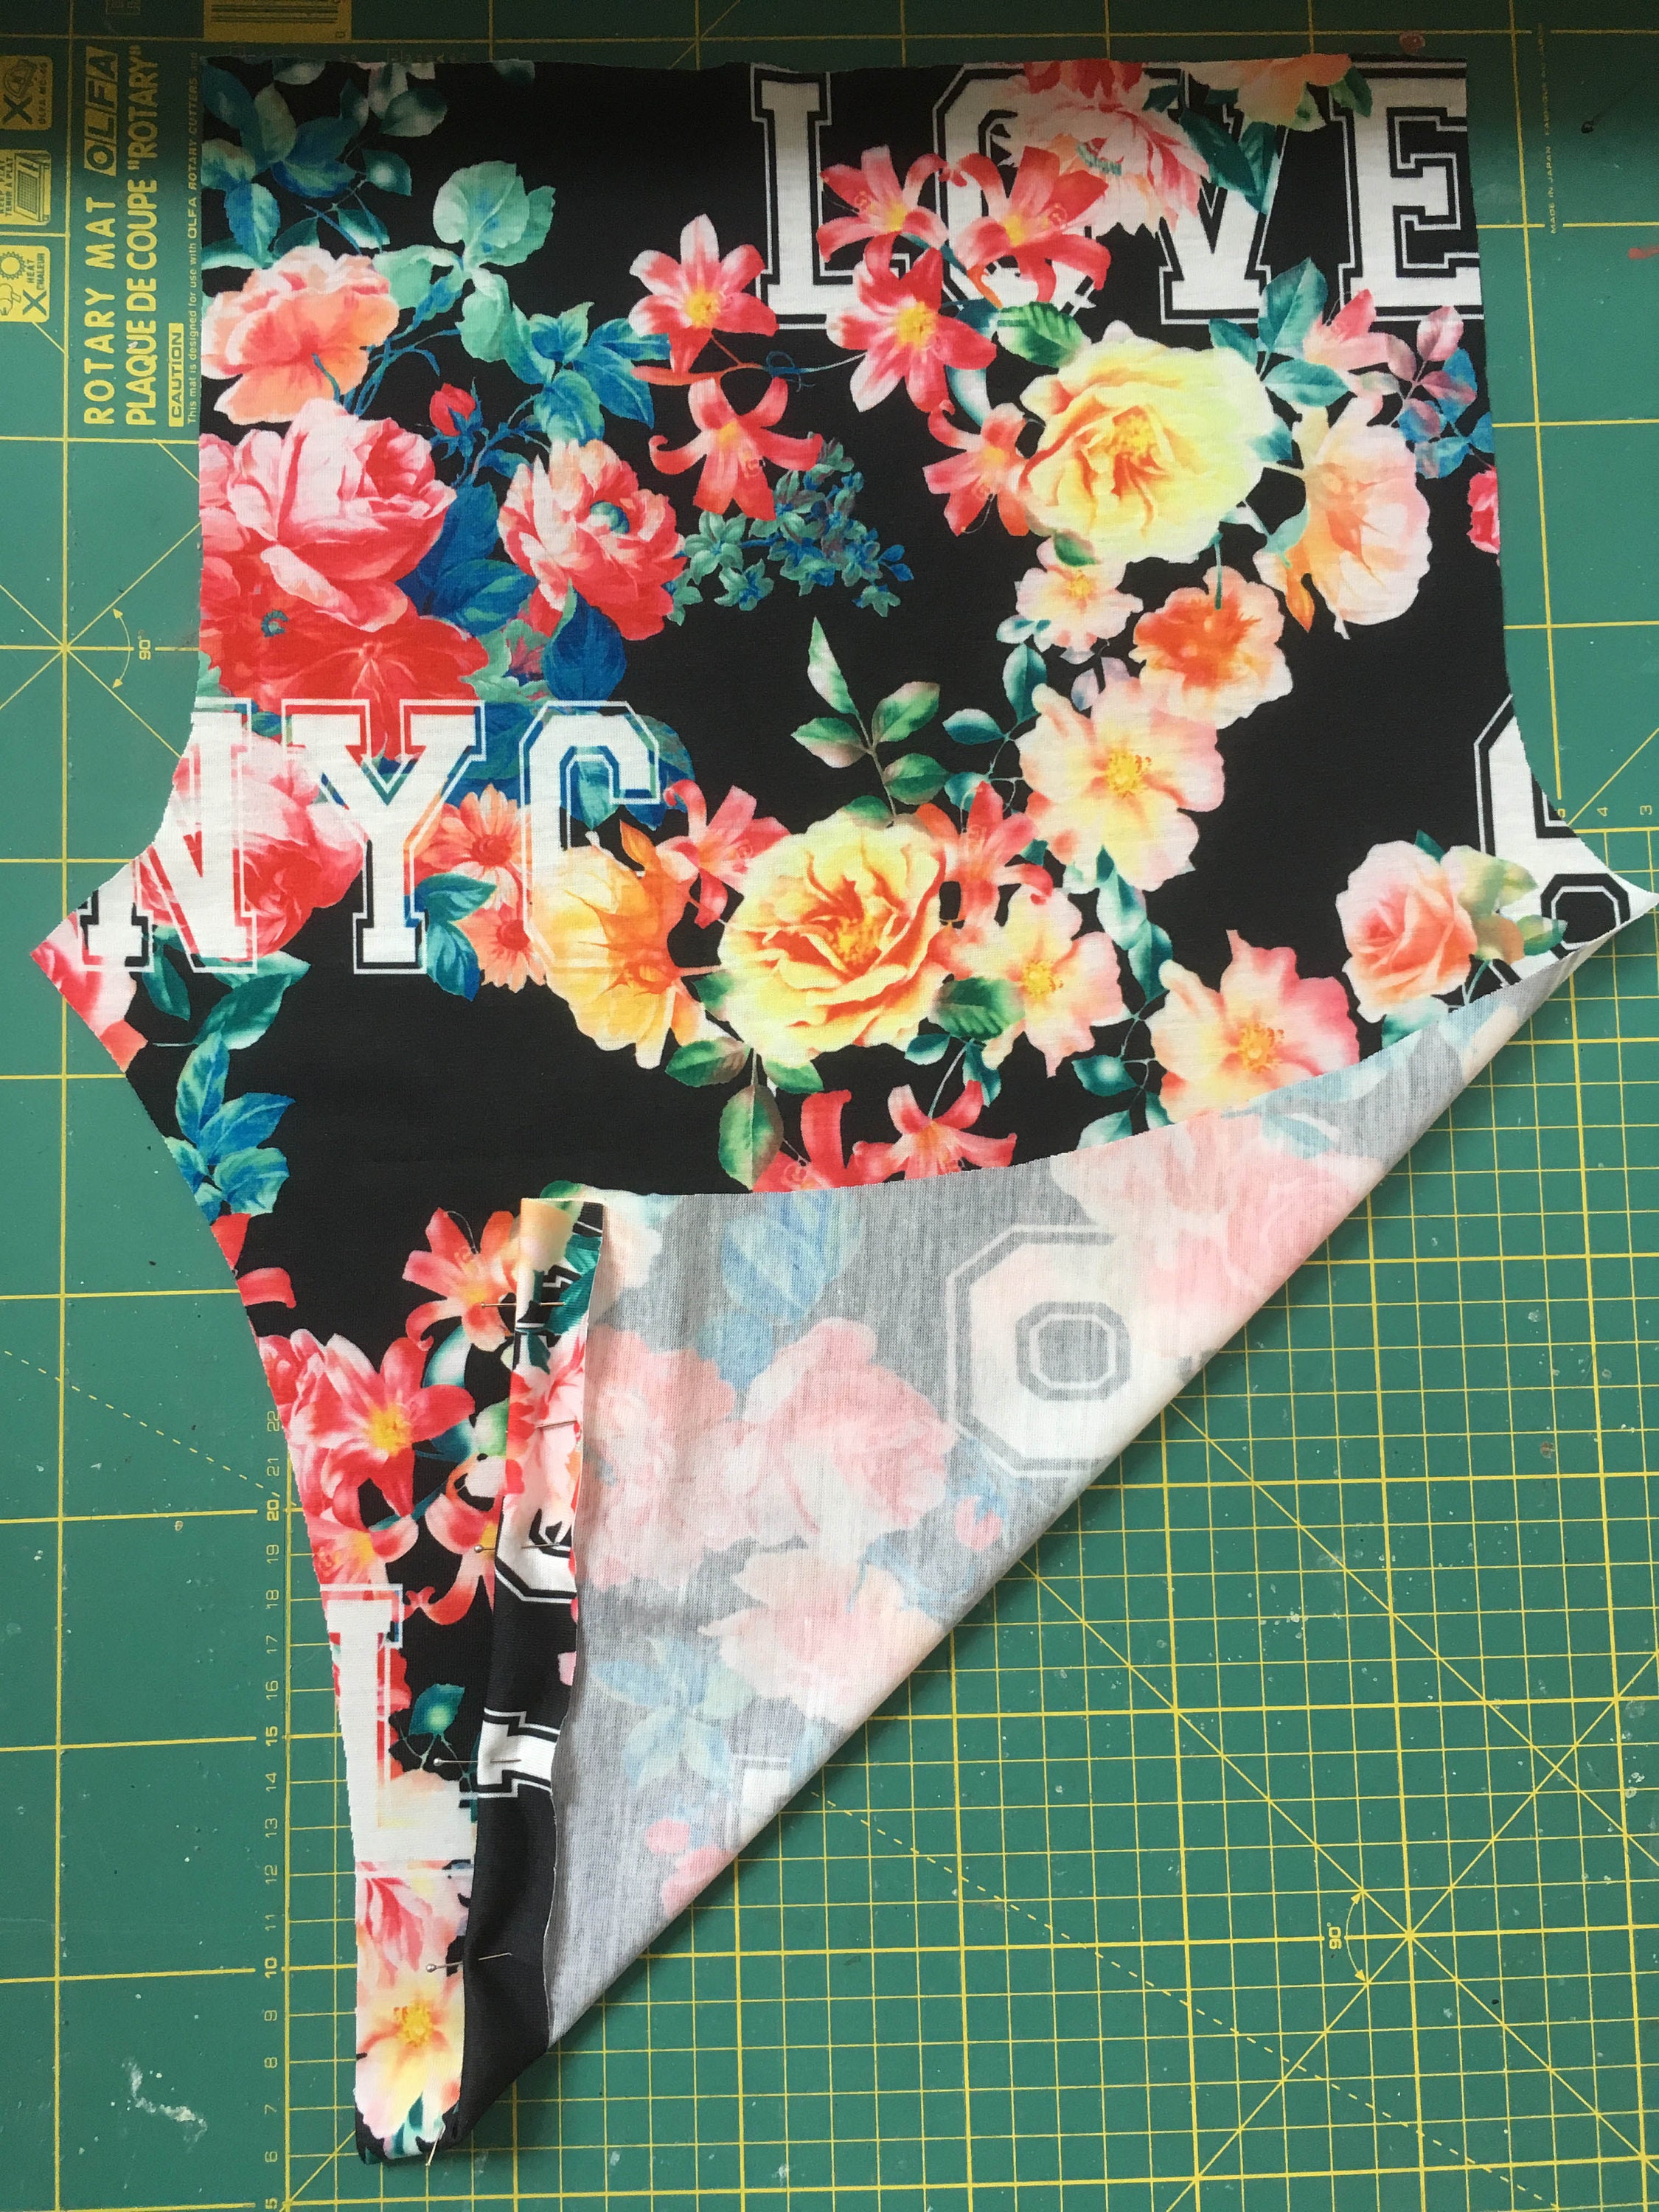
Matching the line of the grainline up with the selvedge cut out 1 pair of leg pieces. It is advisable for jersey to use a set of weights to hold your pattern in place and a rotary cutter - this is to ensure there is no stretching or distorting in cutting.
Alternatively use pins to hold your pattern in place and scissors, but you will need to be careful not to distort your fabric when cutting. The best way to do this is to never cut out whilst sitting down and ensure that you are not lifting the fabric up from the table.
Whilst we are on the subject of distorting fabric its worth discussing pressing. When I am sewing with wovens I iron after every operation to ensure a neat and professional finish. When sewing with knits however I dont use the iron at all. This is because the heat of the iron, along with any force you are applying will distort the fabric.
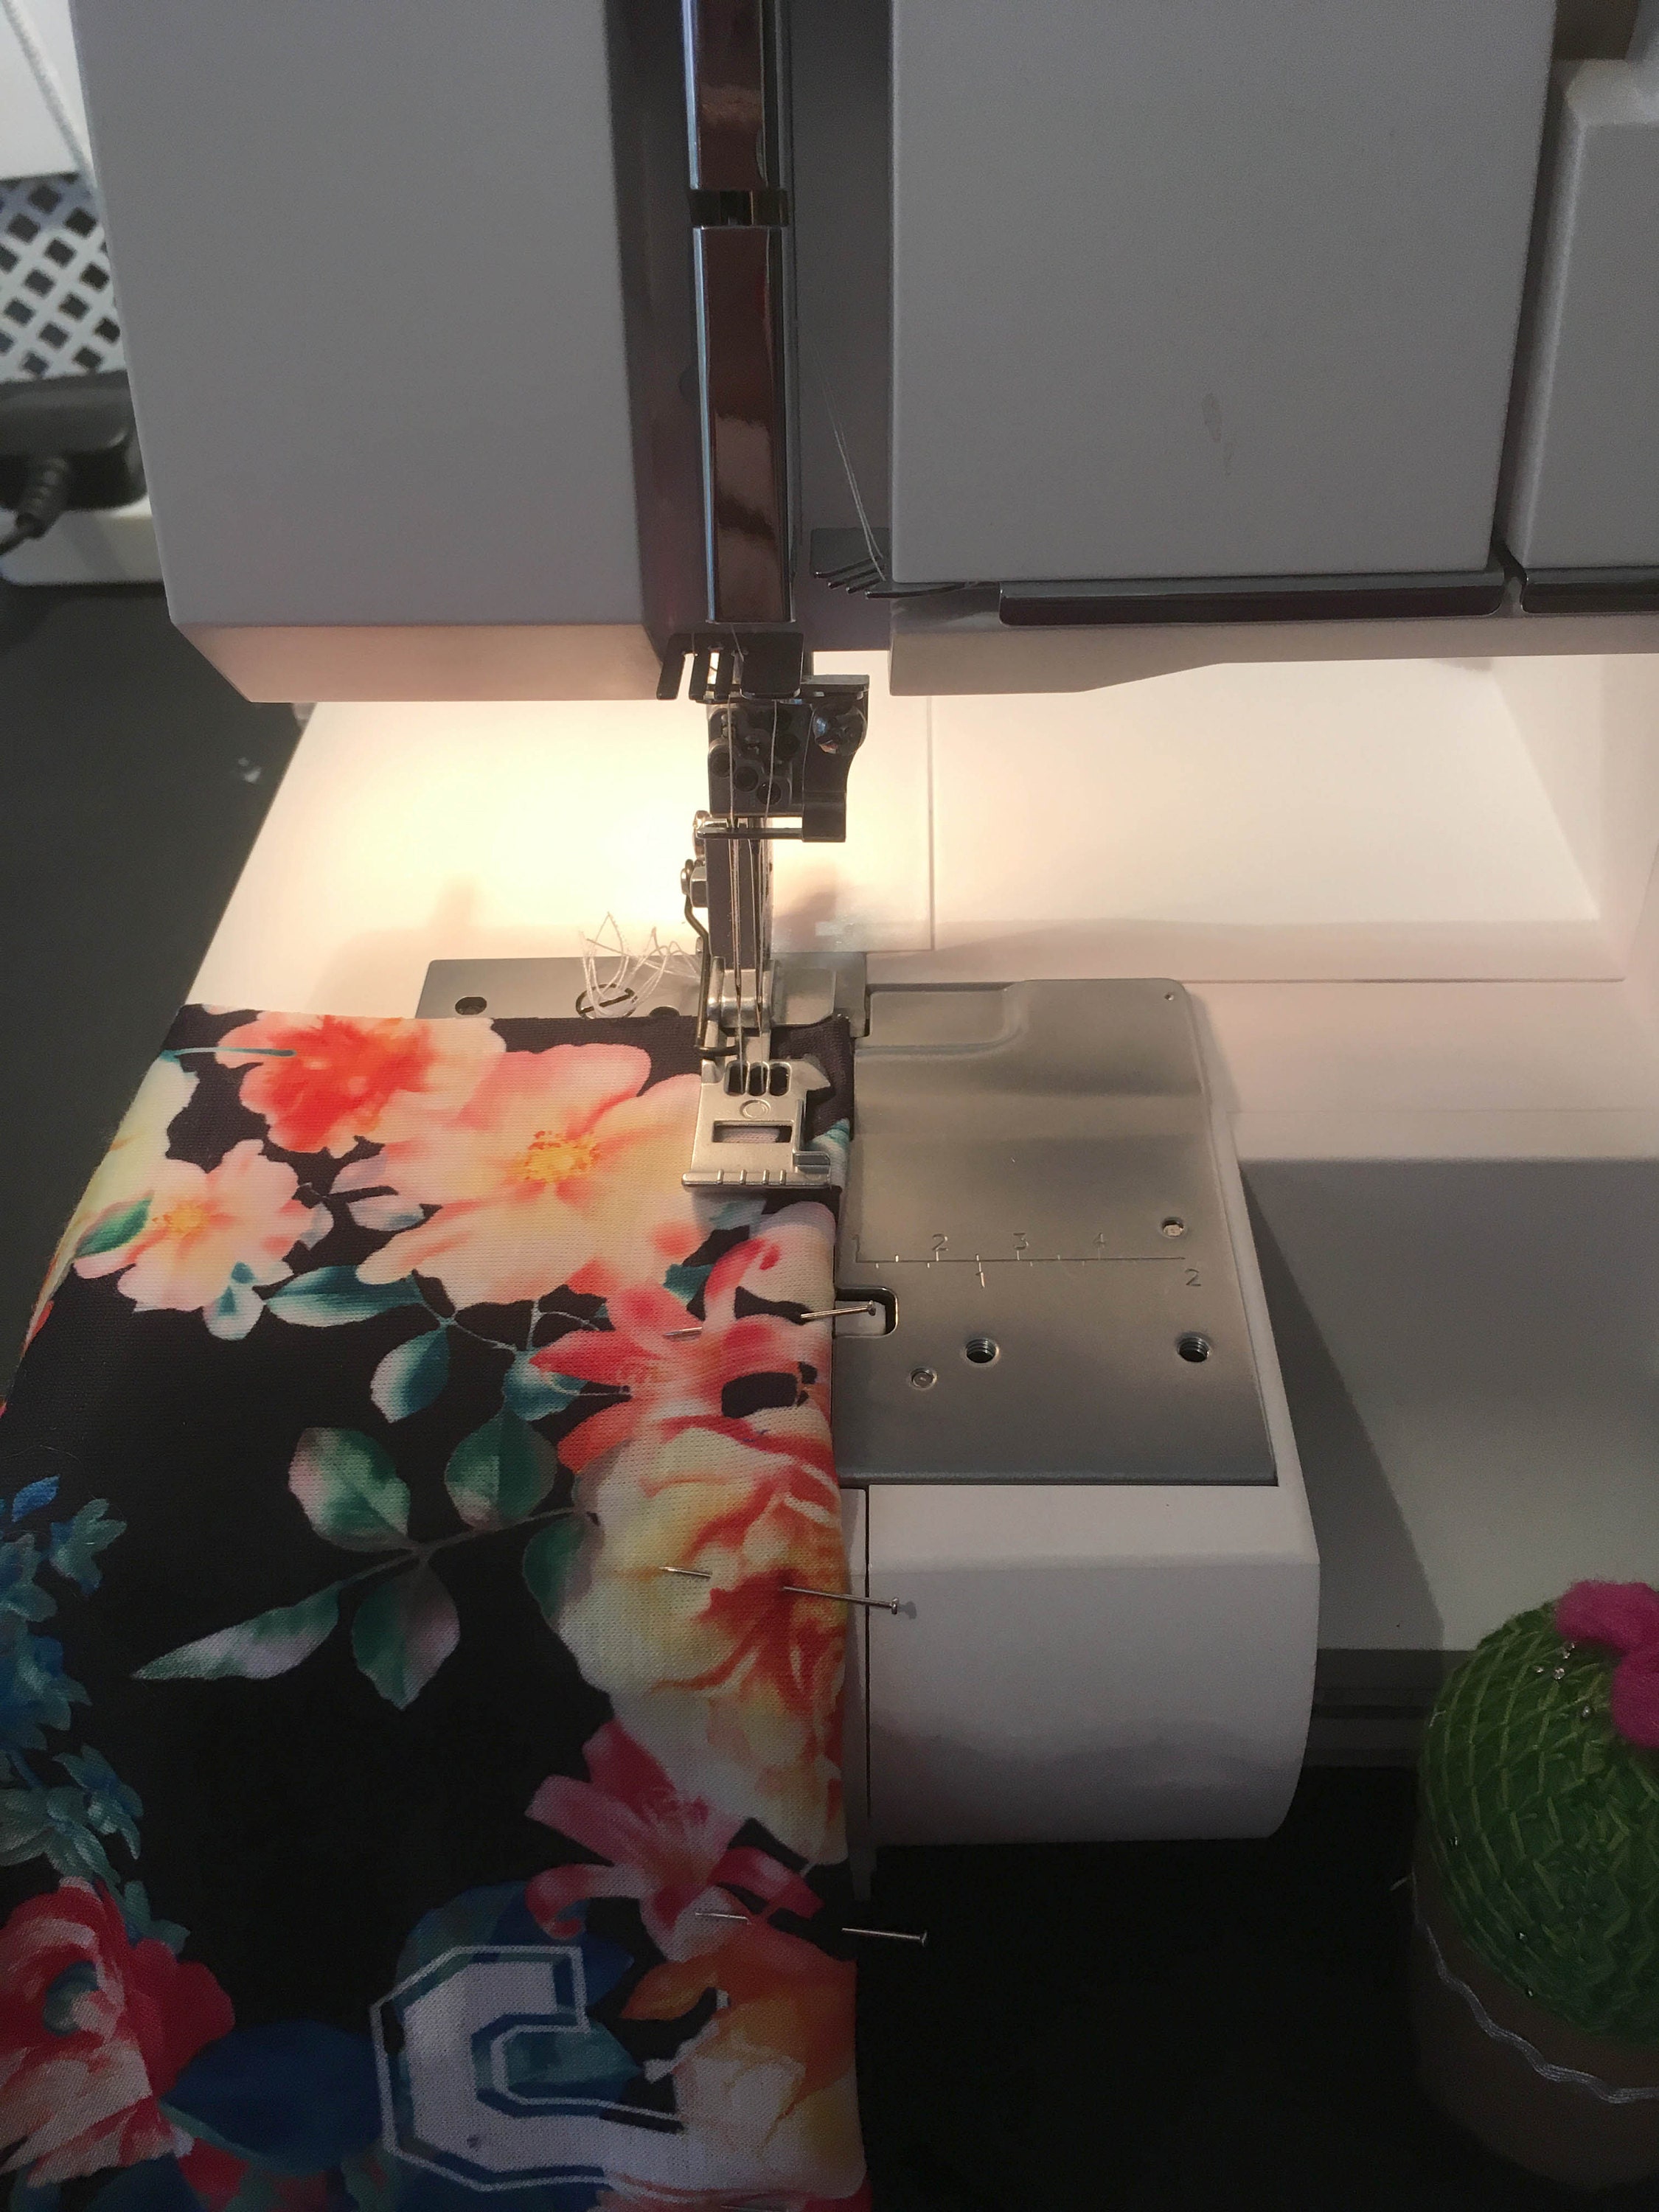
Step three: Finish leg hems
I have used a 2cm seam allowance on my legging hem. Fold the leggings up by 2cm and pin as below. I have shown the piece like this so that you can see the hem clearly.
Hemming the leggings like this - known as 'hemming on the flat' is much easier than trying to stitch the turning up when the legs are stitched together - known as 'hemming on the round'.
I will be stitching my hems with a twin needle coverseam with a narrow gauge. A twin needle on a sewing machine will also give the required level of give. You could also use a small zig zag to finish this hem.
The reason you cannot use a regular straight stitch is because it is completely rigid and will therefore restrict the movement needed to get your foot through the hem and will consequently crack.
Below is a photo of the hem being stitched using my coverseamer.
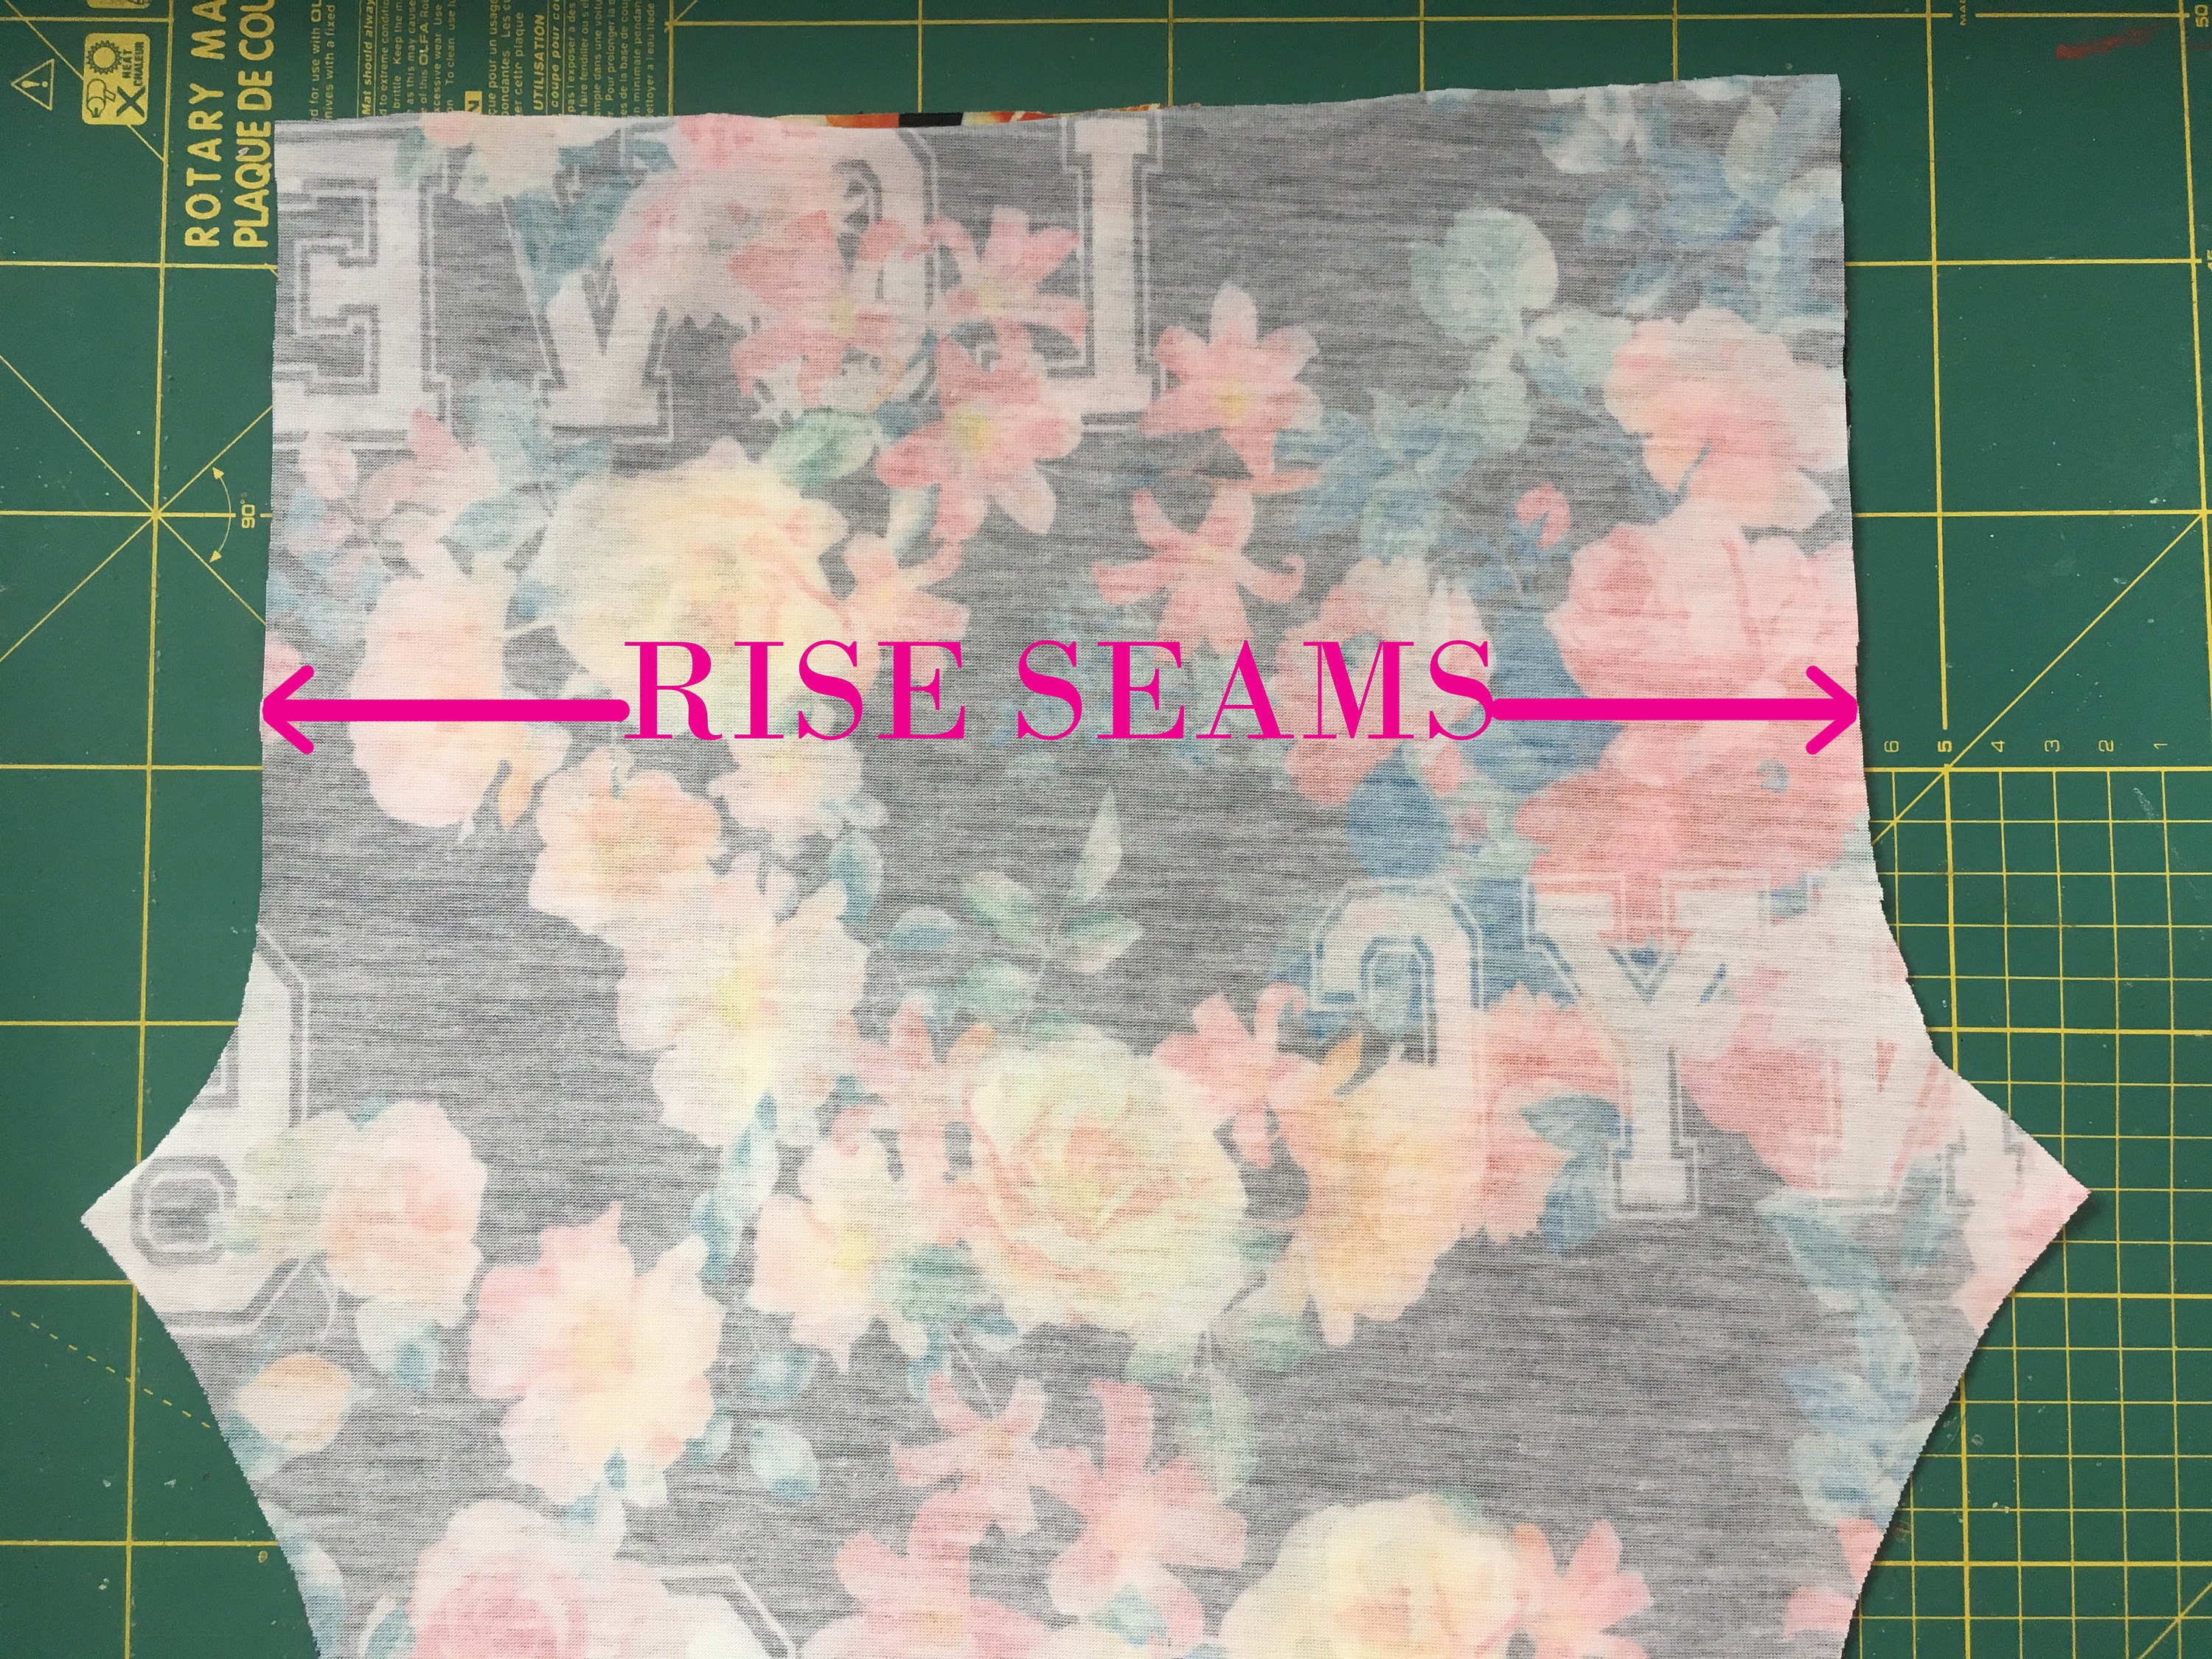
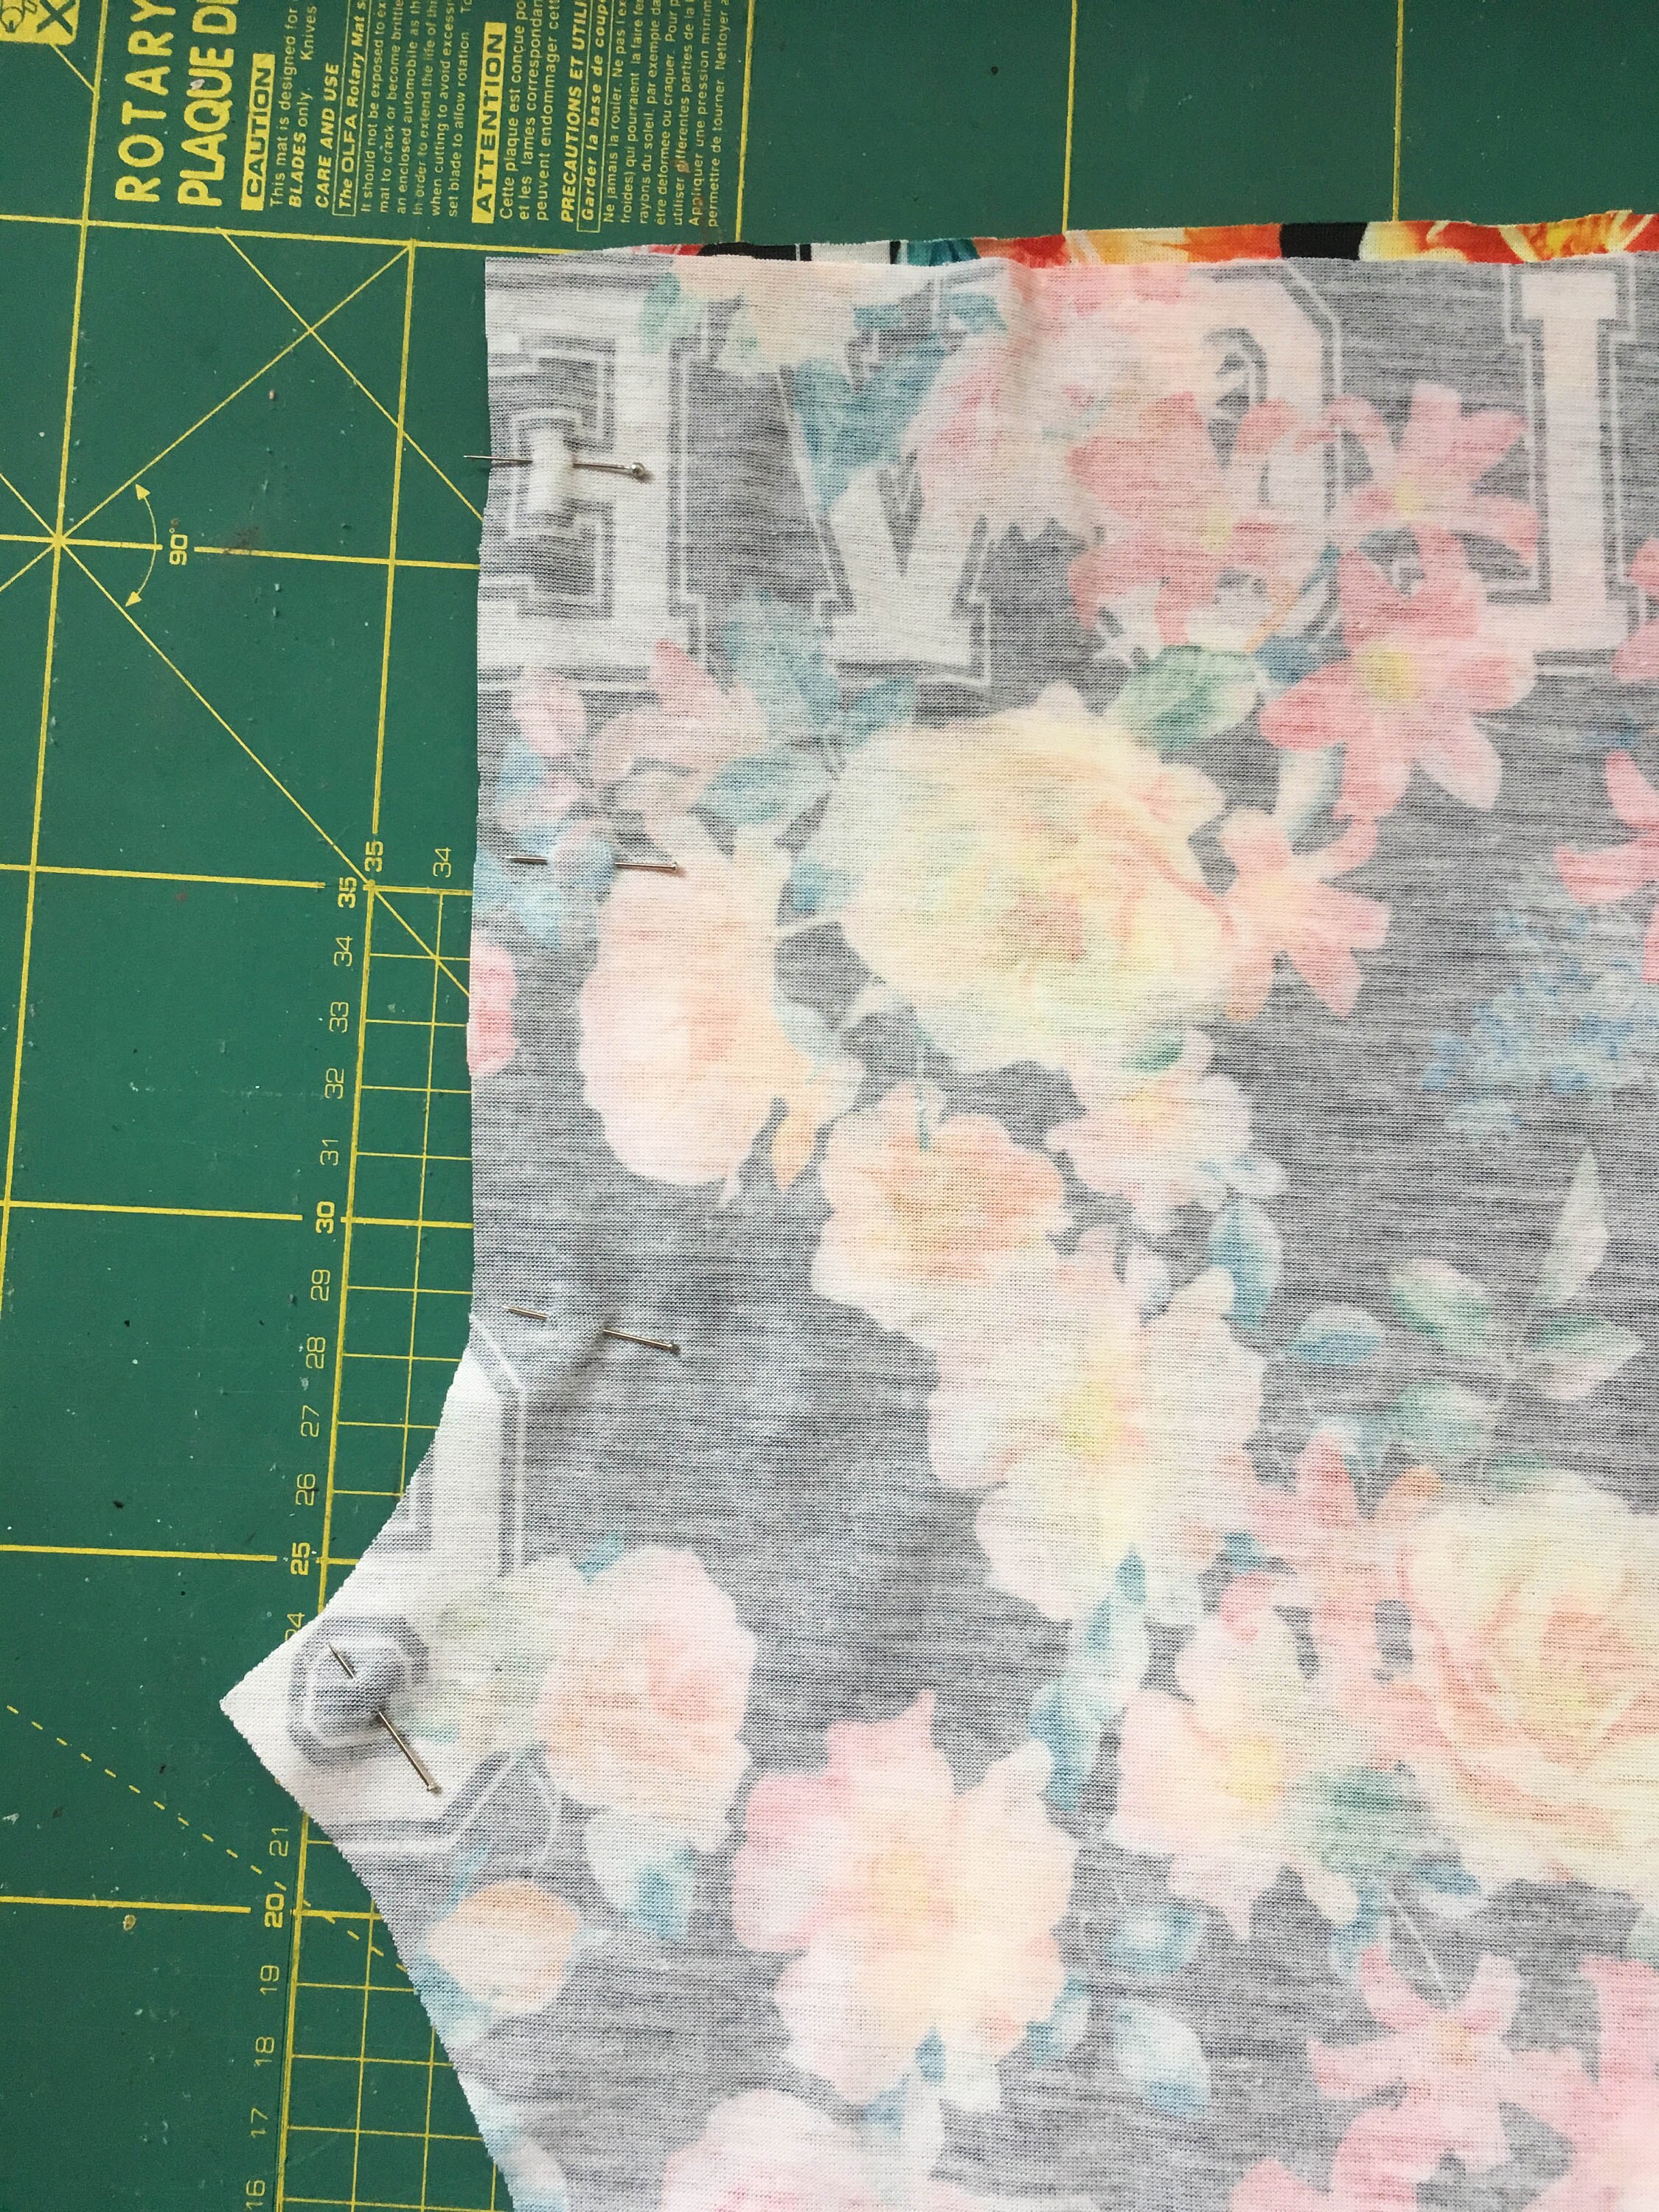
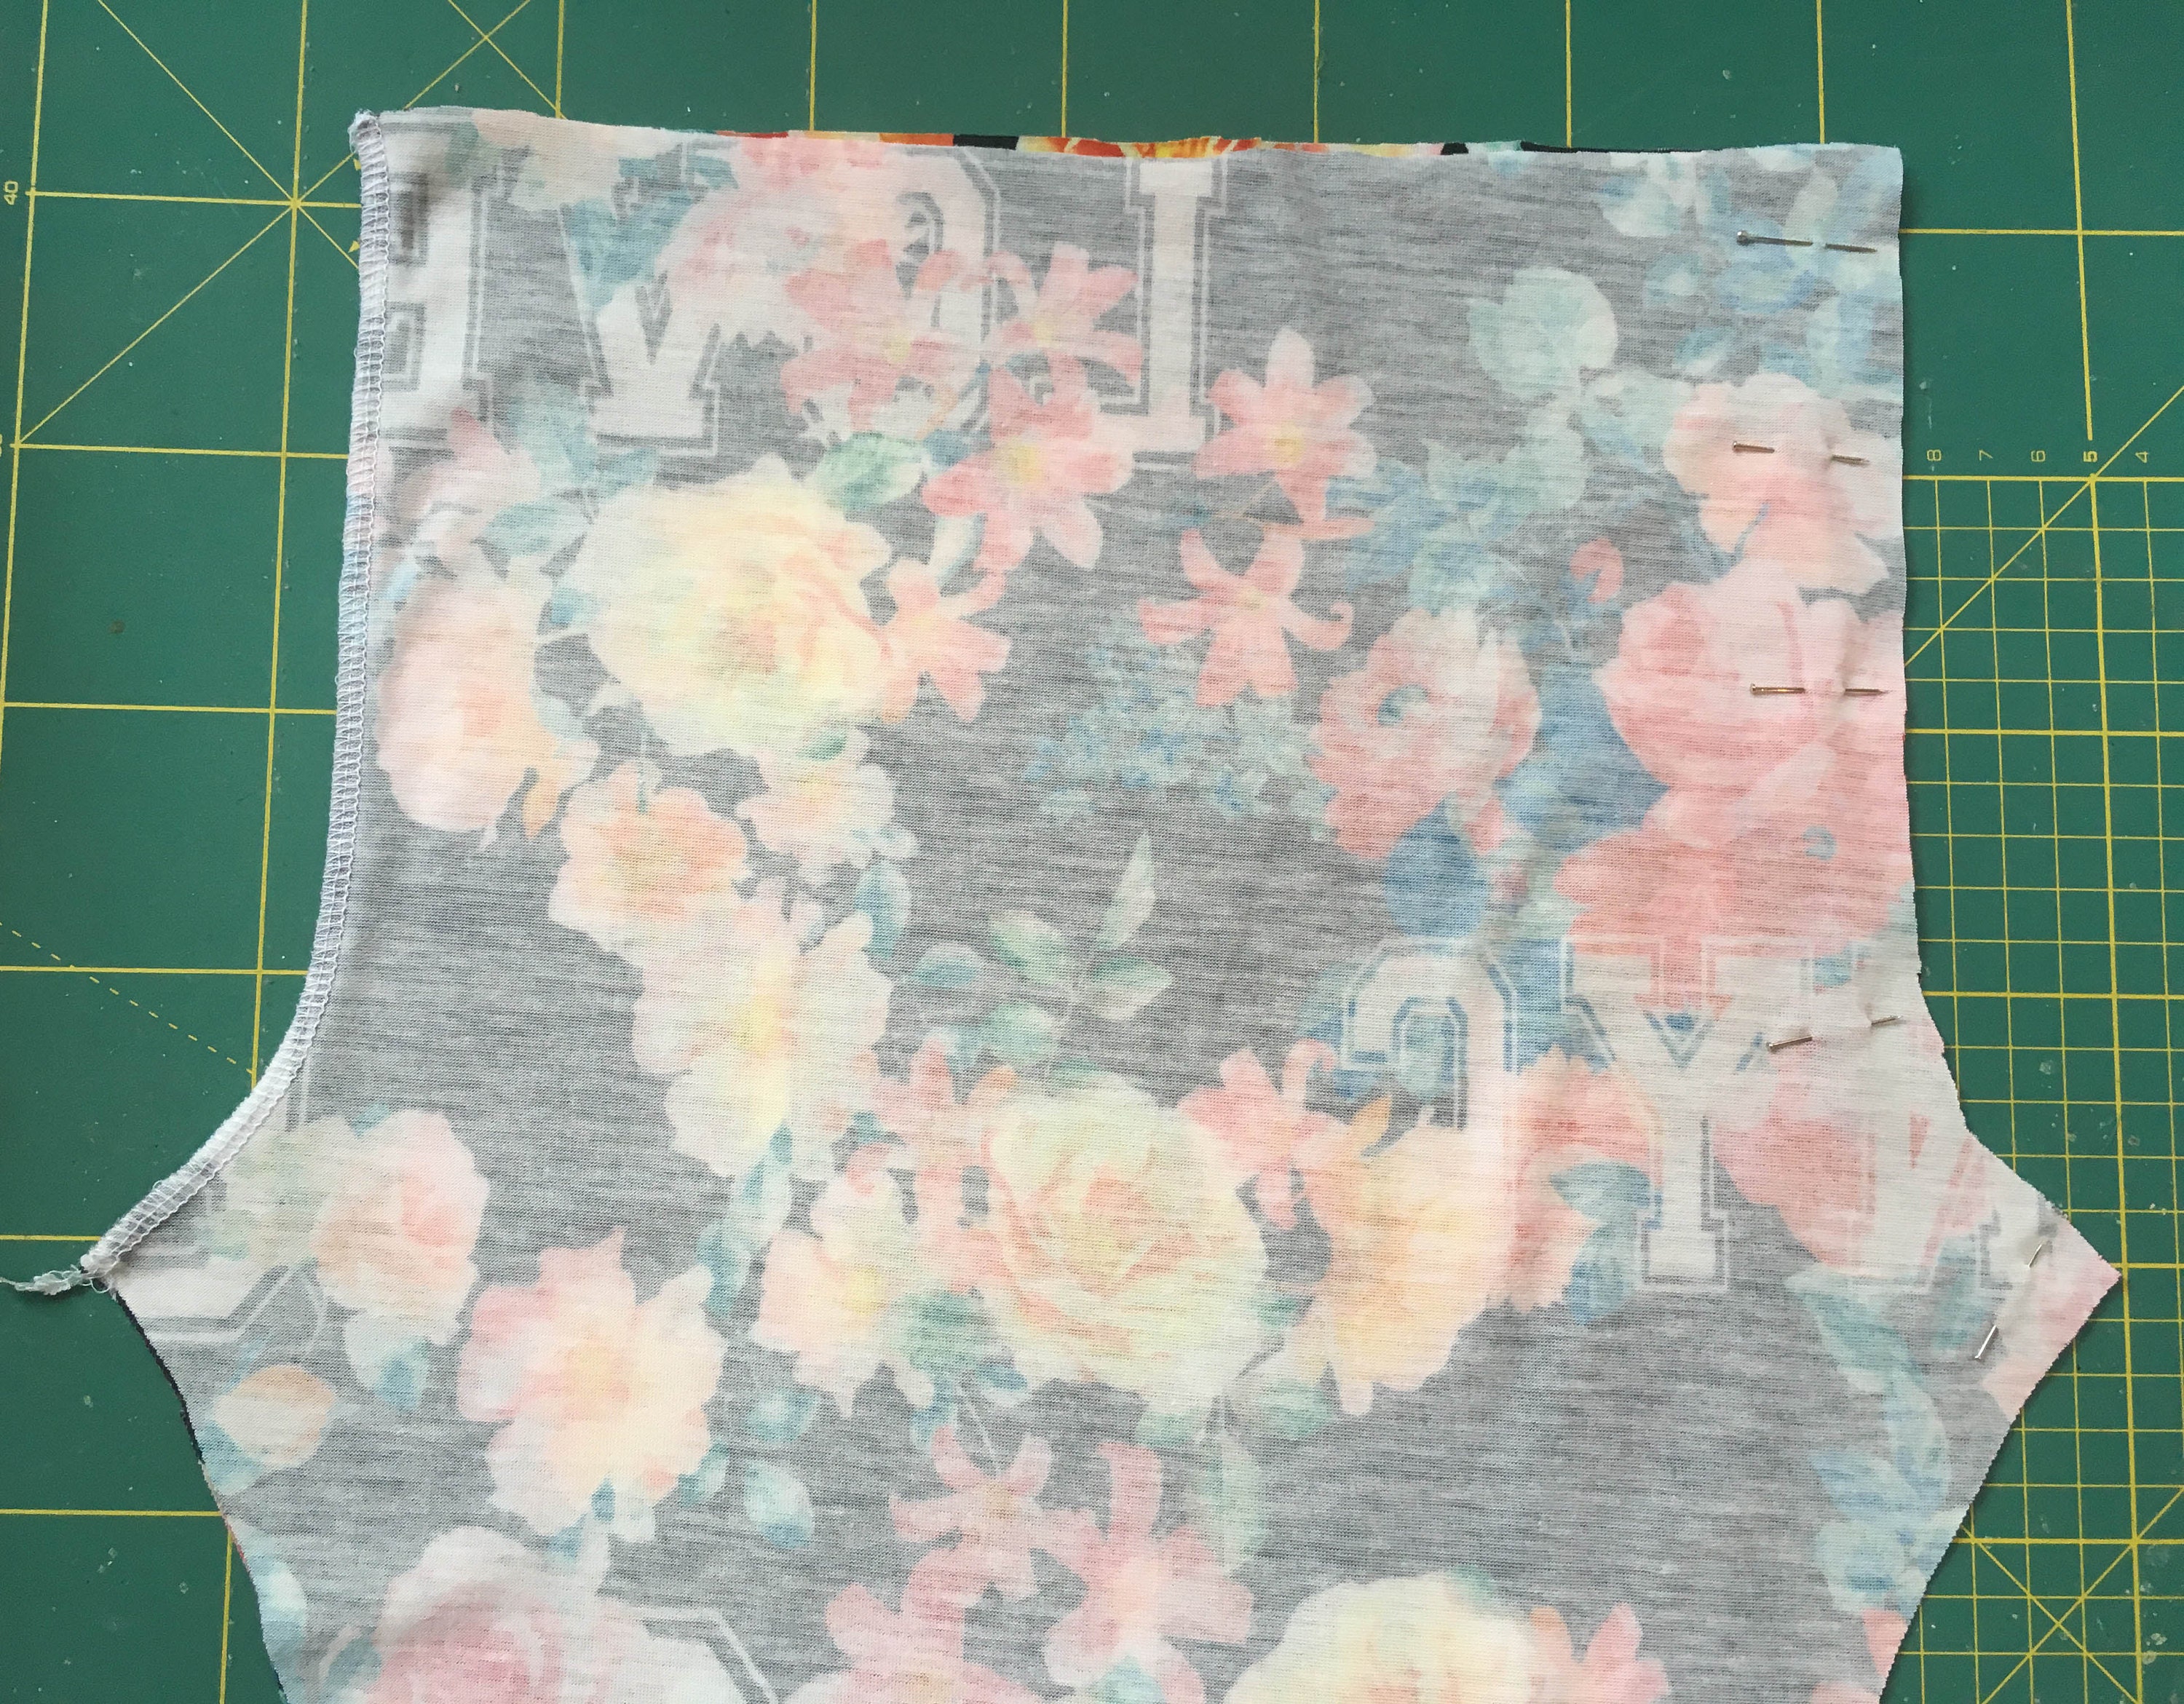
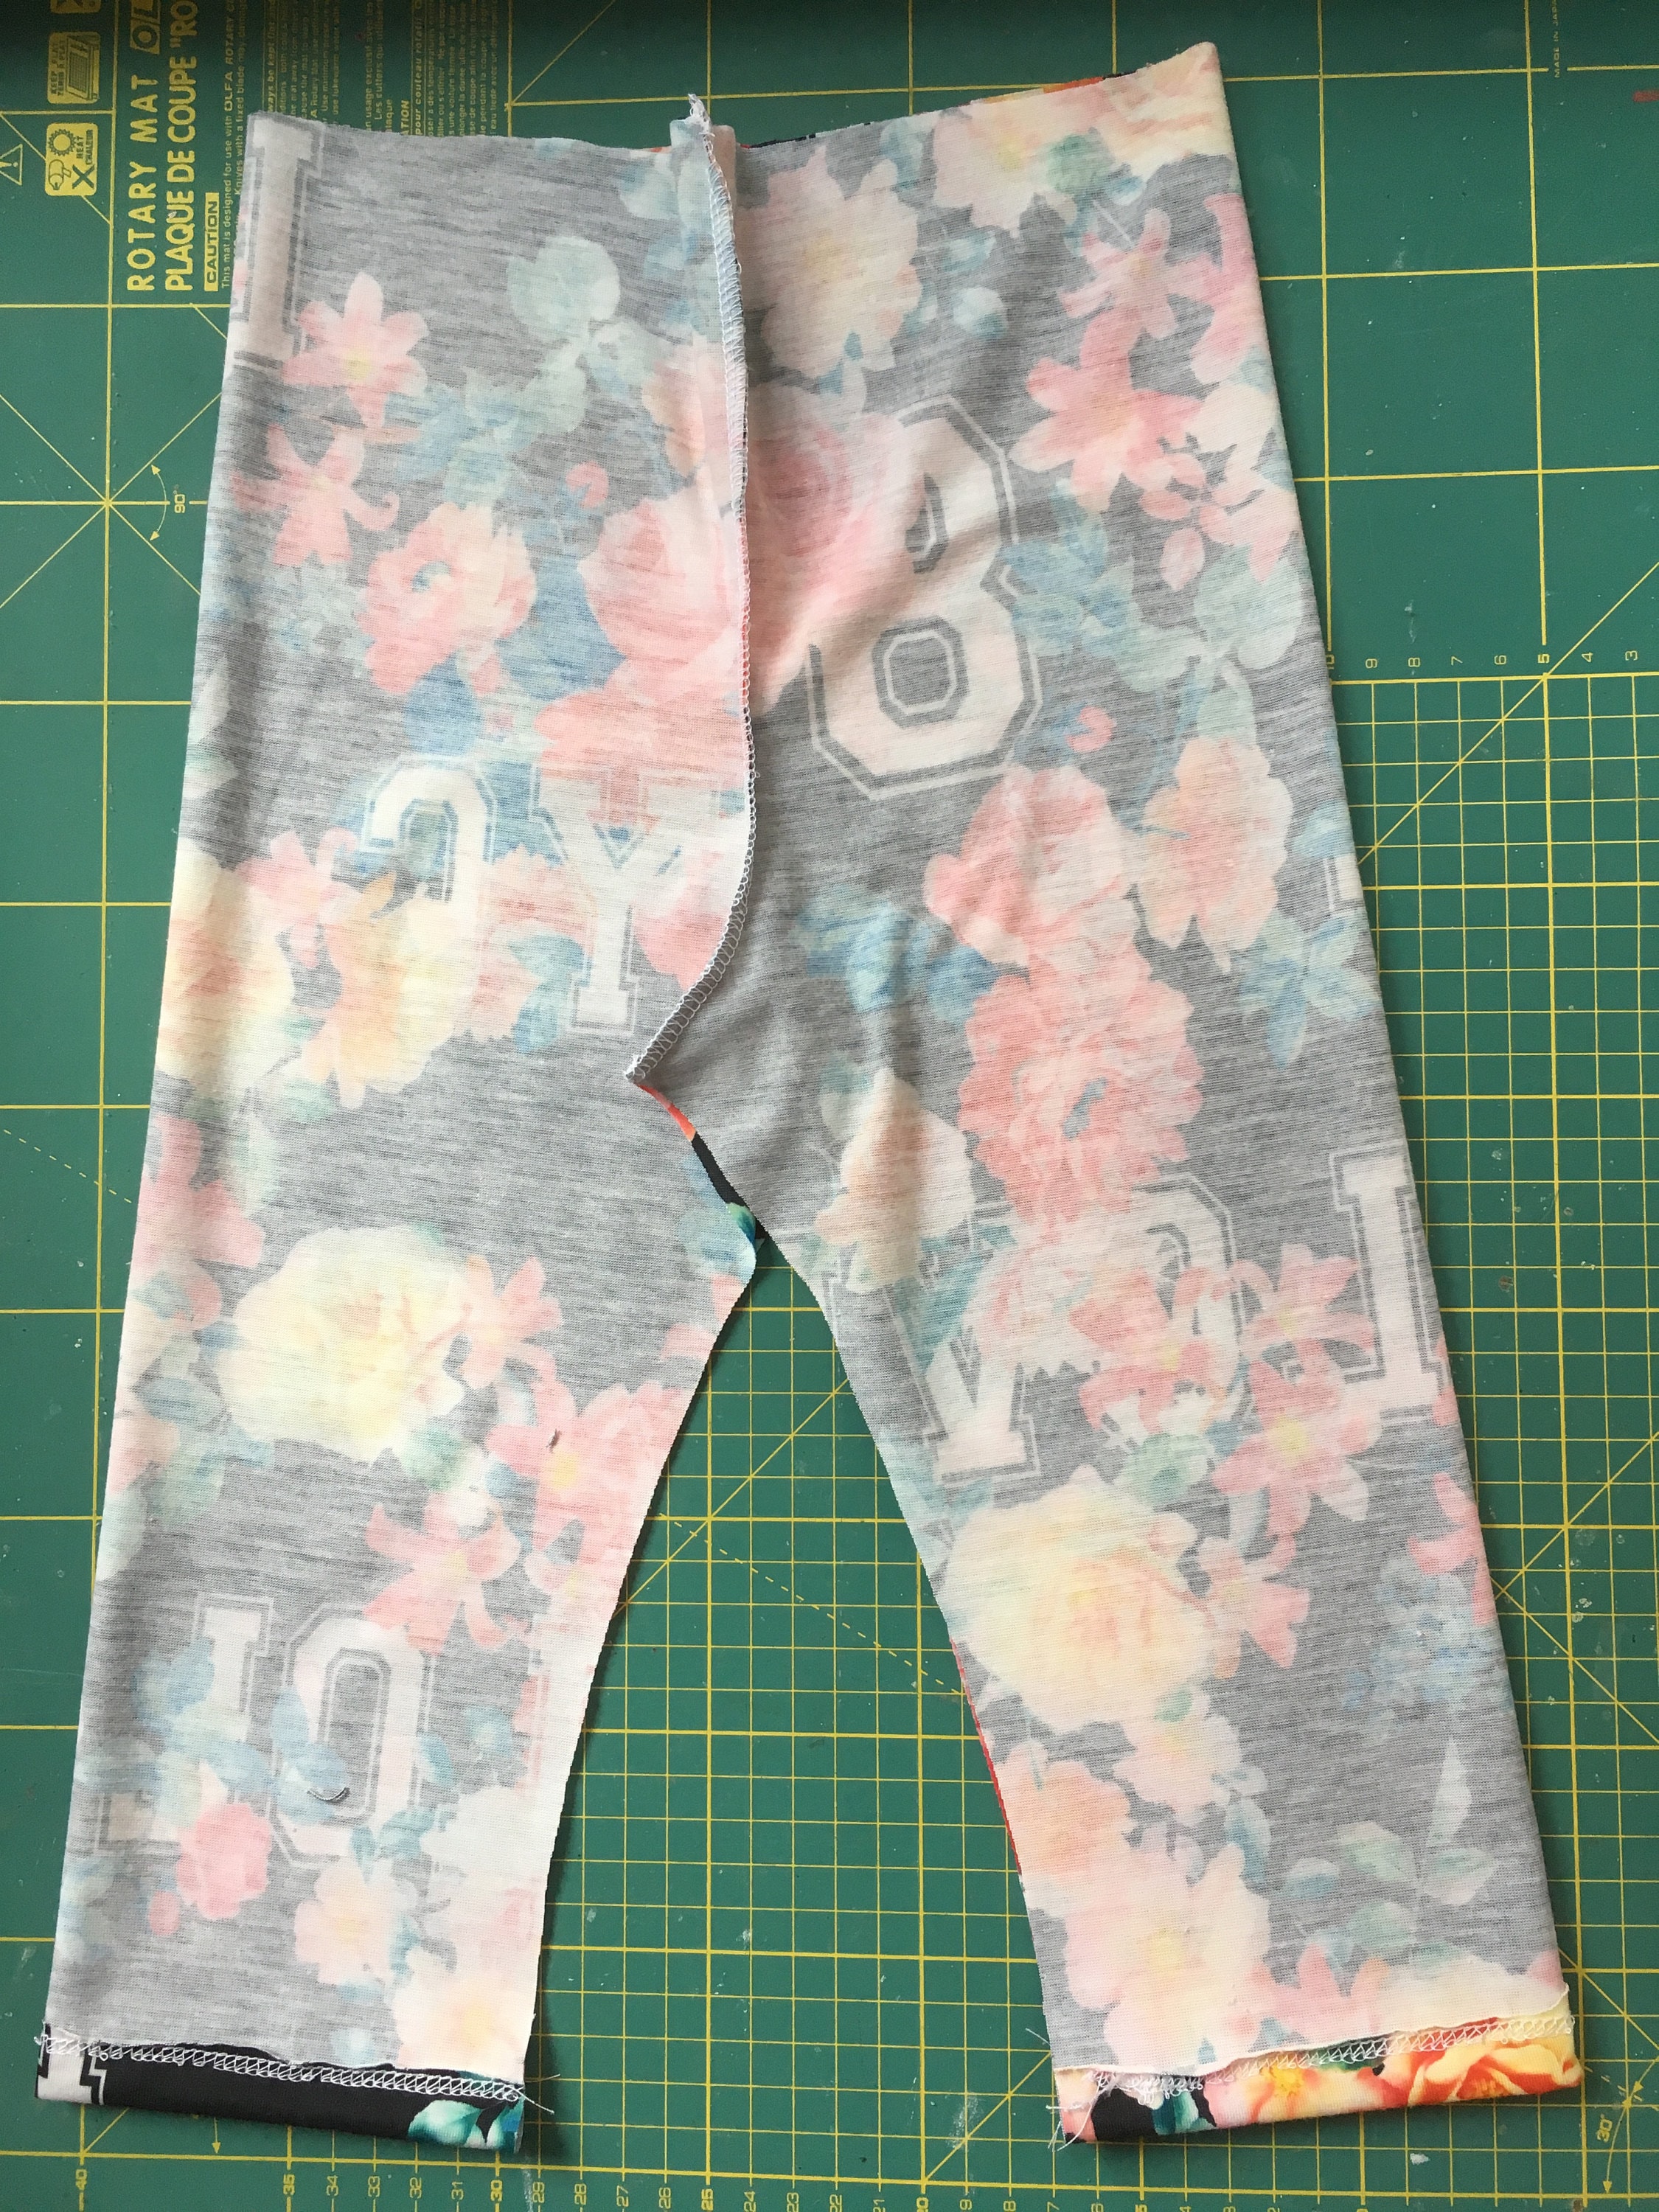
Step four: Join the rise seams
Next lay one leg panel on top of the other - right sides together. Pin the panels at the rise seams and join.
I will be overlocking these seams with a 1cm seam allowance. If you do not have an overlocker then I suggest using a zig zag stitch - or a stretch stitch if your machine has one.
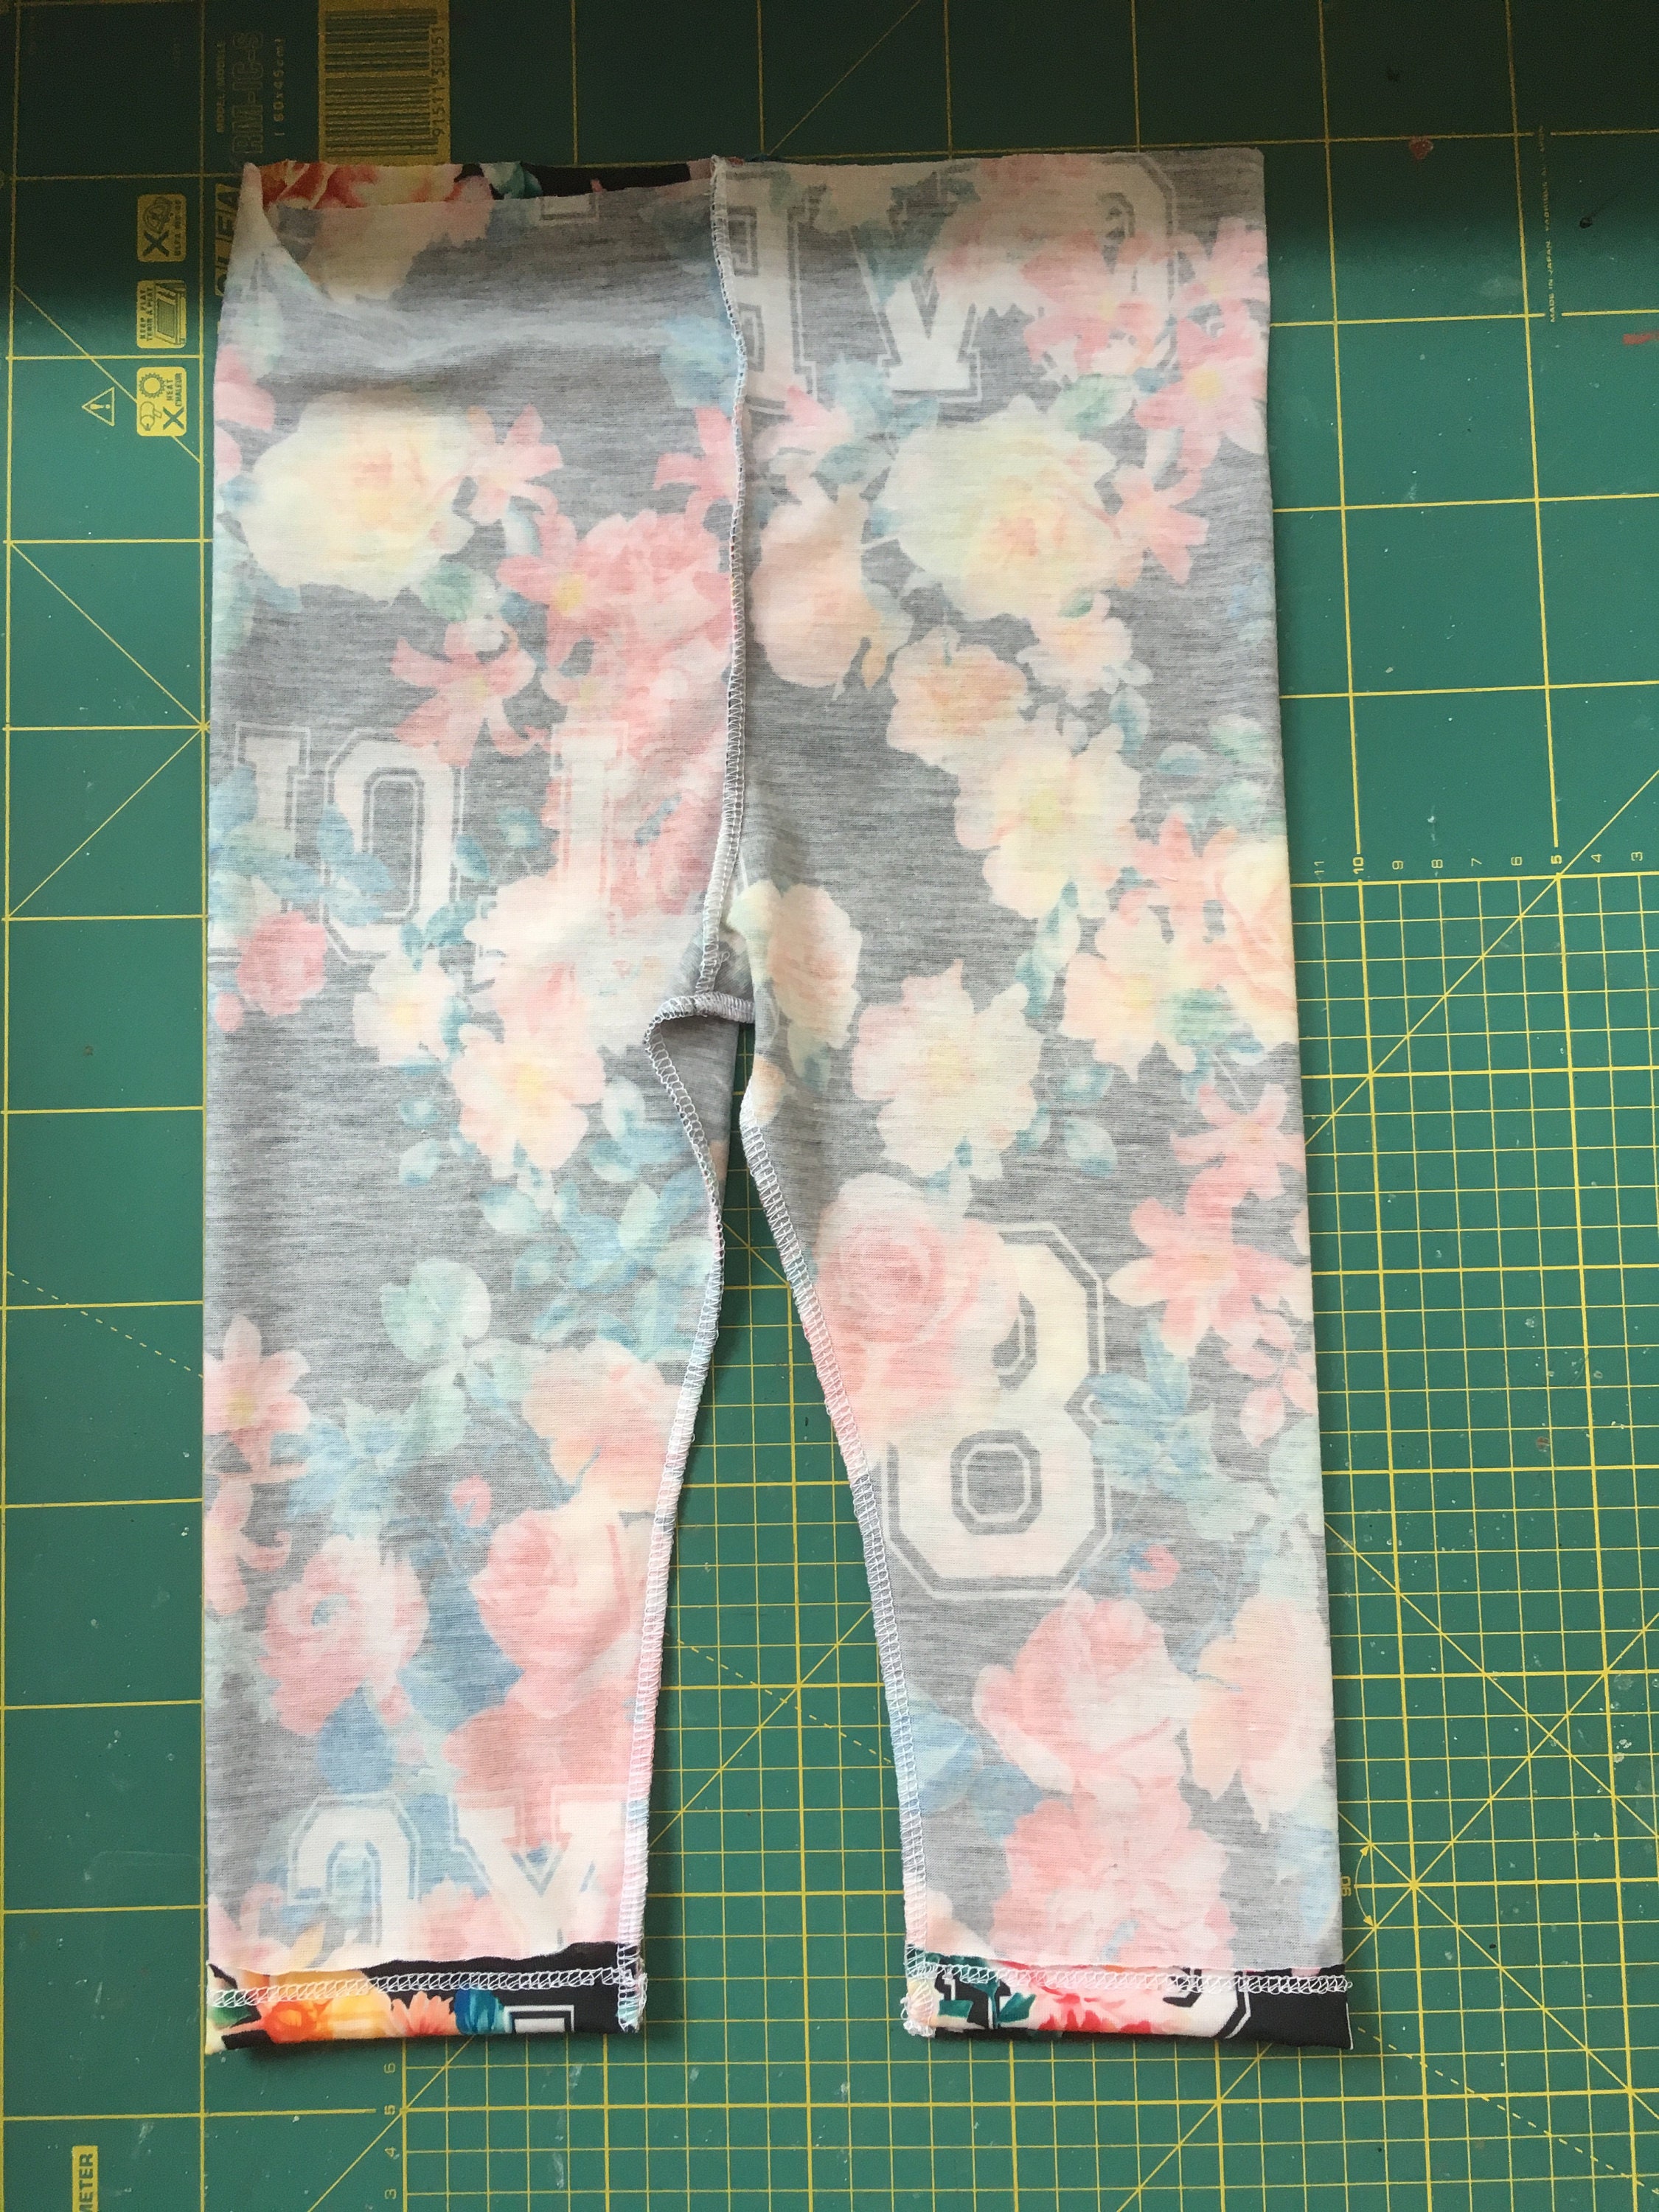
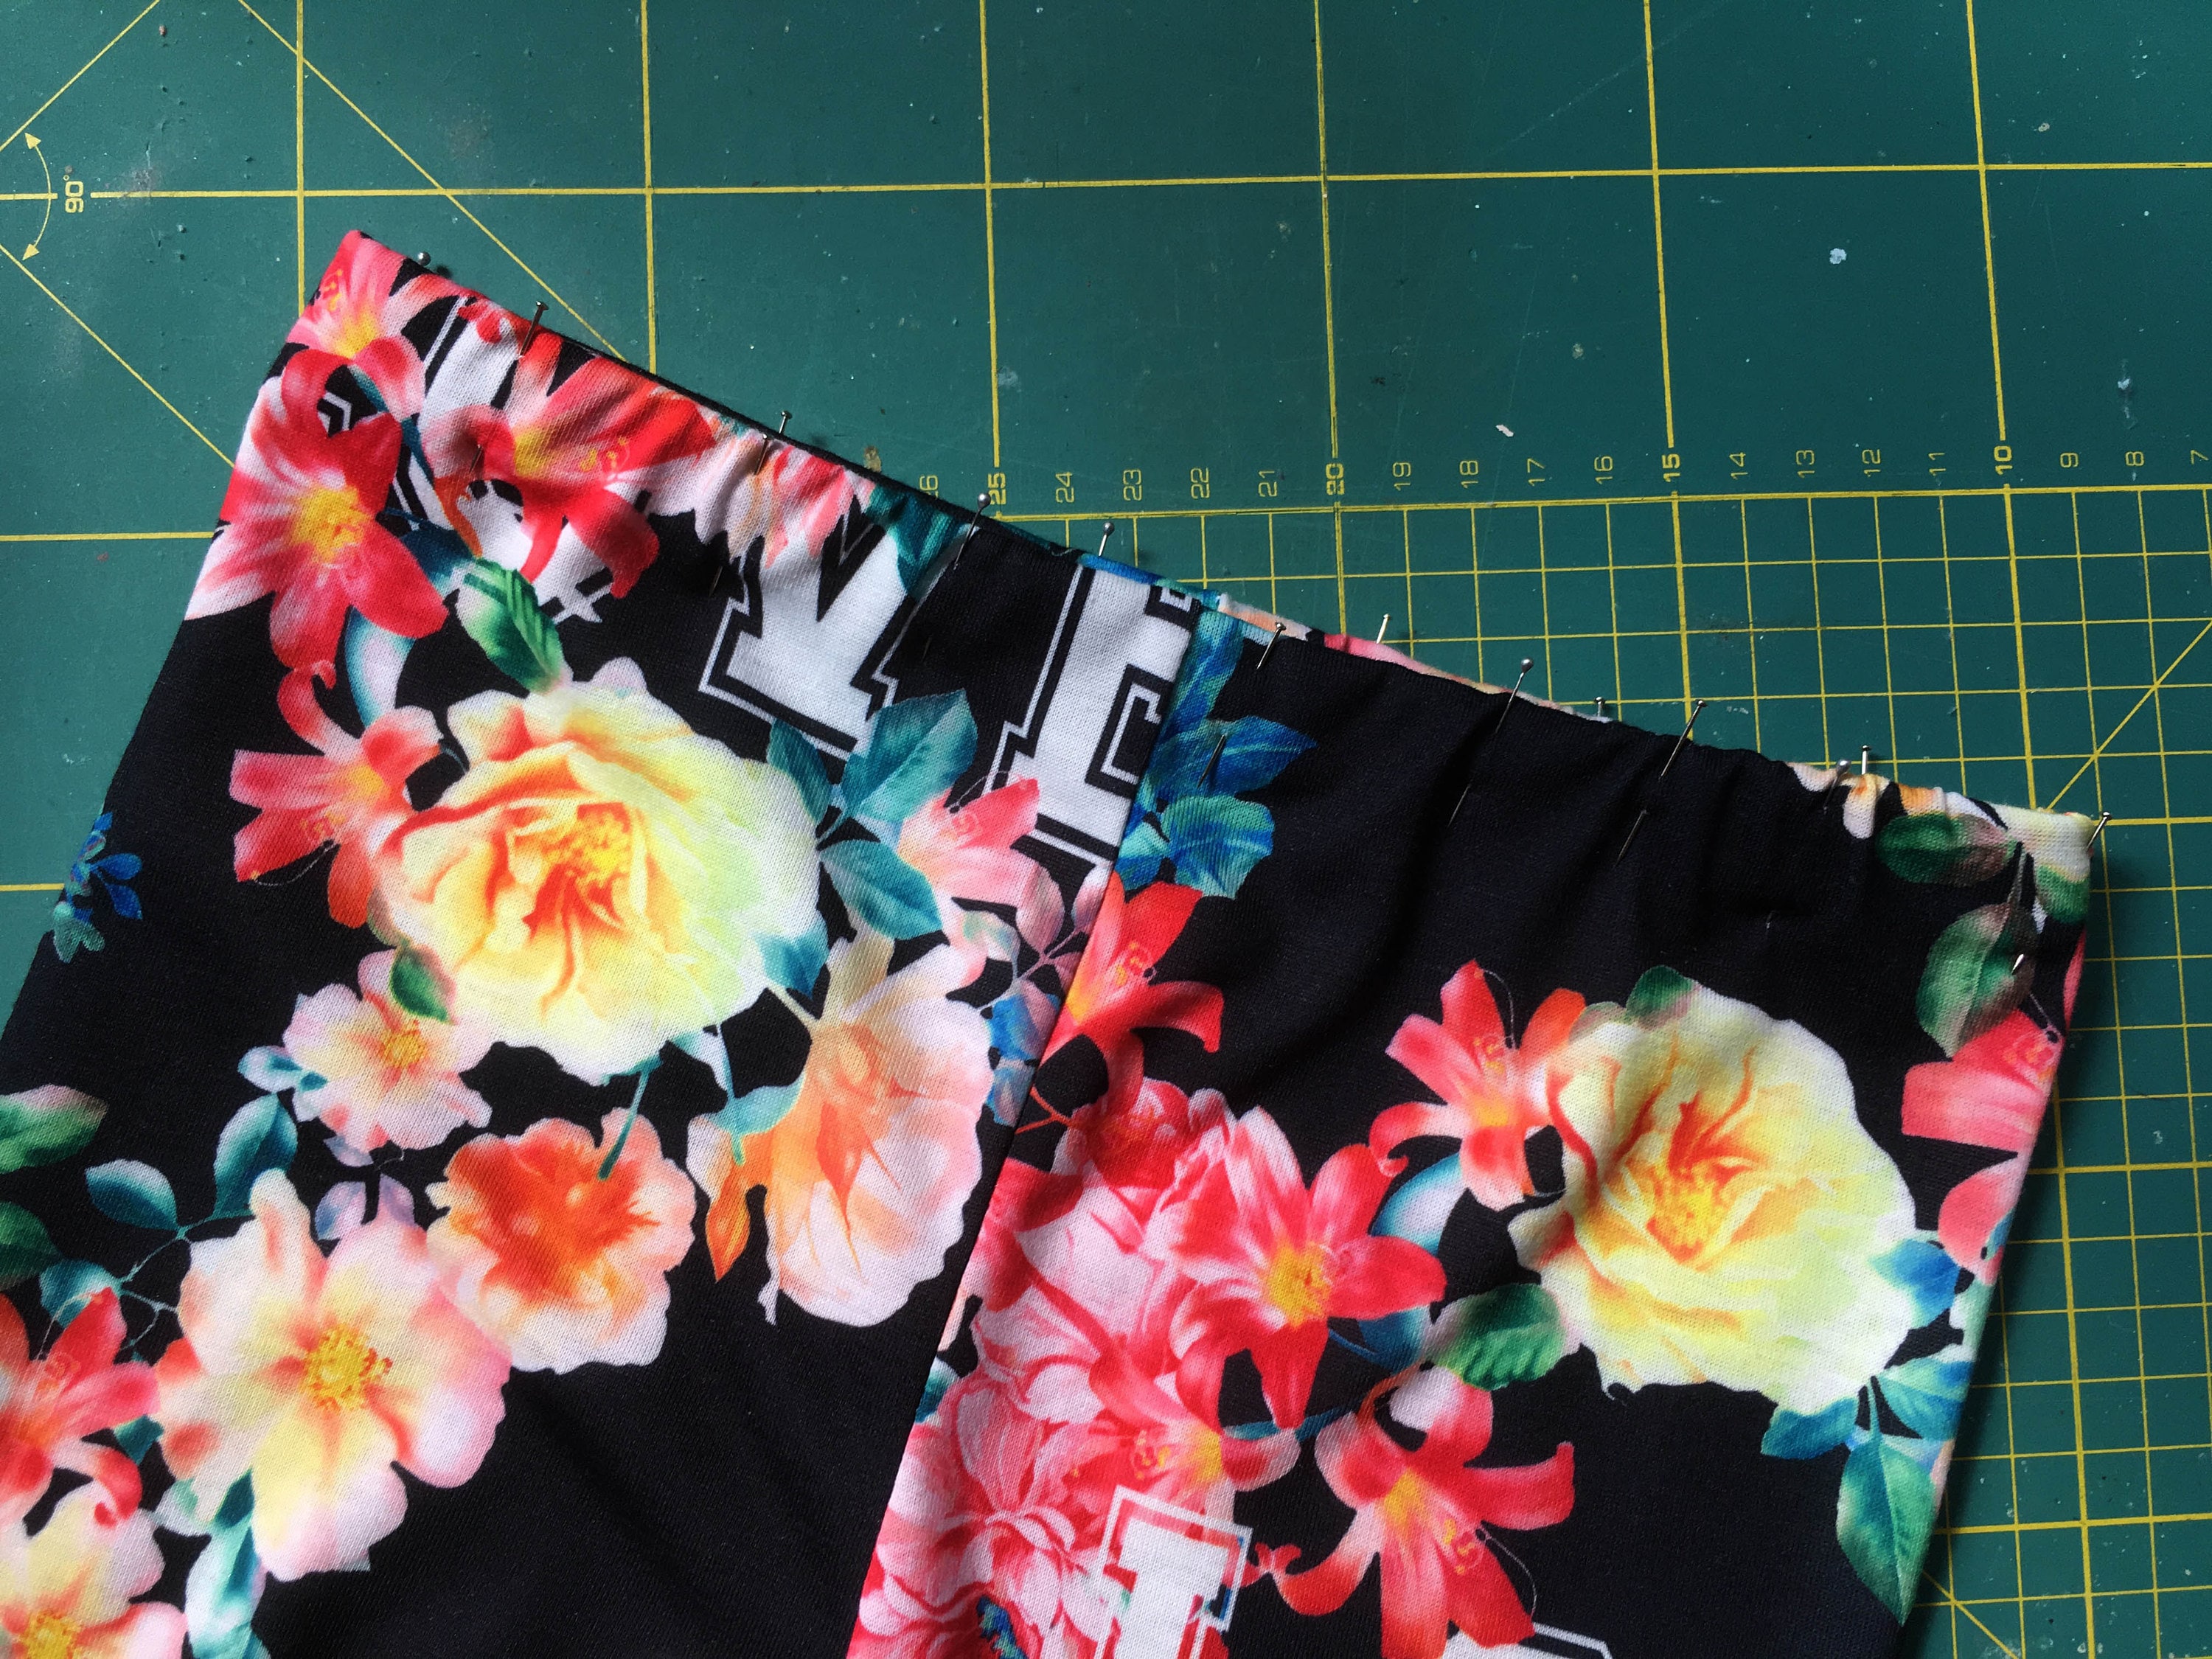
Step five: Join inside leg seam
Your leggings should now look like this.
With rights sides together as shown above pin the inside leg seam - ensuring the rise seams are matched up.
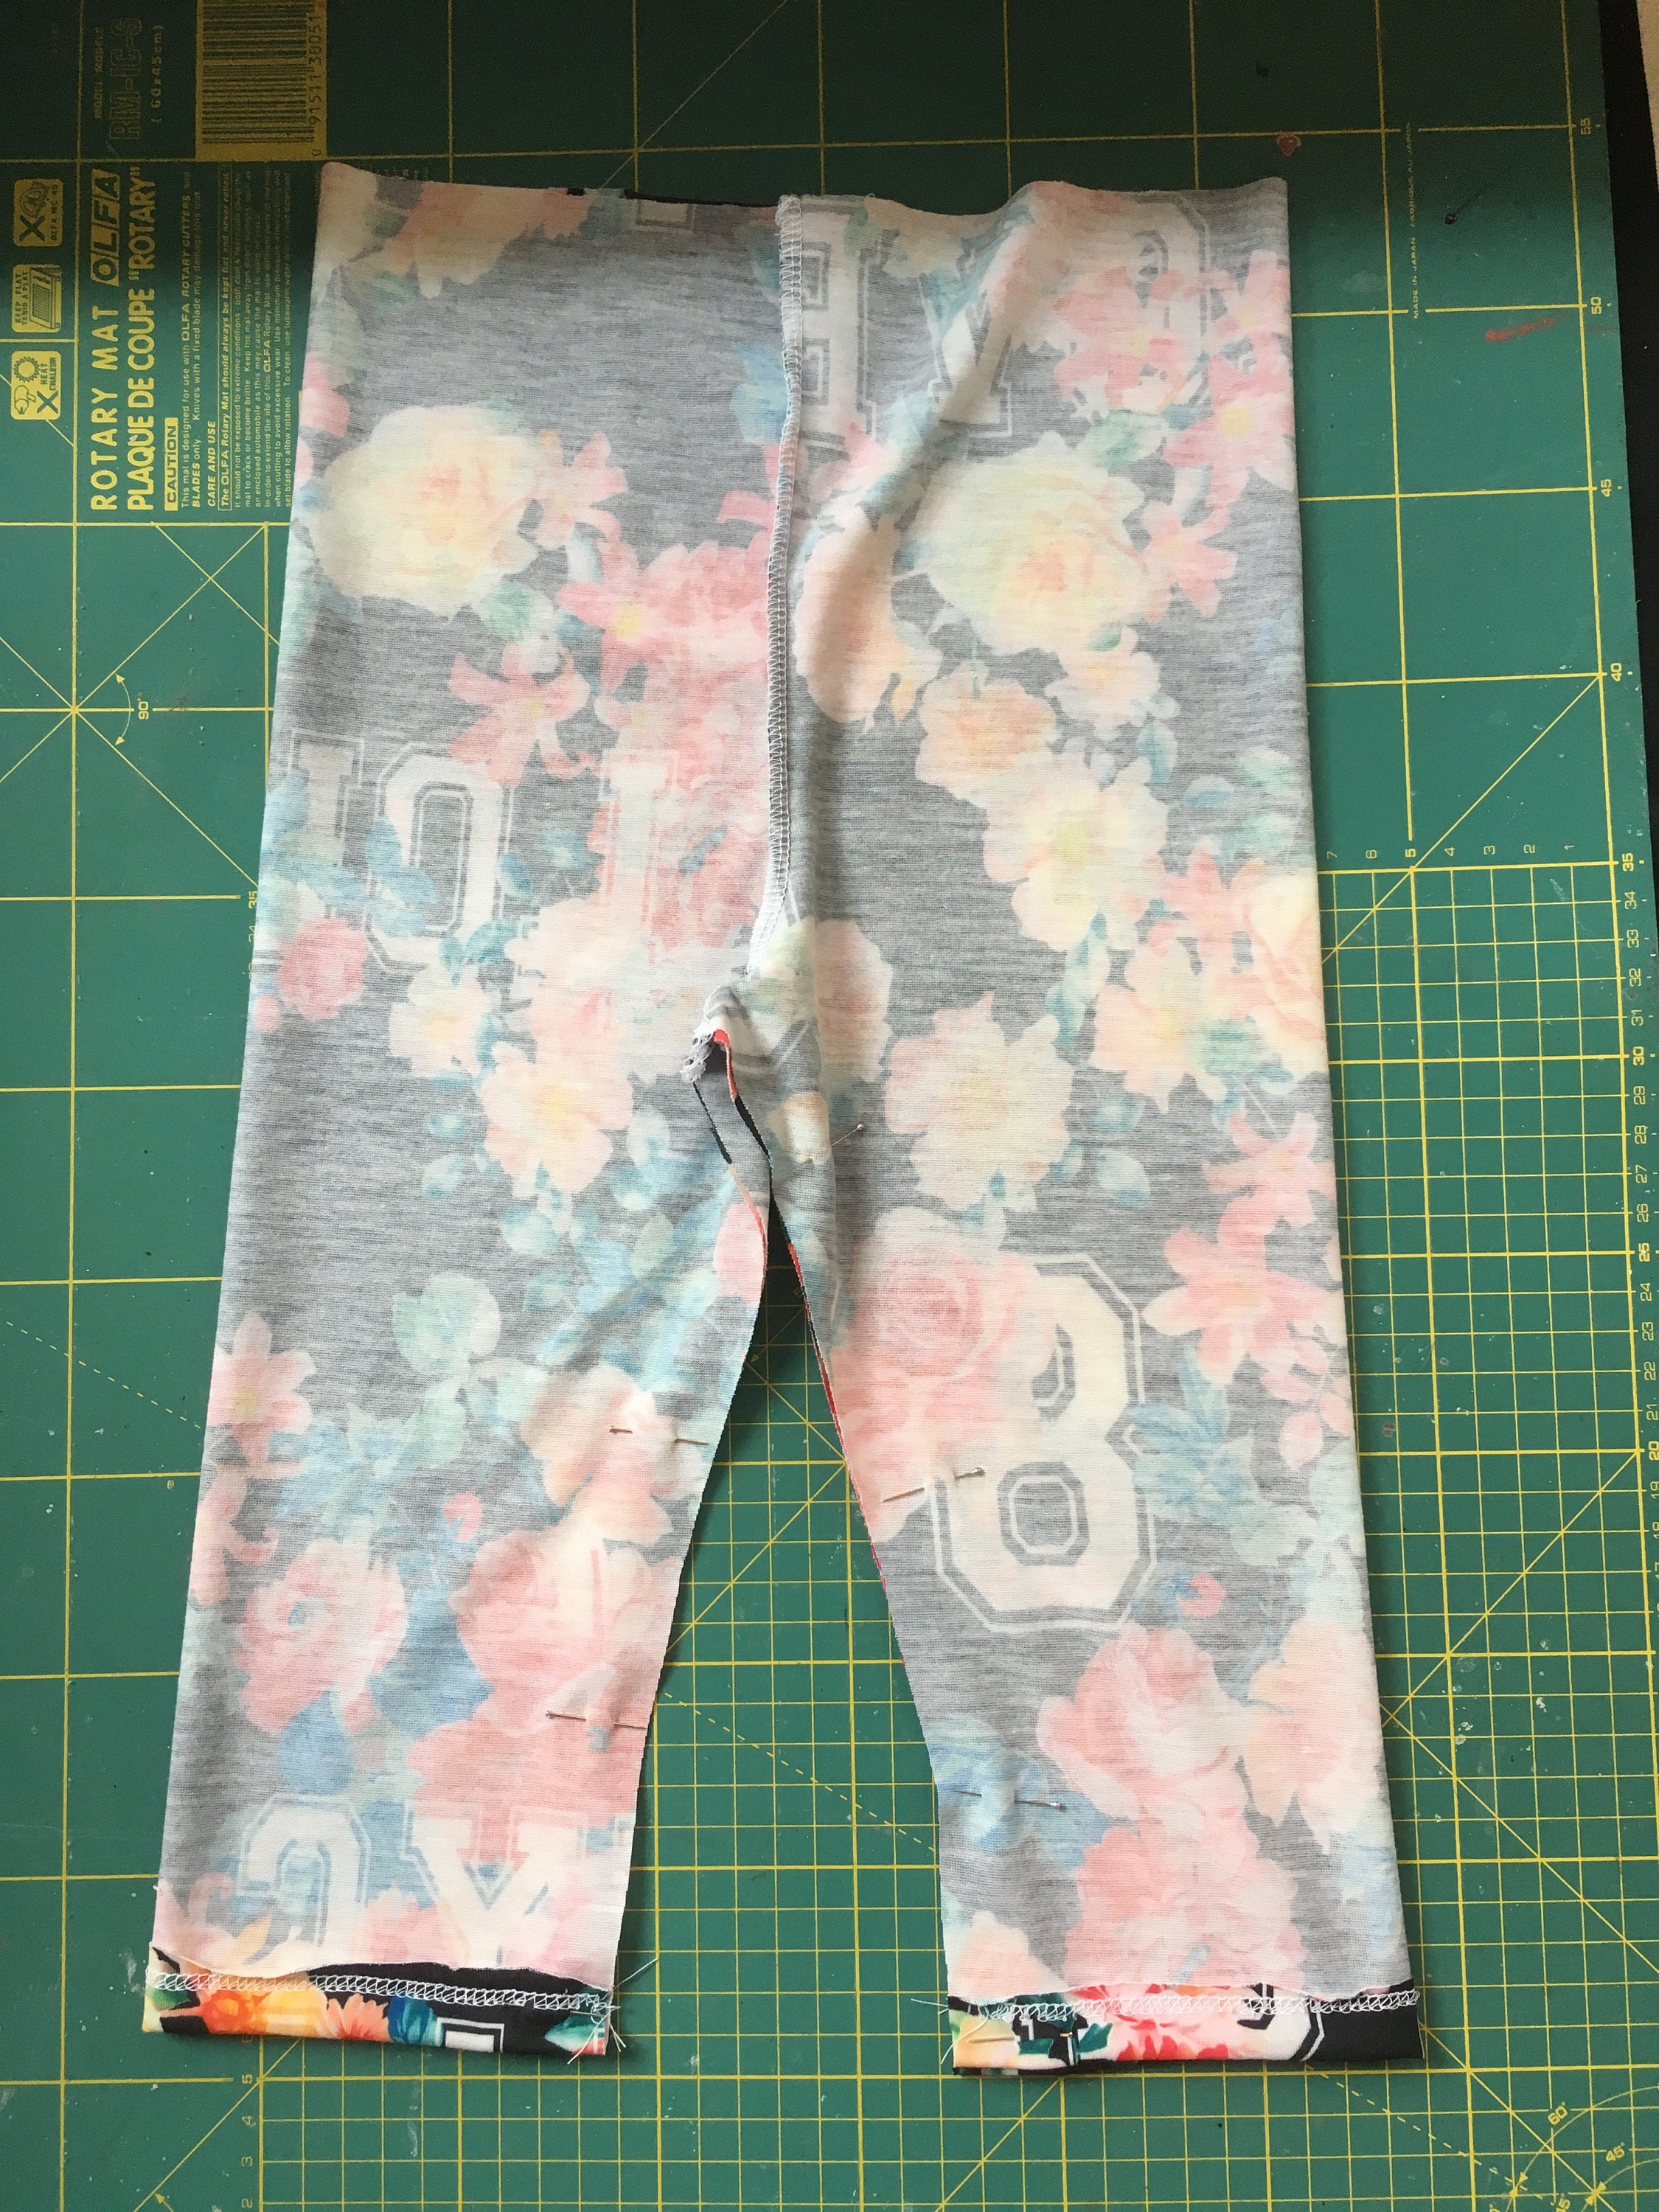
Once pinned stitch using the same method as the rise seam - overlock, zig zag or straight stitch. Ensure you secure the ends of your stitching.
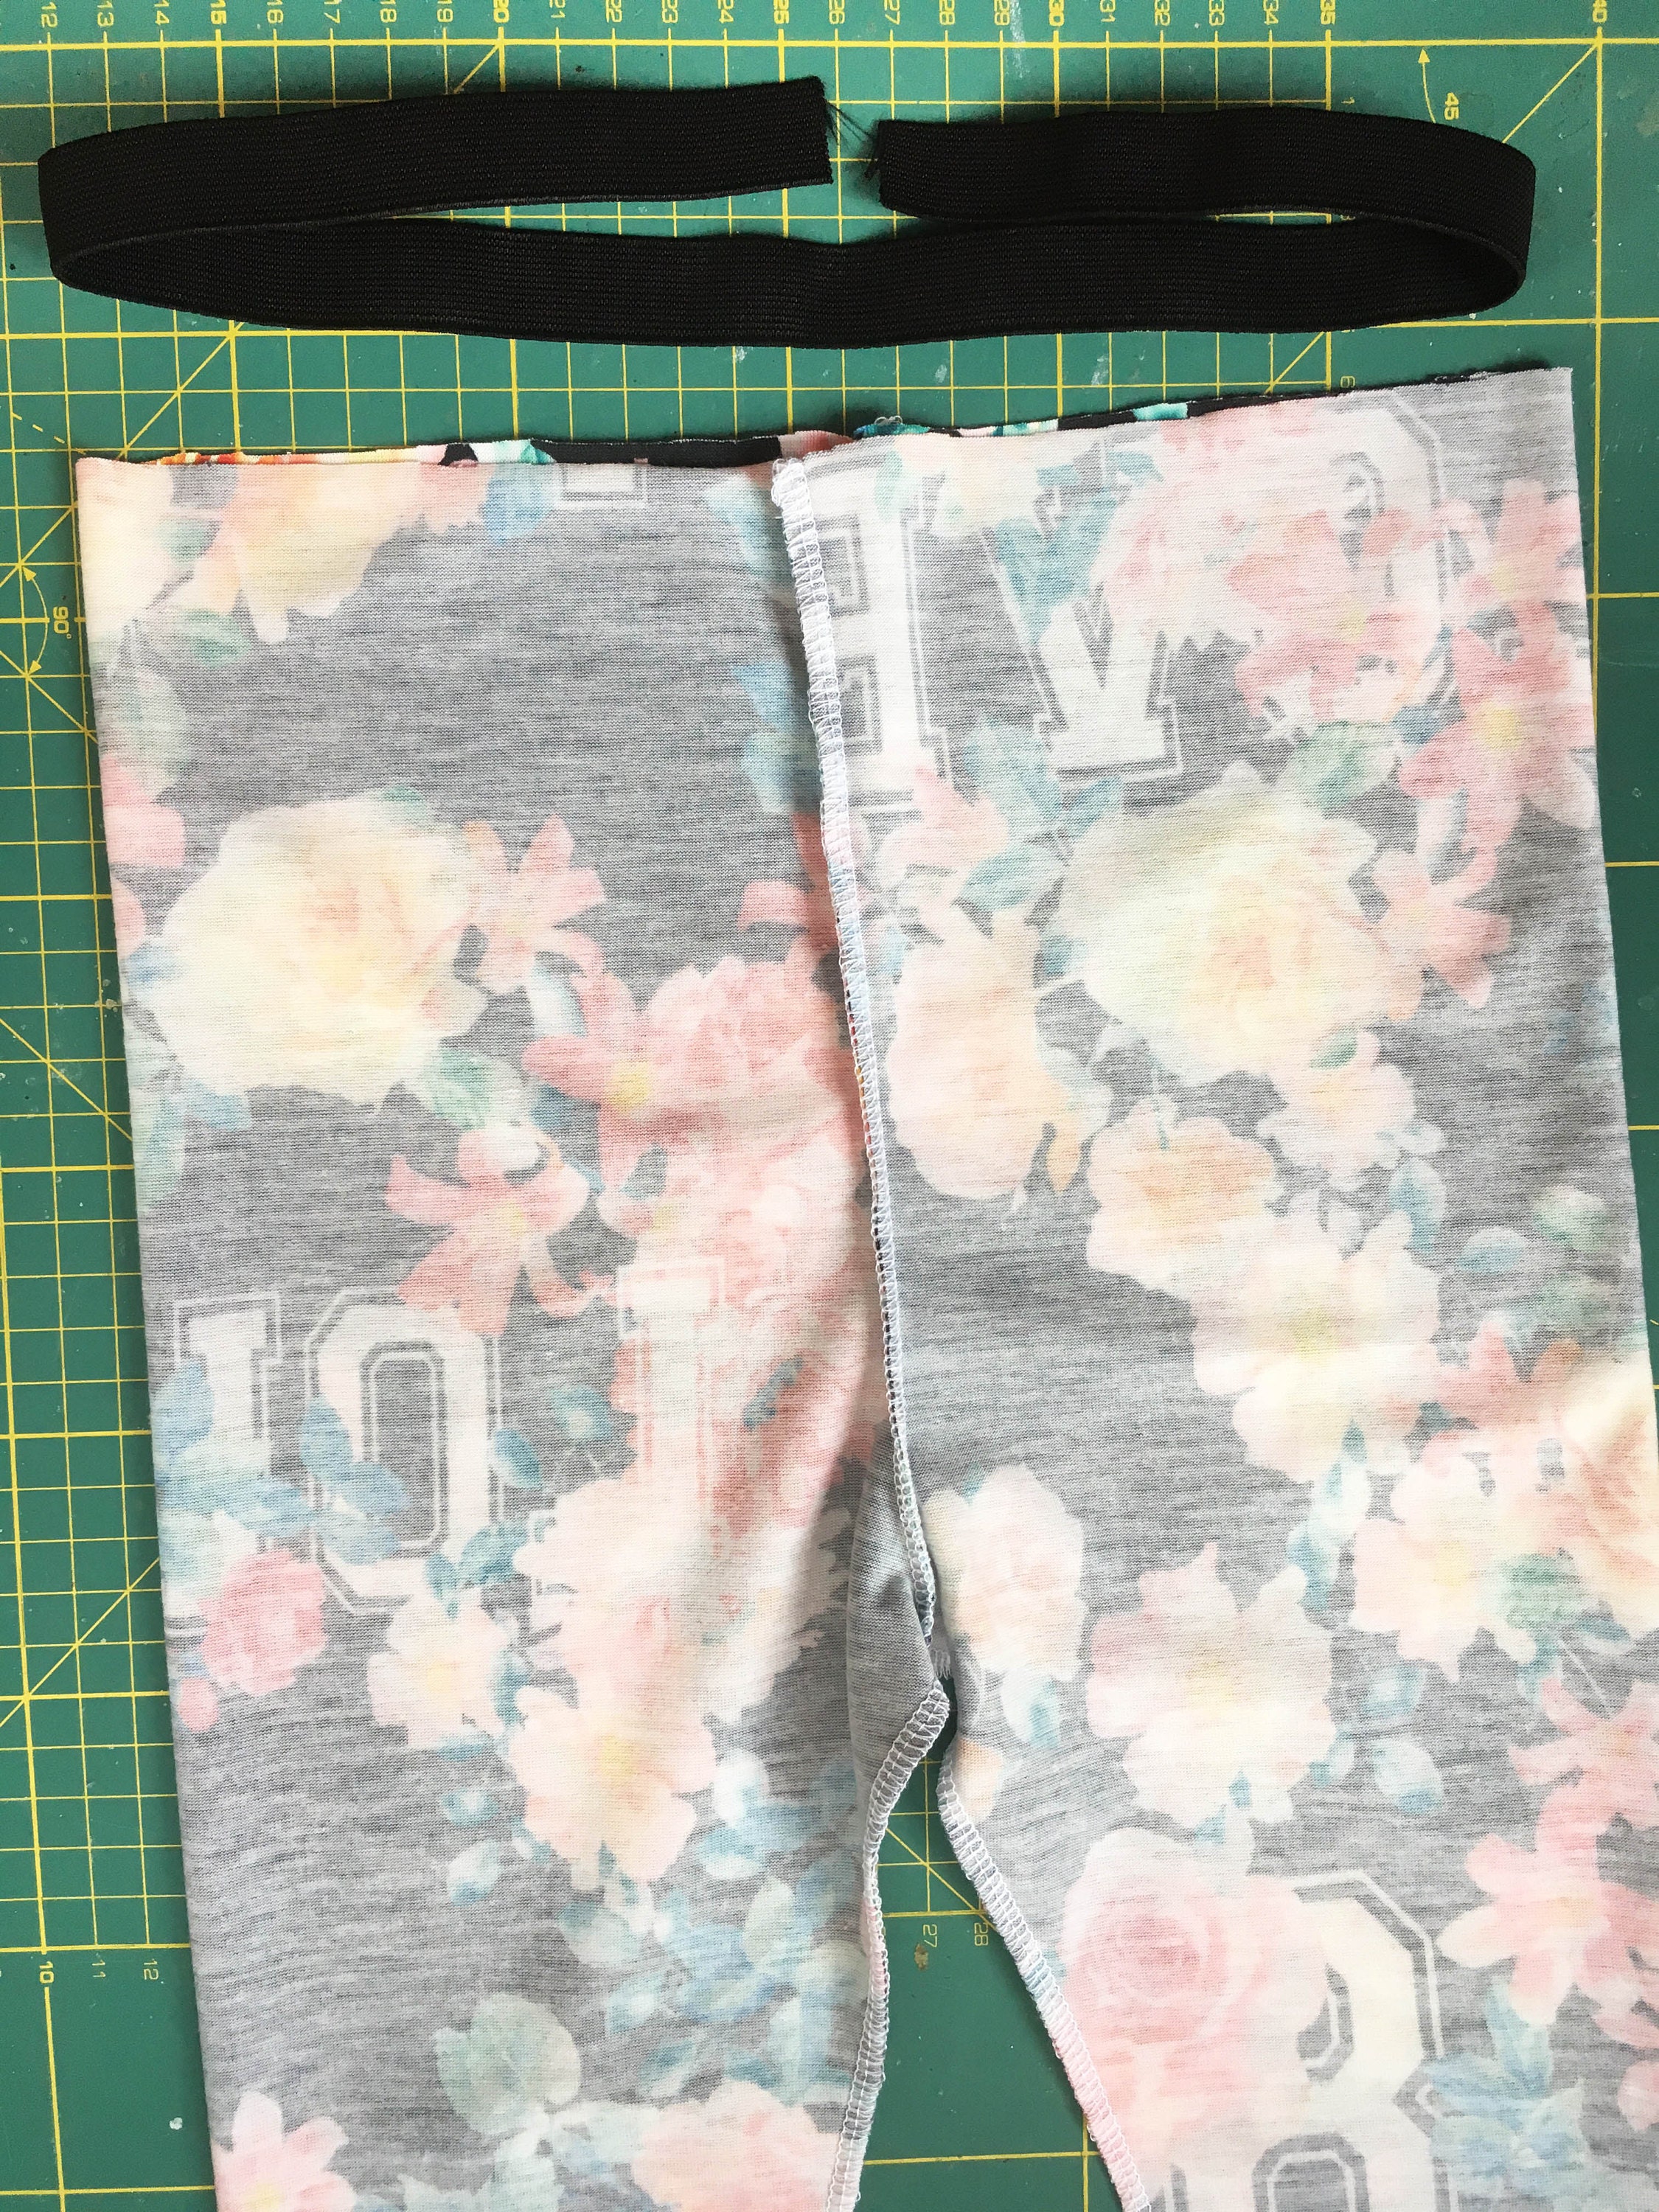
Step five: cut waistband elastic
Next cut your waist elastic to the same measurement as the elastic in your original sample.
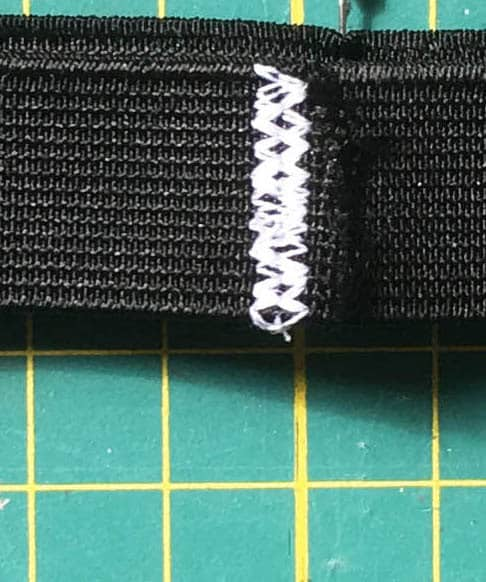
Step six: Stitch elastic ring
We are now going to sew the elastic into a ring. Lay one side of the elastic over the other end by 5mm and zig zag over the join to attach into a ring. I do ALOT of reversing and going forward here to ensure its secure. Again the reason for using a zig zag is because a regular straight stitch would break with the stretch of the elastic.
I have shown my stitching in white below. I have used a 15mm waistband elastic.
Step seven: Mark quarter points onto the elastic ring
You may have noticed that your elastic ring is smaller than the legging waist. This is because the elastic is gently stretched onto the waist to ensure it can stretch nicely. It is important that the elastic is stretched evenly around the waist otherwise you will have big gathers in parts and a flat finish elsewhere.
Using a pin mark your elastic into quarters as below.
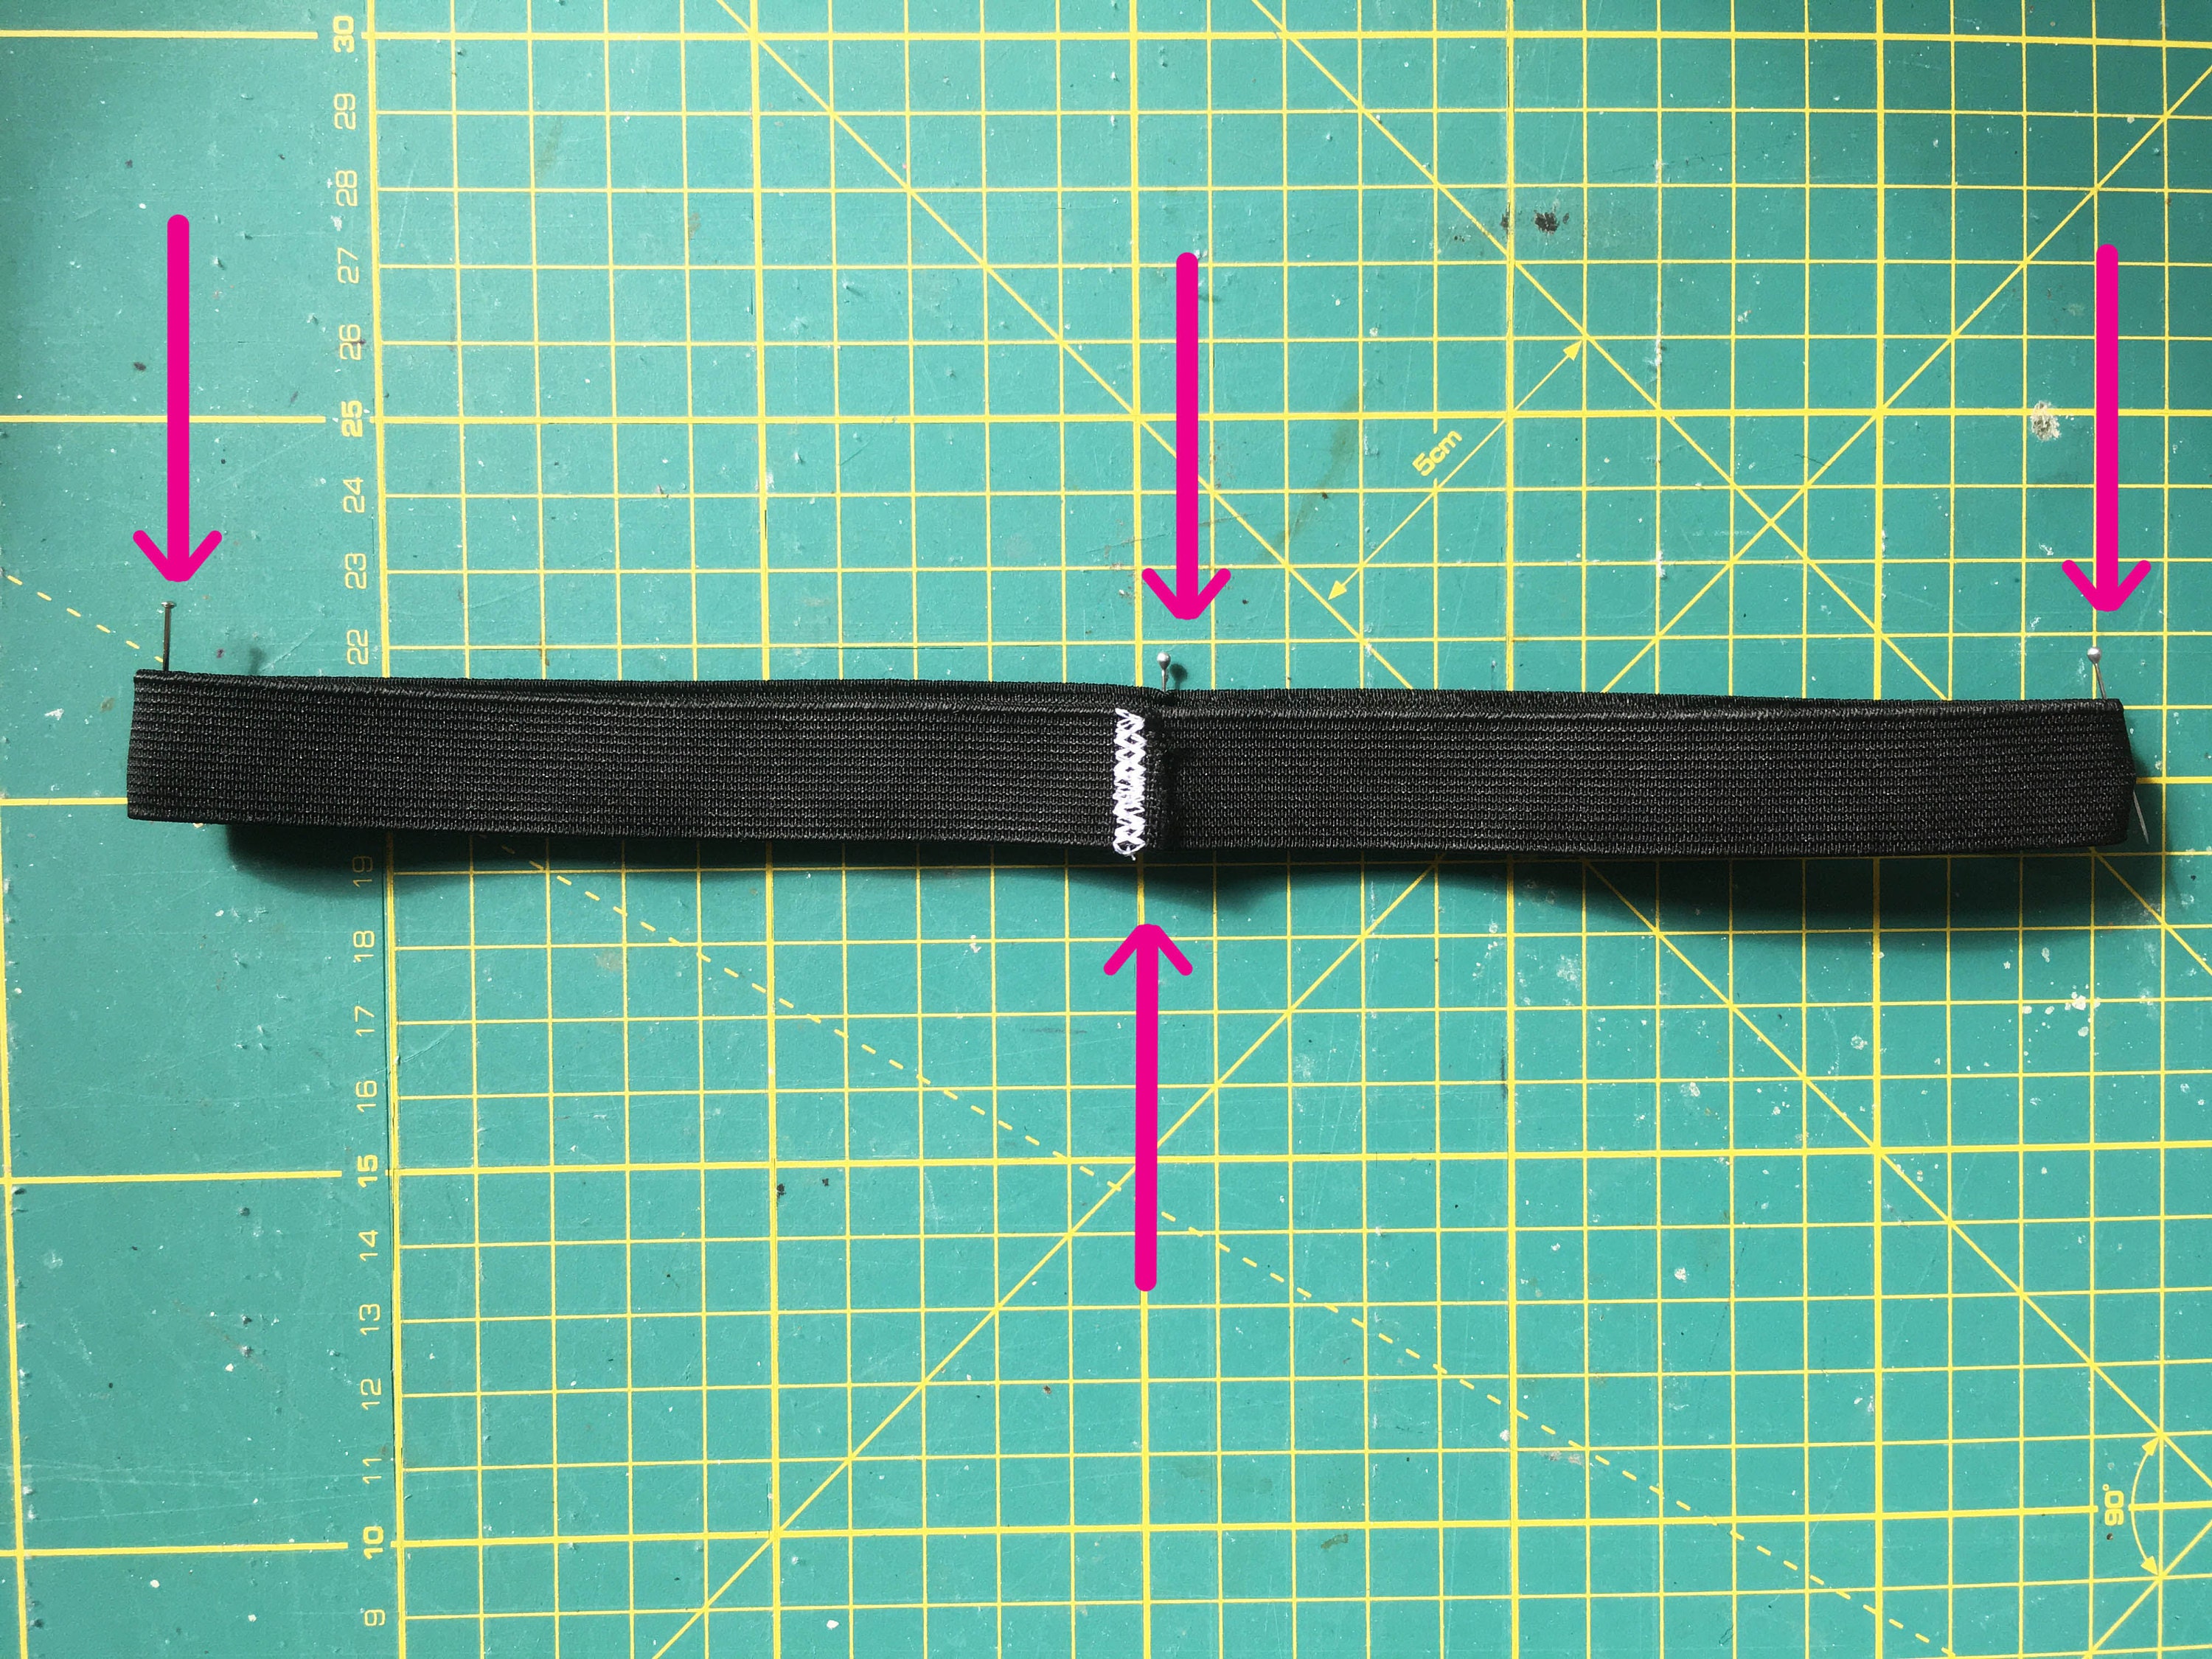
We are going to use these pins to ensure even distribution of gathers at our waistband. Place the elastic to the wrong side of the leggings. One pin will be at the back rise seam, the next pin at the folded leg edge, the next pin will be at the front rise seam and the lace pin at the other folded leg as as below.
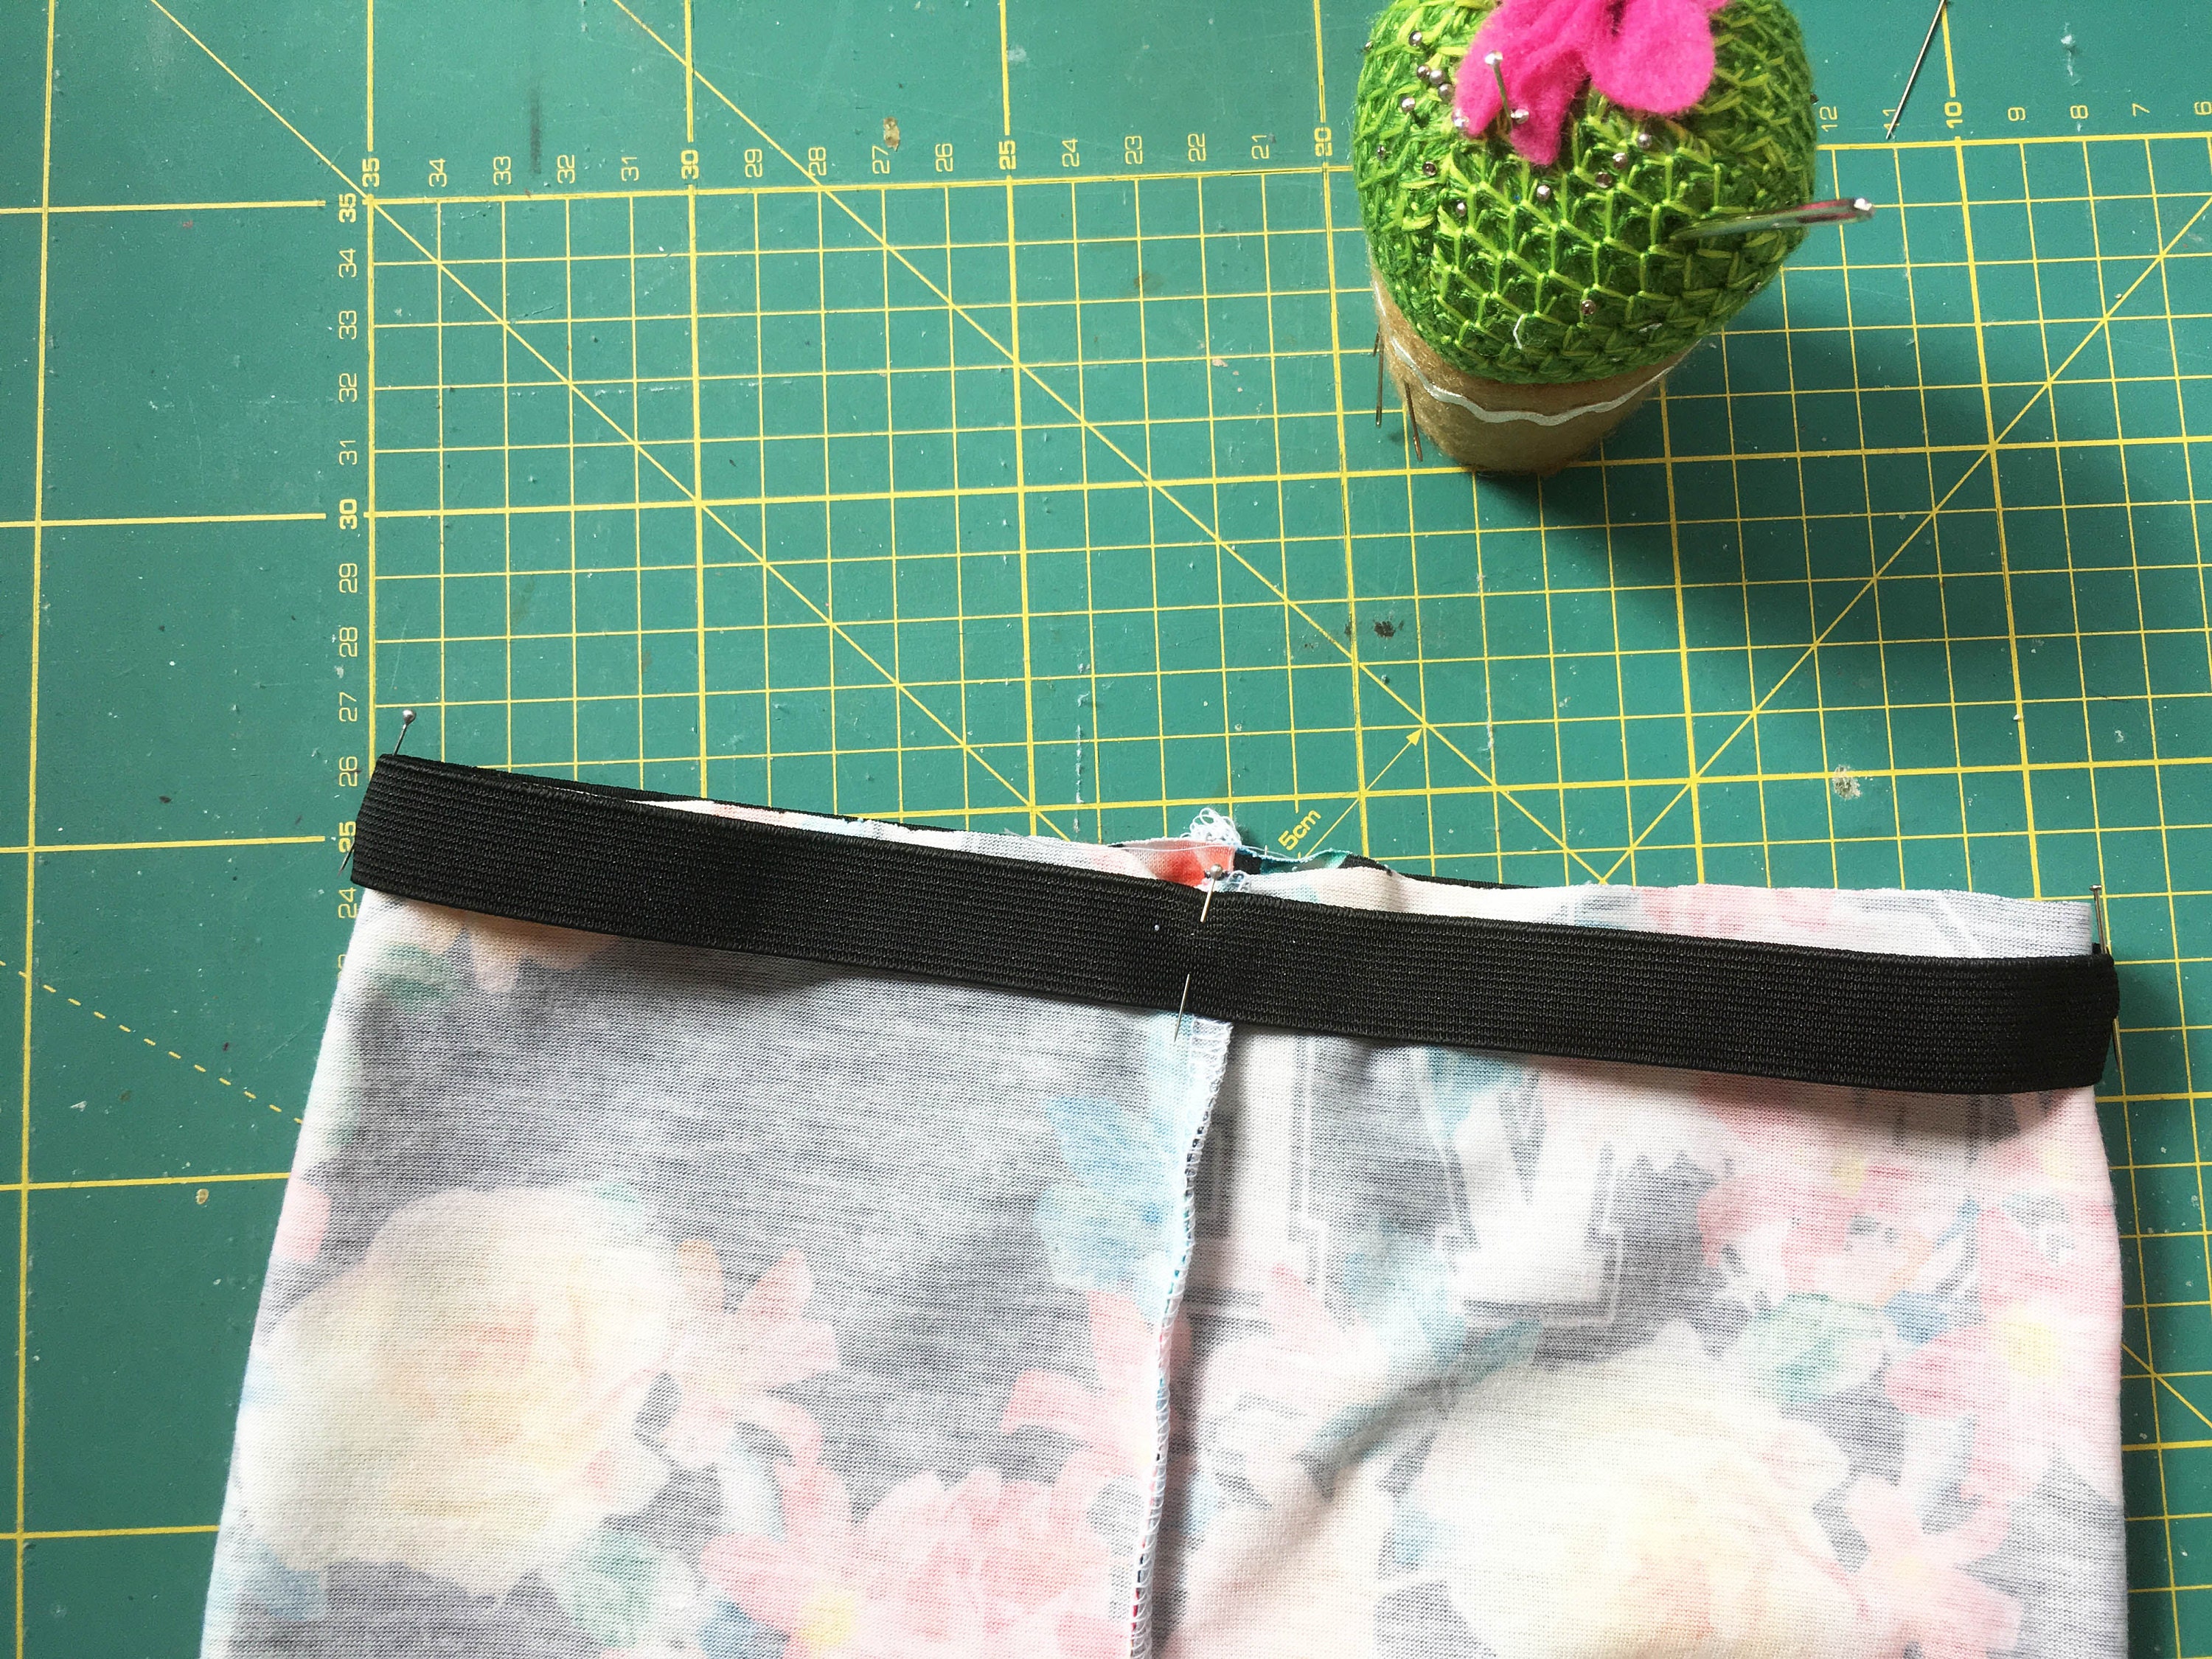
Step eight: Attach waist elastic.
We are now going to sew this elastic into position. I overlock my elastic on but as before you can use a zig zag or stretch stitch to attach.
It can be tricky to stretch the elastic onto the waistband so before I sew the entire ring on first I tack (tempory stitching). I do this by using the biggest straight stitch on my sewing machine with no reversing or securing at either end so that it can be easily removed. Alternatively you can tack by hand.
First I add a few tacking stitches at each pin point - then I remove the pins.
Next I add a row of tacking stitches all the way around the elastic waist. Once the elastic is tacked you can attach the elastic permanantly with overlocking or a zig zag stitch.
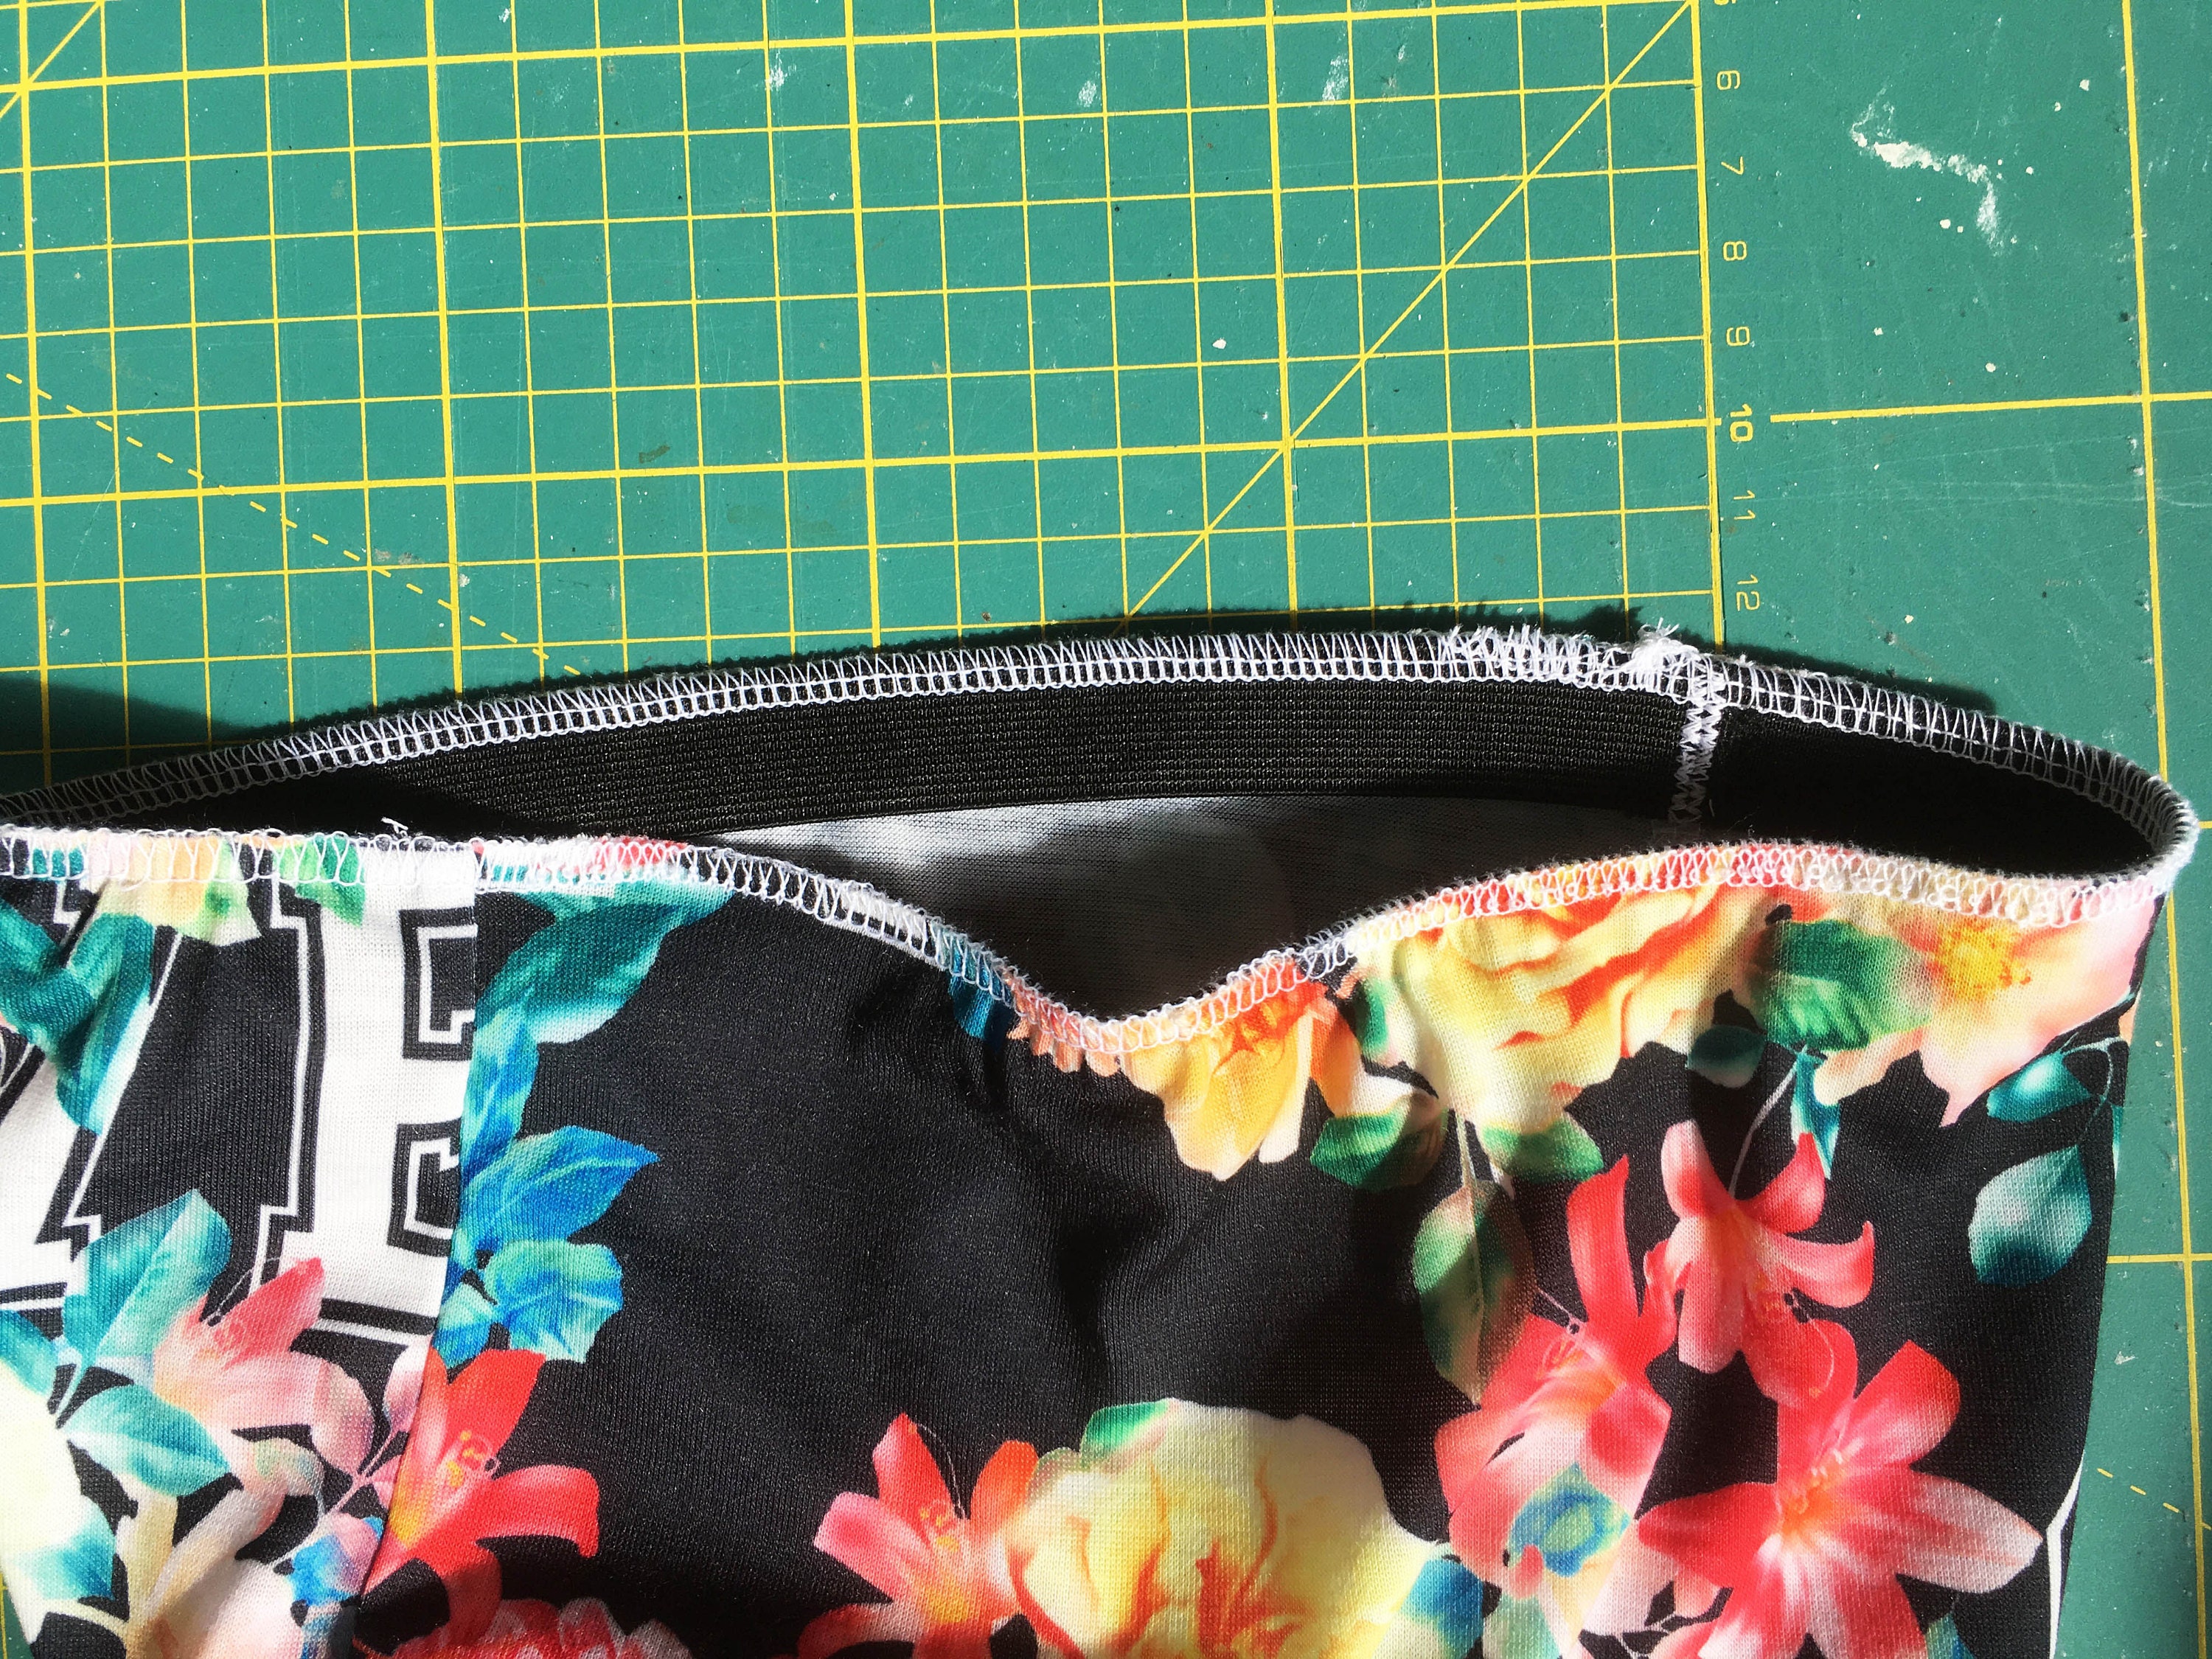
The photo below shows the elastic after I have tacked and overlocked the elastic on.
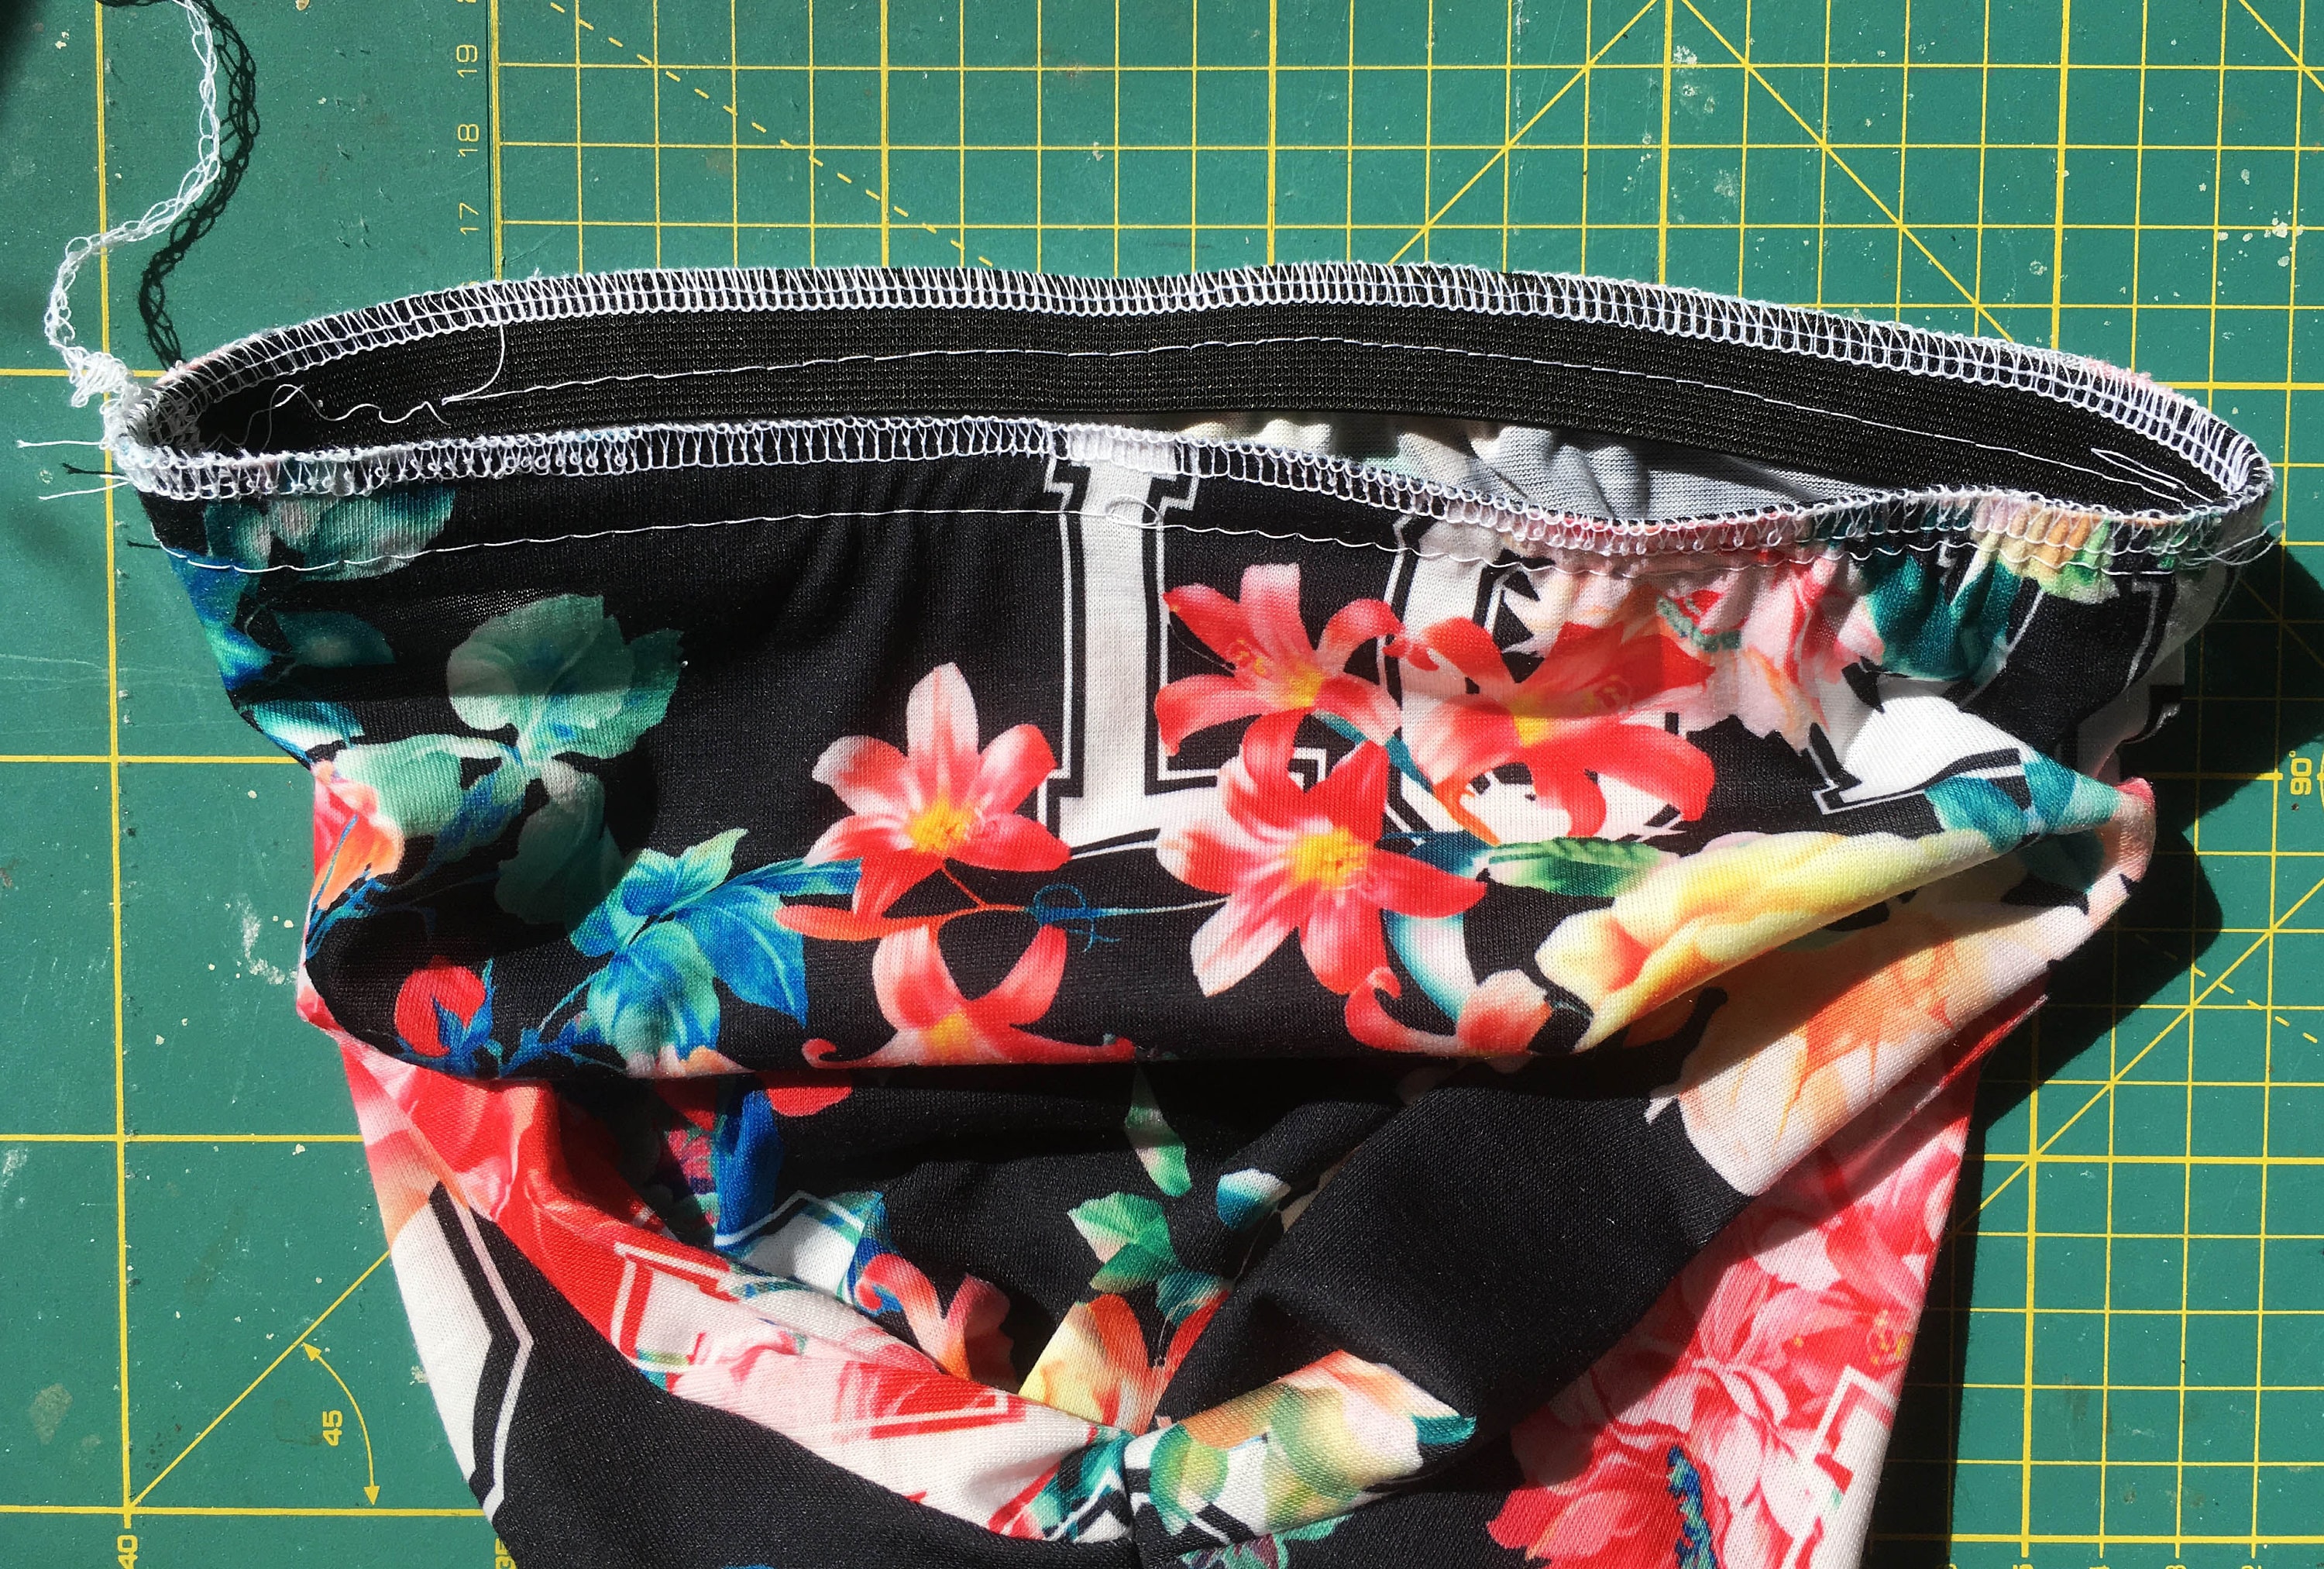
Remove the tacking and secure any overlocking threads.
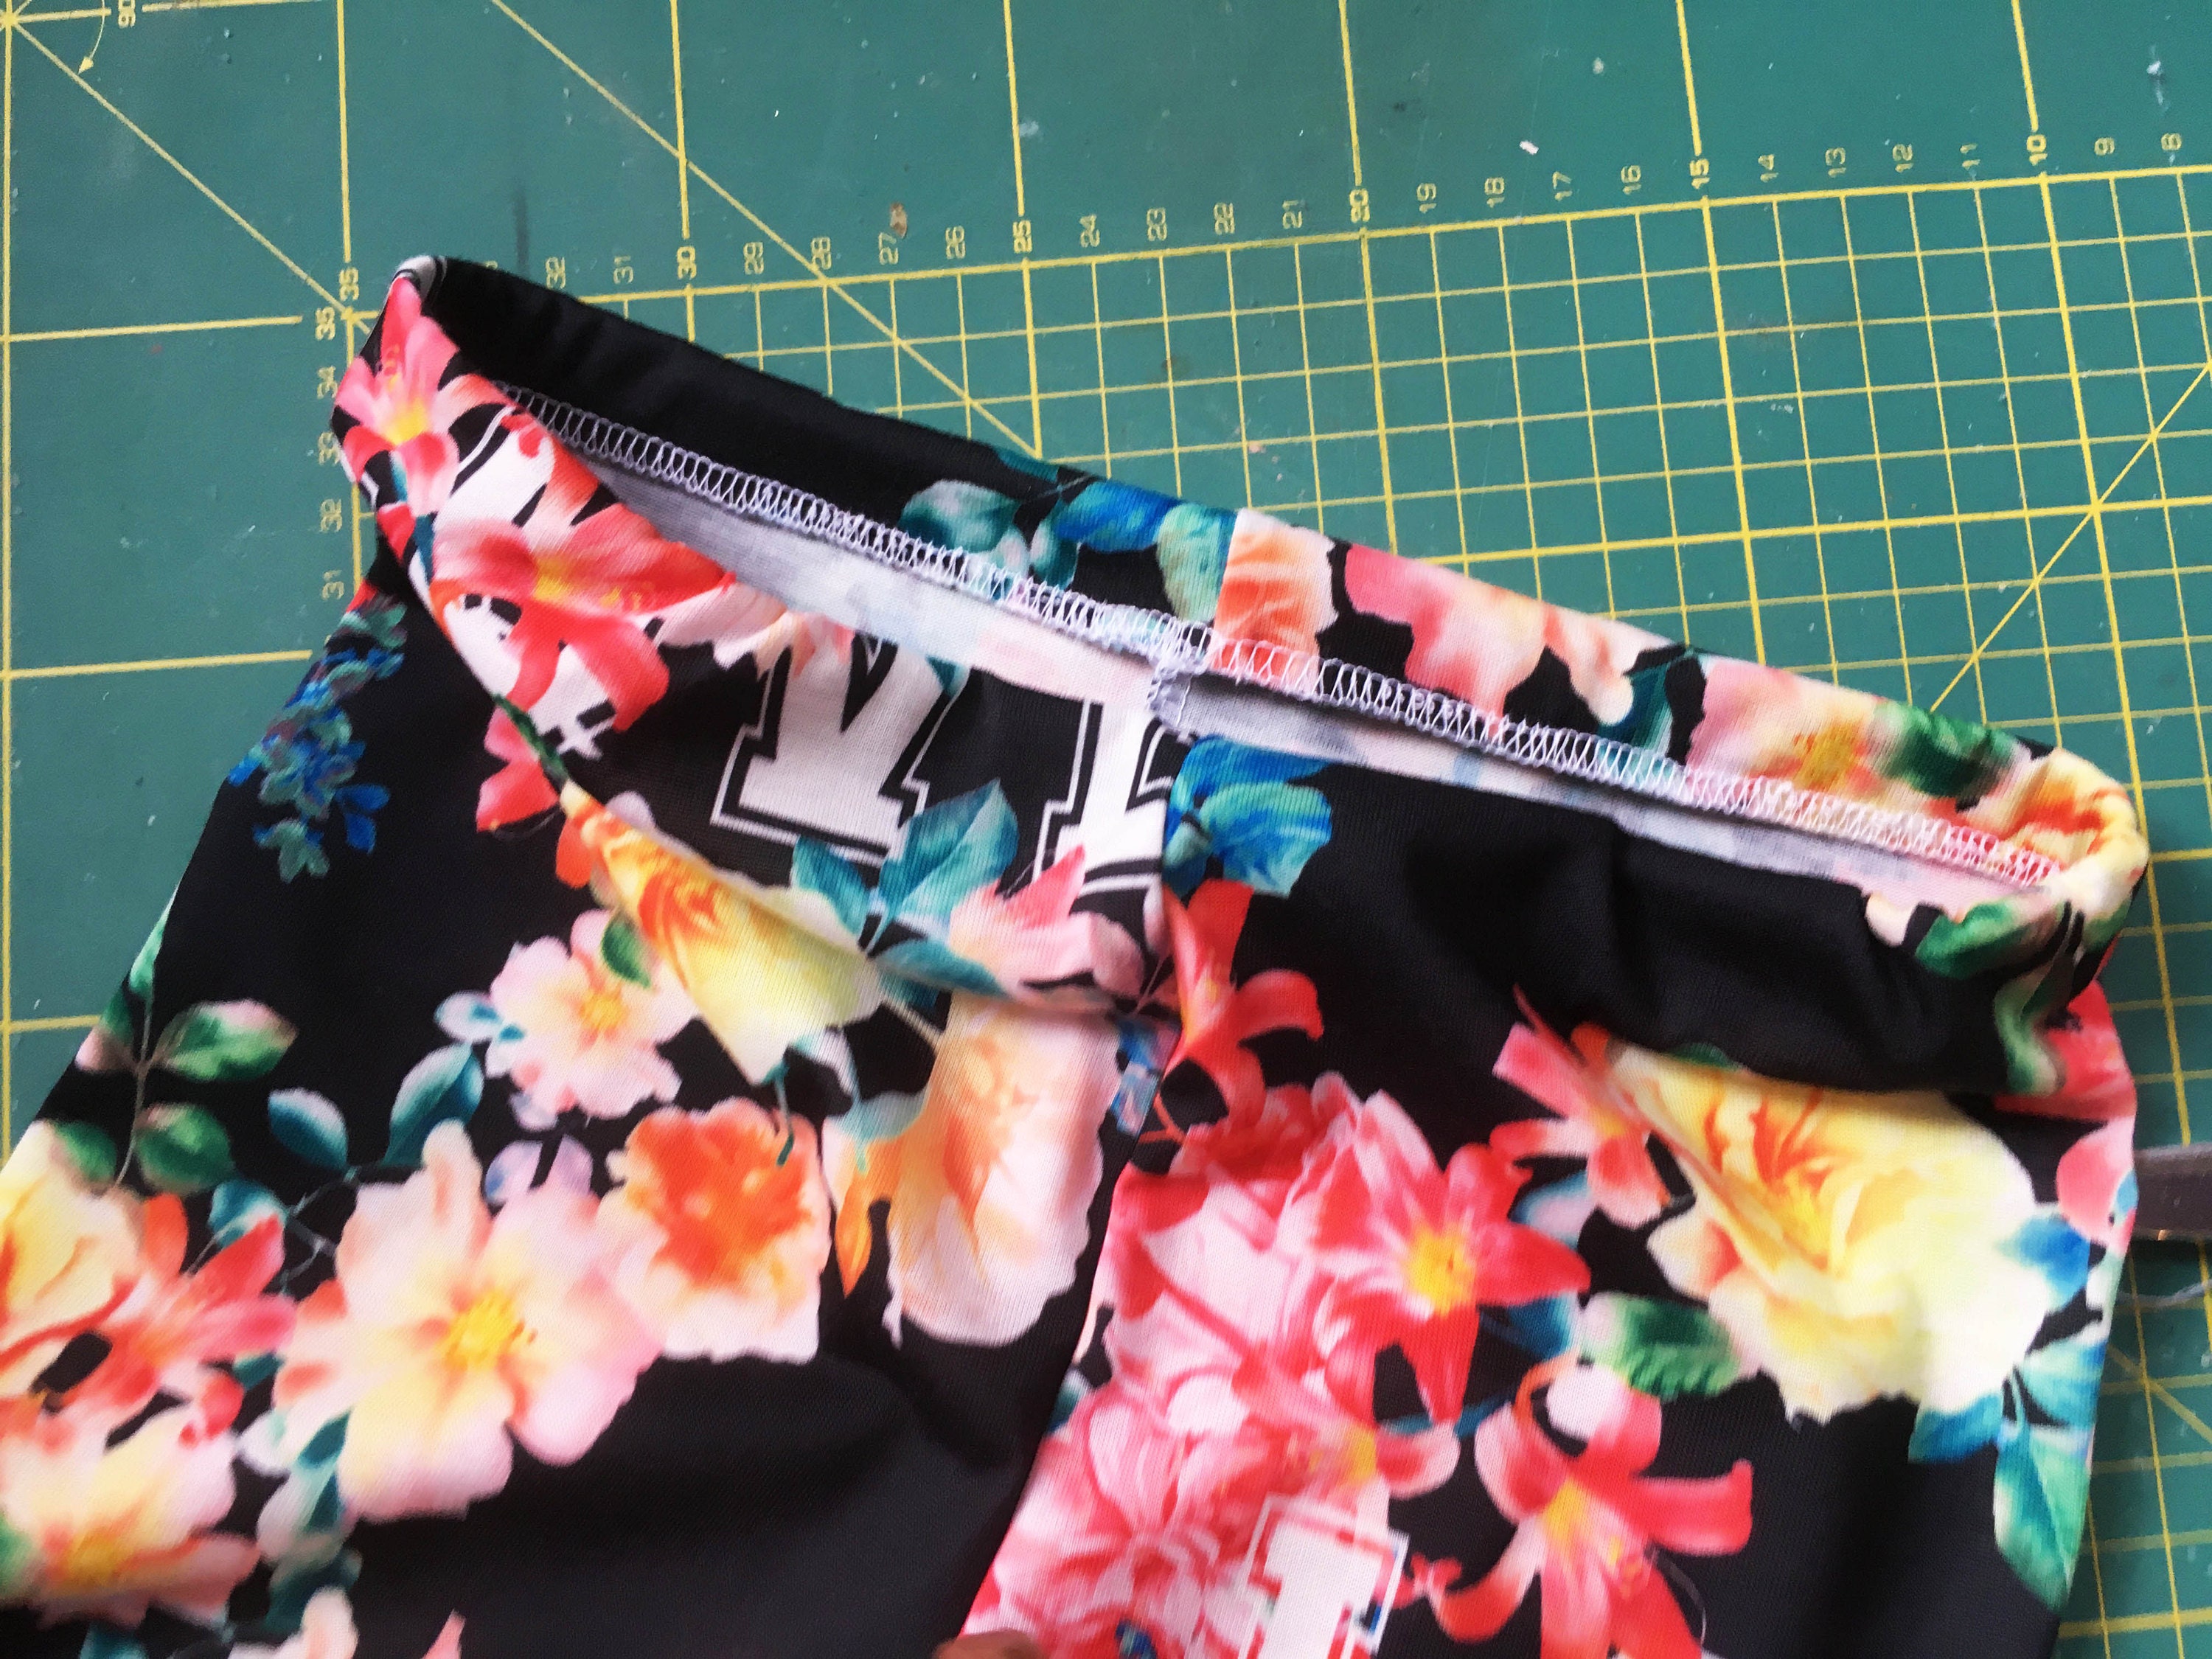
Step nine: Turn elastic back and topstitch
Turn the elastic back and pin. Next we are going to topstitch the elastic in place. I am using a twin needle coverseam to topstitch, but a zig zag or twin needle stitch will work fine.
Your leggings are now complete and ready to wear!