
When I am selecting fabrics for Studio Jepson I like to send photos to my best friend for her opinion. She has great taste and is always so quick to respond with nods of encouragement or screams of 'Do you really need another pineapple?'
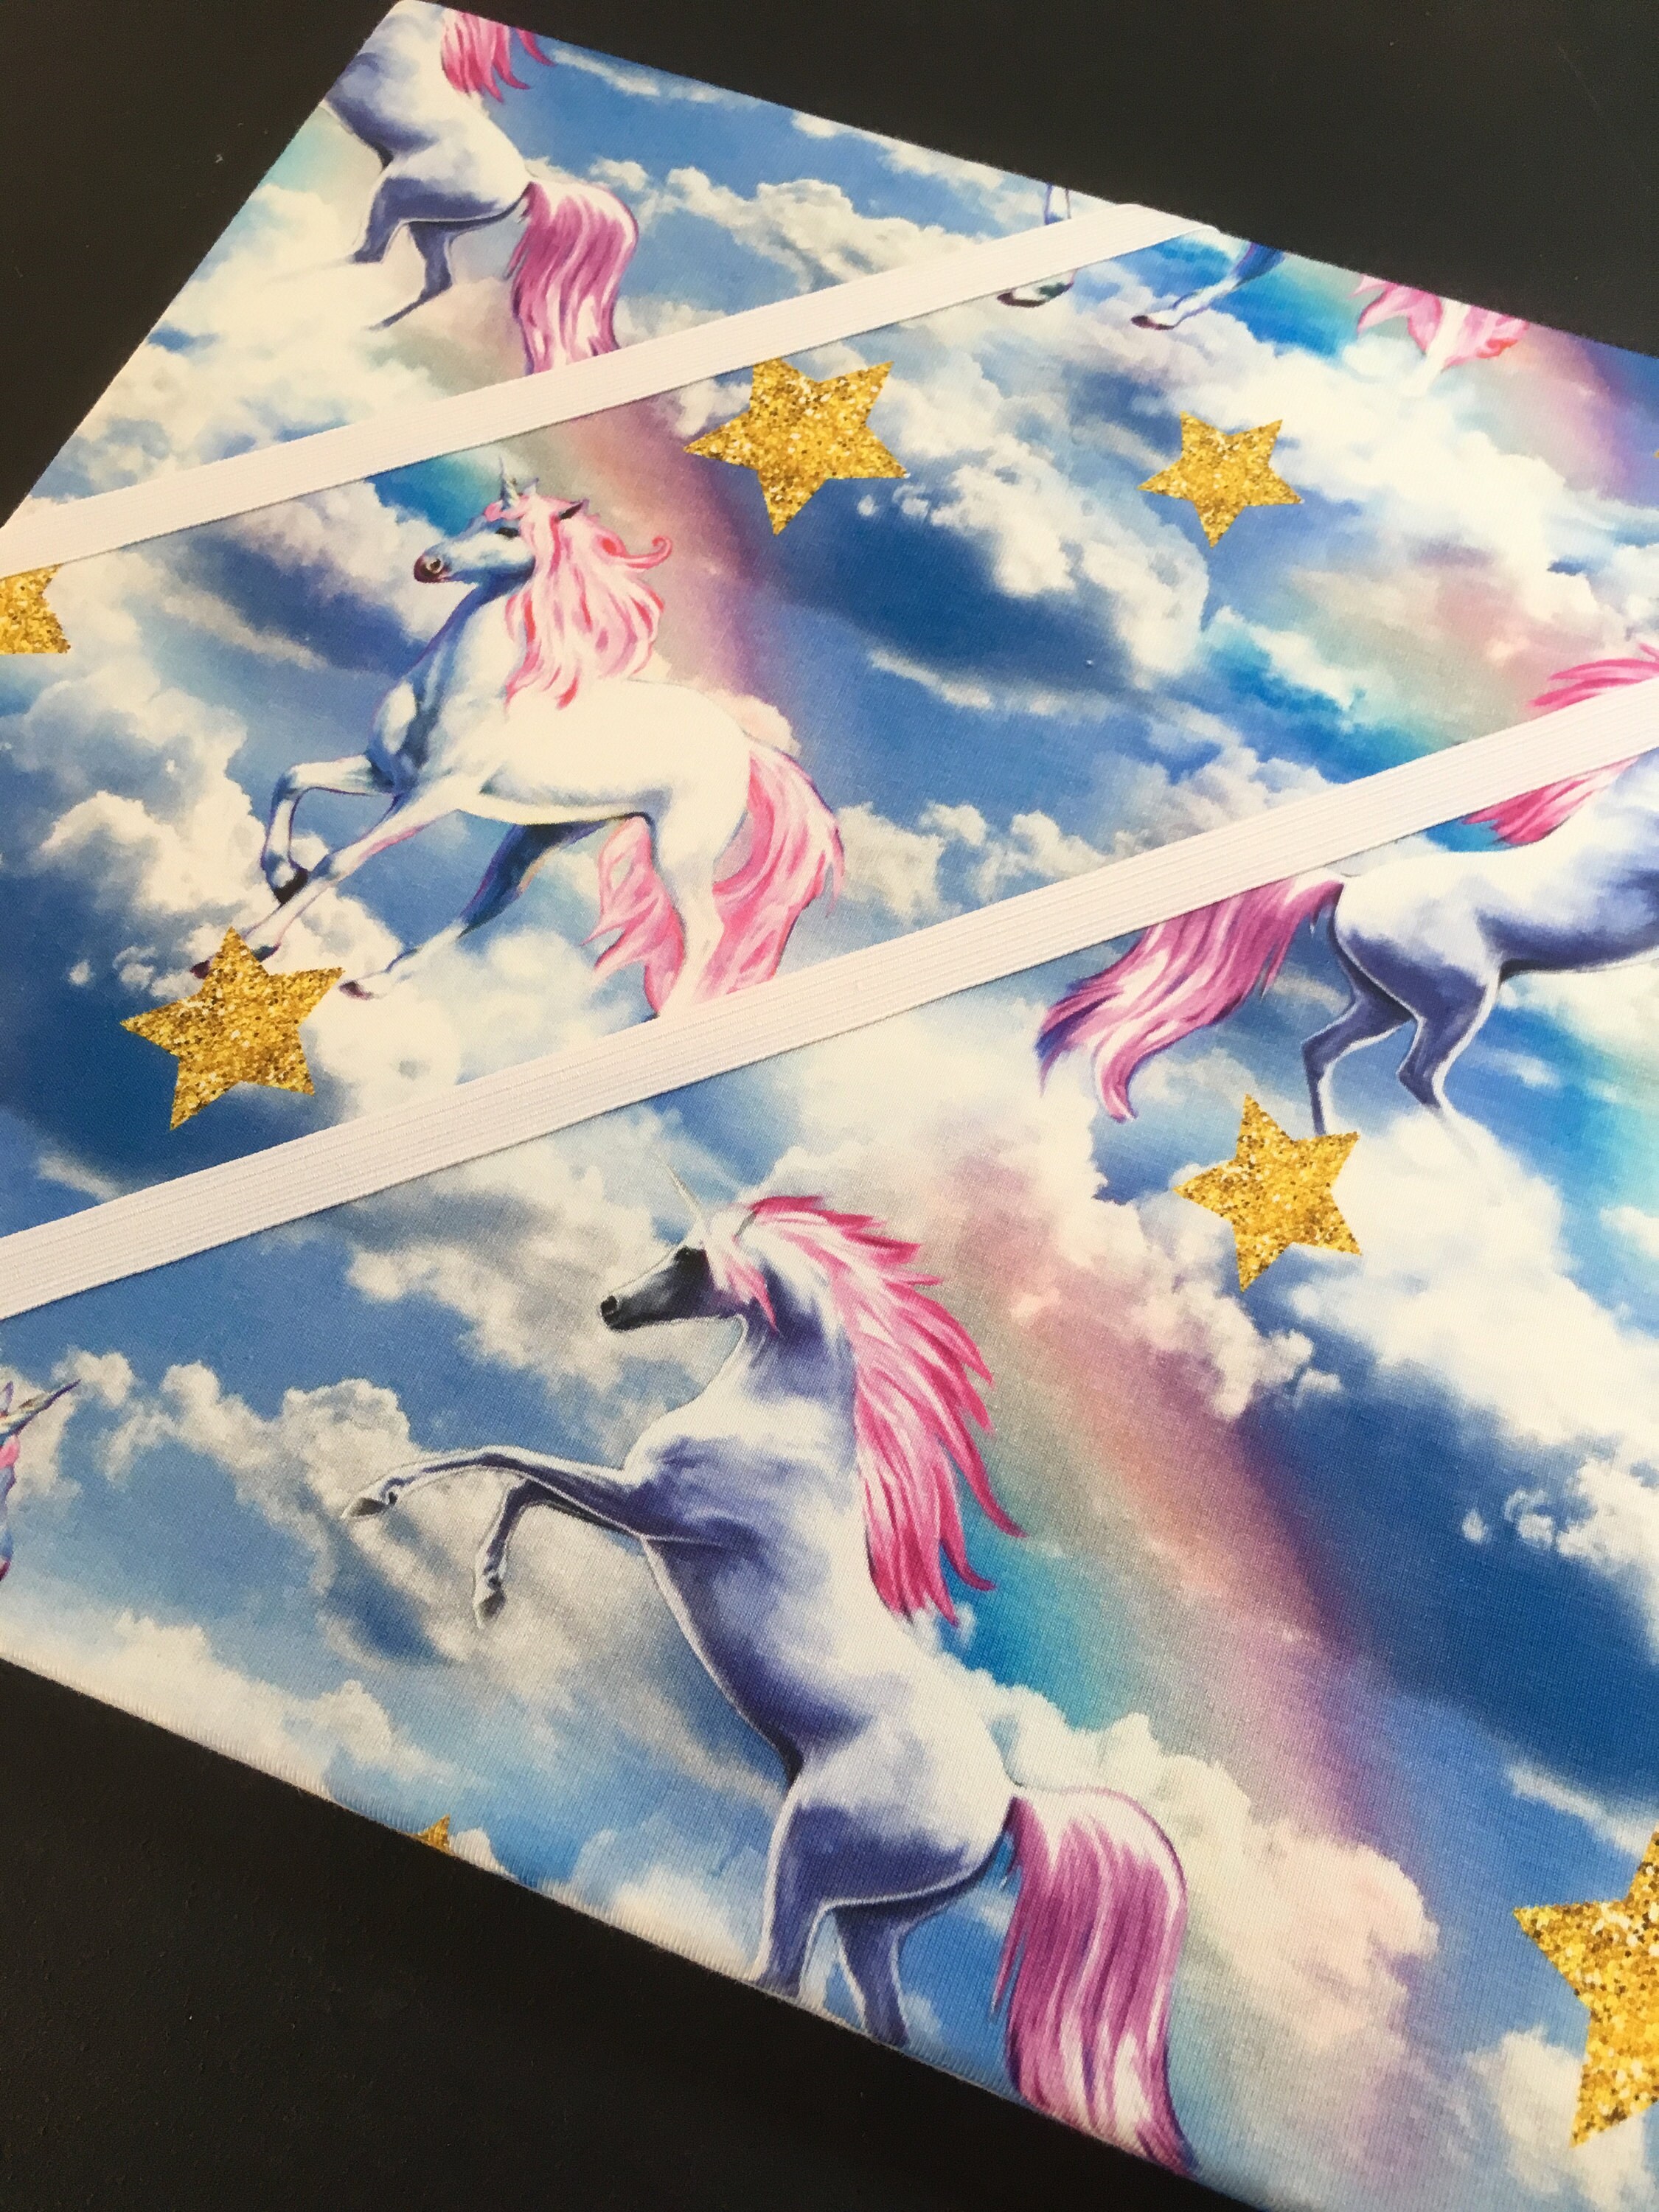
During my last selection meeting I sent Amy a photo of the new digital print cotton elastase jersey featuring rainbows, stars and frolicking unicorns. She replied saying 'This fabric looks like the inside of my head'. I knew instantly that I had to make something for her. She has just started a new job working from home, so I thought a pin board would be a great addition to her home office.
A pin board is such an easy project and the result is so pinterest worthy. Here's my step by step tutorial on how to make it.
You will need:
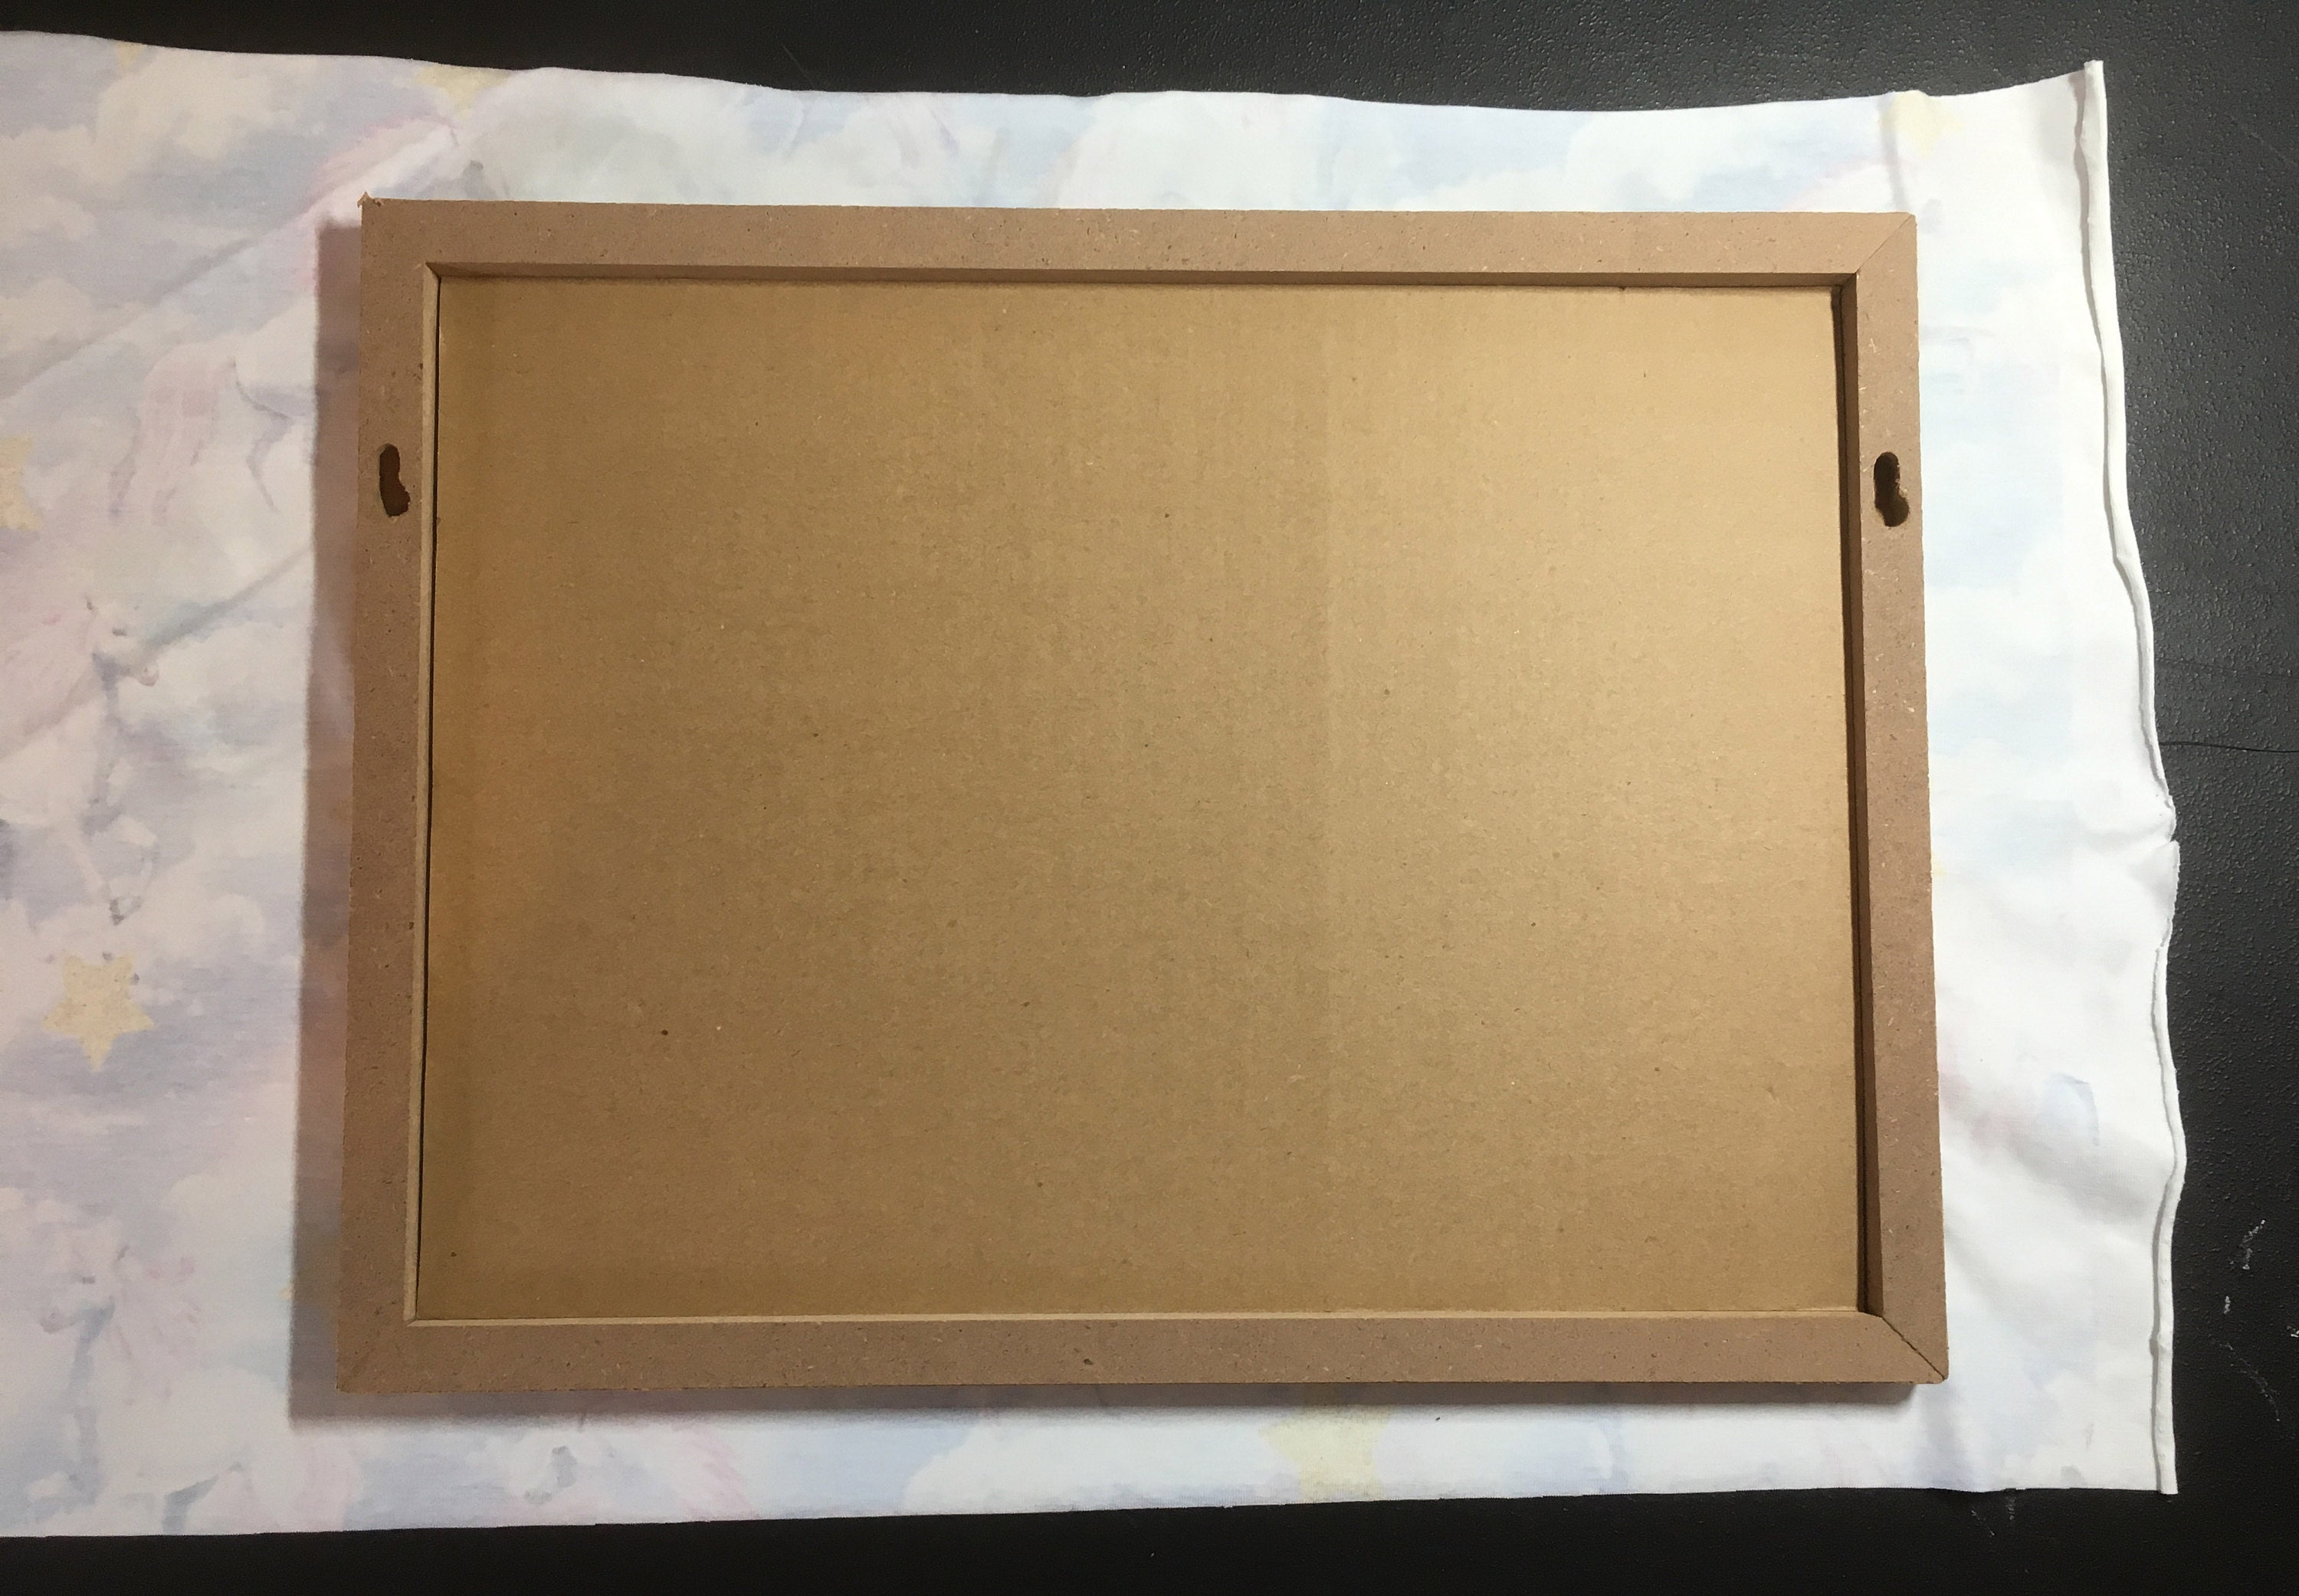
- A cork notice board - without a wooden frame around the edge
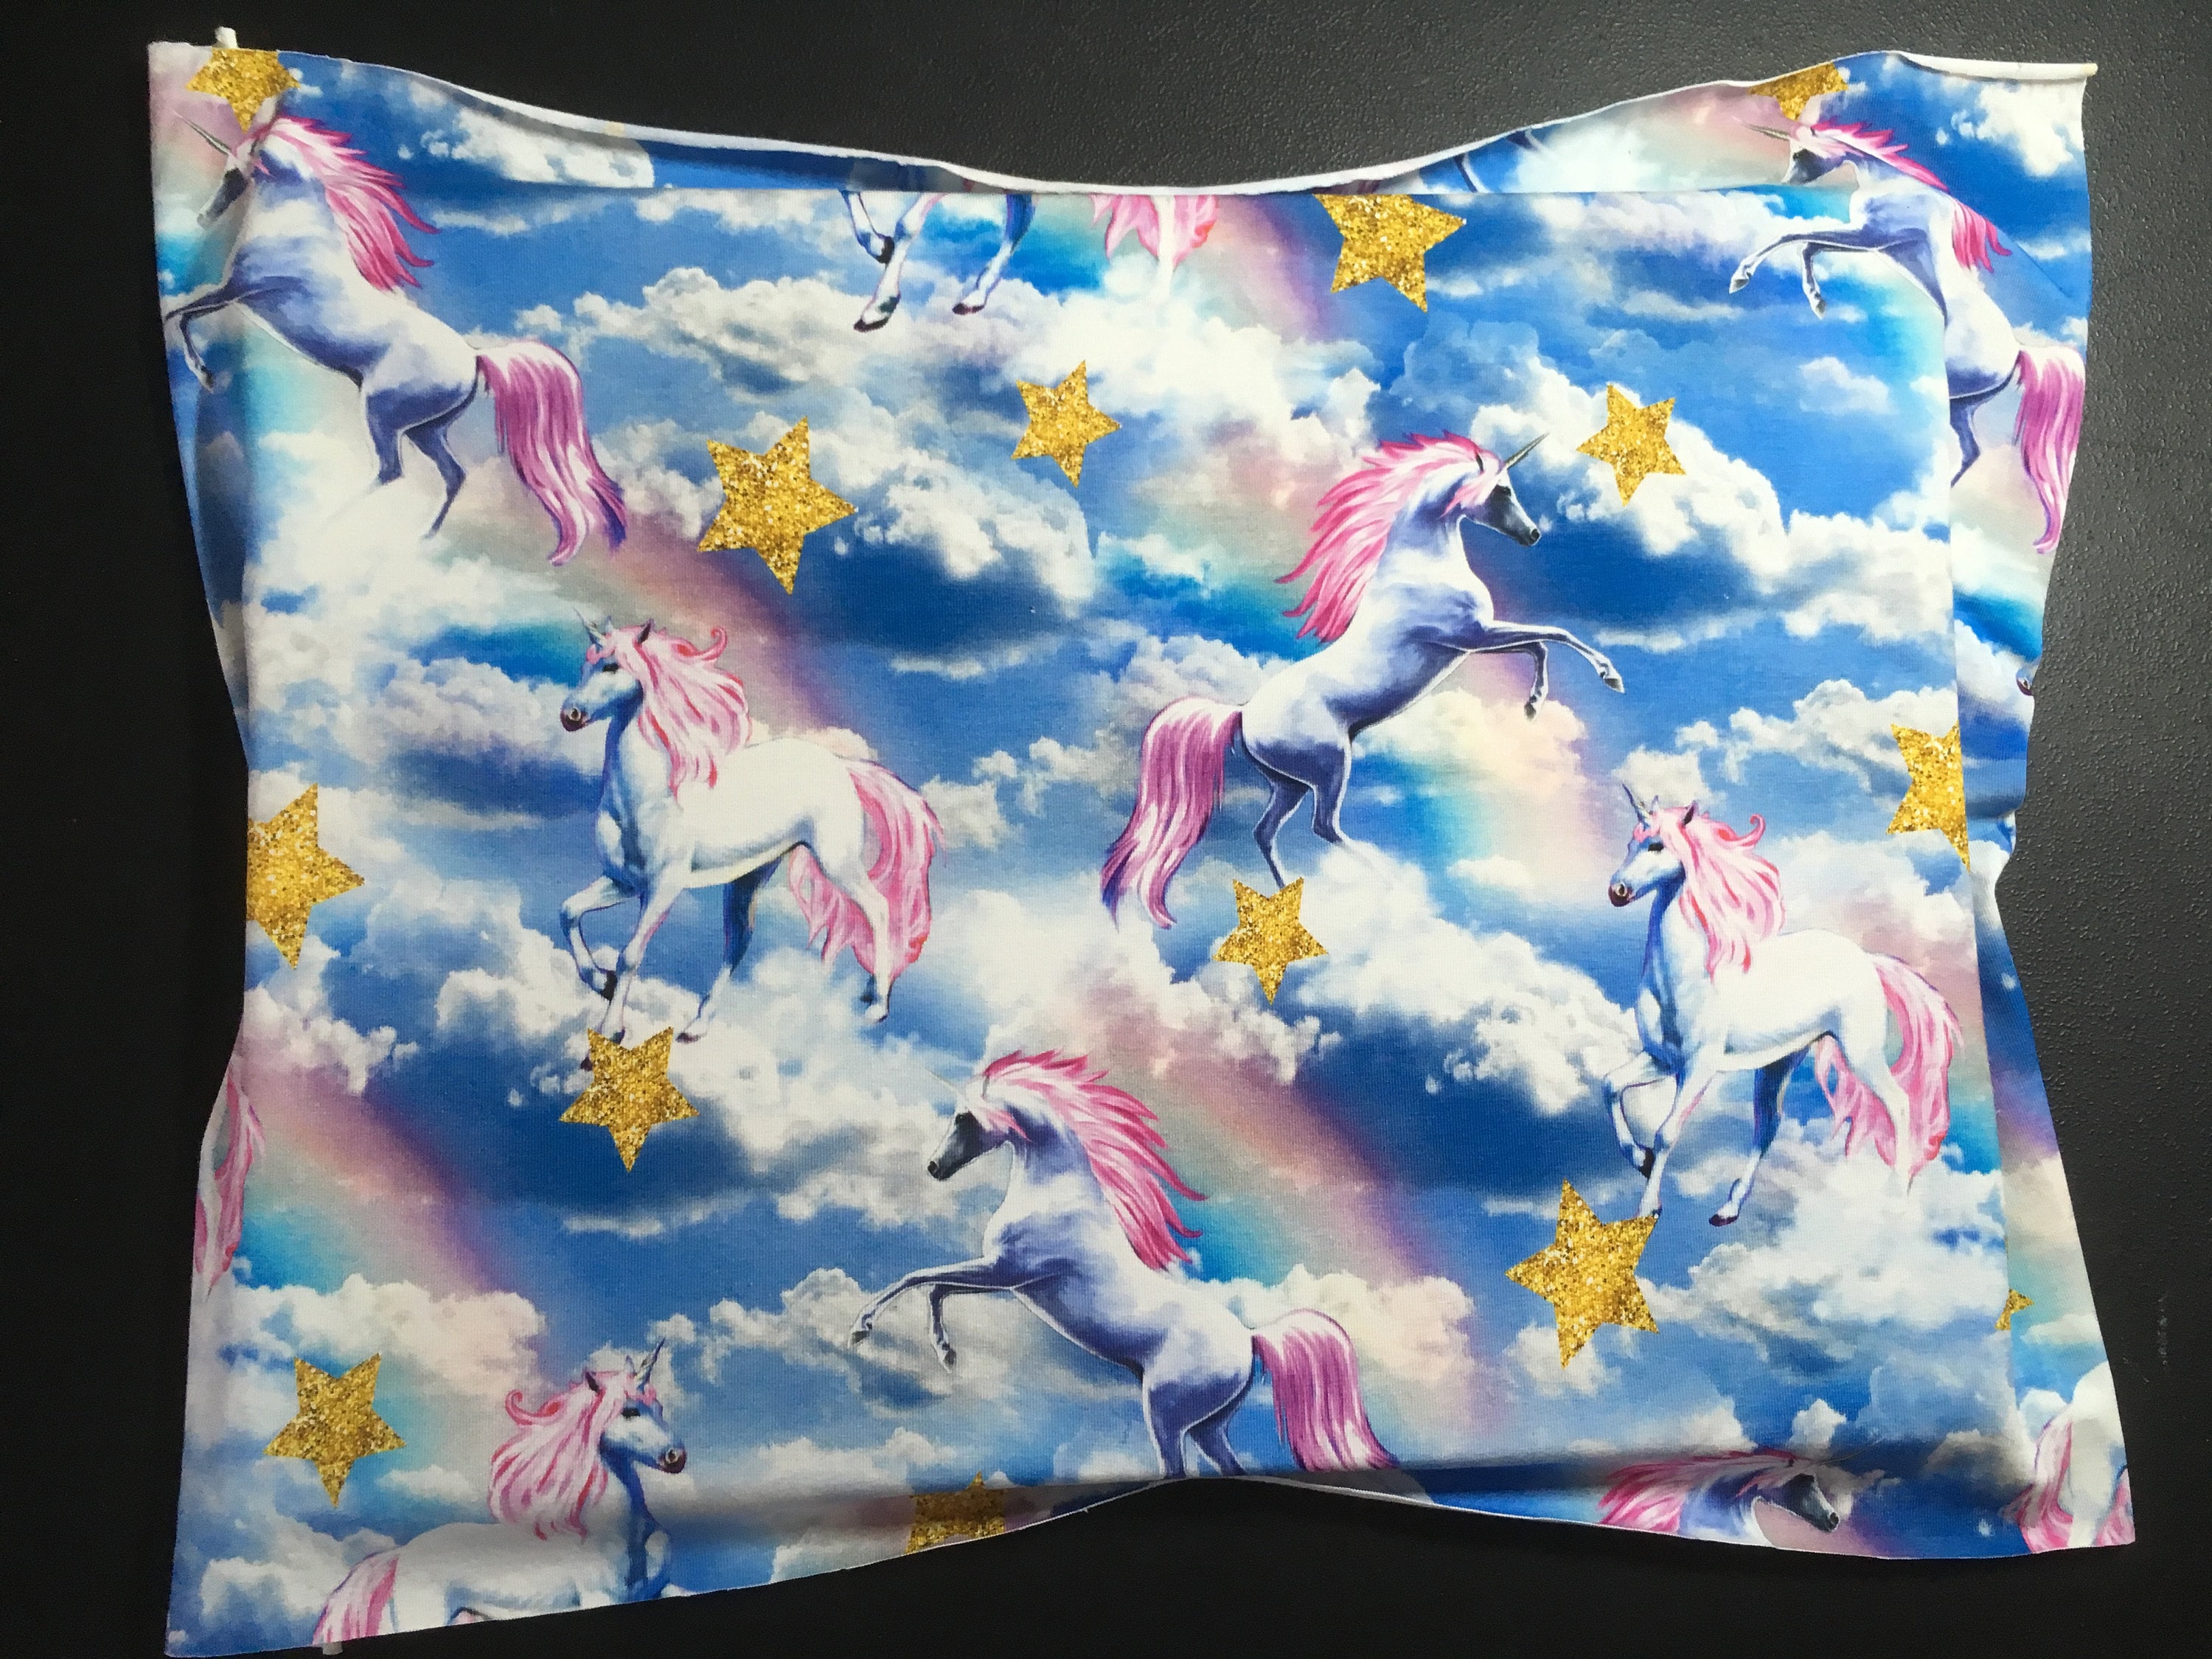
- Fabric - I used Studio Jepson - link below
https://www.etsy.com/uk/listing/554899825/unicorn-cotton-elastane-cotton-spandex?ga_order=most_relevant&ga_search_type=all&ga_view_type=gallery&ga_search_query=unicorn jersey&ref=sr_gallery_48
I used a stretch jersey but this would work just as well with a woven (rigid) fabric.
- Scissors
- You will need a rectangle of fabric a couple of inches bigger than your cork board
- A few metres of elastic
- Staple gun and staples (or some upholstery pins and a hammer)
- Gold flat head upholstery pins
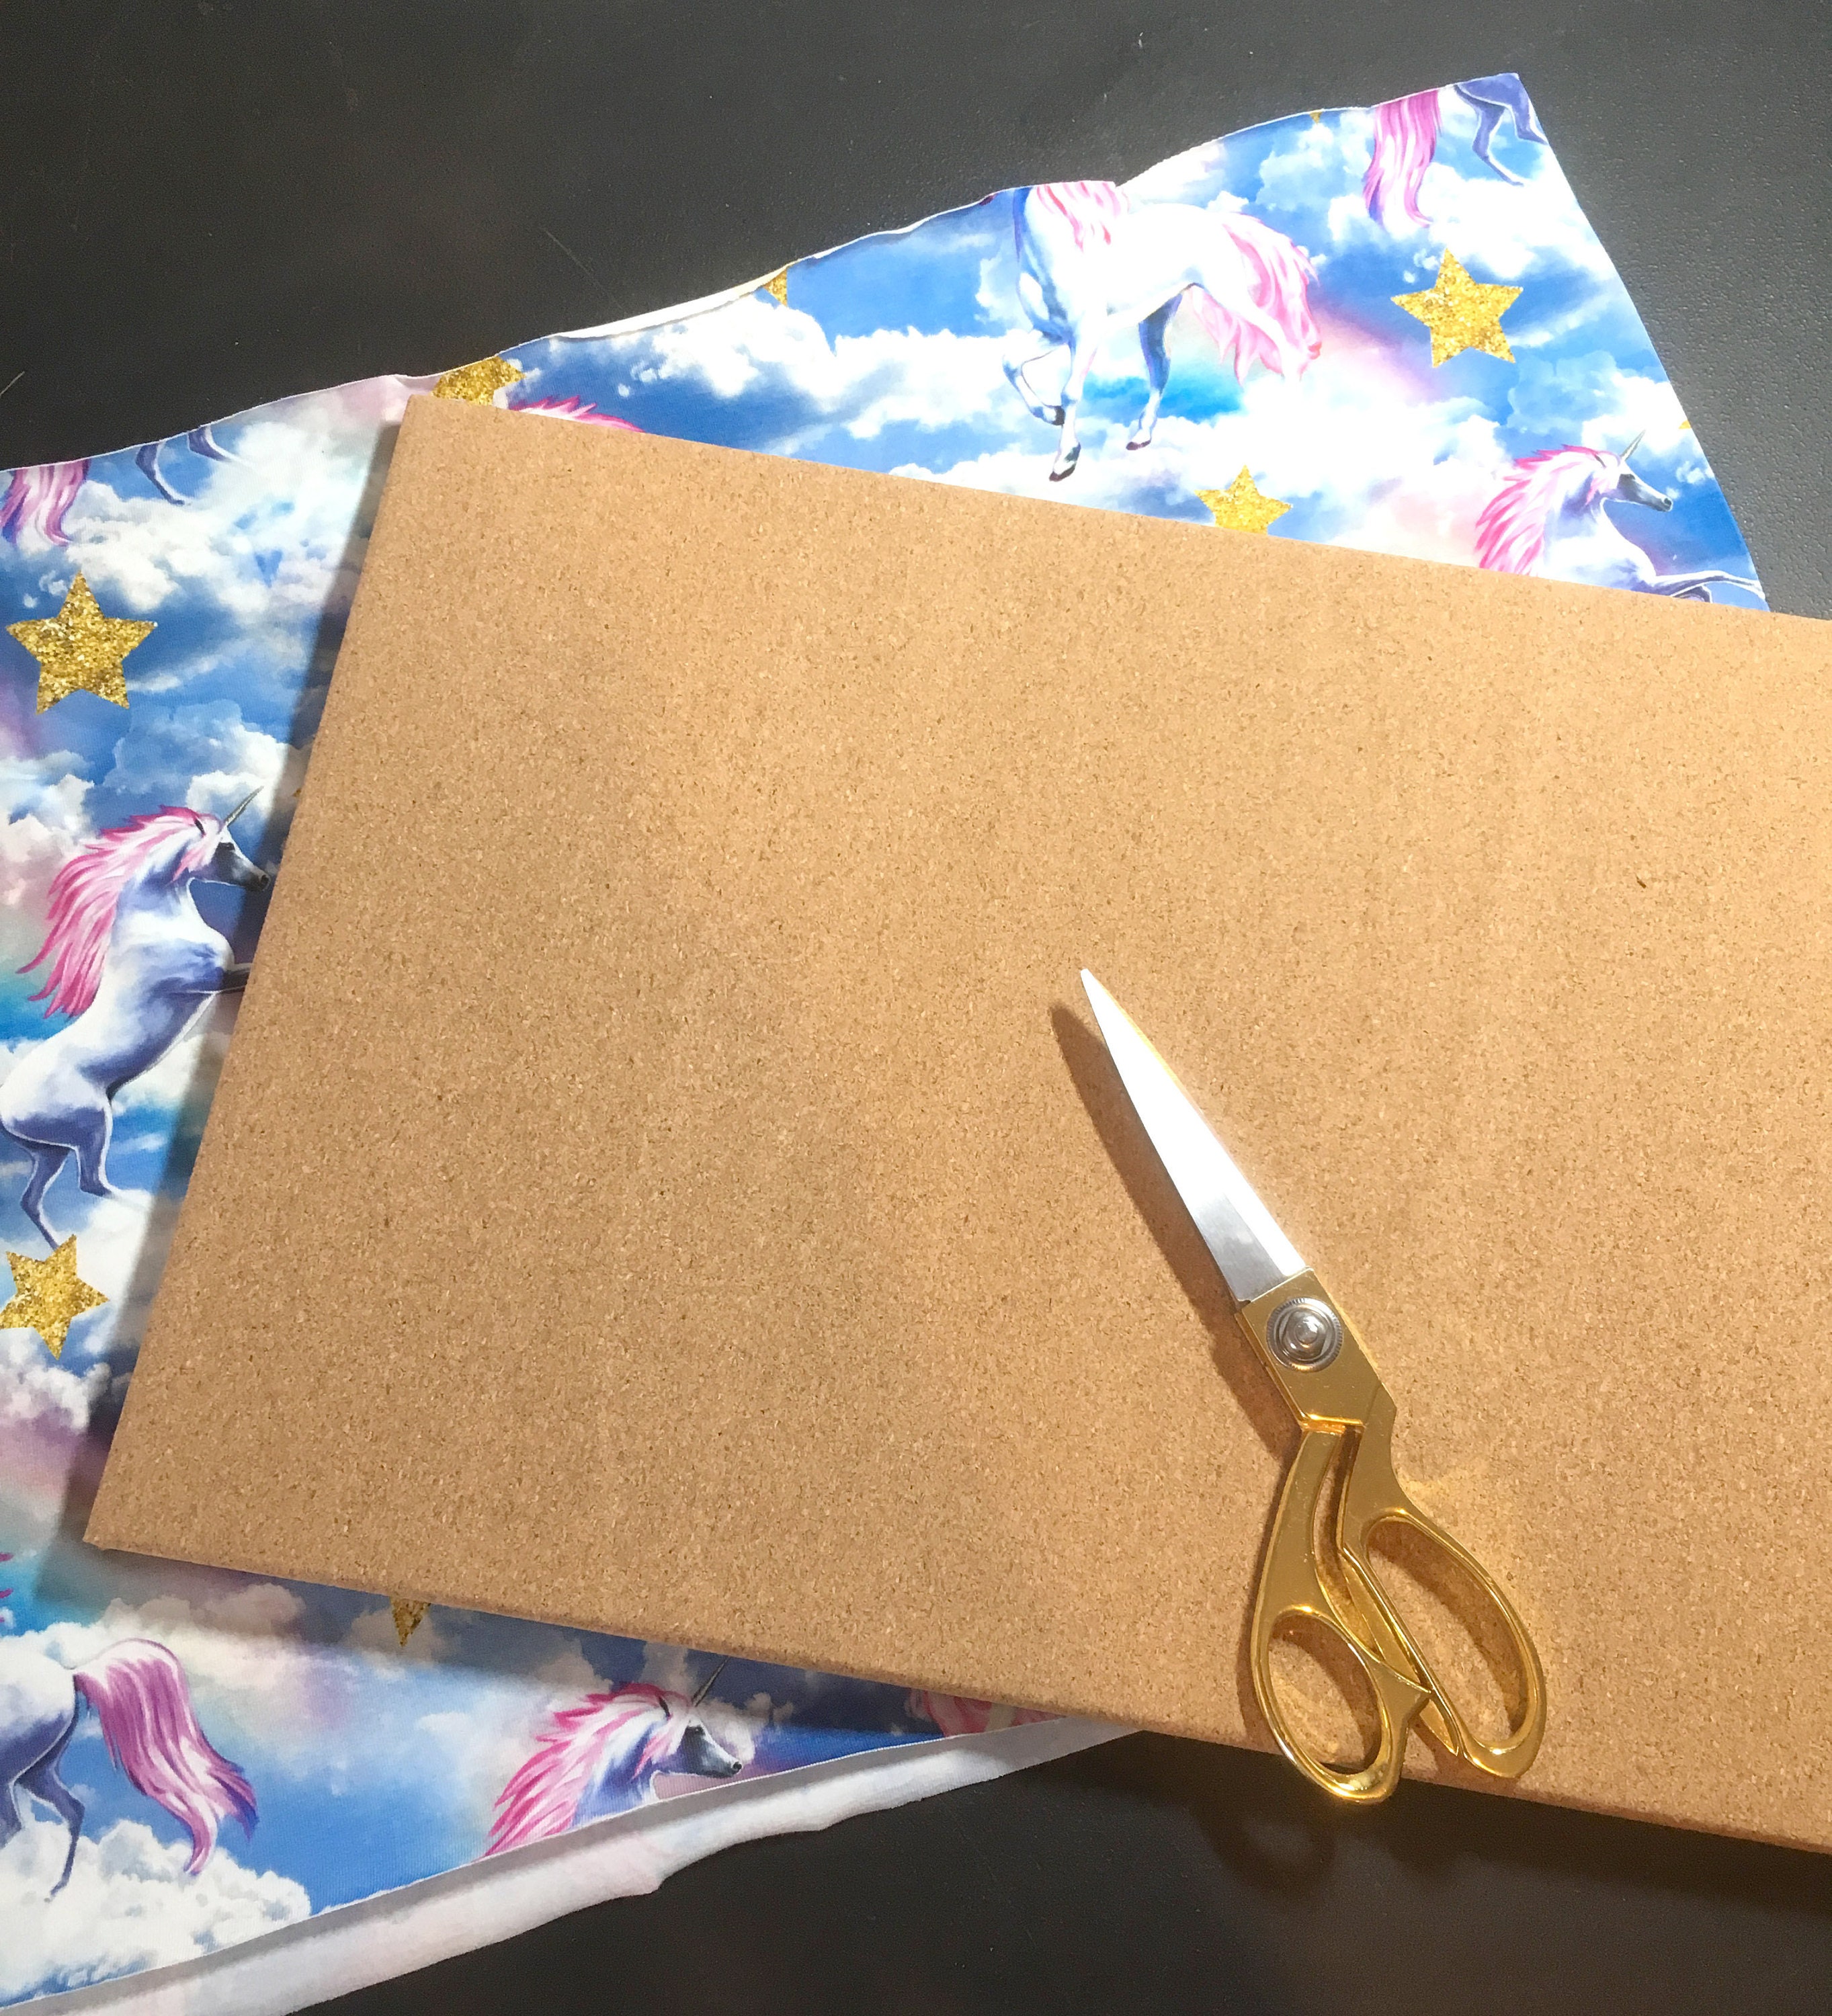
Step one: Cut the fabric to size
Lay the cork board face down on the back of your fabric. You need sufficient fabric around the board to be able to fold it over the edge and attach it to the back of board. I cut a few inches larger than the cork board. Don't worry if you cut the fabric too big, you can always trim down later.

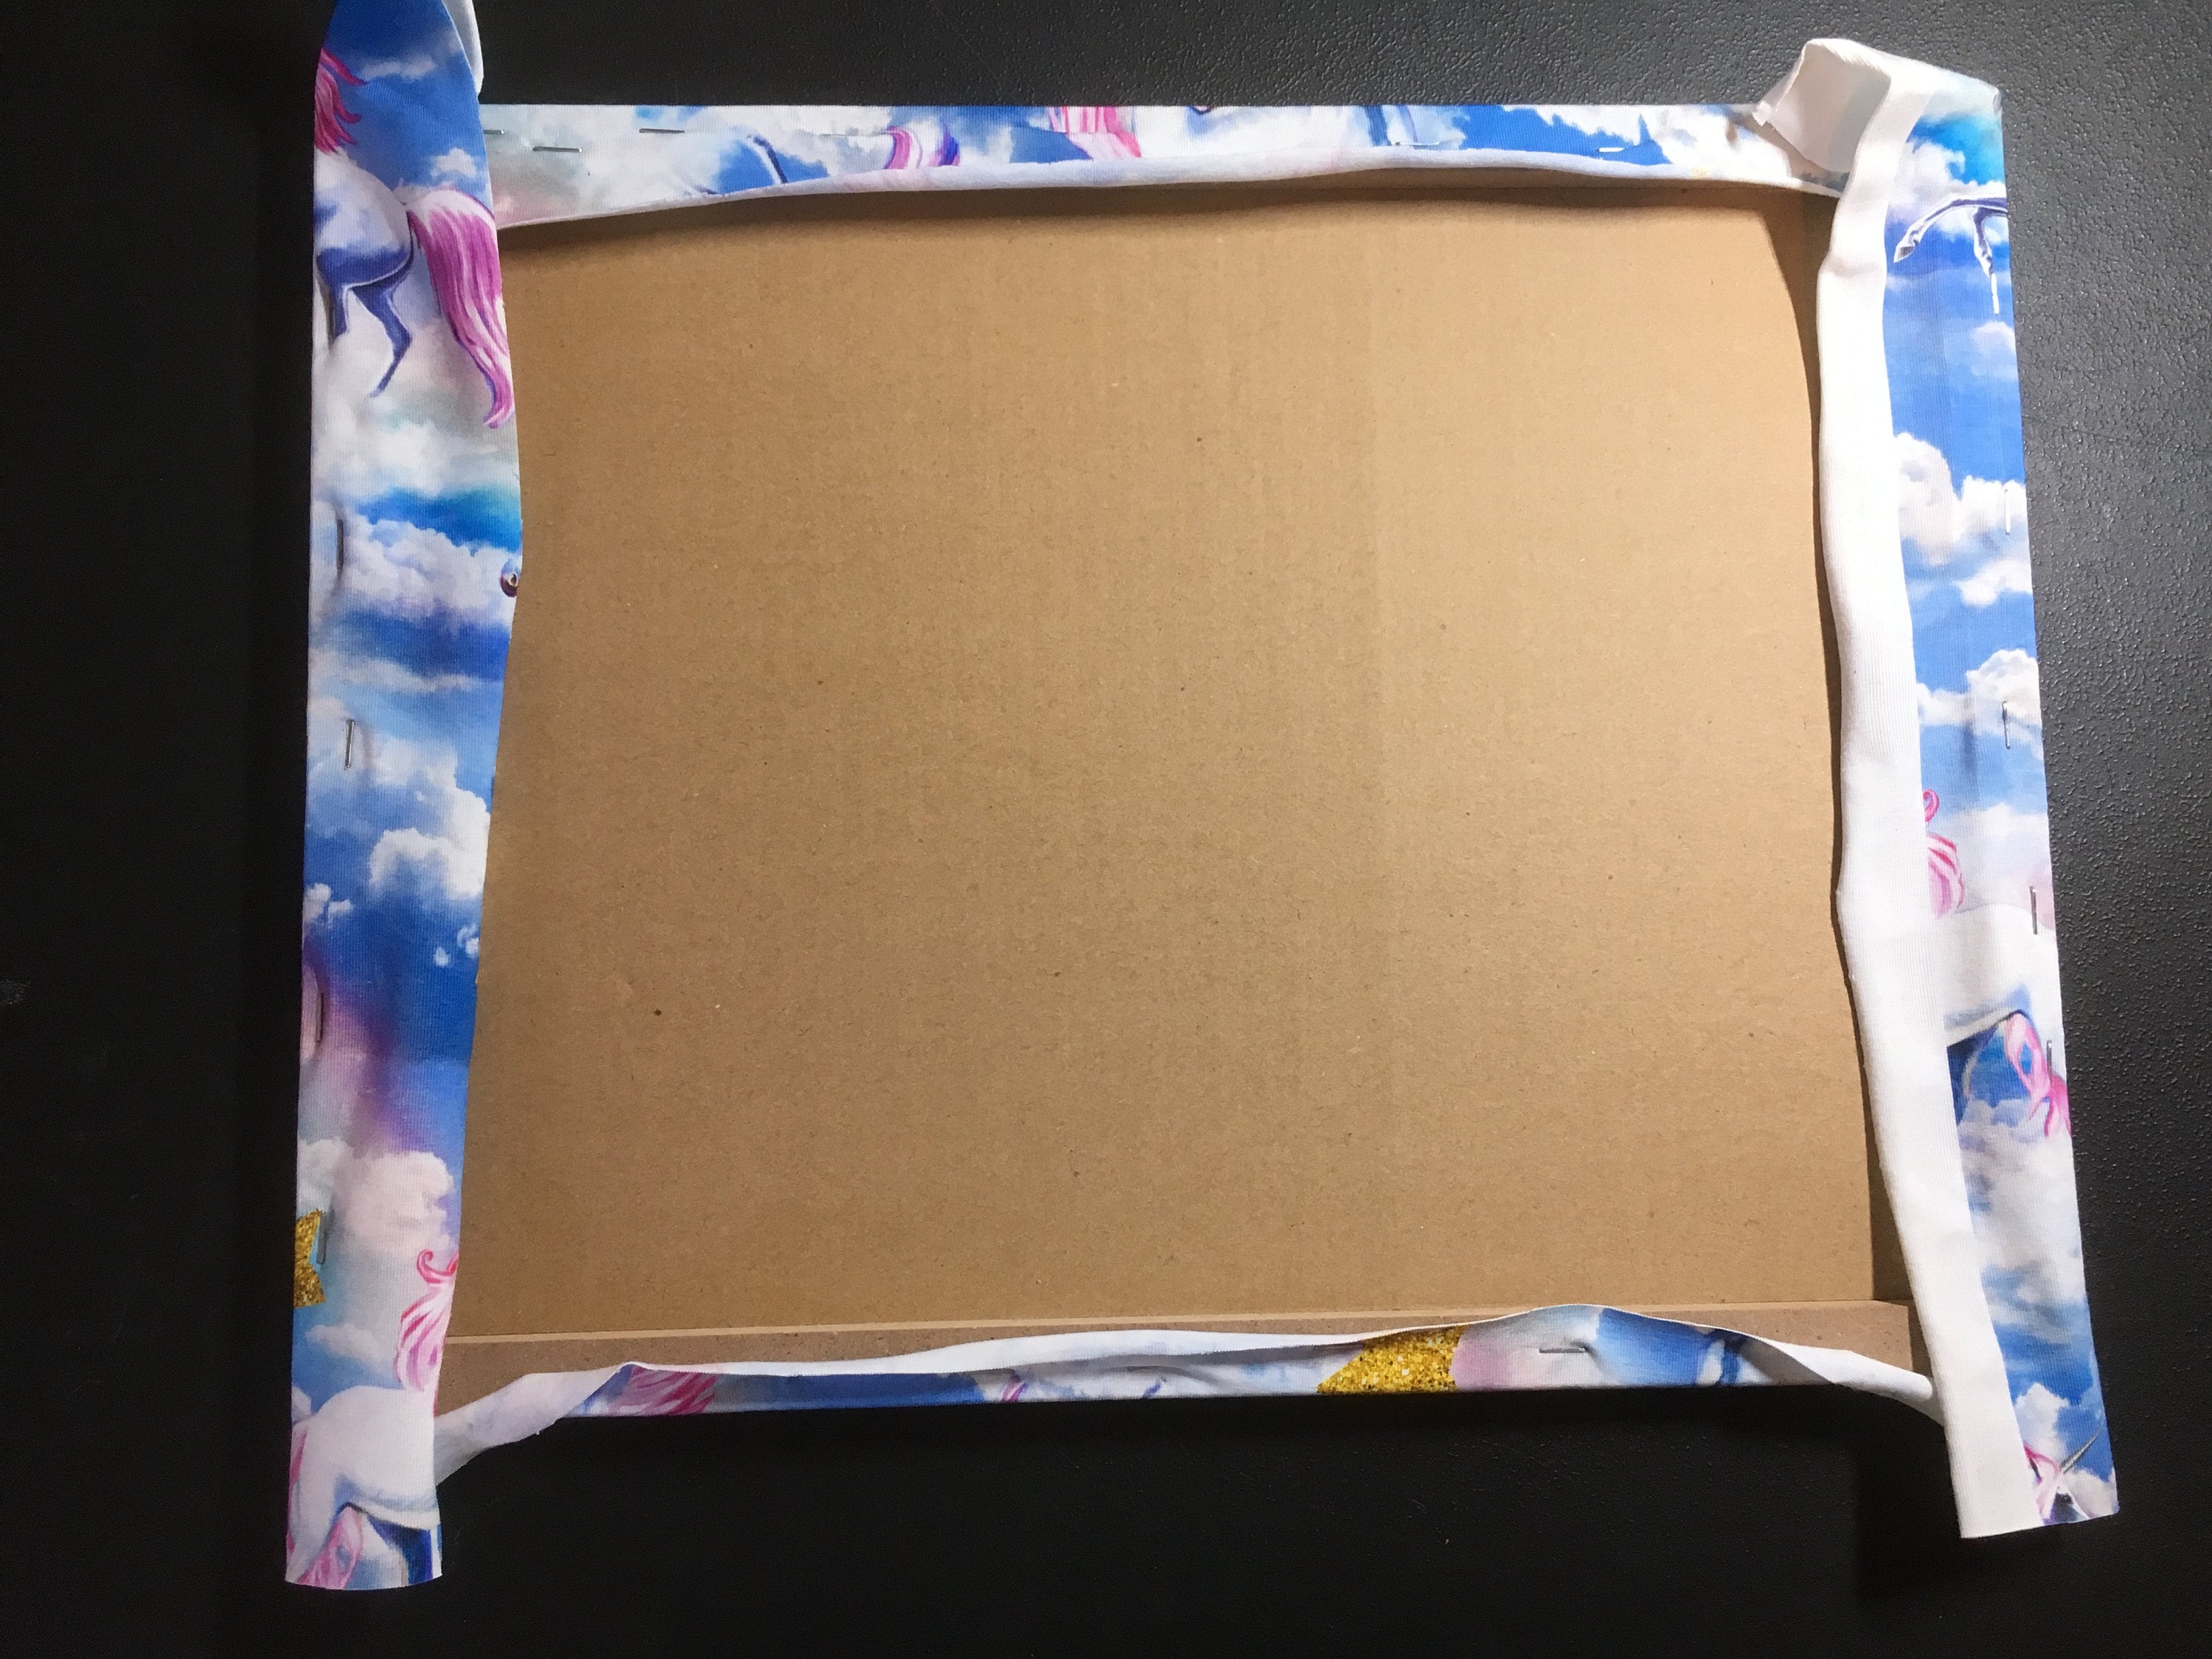
Step two: Secure fabric at centre of each side
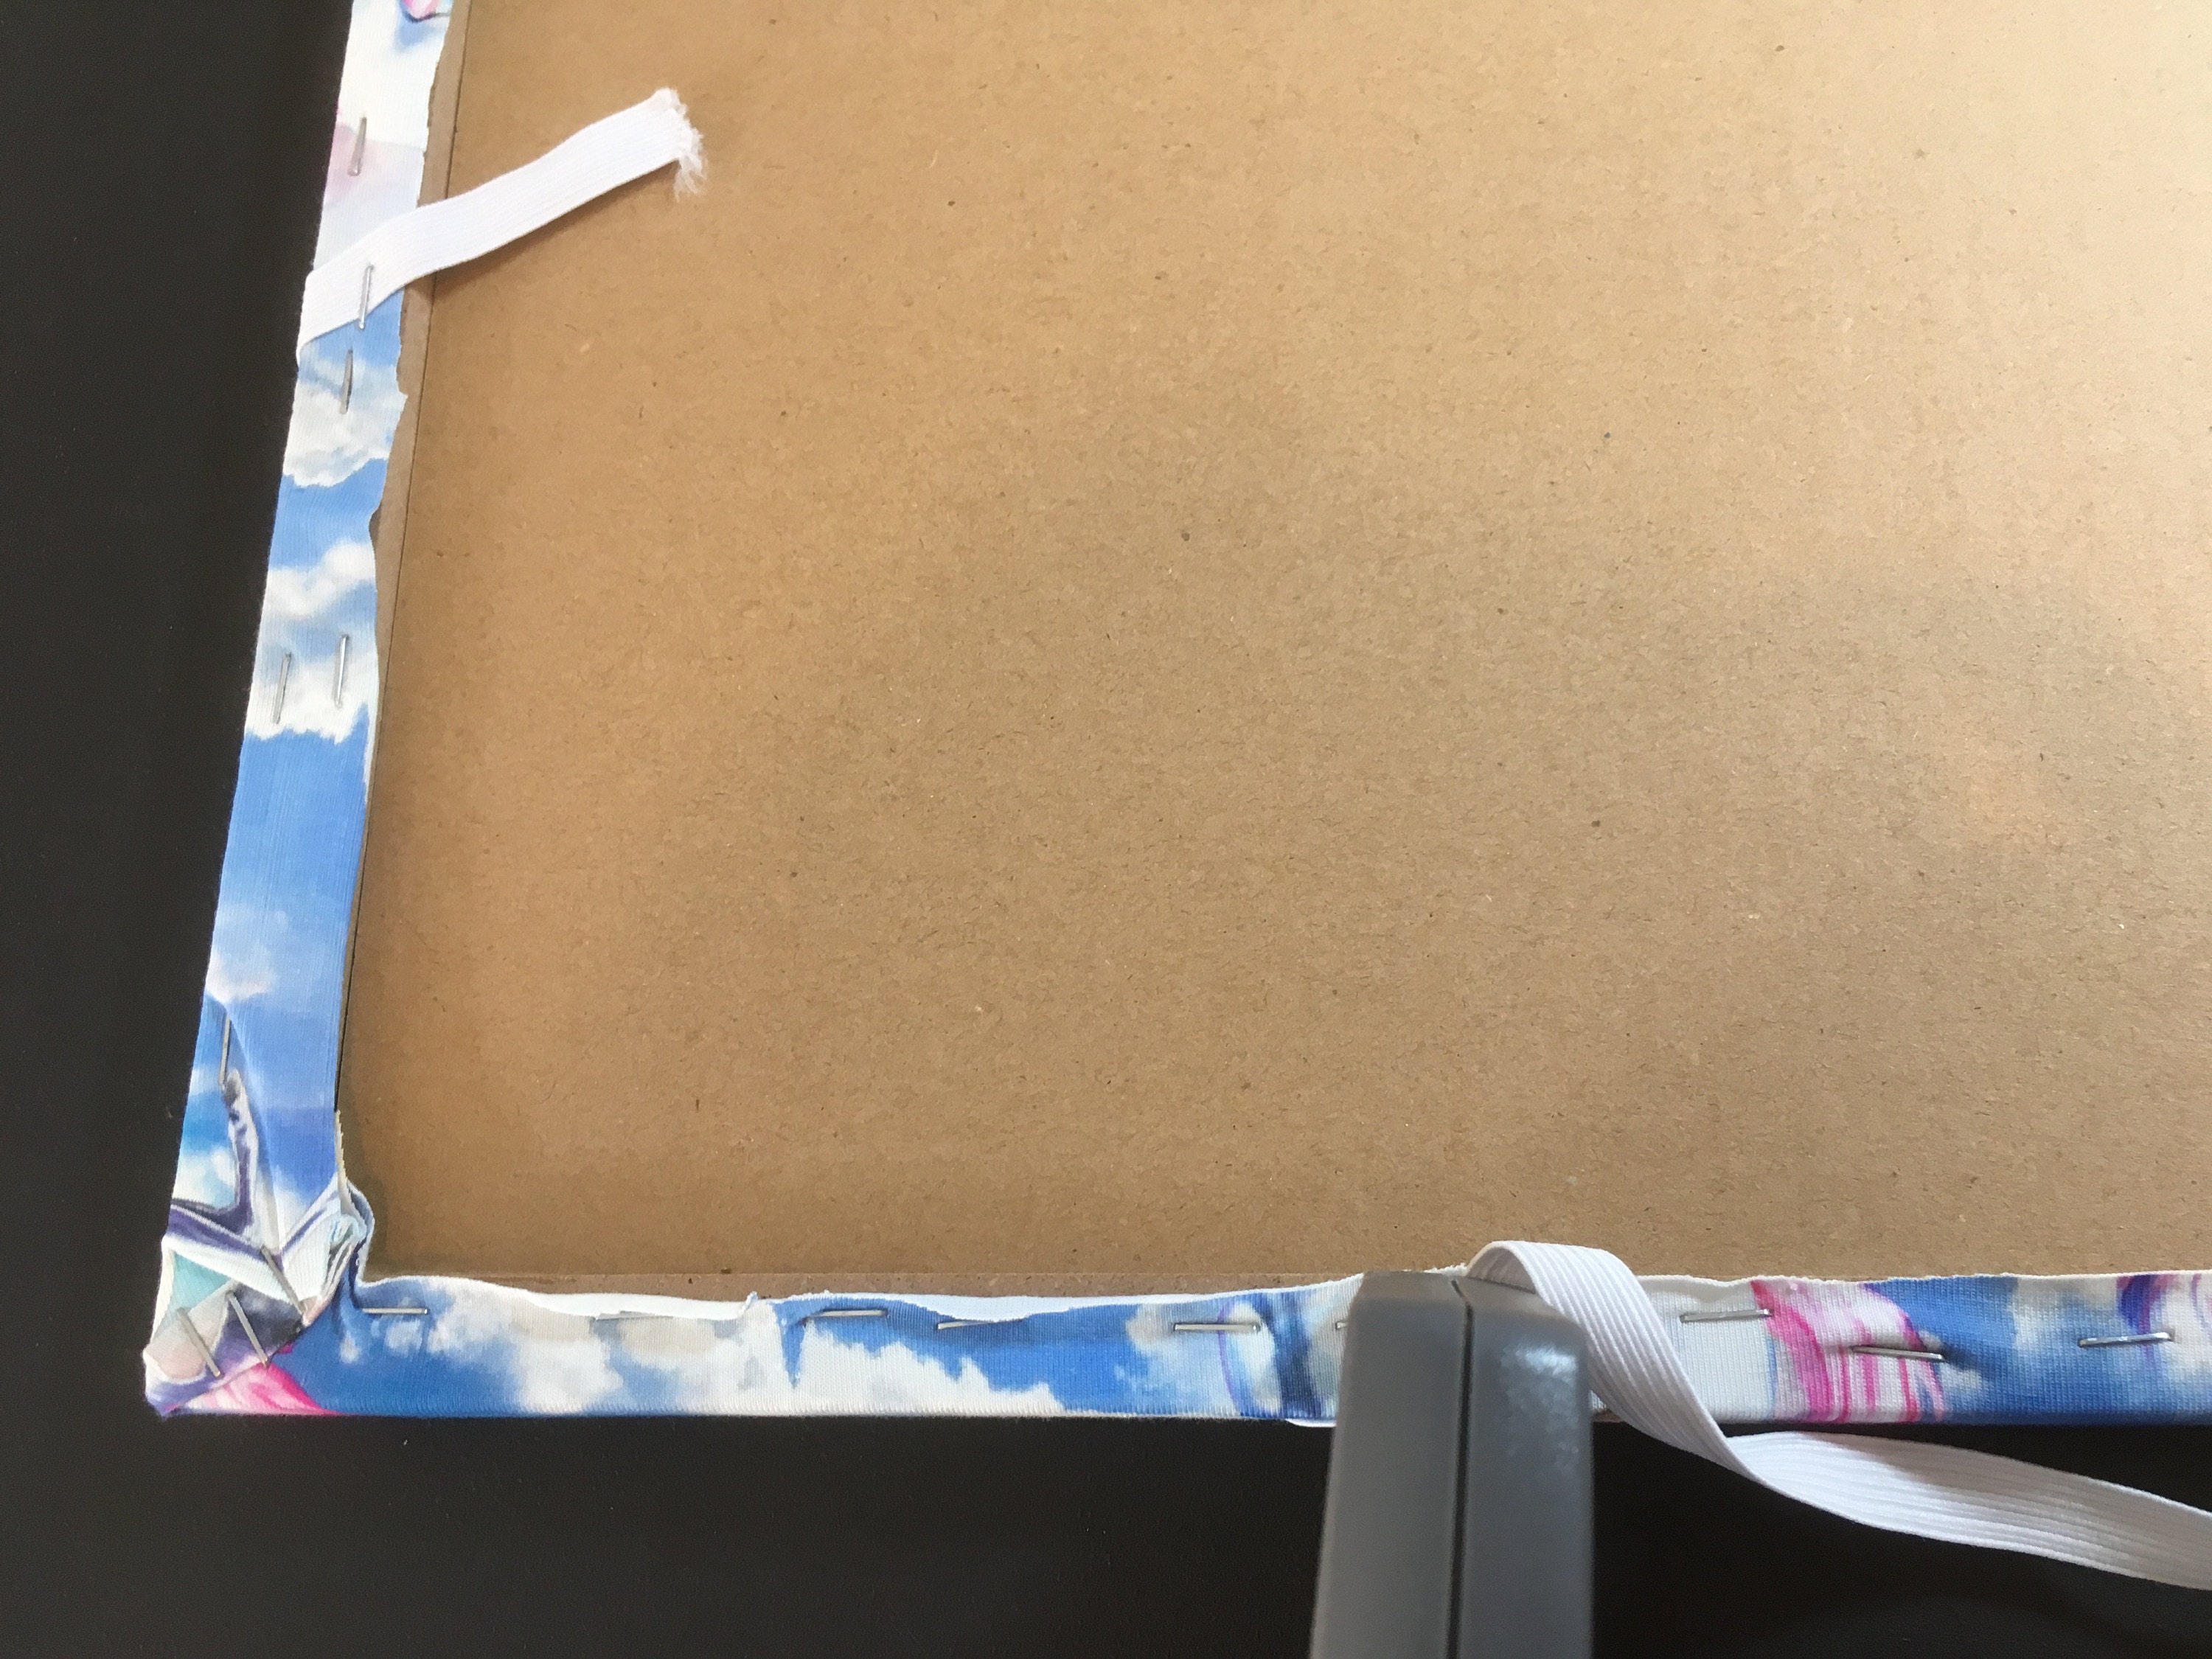
Now we are going to start stapling the fabric into place on the back of the board. If you do not have a staple gun then you can use upholstery pins and a hammer.
Its important to distribute the fabric around the board evenly to avoid any distortion or wrinkles. The best way to do this is to add one staple at the centre of one of the short sides. Then smooth the fabric, ensuring its nice and tight over to the centre of the other short side. You should now have one staple at the centre of each of the short sides.

Now repeat the same process for each of the long sides.
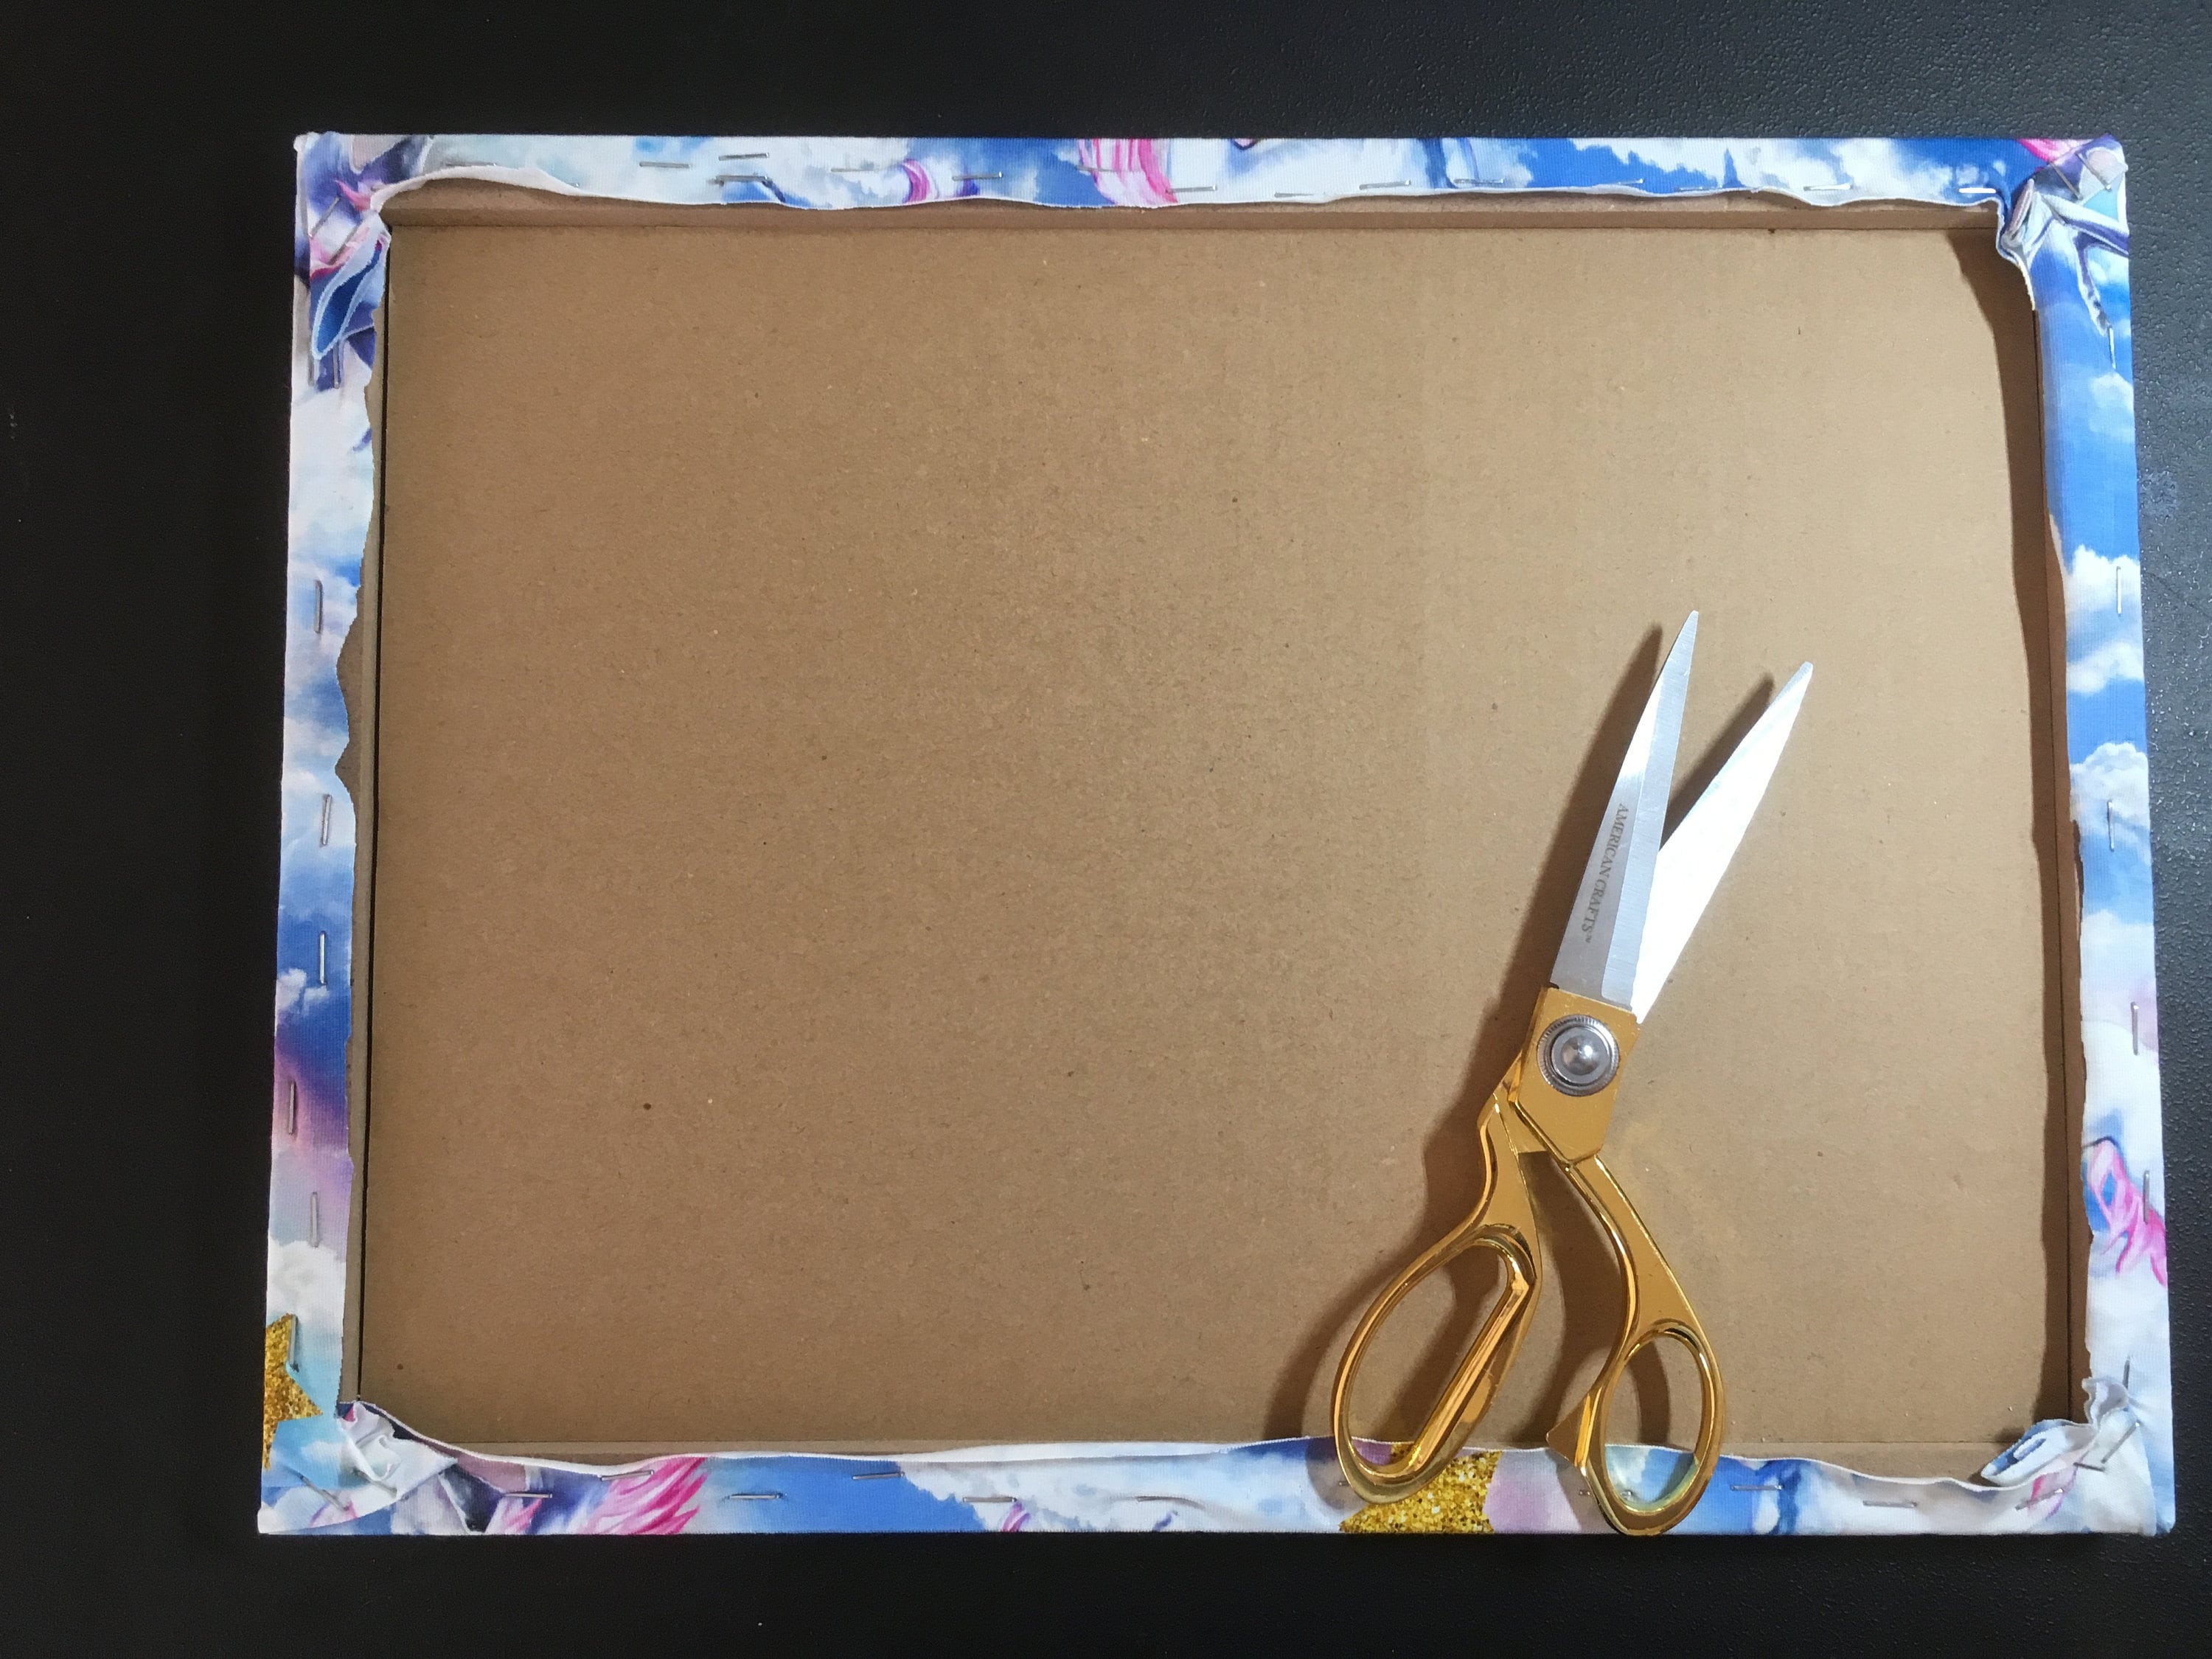
Step three: Continue to staple all around the board including the corners
Once those first four staples are in turn the board to the right side and double check the fabric is looking nice and taught and isn't wrinkled or stretched.
Now we can staple down the rest of the fabric. Work your way around the board stapling the fabric down, whilst continuing to ensure the fabric is nice and taught.
I approached the corner just like I would when wrapping a present. Fold the corners as neatly as possible and staple, making sure that it looks nice and neat from the right side with no bumps or ridges.
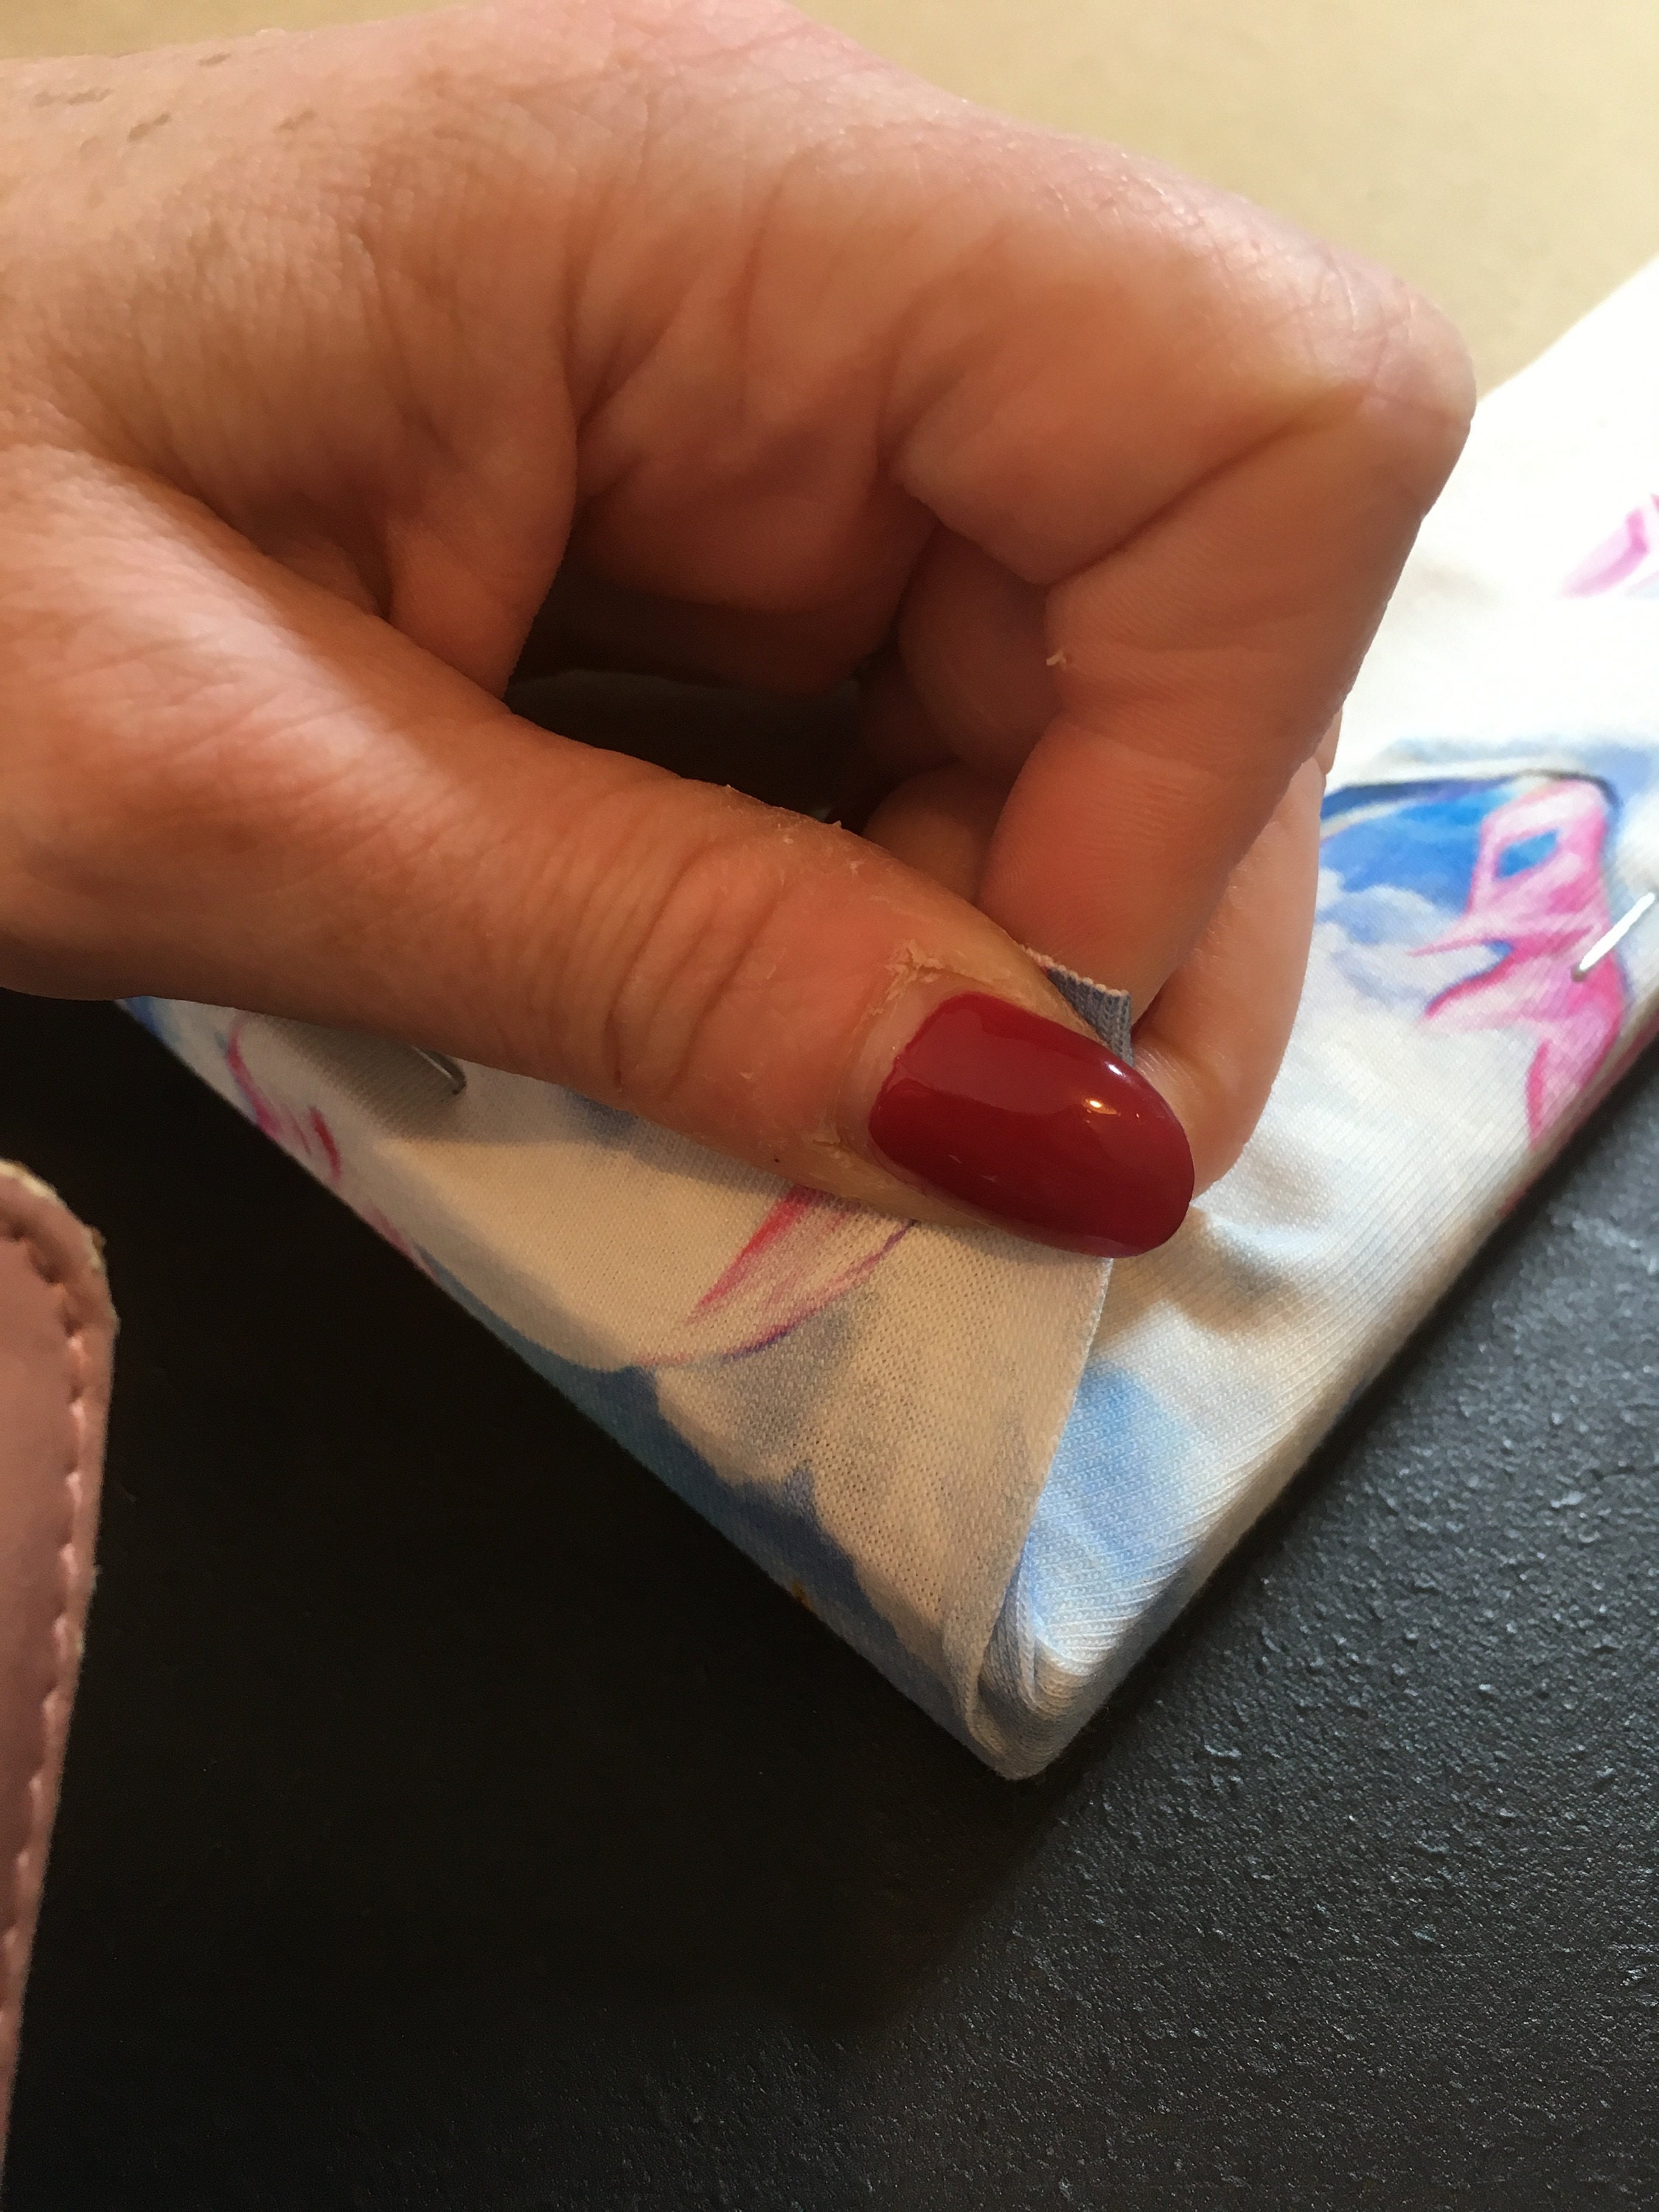
I then trimmed the excess fabric from the back of the board.

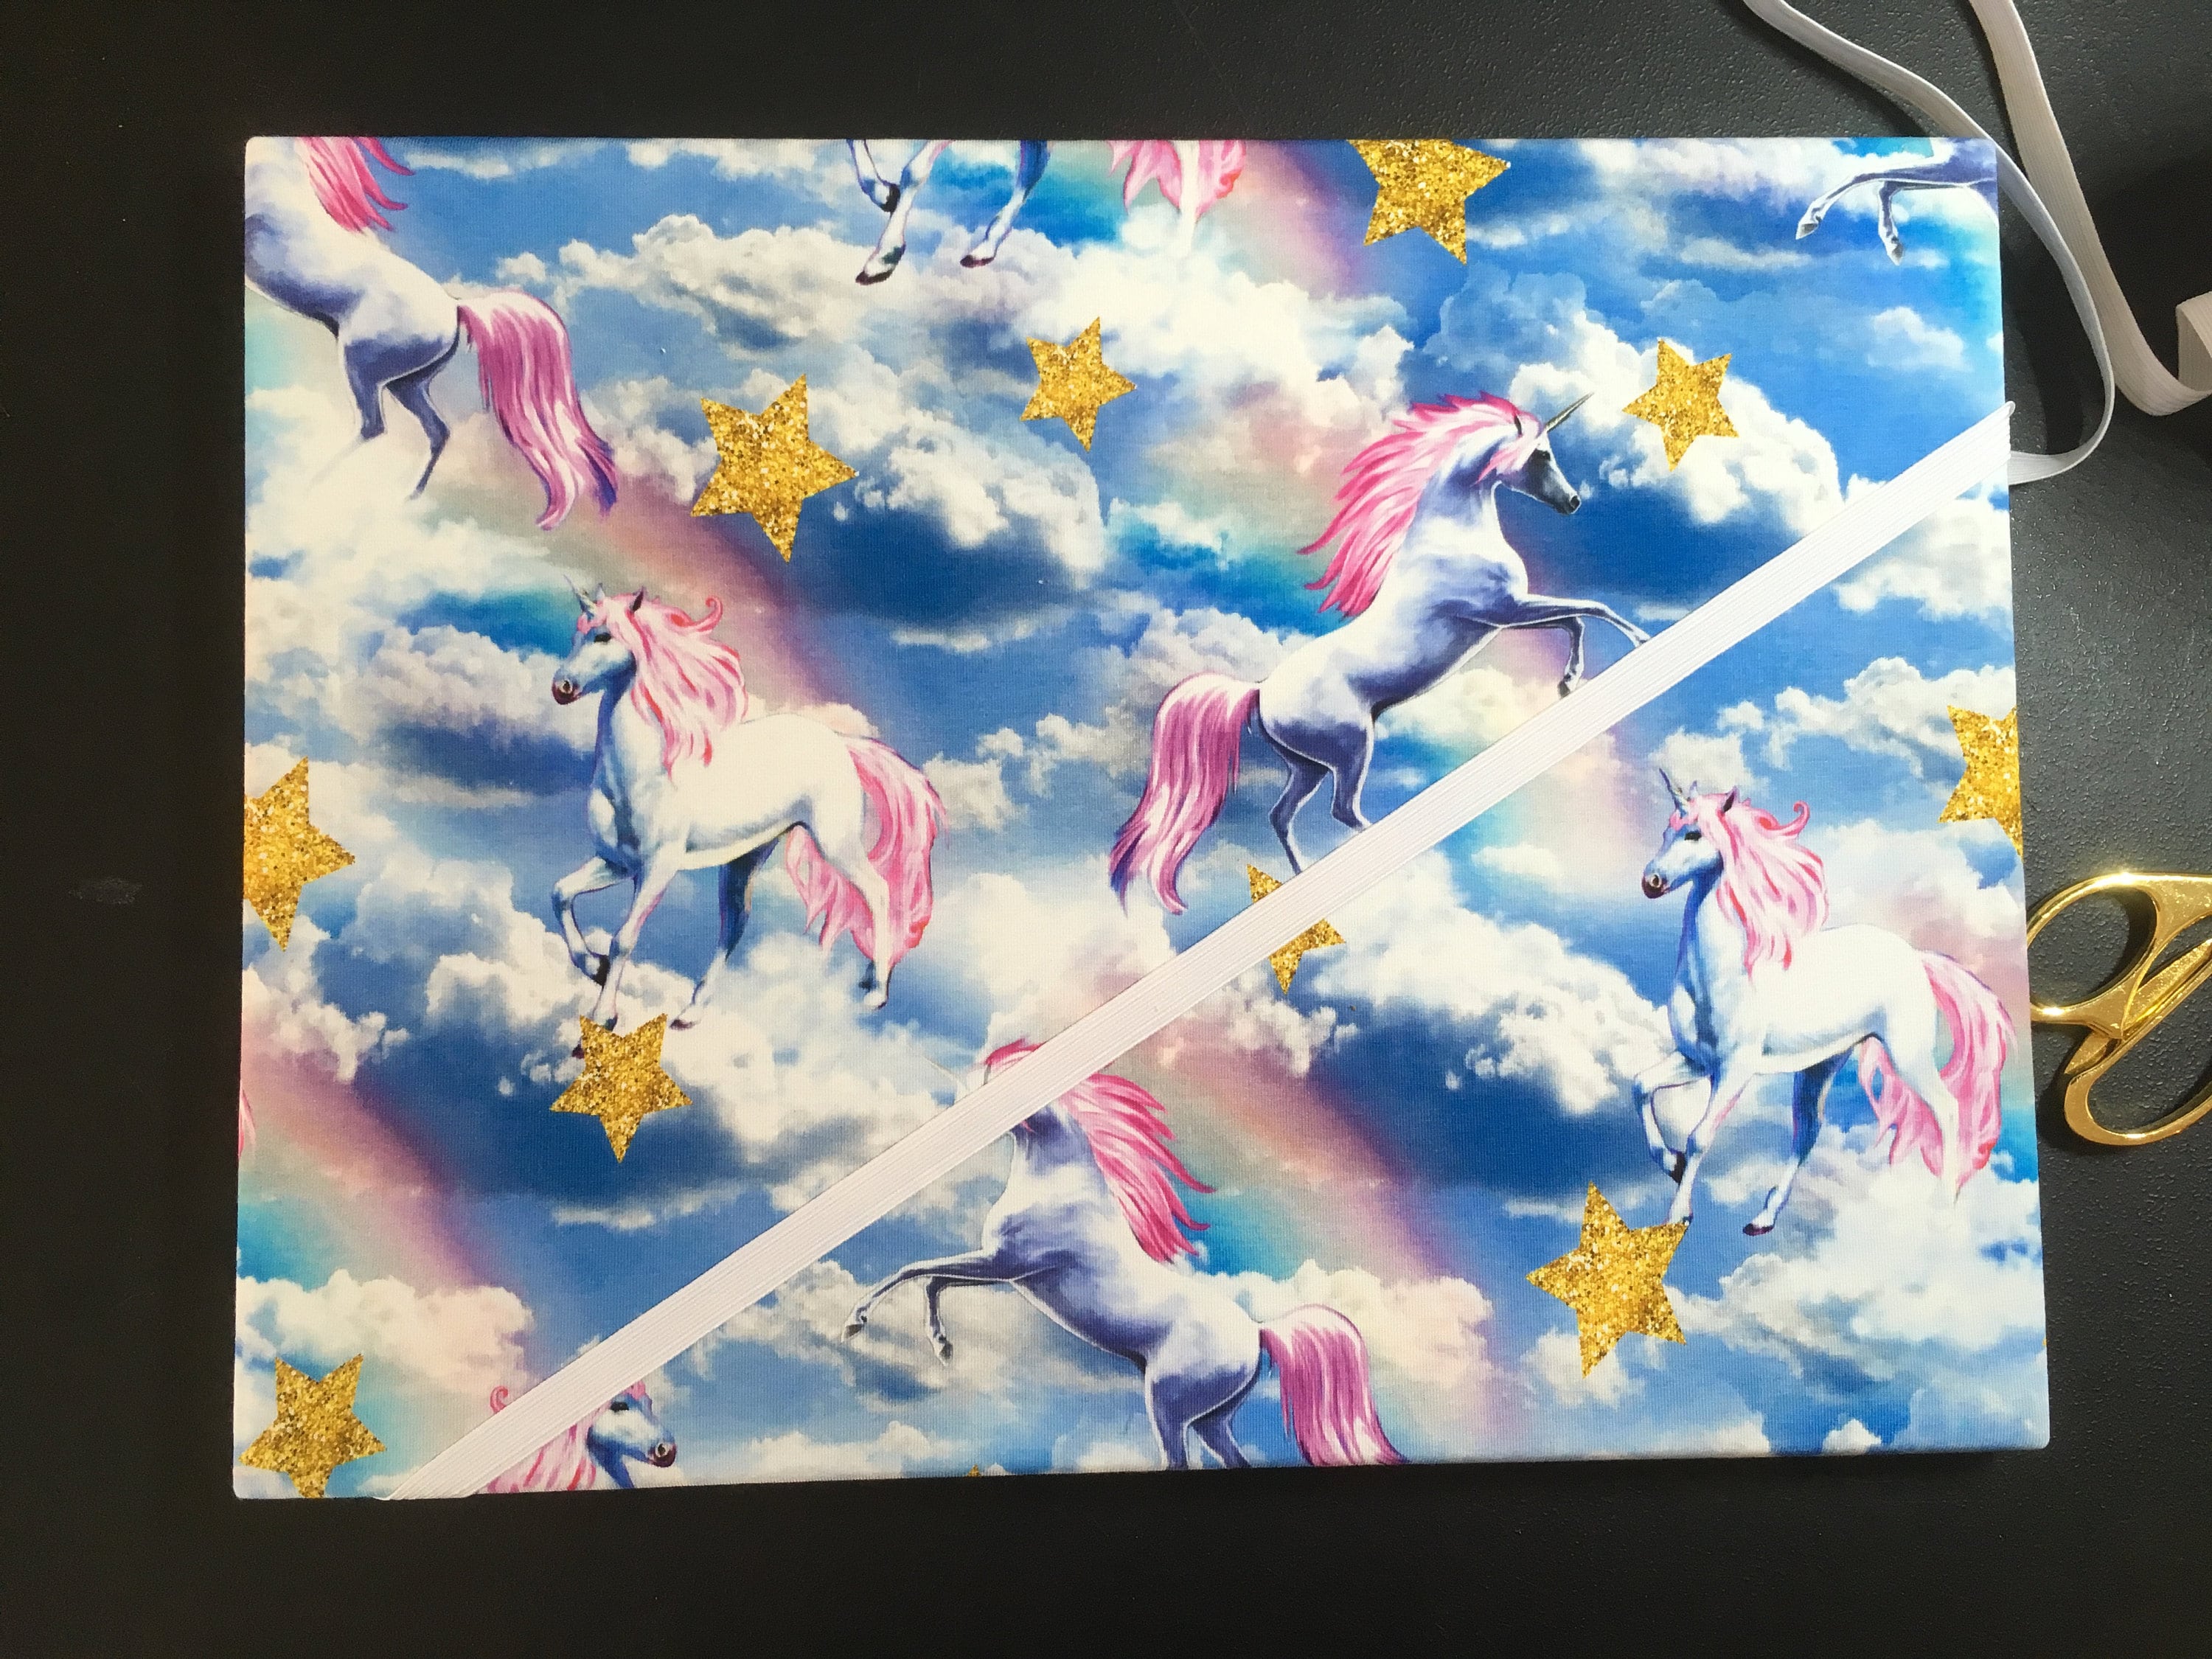
Step four: Add the cross over elastics
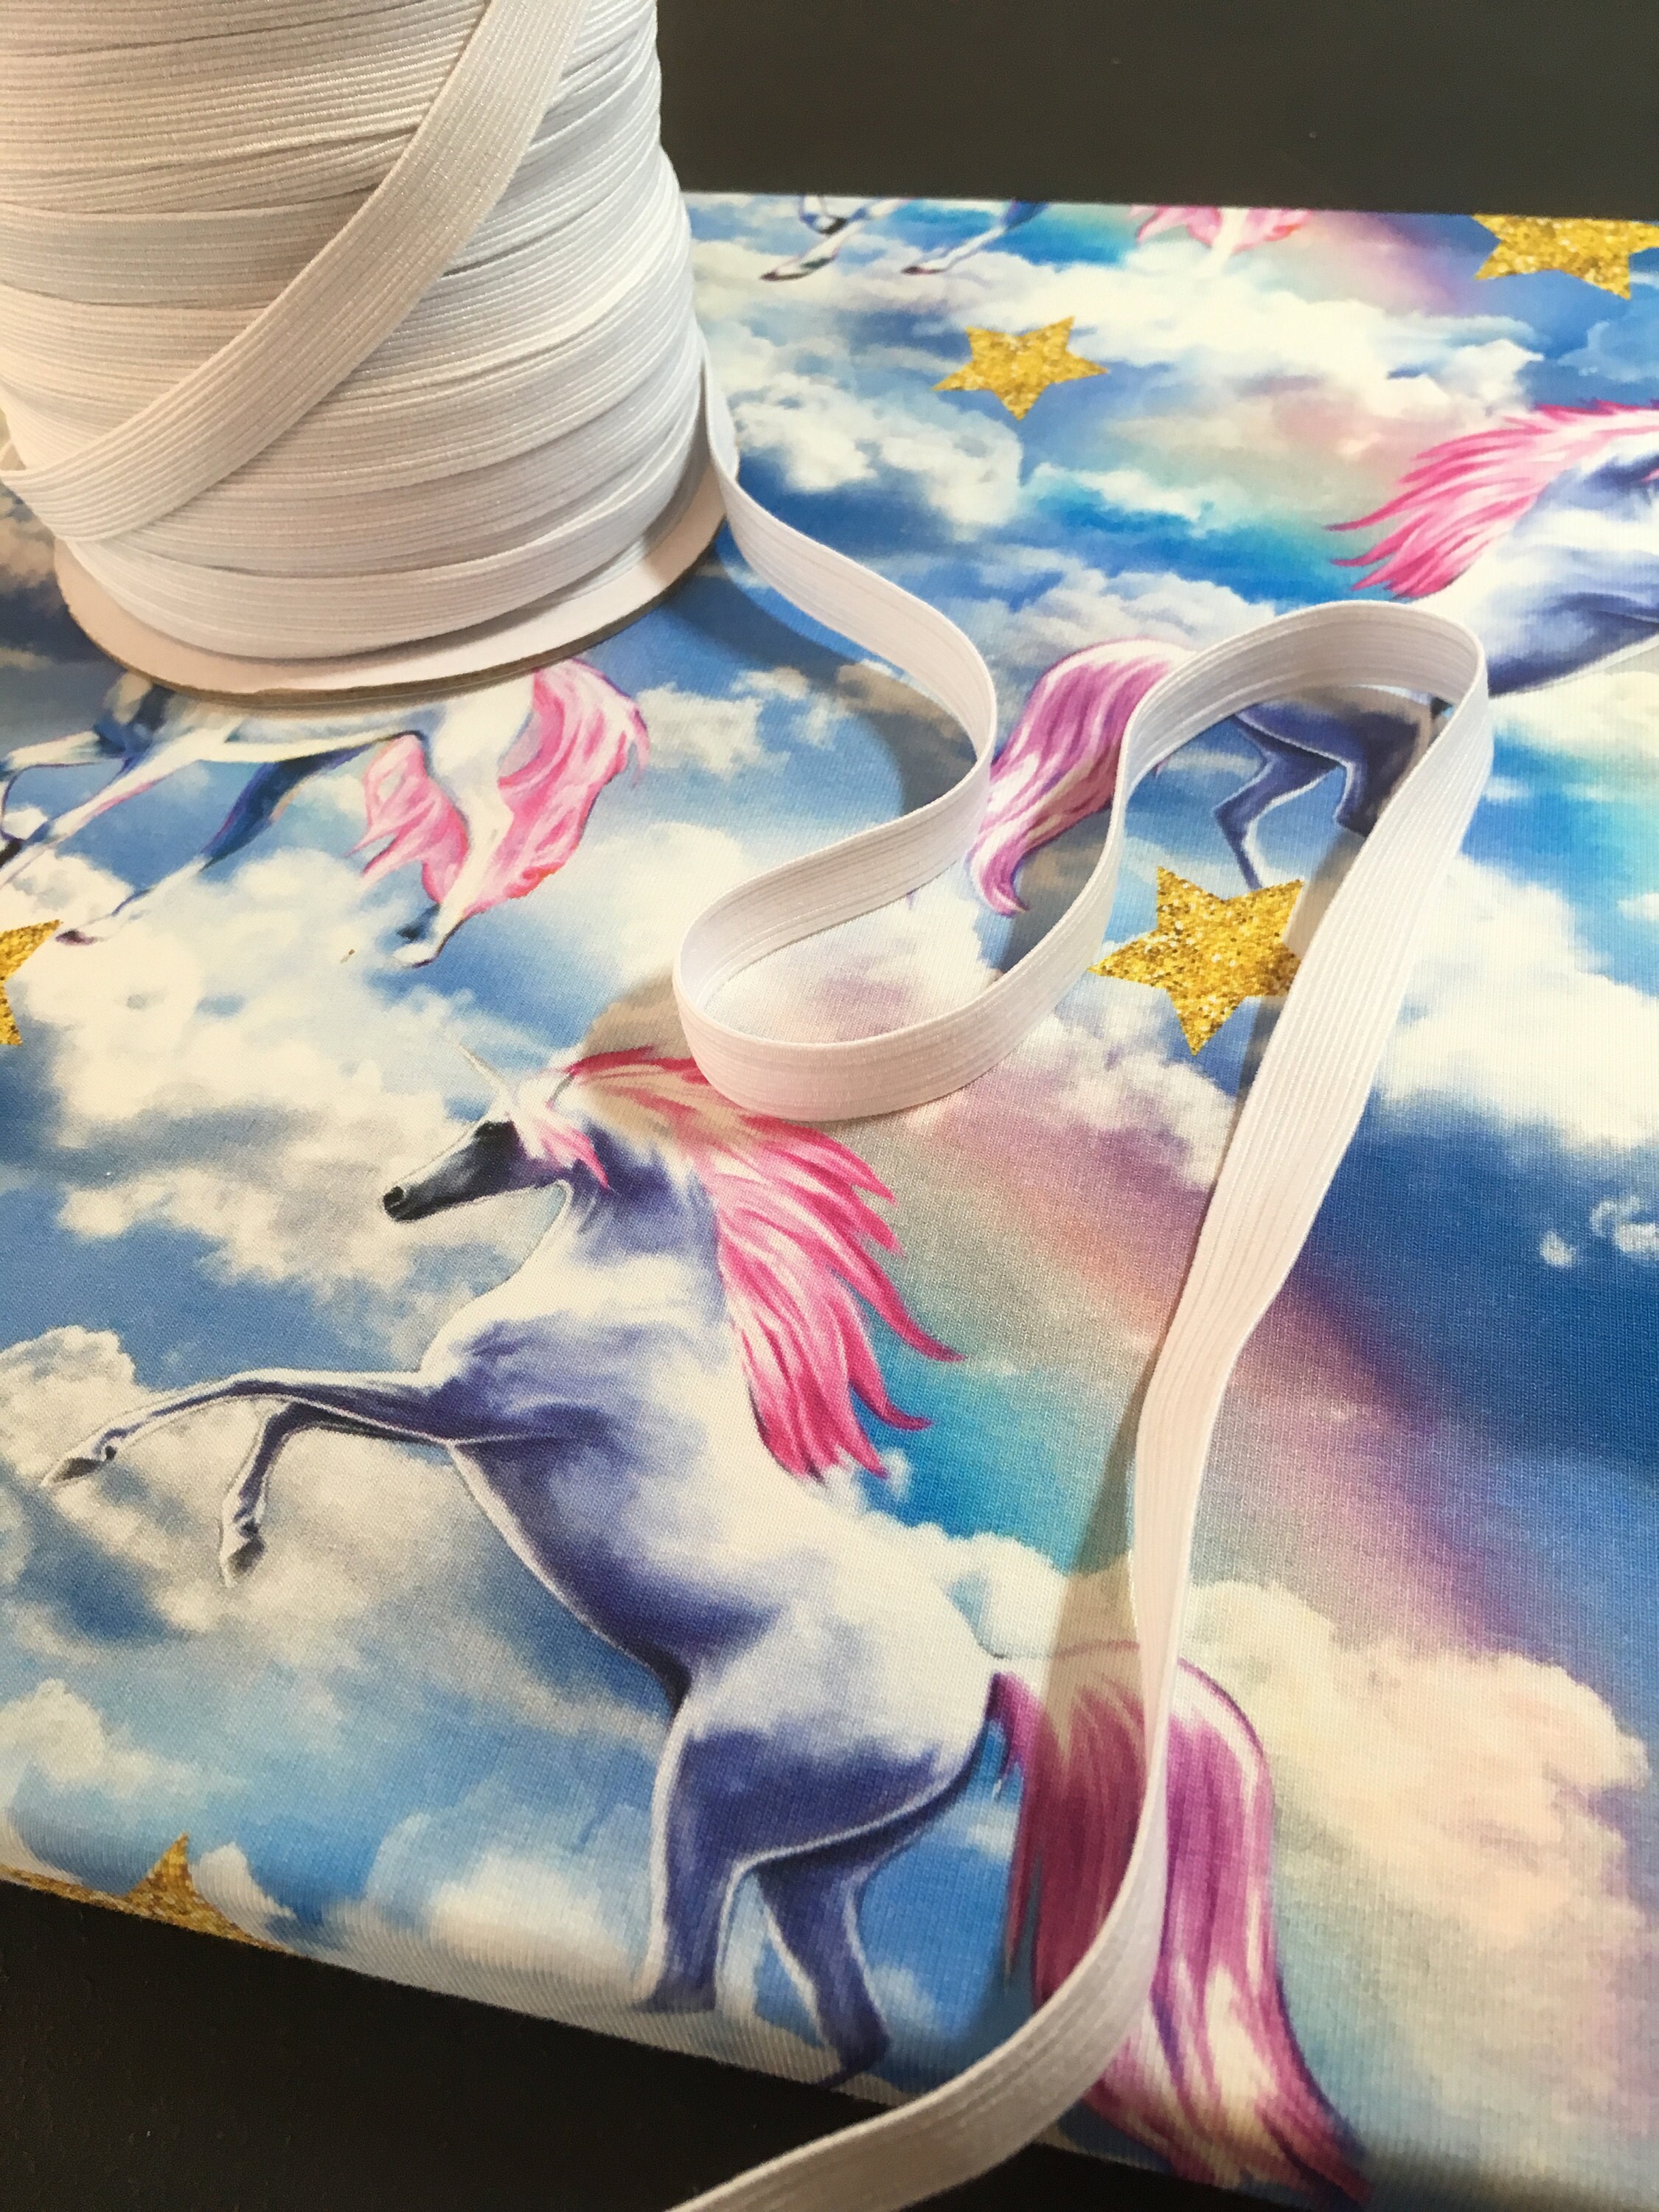
Decide how many strips of elastic you would like on your board.
I did all the same diagonal elastics first to ensure they were all parallel. The elastic is simply cut to size and stapled to the back of the board. You will need to stretch the elastic slightly when attaching. If you do not stretch the elastic then it will sag and wont be taught enough to hold your thank you cards/ photos/ invites etc. Once stapled, I then trimmed the excess elastic.
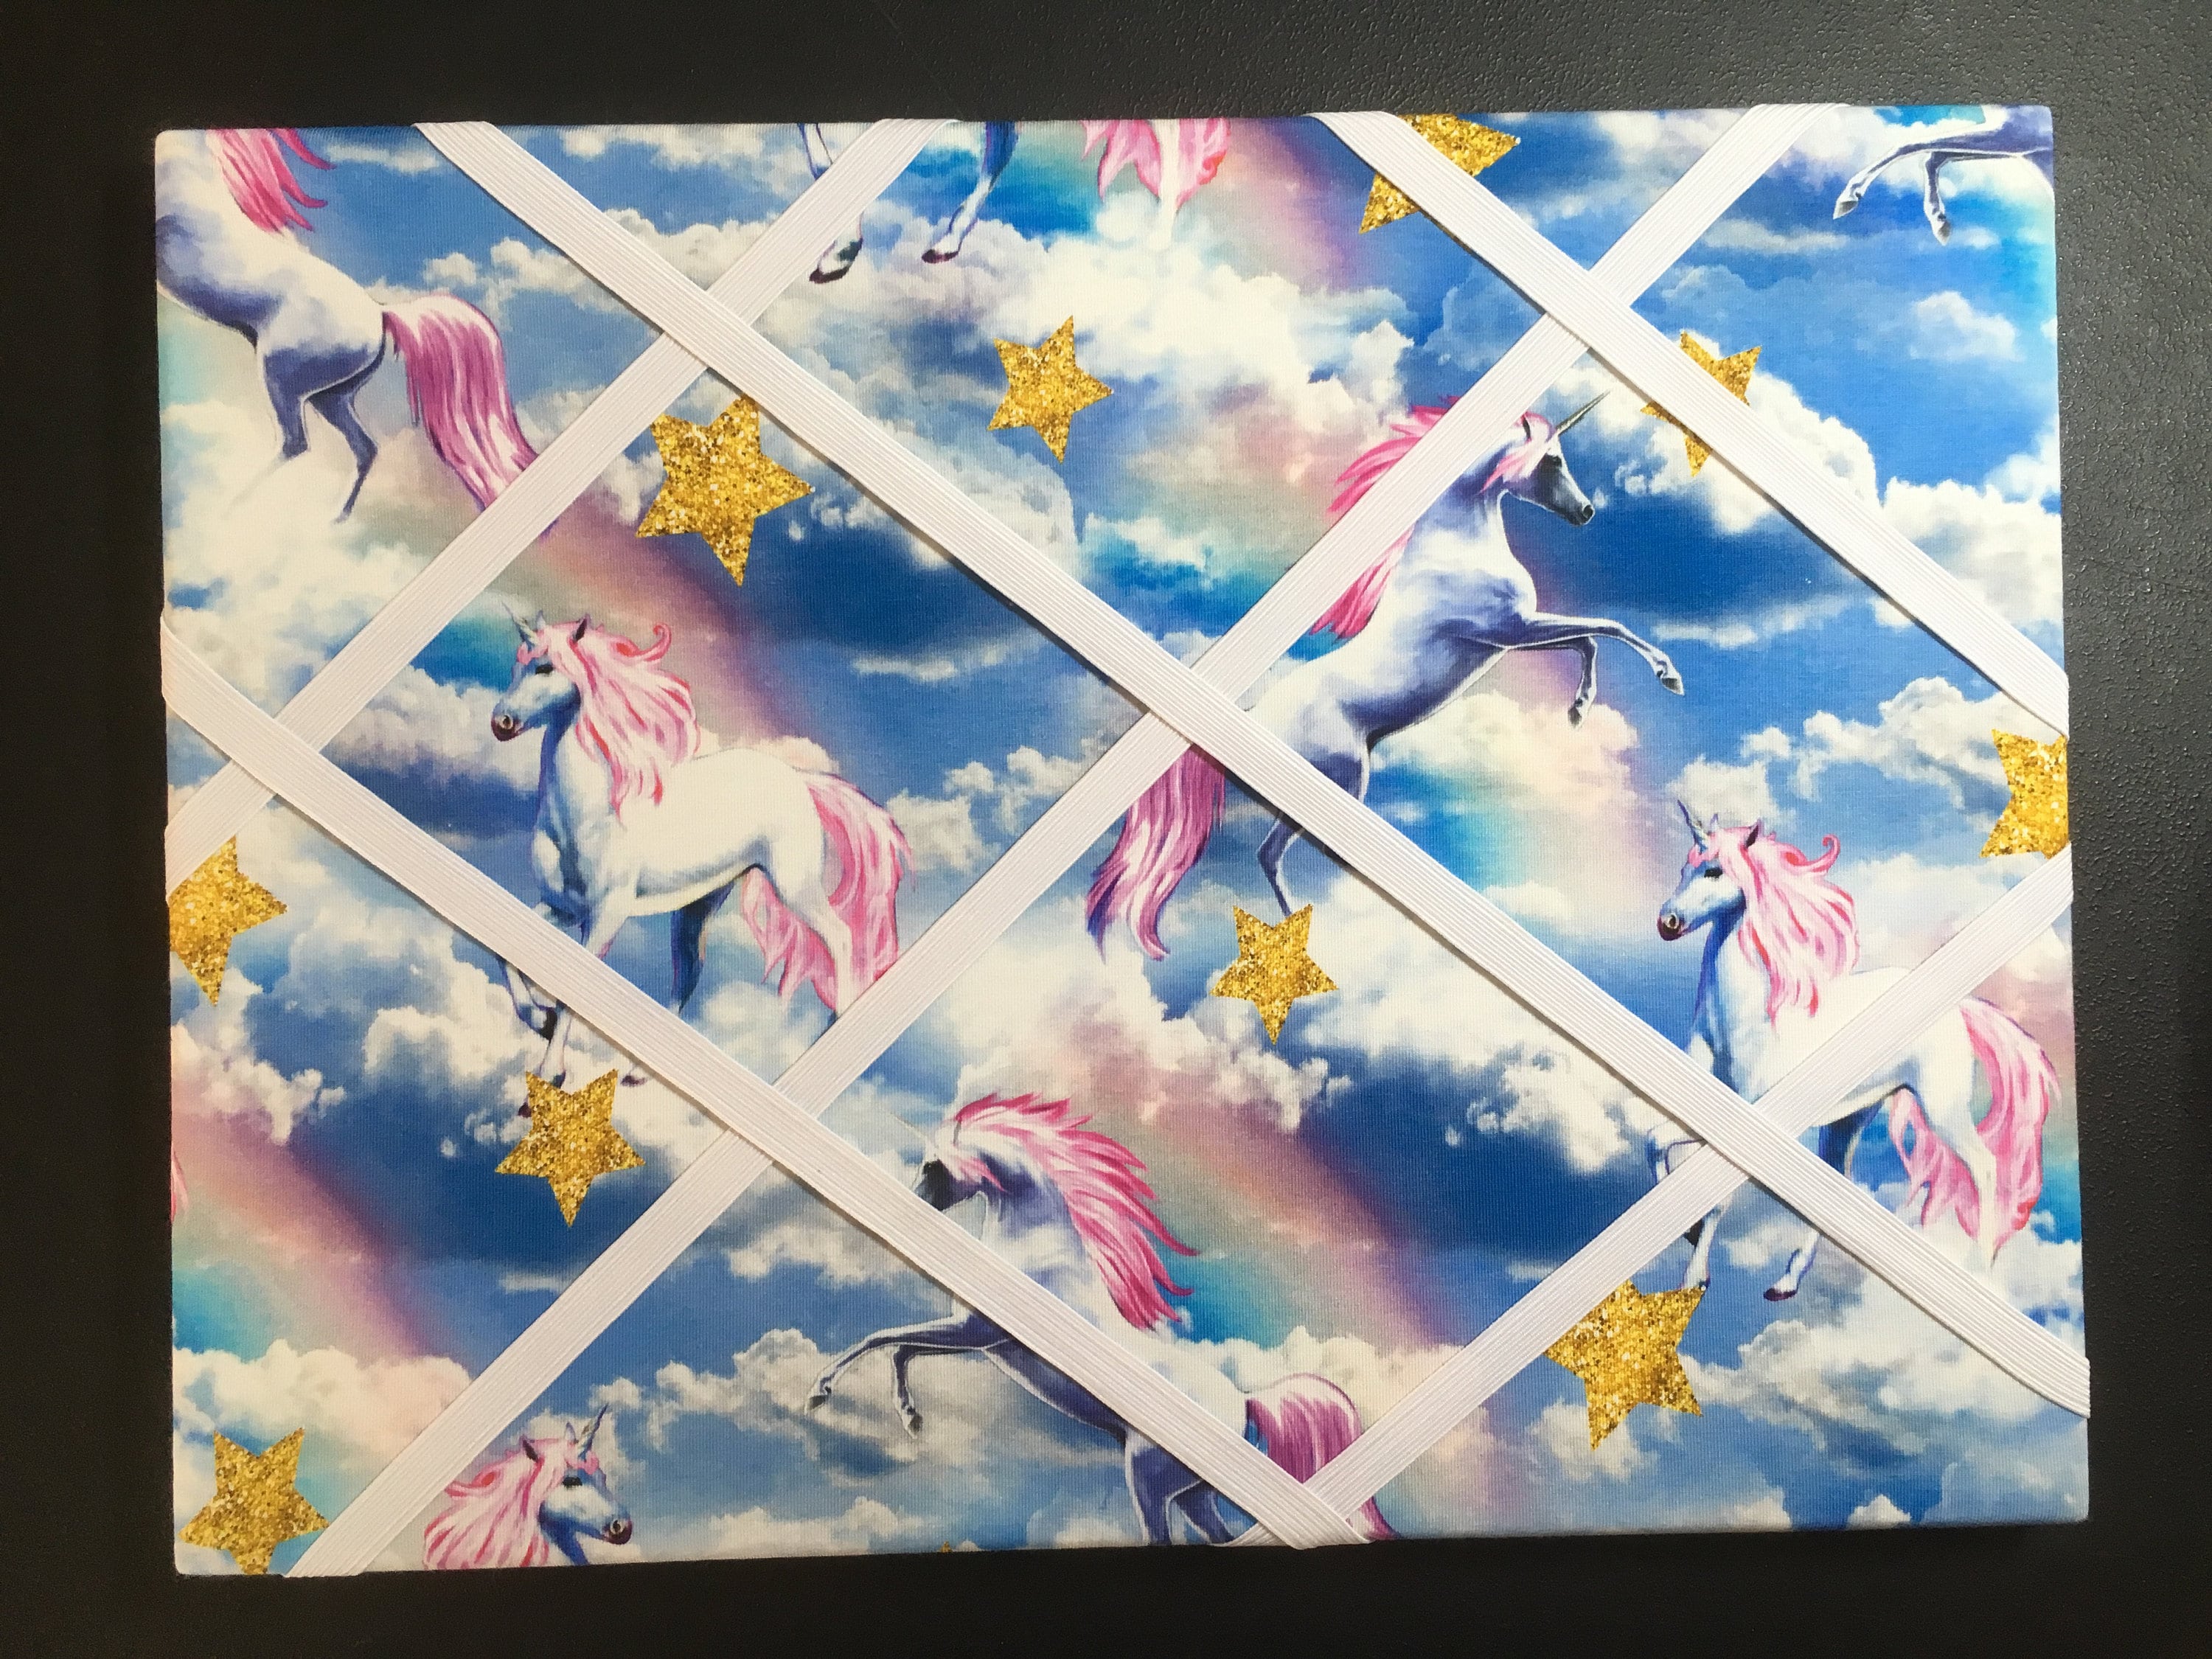
Step five: Add gold pins to the centre of the elastic crossovers
The finishing touch is to add gold flat head upholstery pins or push pins to the centre of the elastic crossovers. Now you are ready to hang the board on the wall (following the original pin board instructions) and start showcasing your favourite items.

By the way, in case you are wondering... The shop always needs another pineapple print!