
It's no secret how much I love felt. I find it a joy to work with, so tactile and responsive. The felt veggie patch I recently made for my daughter makes me happier than it does her.
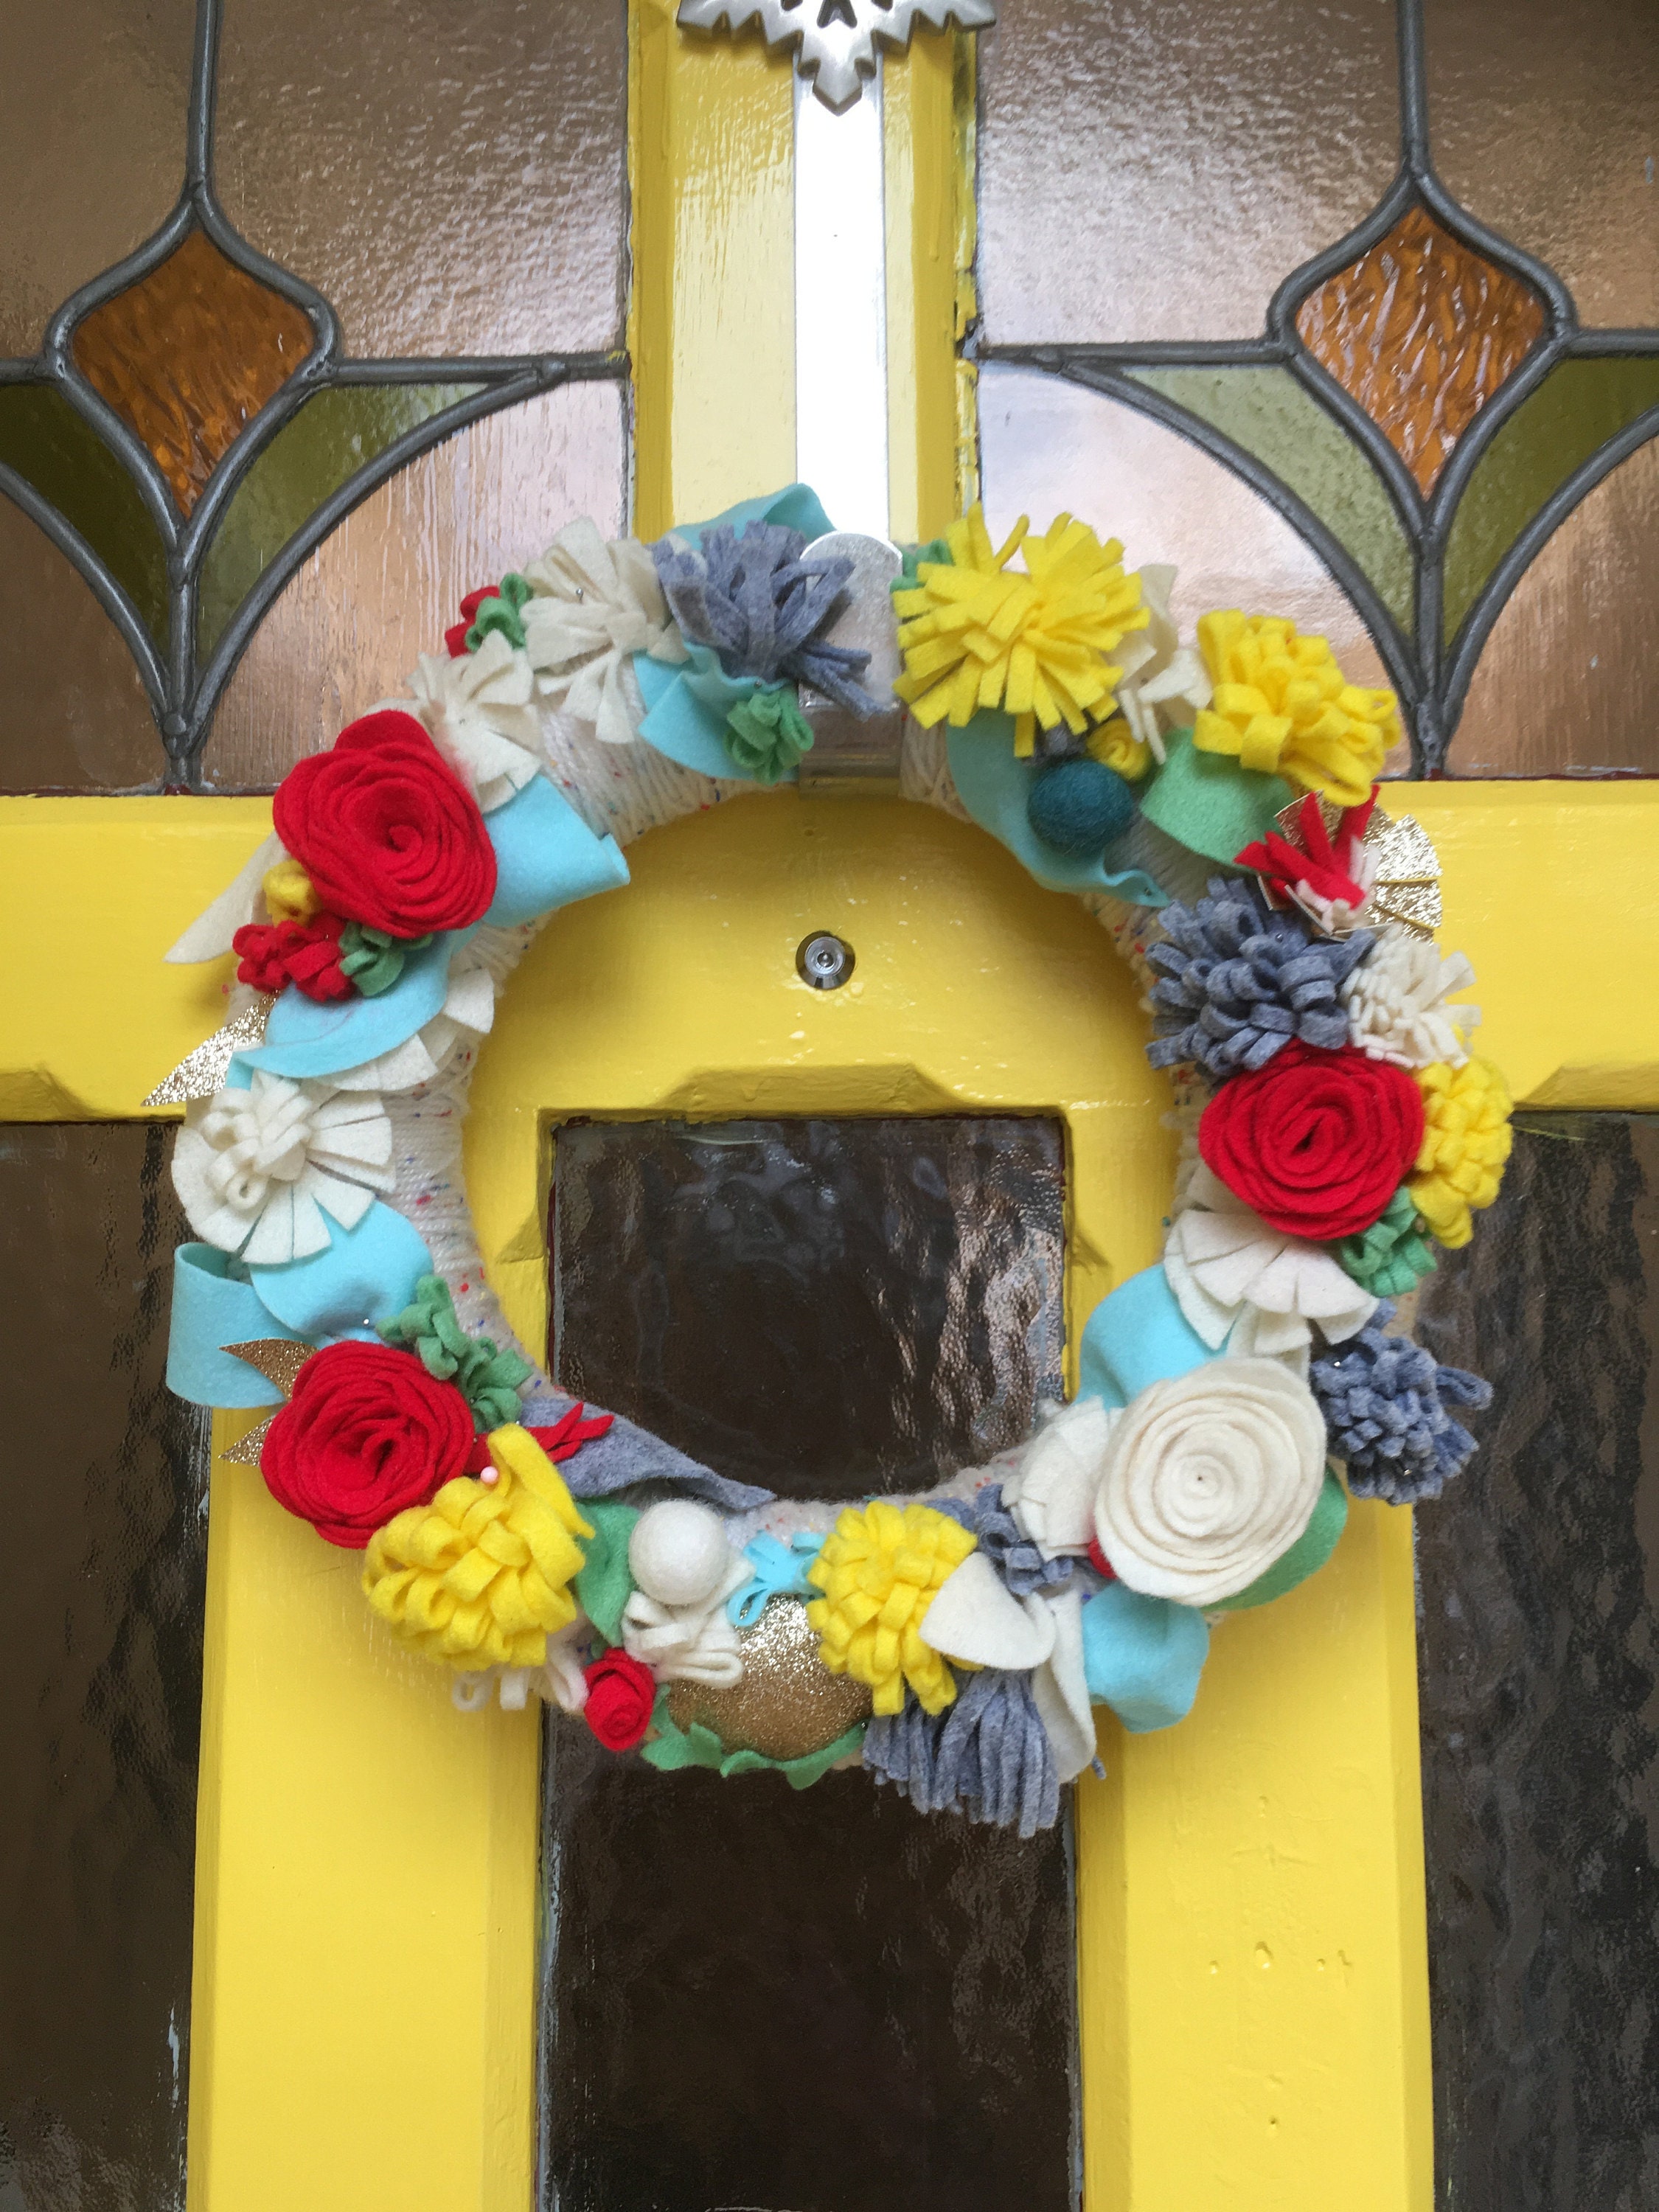
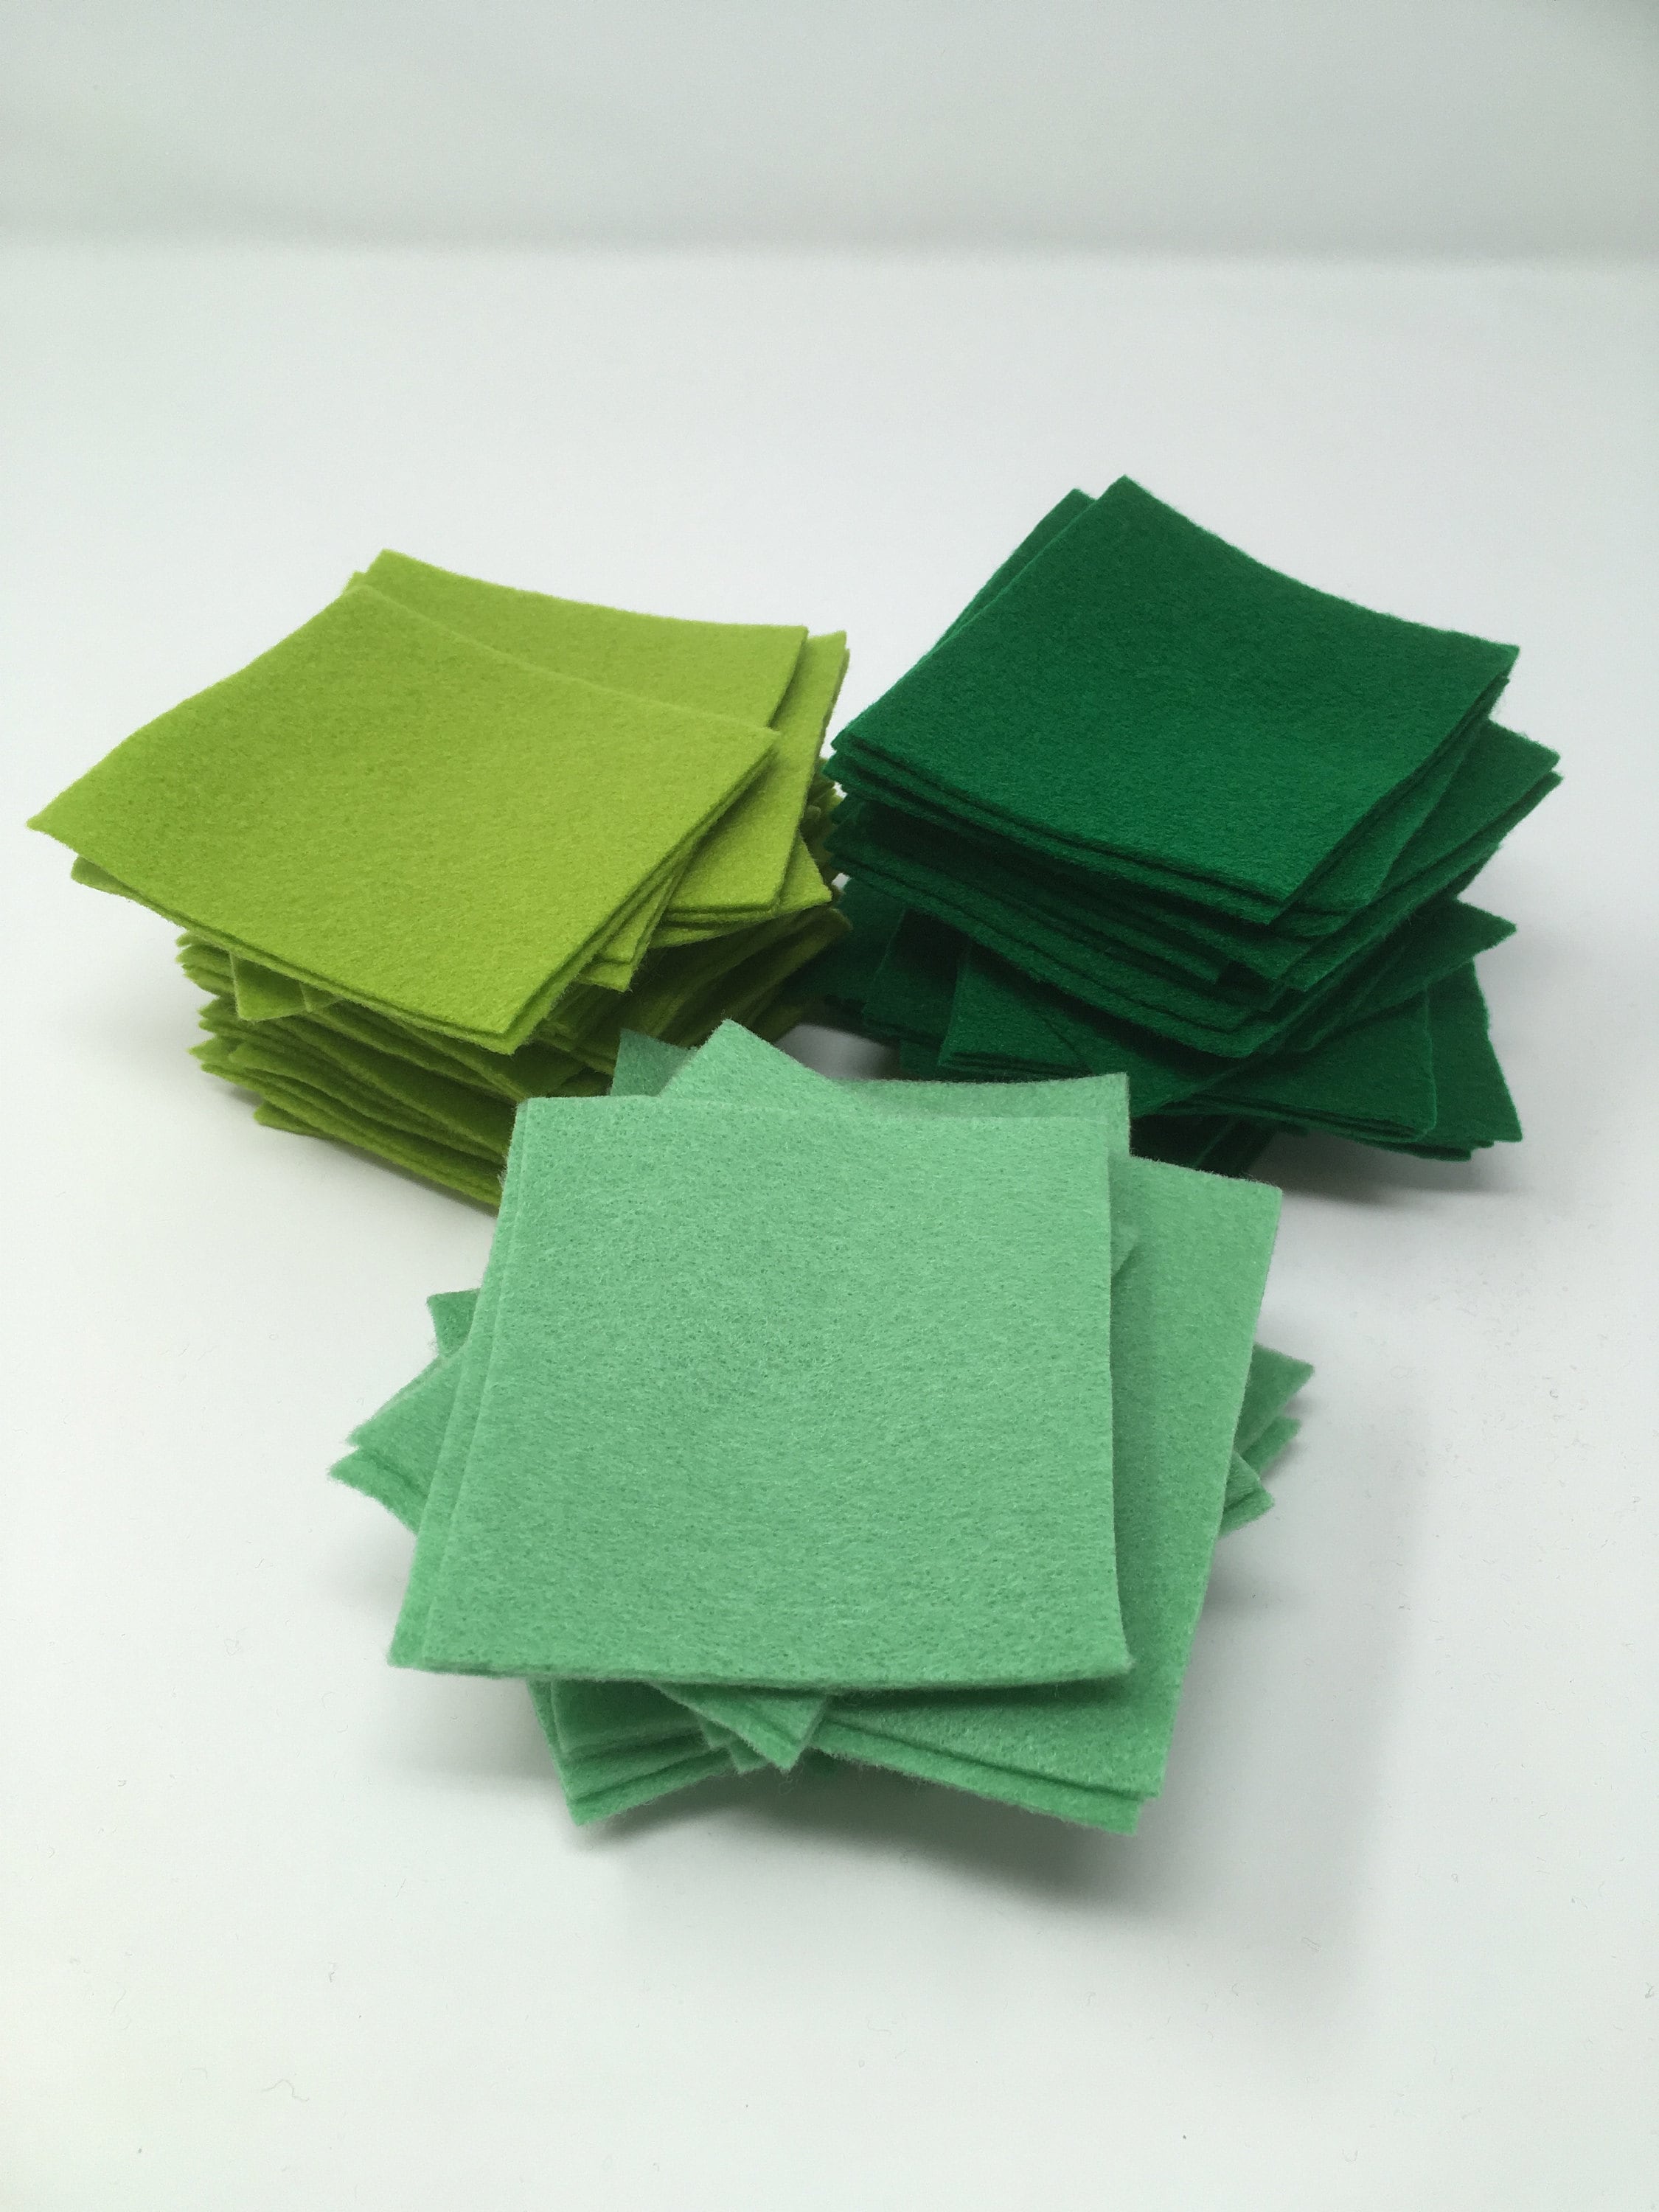
Last year I made a felt floral wreath to brighten up (my already pretty bright) yellow front door all year round. For Christmas 2017 I wanted to made a more traditional wreath version, using a colour palette of tonal greens and sumptuous hot pink and chartreause.
You will need:
A selection of felt in your chosen colours
Wool balls or pom poms in the colour of your choice
Small christmas bells
Wire hoop
Wire cutters
Fabric scissors
Glue gun
Solder gun or super strong duck tape
Wide ribbon
Needle and thread
Please note that all of these materials can be easily sourced from your local craft store.
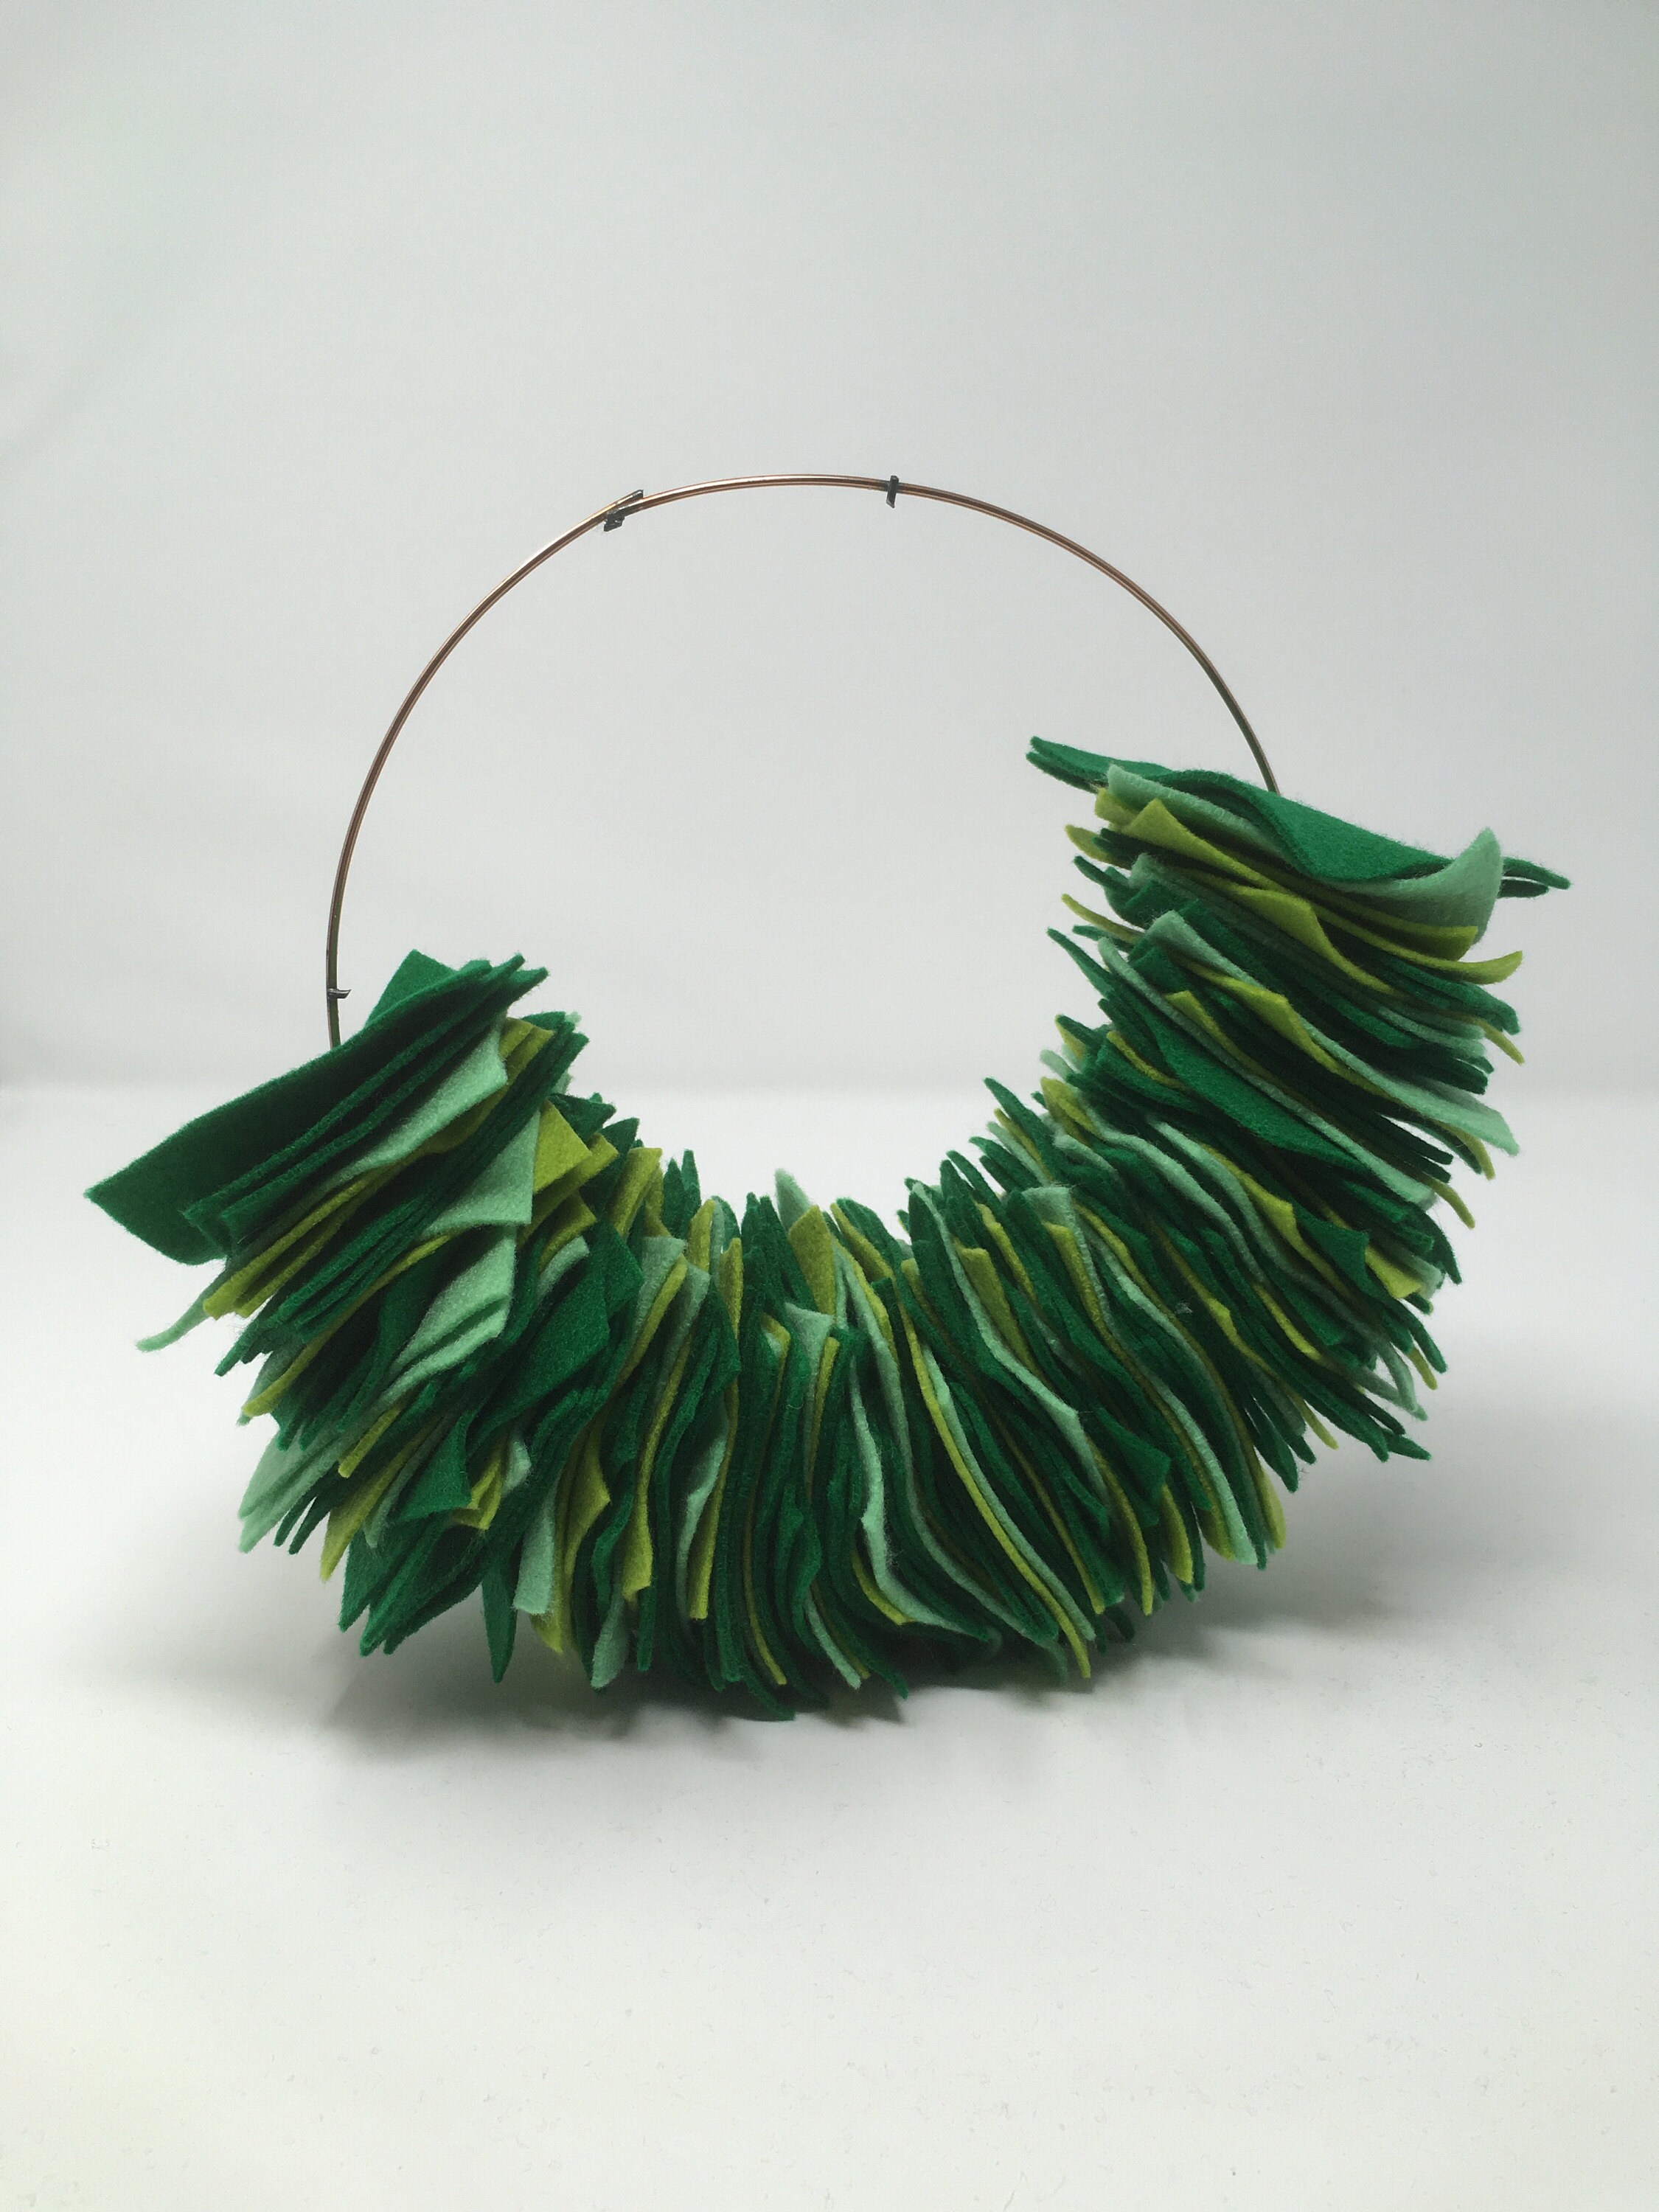
Step one: prepare your wire hoop
I used a flower arrange wreath hoop, which I cut down to be a single ring (so you can thread the felt onto).
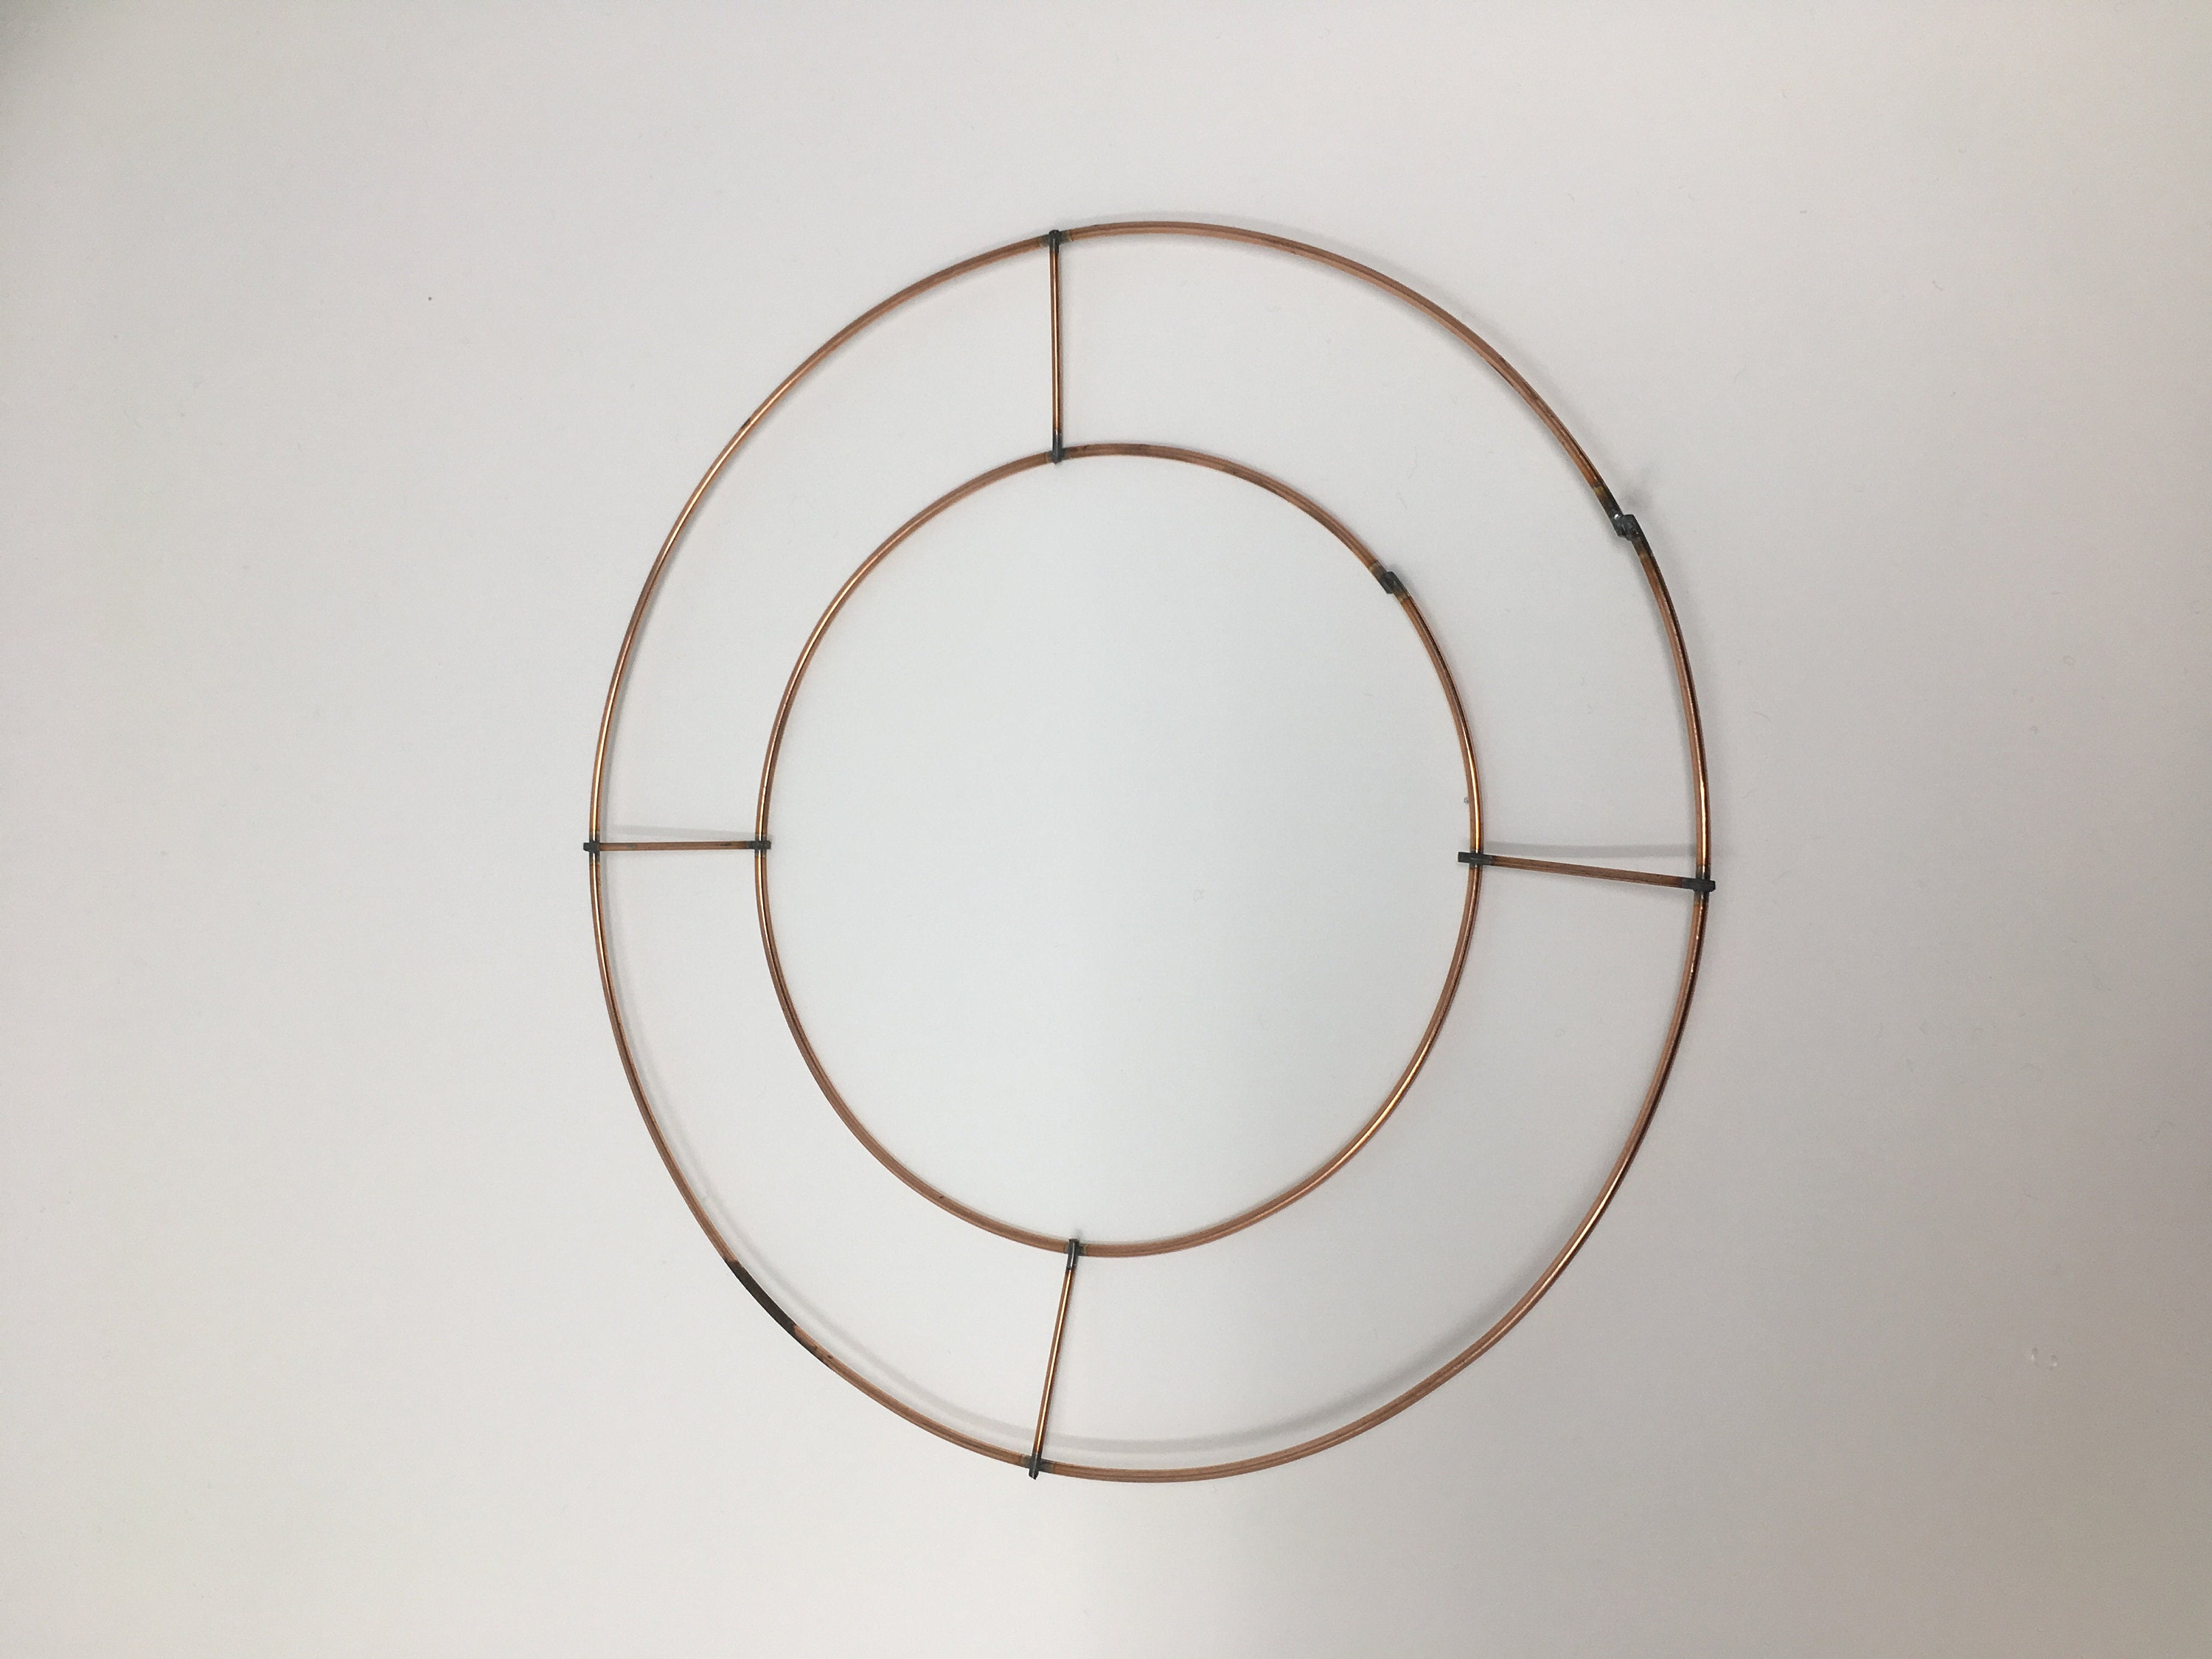
I carefully removed all the wire inner ring and connectors using snips and pliers - ensuring there were no jagged edges remaining. Then I cut the hoop at the top so there was an opening to thread the felt squares onto.
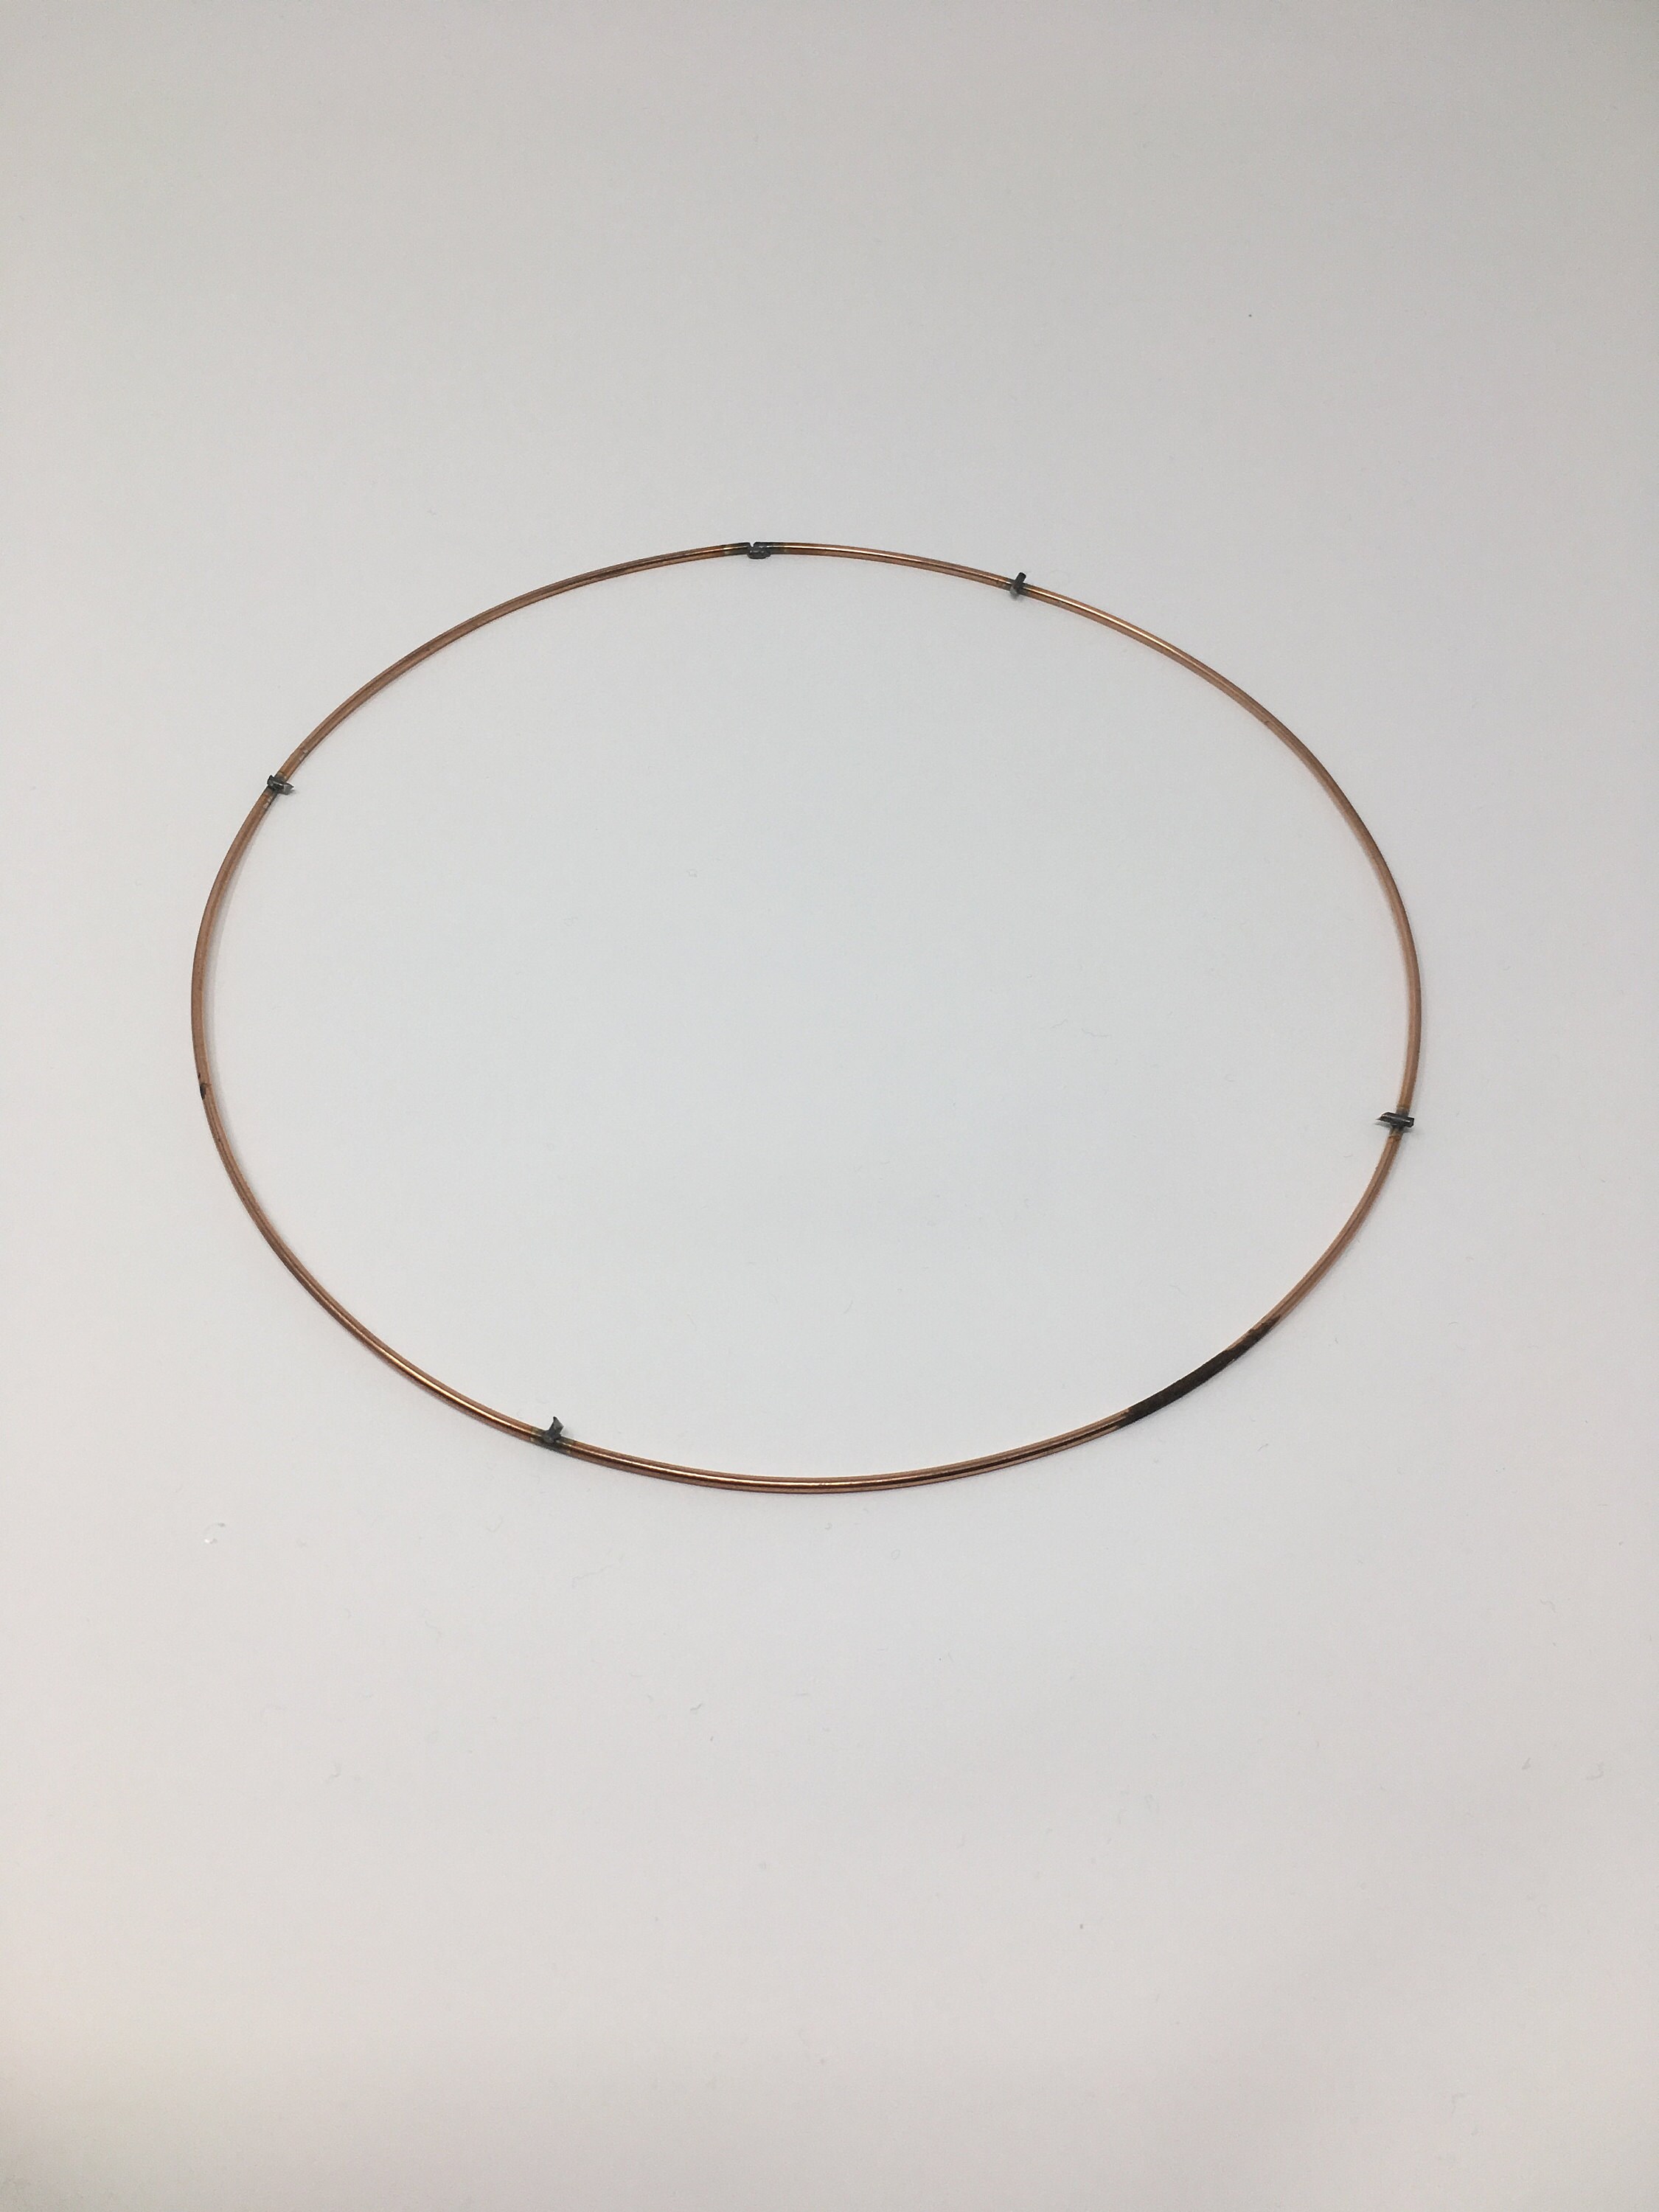
Please note you could also form your own wreath ring using wire rather than cut one down.
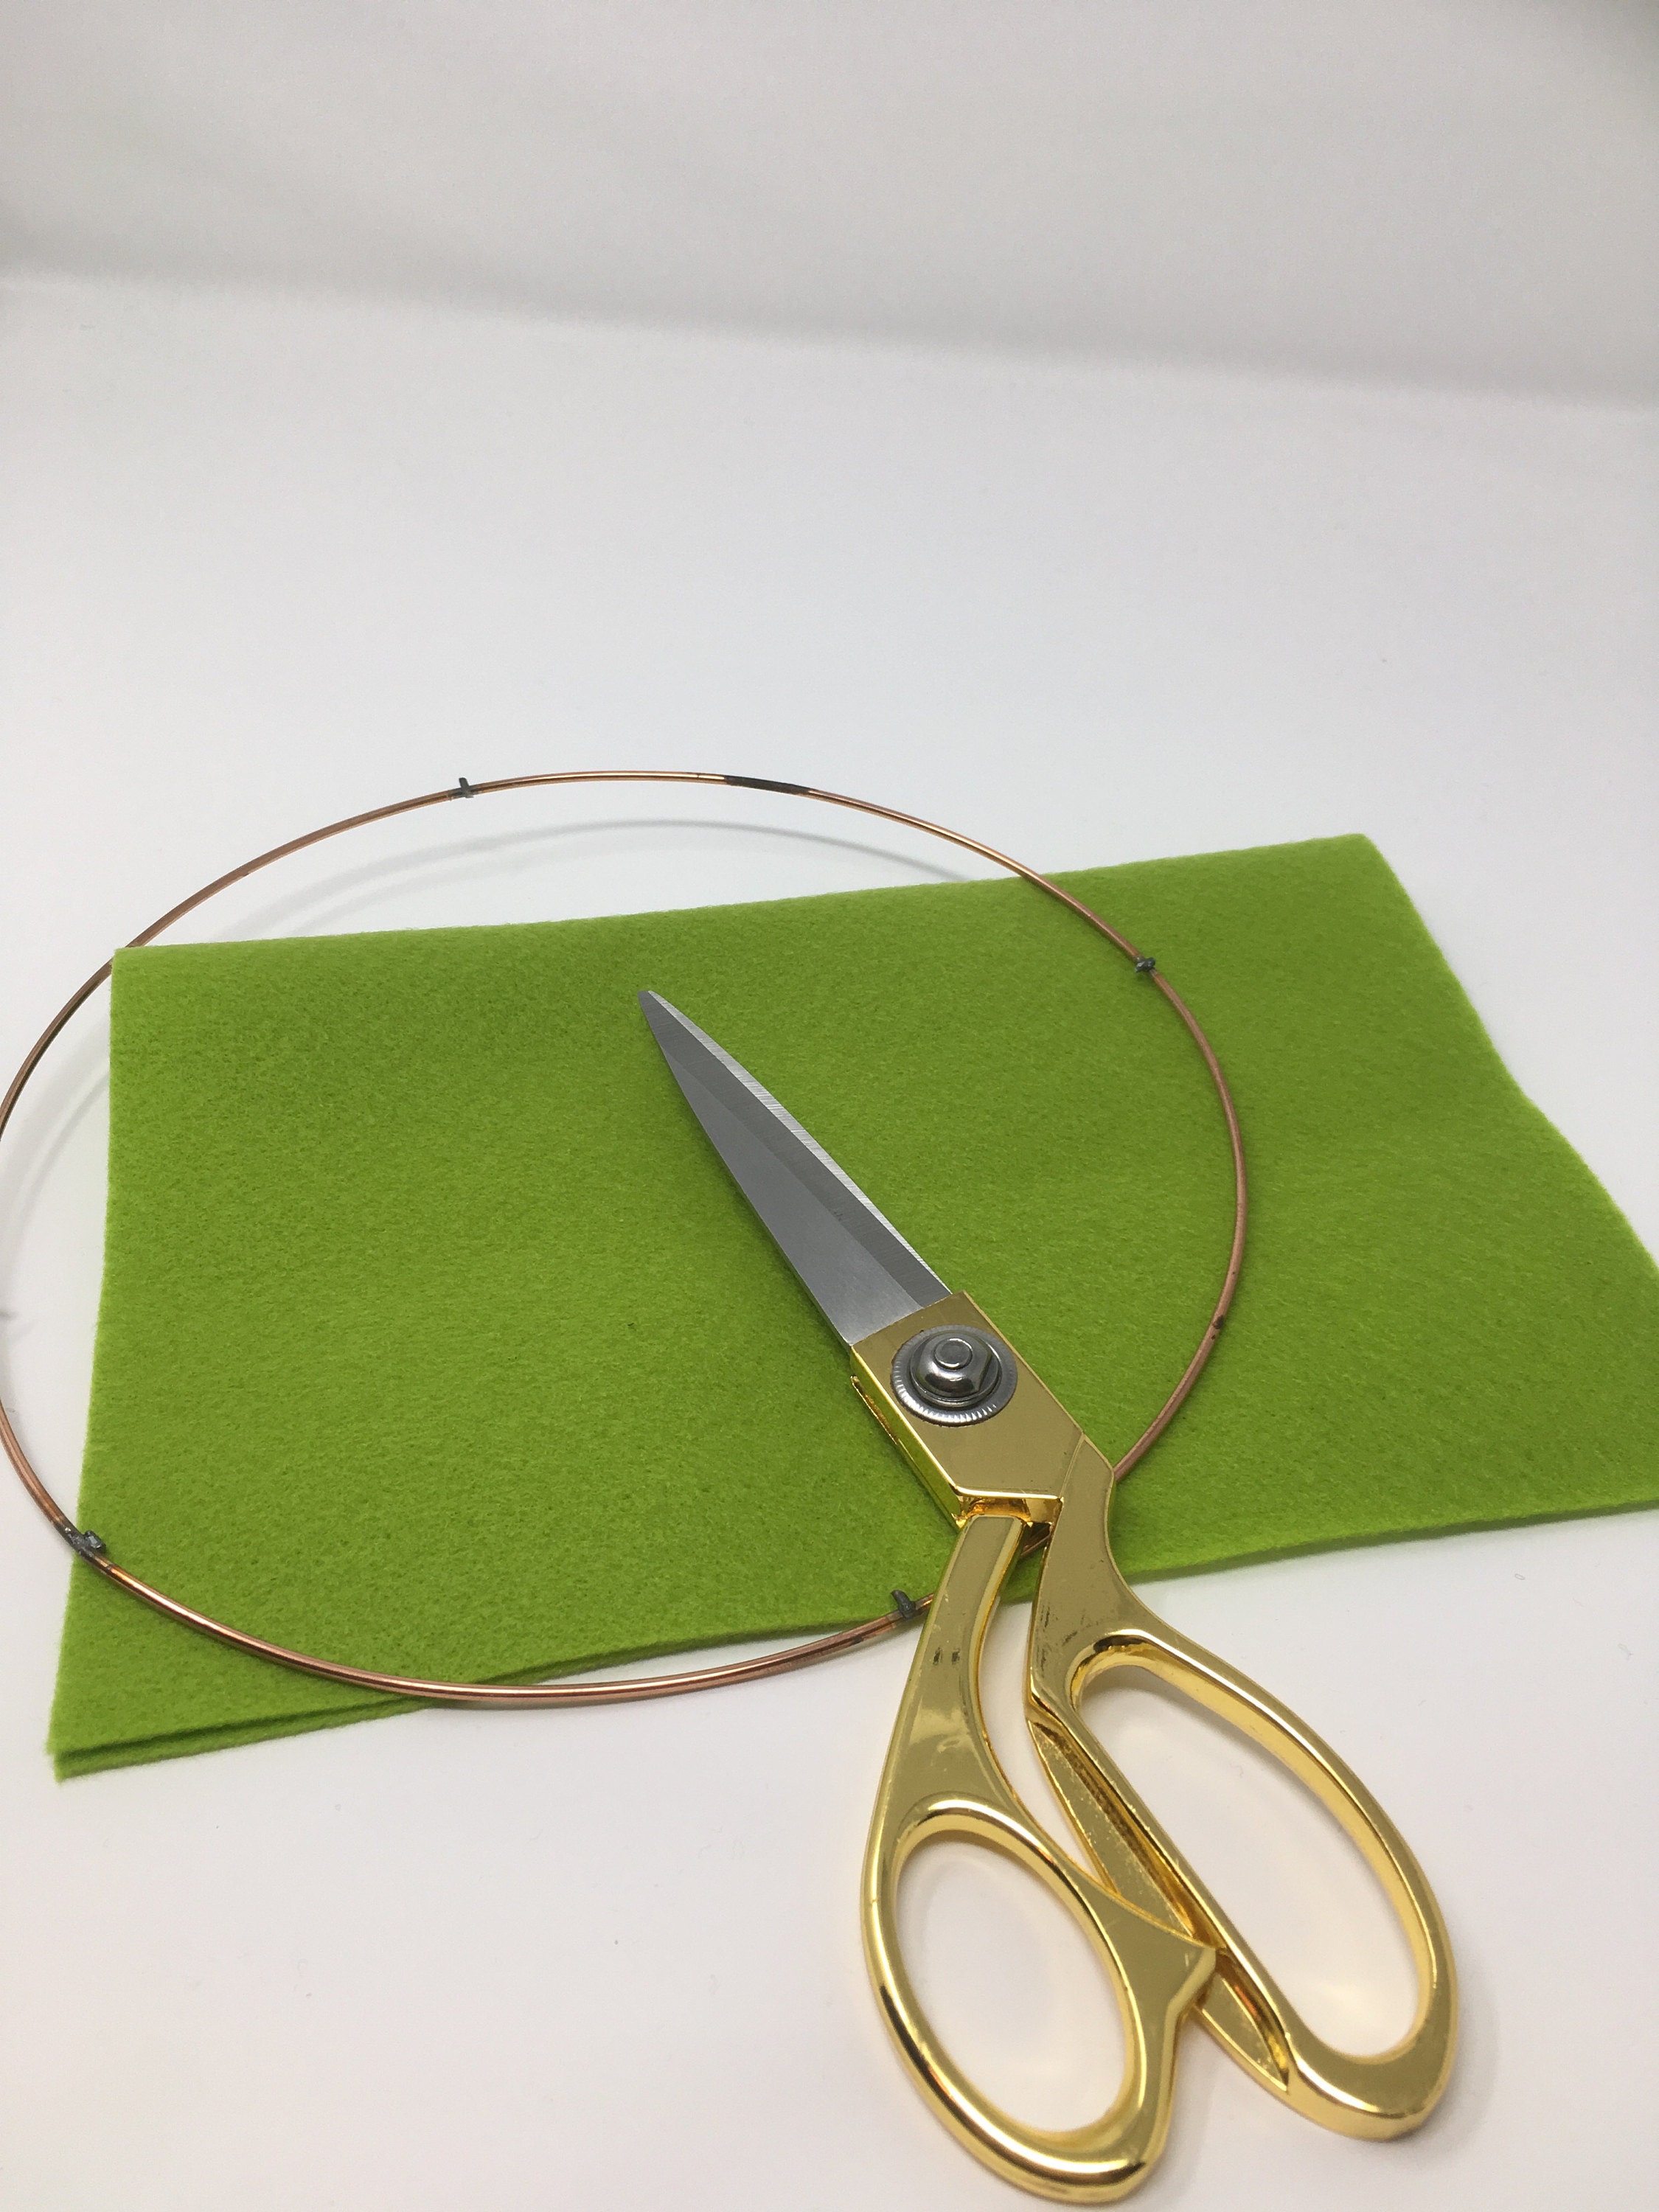
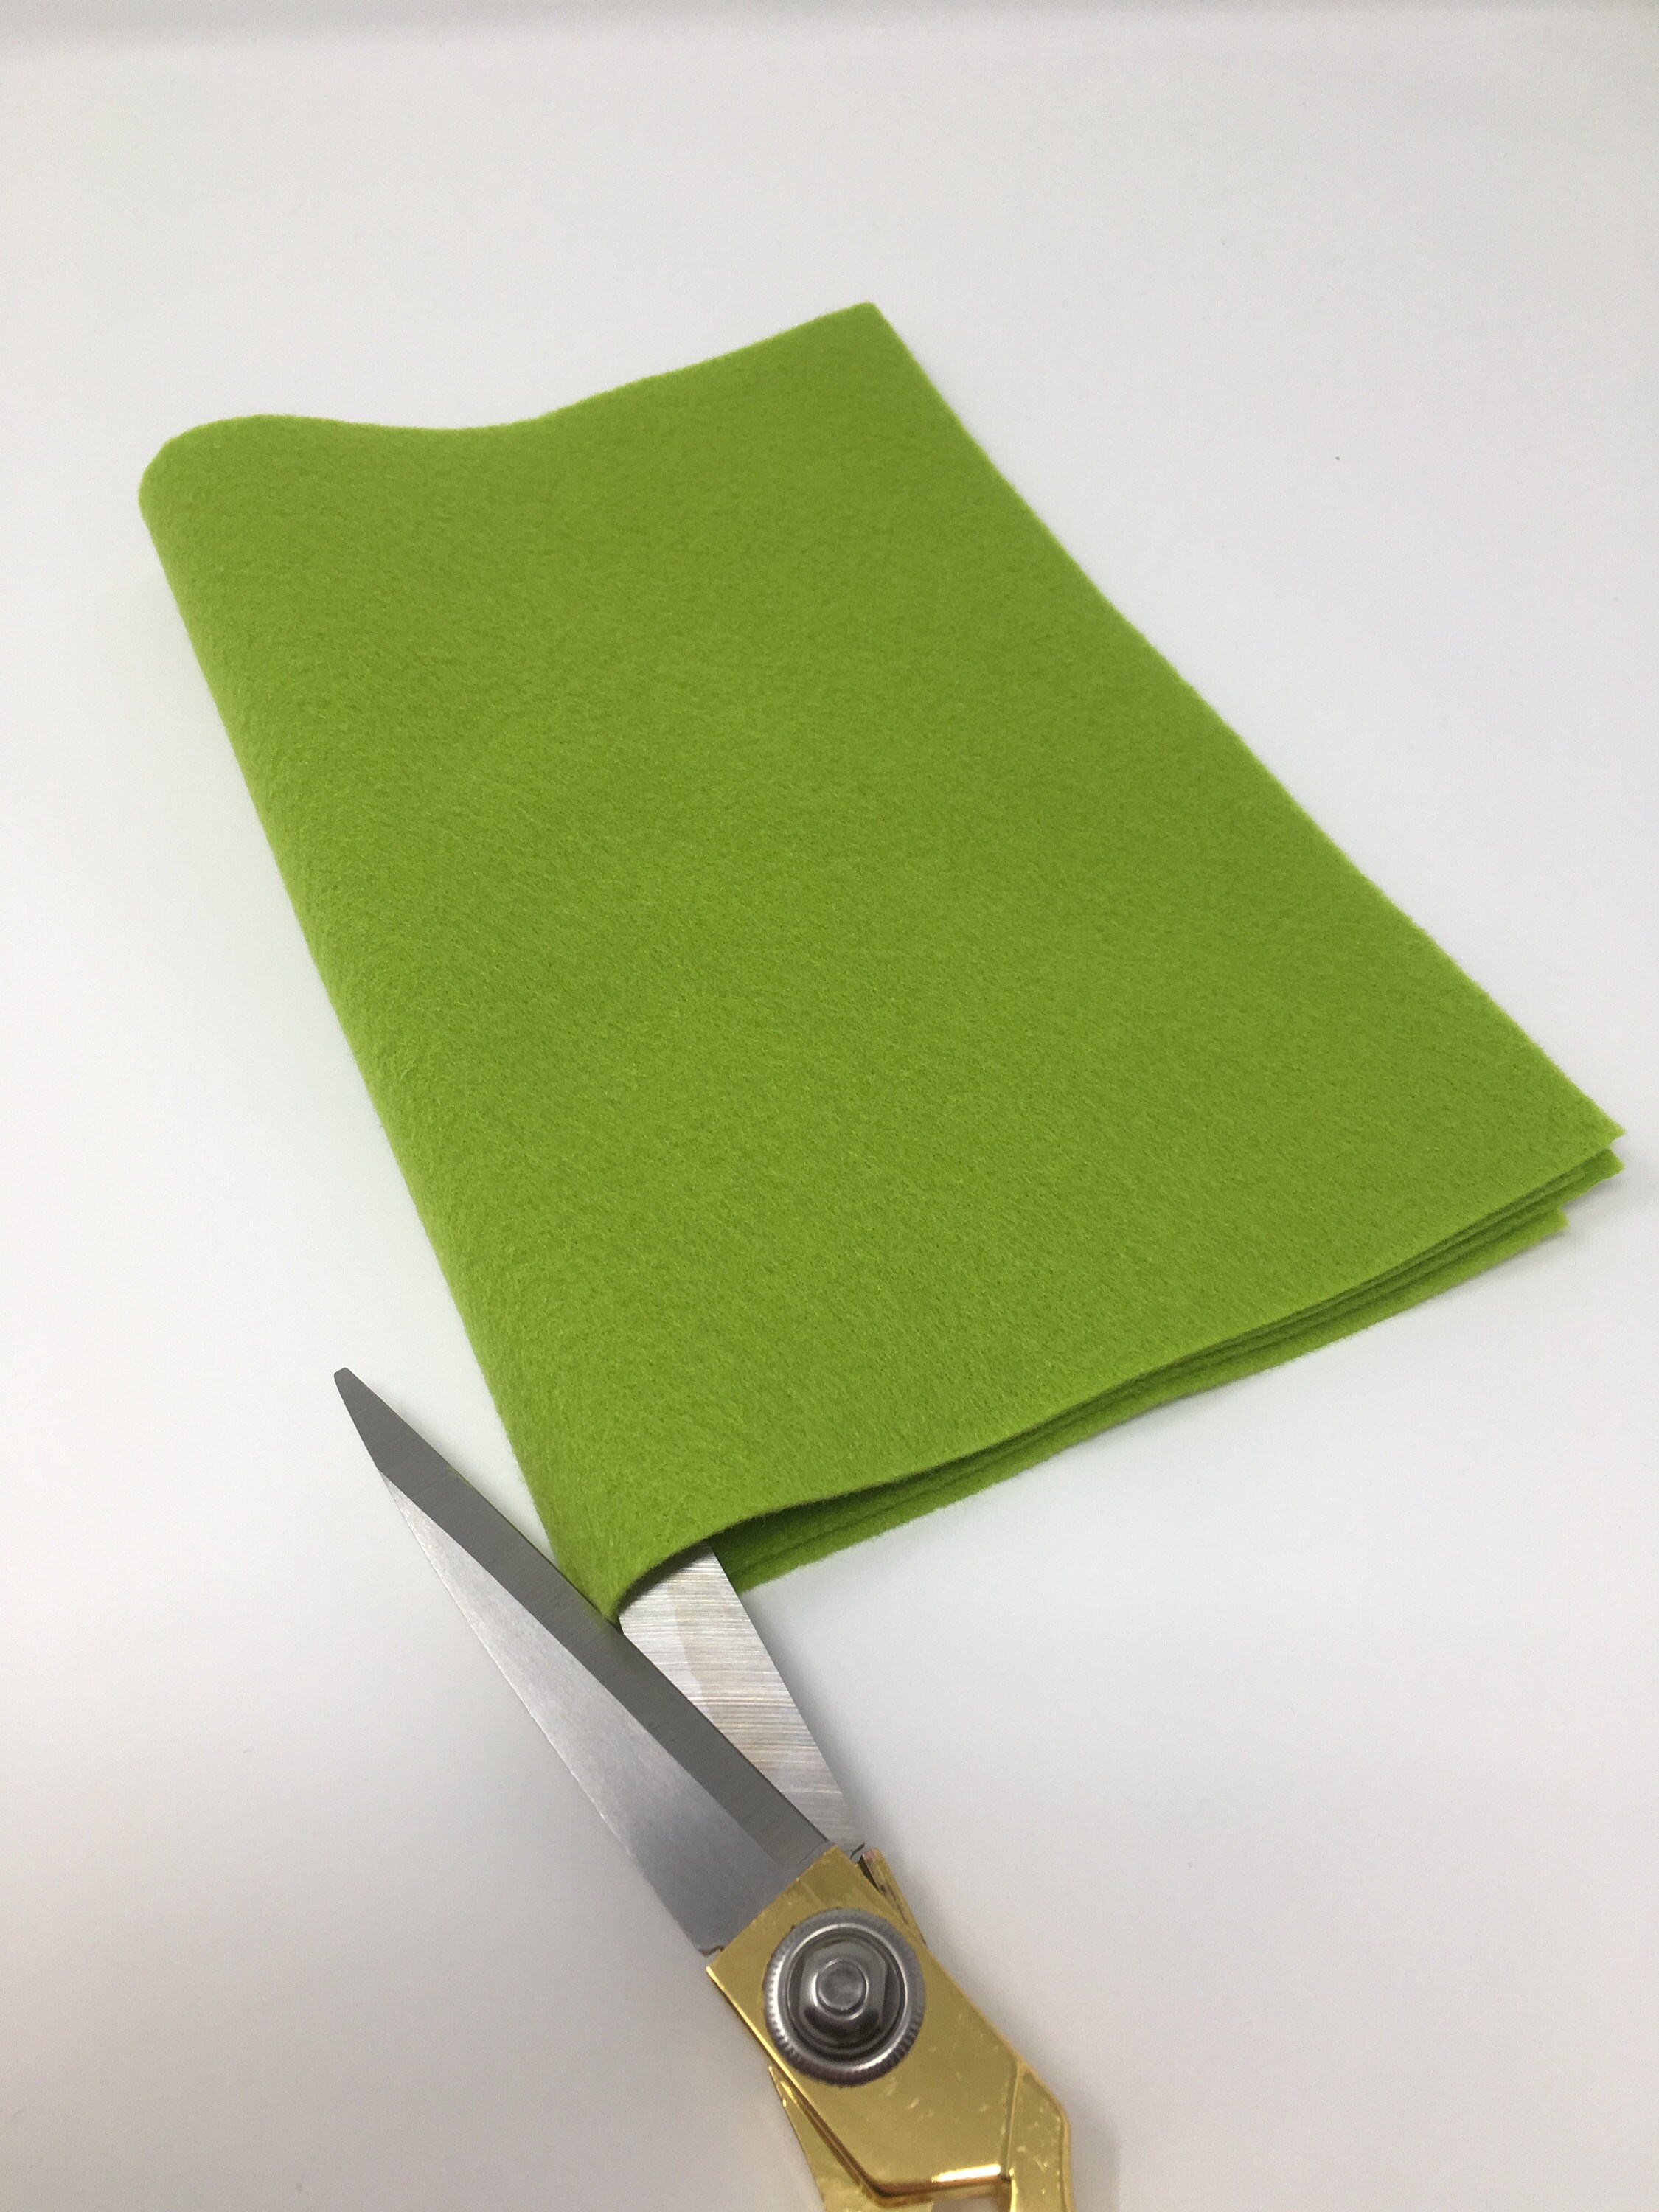
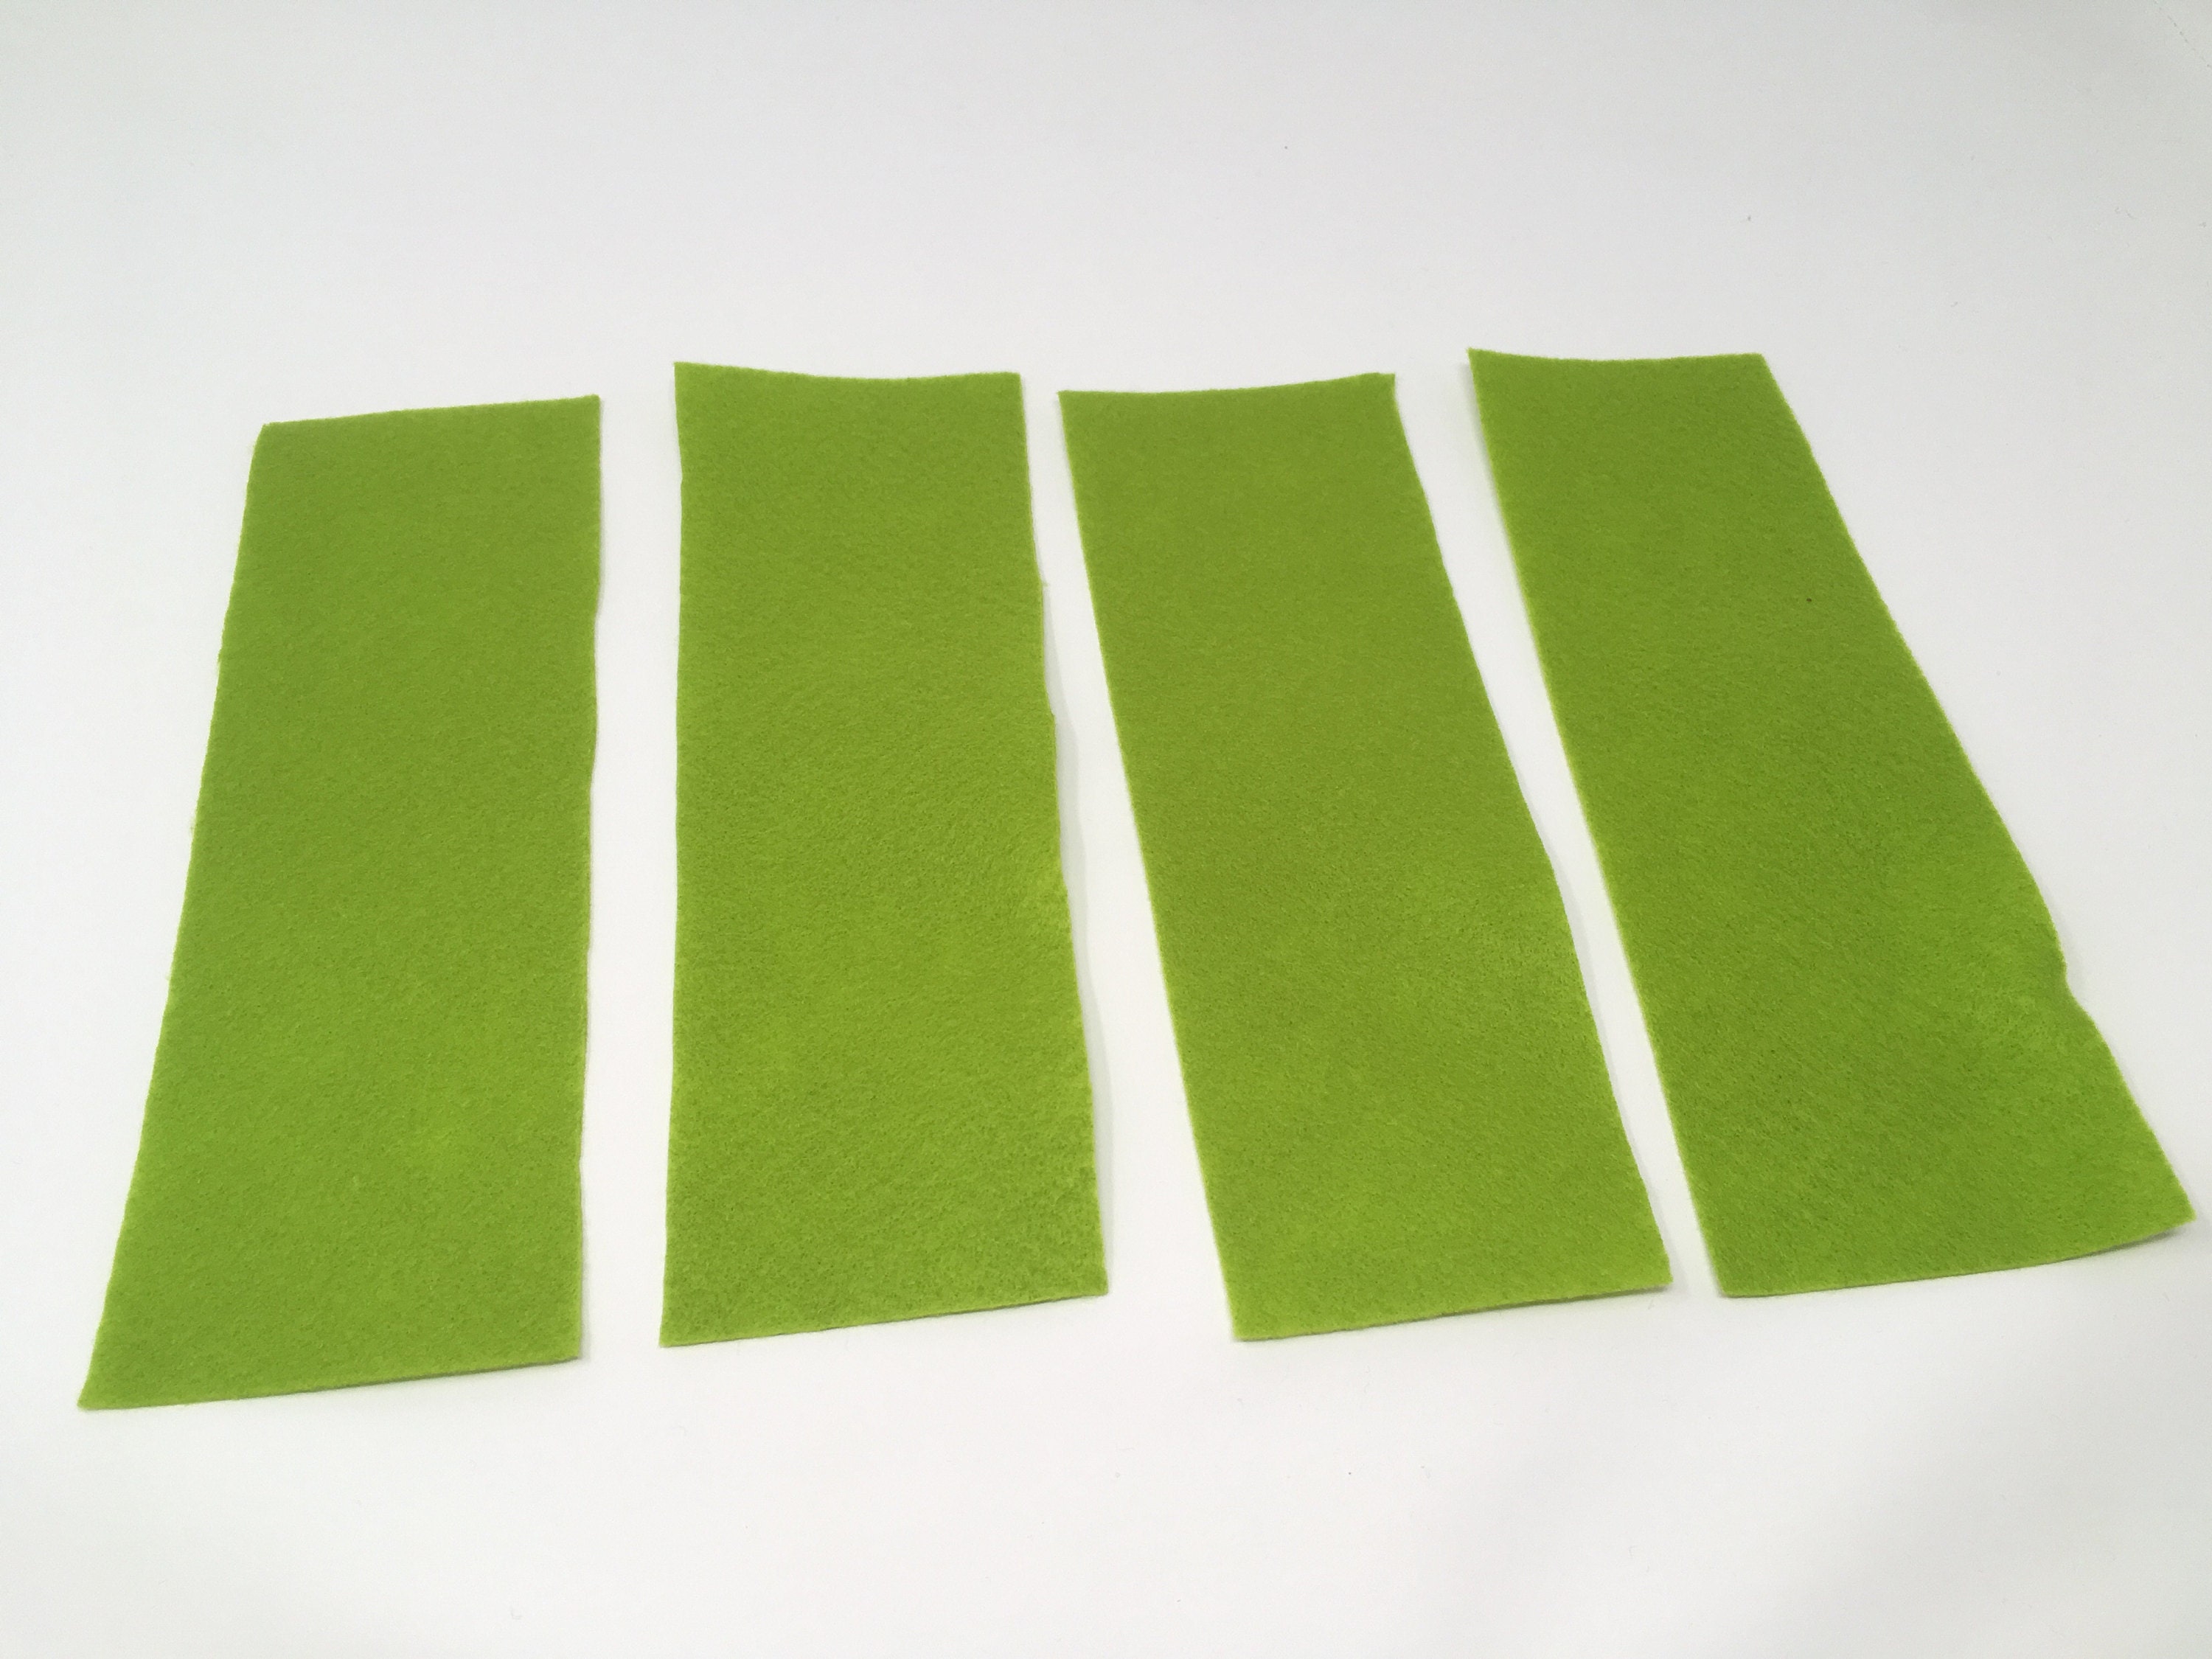
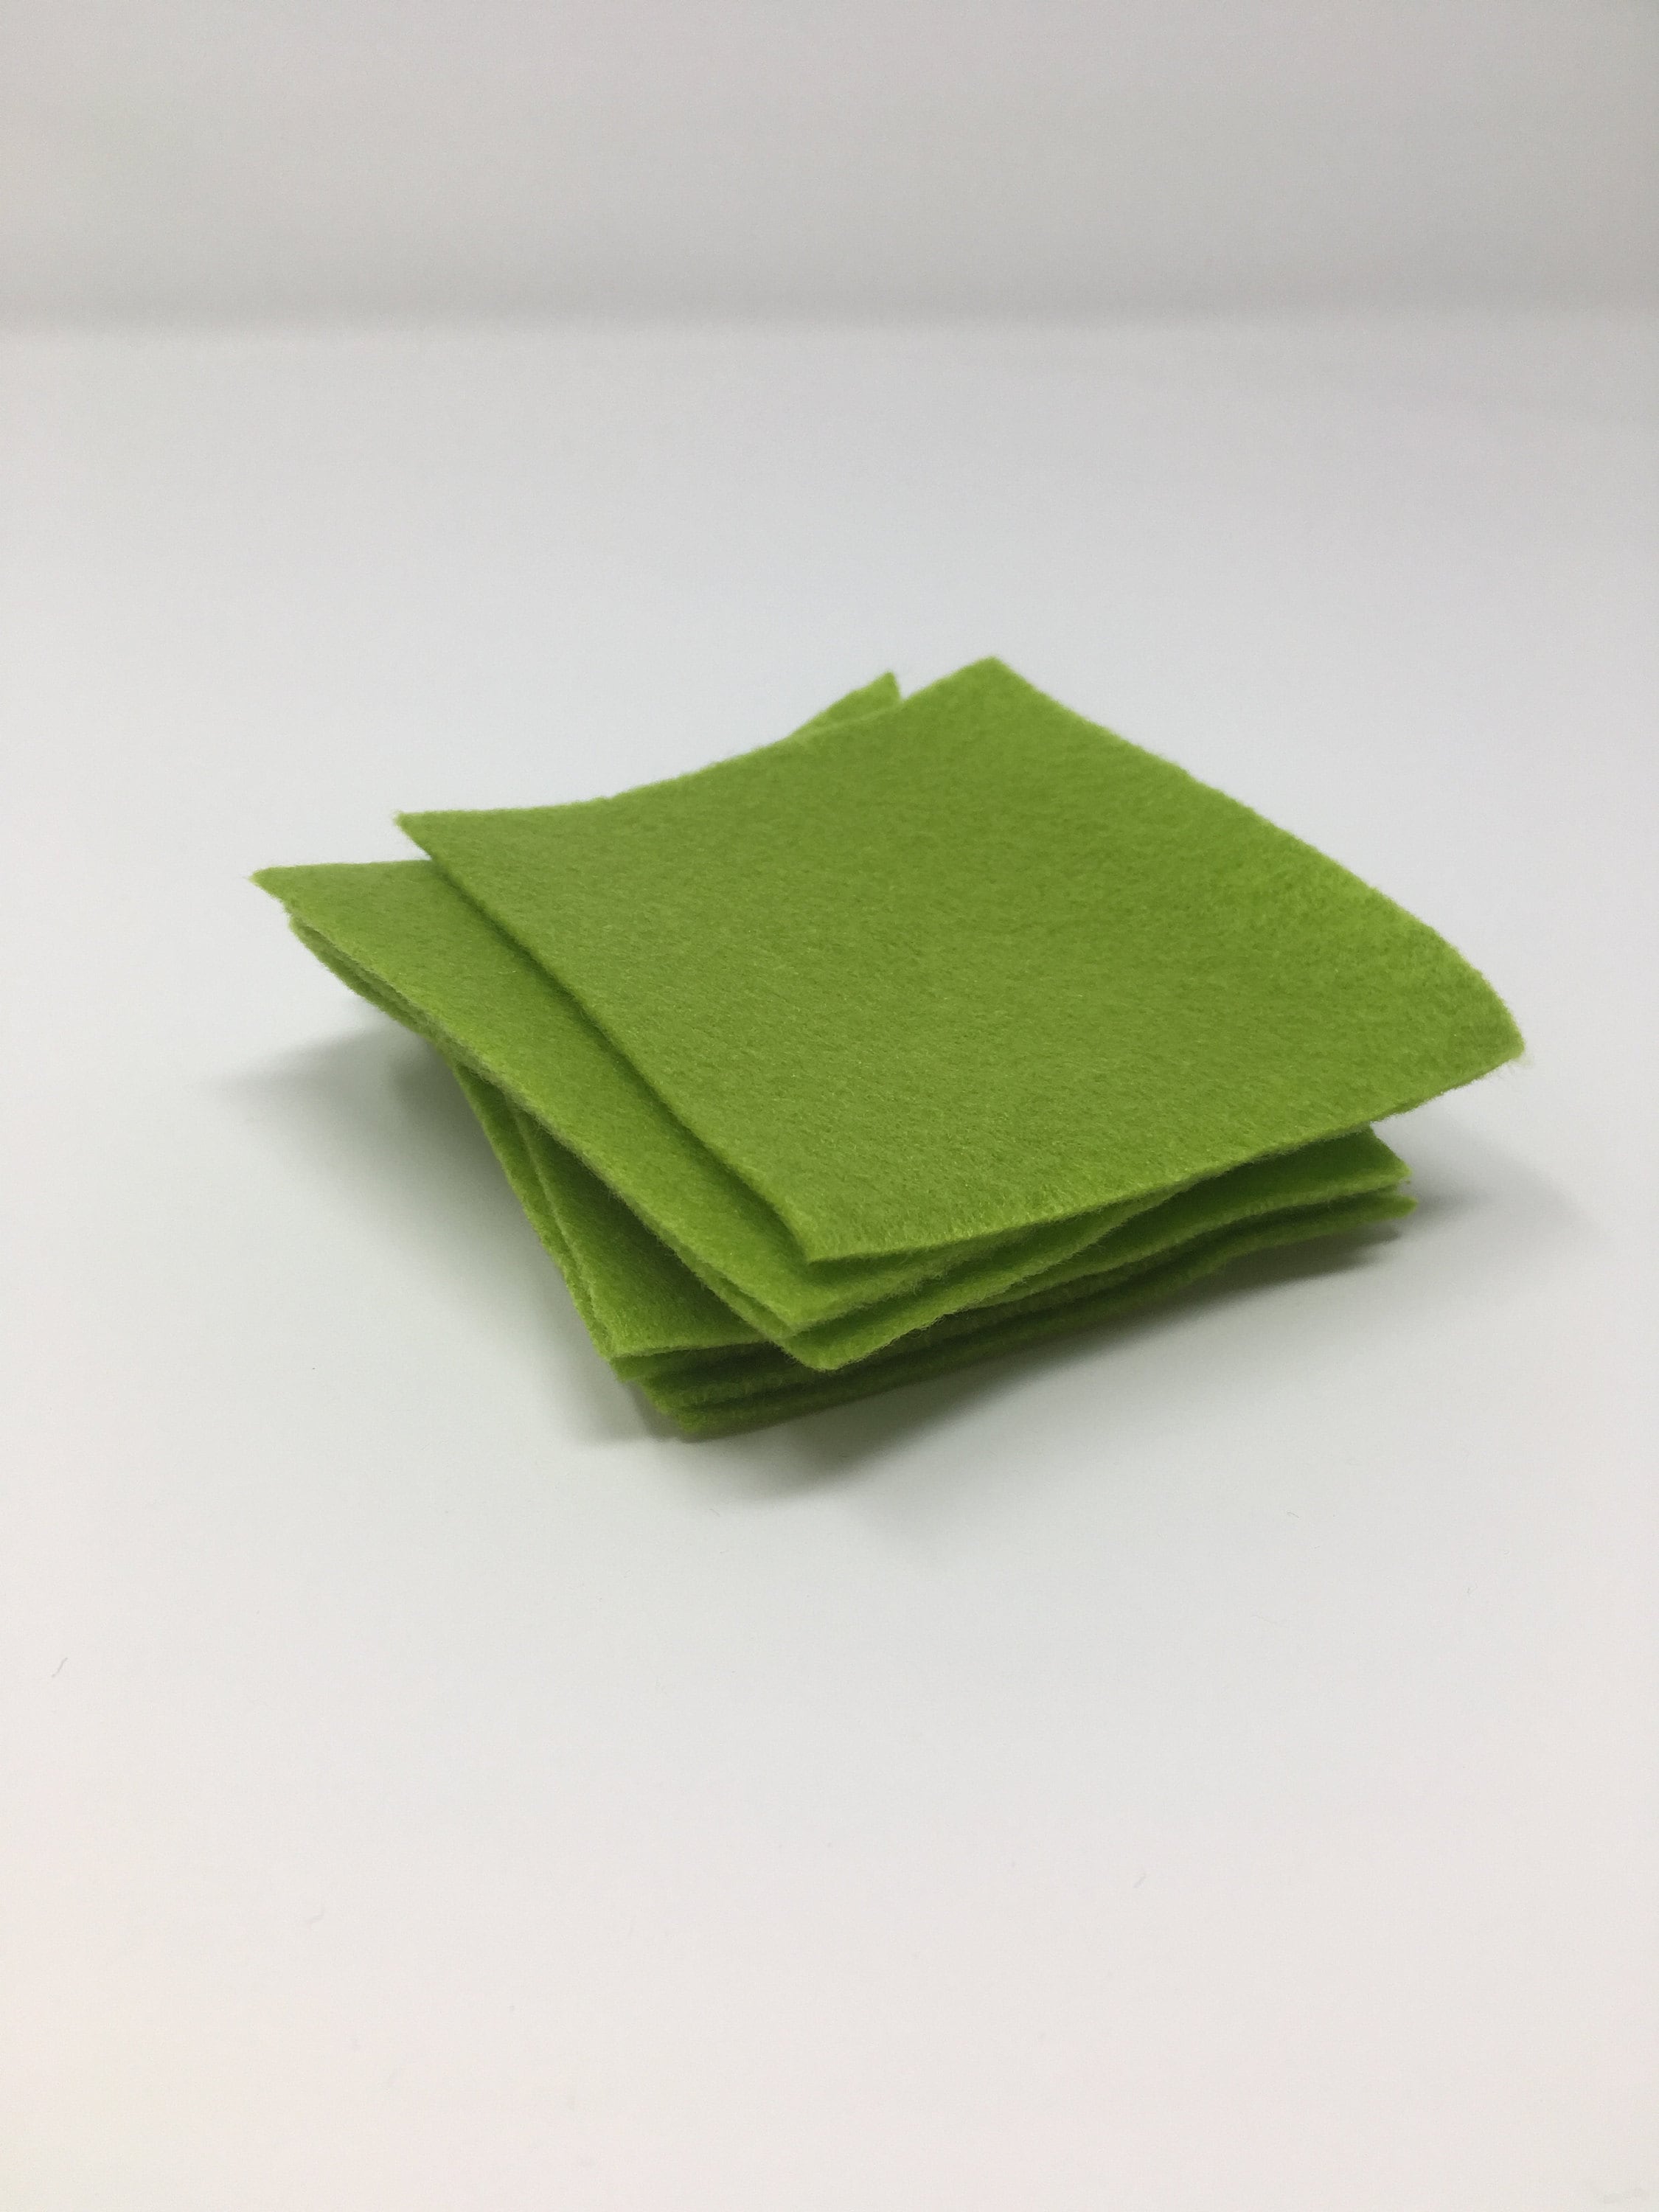
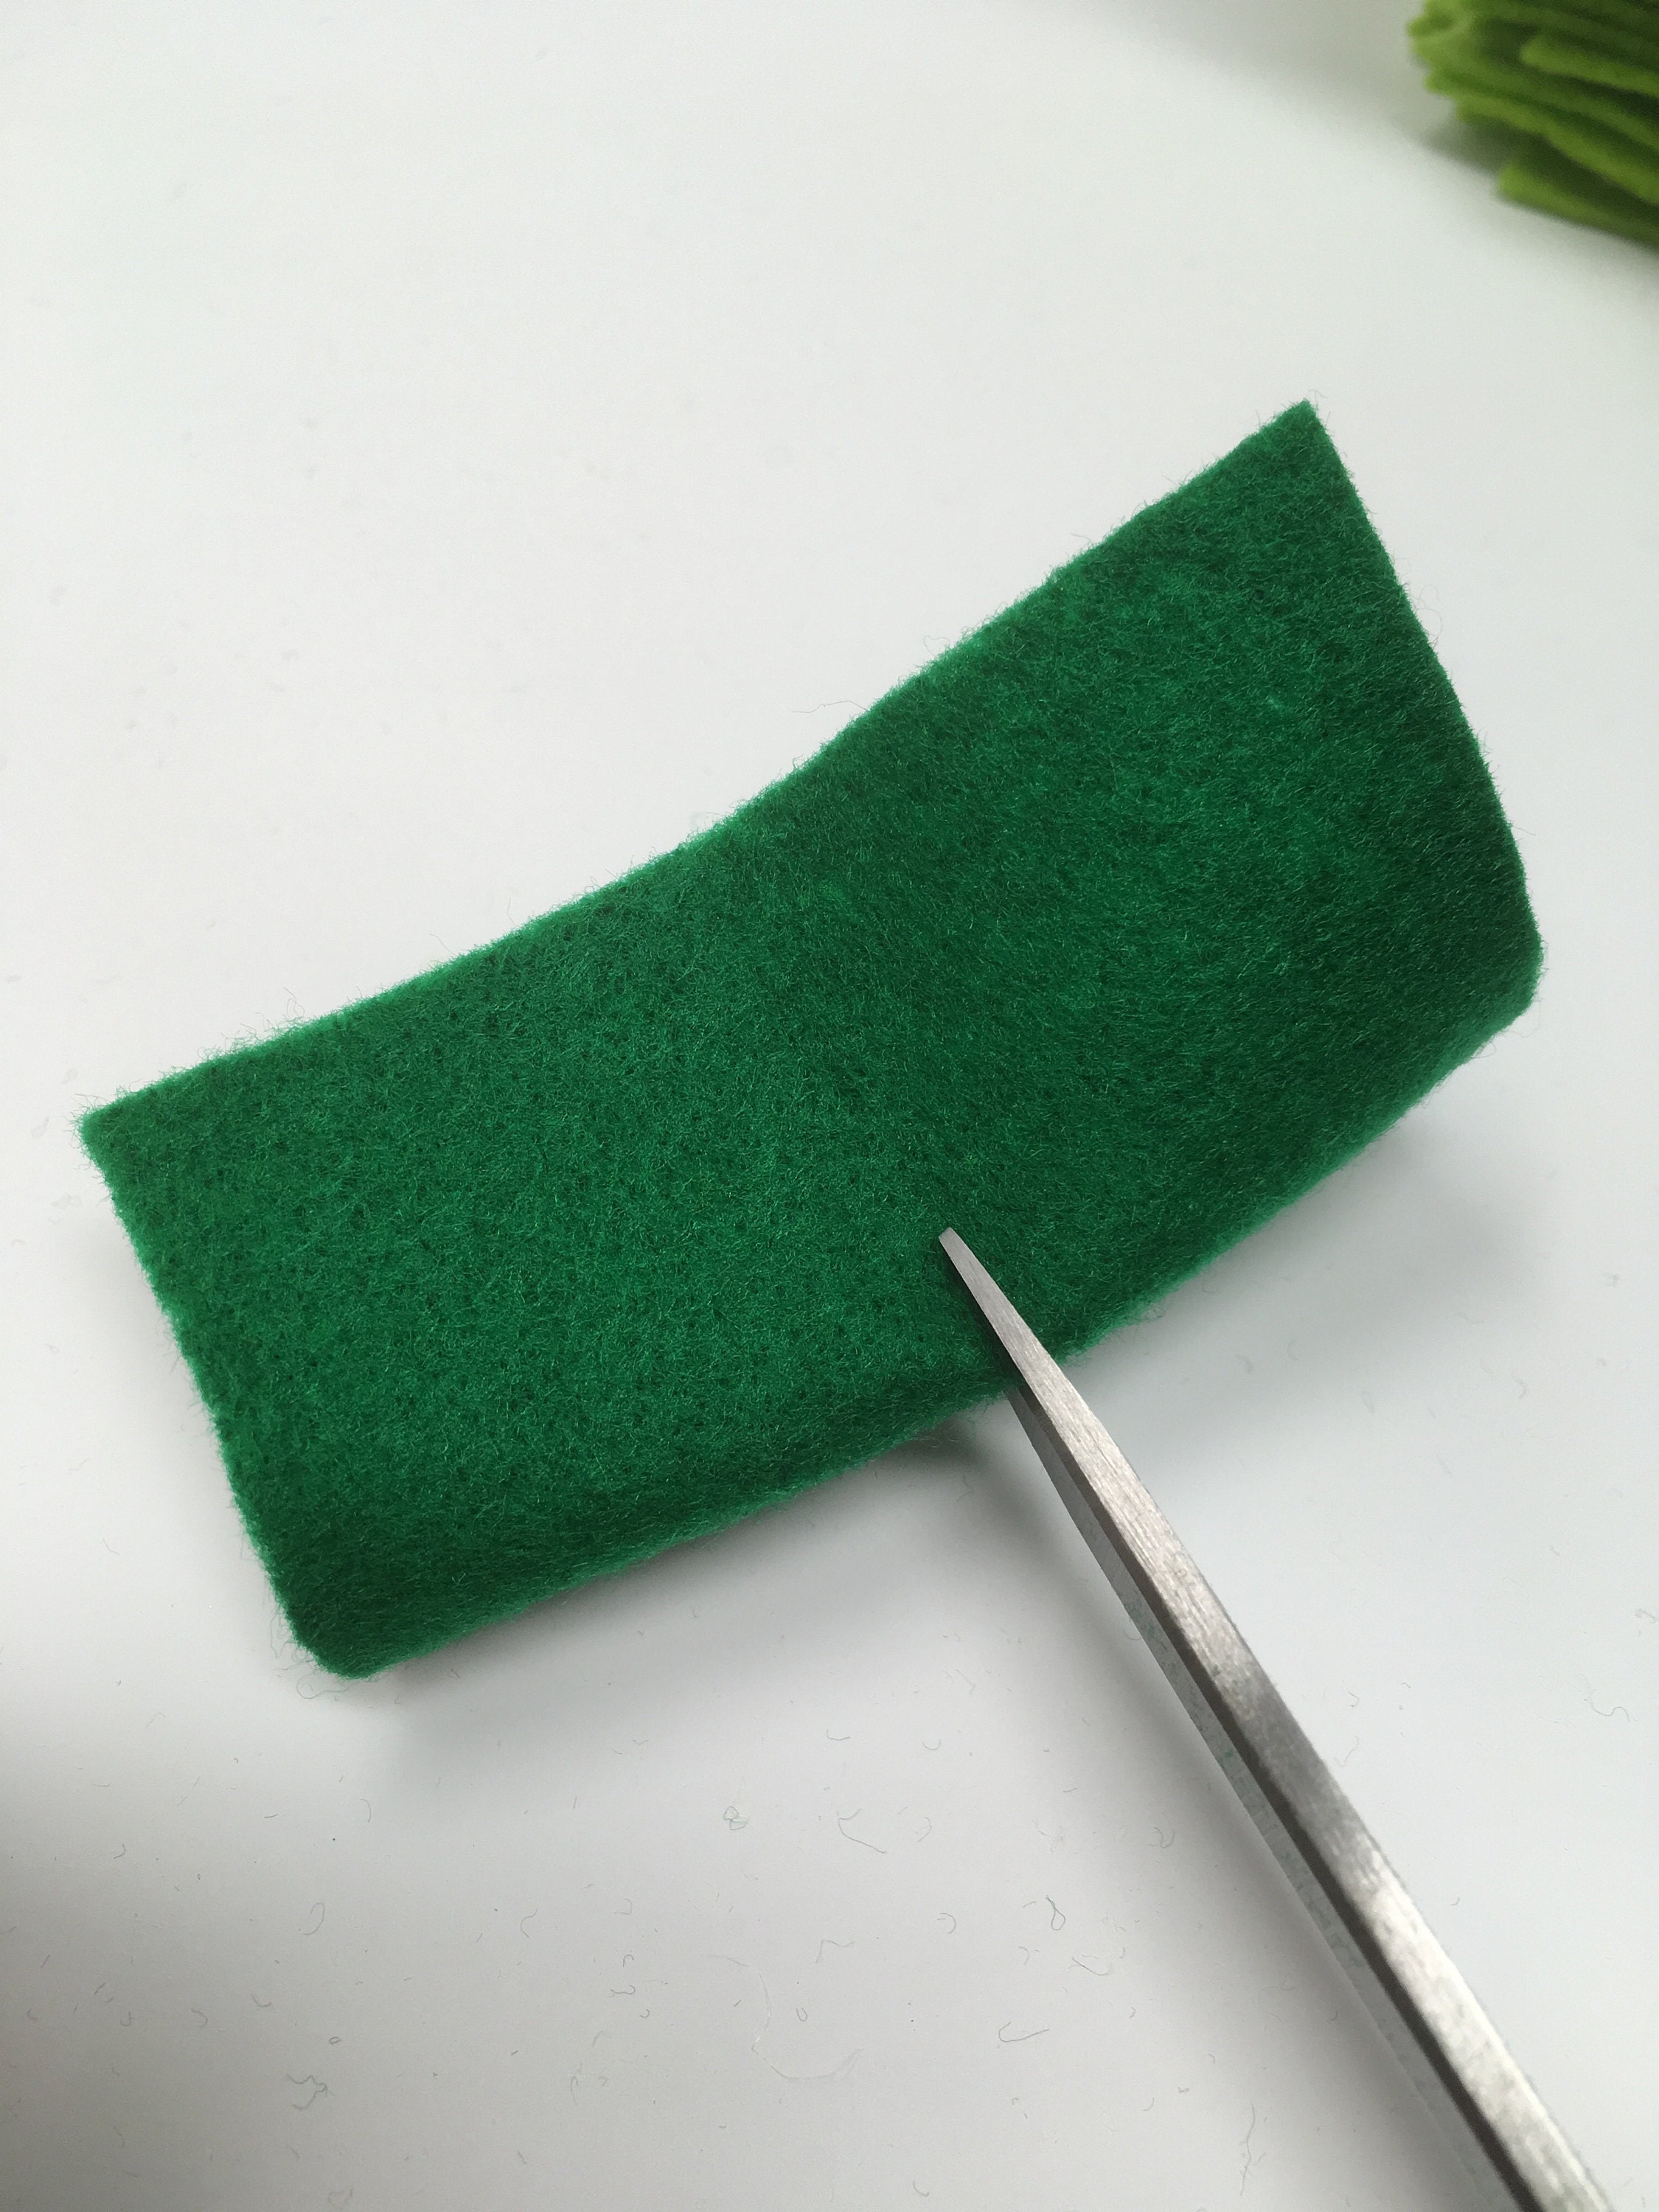
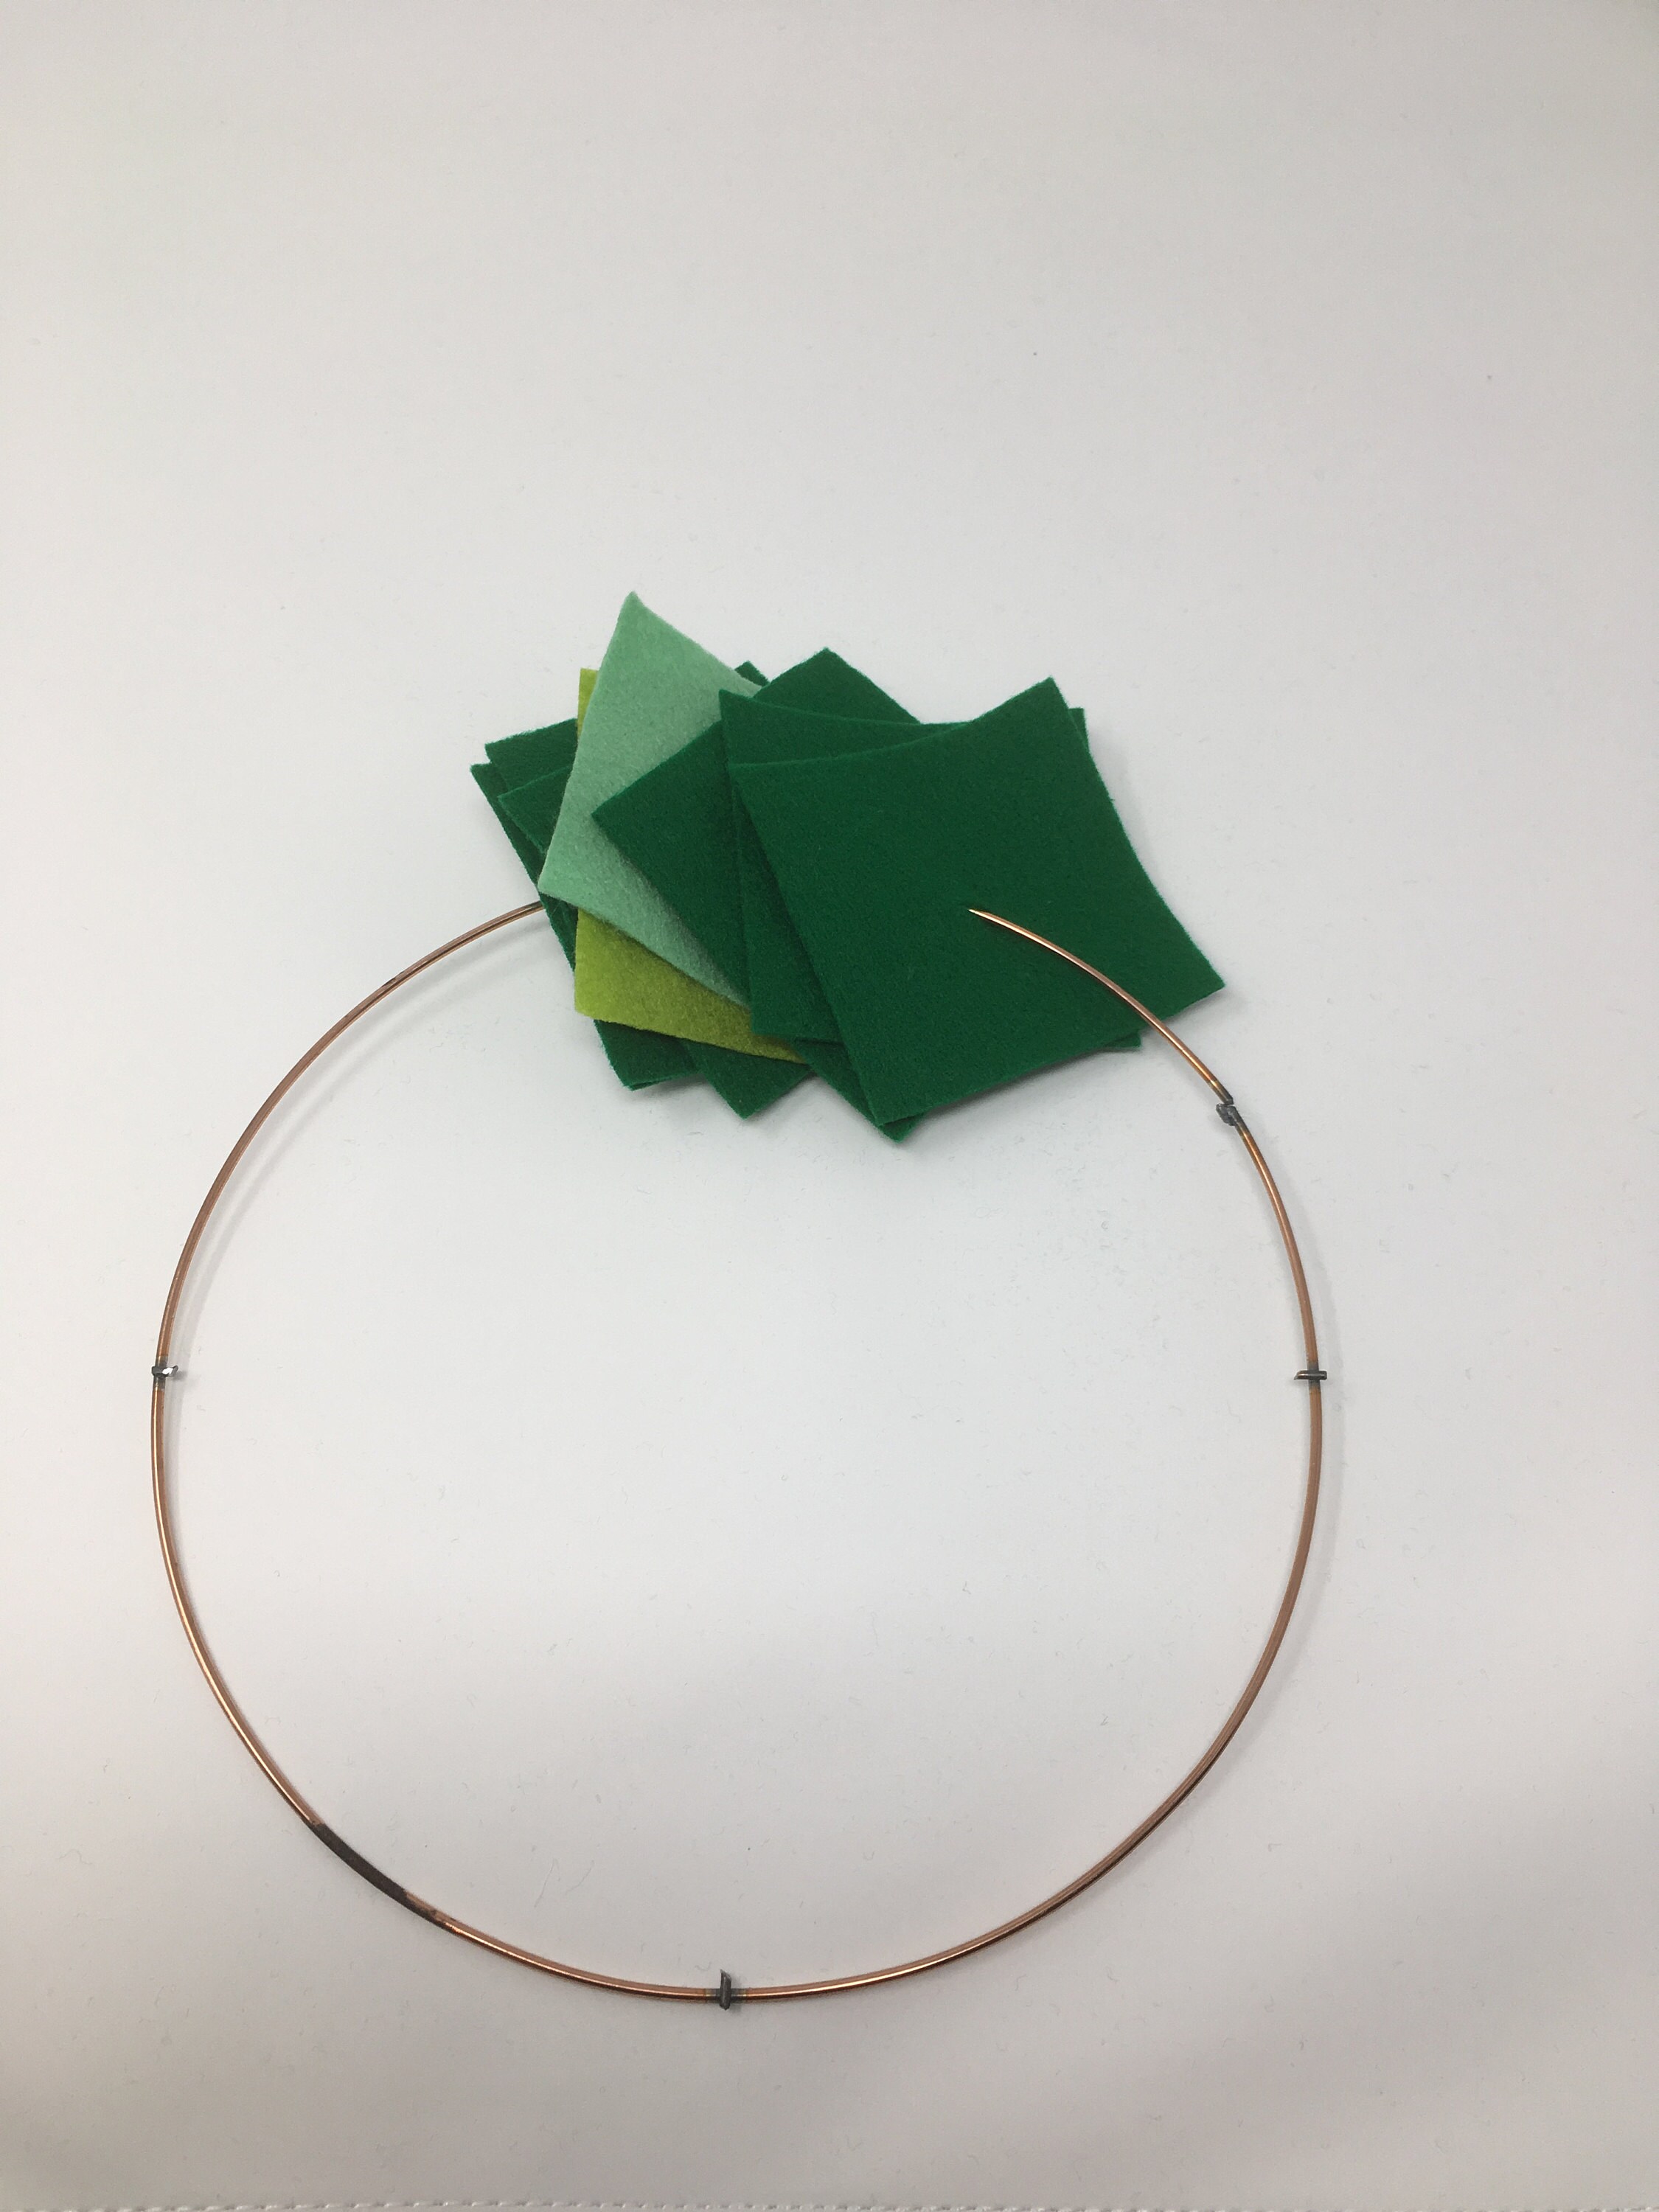
Step two: cut the felt squares
The next step is to decide what size to cut your felt squares. I knew I wanted my wreath to look quite generous. I experimented with cutting a few test squares to determine the size.
Once you have established the size you would like to cut the squares, go ahead and cut all the squares (in all your chosen colours) so that they will fill your wreath.
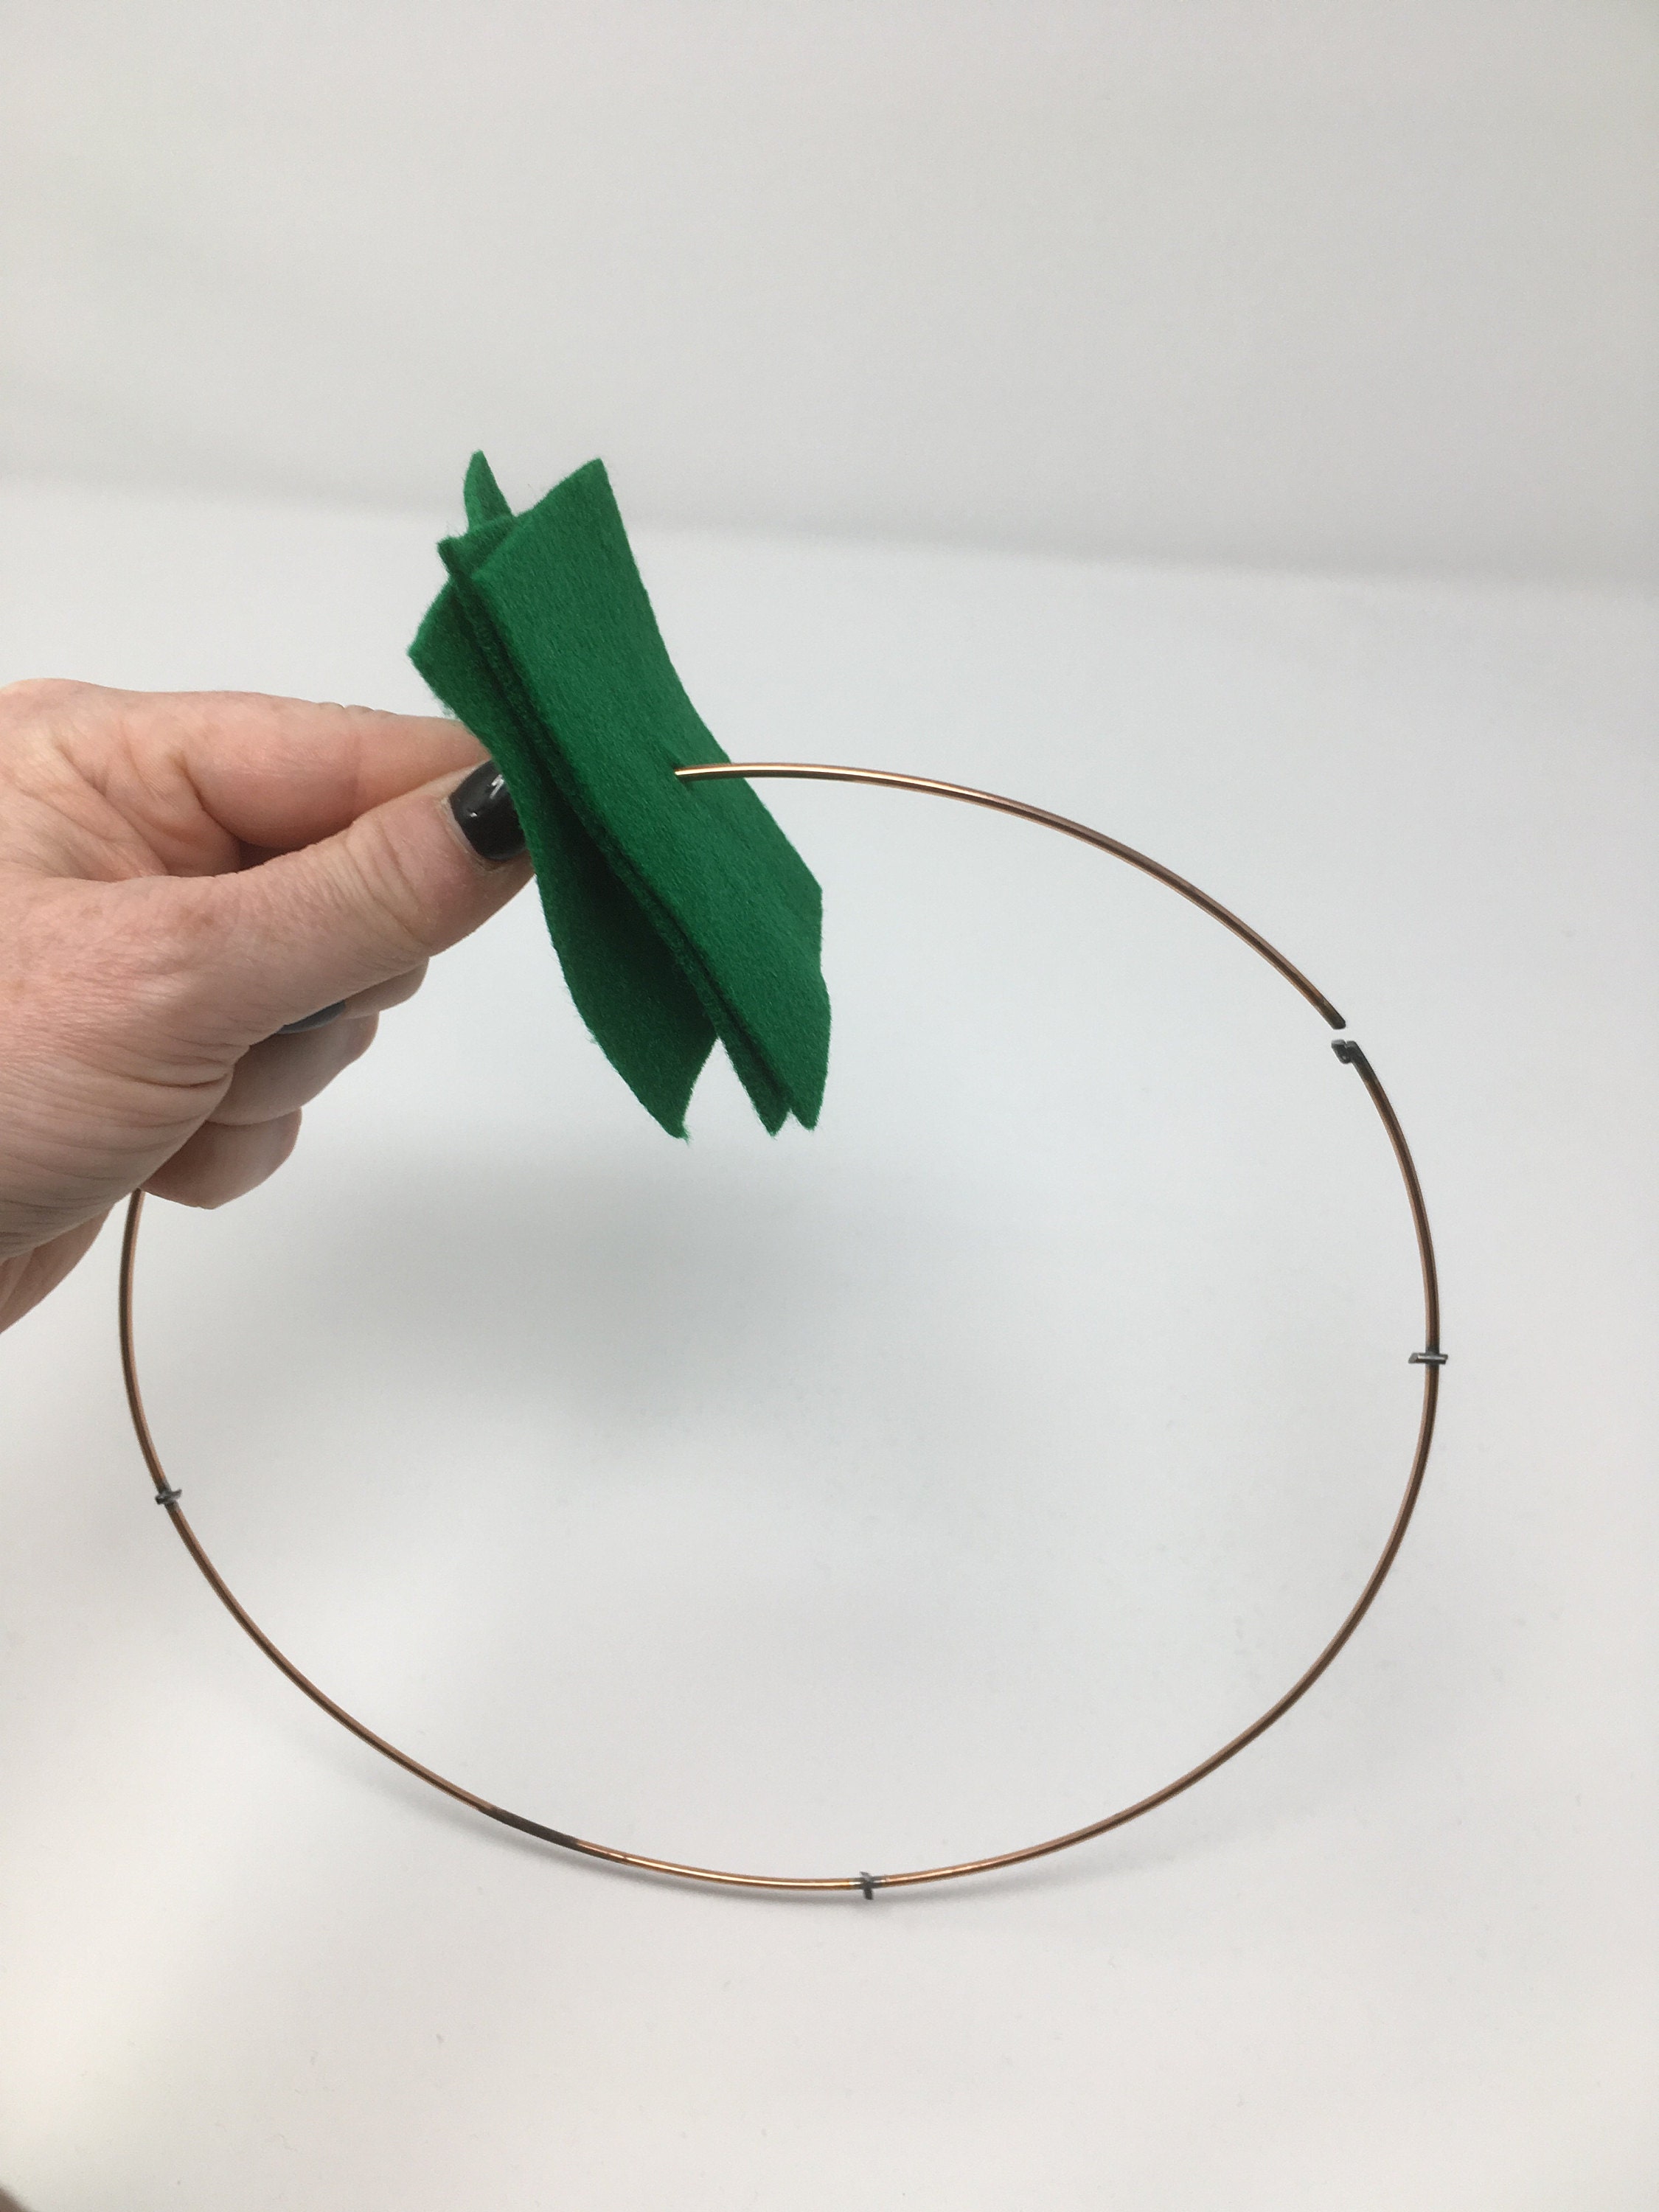
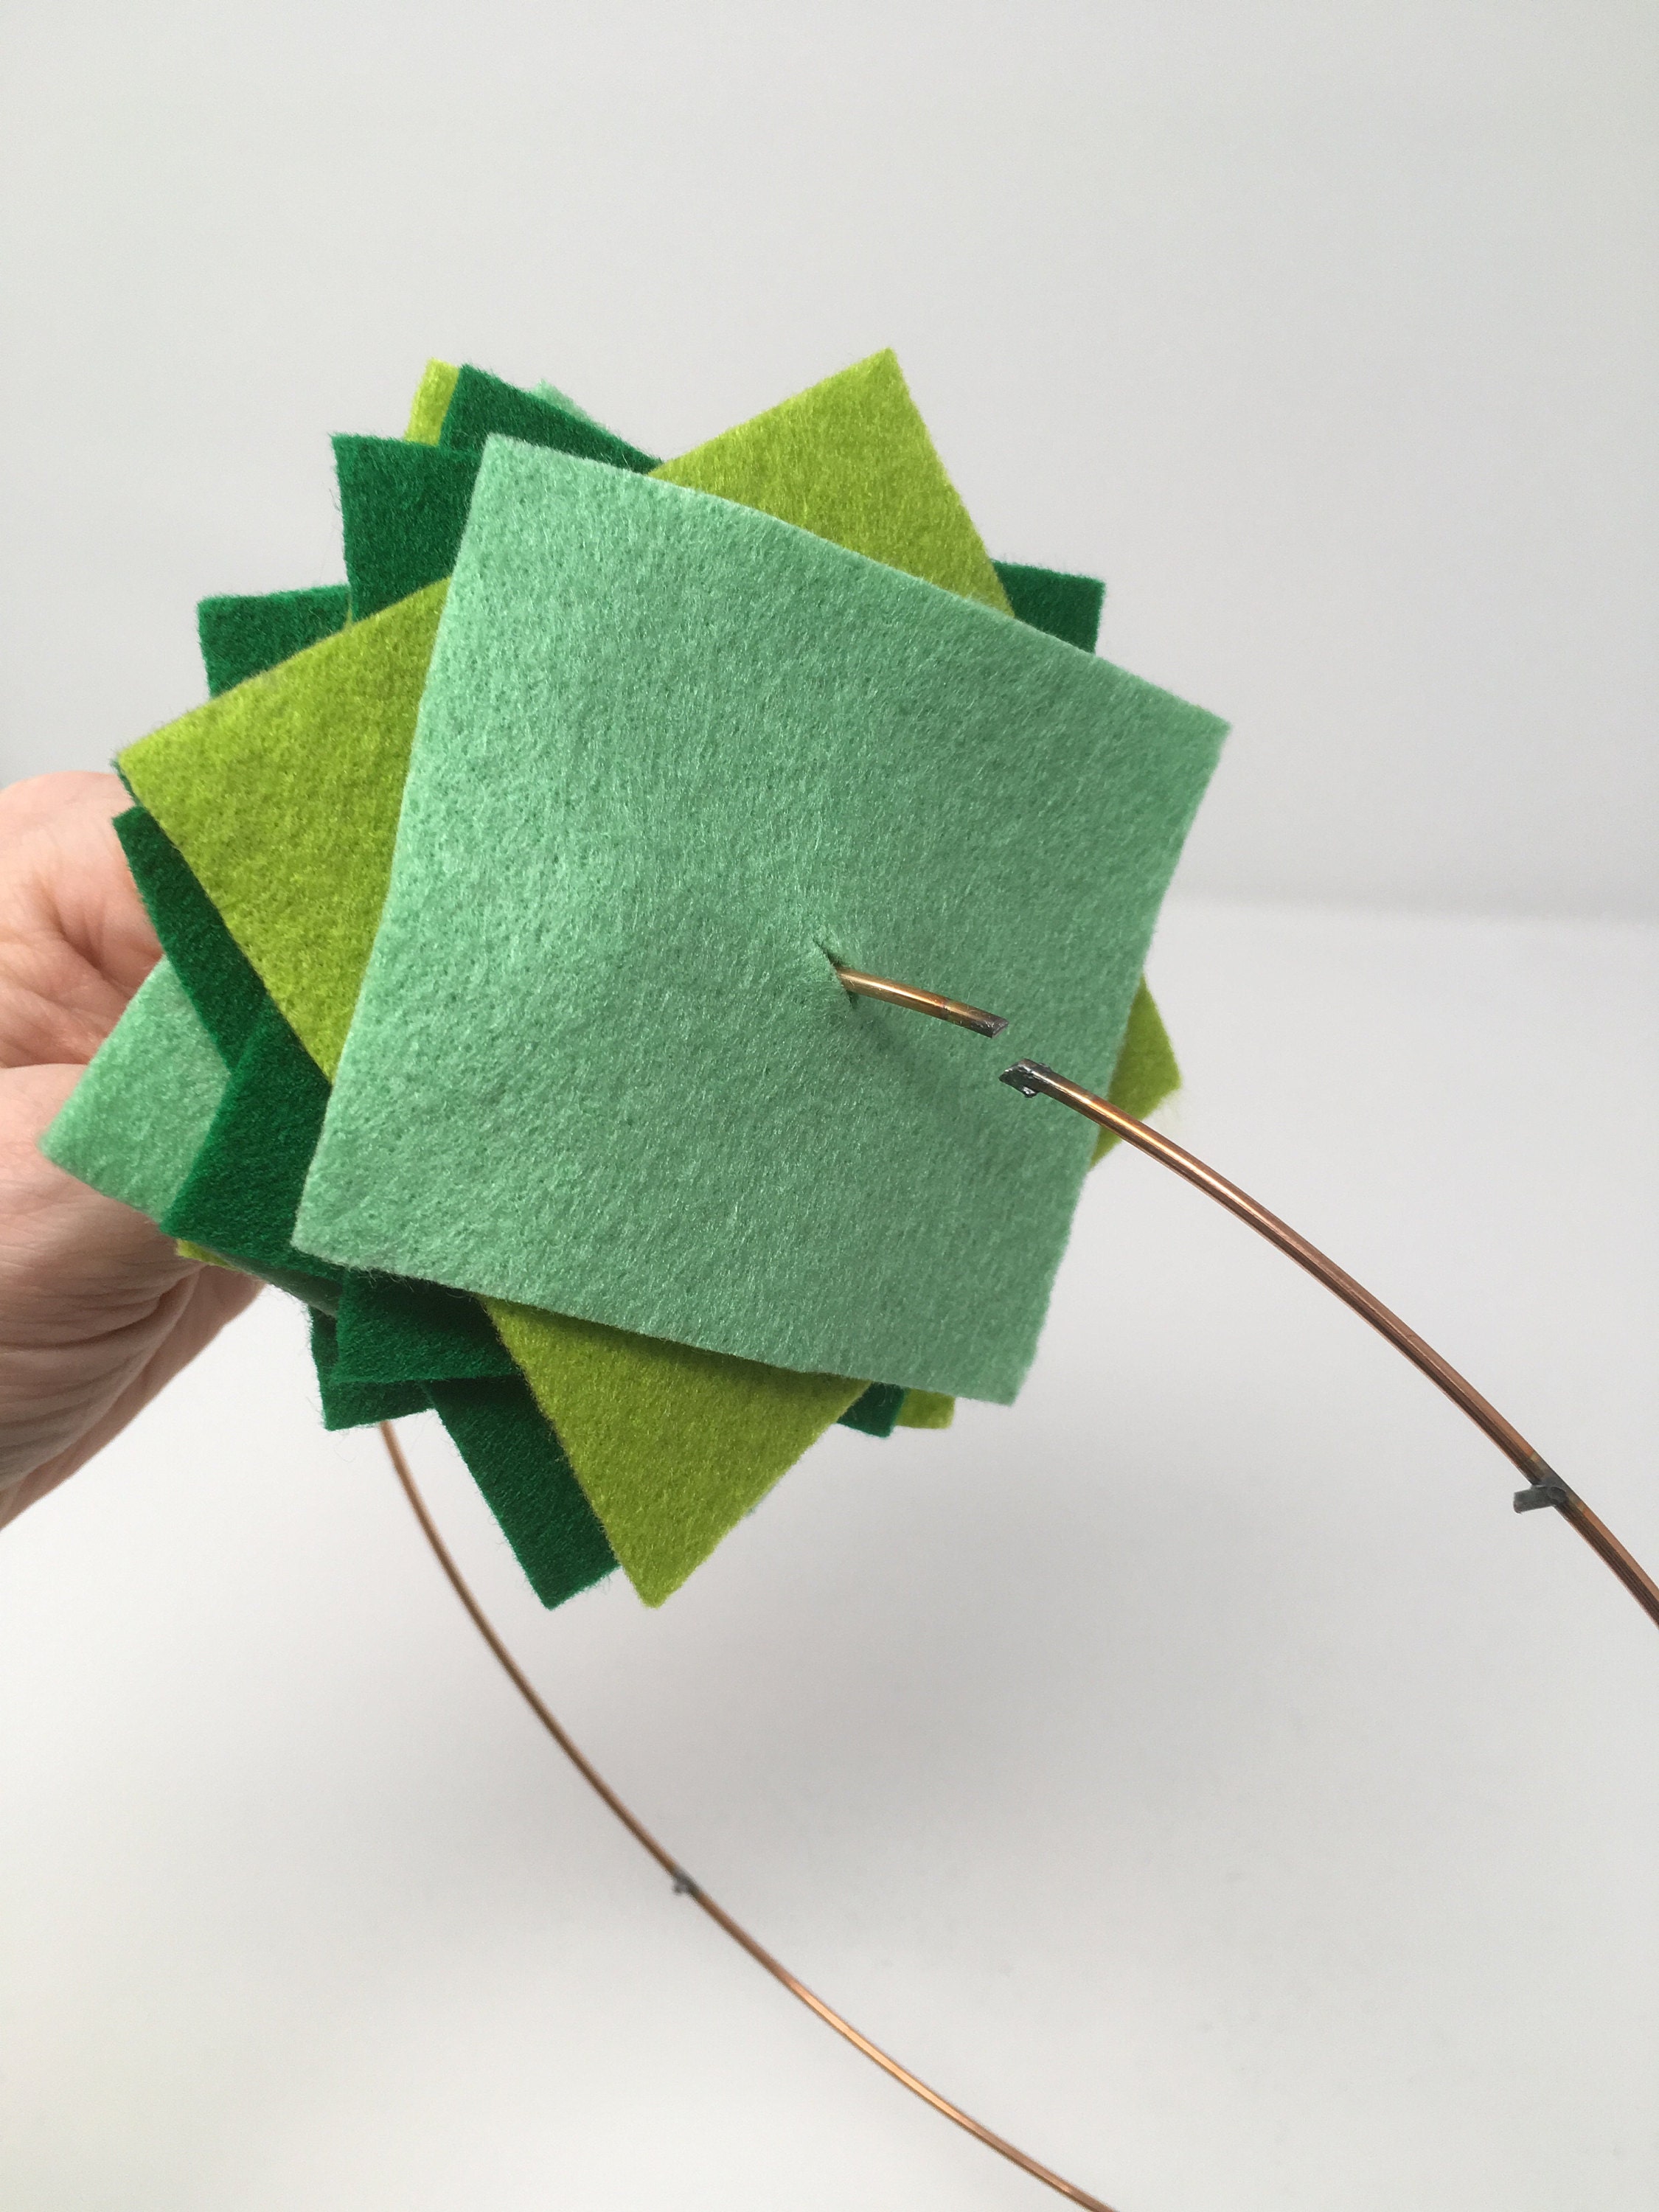
Step three: thread the felt squares onto the wreath
Once your squares are cut you will need to pierce them in able to be able to thread them onto the ring. To do this I simply folded each square in half and cut a little snip in the centre of the felt.
Once all your squares have been pierced you can begin to thread them onto your ring. I threaded 1 x dark green, 1 x mid green, 1 x pale green. Then repeated this process until the ring was very nearly full.
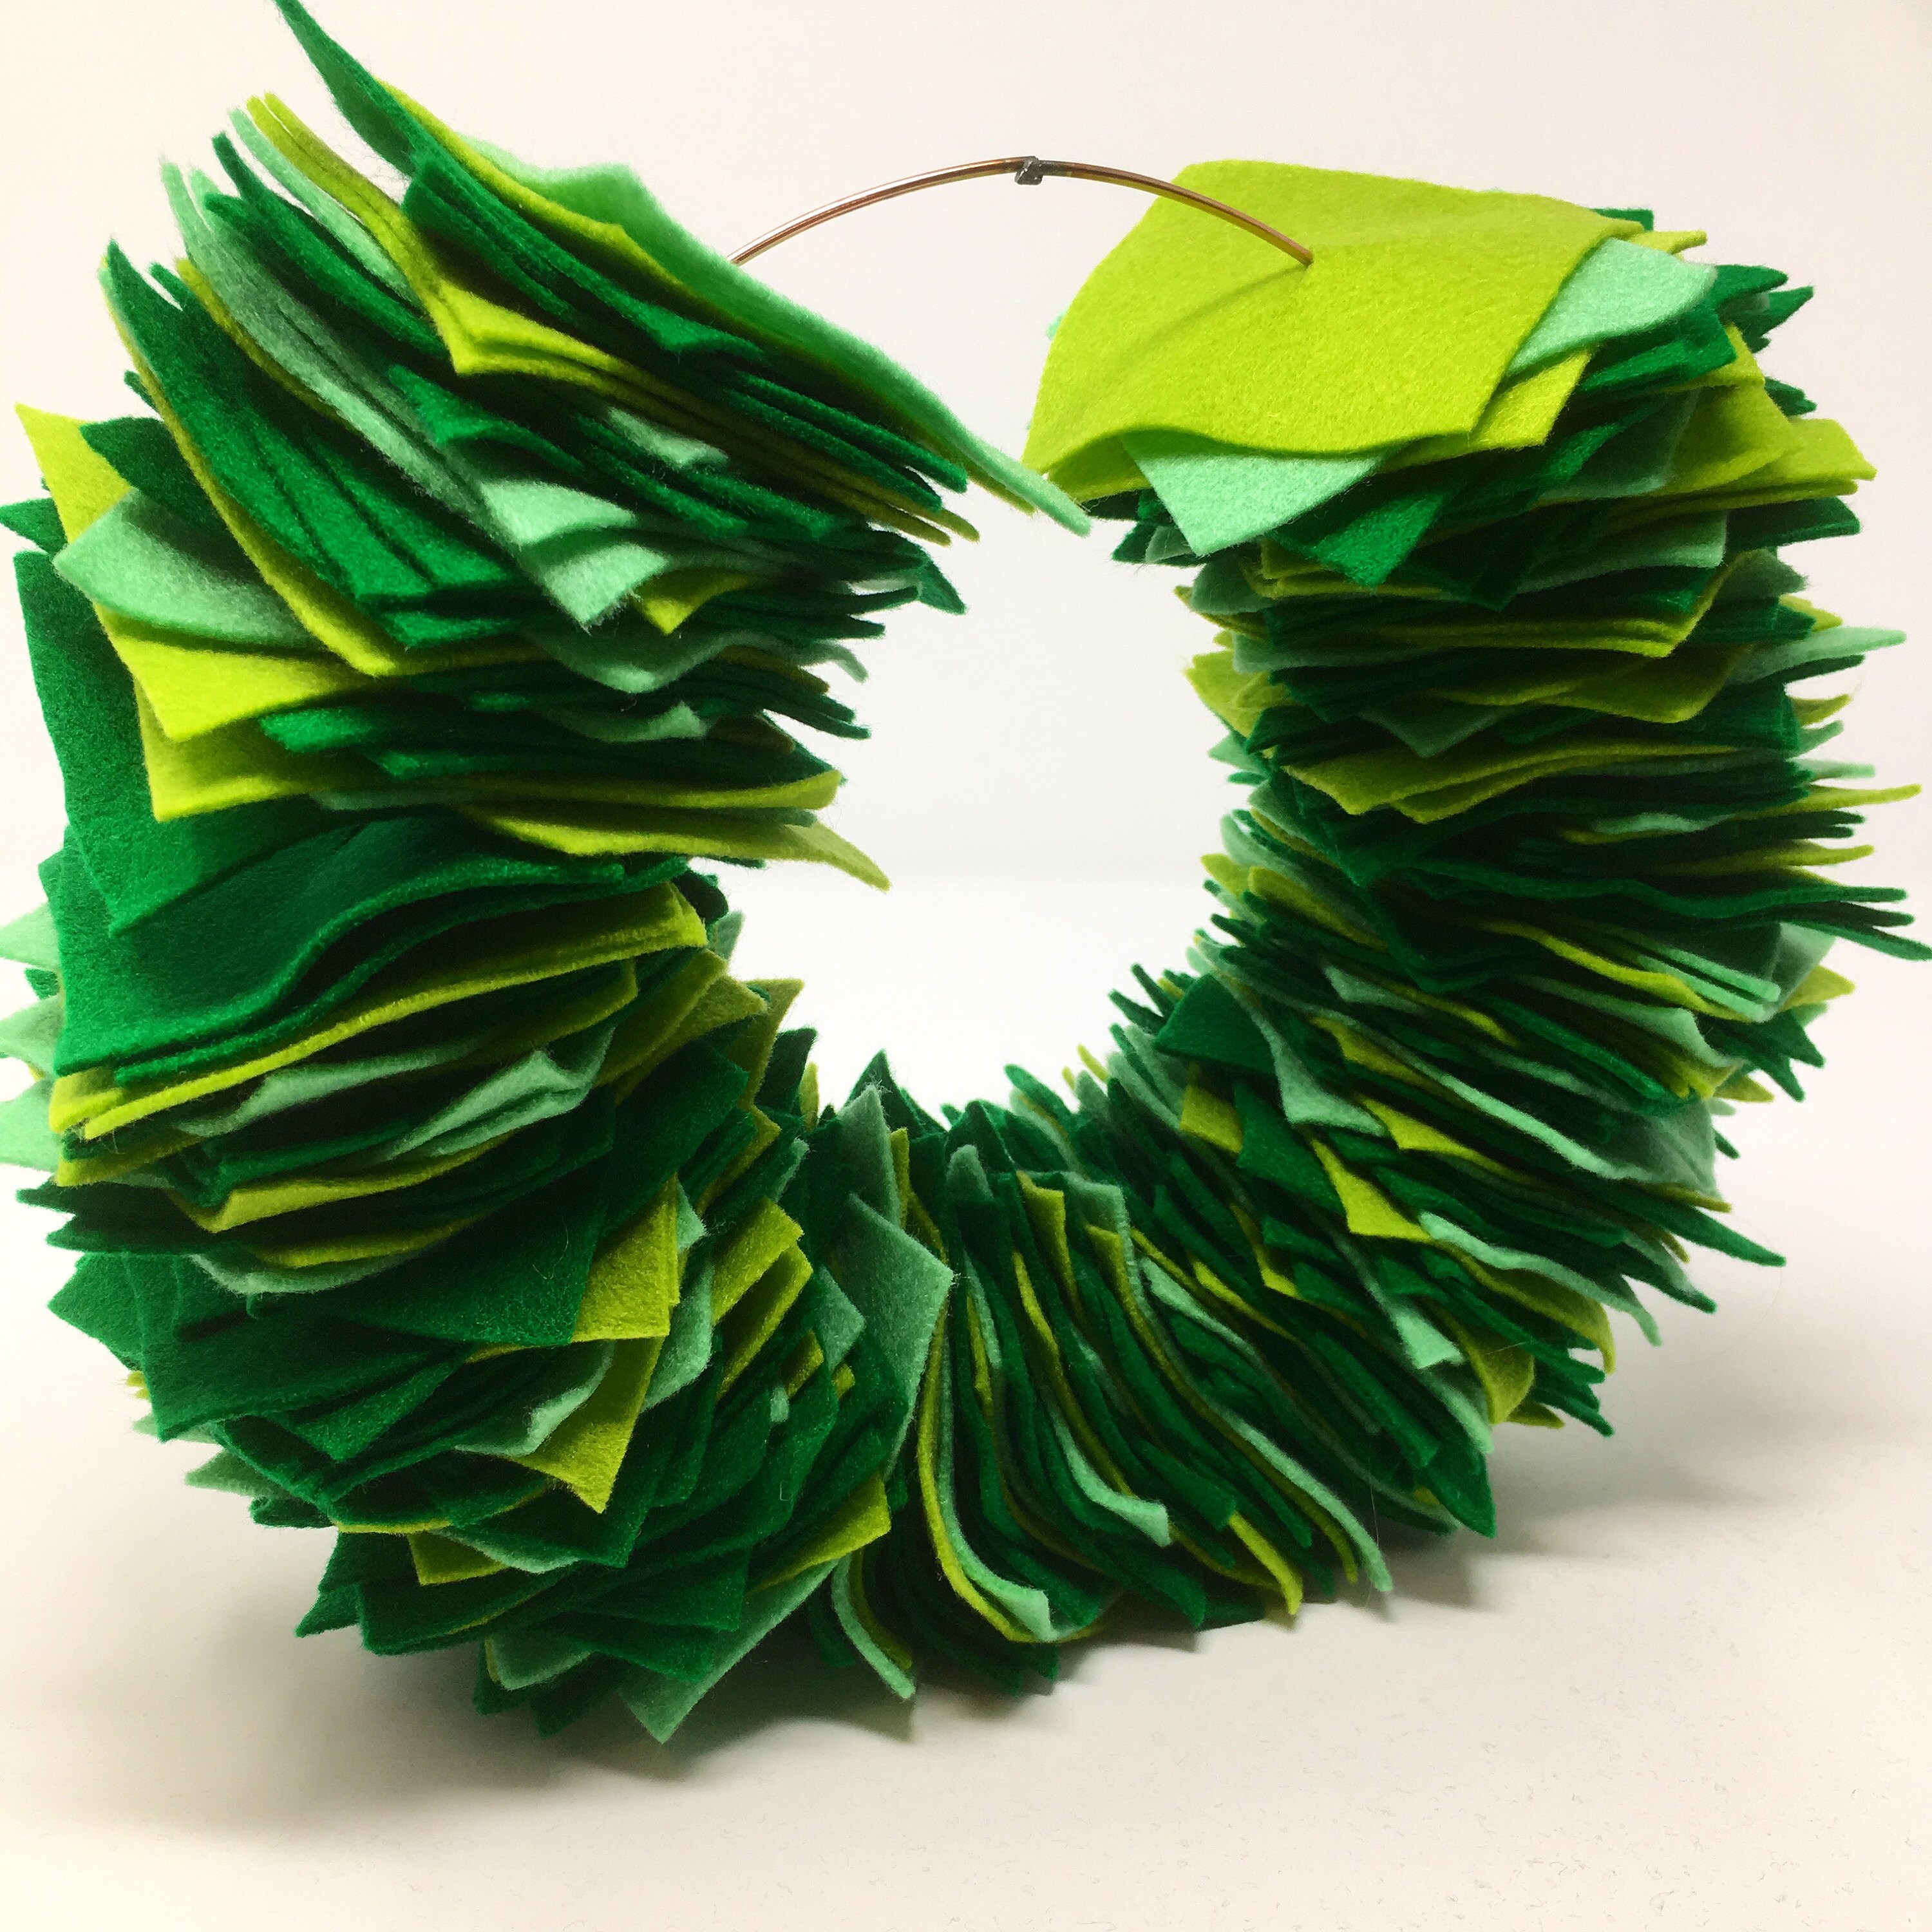
Step four: joining the ring
Once the wreath is full - with enough space for a nice BIG bow - you will need to join the ring. You could solder the ring back together or use VERY strong duct tape. I put the two ring ends back together then secured them with the super strong white duct tape.
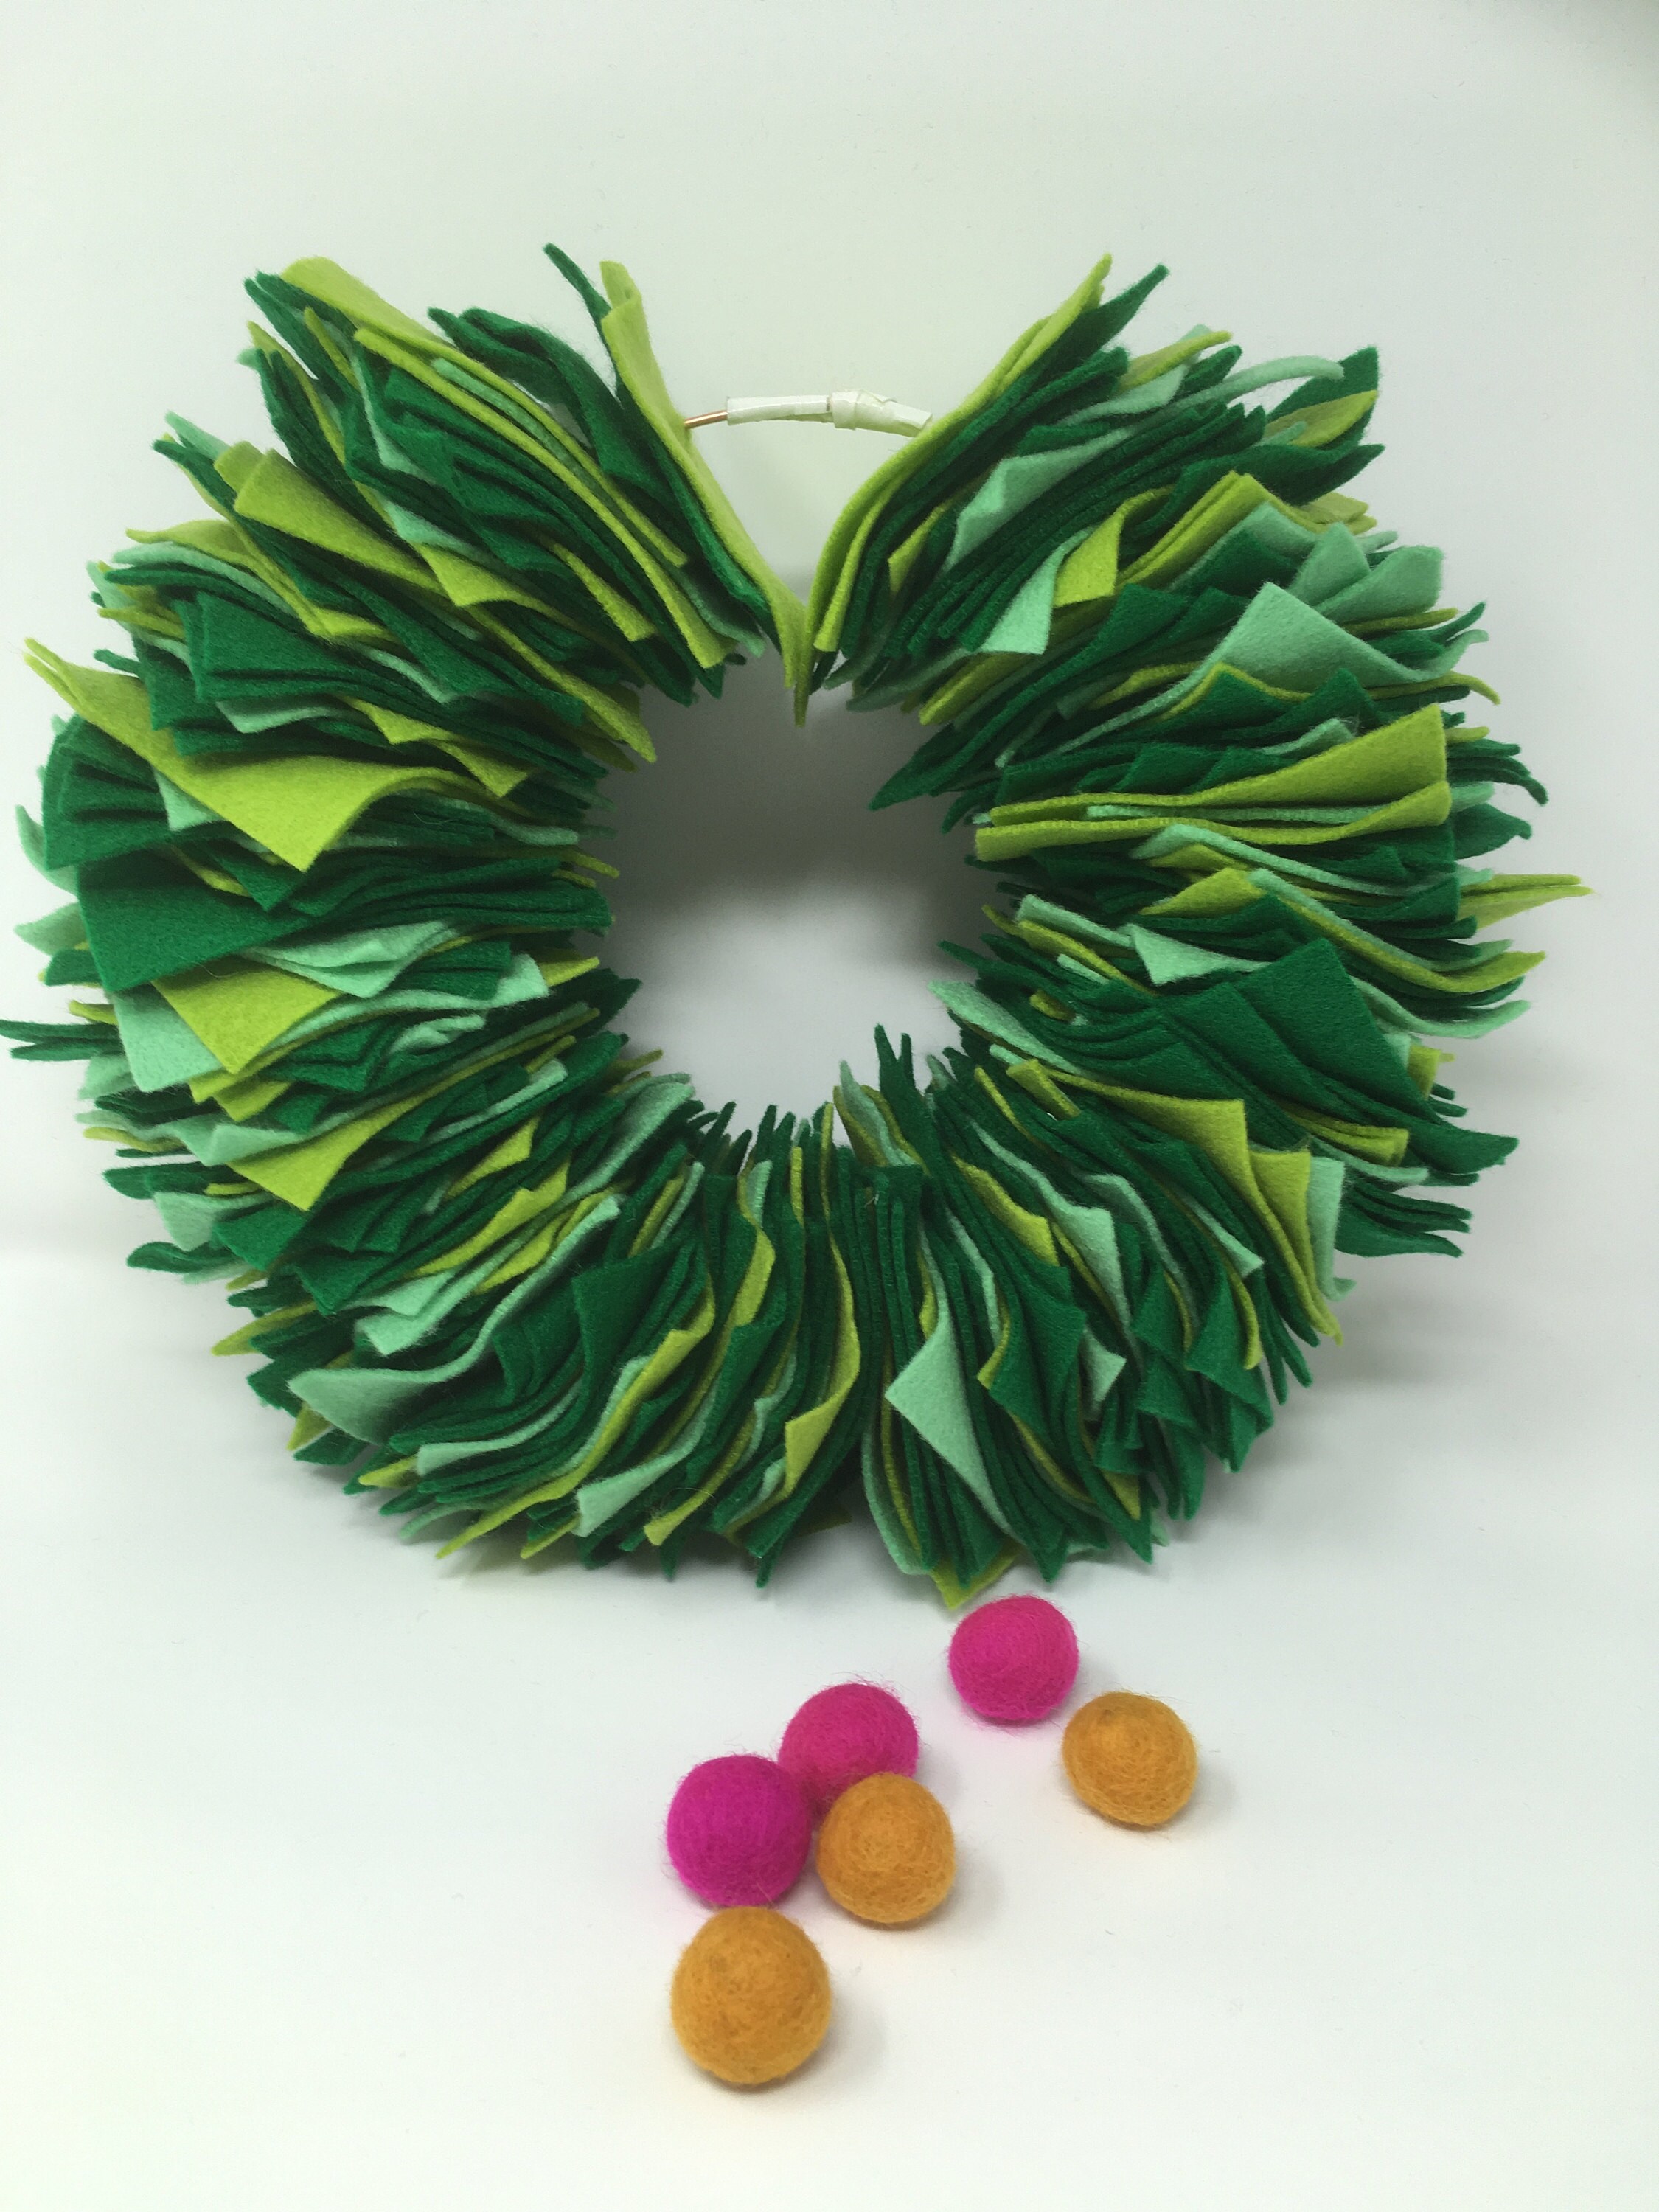
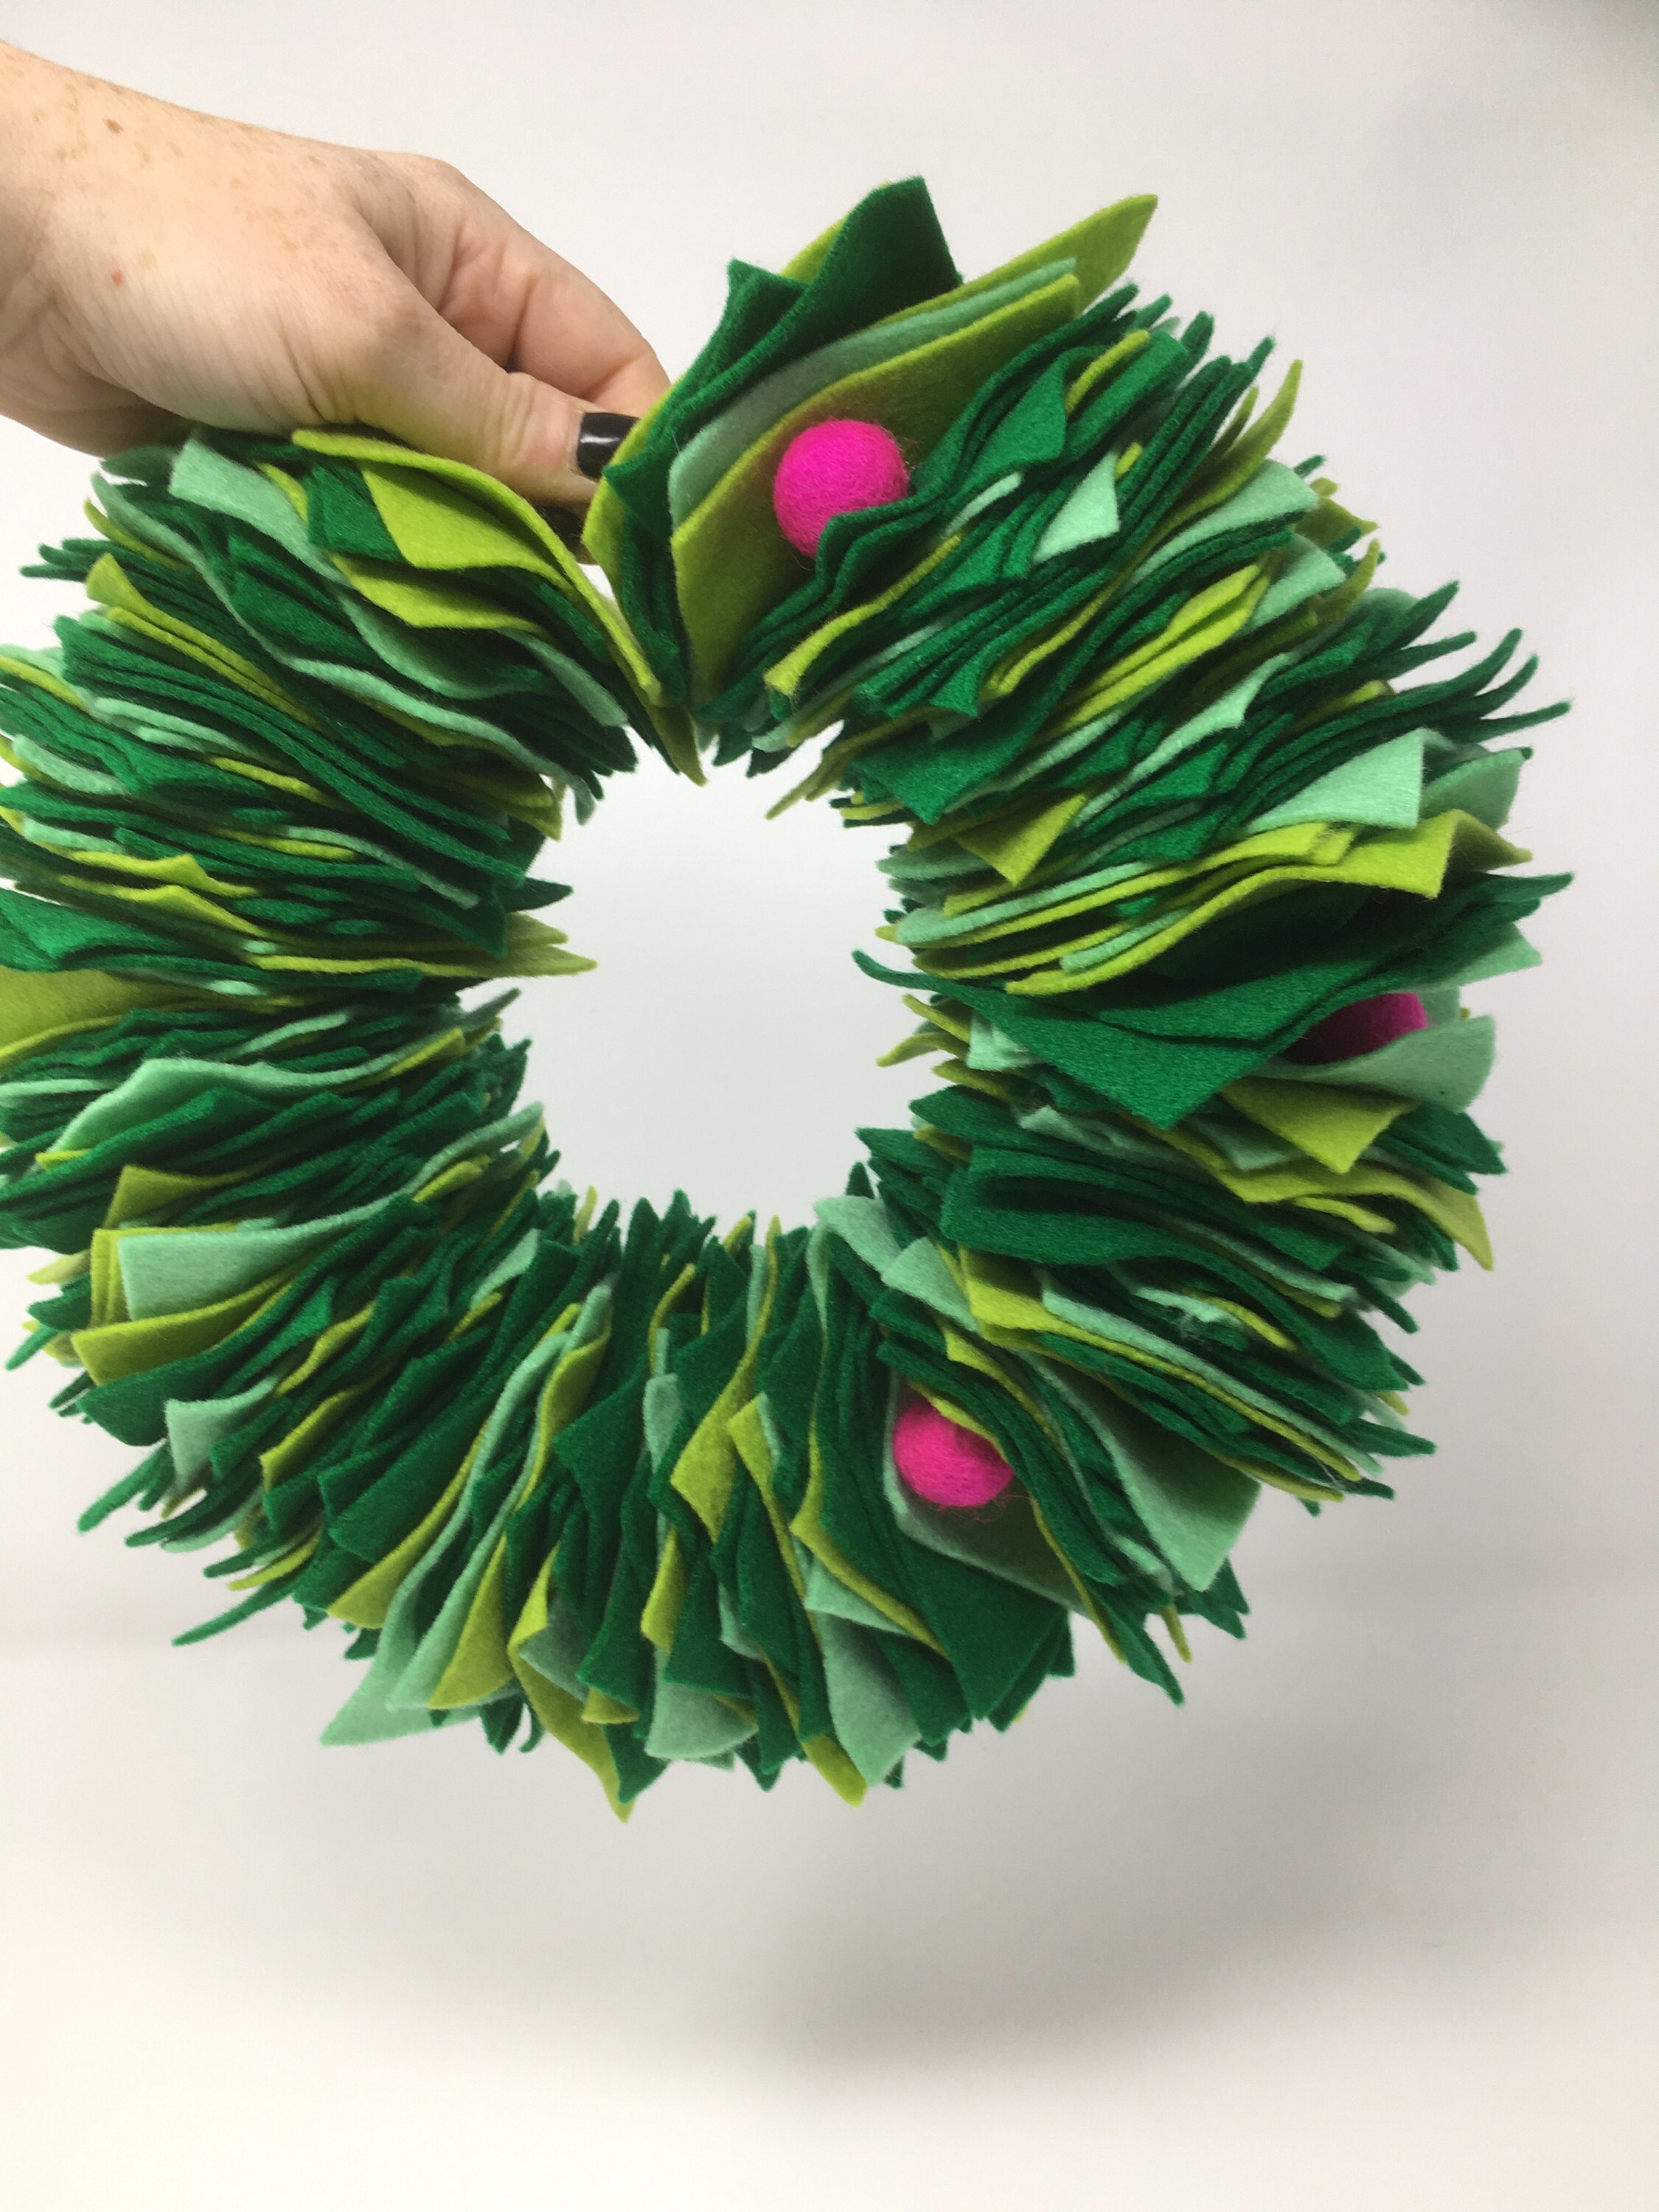
Step five: decorate the hell out of it
You may have noticed that the felt squares move (which is absolutely my fave aspect of this make - its like some sort of jazzy Xmas stress relief).
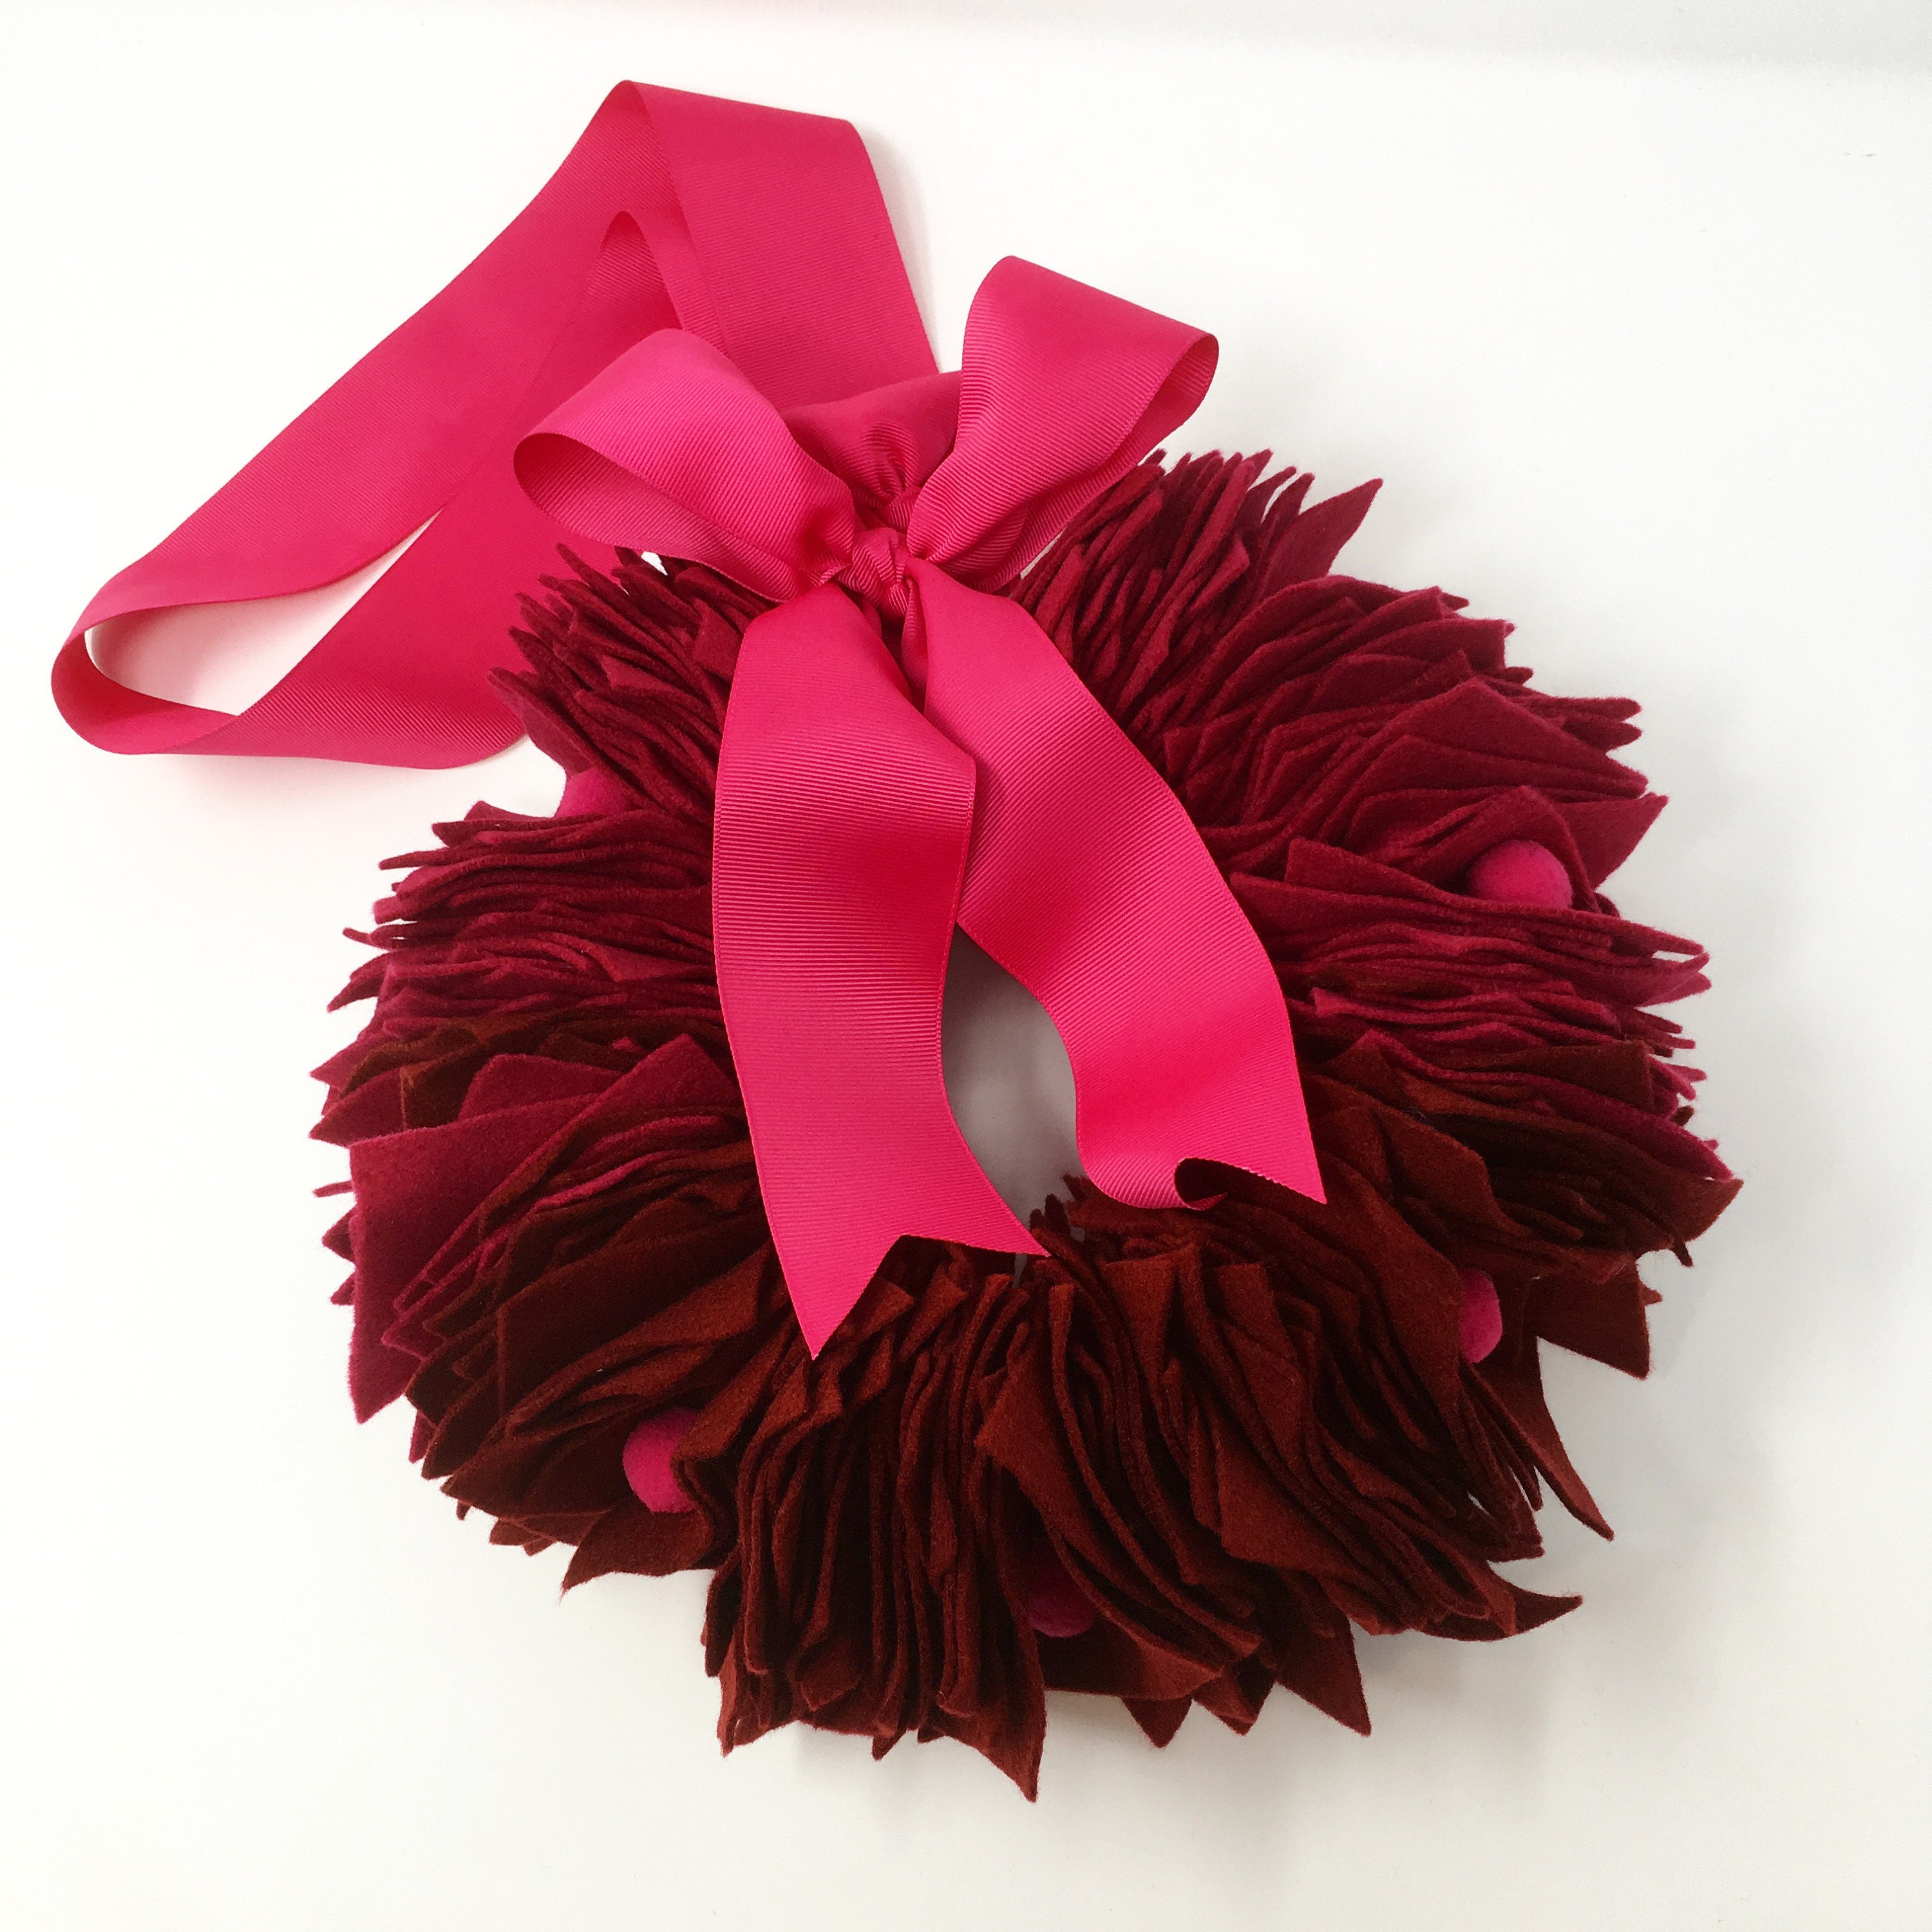
I have chosen to use hot pink 100% wool felt balls in hot pink and chartreuse - purchased from CreativeCraftSupplys on Etsy. Sprinkle your wreath with pom poms, whilst bearing in mind that the squares do move from front to back. I used a hot glue gun to attach the wool balls to the wreath, taking care not to leave unsightly glue strands (or to burn your fingers)!
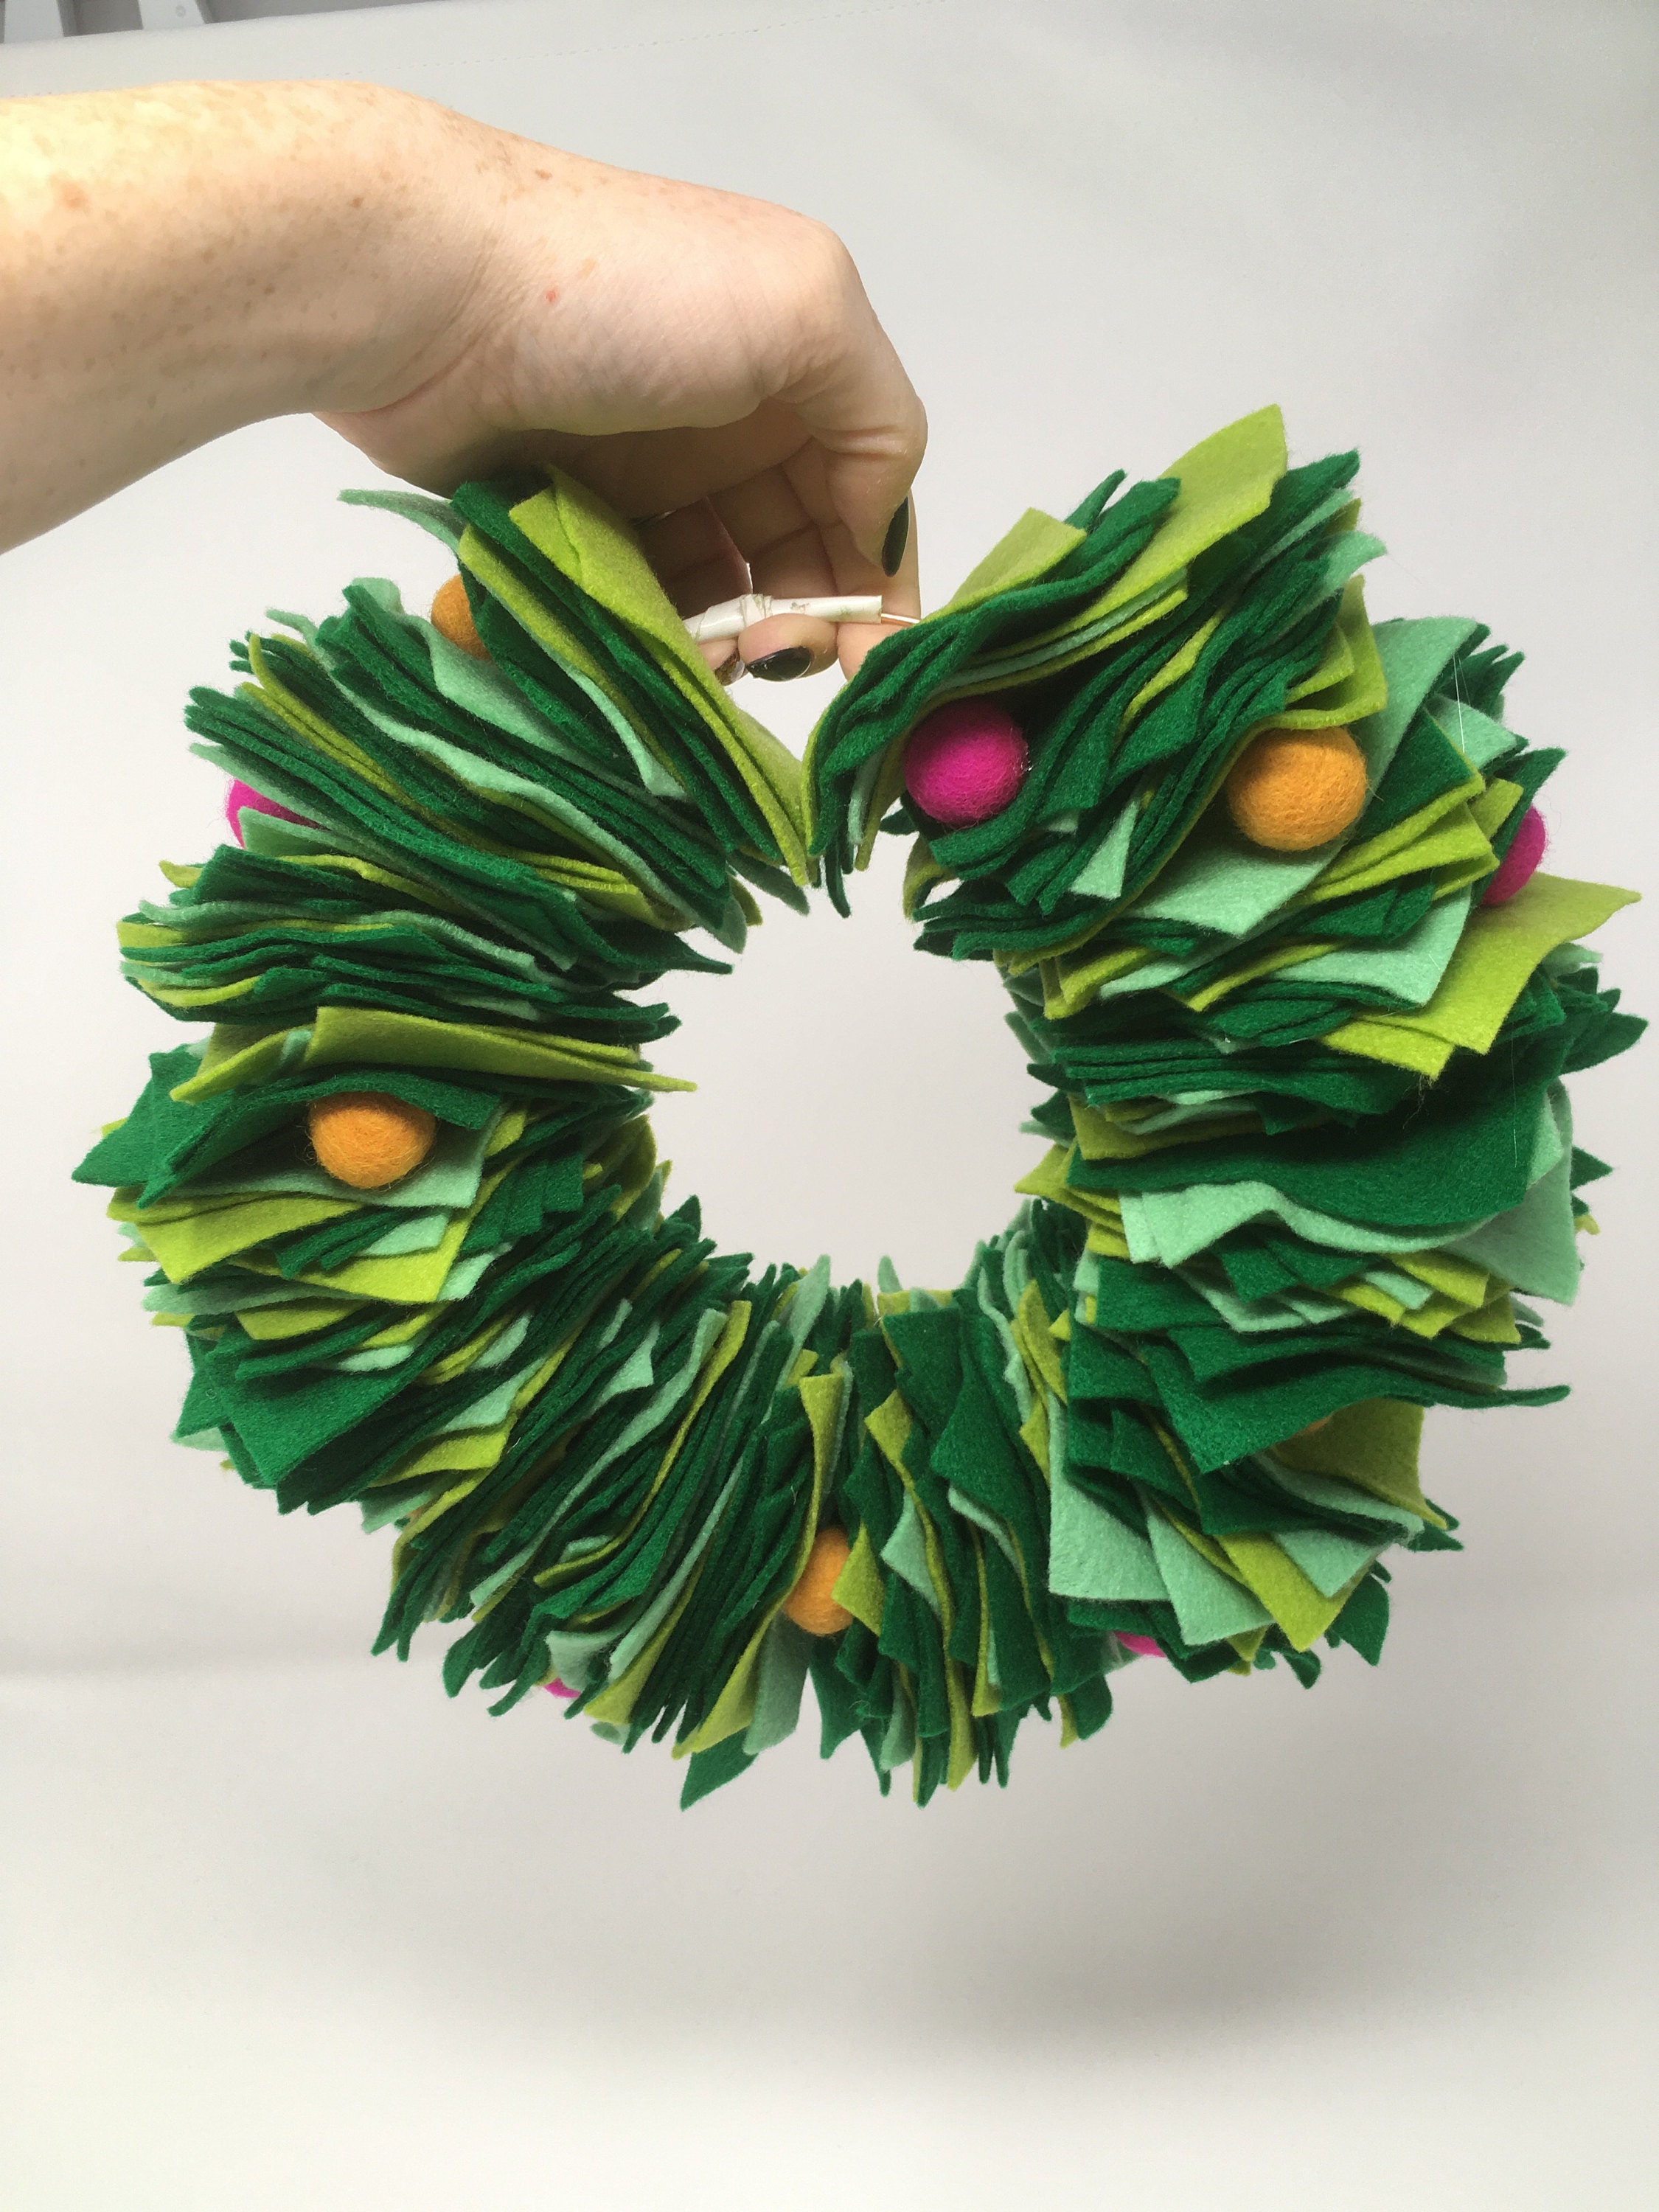
The wool balls added a gorgeous pop of colour but it wouldn't be Christmas without a few sleigh bells right? I evenly distributed the bells around the wreath then hand stitched them onto the felt squares.
I should warn you that by this stage of the process I was chuckling every few minutes at a/ how enjoyable the project was b/ how increds the wreath was looking. I guess I'm telling you this so you can go into another room to avoid the concerned stares/ mockery of family members or co-workers.
Step six: finish your wreath with a ribbon bow and hanging loop
Decide roughly how long you would like your hanging loop to be and double it. Cut the ribbon to size with a straight cut.
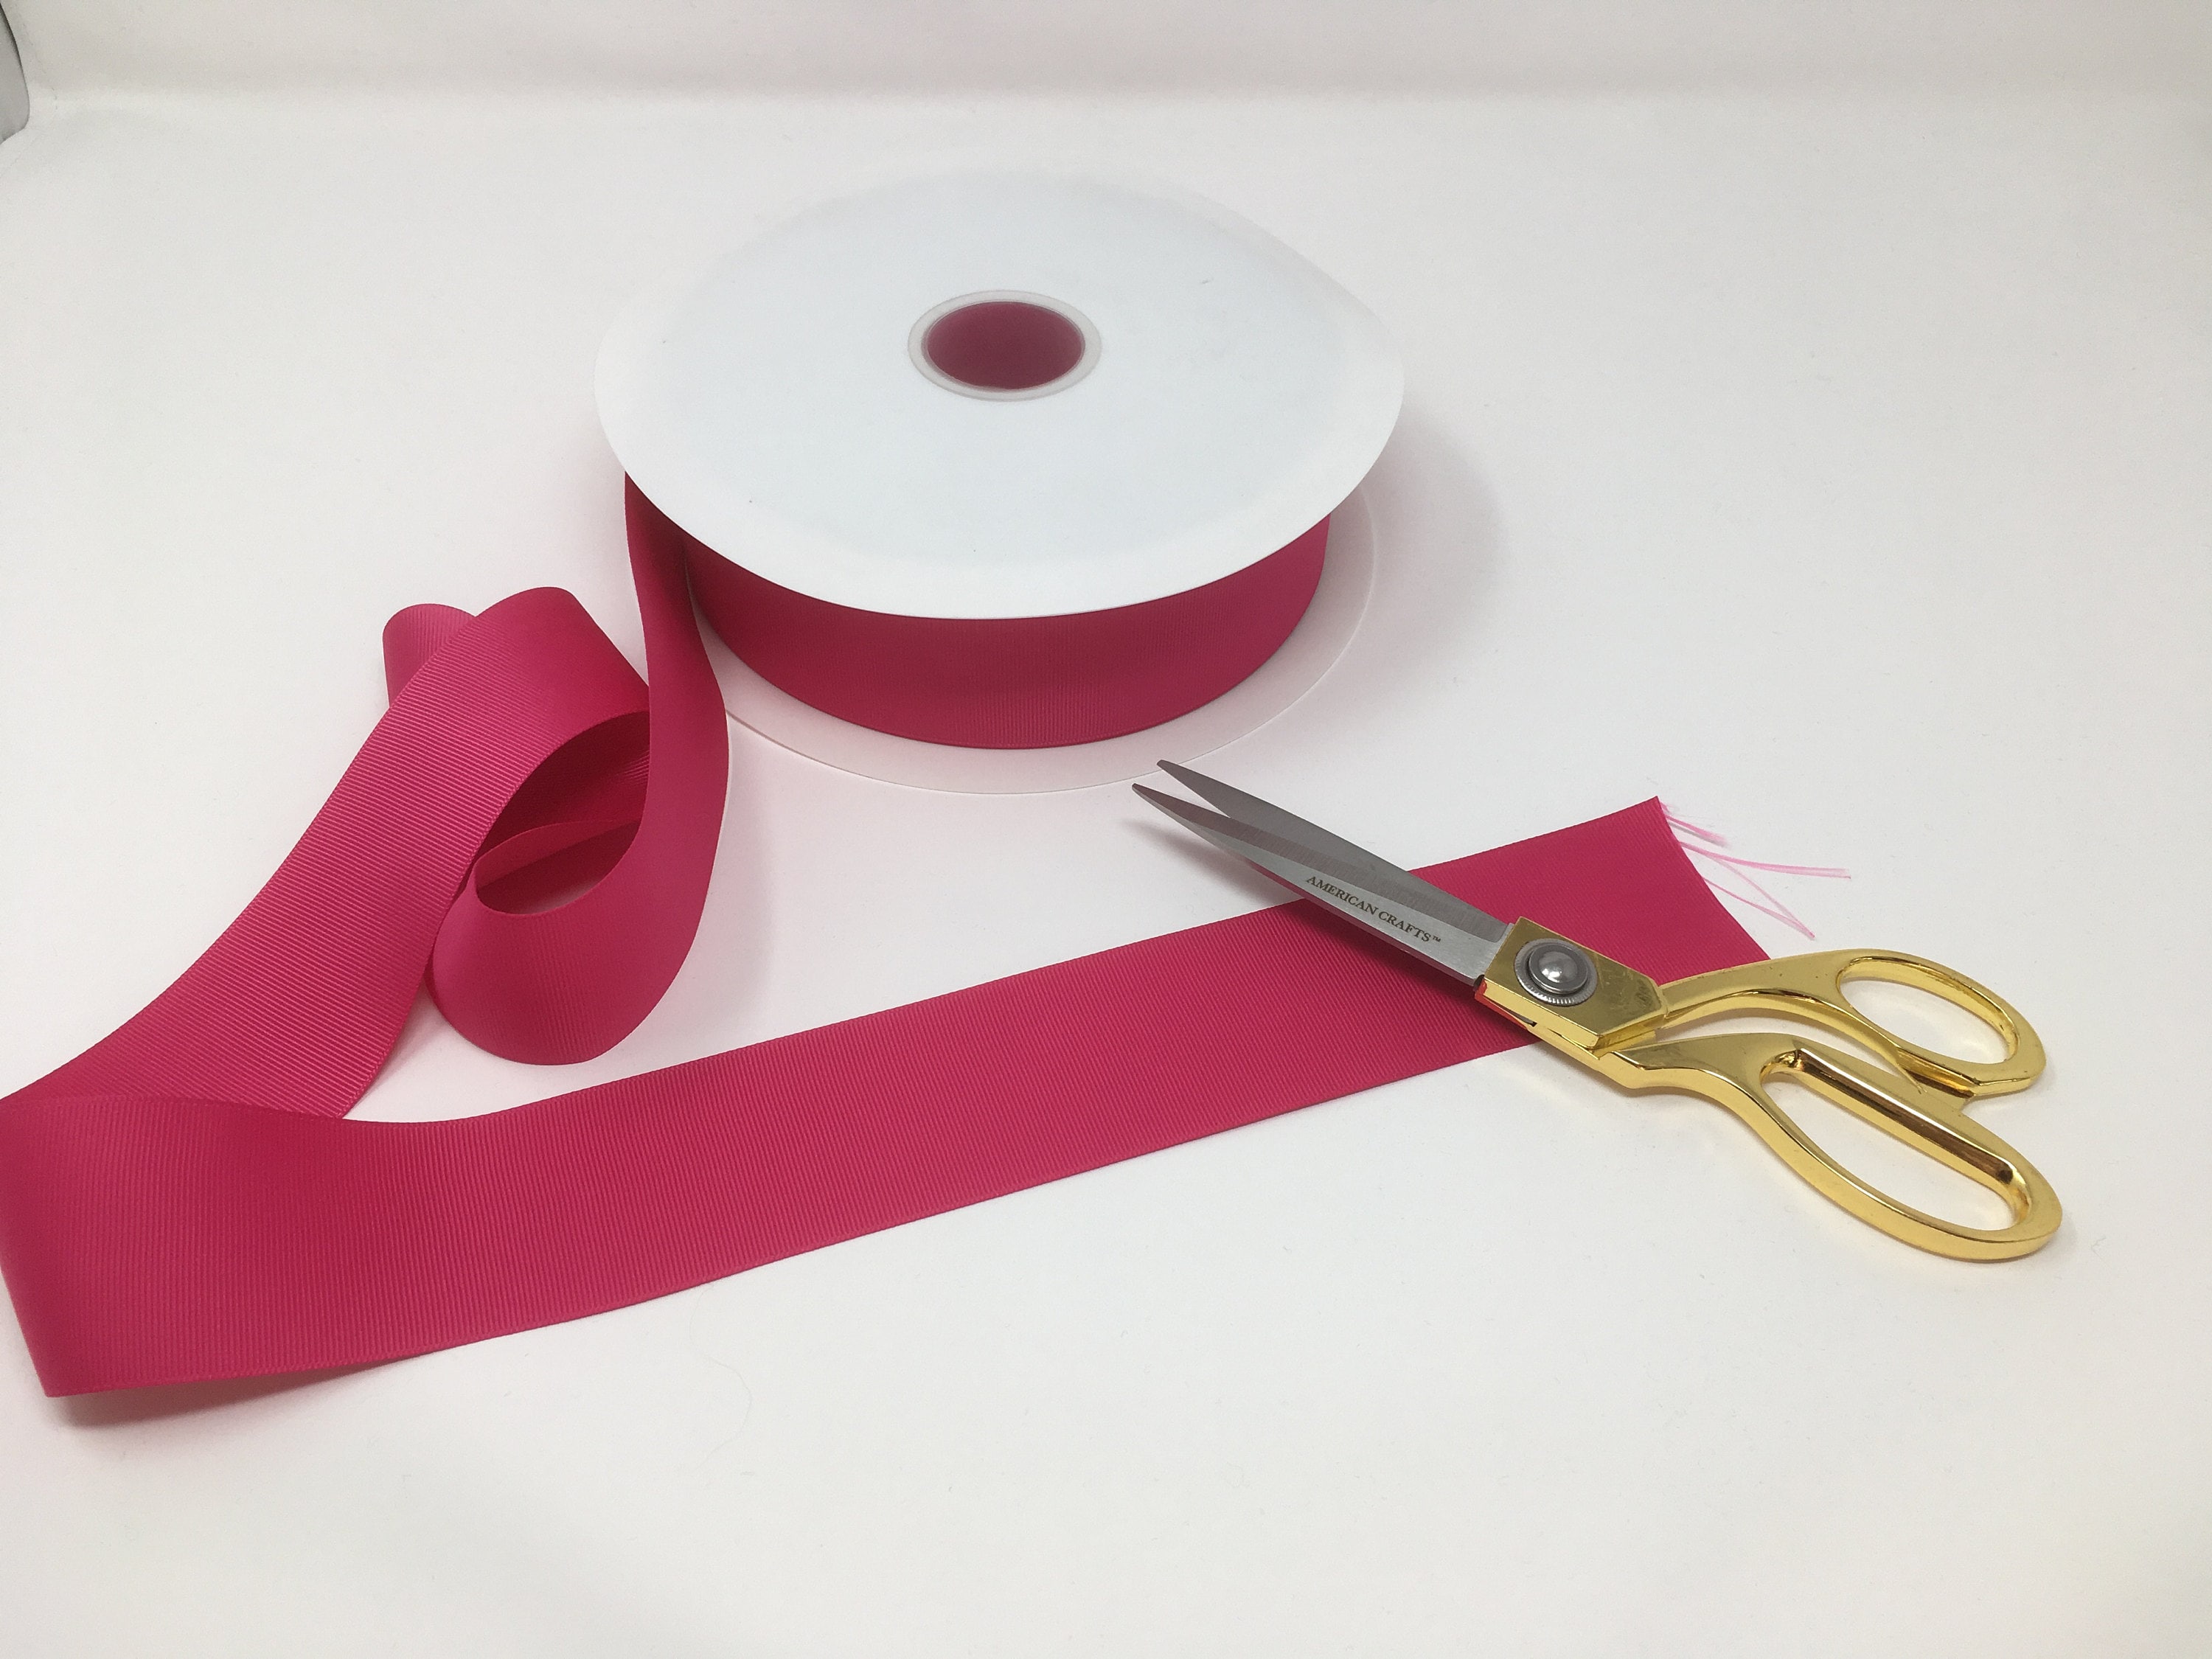
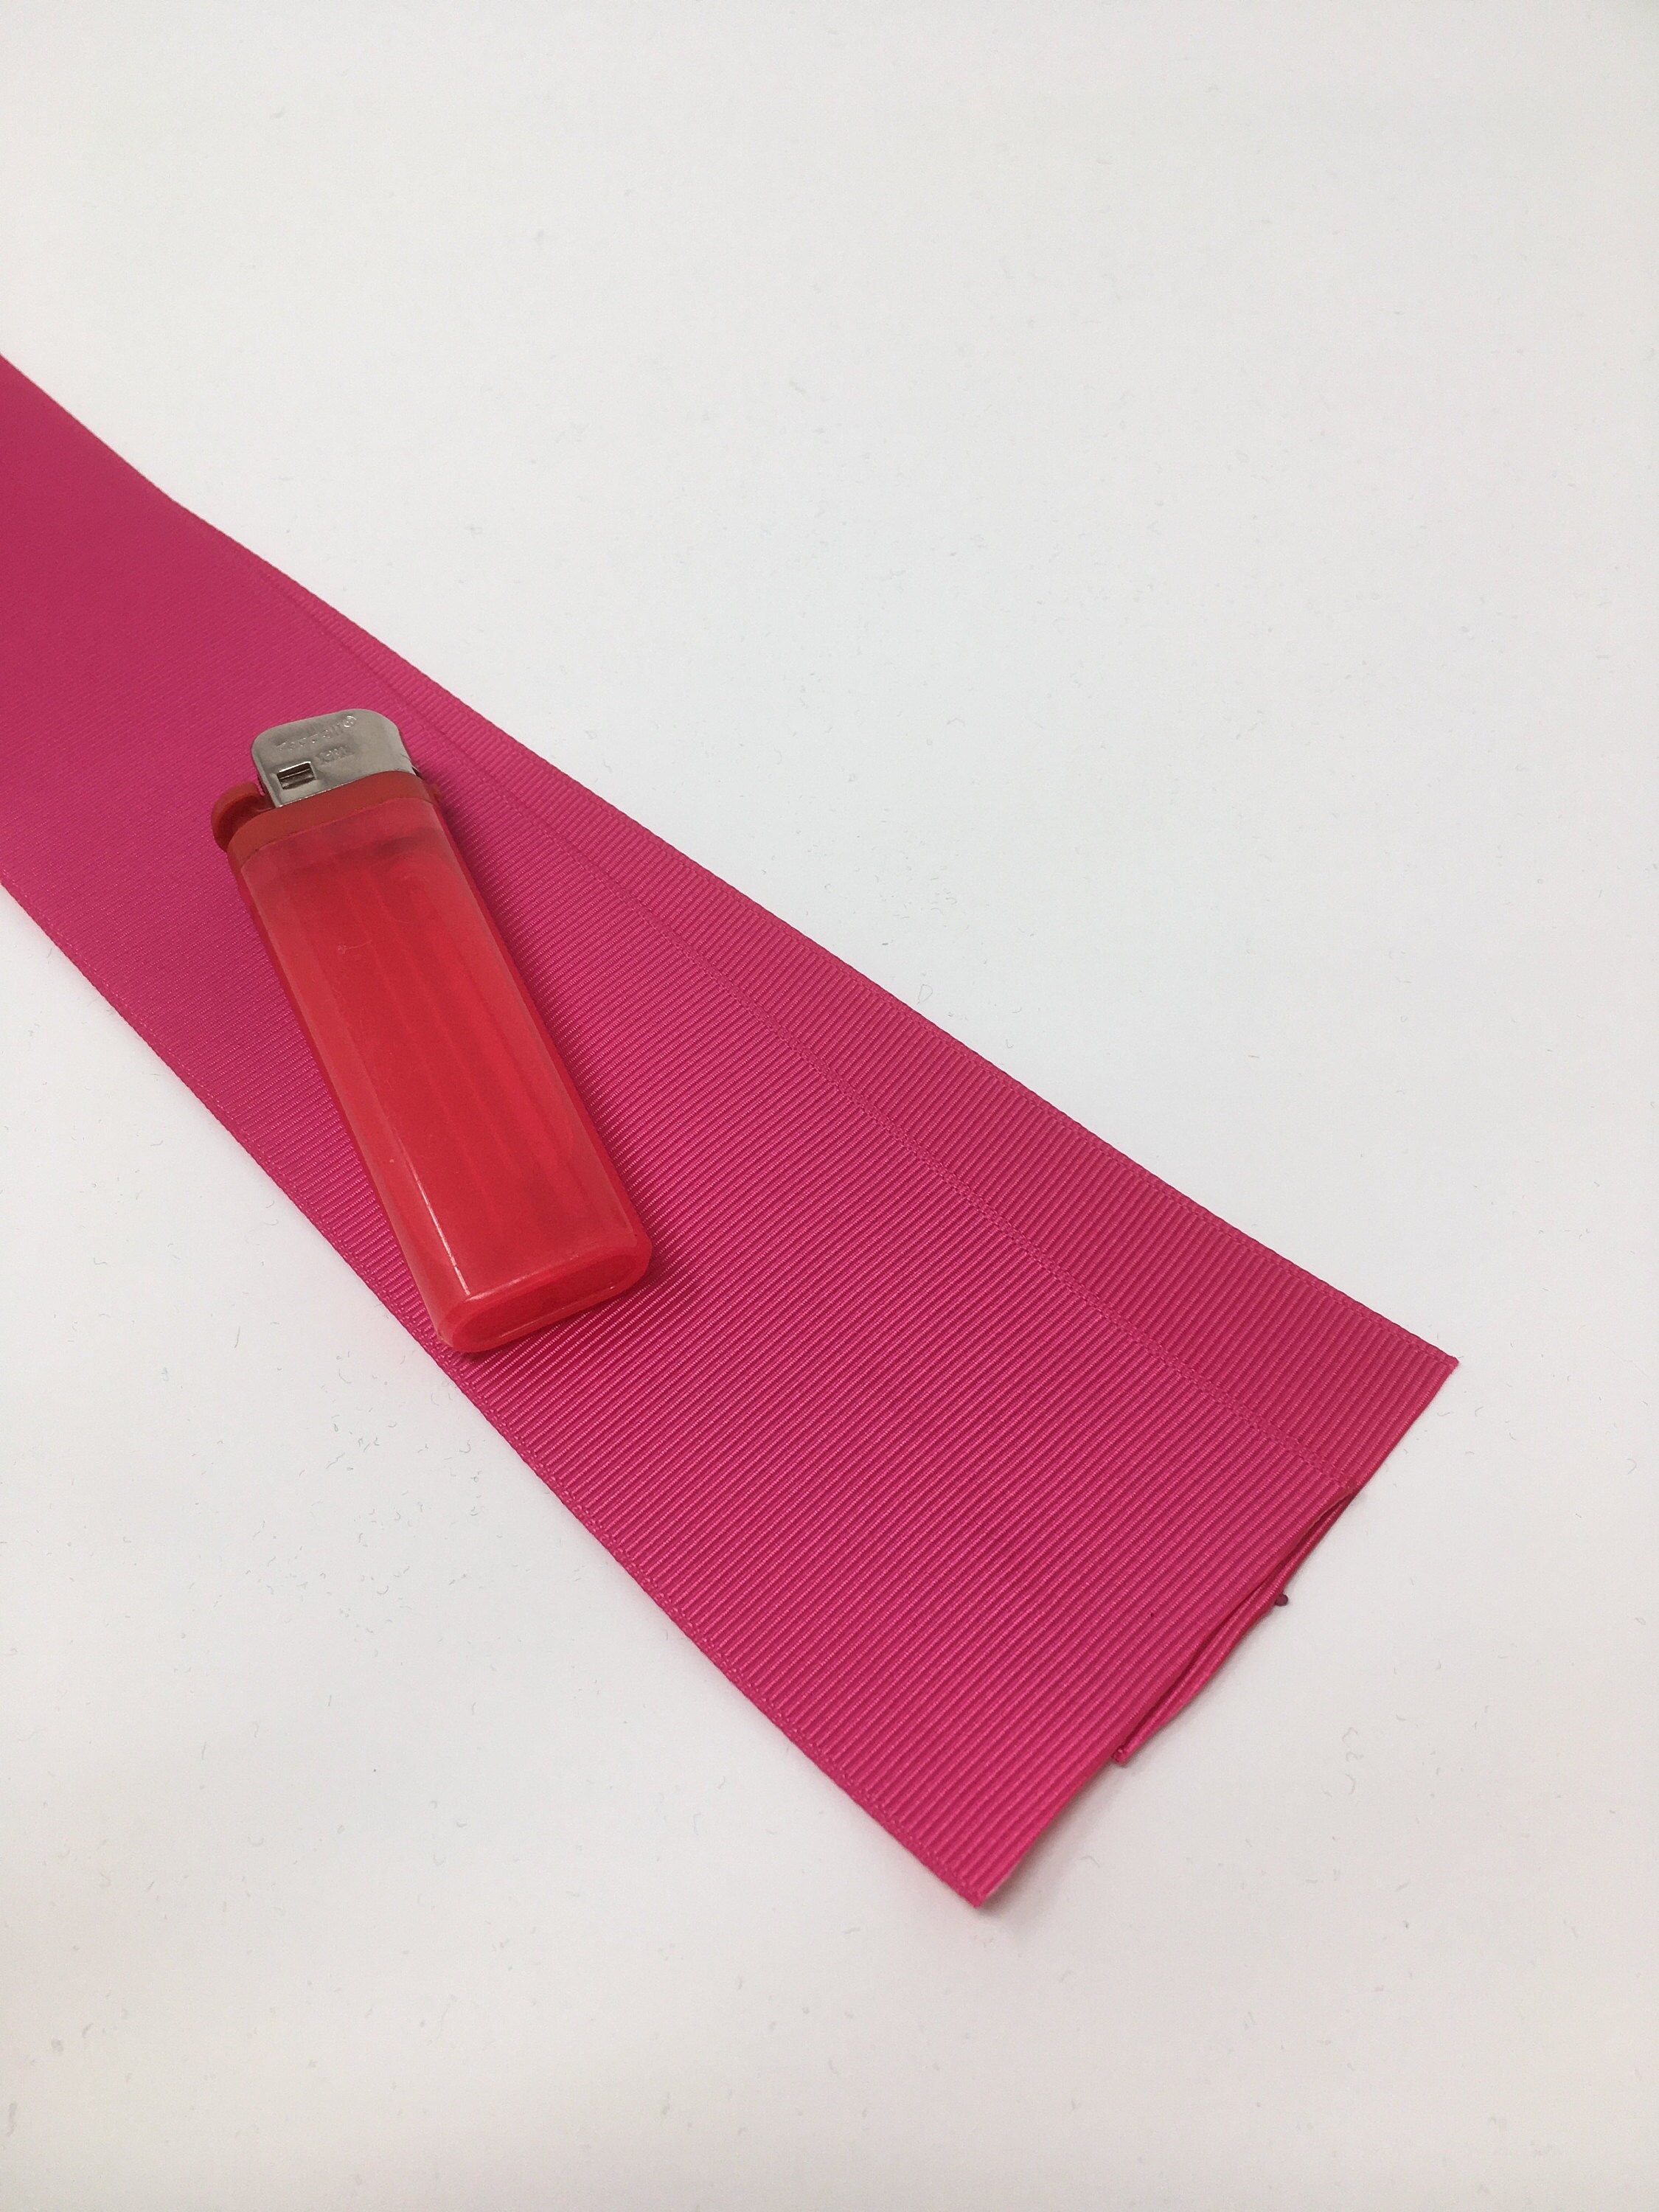
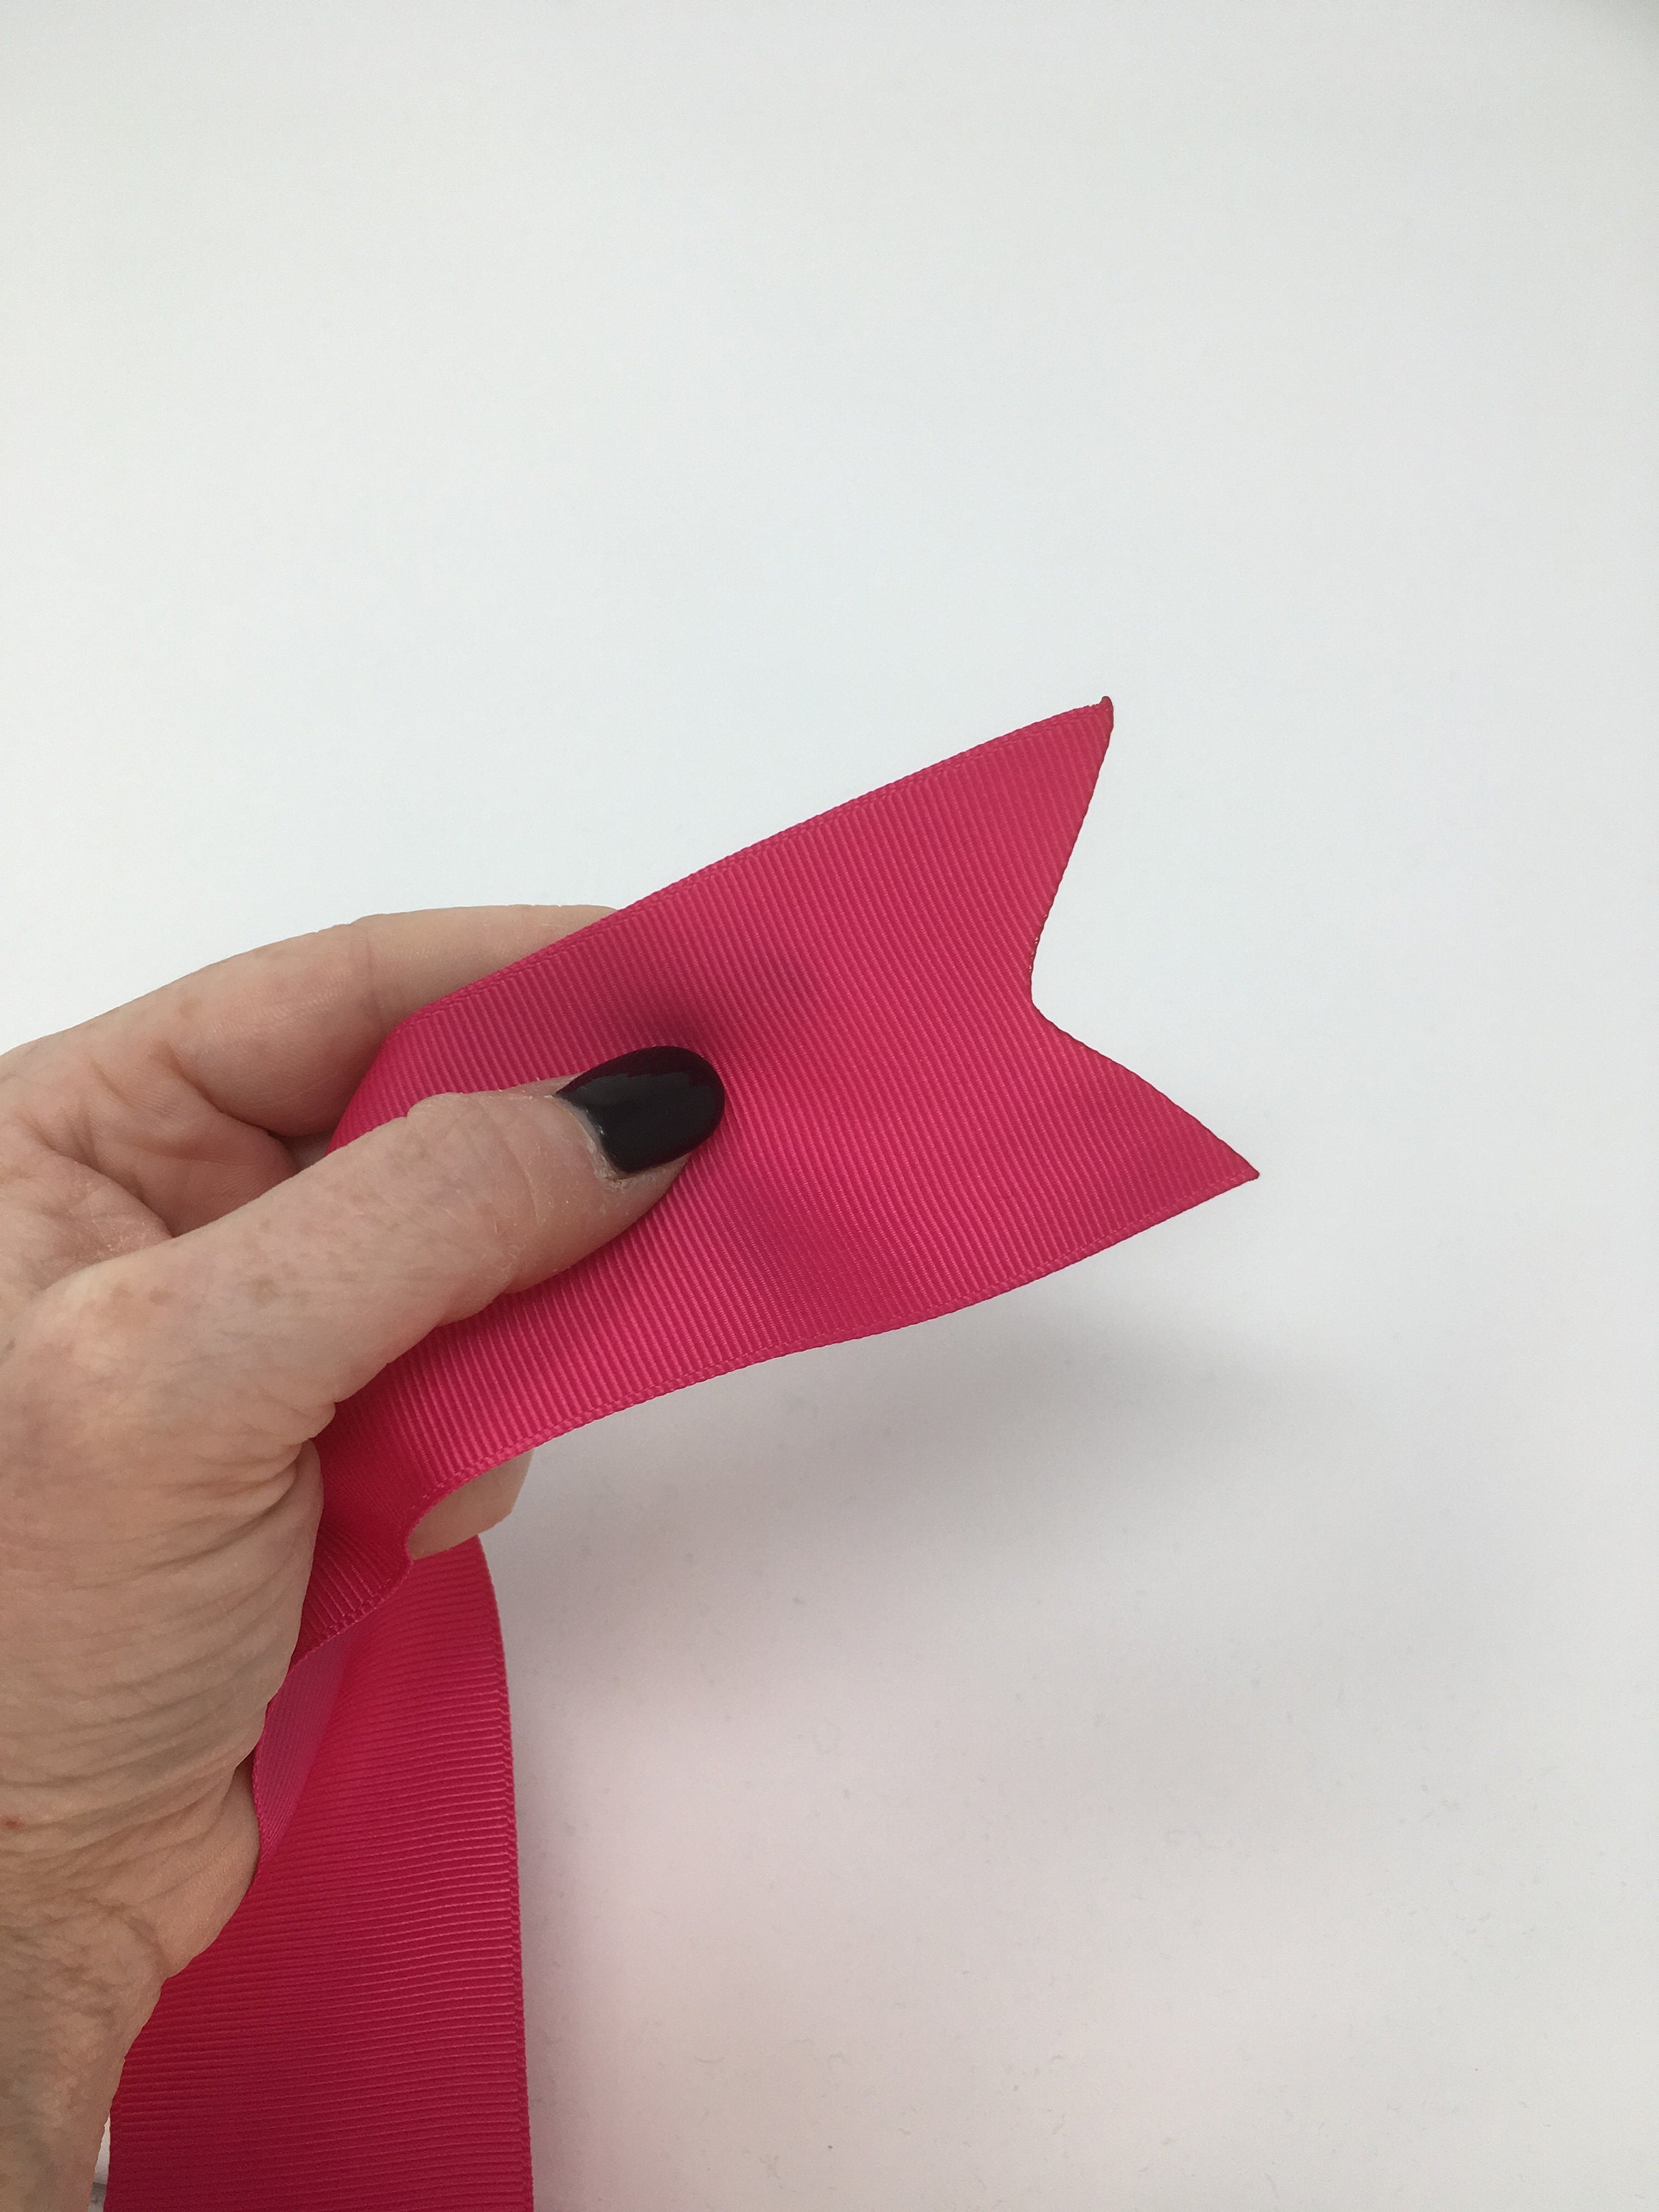
Ribbon ends require finishing to avoid them fraying over time. I use a lighter to gentle burn the edge of the ribbon to seal it. Alternatively you could fold the ribbon edges over twice and stitch in place.
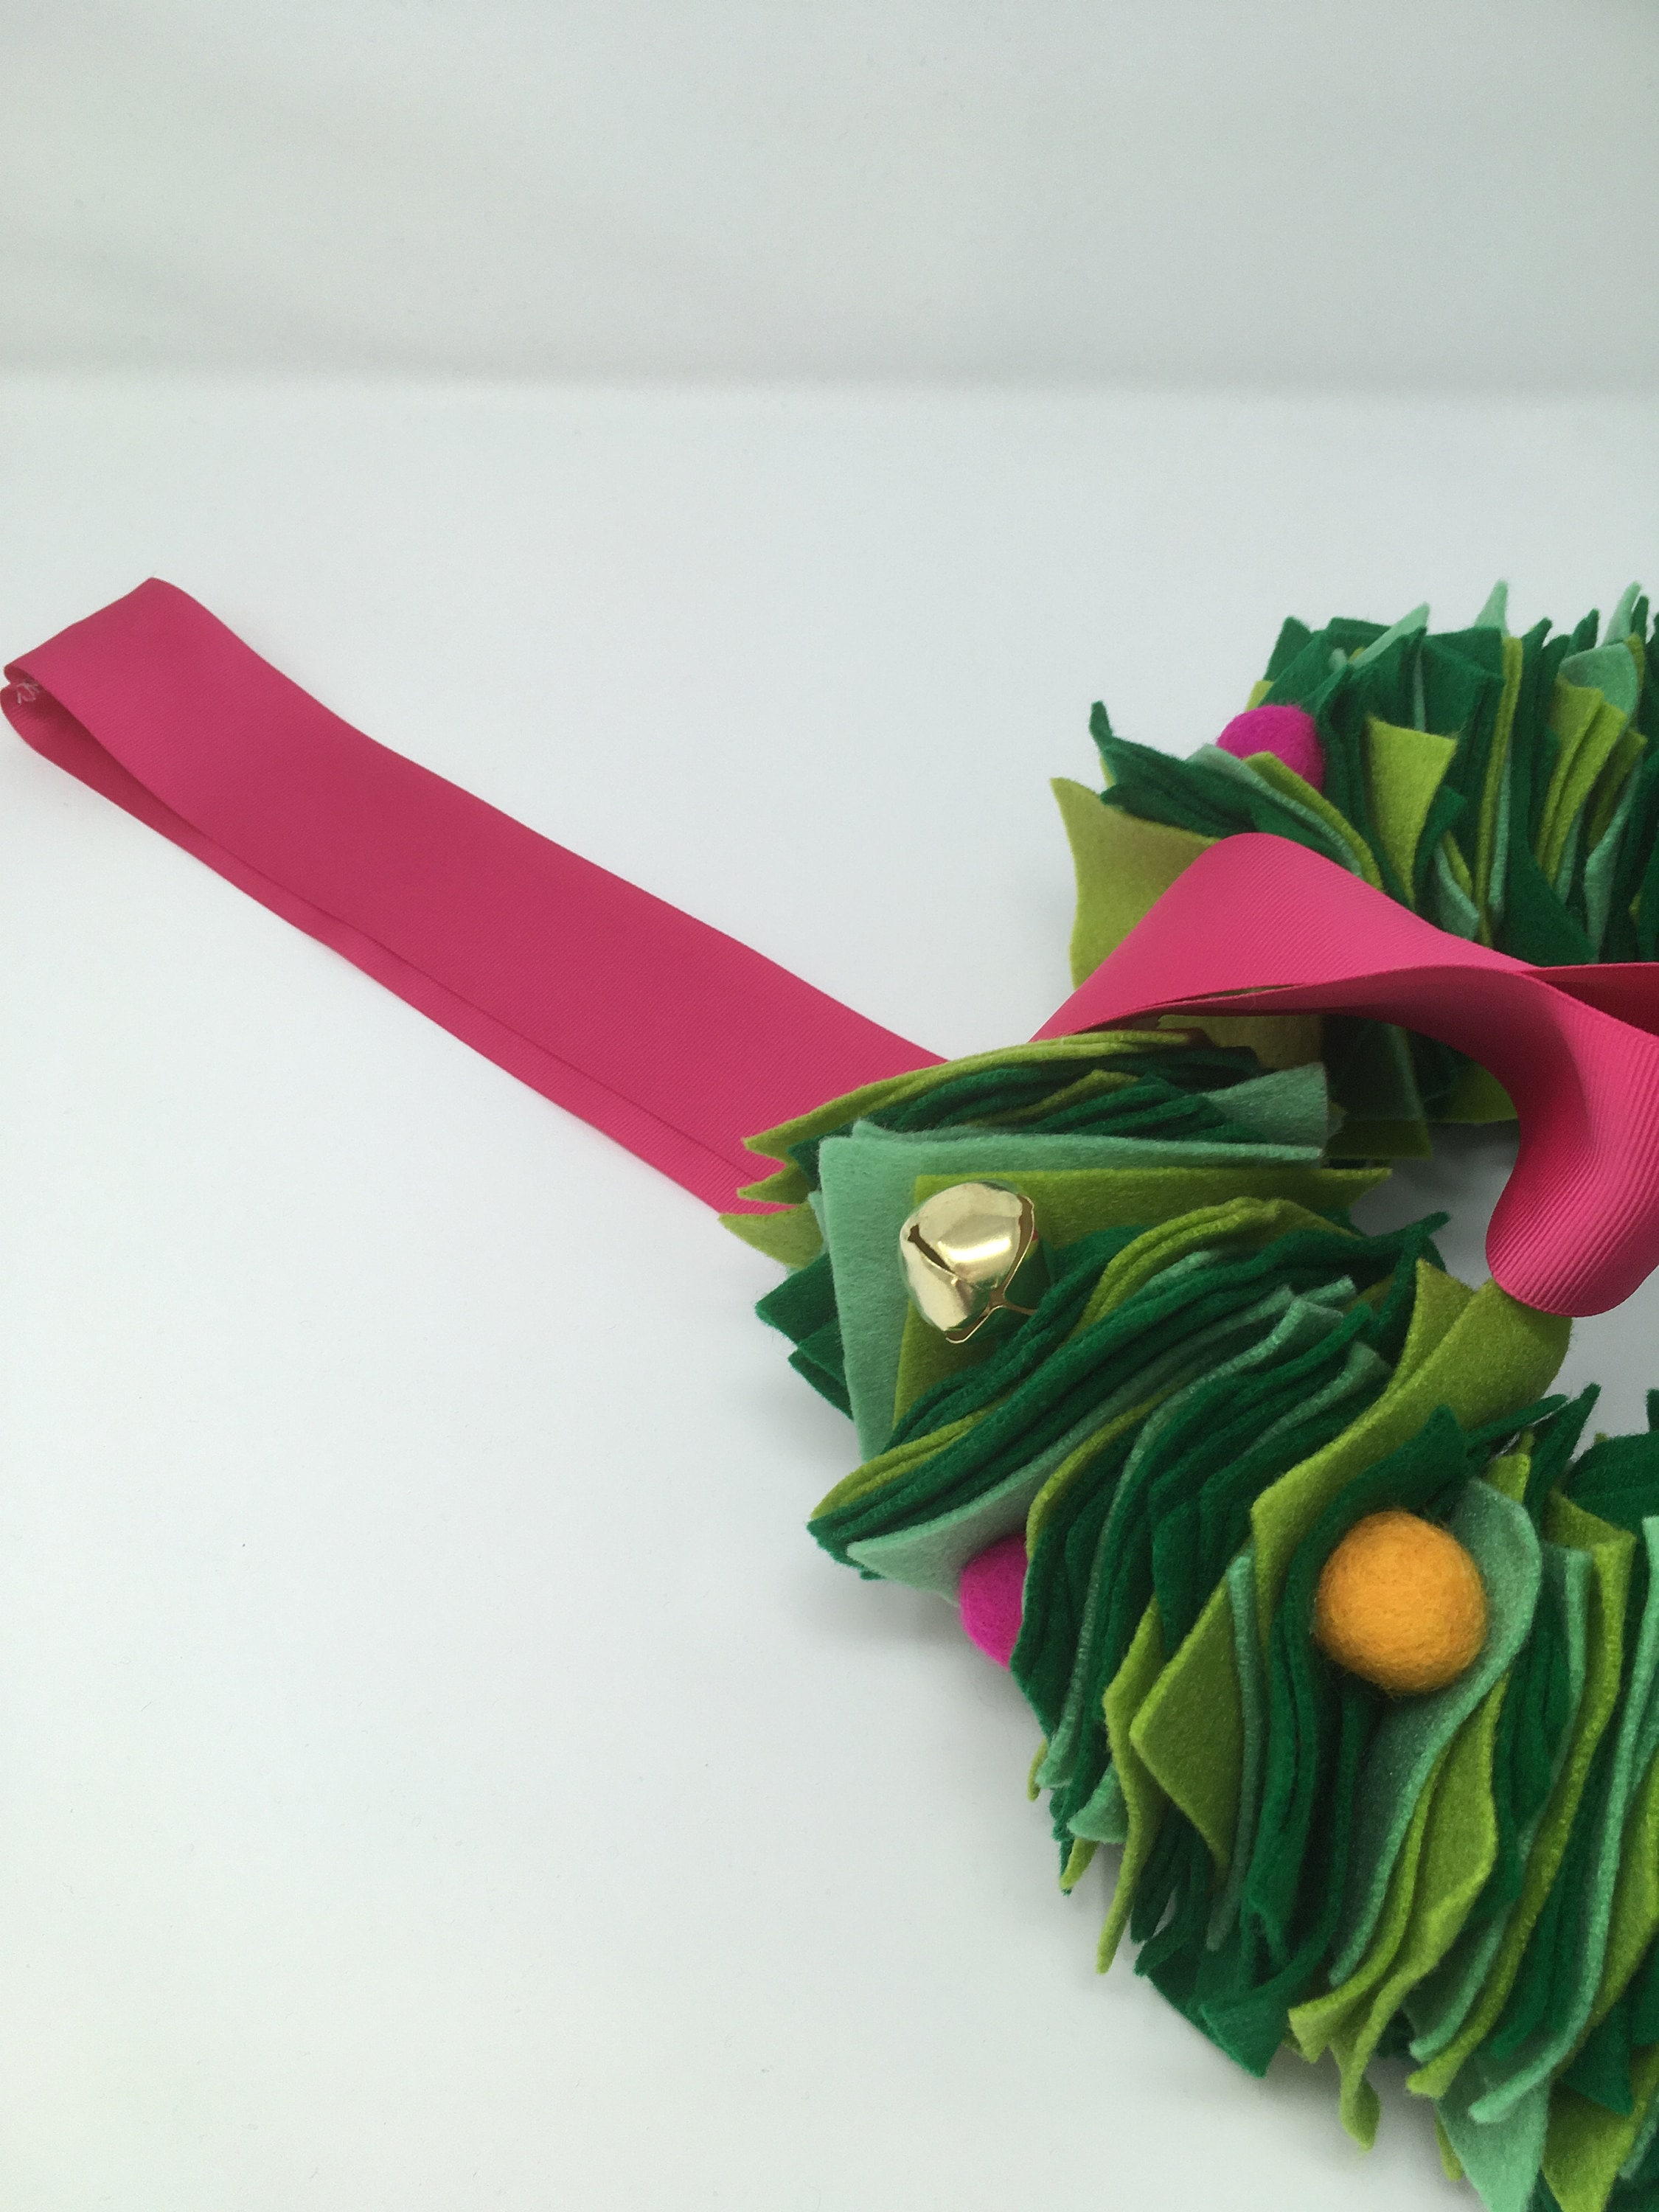
To attach the loop to the wreath I simply knotted the ends of the ribbon together. Once the ribbon was in a ring I wrapped the ribbon around the wreath and threaded the folded end of the ribbon through the ribbon ring. All the tape/ soldering should be covered by this ribbon.
Next cut a length of ribbon to size for your bow. I like to cut the ends in an inverted v then seal the edges with a lighter as before. Tie a lovely big bow over the hanging ribbon and you're done!

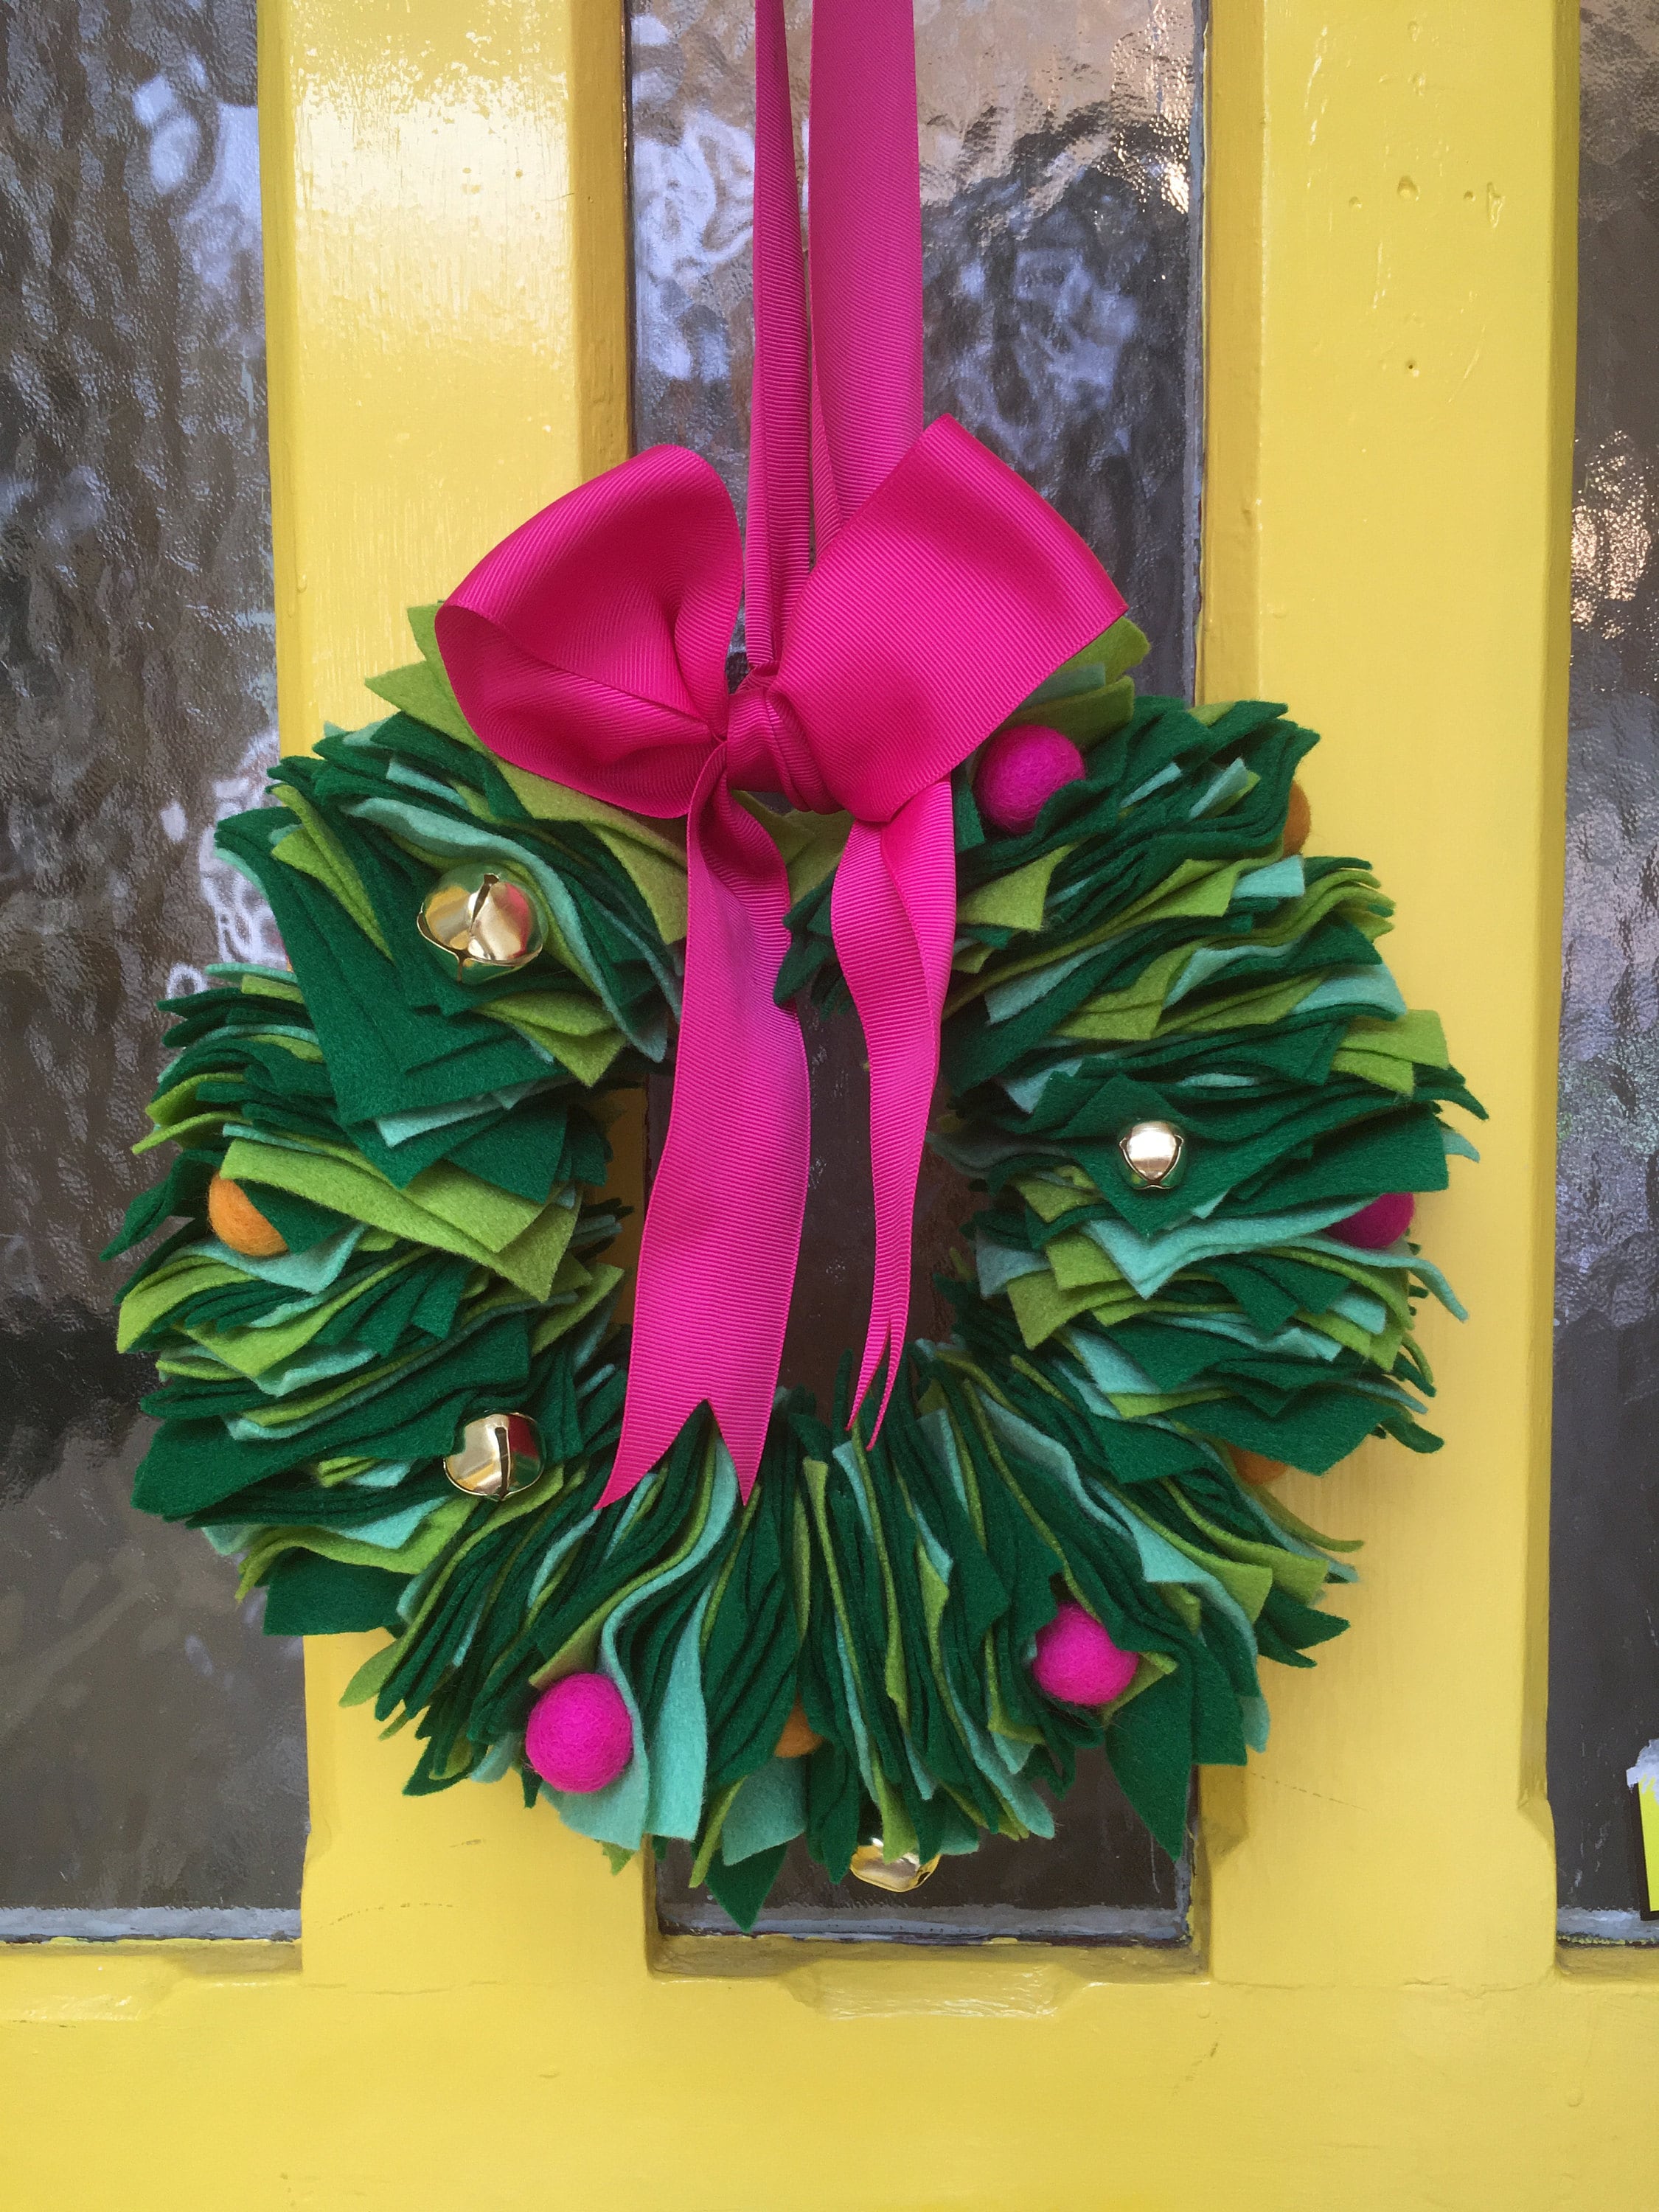
The finished wreath looks beatiful hanging on my front door!
This simple process can be used to make so many different style wreaths, I would love to see your versions.
Ombre felt effect with tonal pom poms
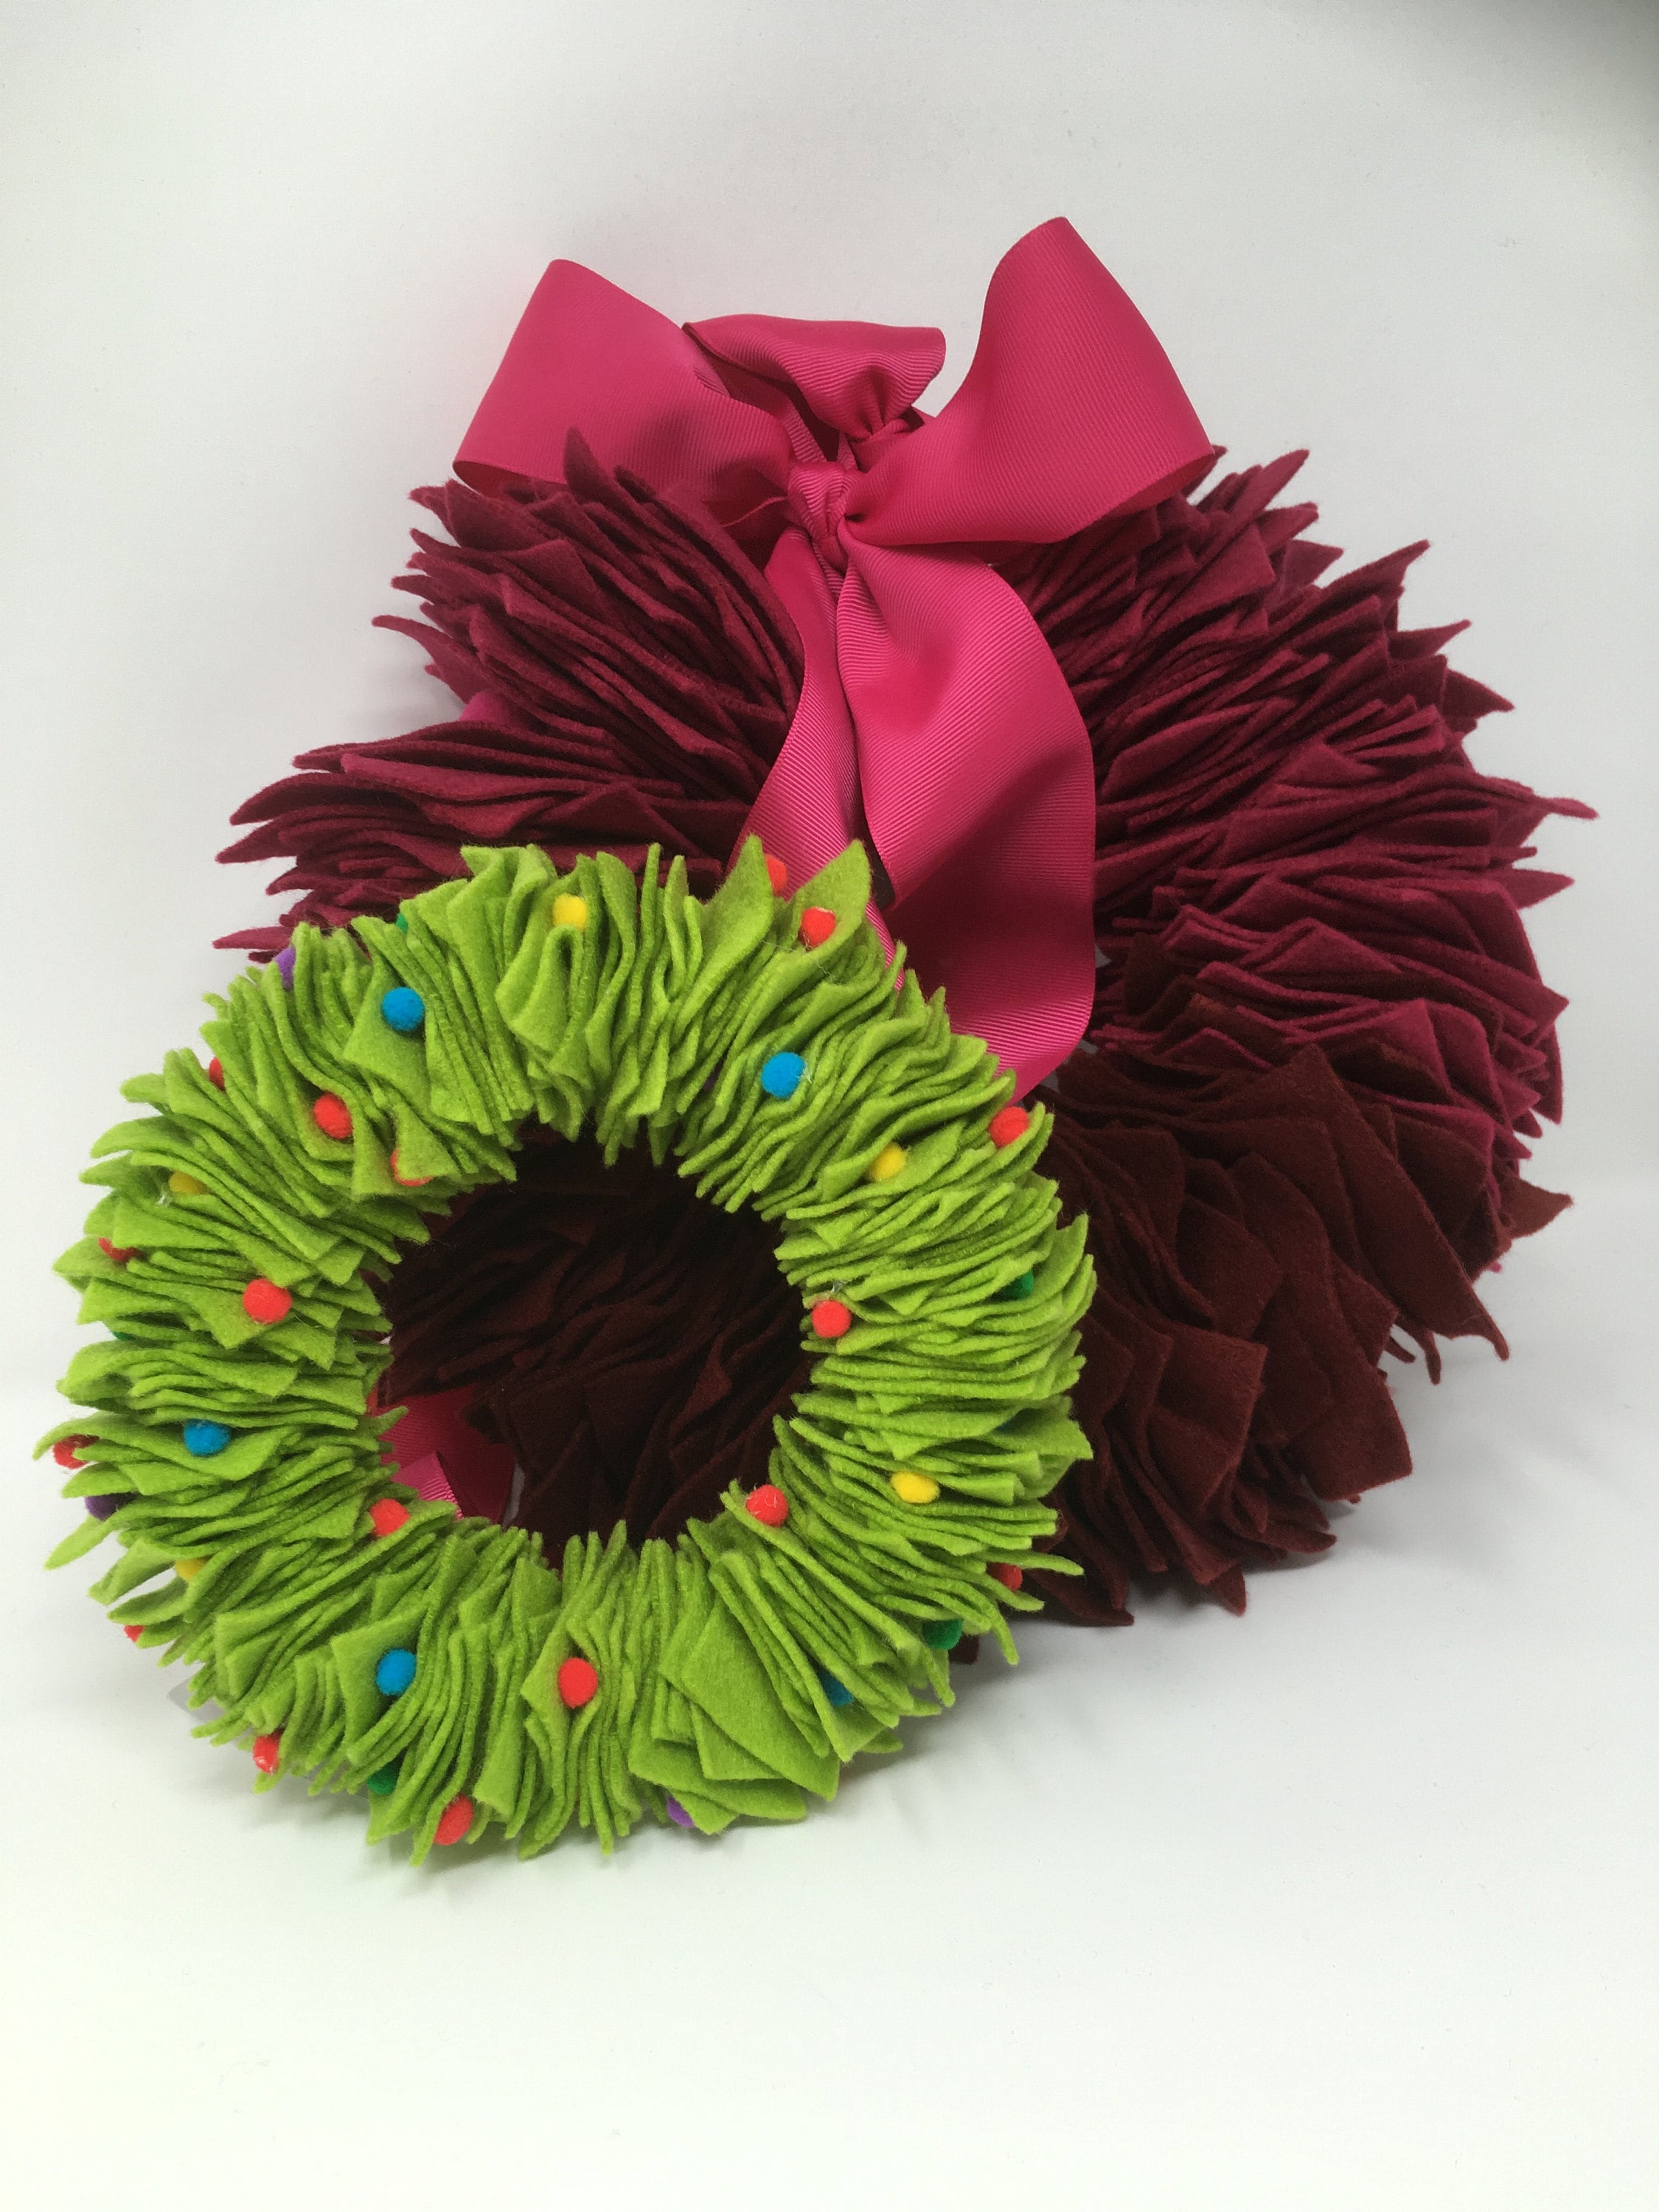
Mini square green wreath with multicoloured pom poms