Hello and Welcome to my Studio Jepson Blog!
It's been an awfully long time since I last posted. At the beginning of 2018 I became pregnant with Baby Jeppo No 2 and so started the dreaded Hyperemesis! Now I am fighting fit (albeit with a gigantic bump) It’s time to get sewing!
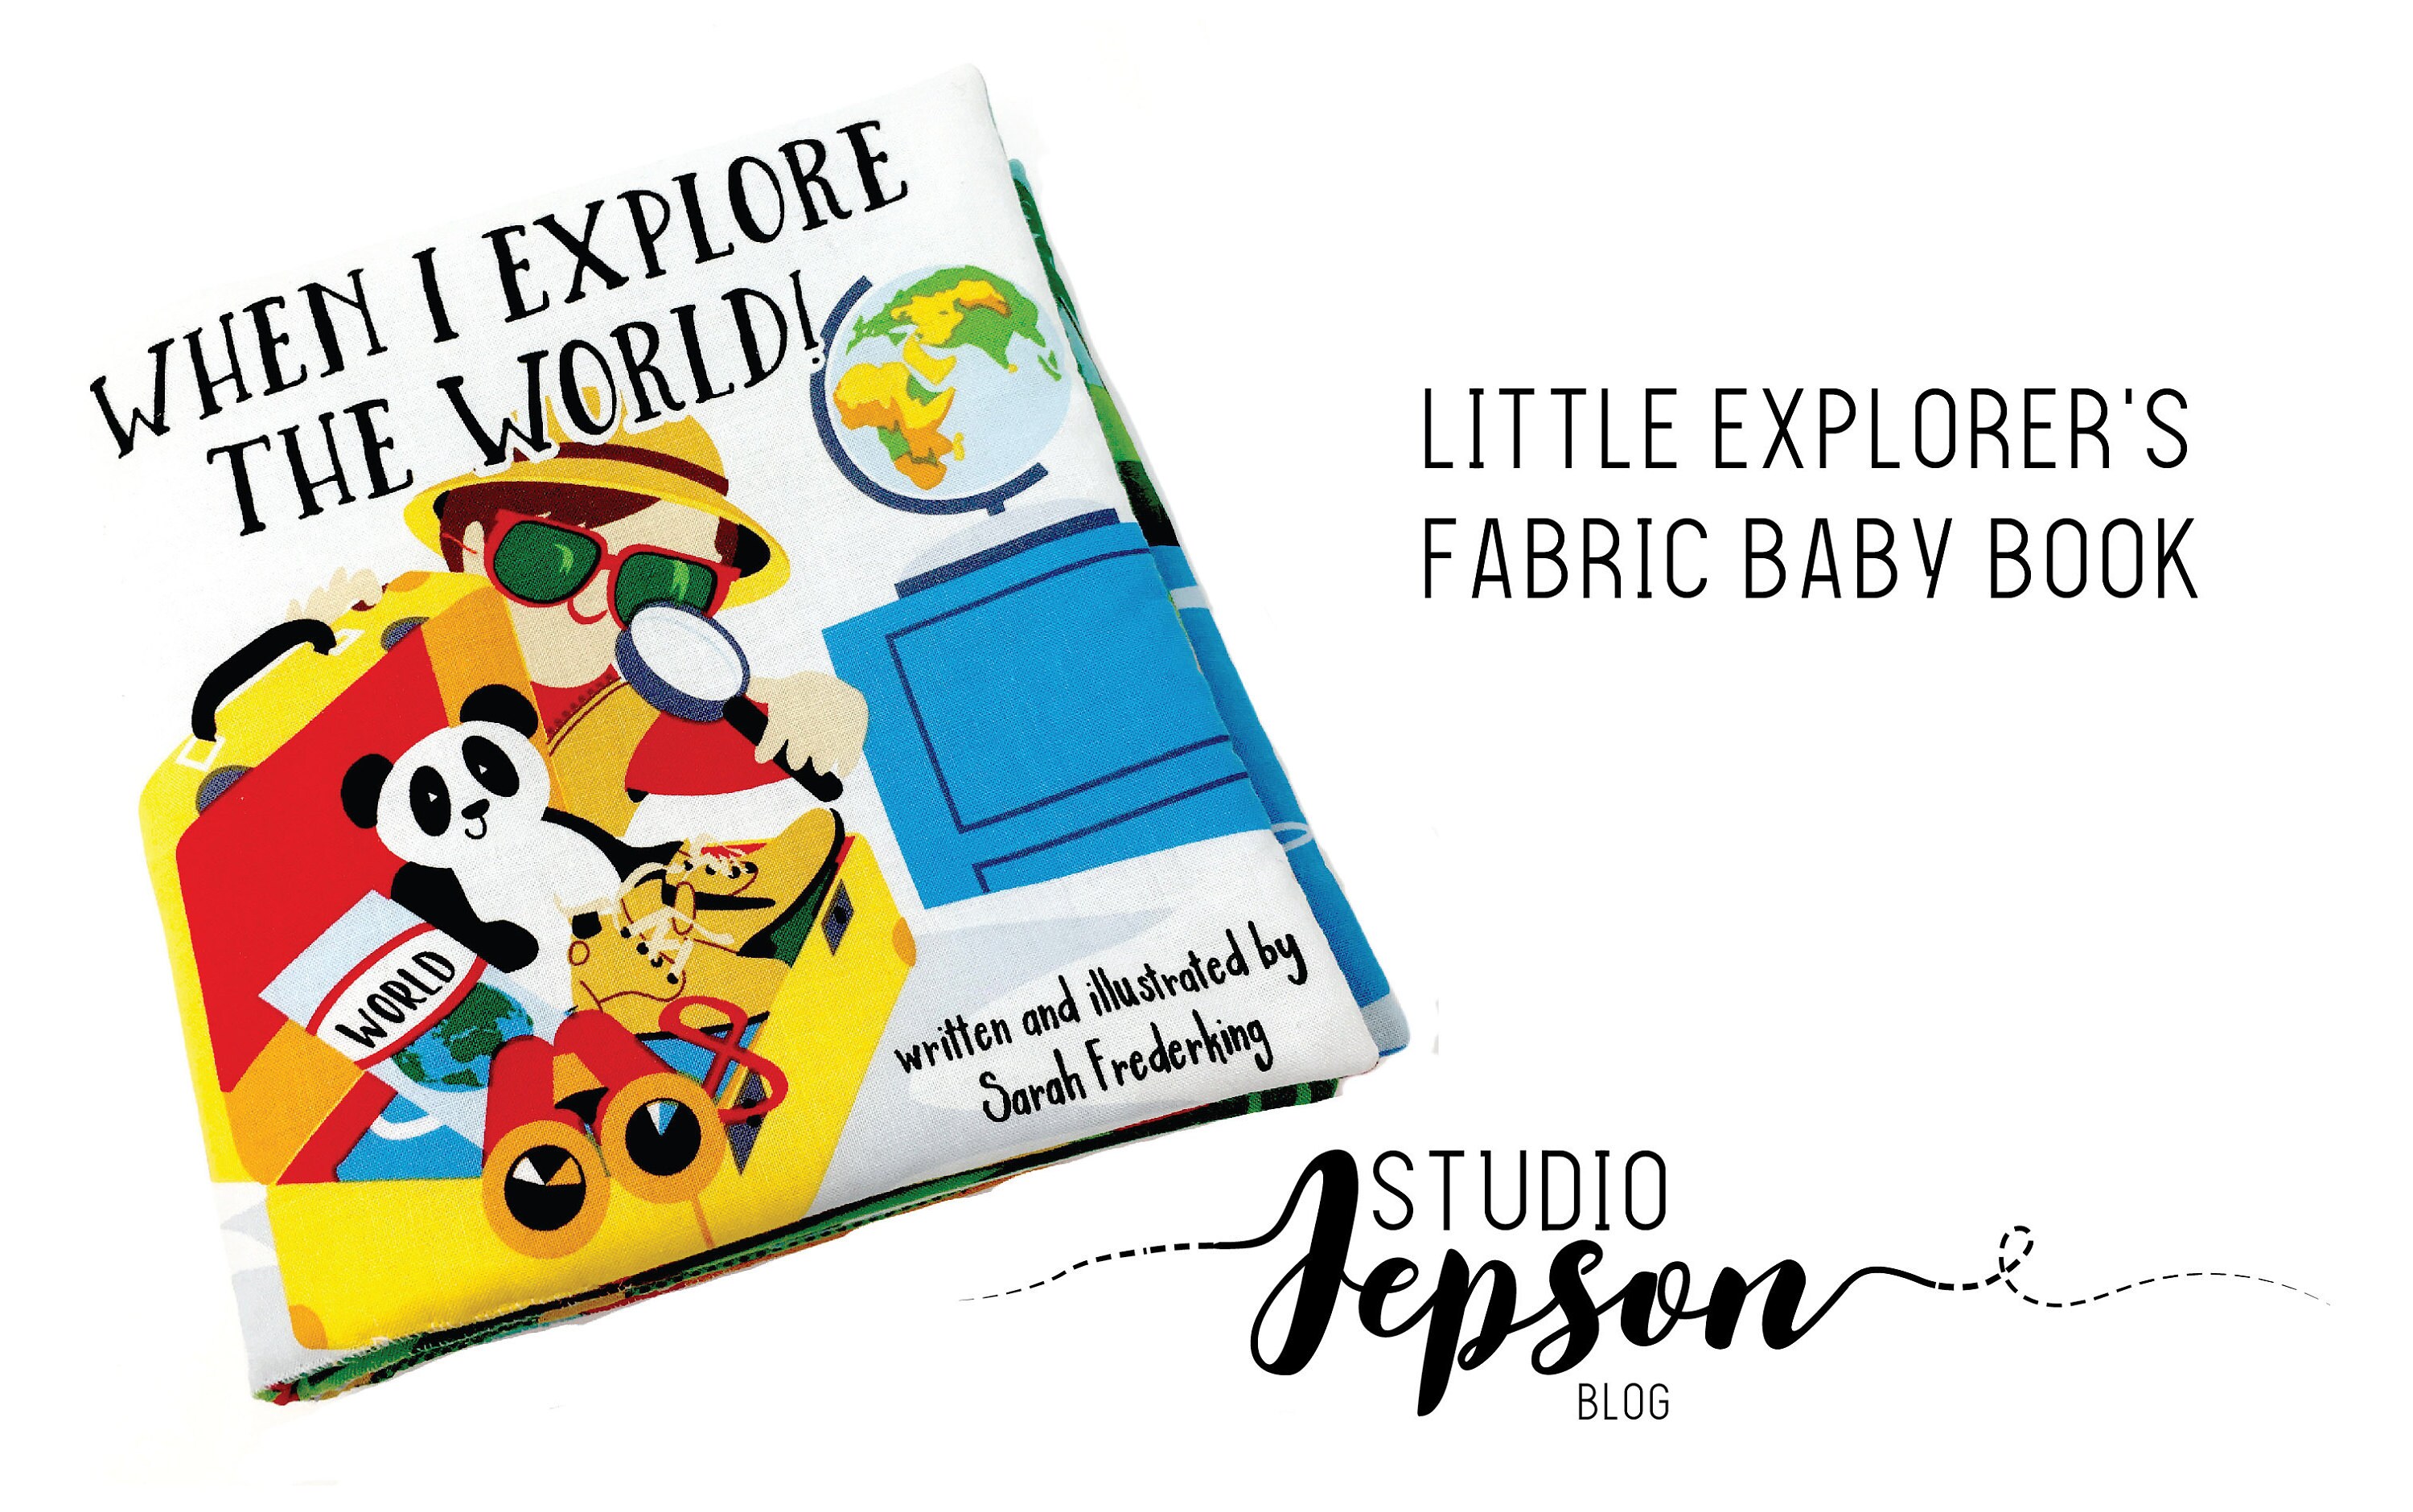
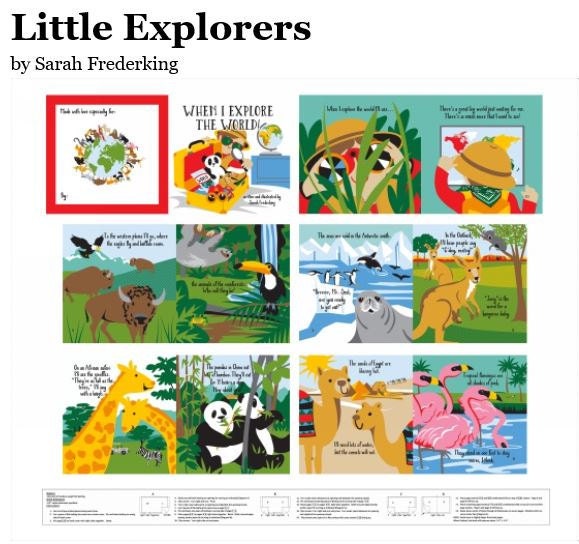
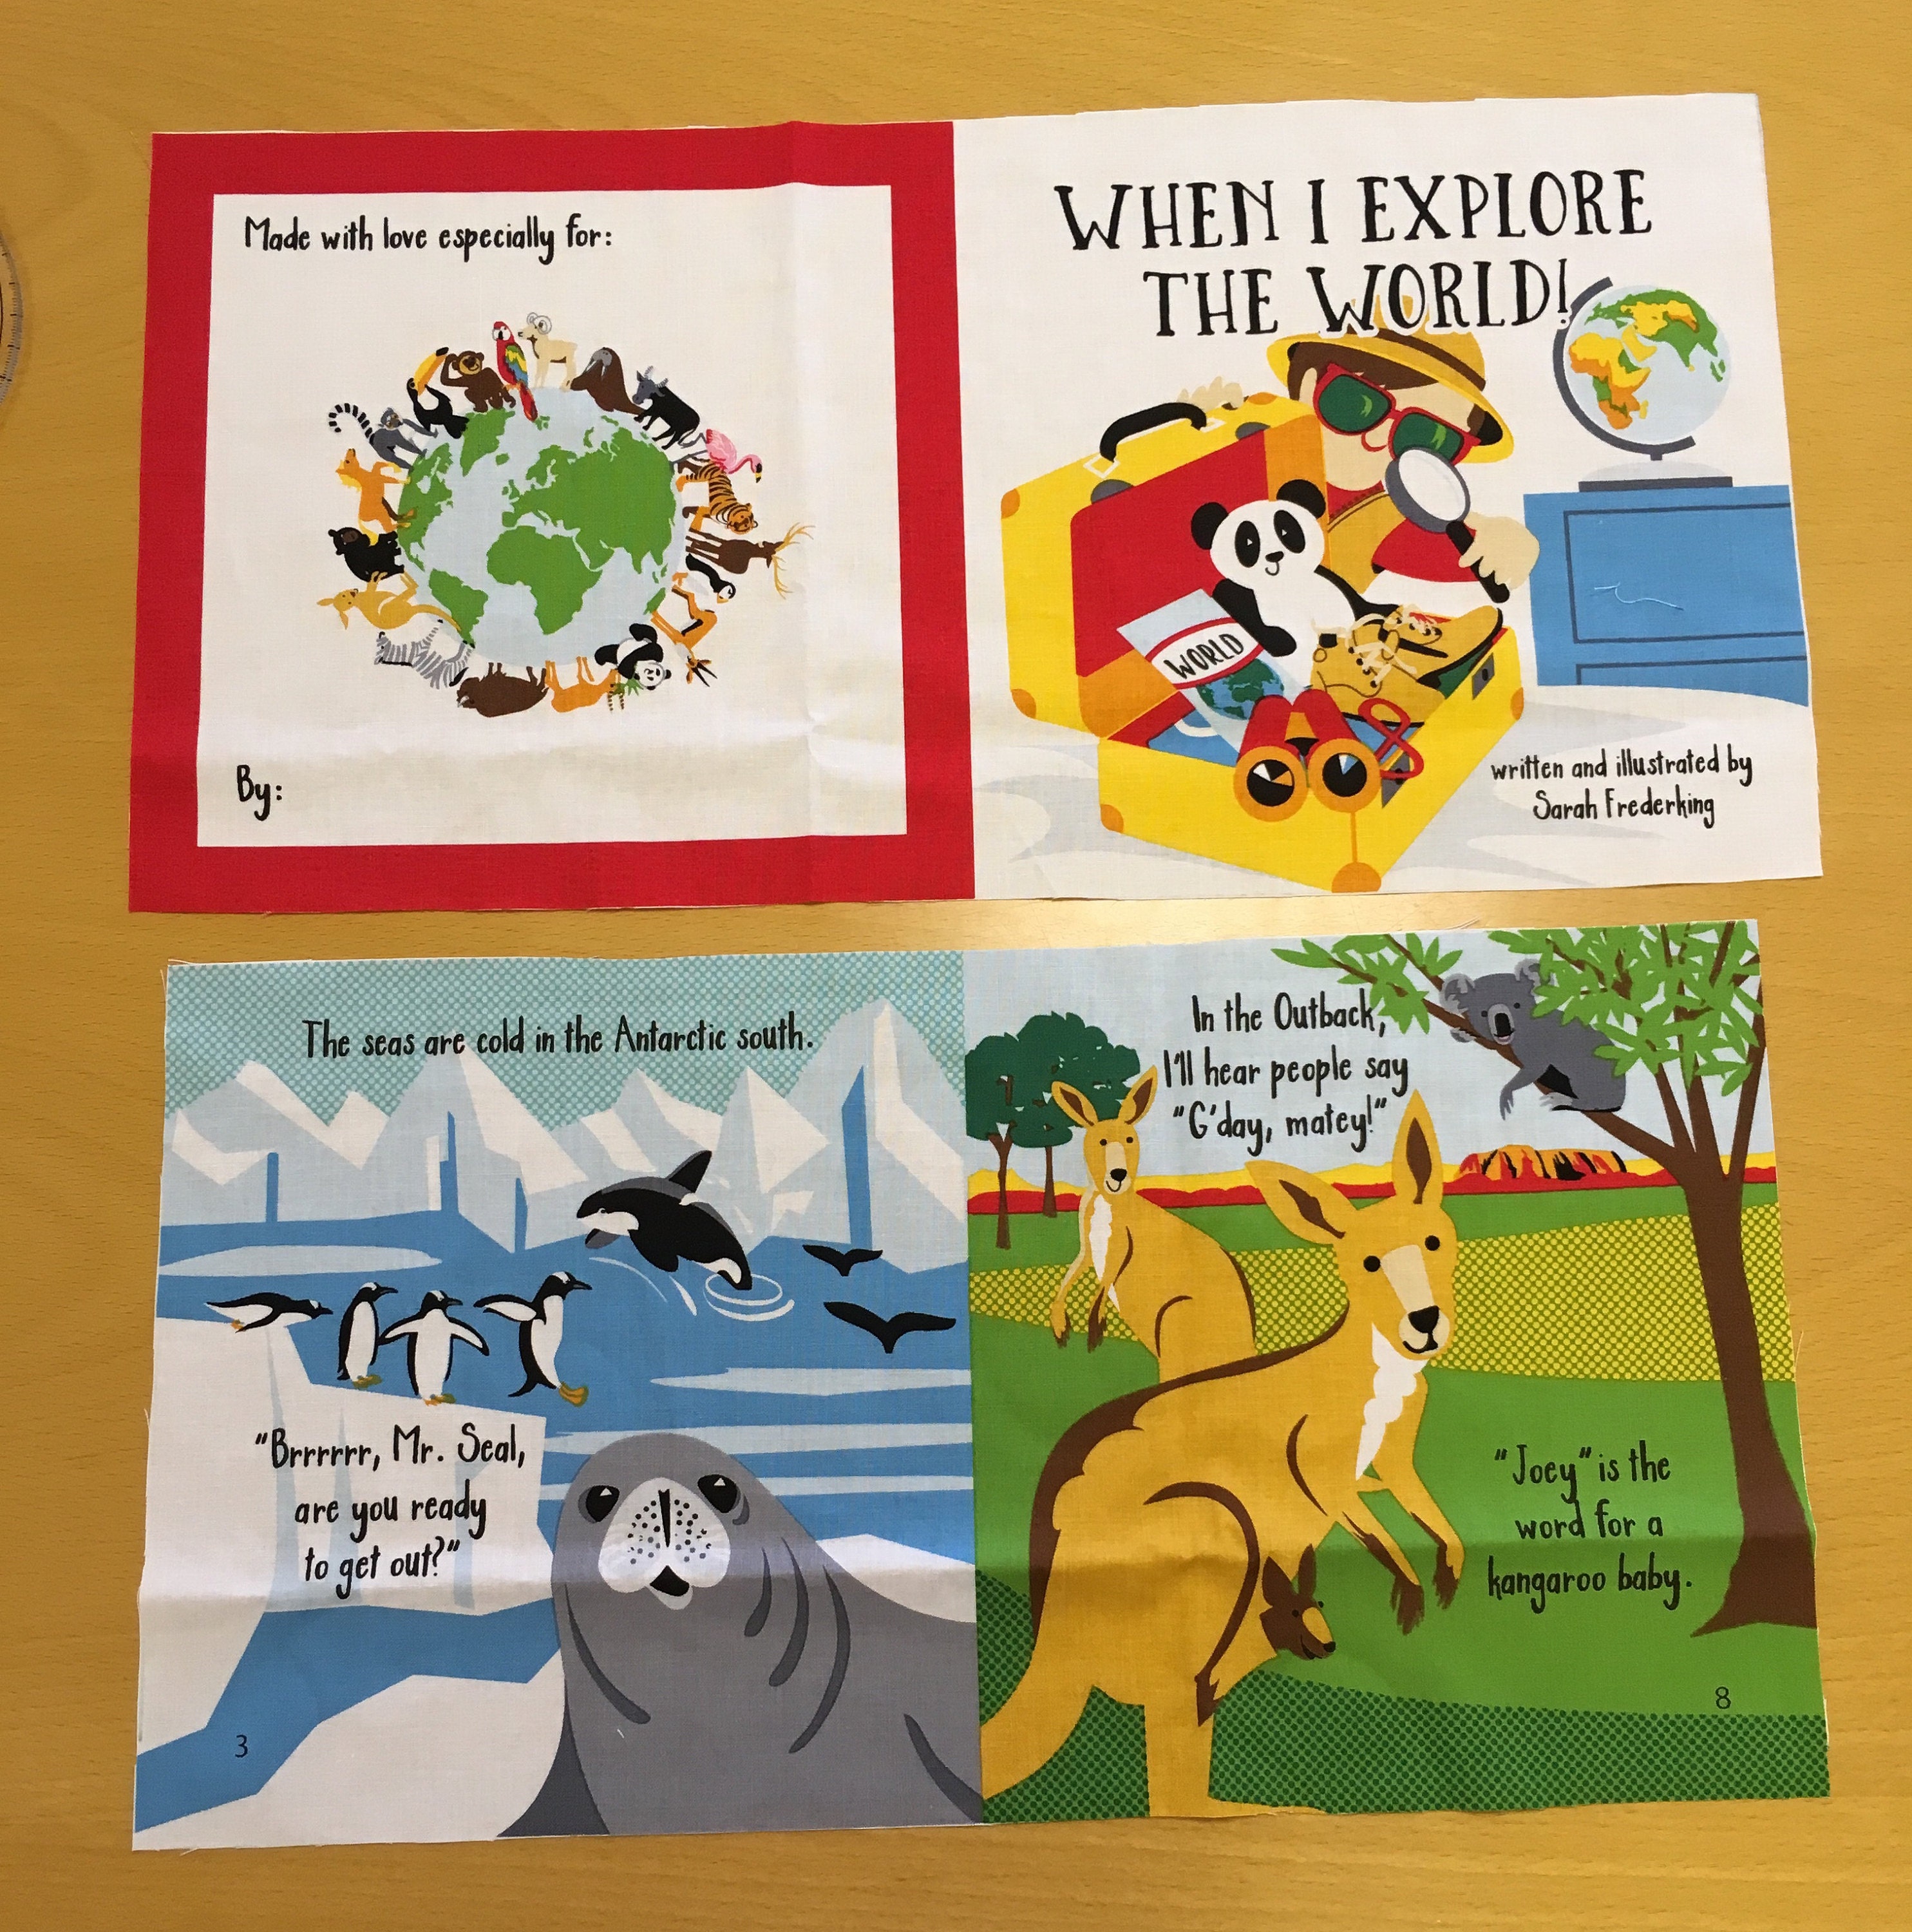
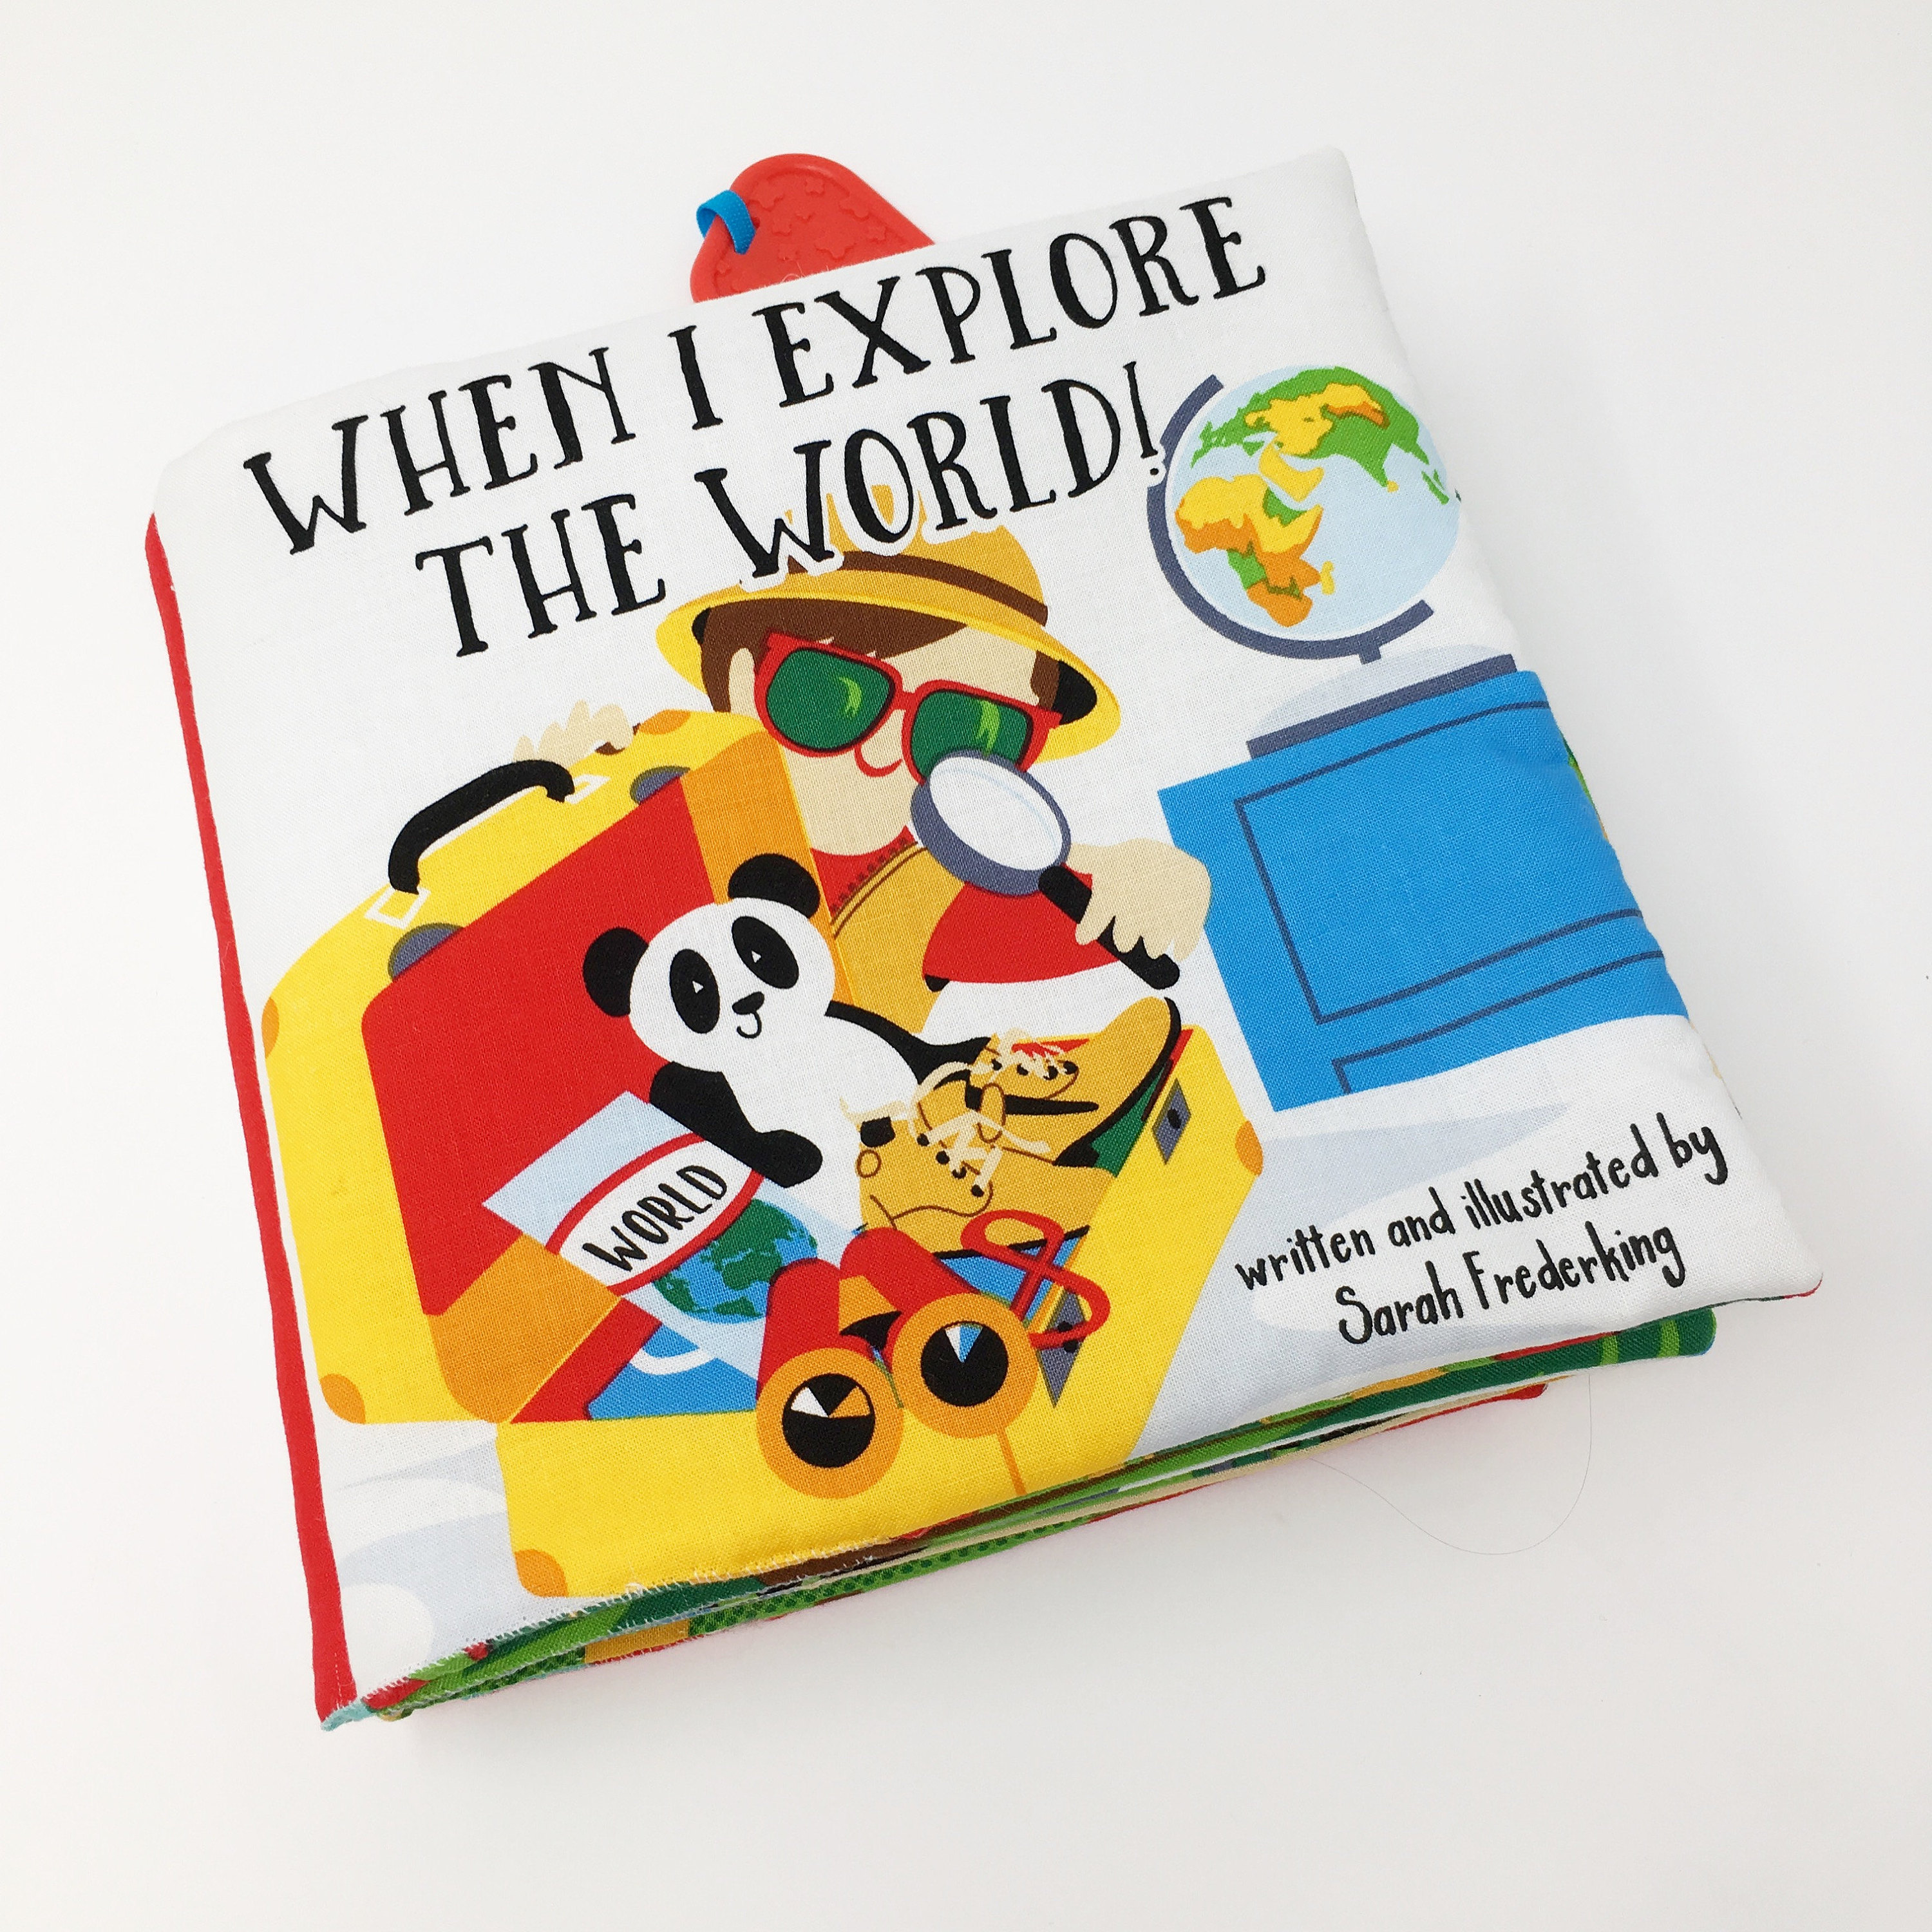
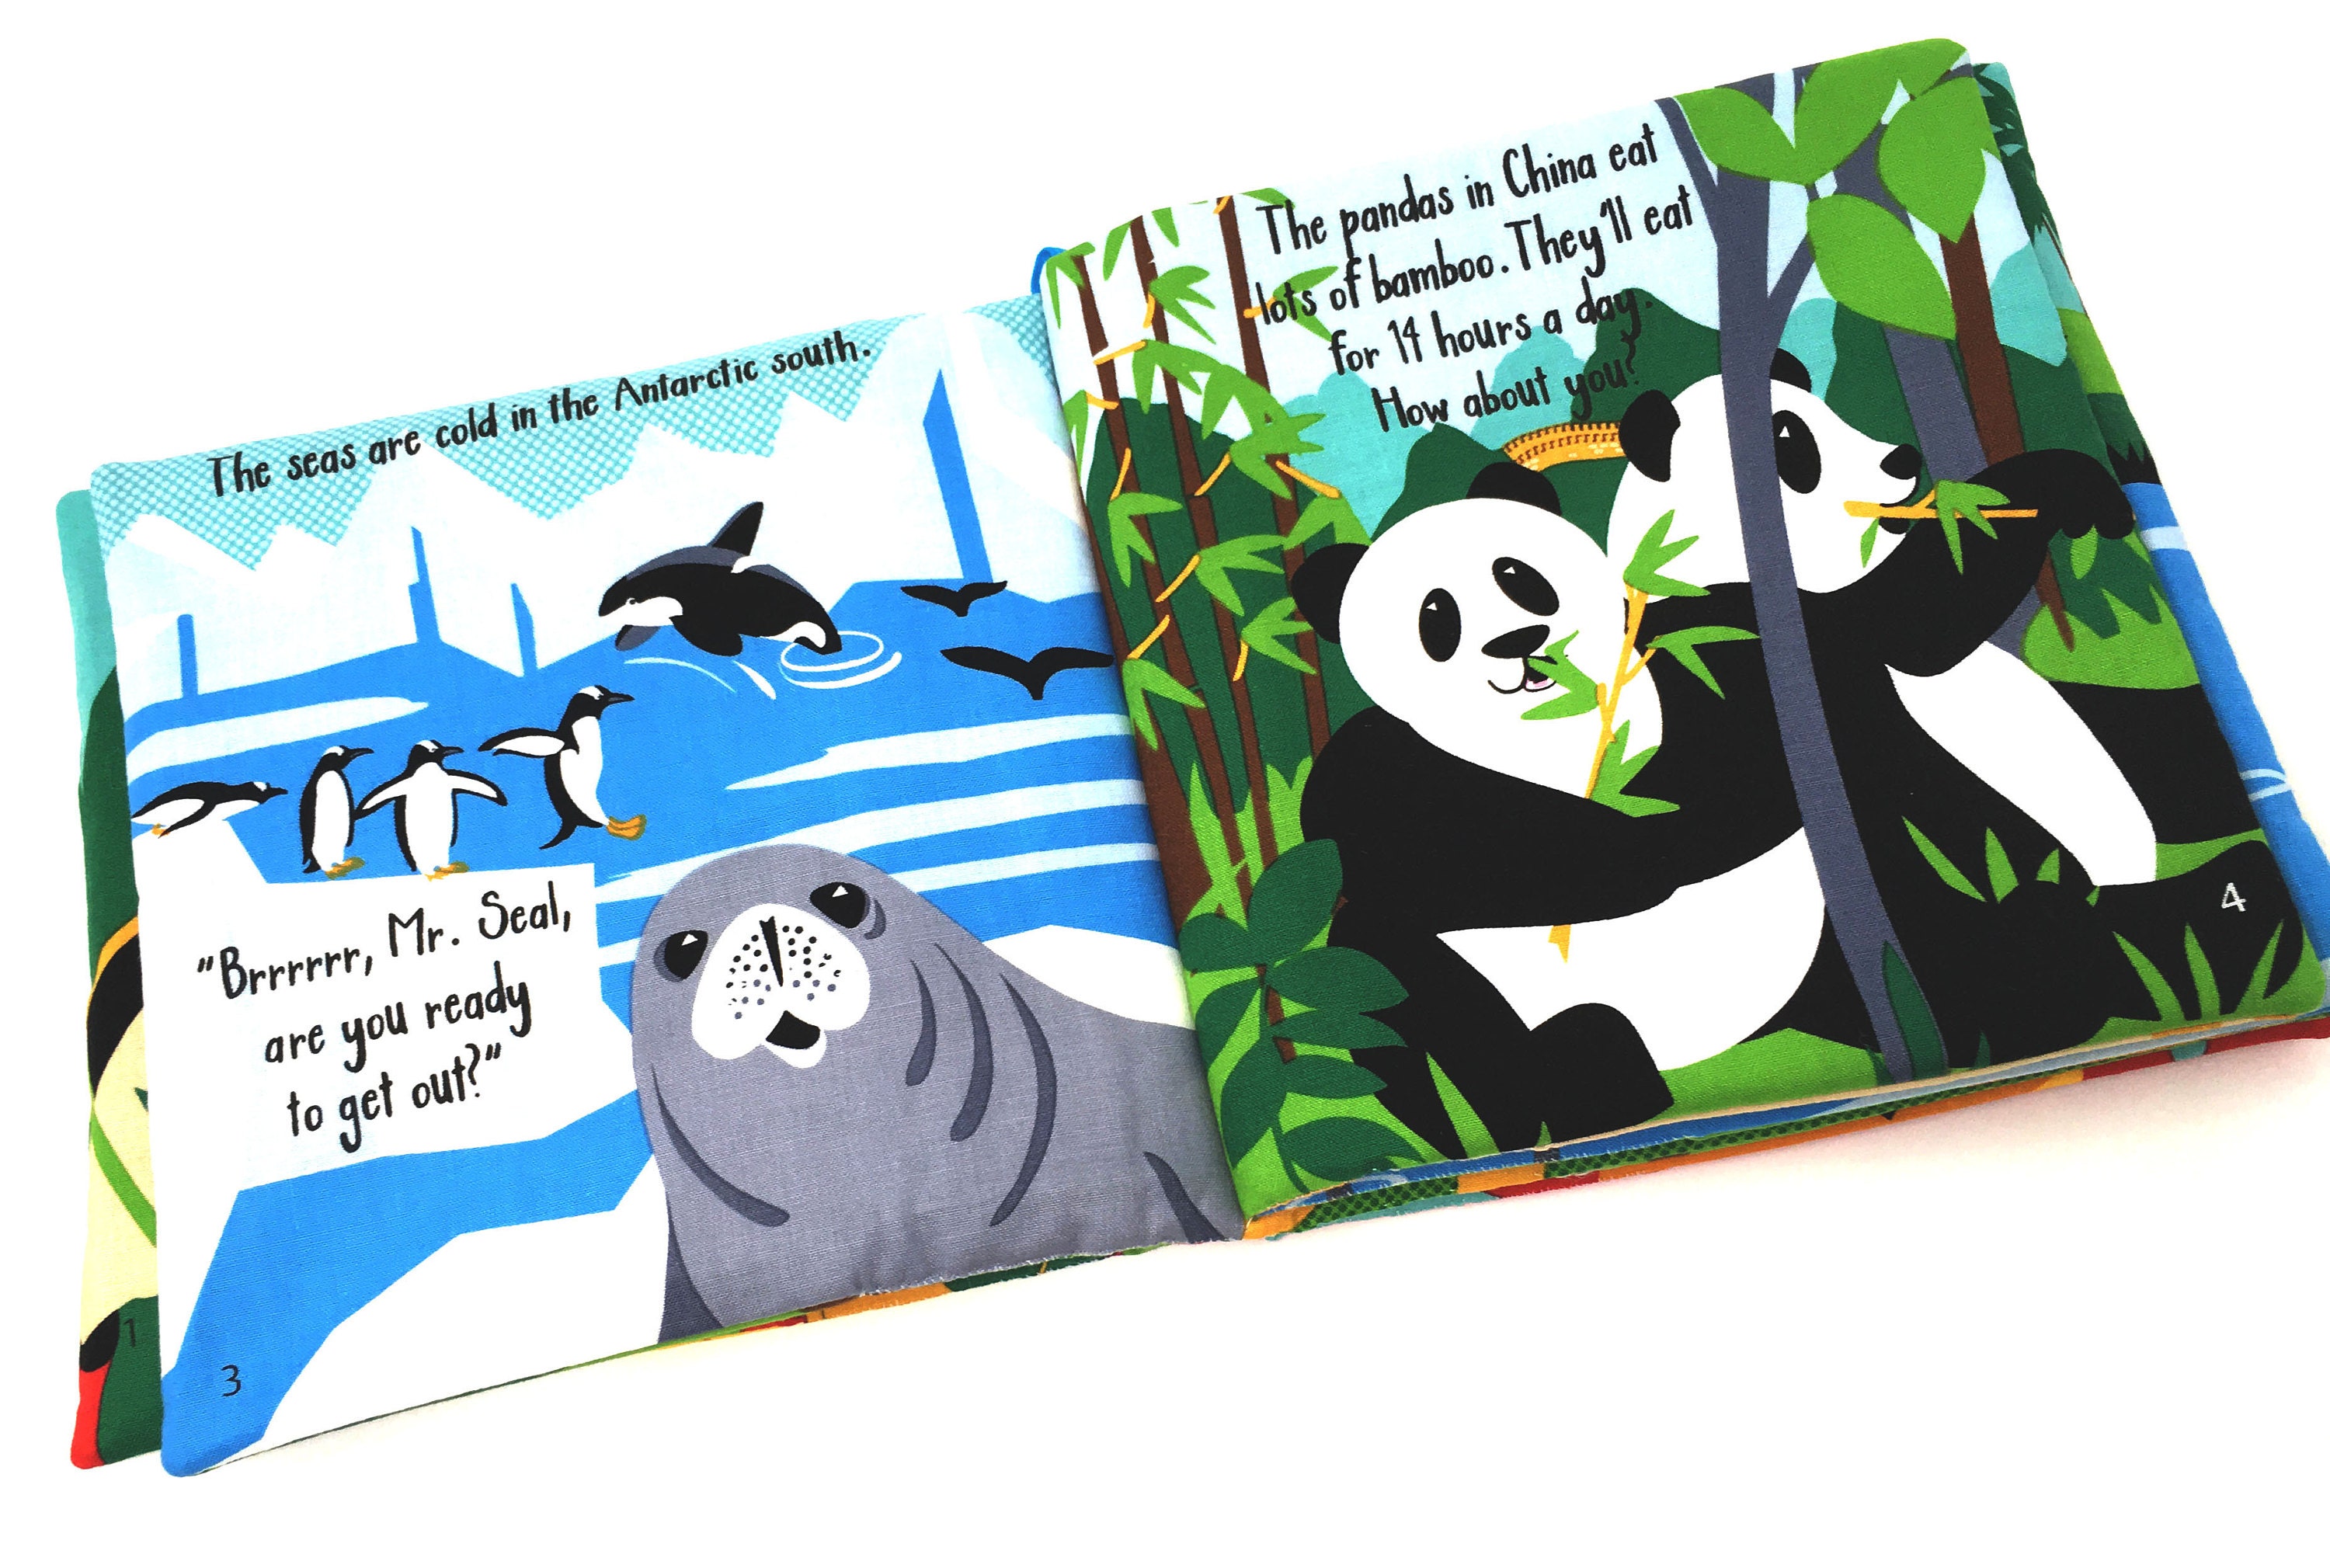
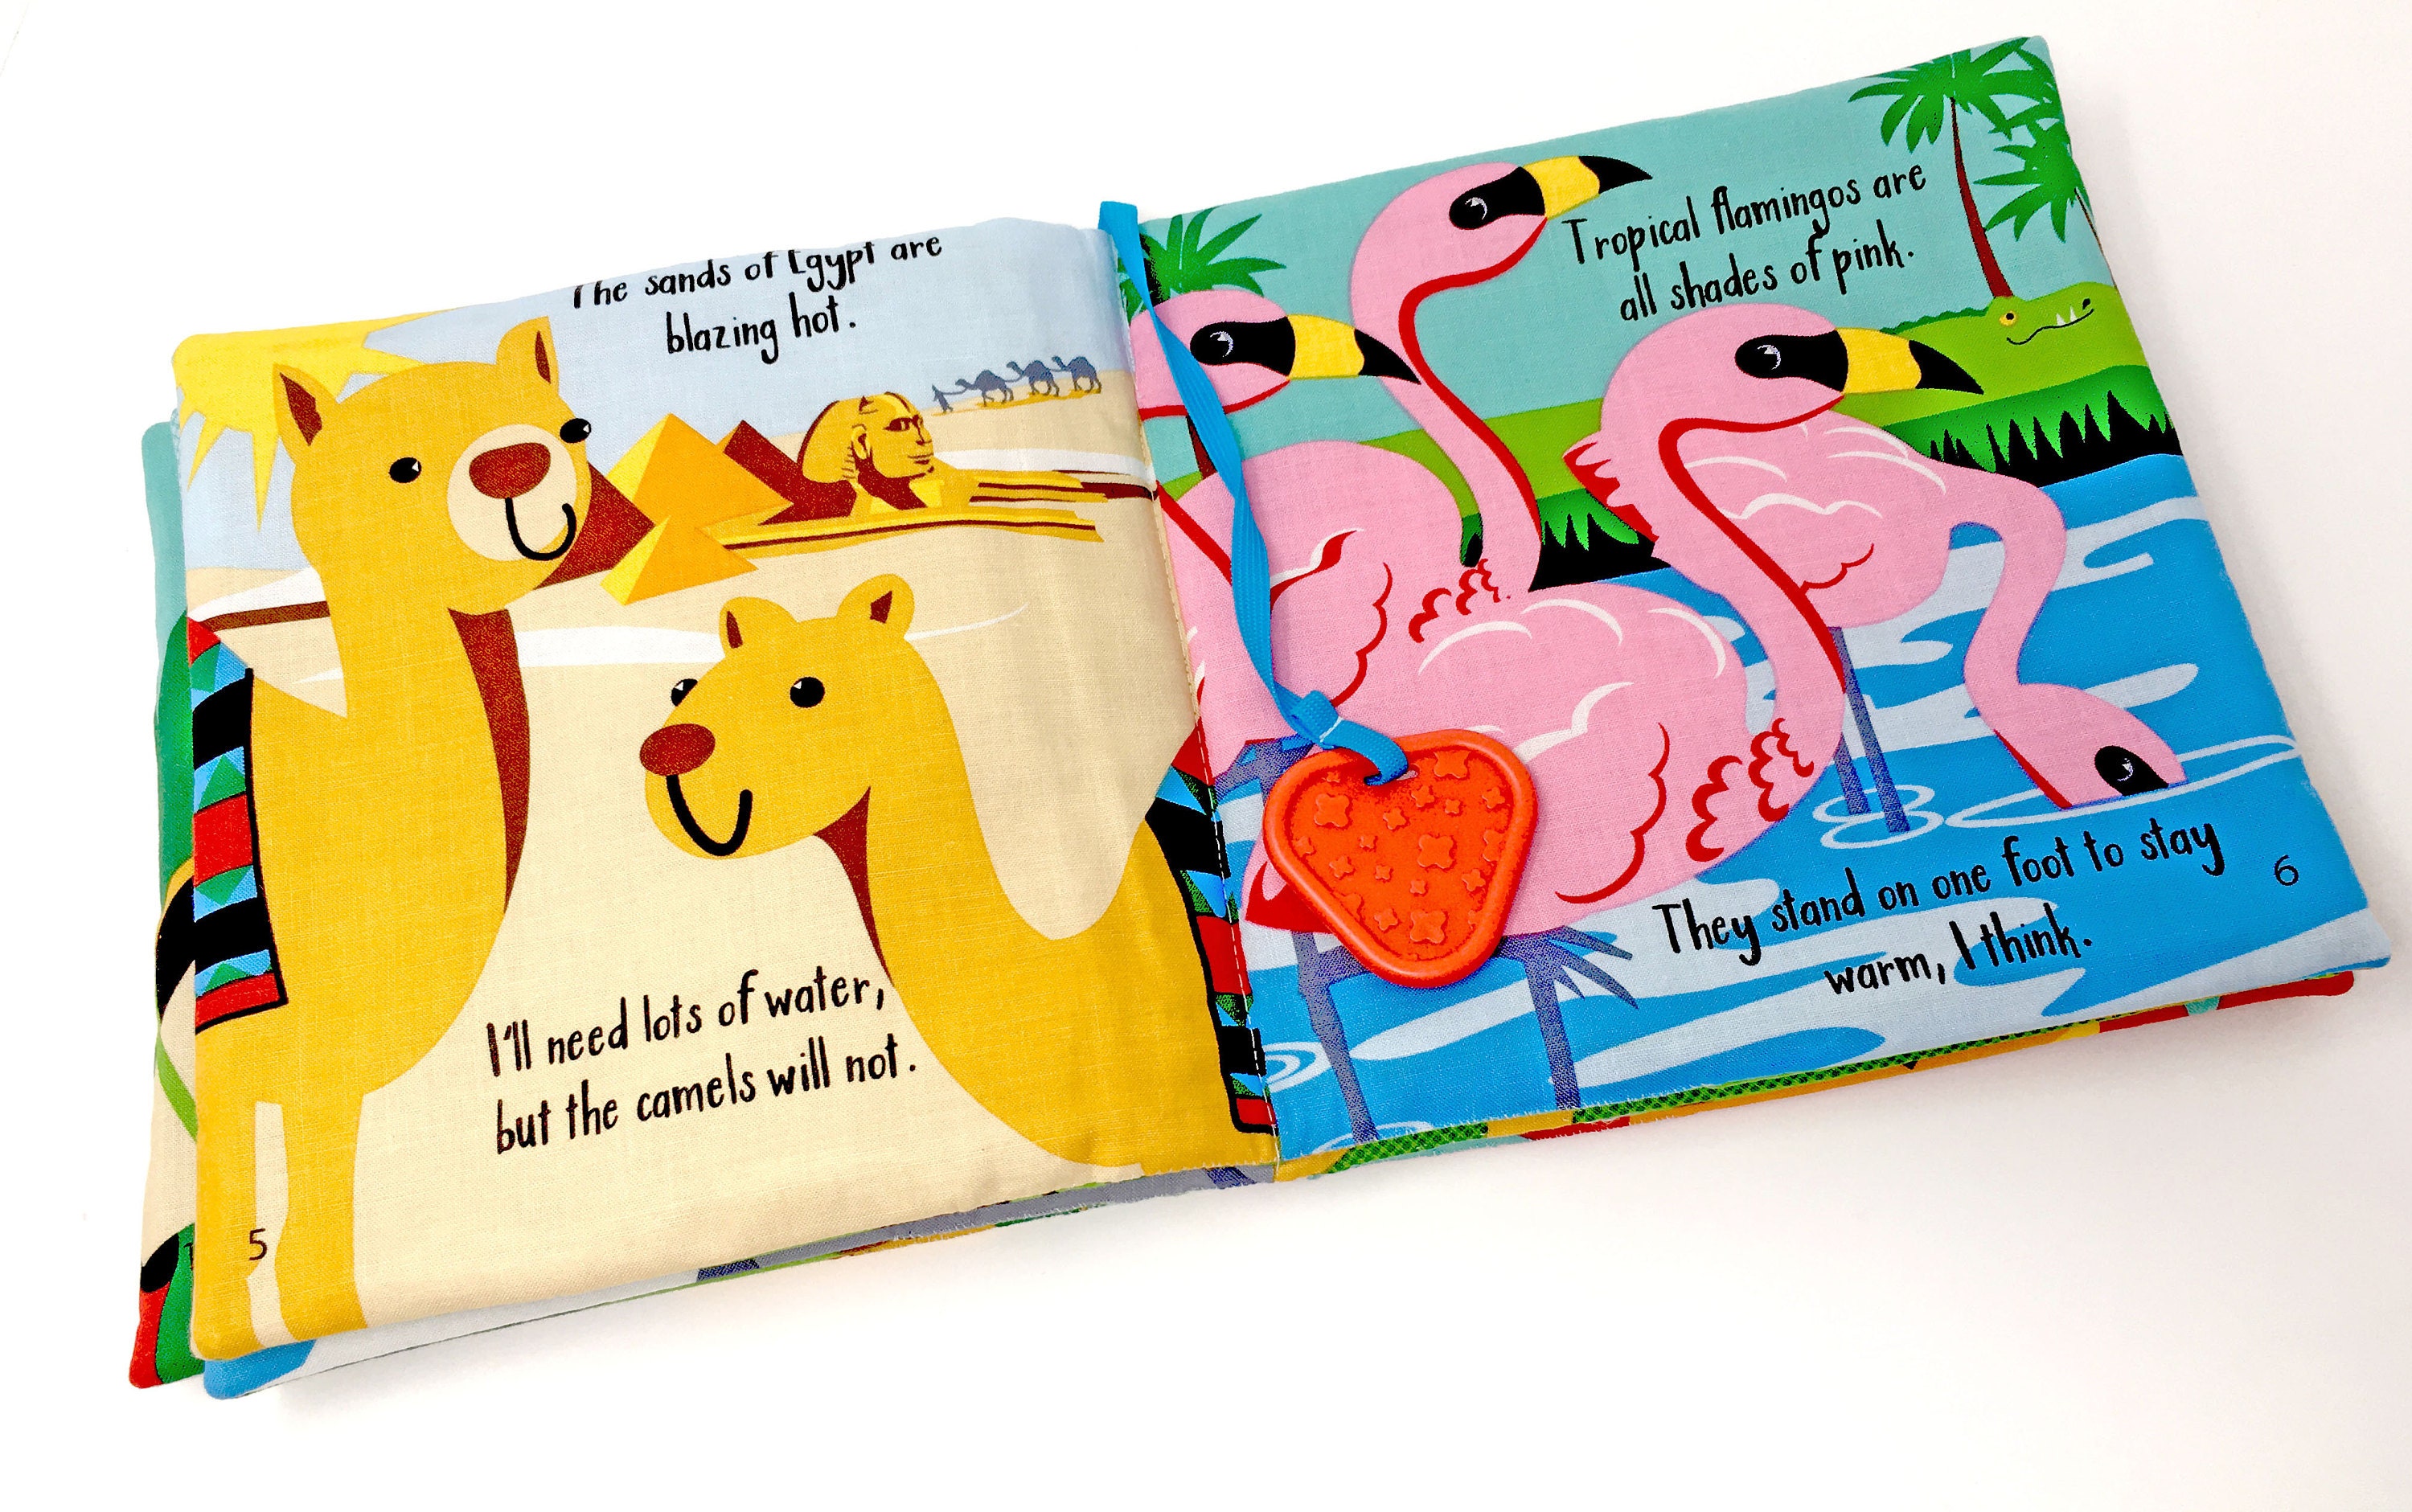
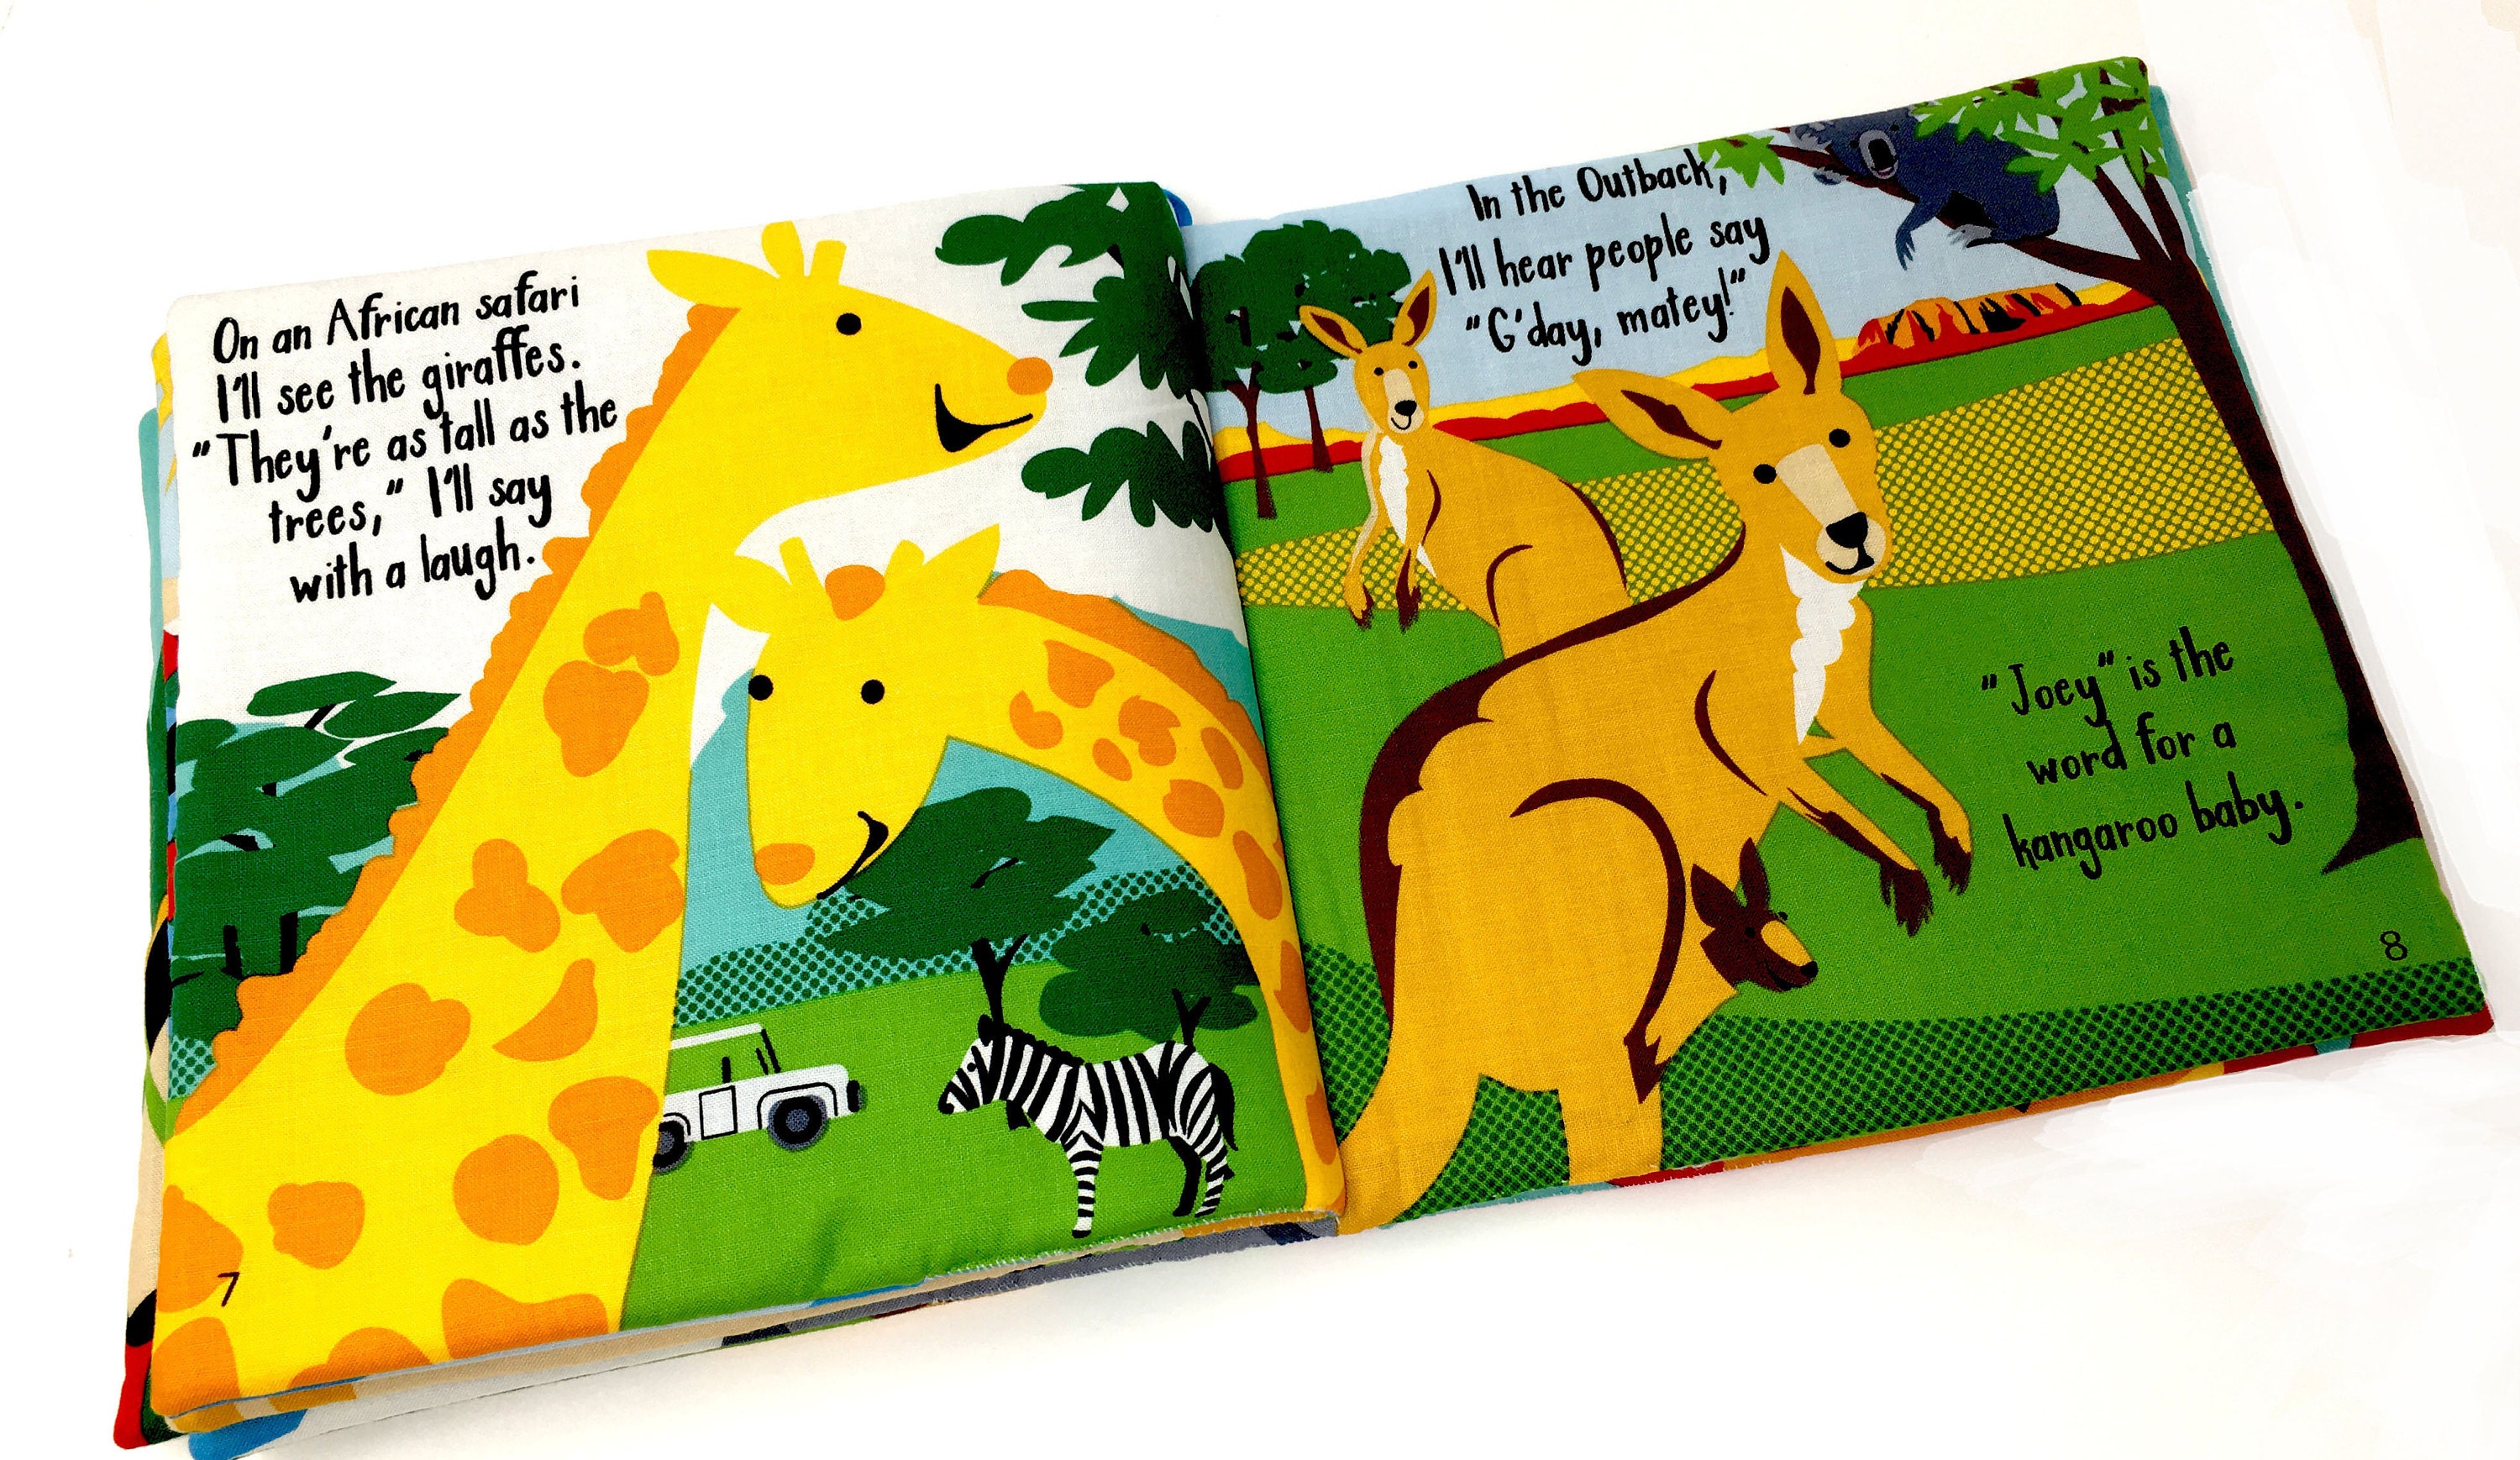
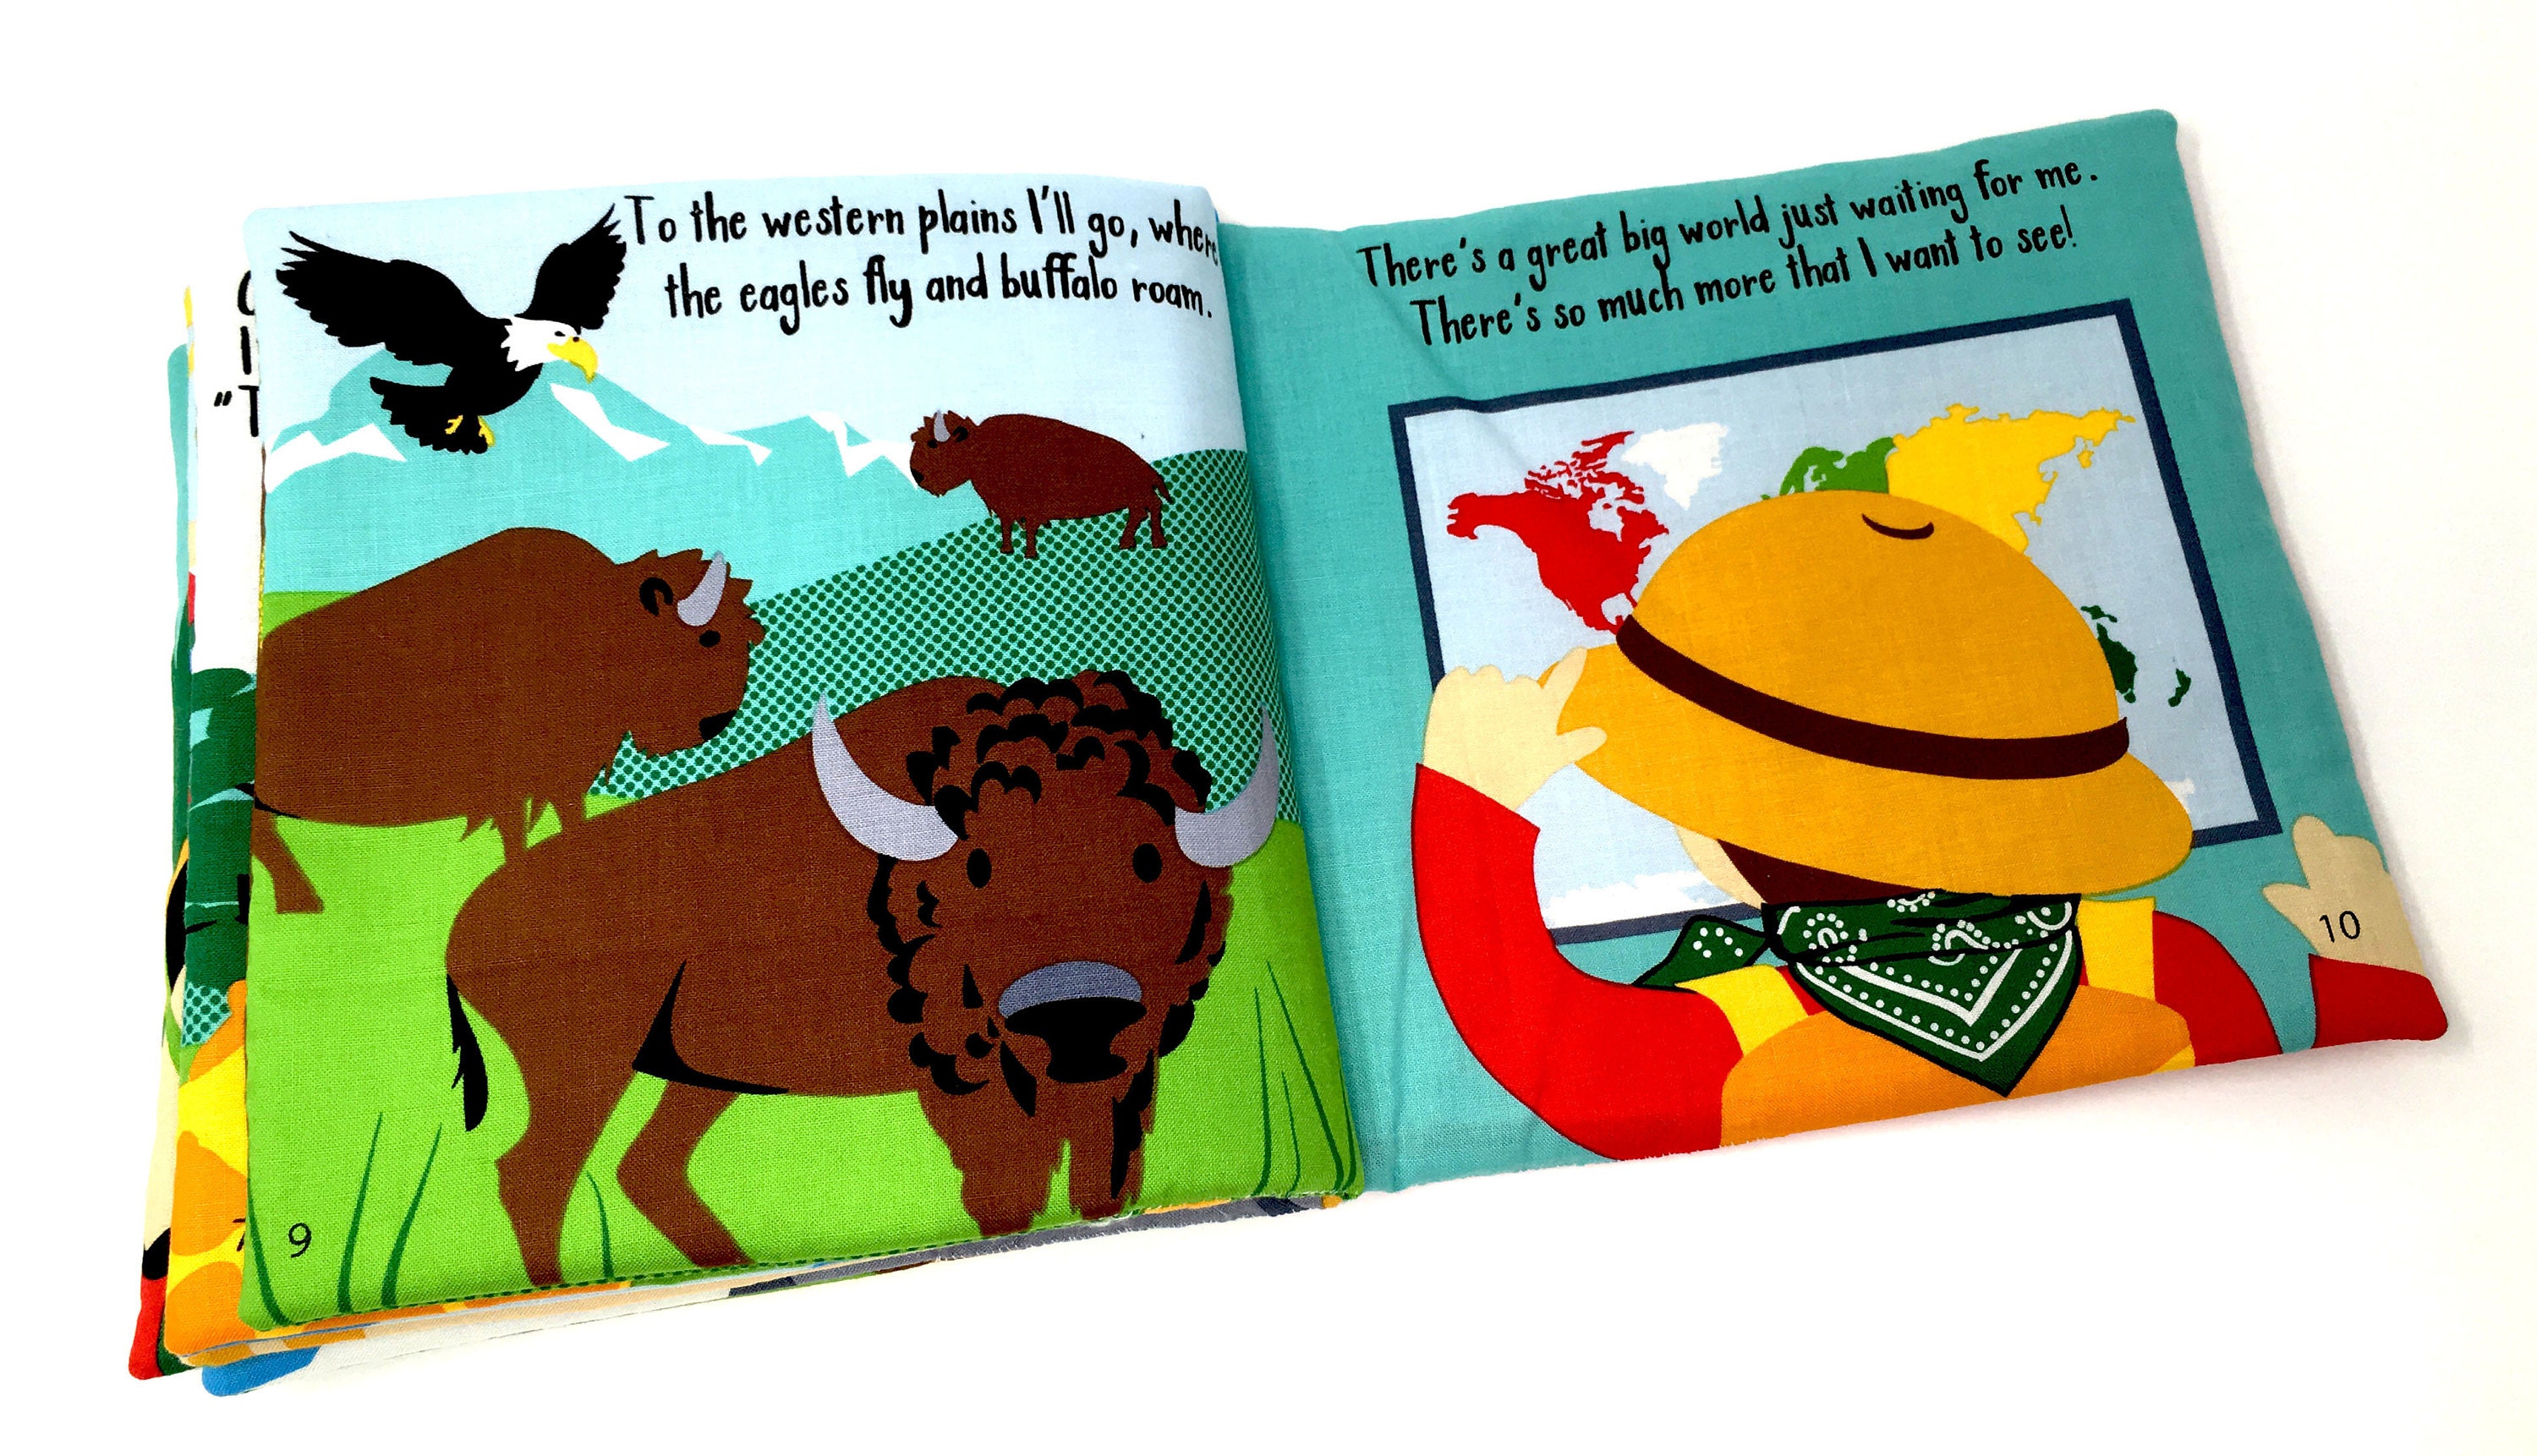
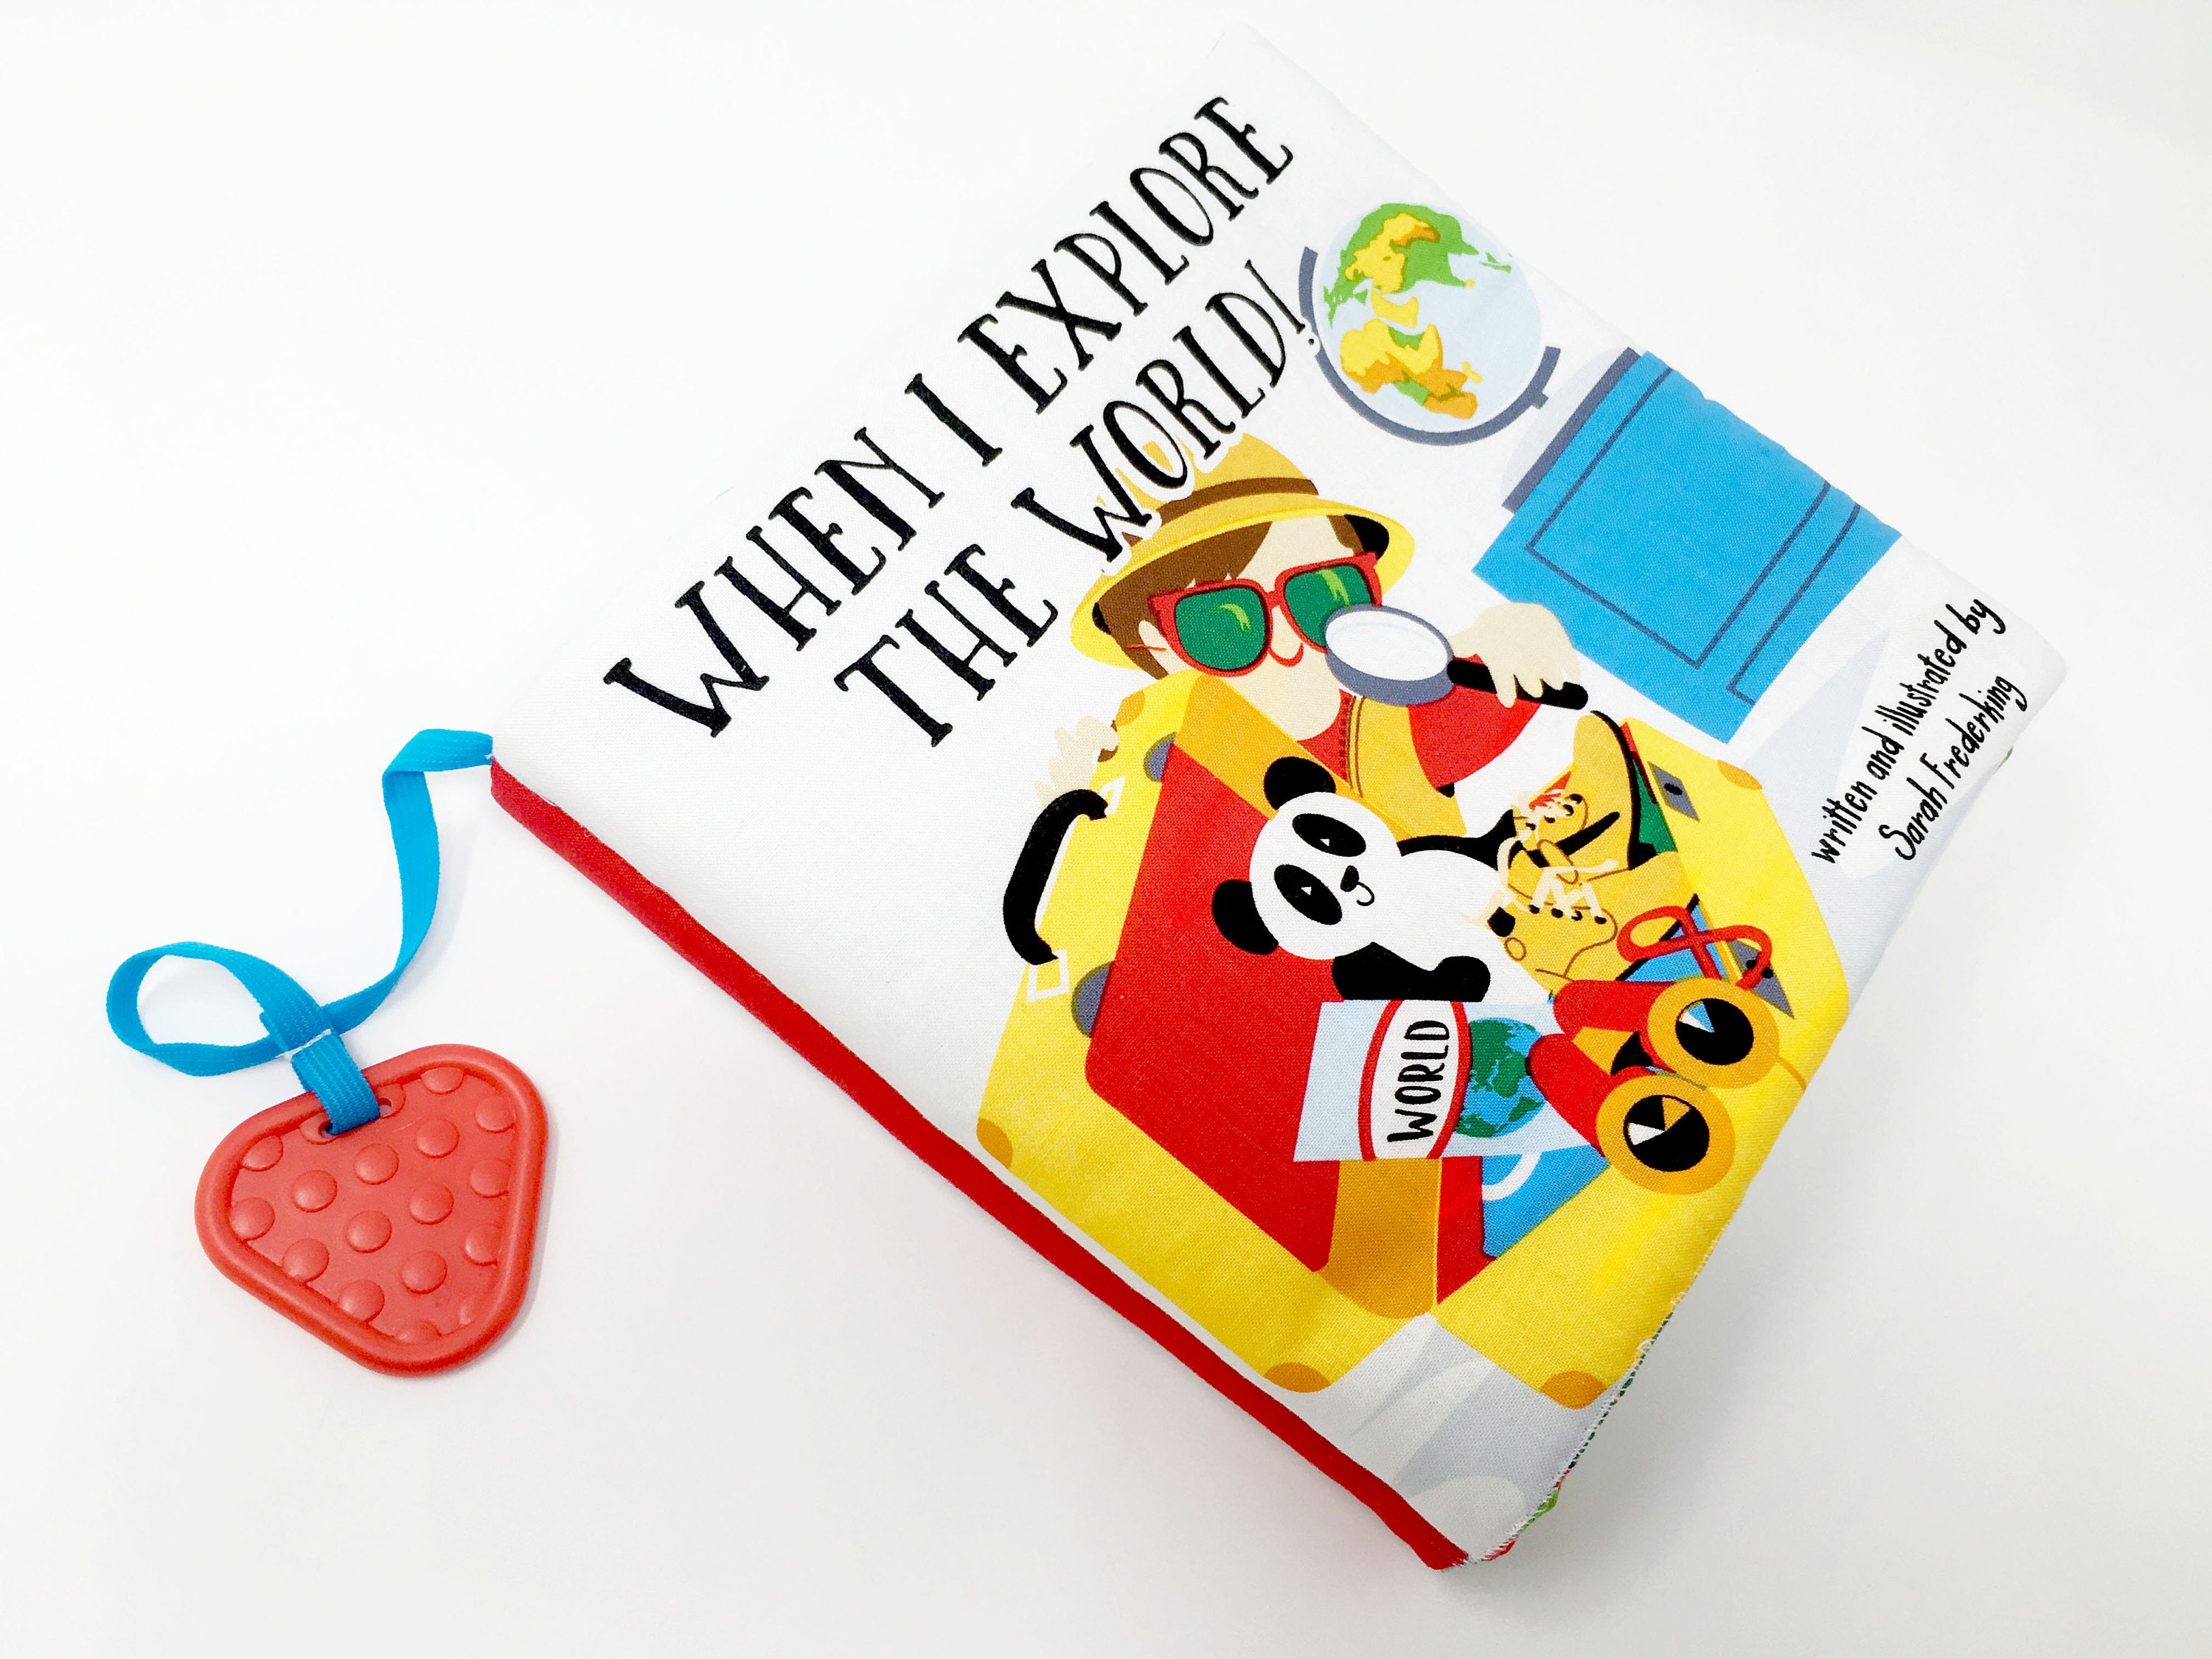
Today I am going to show you how to stitch the Studio E 'Little Explorer's' baby book. This is a wonderful project, perfect for beginner's and children.
You will need:
• 1 x Studio E Little Explorer's book panel – available at Studio Jepson.com as an individual panel or as a kit with wadding.
https://www.etsy.com/uk/STUDIOJEPSON/listing/617507150/free-shipping-fabric-book-making-kit?utm_source=Copy&utm_medium=ListingManager&utm_campaign=Share&utm_term=so.lmsm&share_time=1532623032286
• Wadding (also known as batting)
• Sewing kit
• Sewing machine
• Ruler or set square
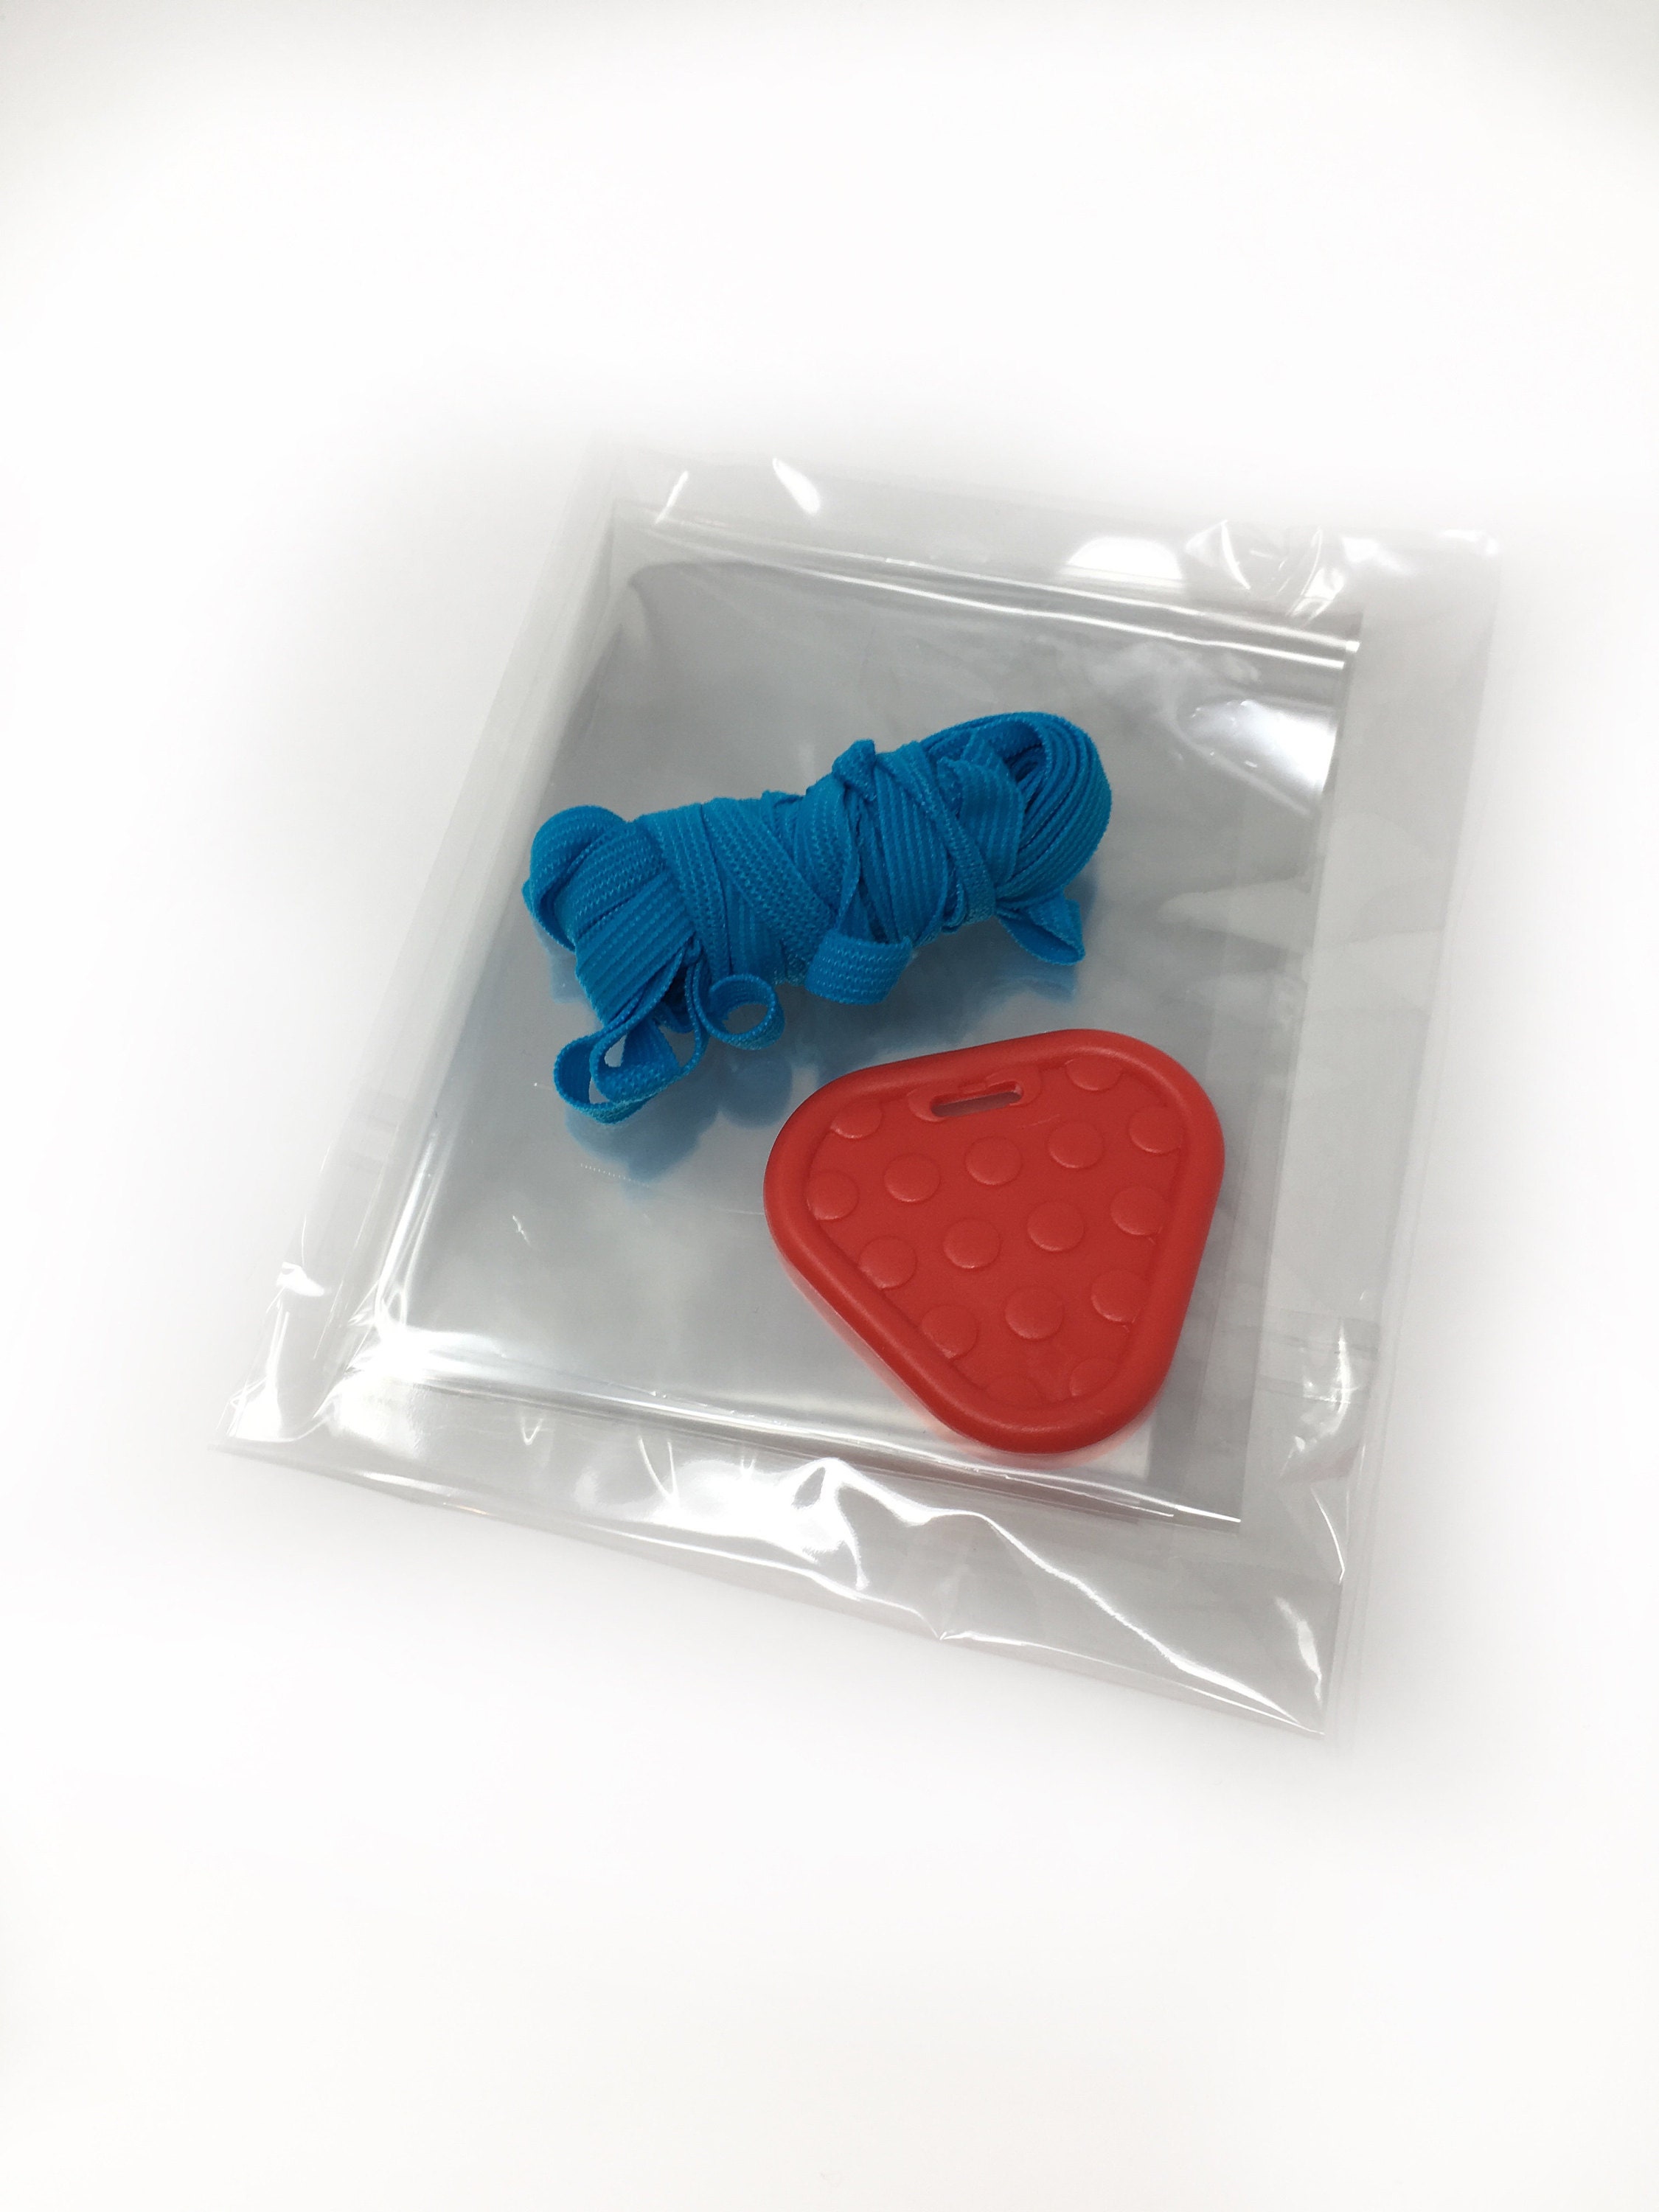
• Compliant baby teether (optional extra)
• Narrow elastic (optional extra)
• Compliant crinkle fabric (optional extra)
• Fabric pen or embroidery floss
Step one: Cut all panels out.
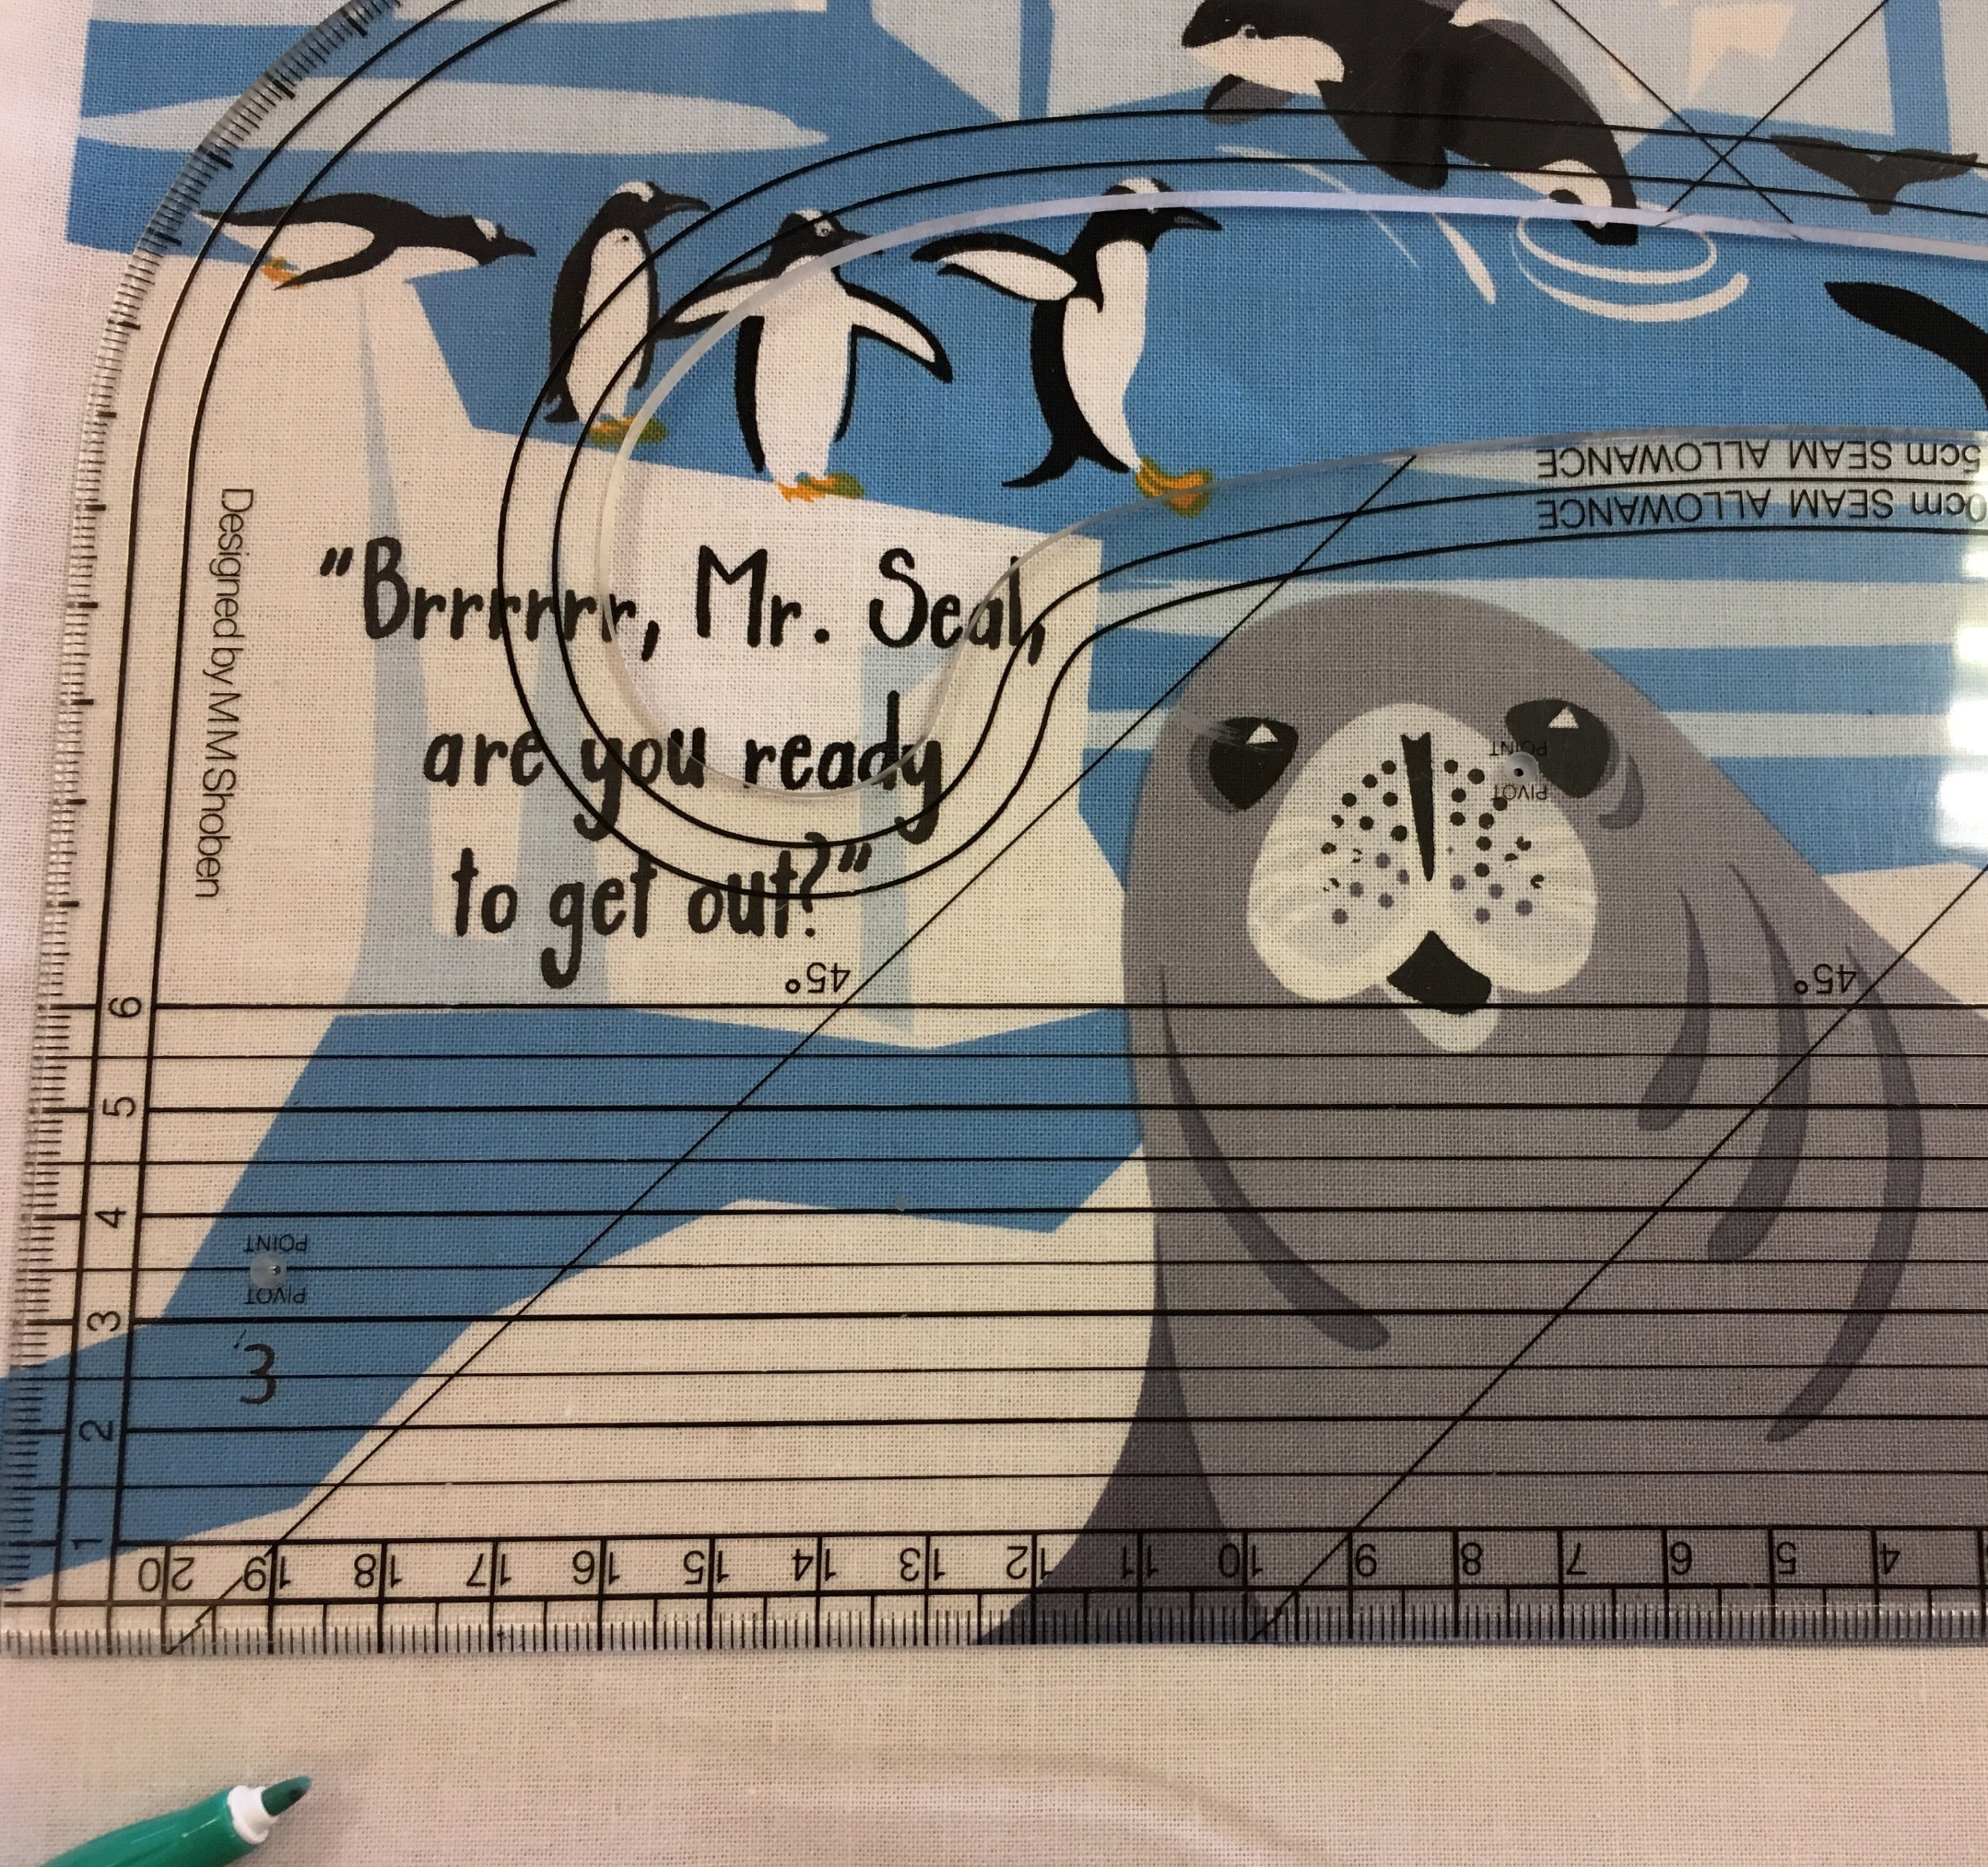
You will notice that some of the panels do not have a coloured edge to follow. Before you reach for your scissors I recommend you mark where to cut. I used a friction pen (that disappears when heat is applied) but tailor's chalk or a pencil would also be fine. I used a set square to make sure all my lines were square so I could see where to cut.
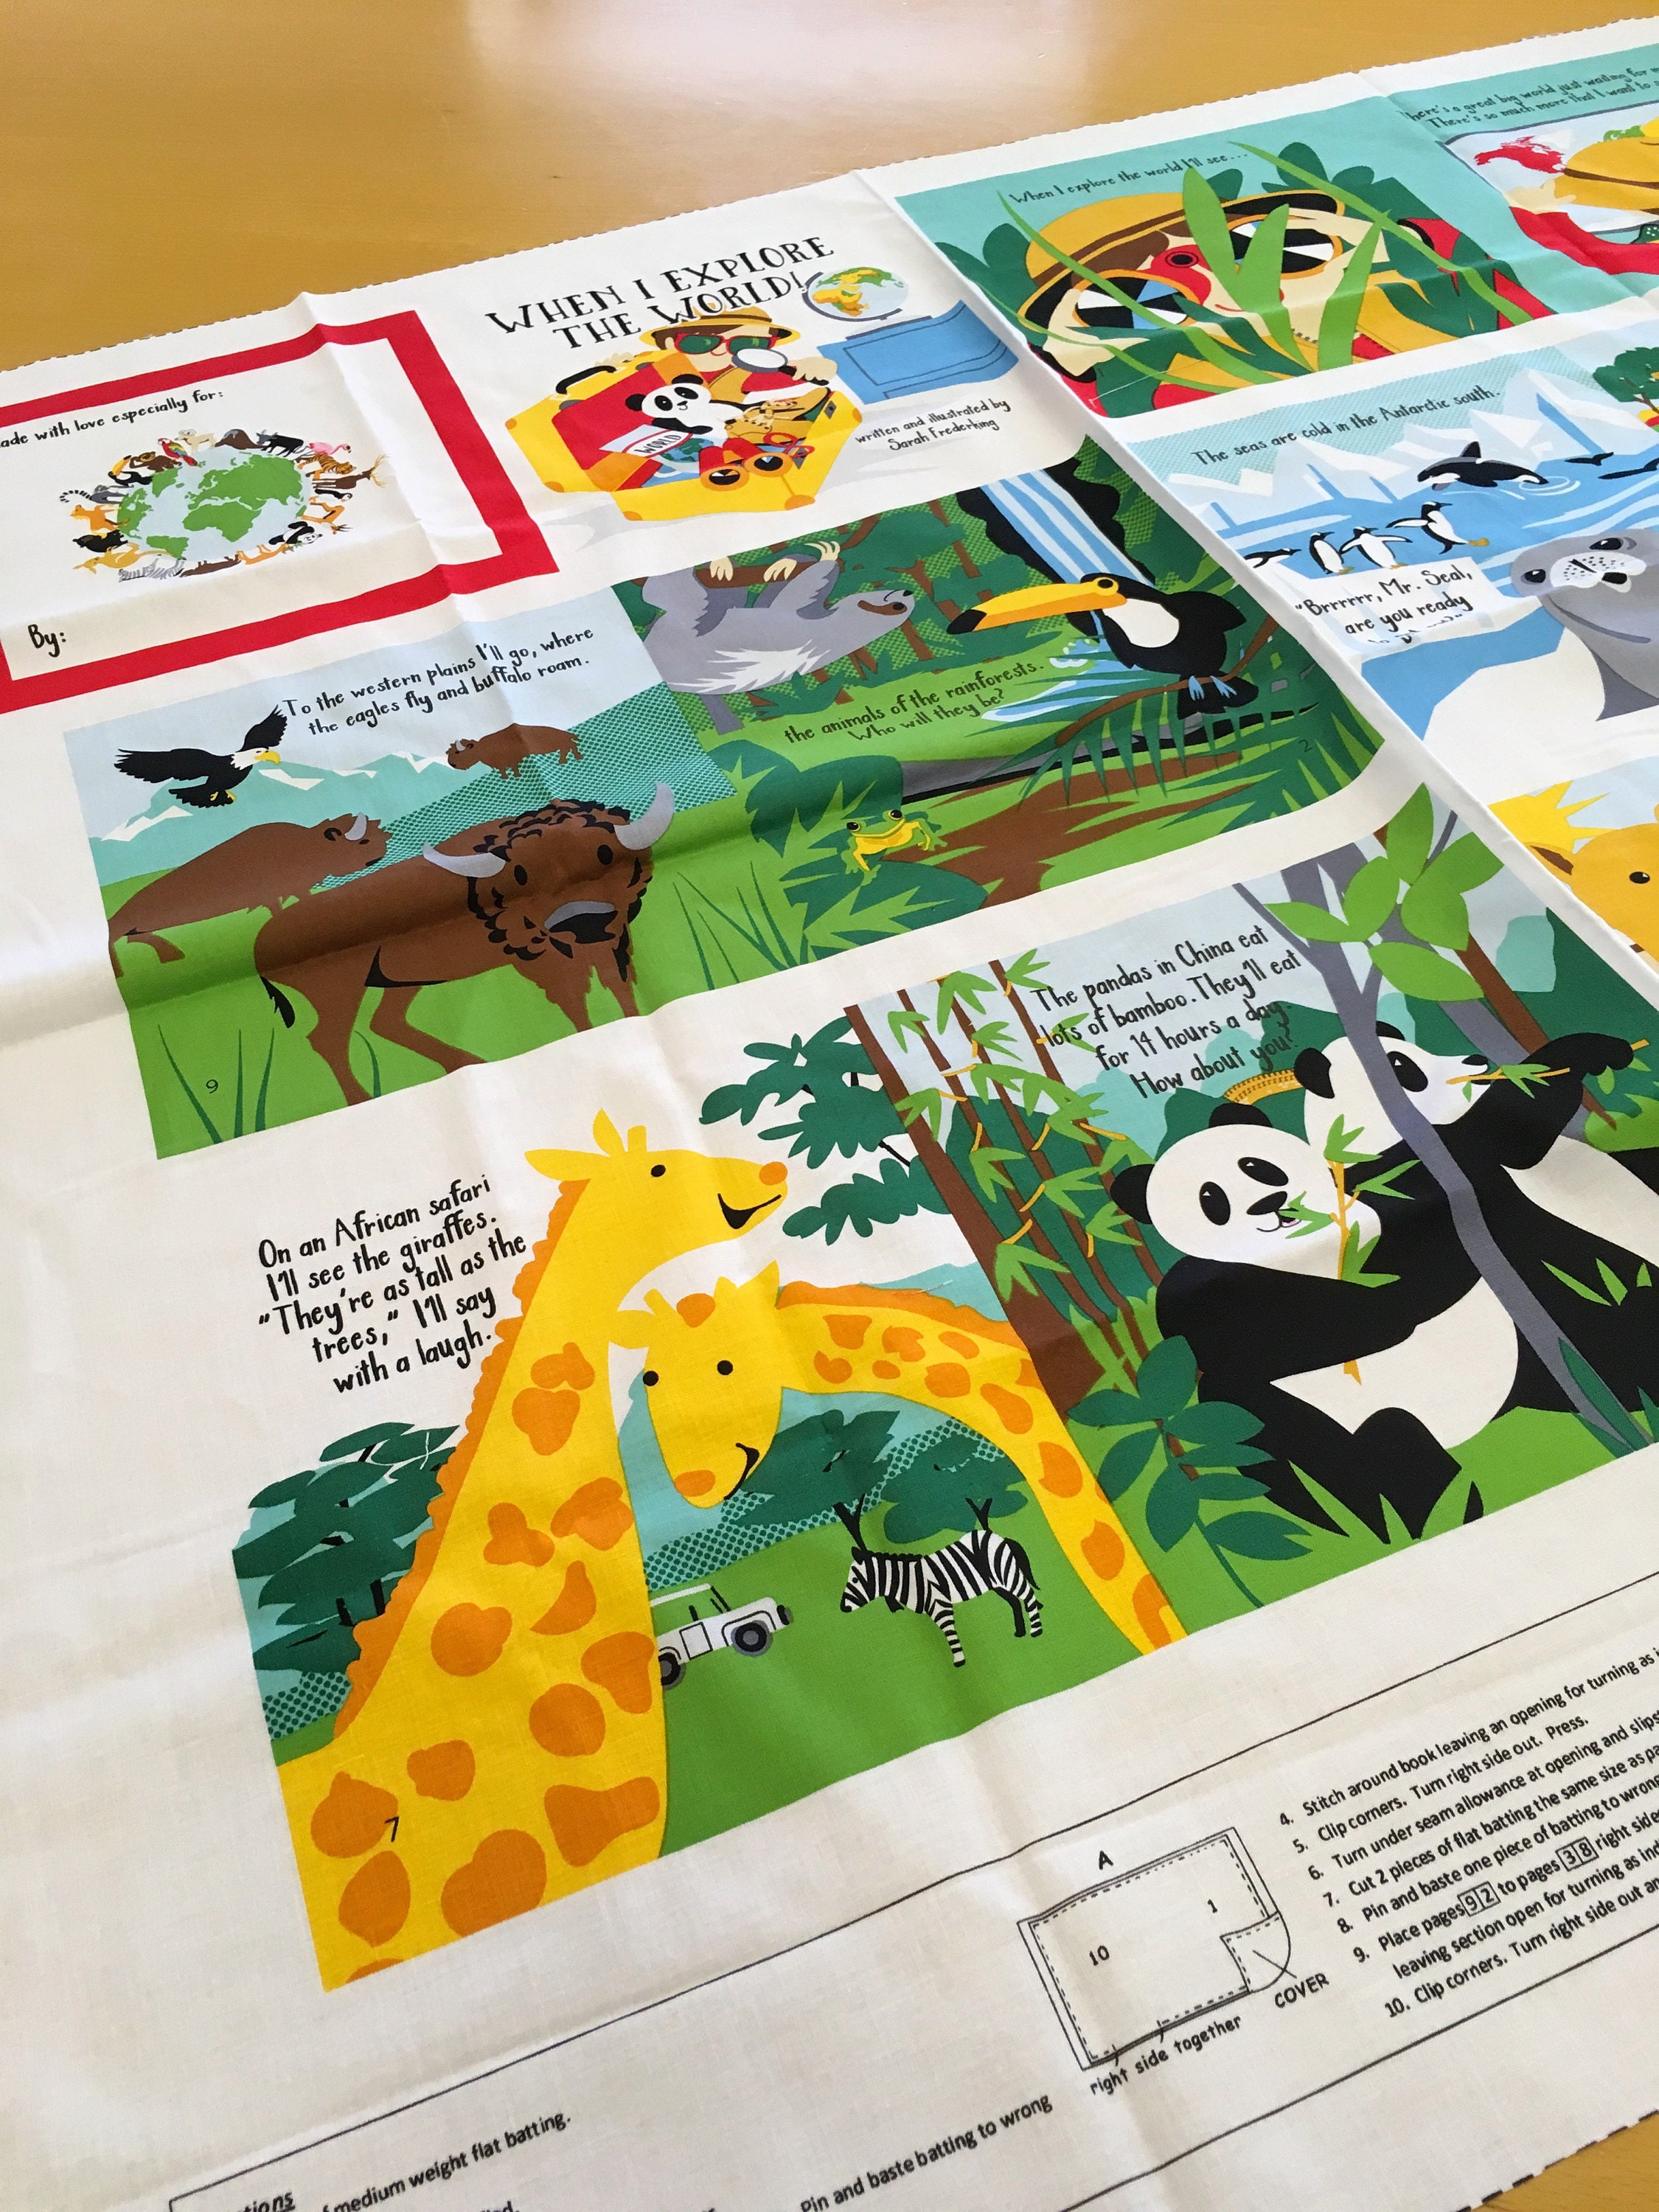
Once marked up, use your scissors or rotary blade to cut all the panels out. Please note the two cover panels are larger than the inner pages.
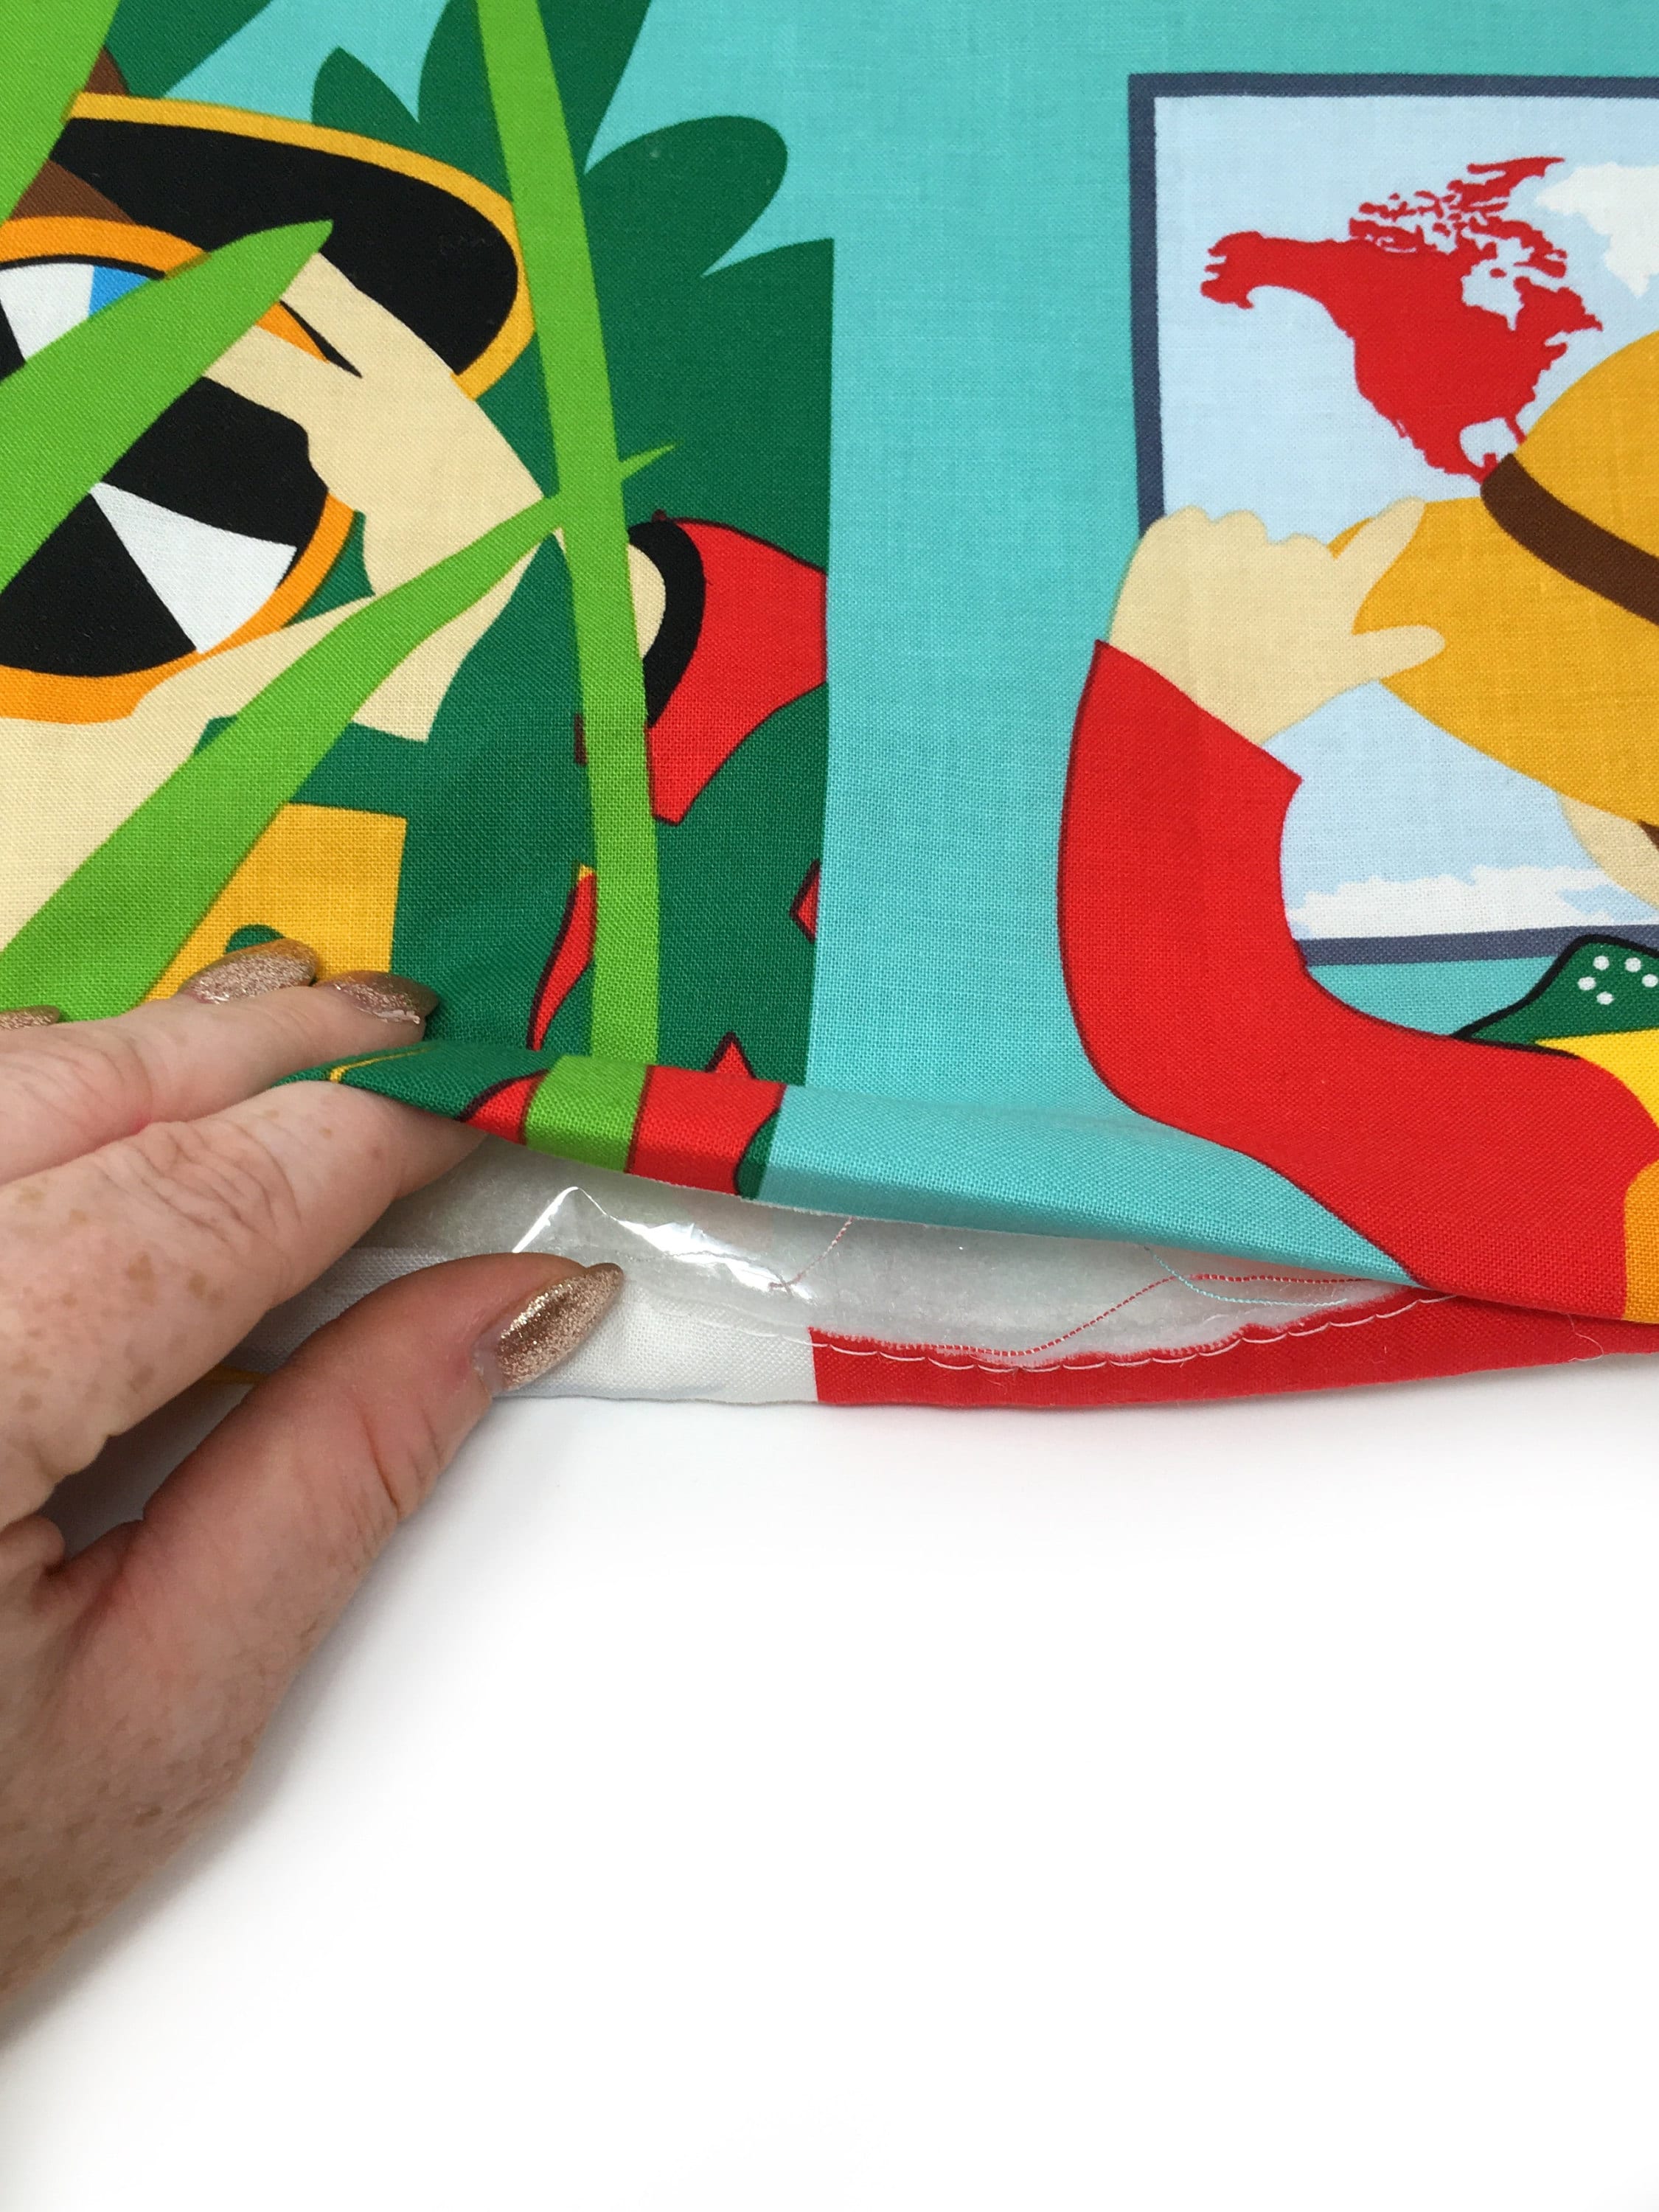
Step two: Cut wadding to size.
Using the cover as a template cut 1 x piece of wadding.
Using the pages as a template cut 2 x pieces of wadding.
Step three: Attach wadding to cover.
Lay cover panel on top wadding panel, then tack (baste) in place. You can tack by hand but I have a tacking stitch on my machine that I LOVE. We are tacking the panels to the wadding before we sew together to ensure there will be no misalignment, bubbles or creases in the pages.
OPTIONAL Step four: Attach crinkle fabric to cover and adding teether.
My daughter LOVED a noisy fabric book when she was a baby so I wanted to add a crinkle fabric liner to the cover.
Lay the panel marked 1:10 on top of the crinkle fabric and tack.

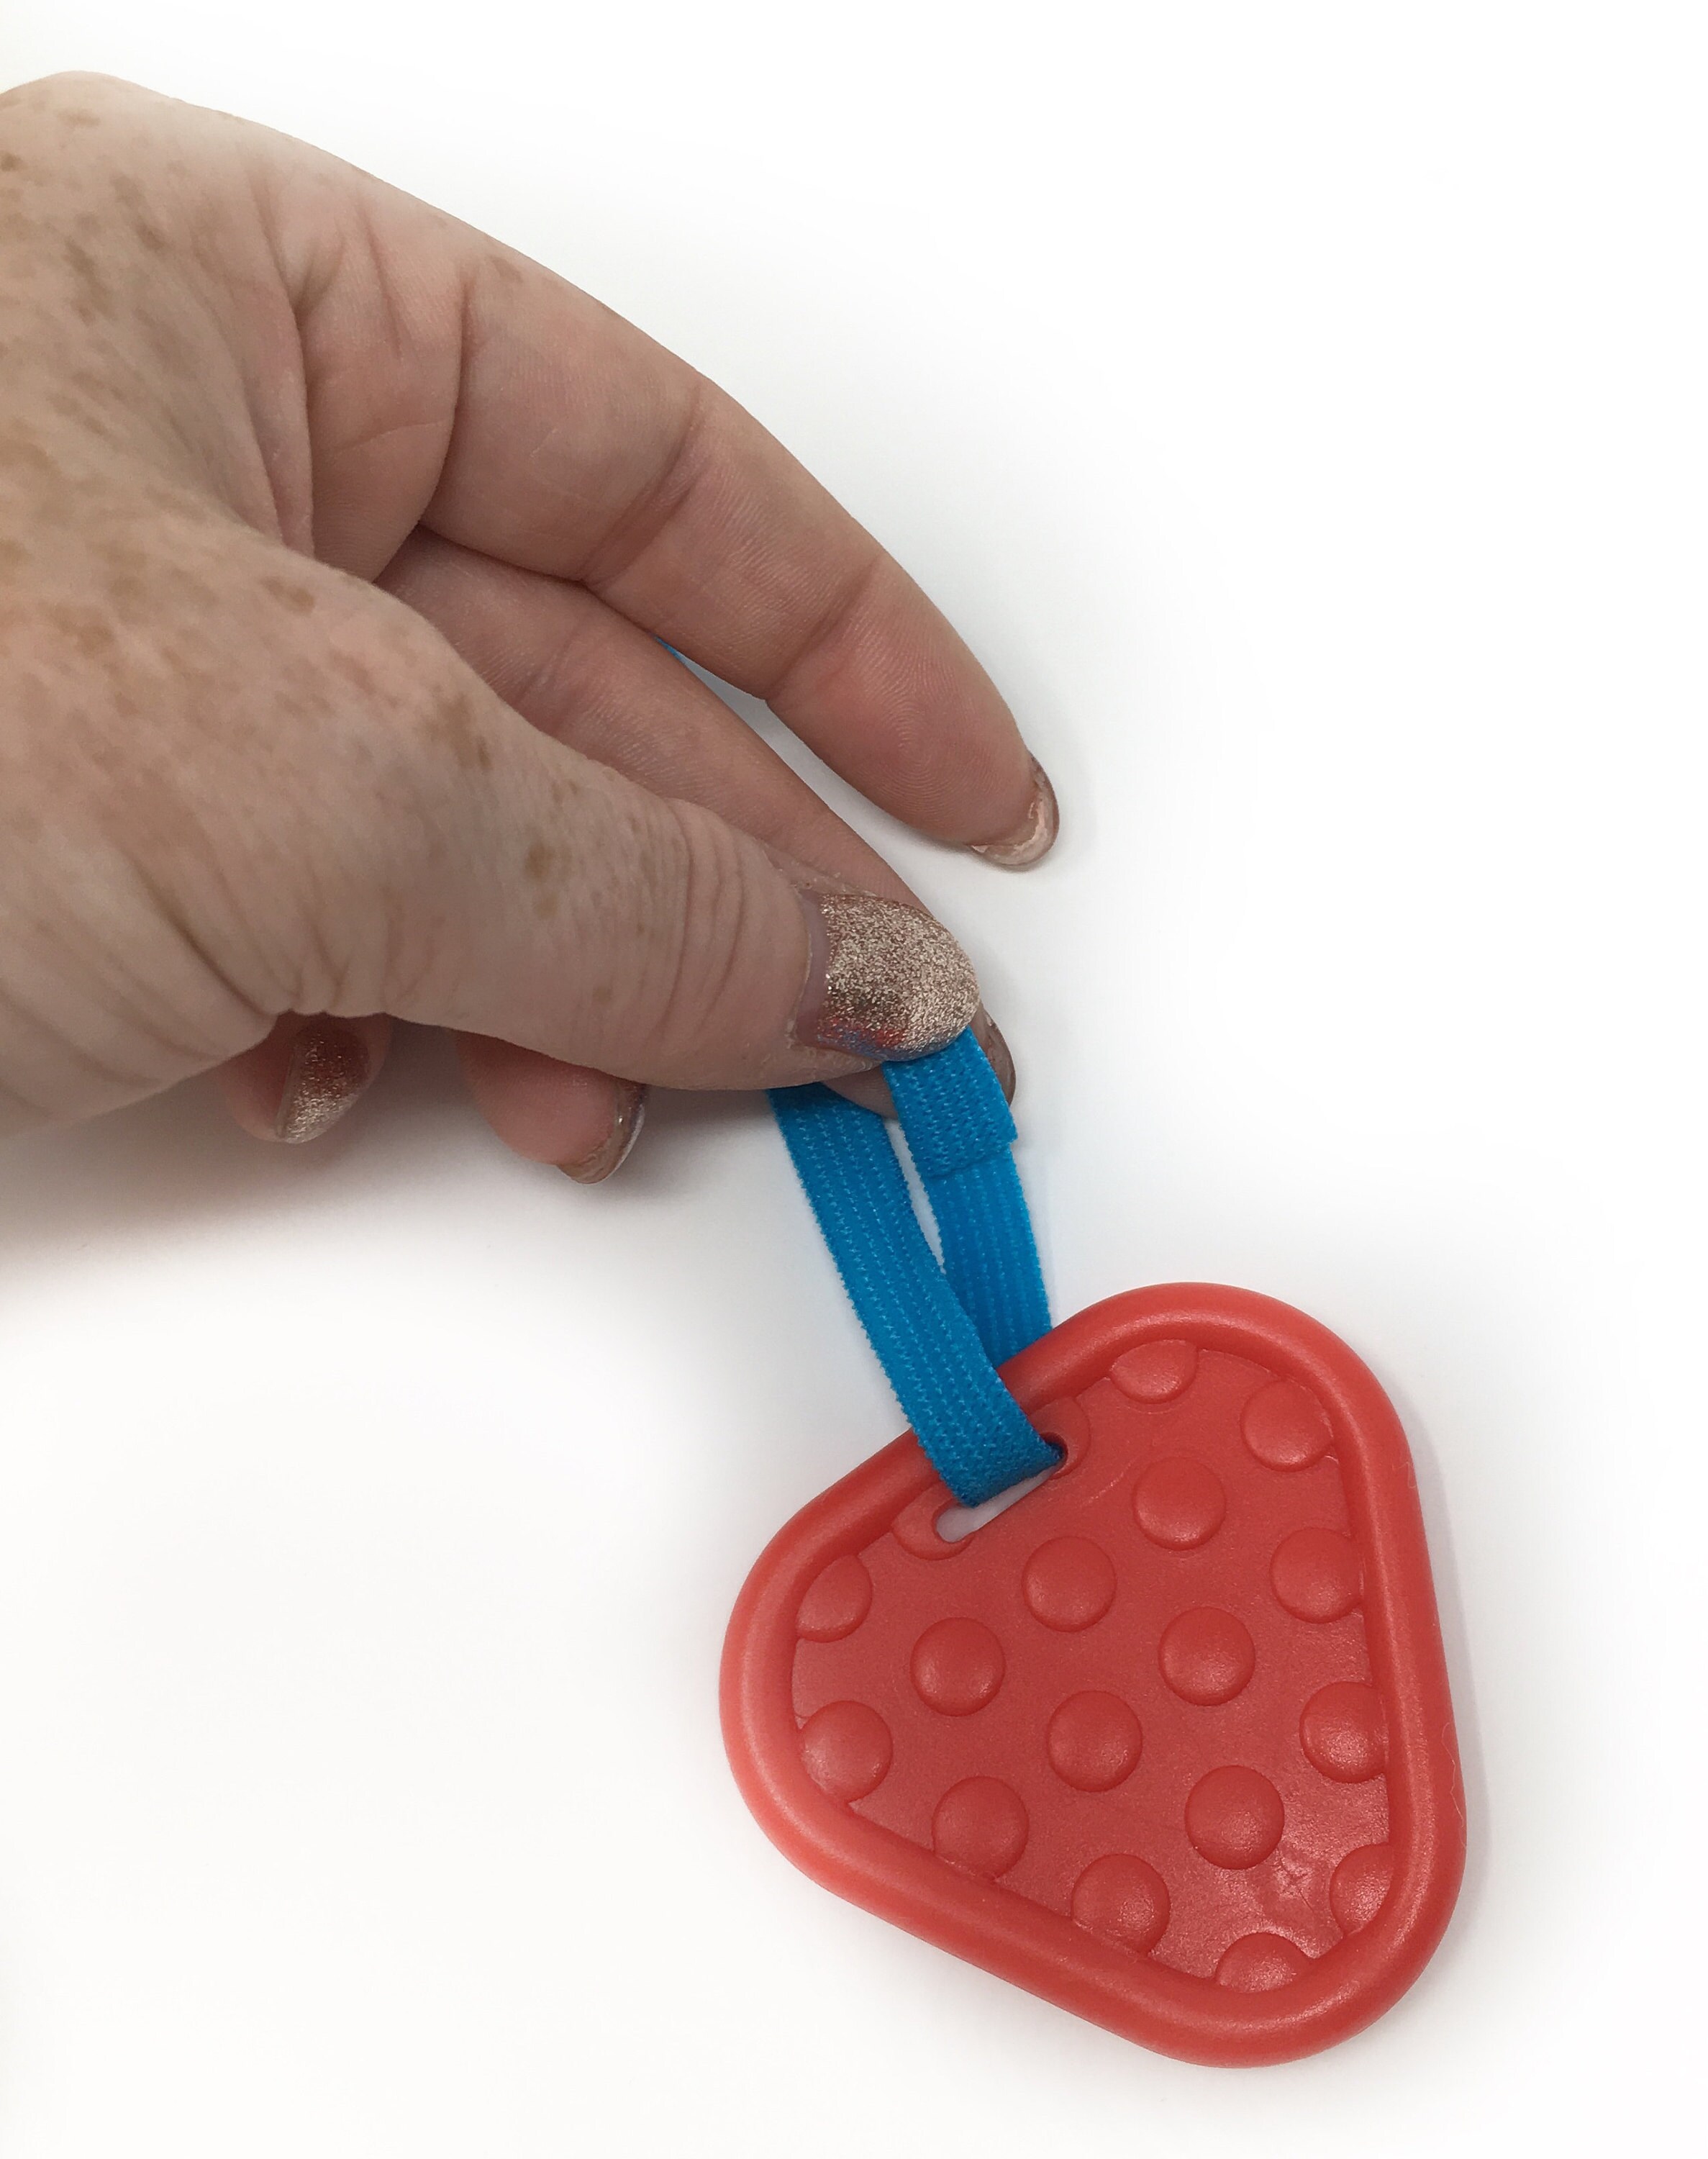
Cut a length of elastic roughly the length of the book (any longer can pose a risk to baby). Thread the elastic through the opening in the teether and fold the ends back so there are no visible raw edges and machine stich in place. Pin and machine stitch the elastic at the top of the cover panel at the centre.
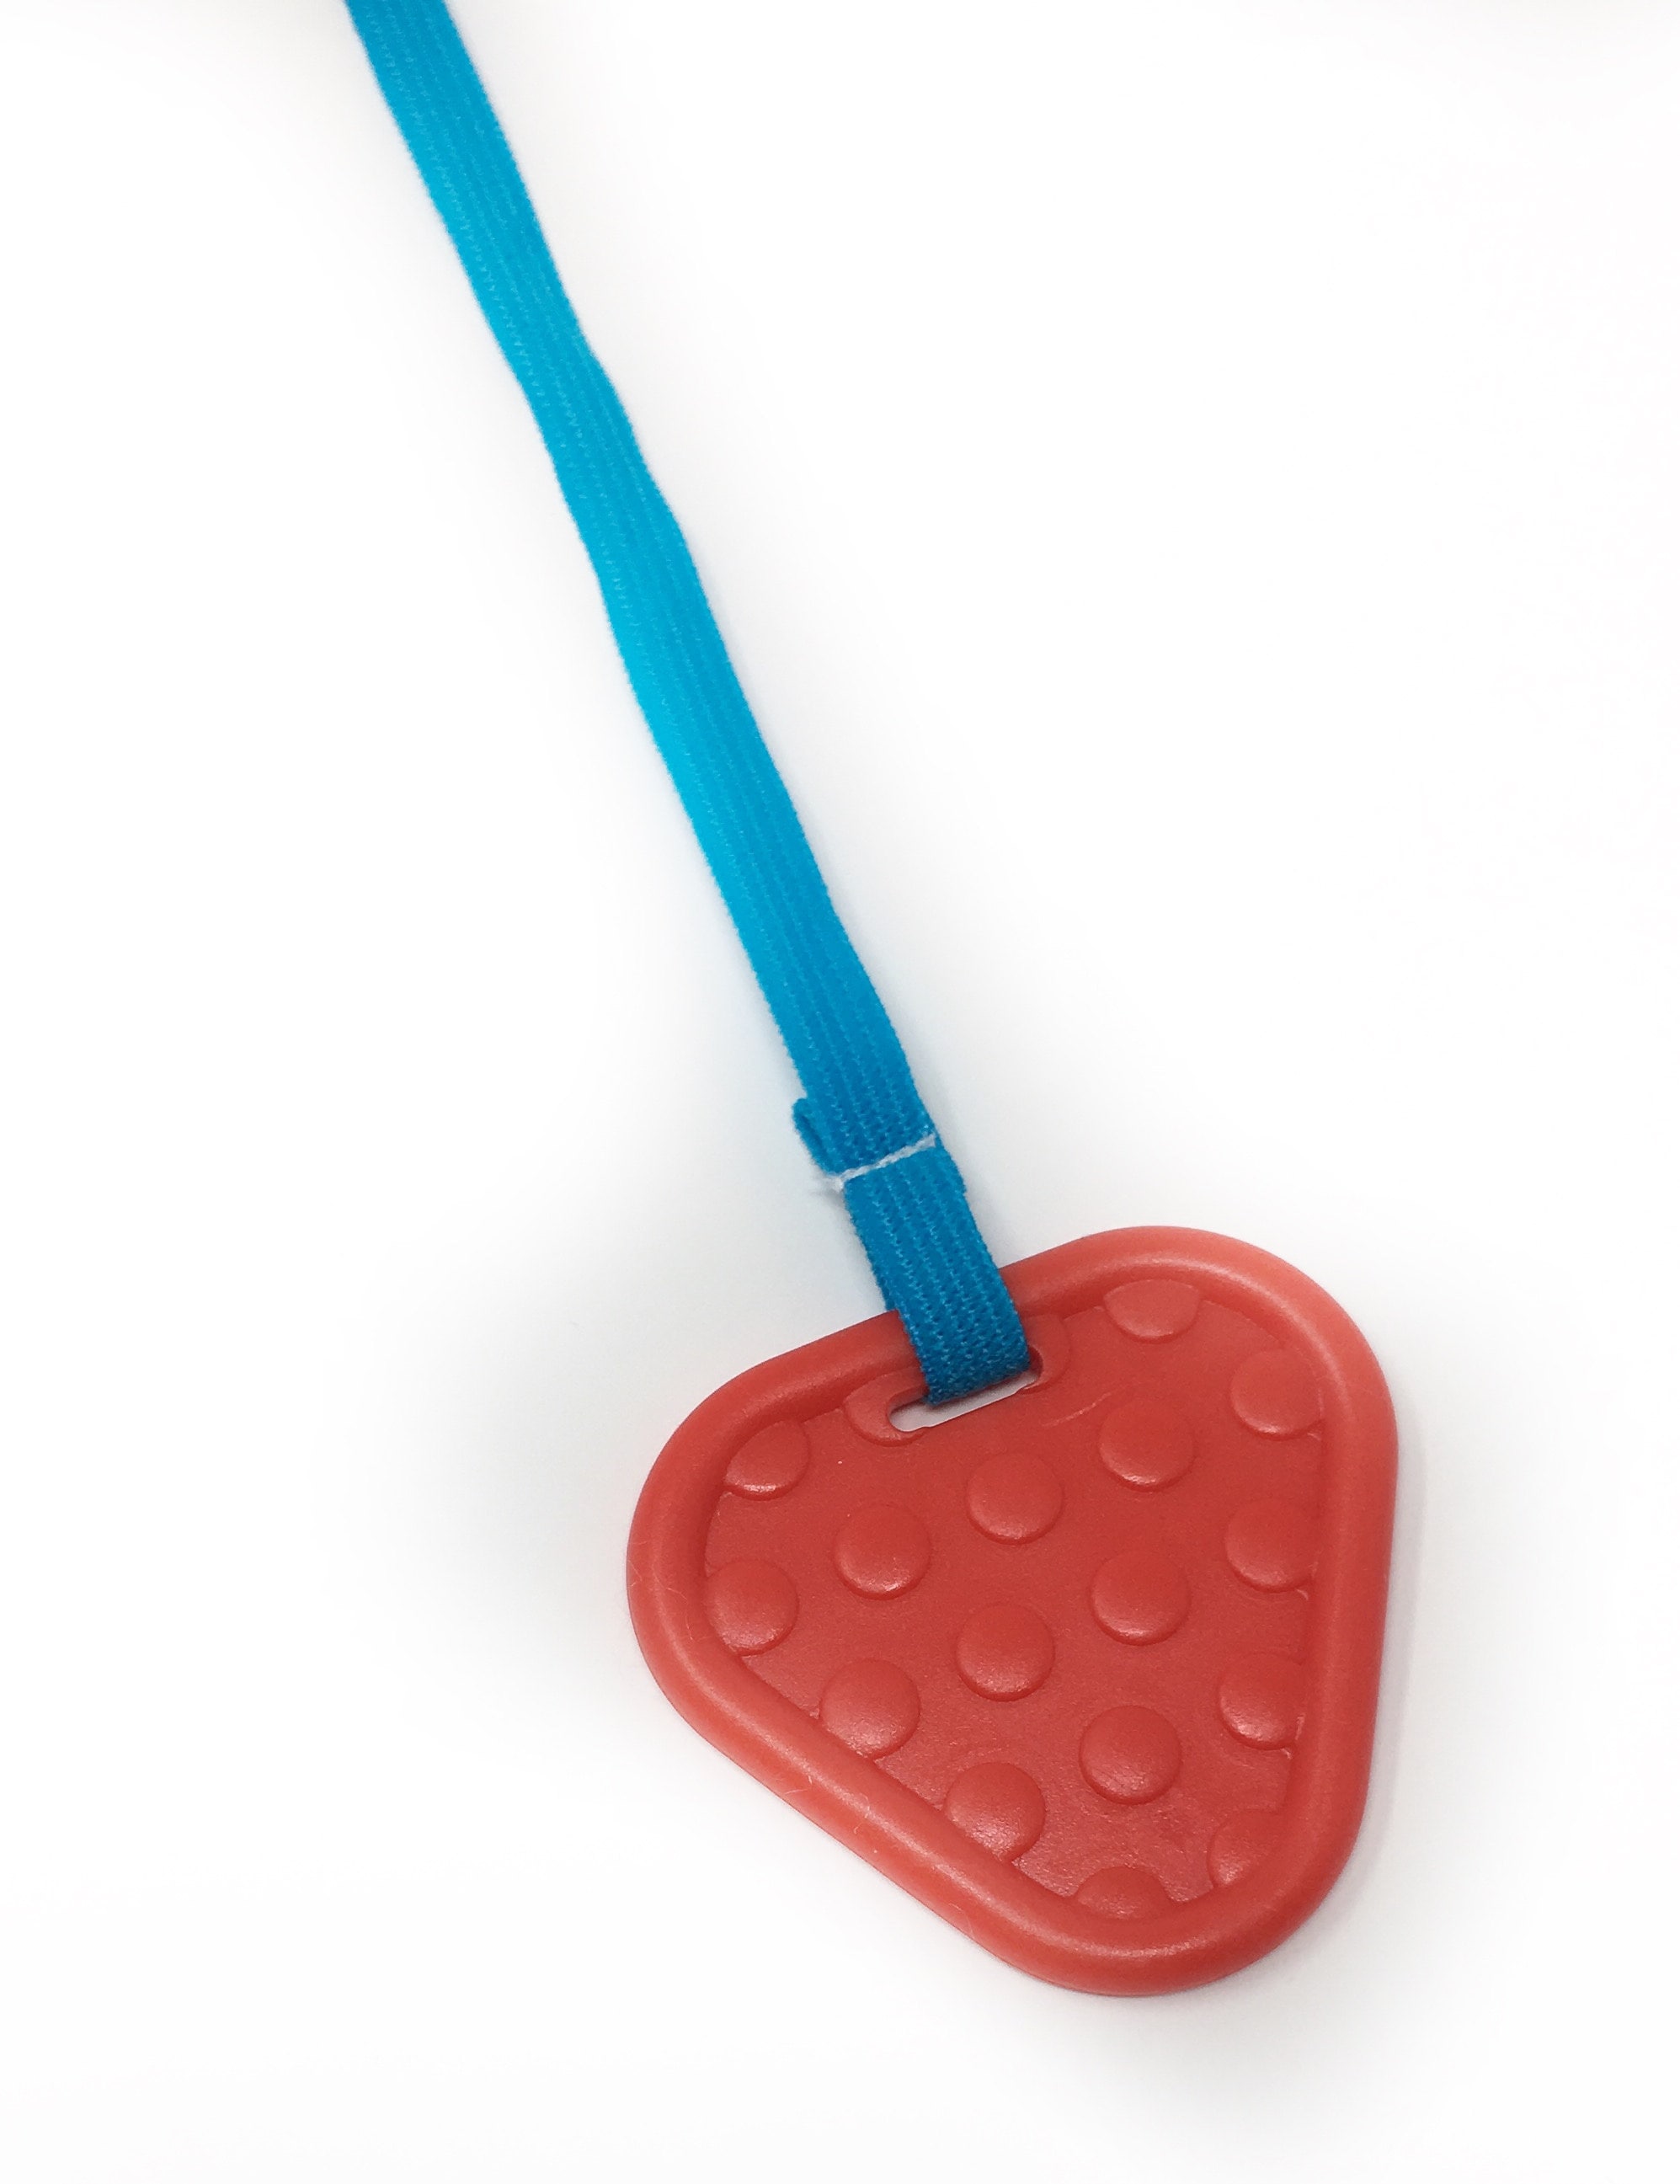
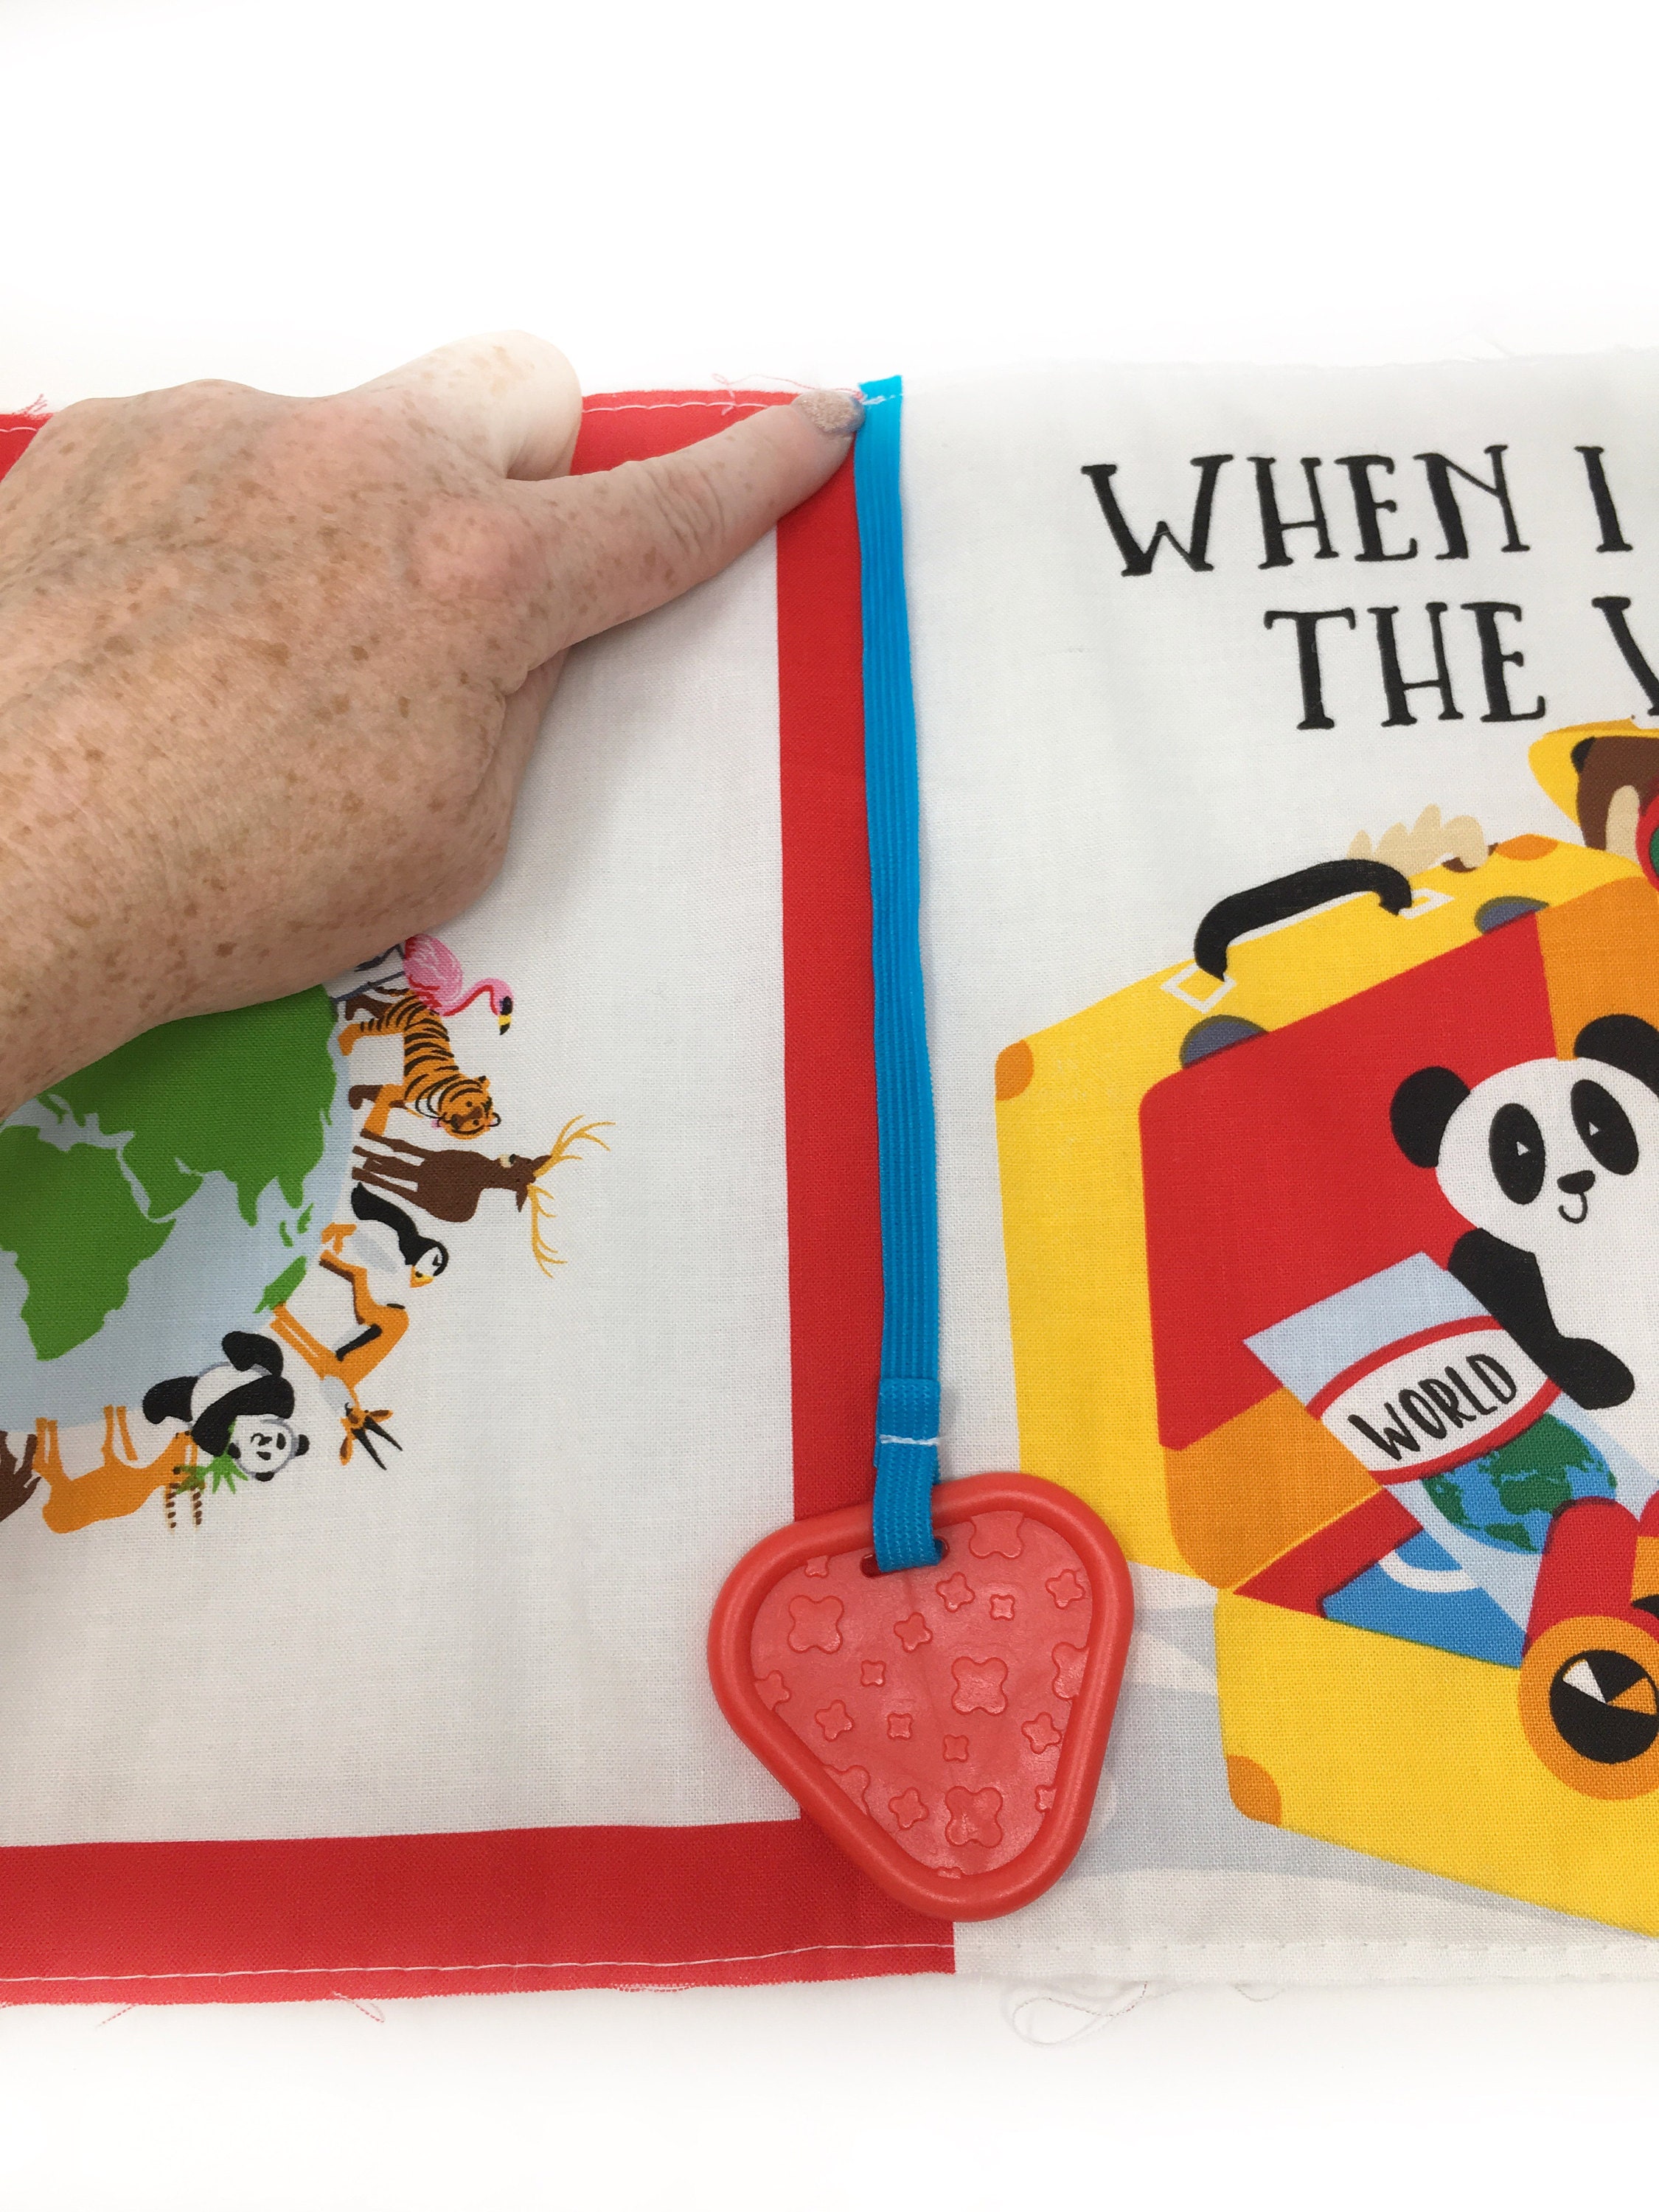
I then used a safety pin to pin the elastic to the centre of the panel, this is to make sure you don’t accidently catch it when sewing around the panel.
Step five: Bag out cover panel.
Lay panel marked 1:10 on top of the cover panel with right sides together. Pin (and tack if desired) in place. Machine stitch (with a 1cm seam allowance) all the way around the rectangle leaving an opening at the bottom (in pic between yellow pins) - this opening will allow you to turn the fabric right side out.

Step six: Turn cover panel right side out.
Carefully snip the corners of the rectangle, ensuring you don’t accidently cut through the stitching.
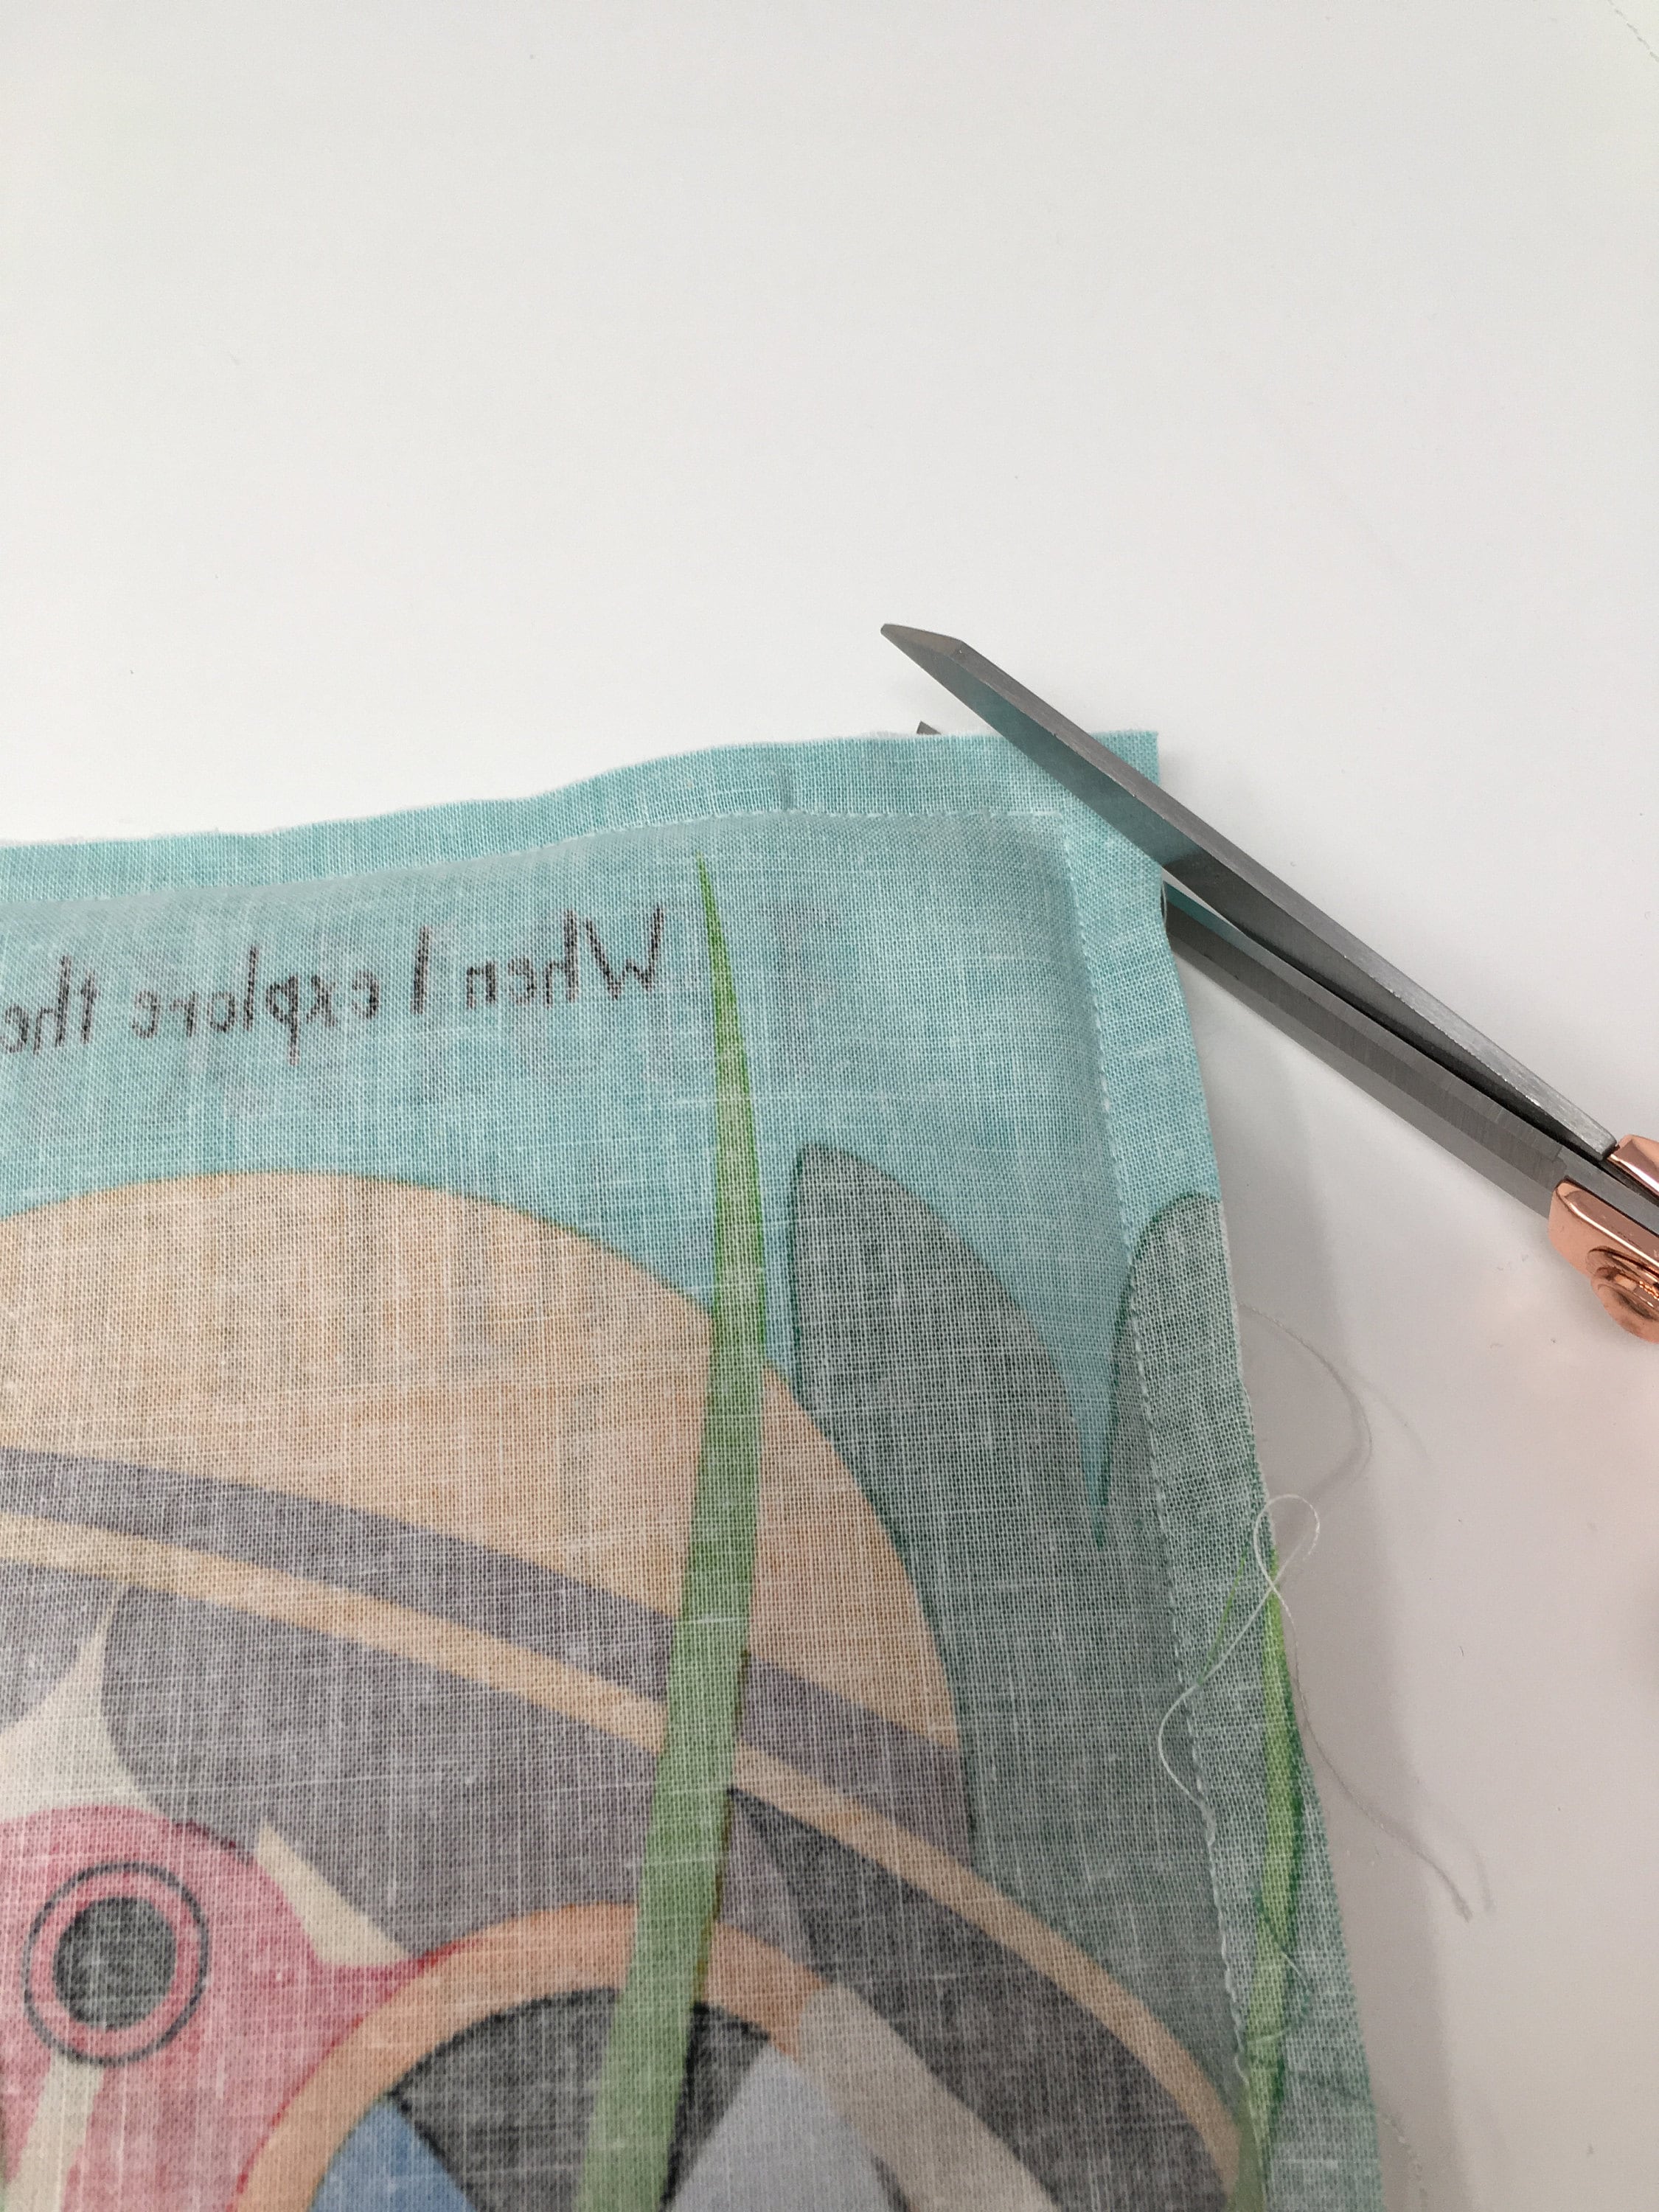
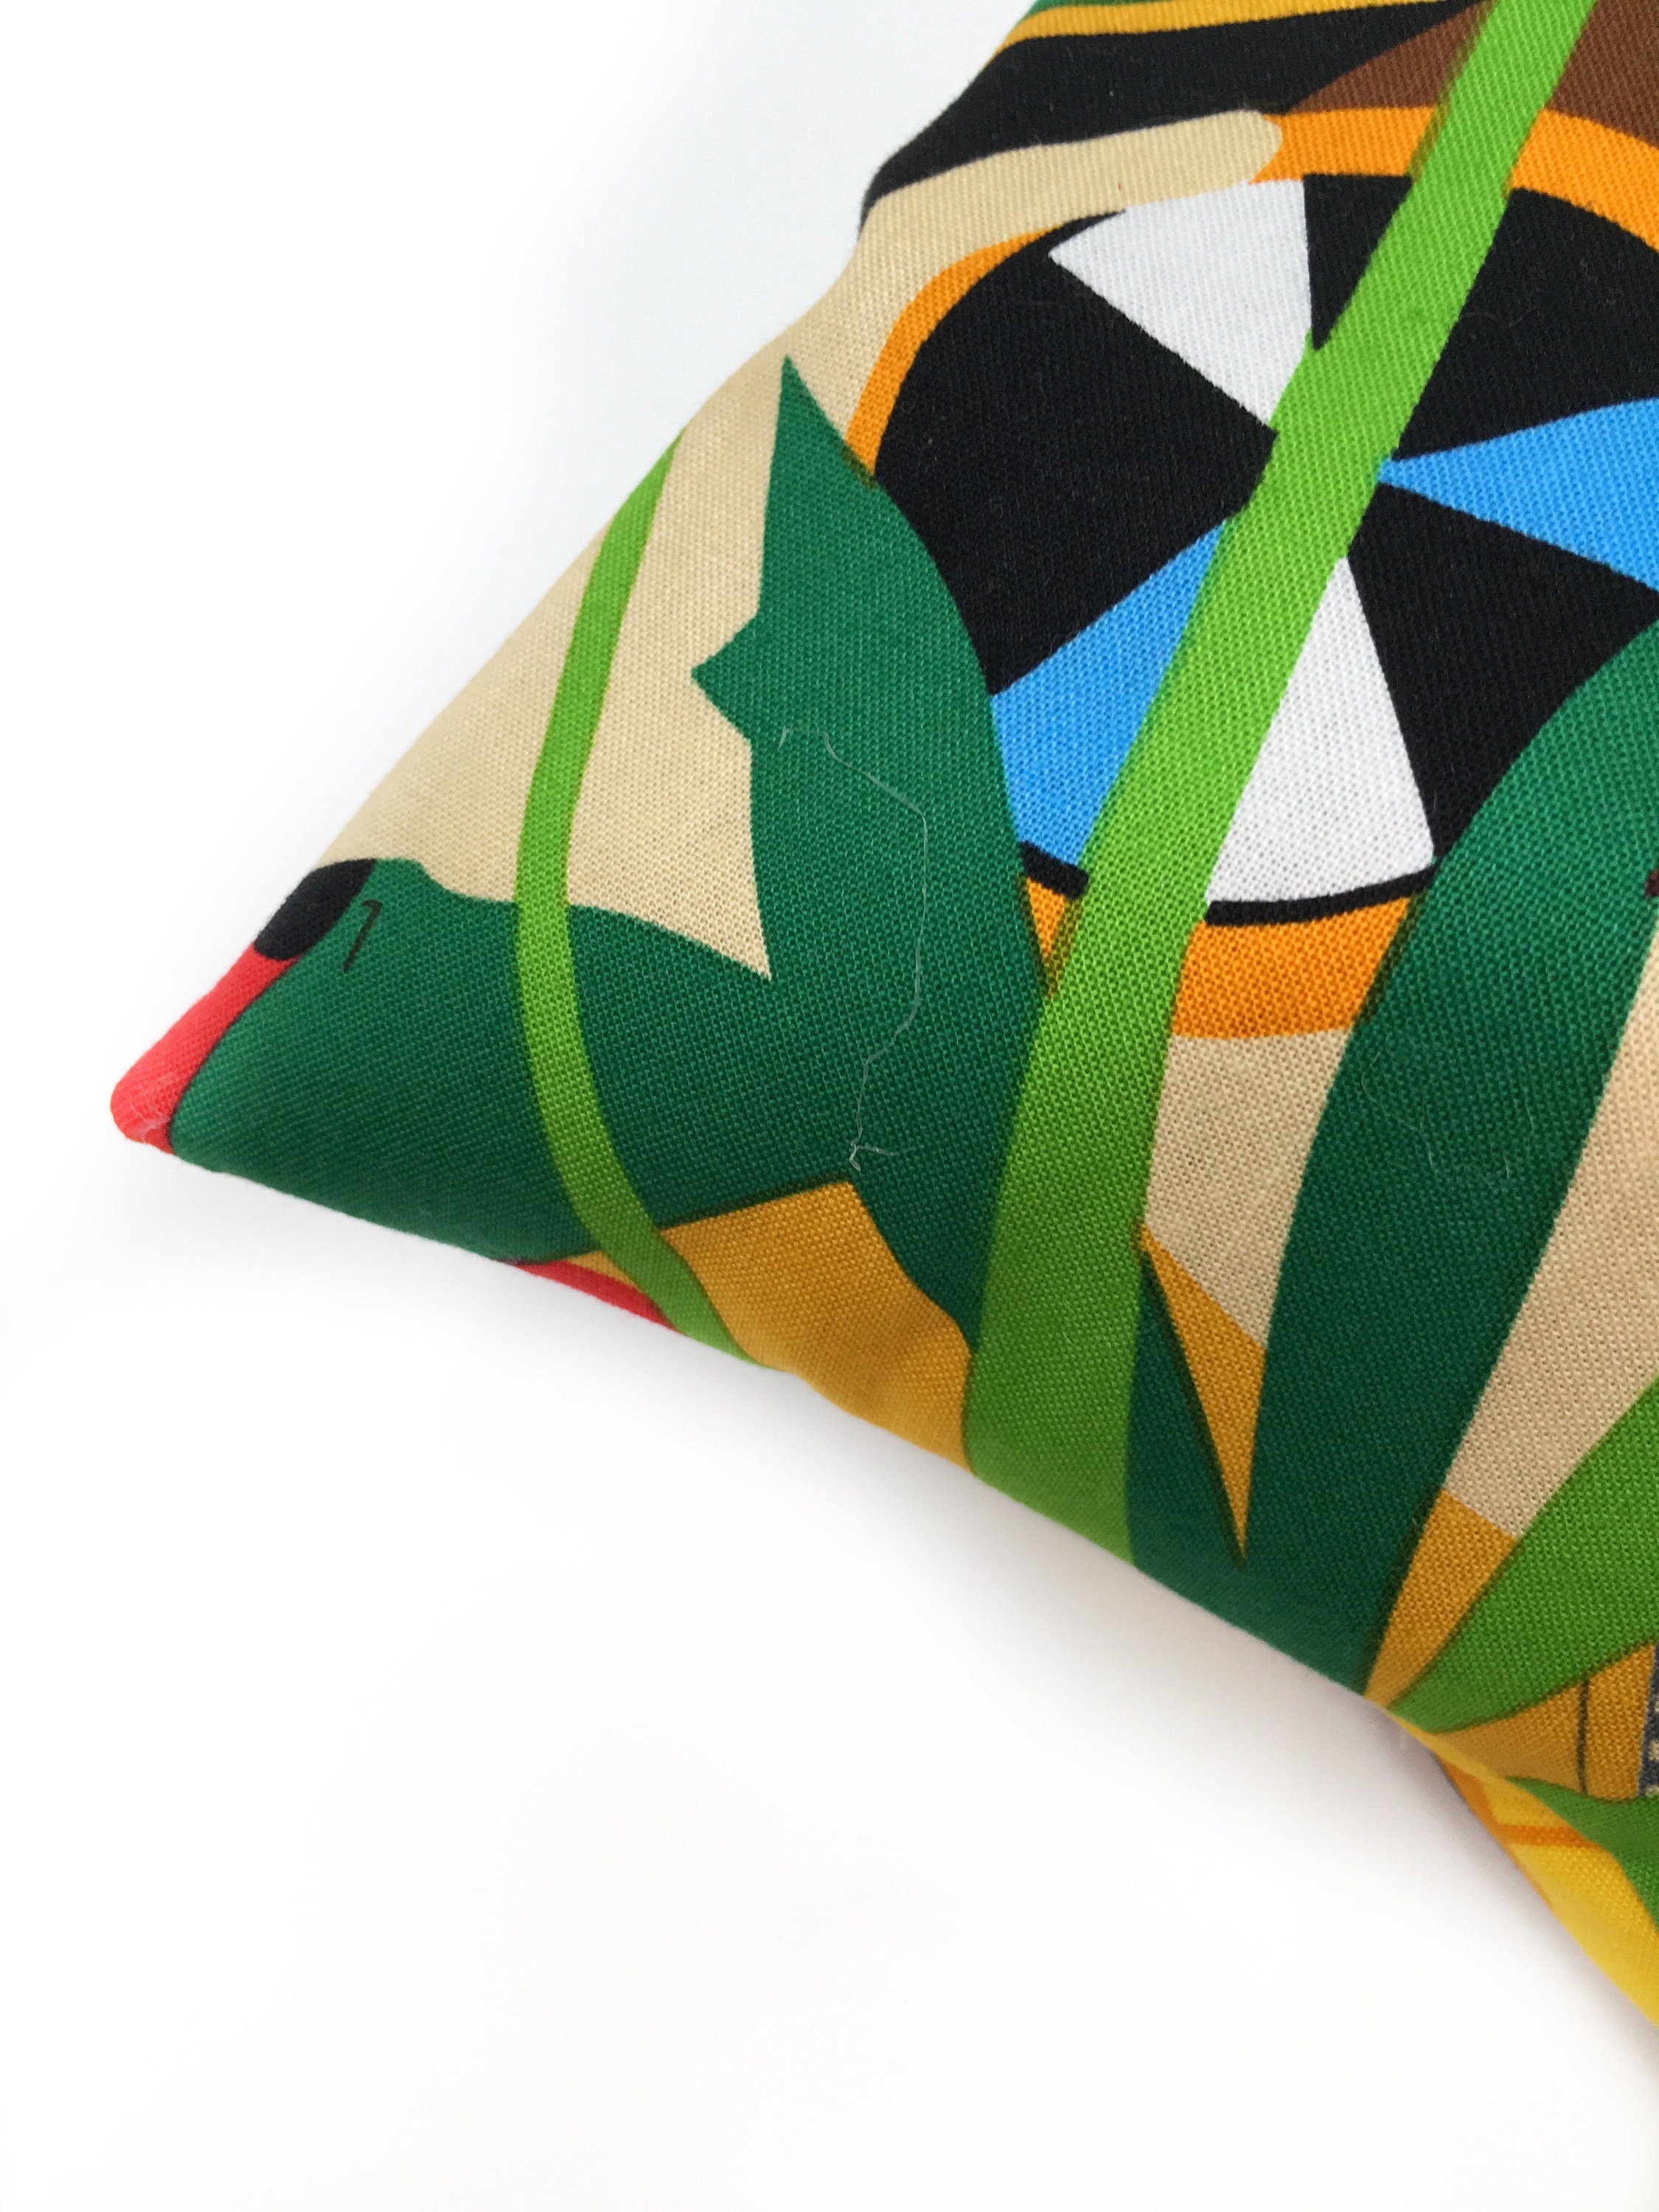
Turn the panel right side out. Do not be tempted to poke the ends of your scissors into the corners of the book as this could tear the fabric!
Step seven: Close the bottom opening.
Turn the seam allowance under so no raw edges are visible and hand stitch closed. Please ensure your hand stitching is nice and secure, babies explore everything with their hands and mouths!
Step eight: Repeat process with inner pages.
Tack the wadding to the back of panel 9:2.
Places pages 9:2 and 3:8 right sides together and pin (and tack if desired). Stitch around the rectangle leaving a gap as before. Snip corners and turn right side out.
Turn seam allowance under and hand stitch to close.
Repeat these steps again with panels 7:4 and 5:6.
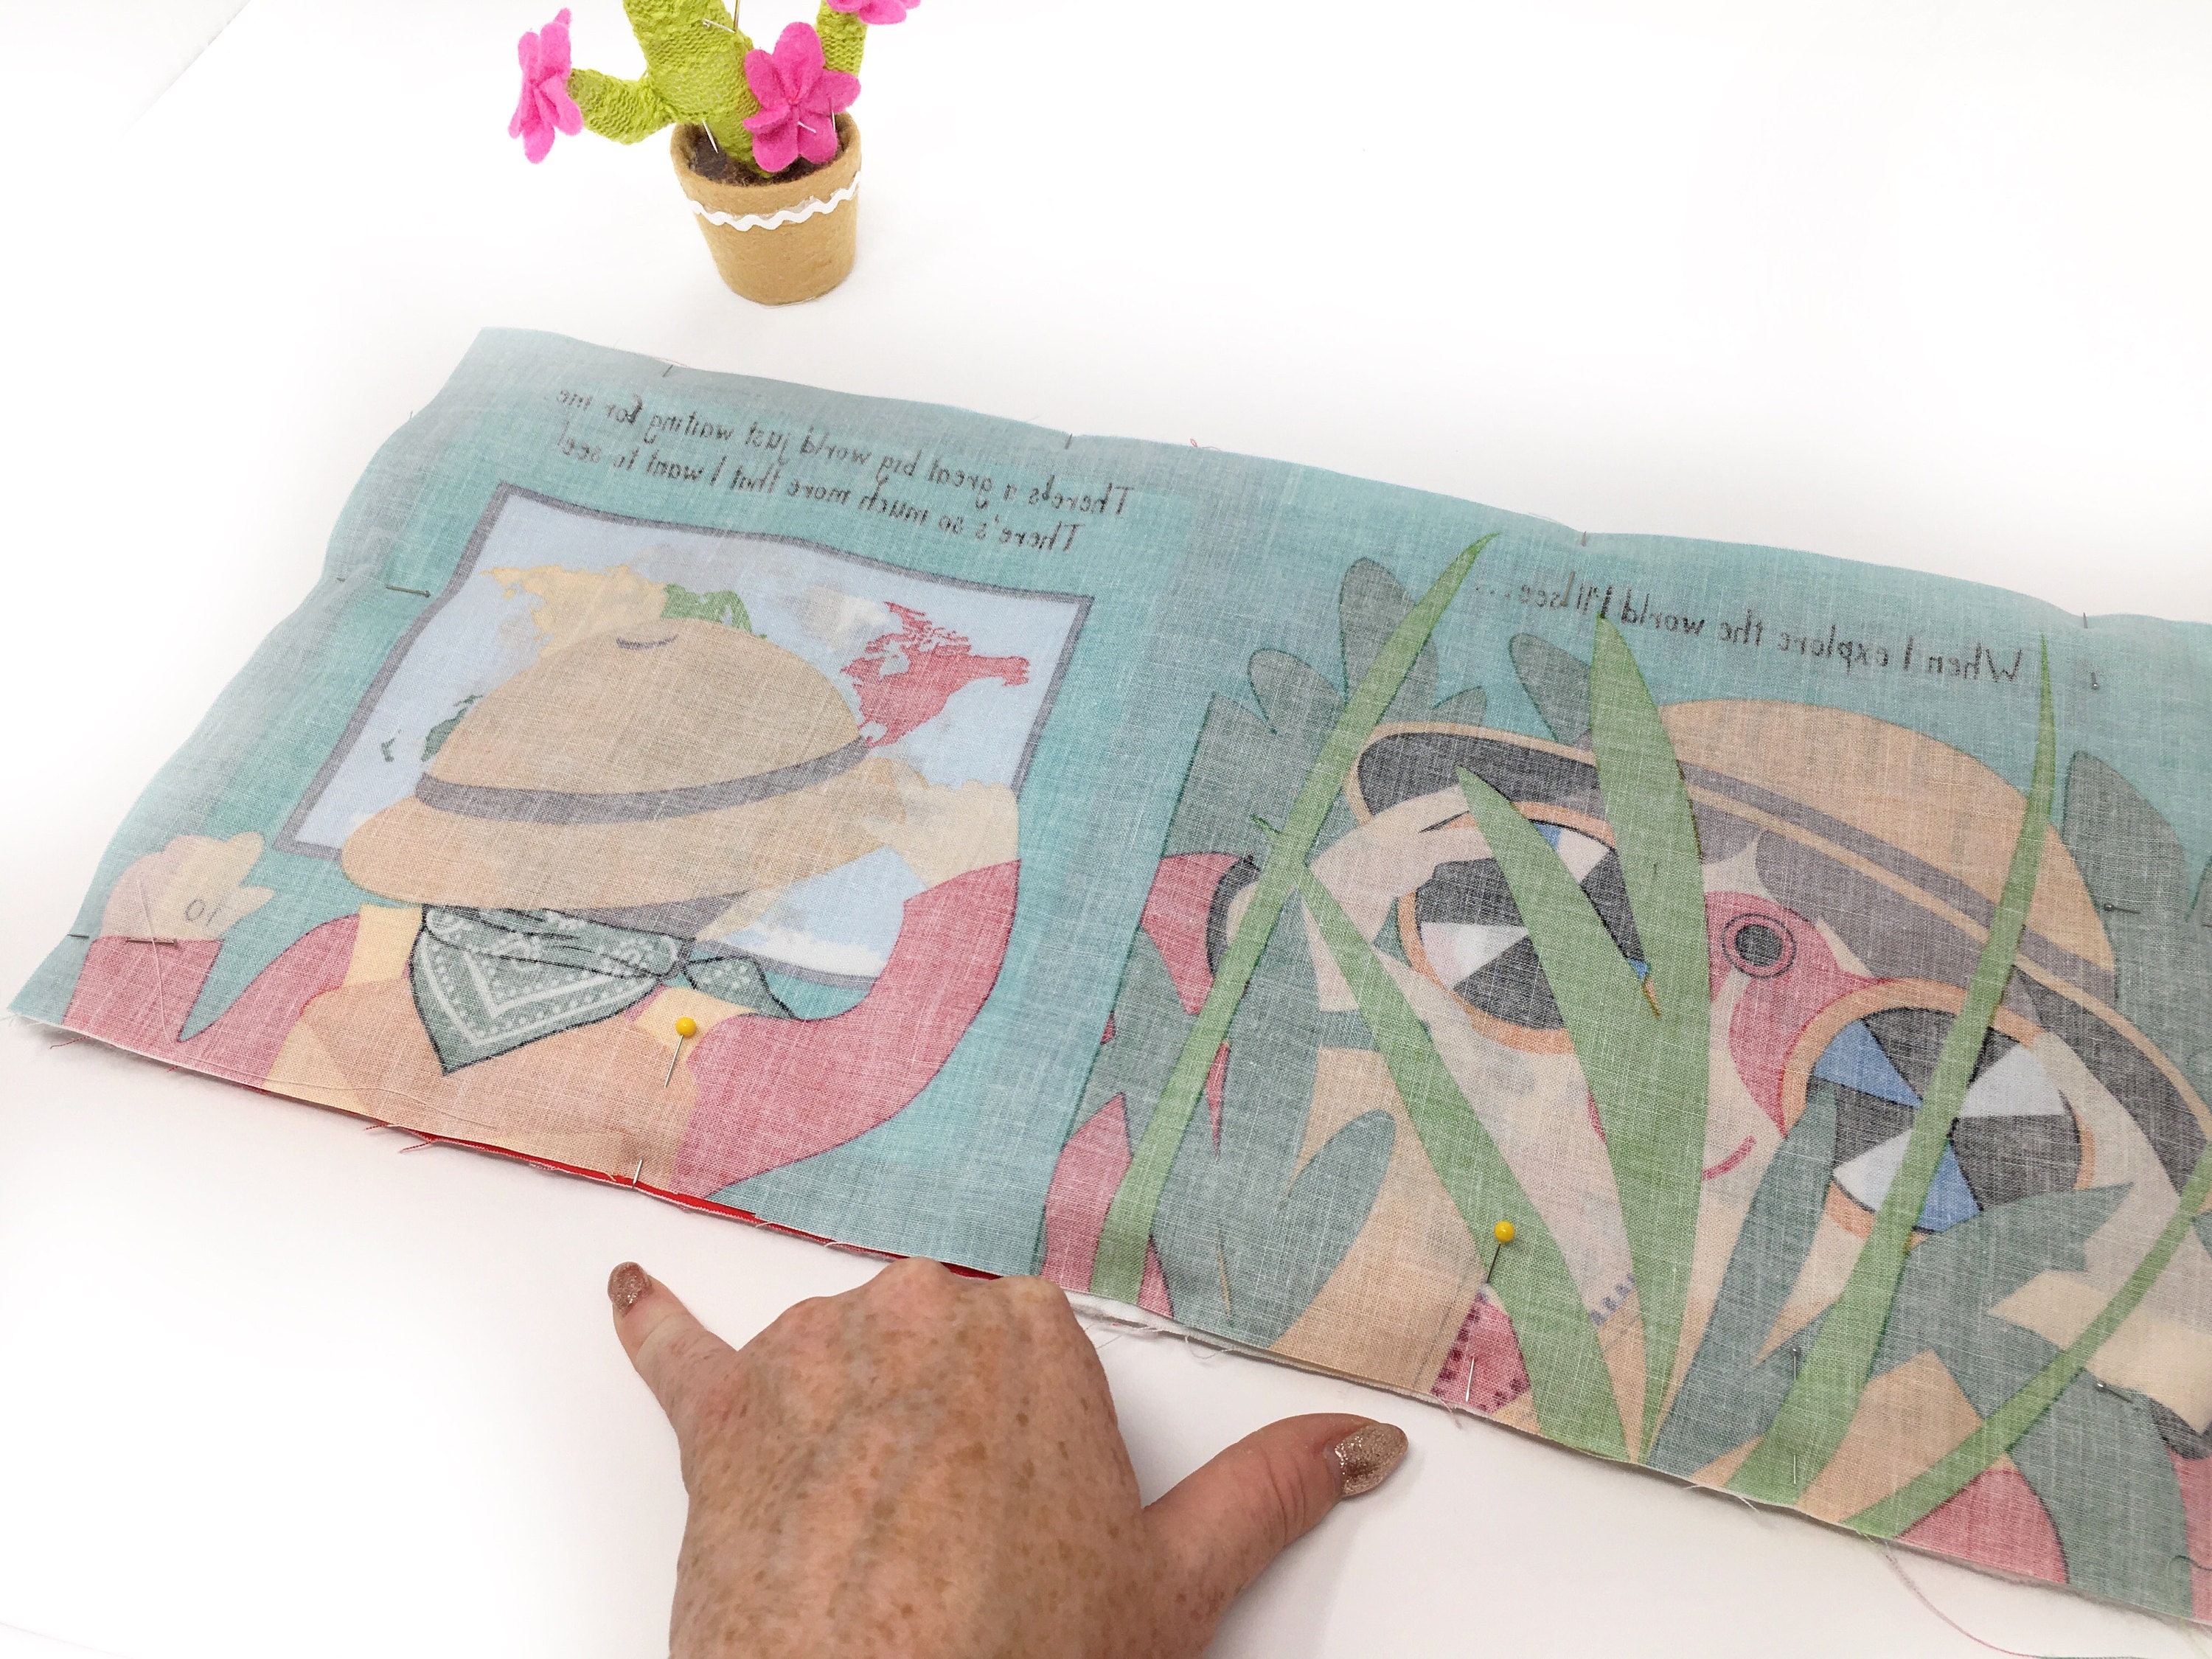
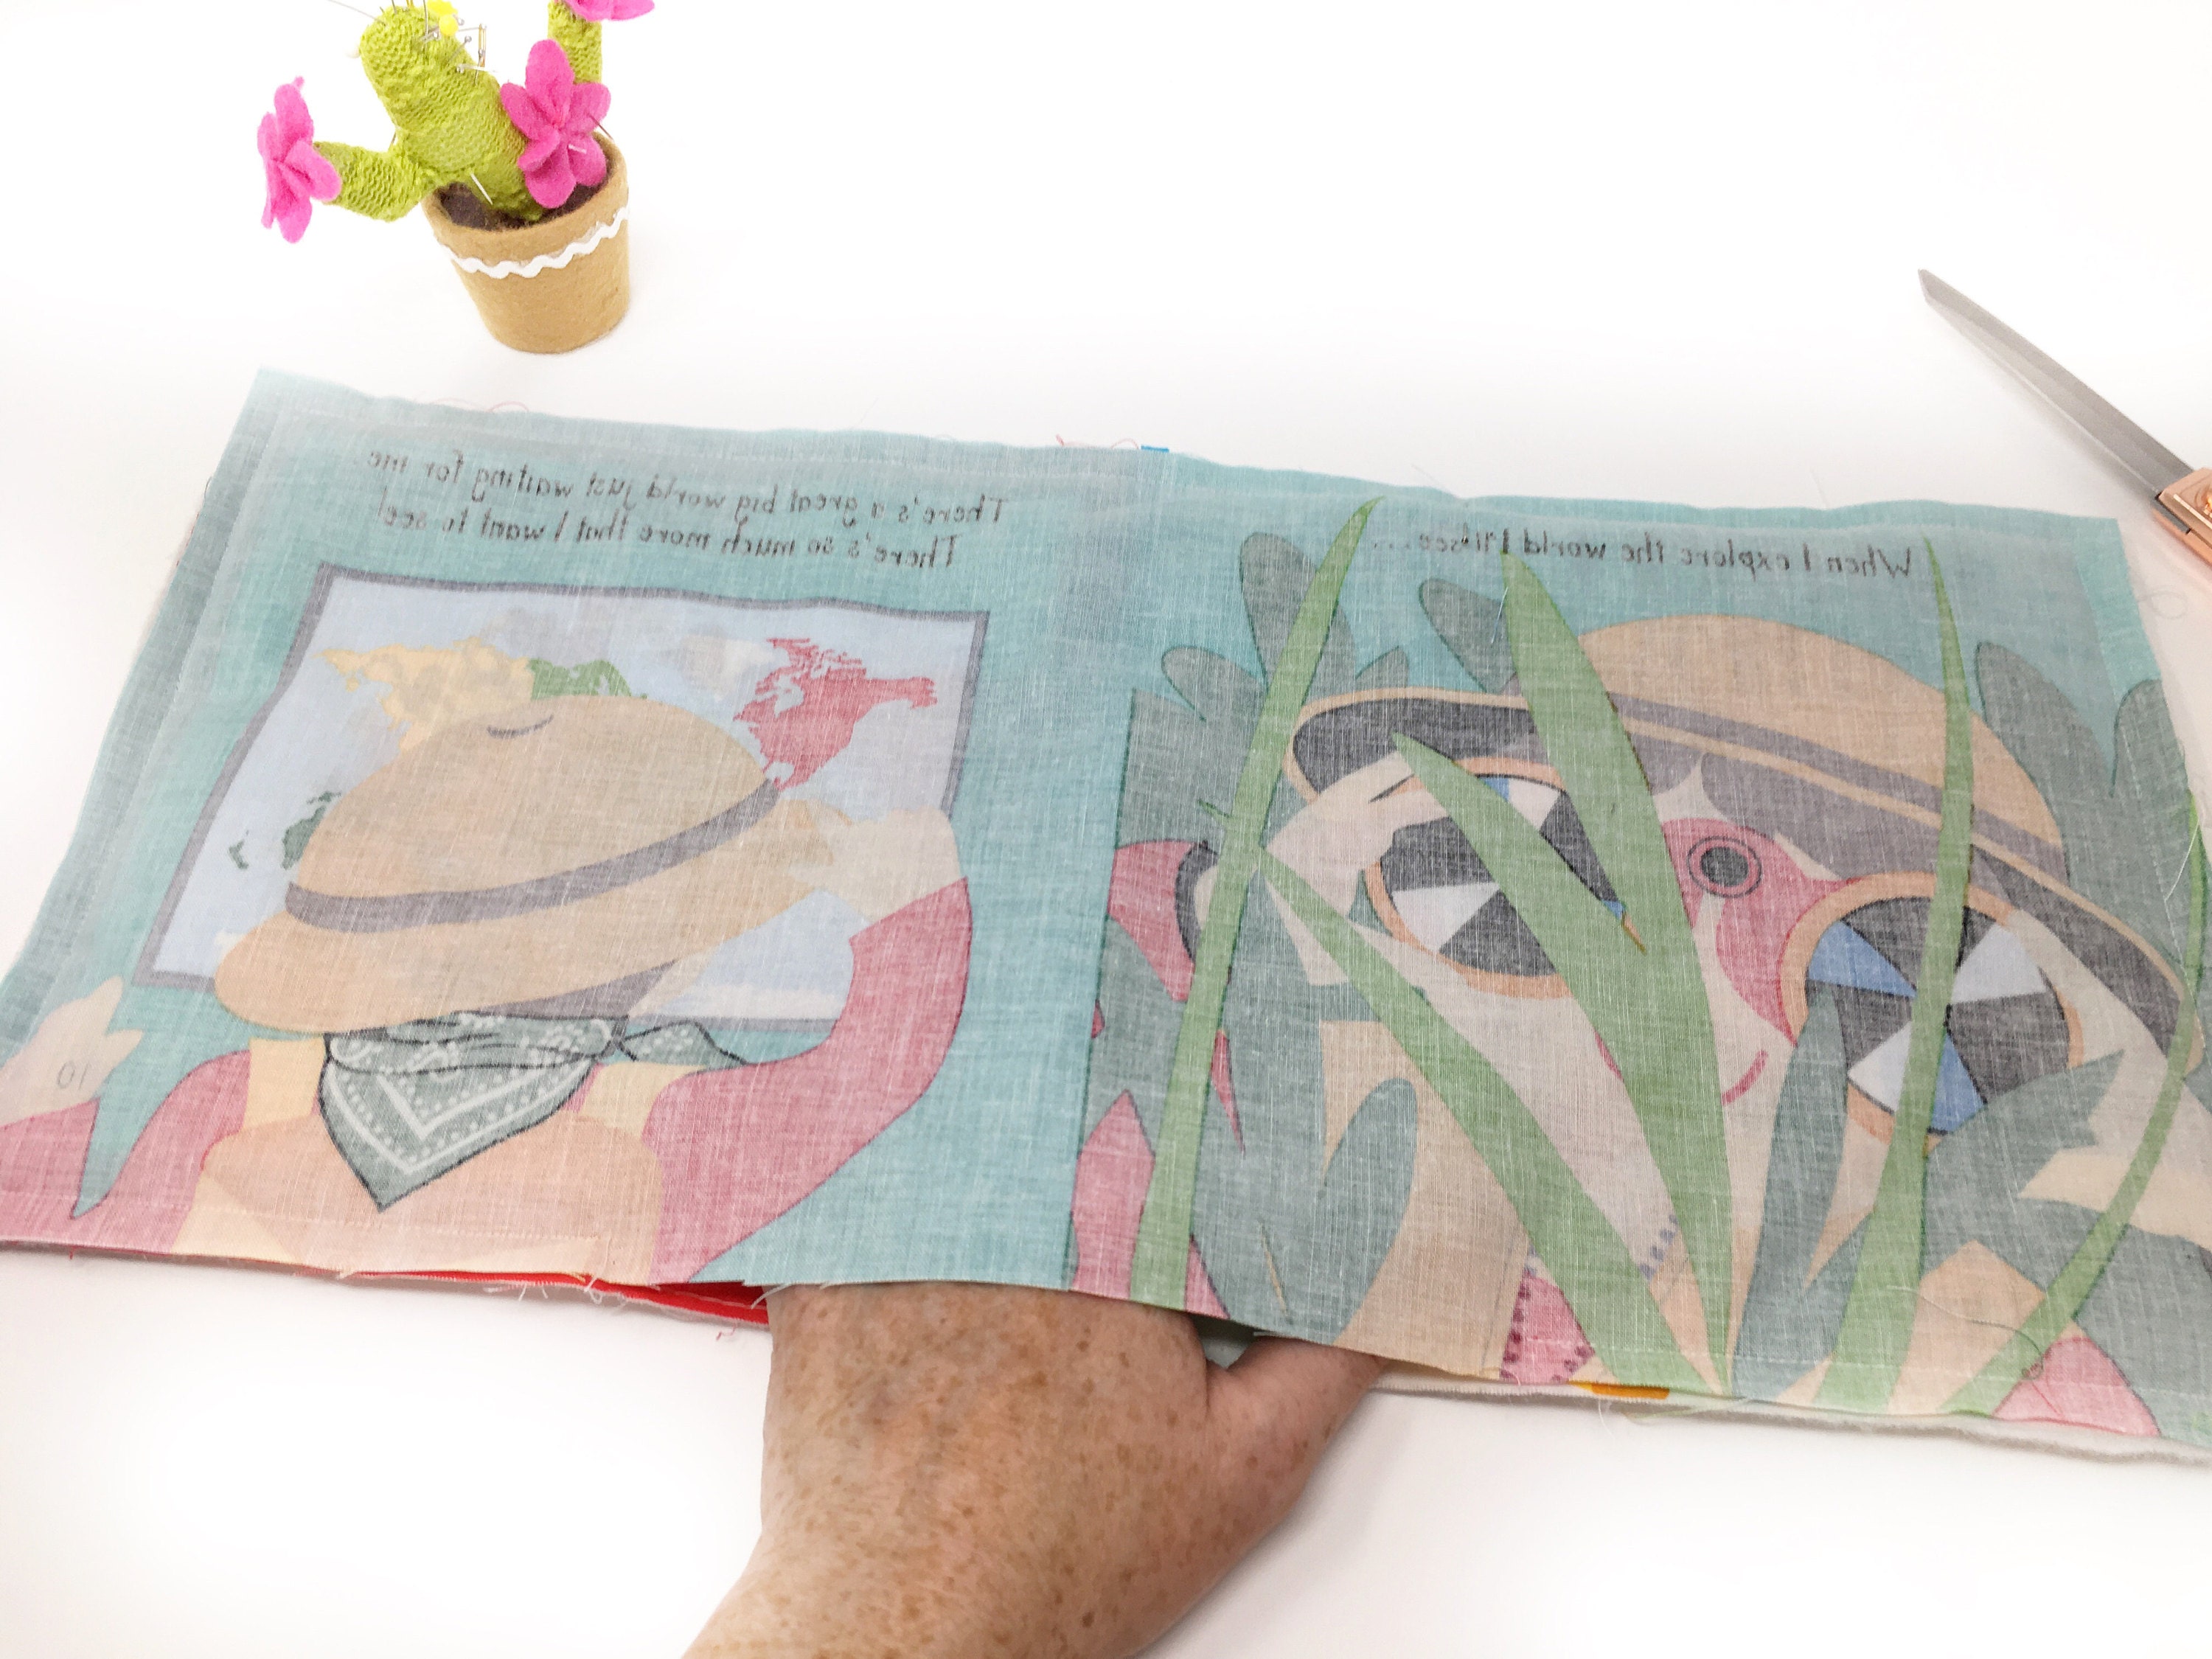
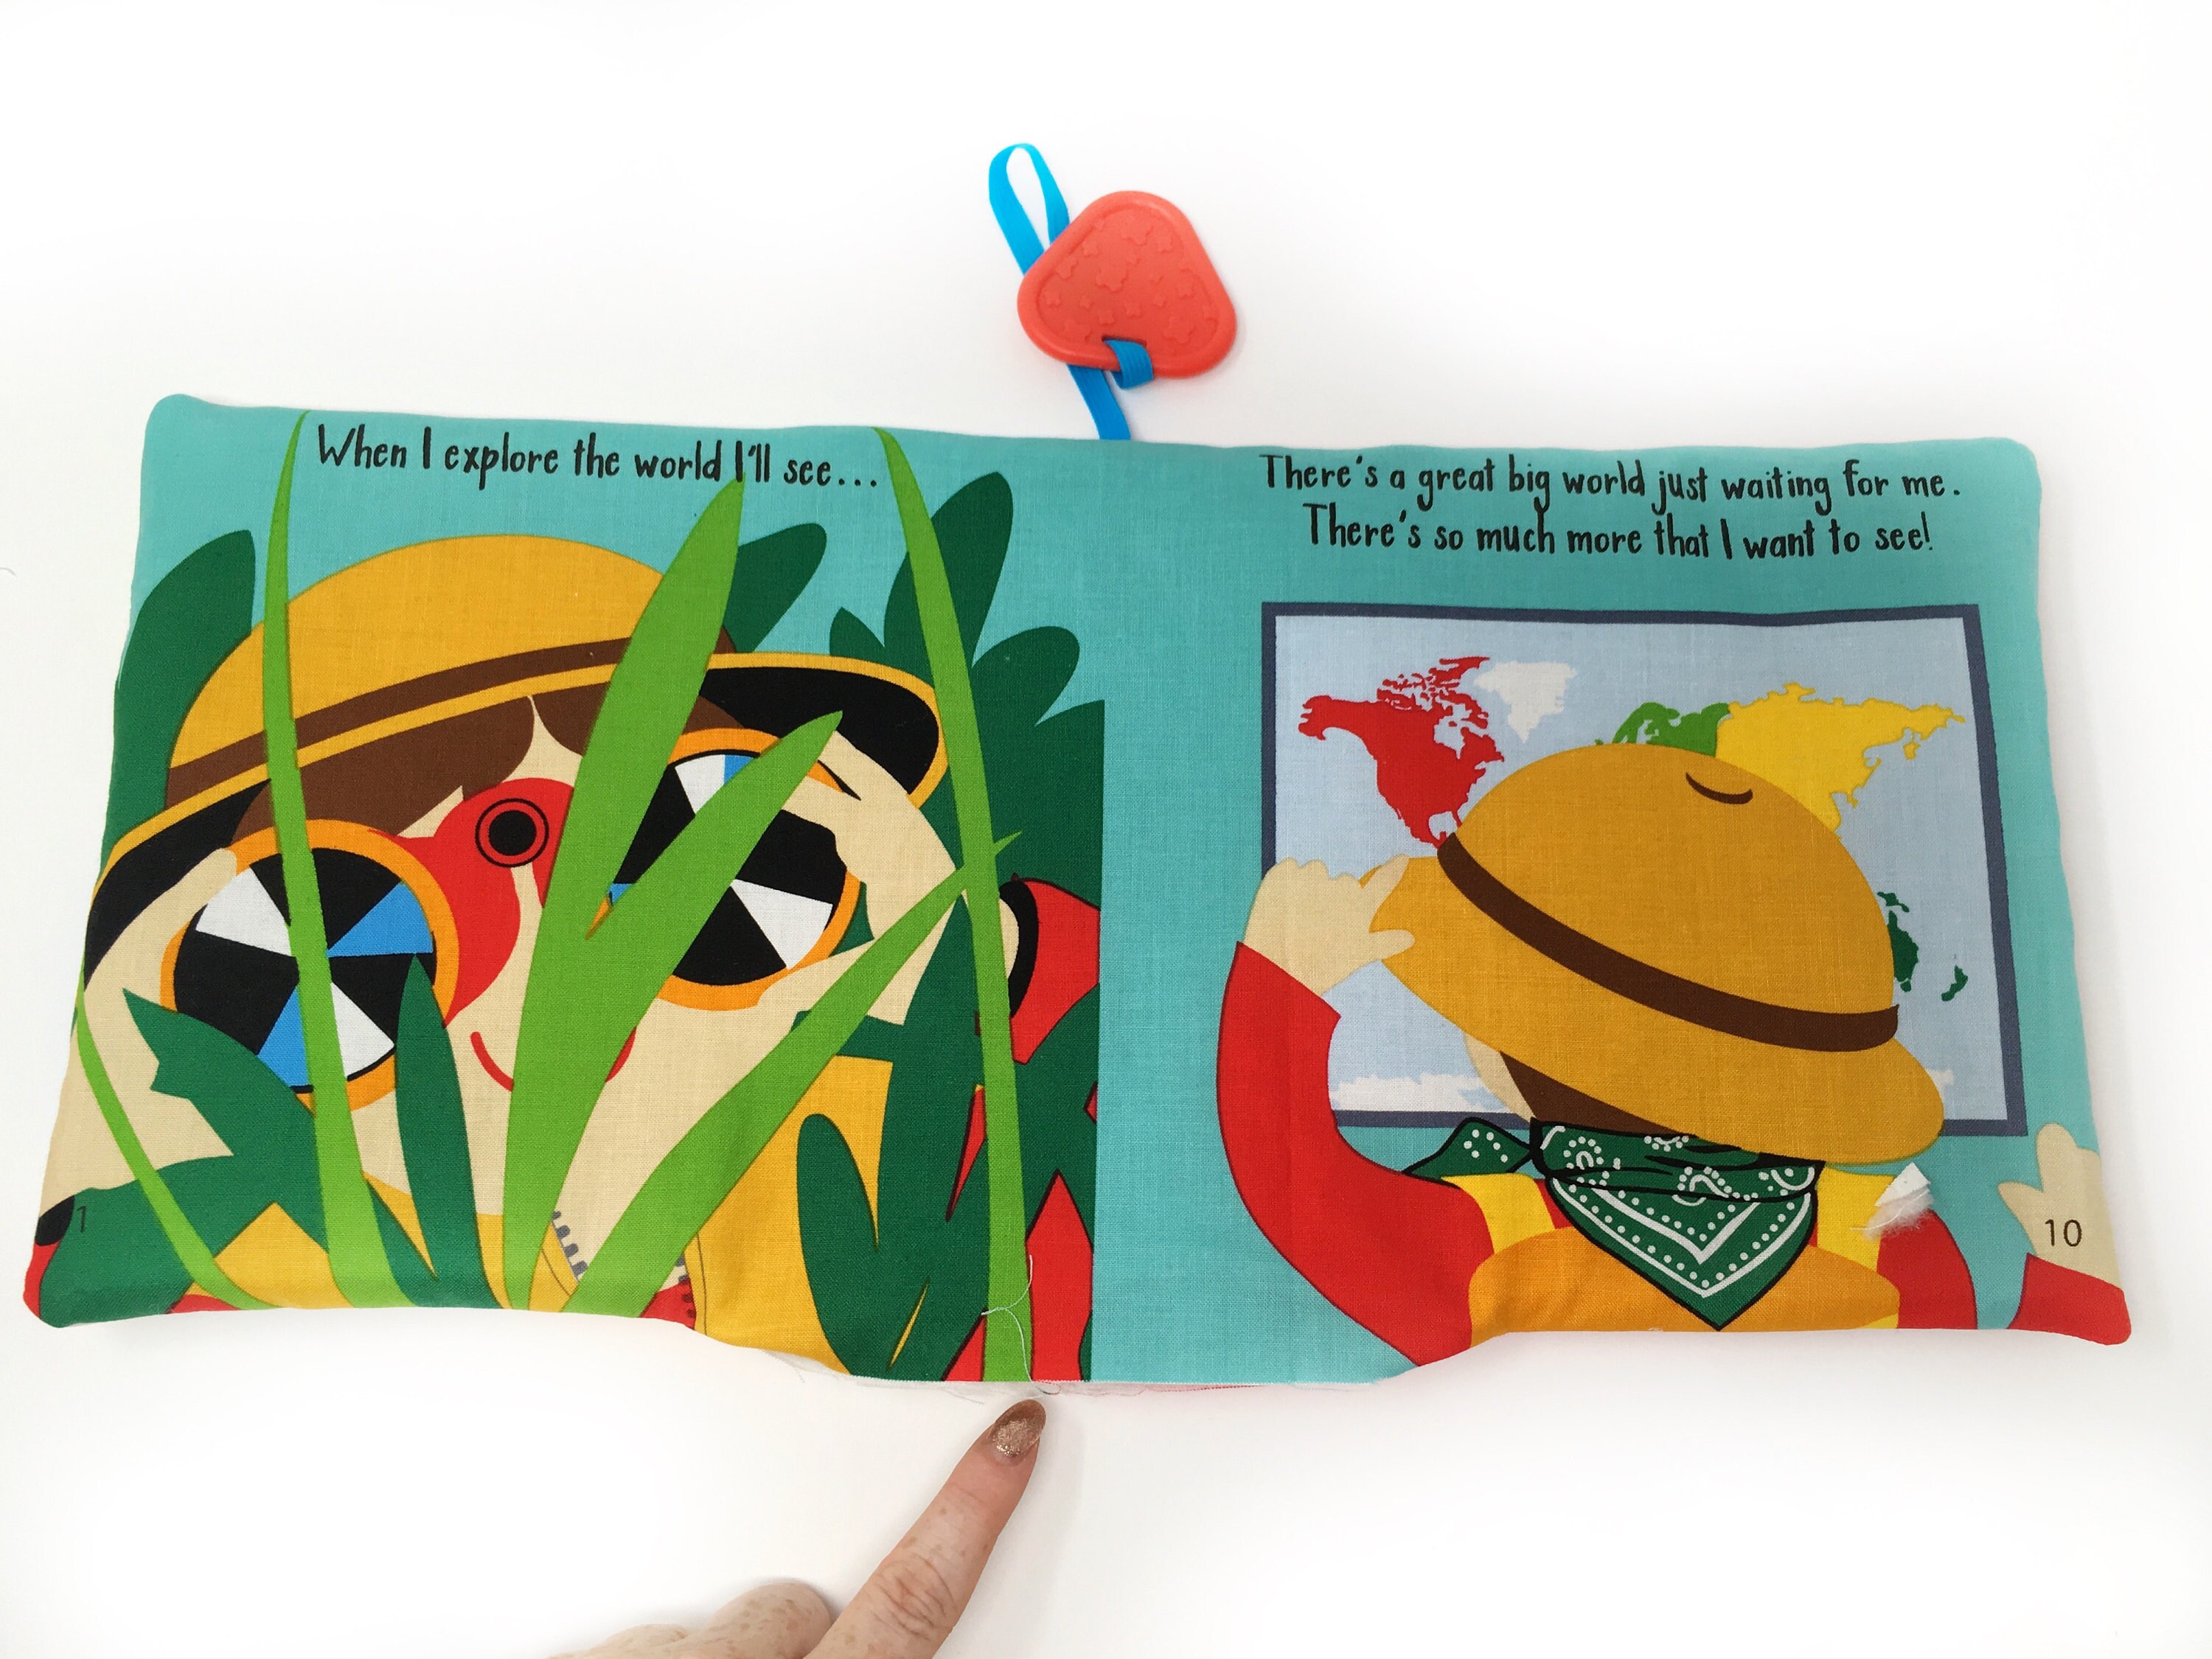
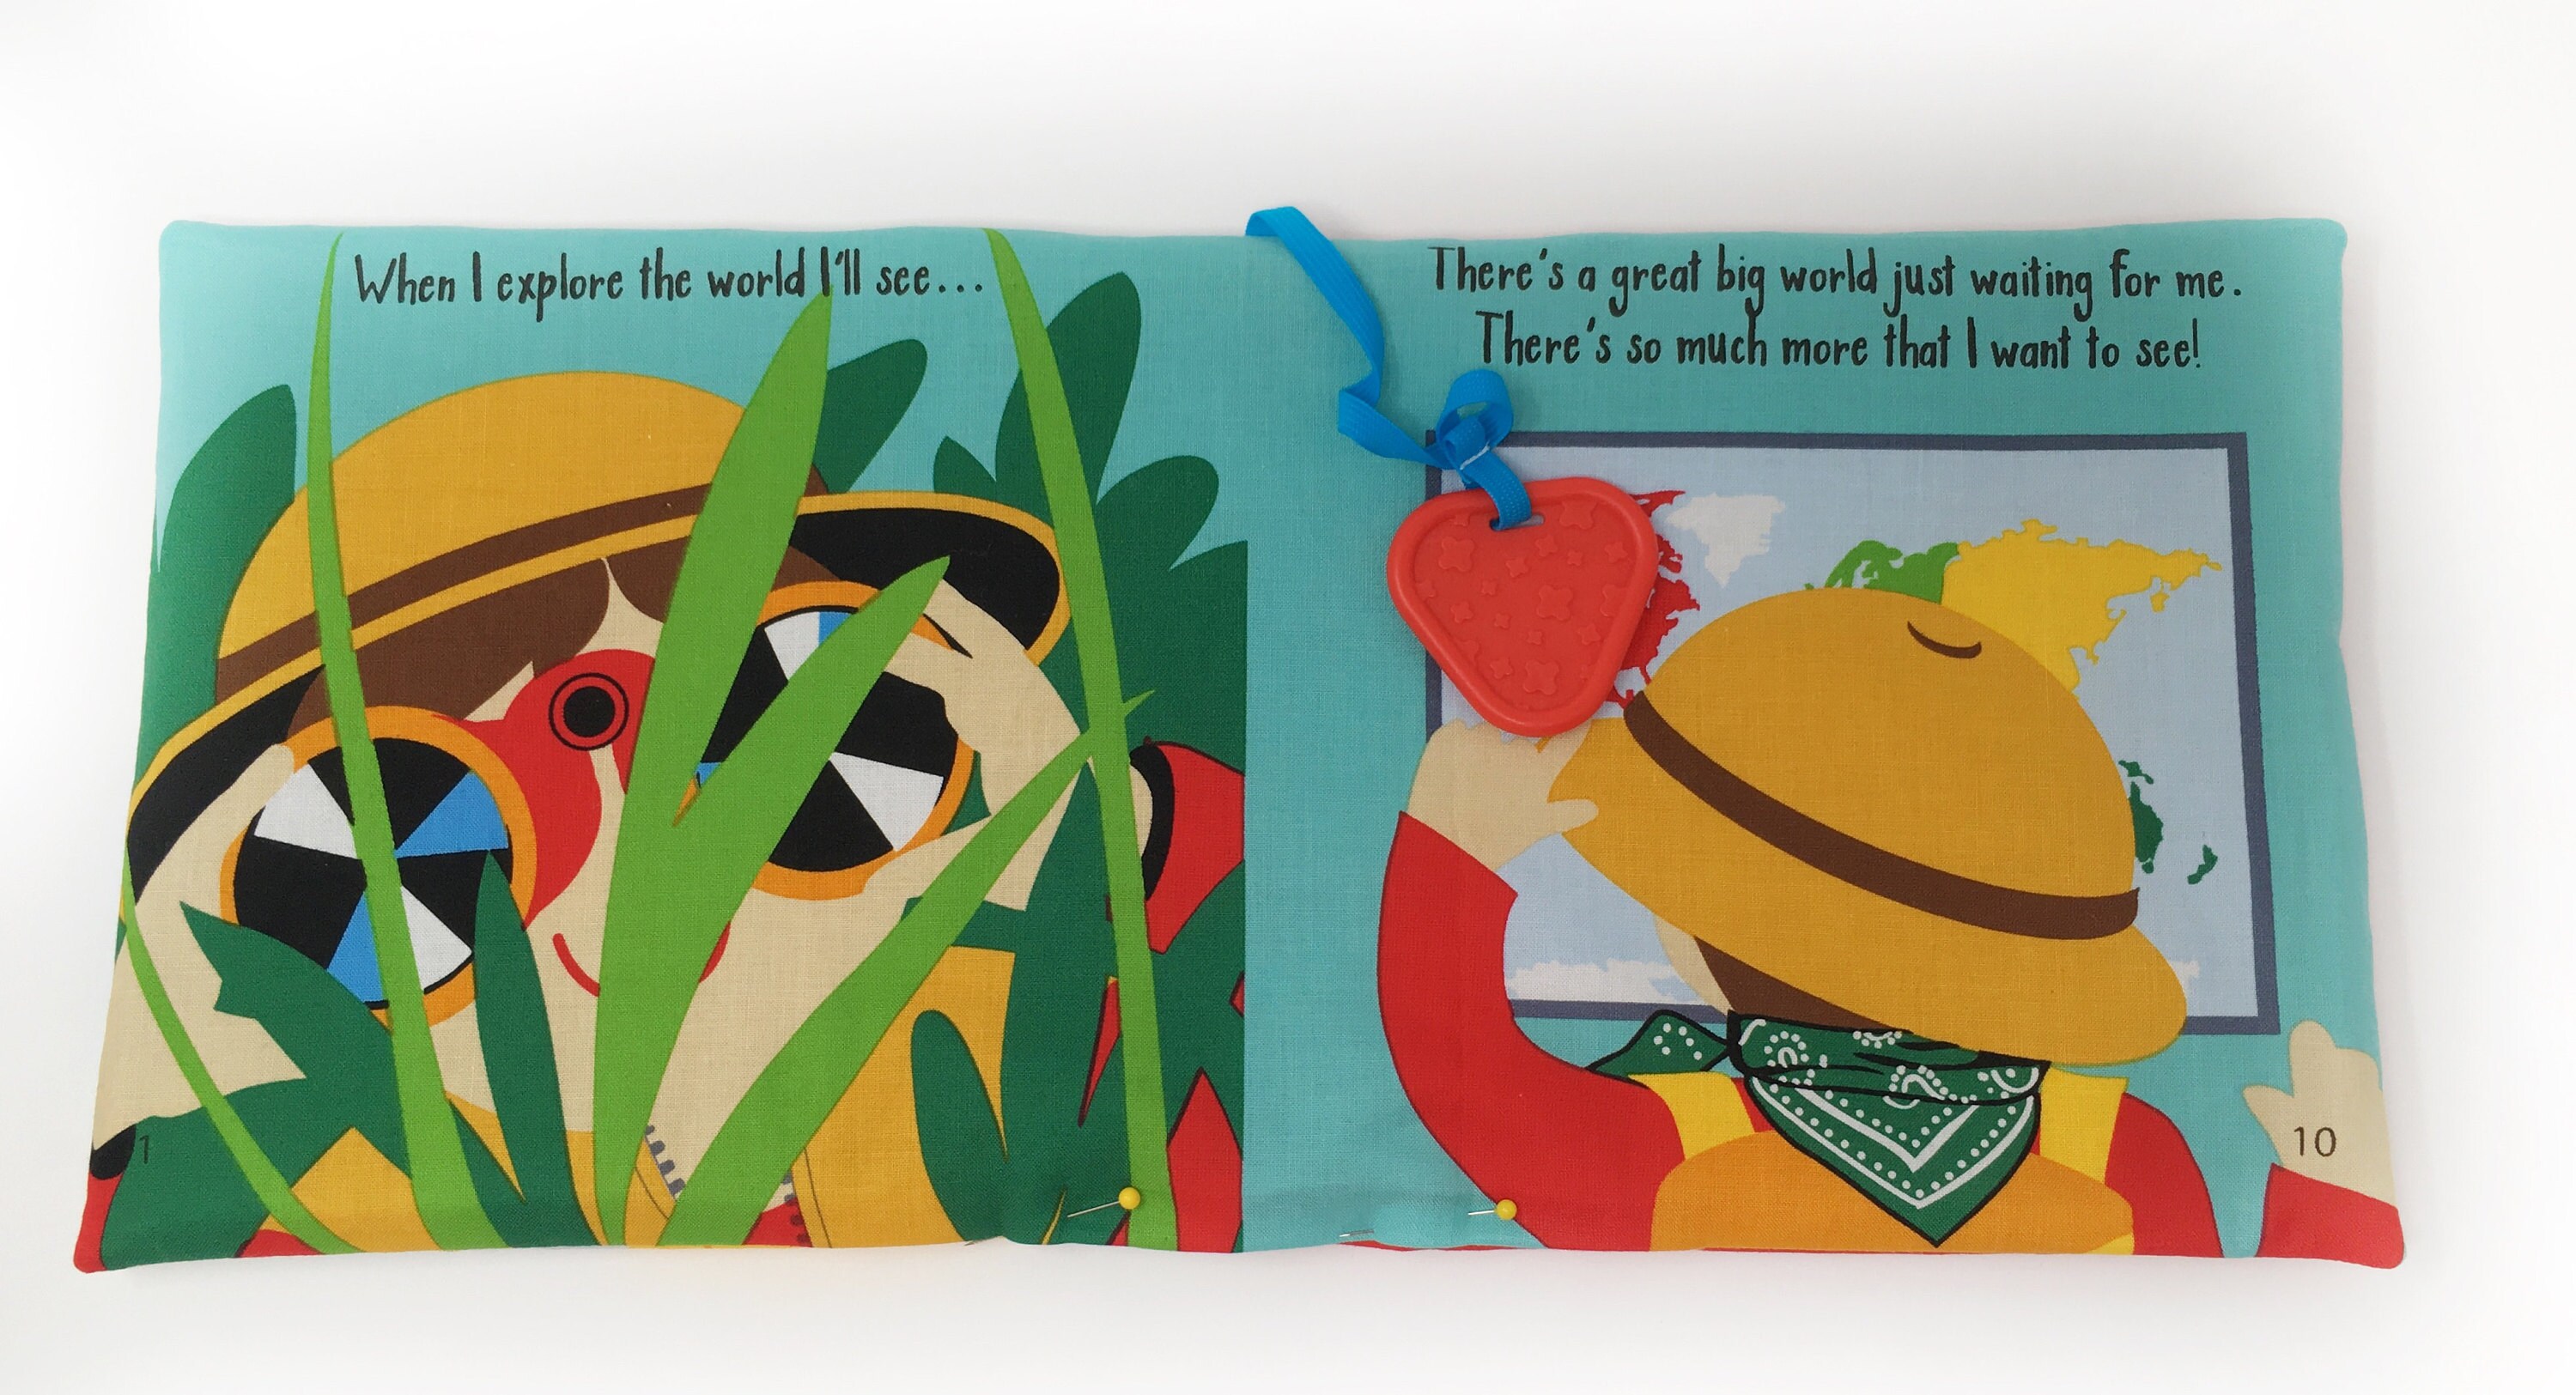
Step nine: Lay book up in correct order.
Ensuring the sequence is correct, pin down the centre line of the book. Tack in place - ensuring your stitching is sitting on the line and that you are catching all the layers as you sew.
Machine stich down centre line and remove tacking stitches.
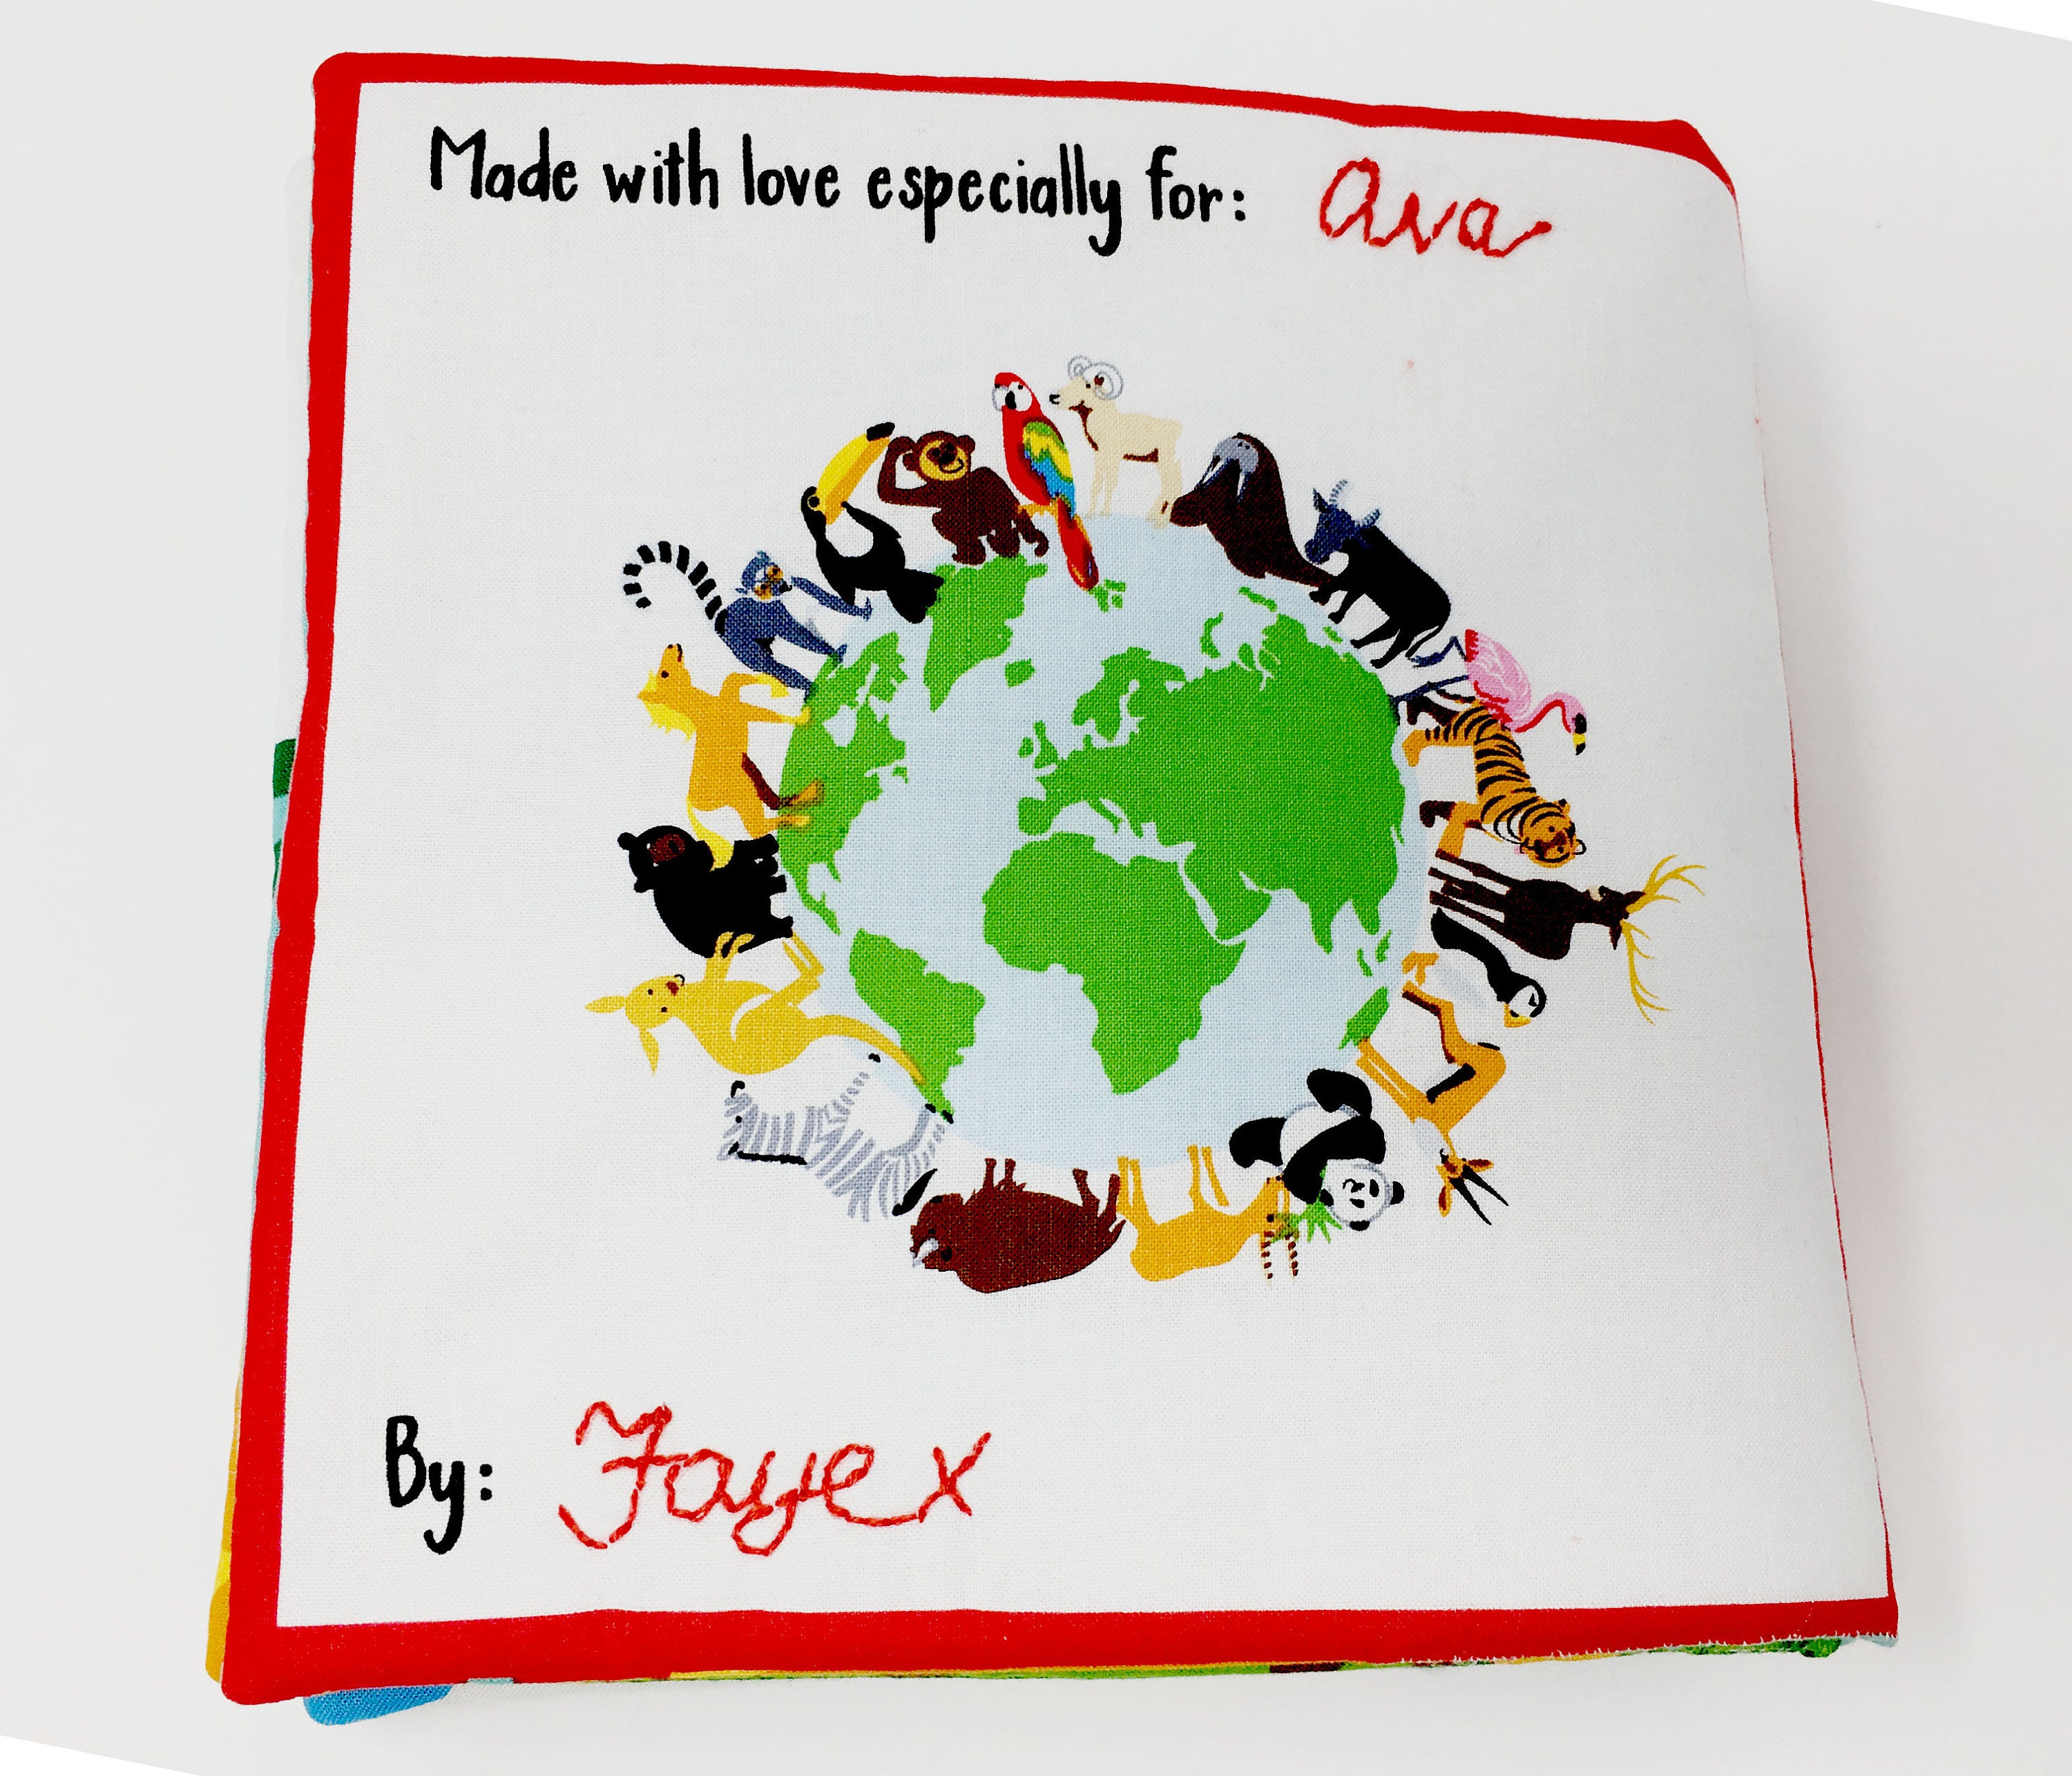
Step ten: Personalise message.
Using a fabric pen, personalise your back cover. If you prefer you could use embroidery floss to embroider the names on as I have done. Just make sure you finish the threads ends very securely.
Your book is now finished and is ready to be read and enjoyed.

If you have any questions drop a comment below and I will get back to you
Happy Sewing!
Faye xxx