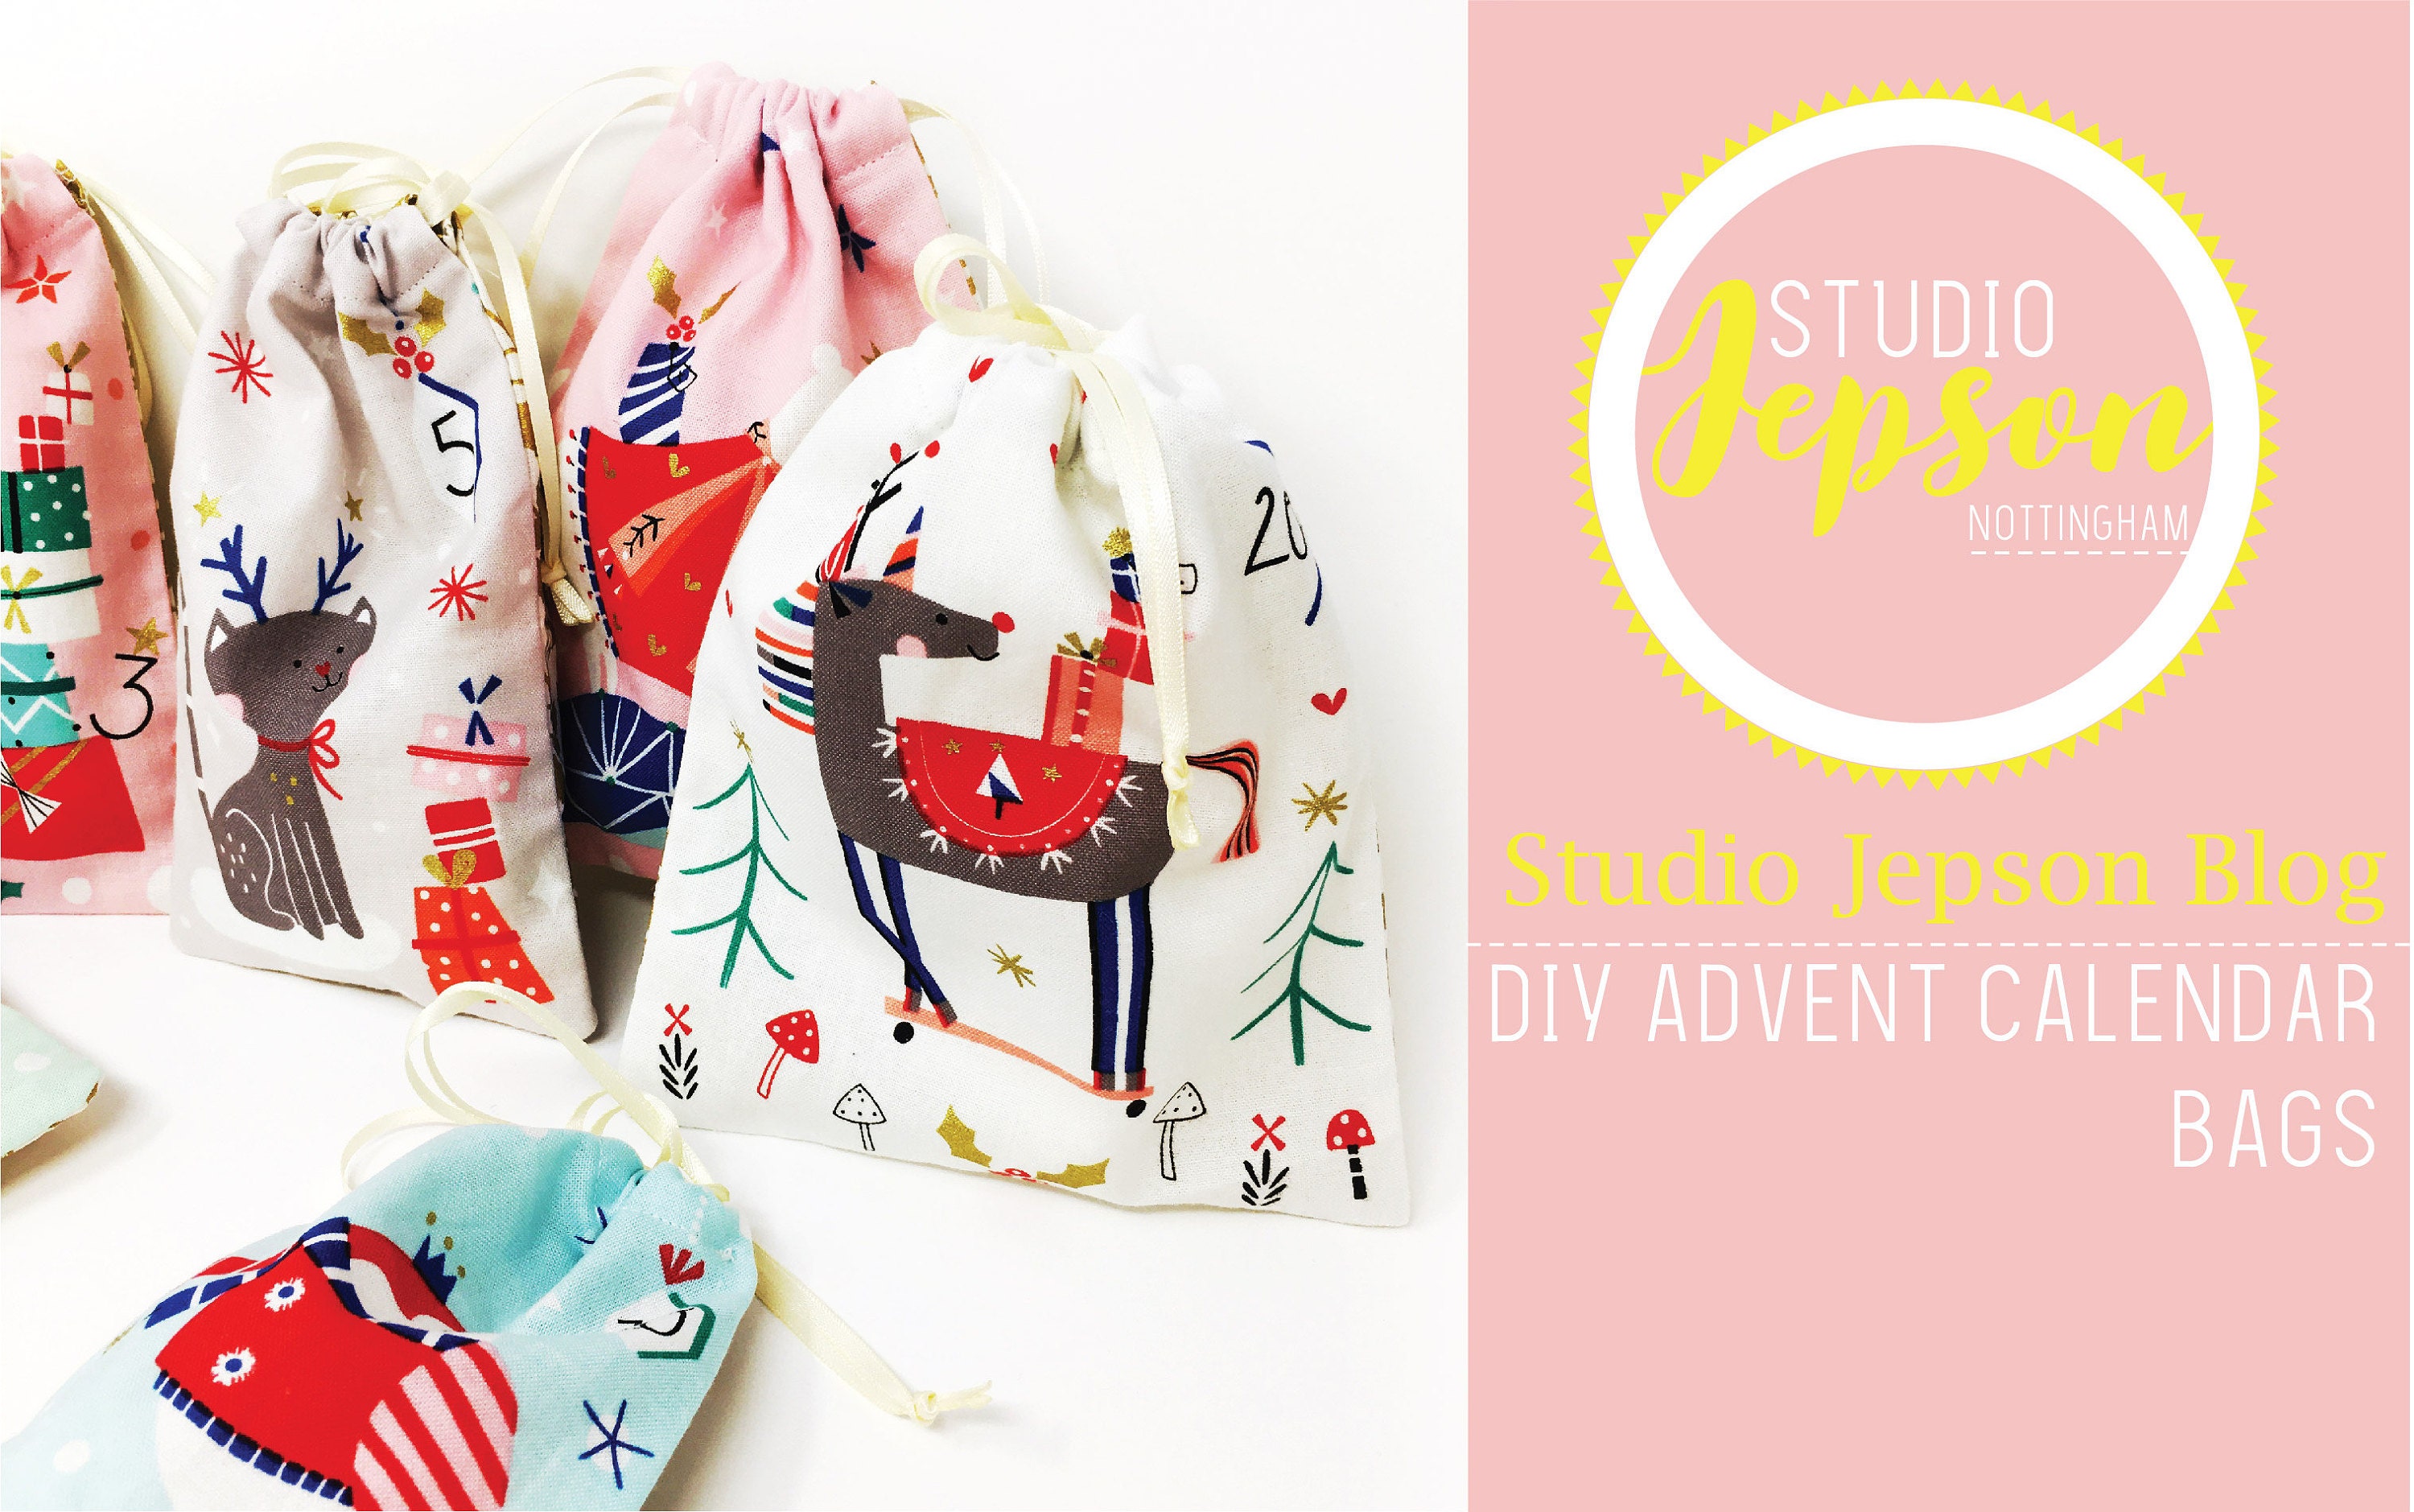
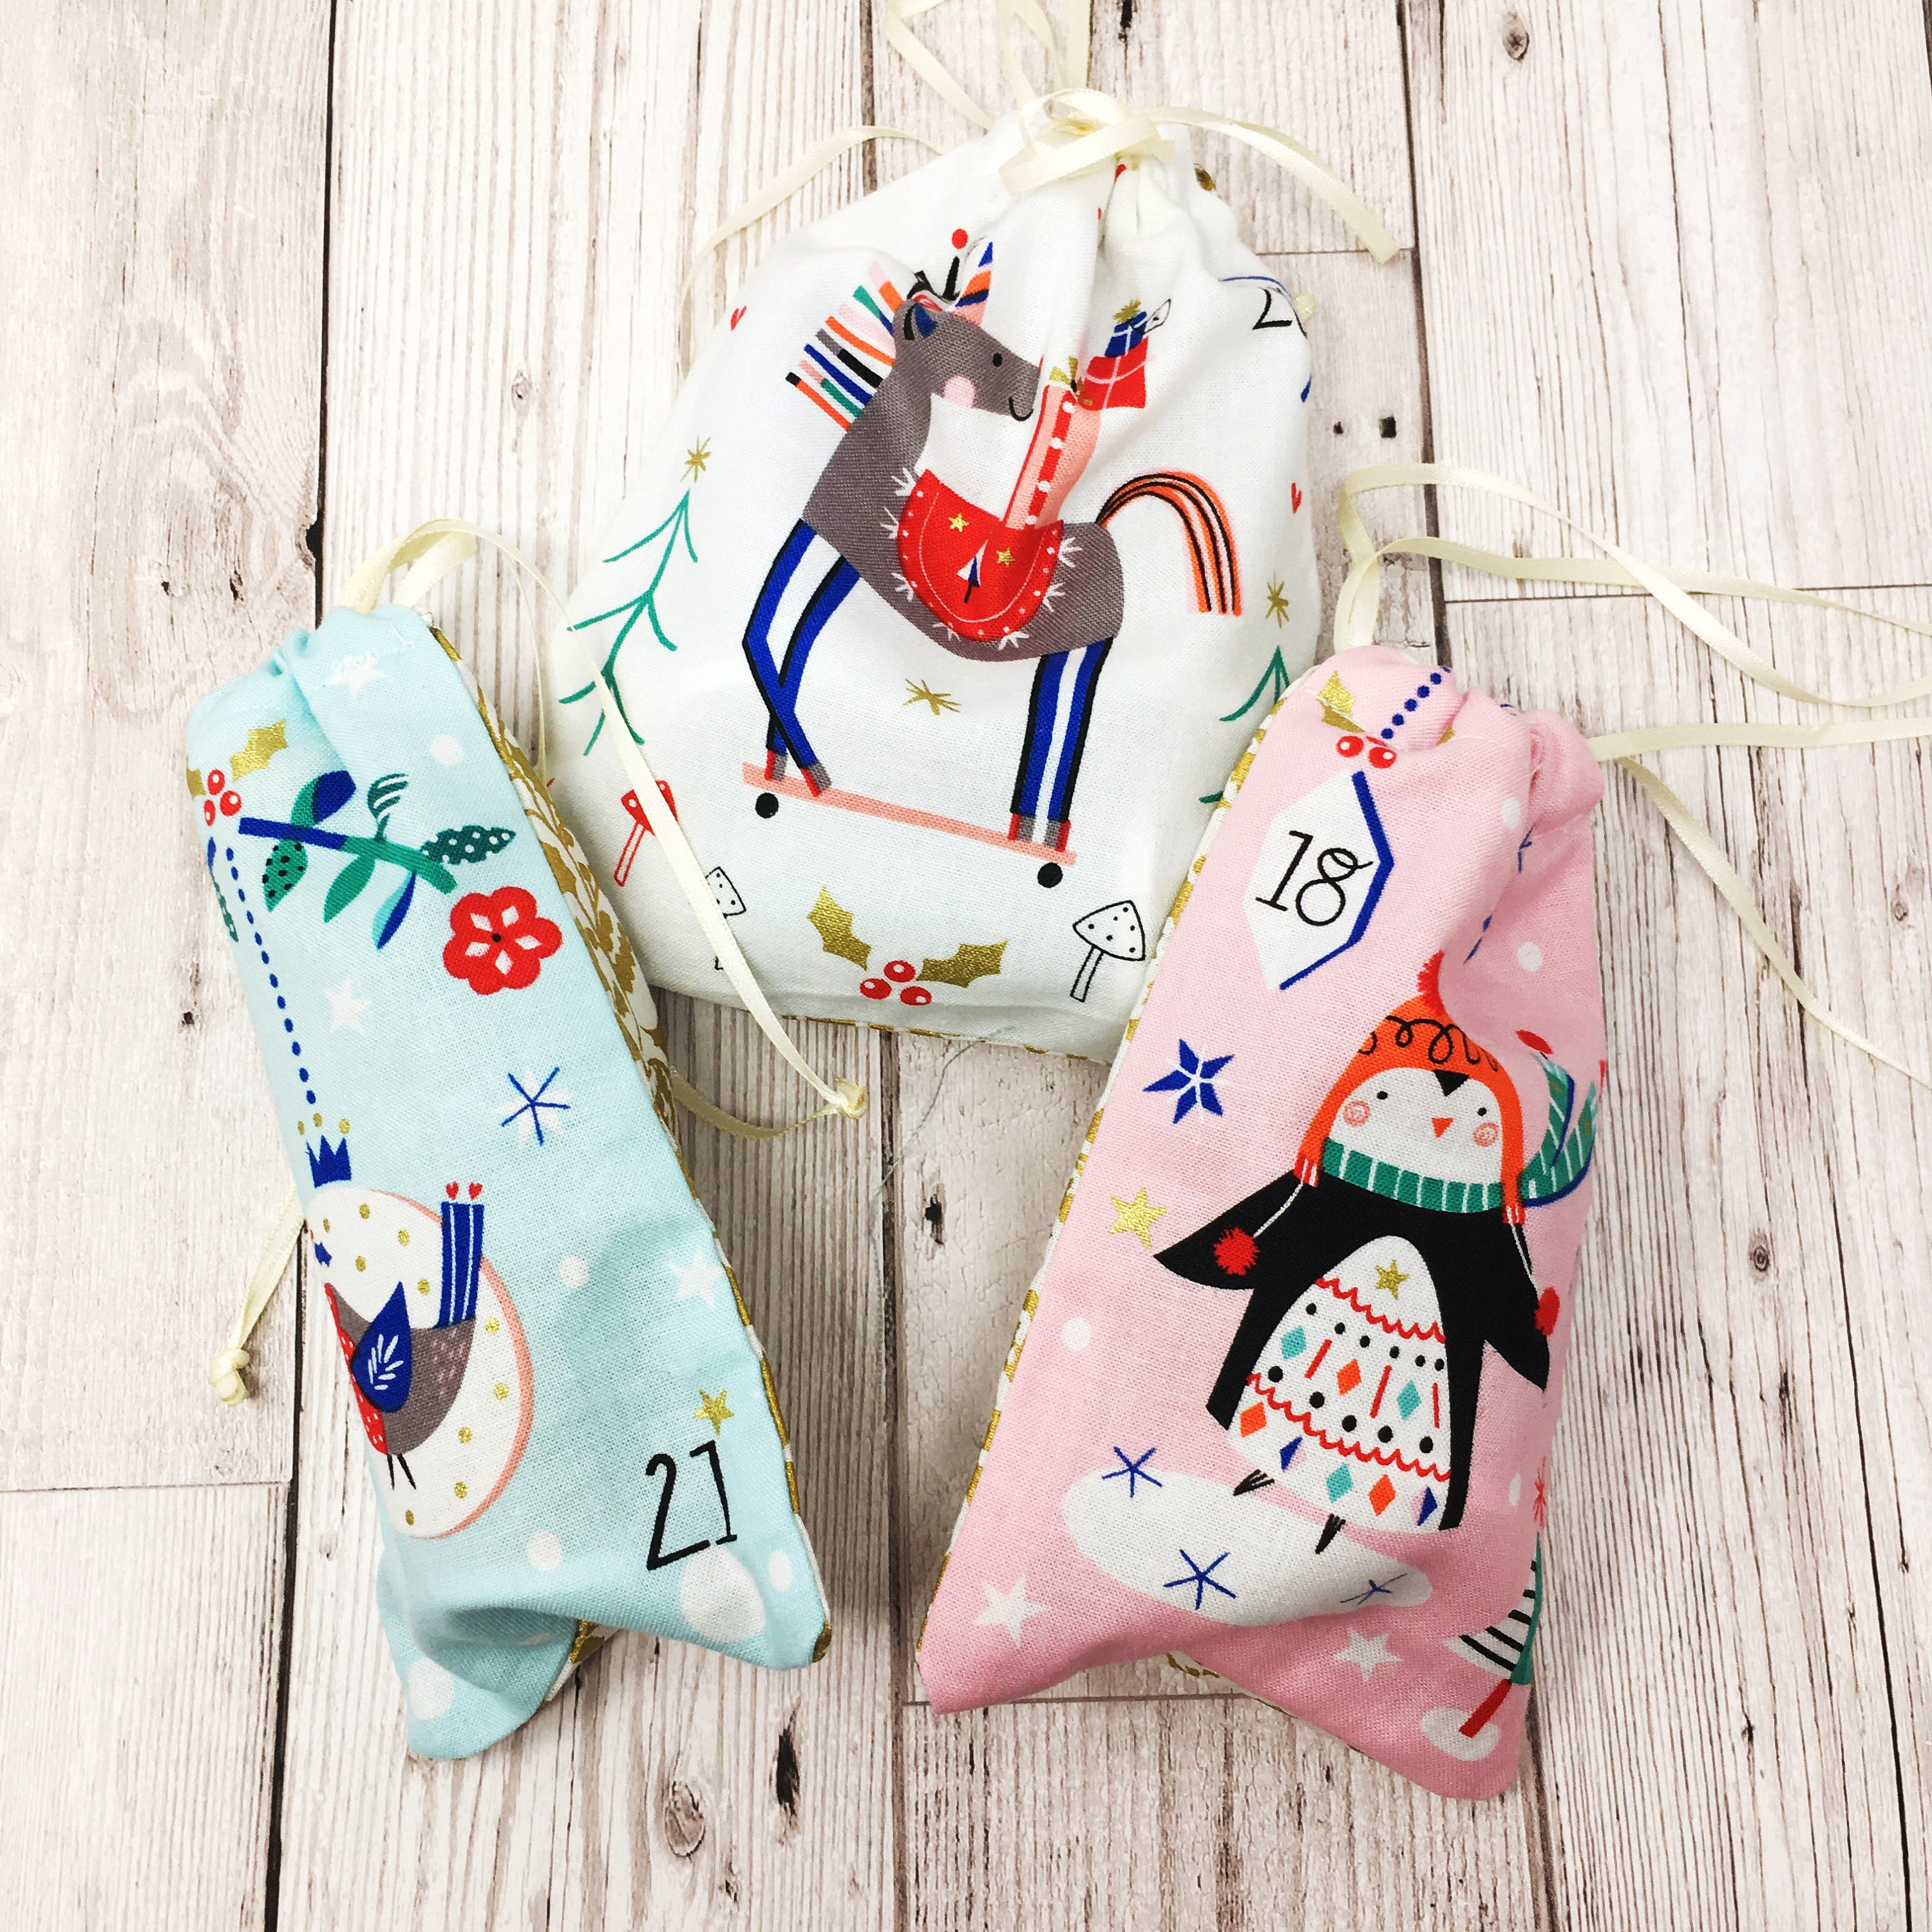
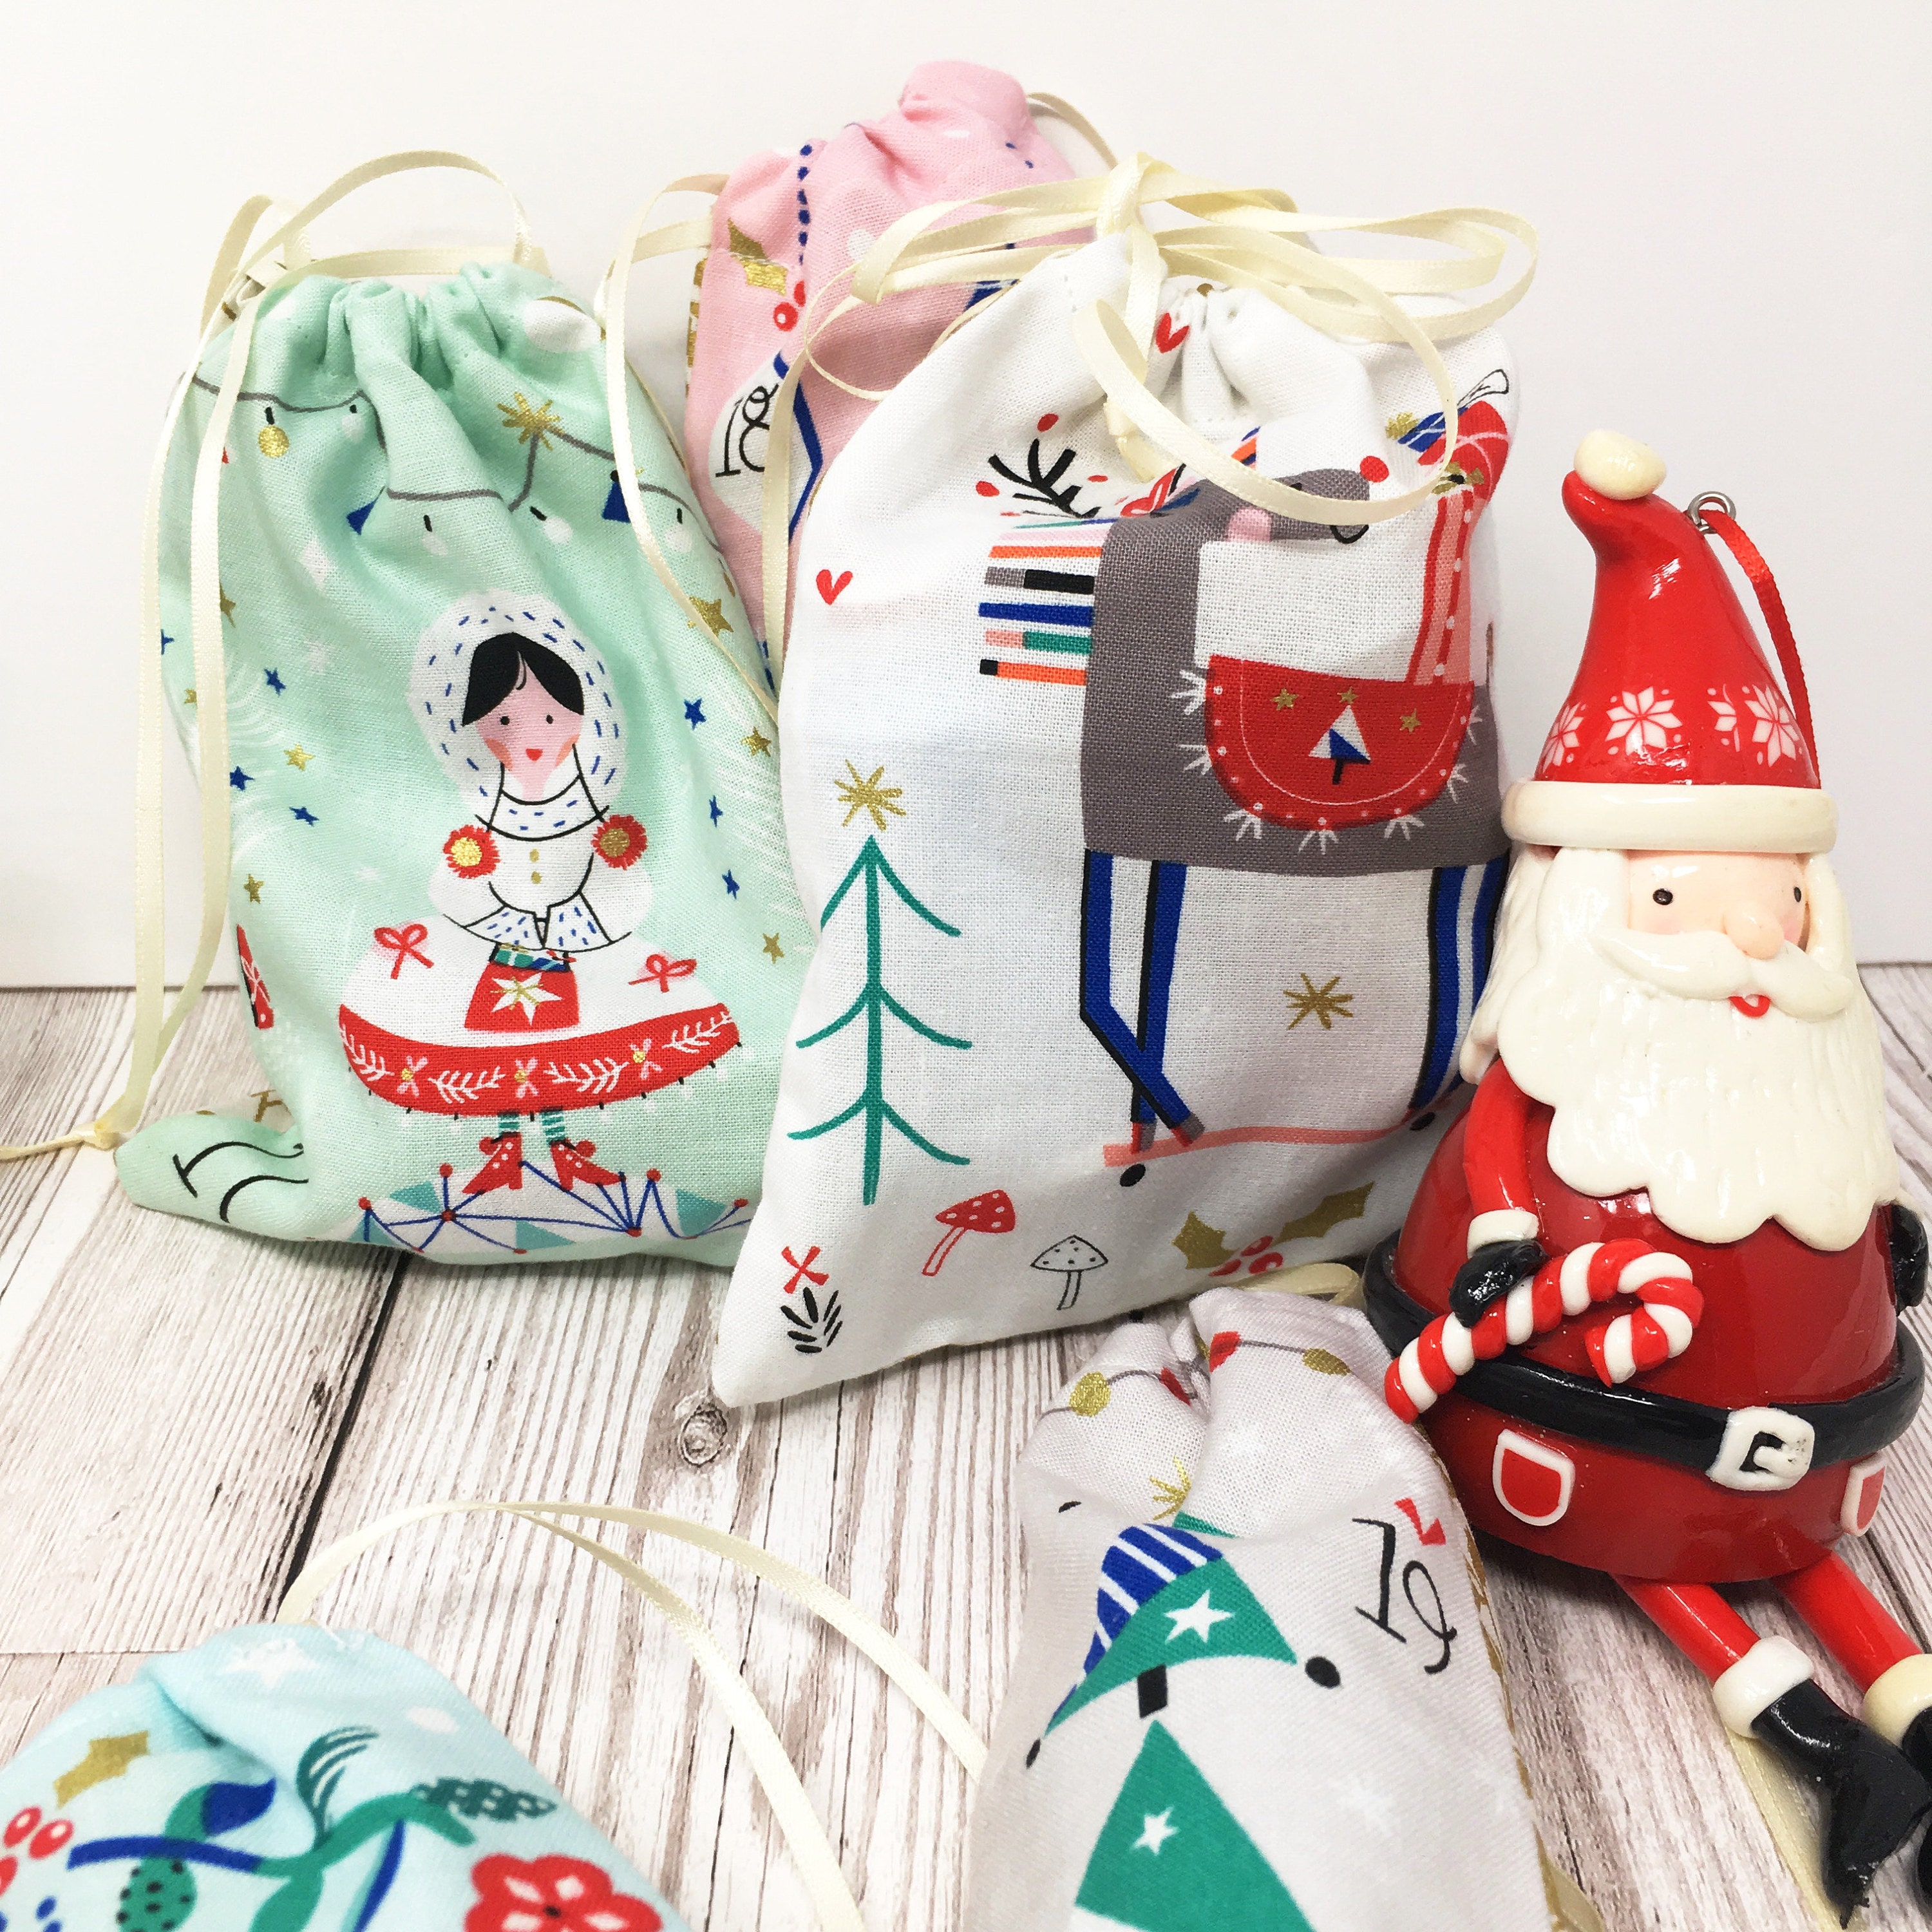
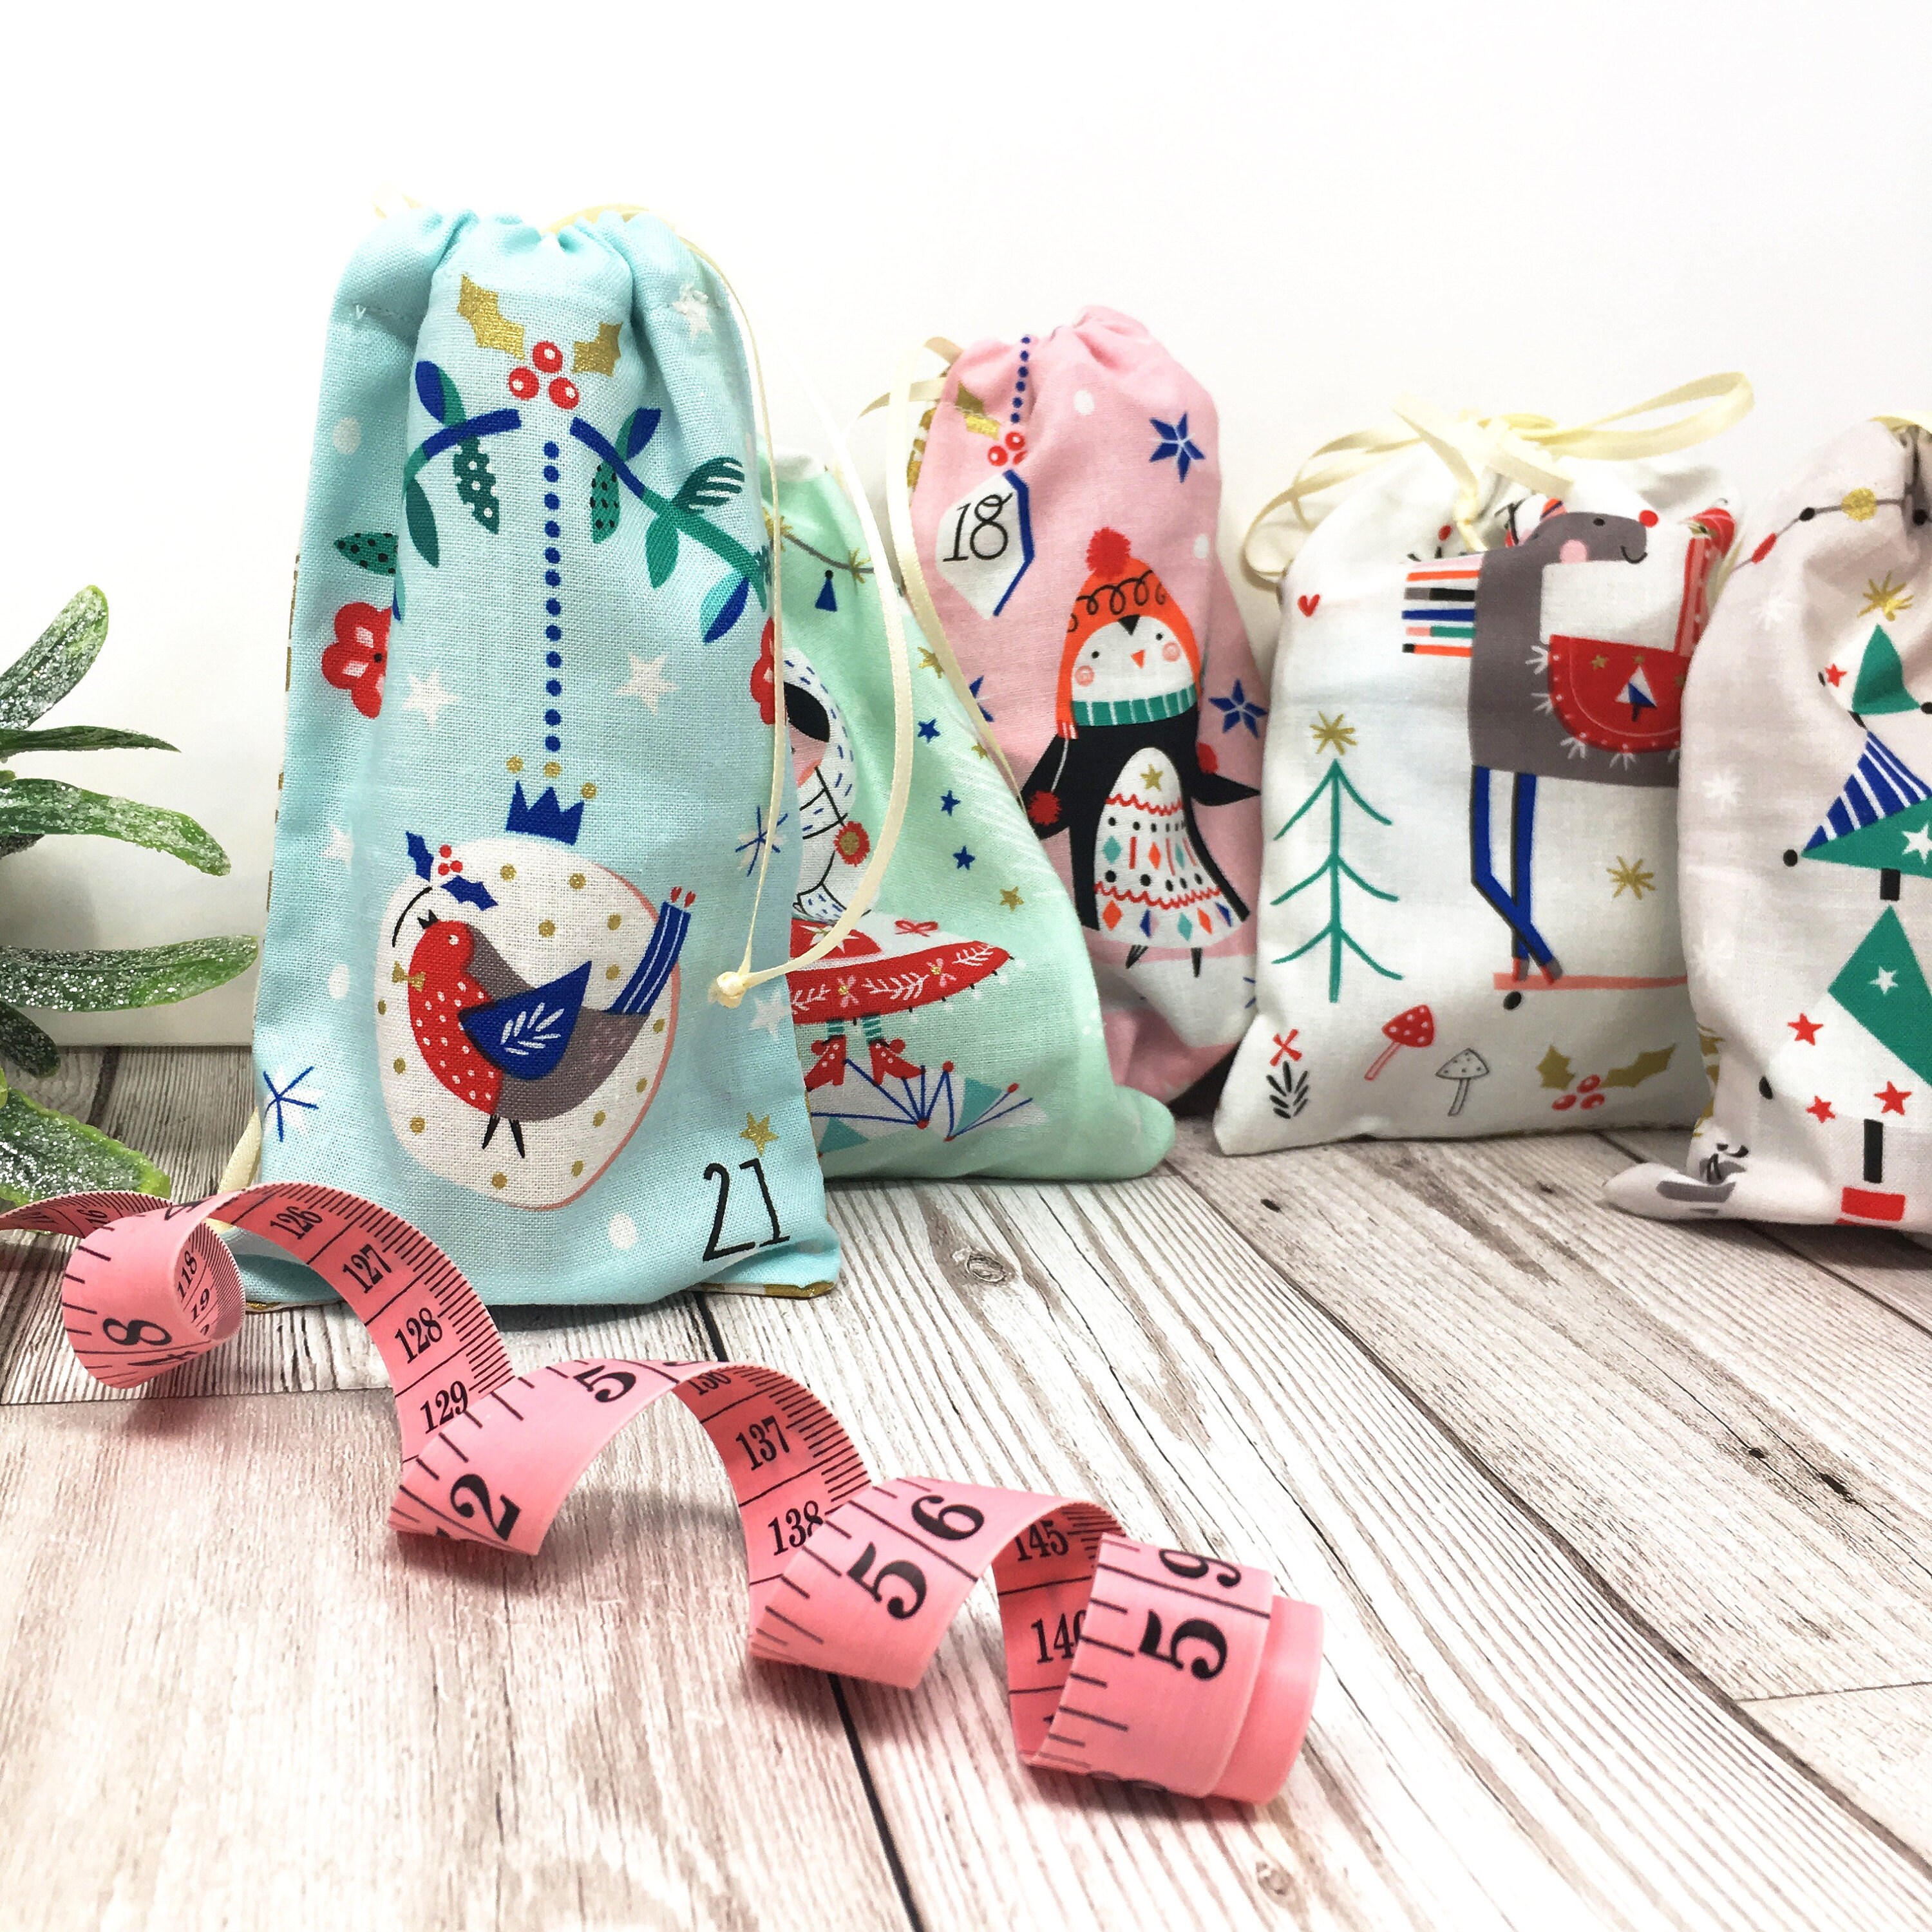
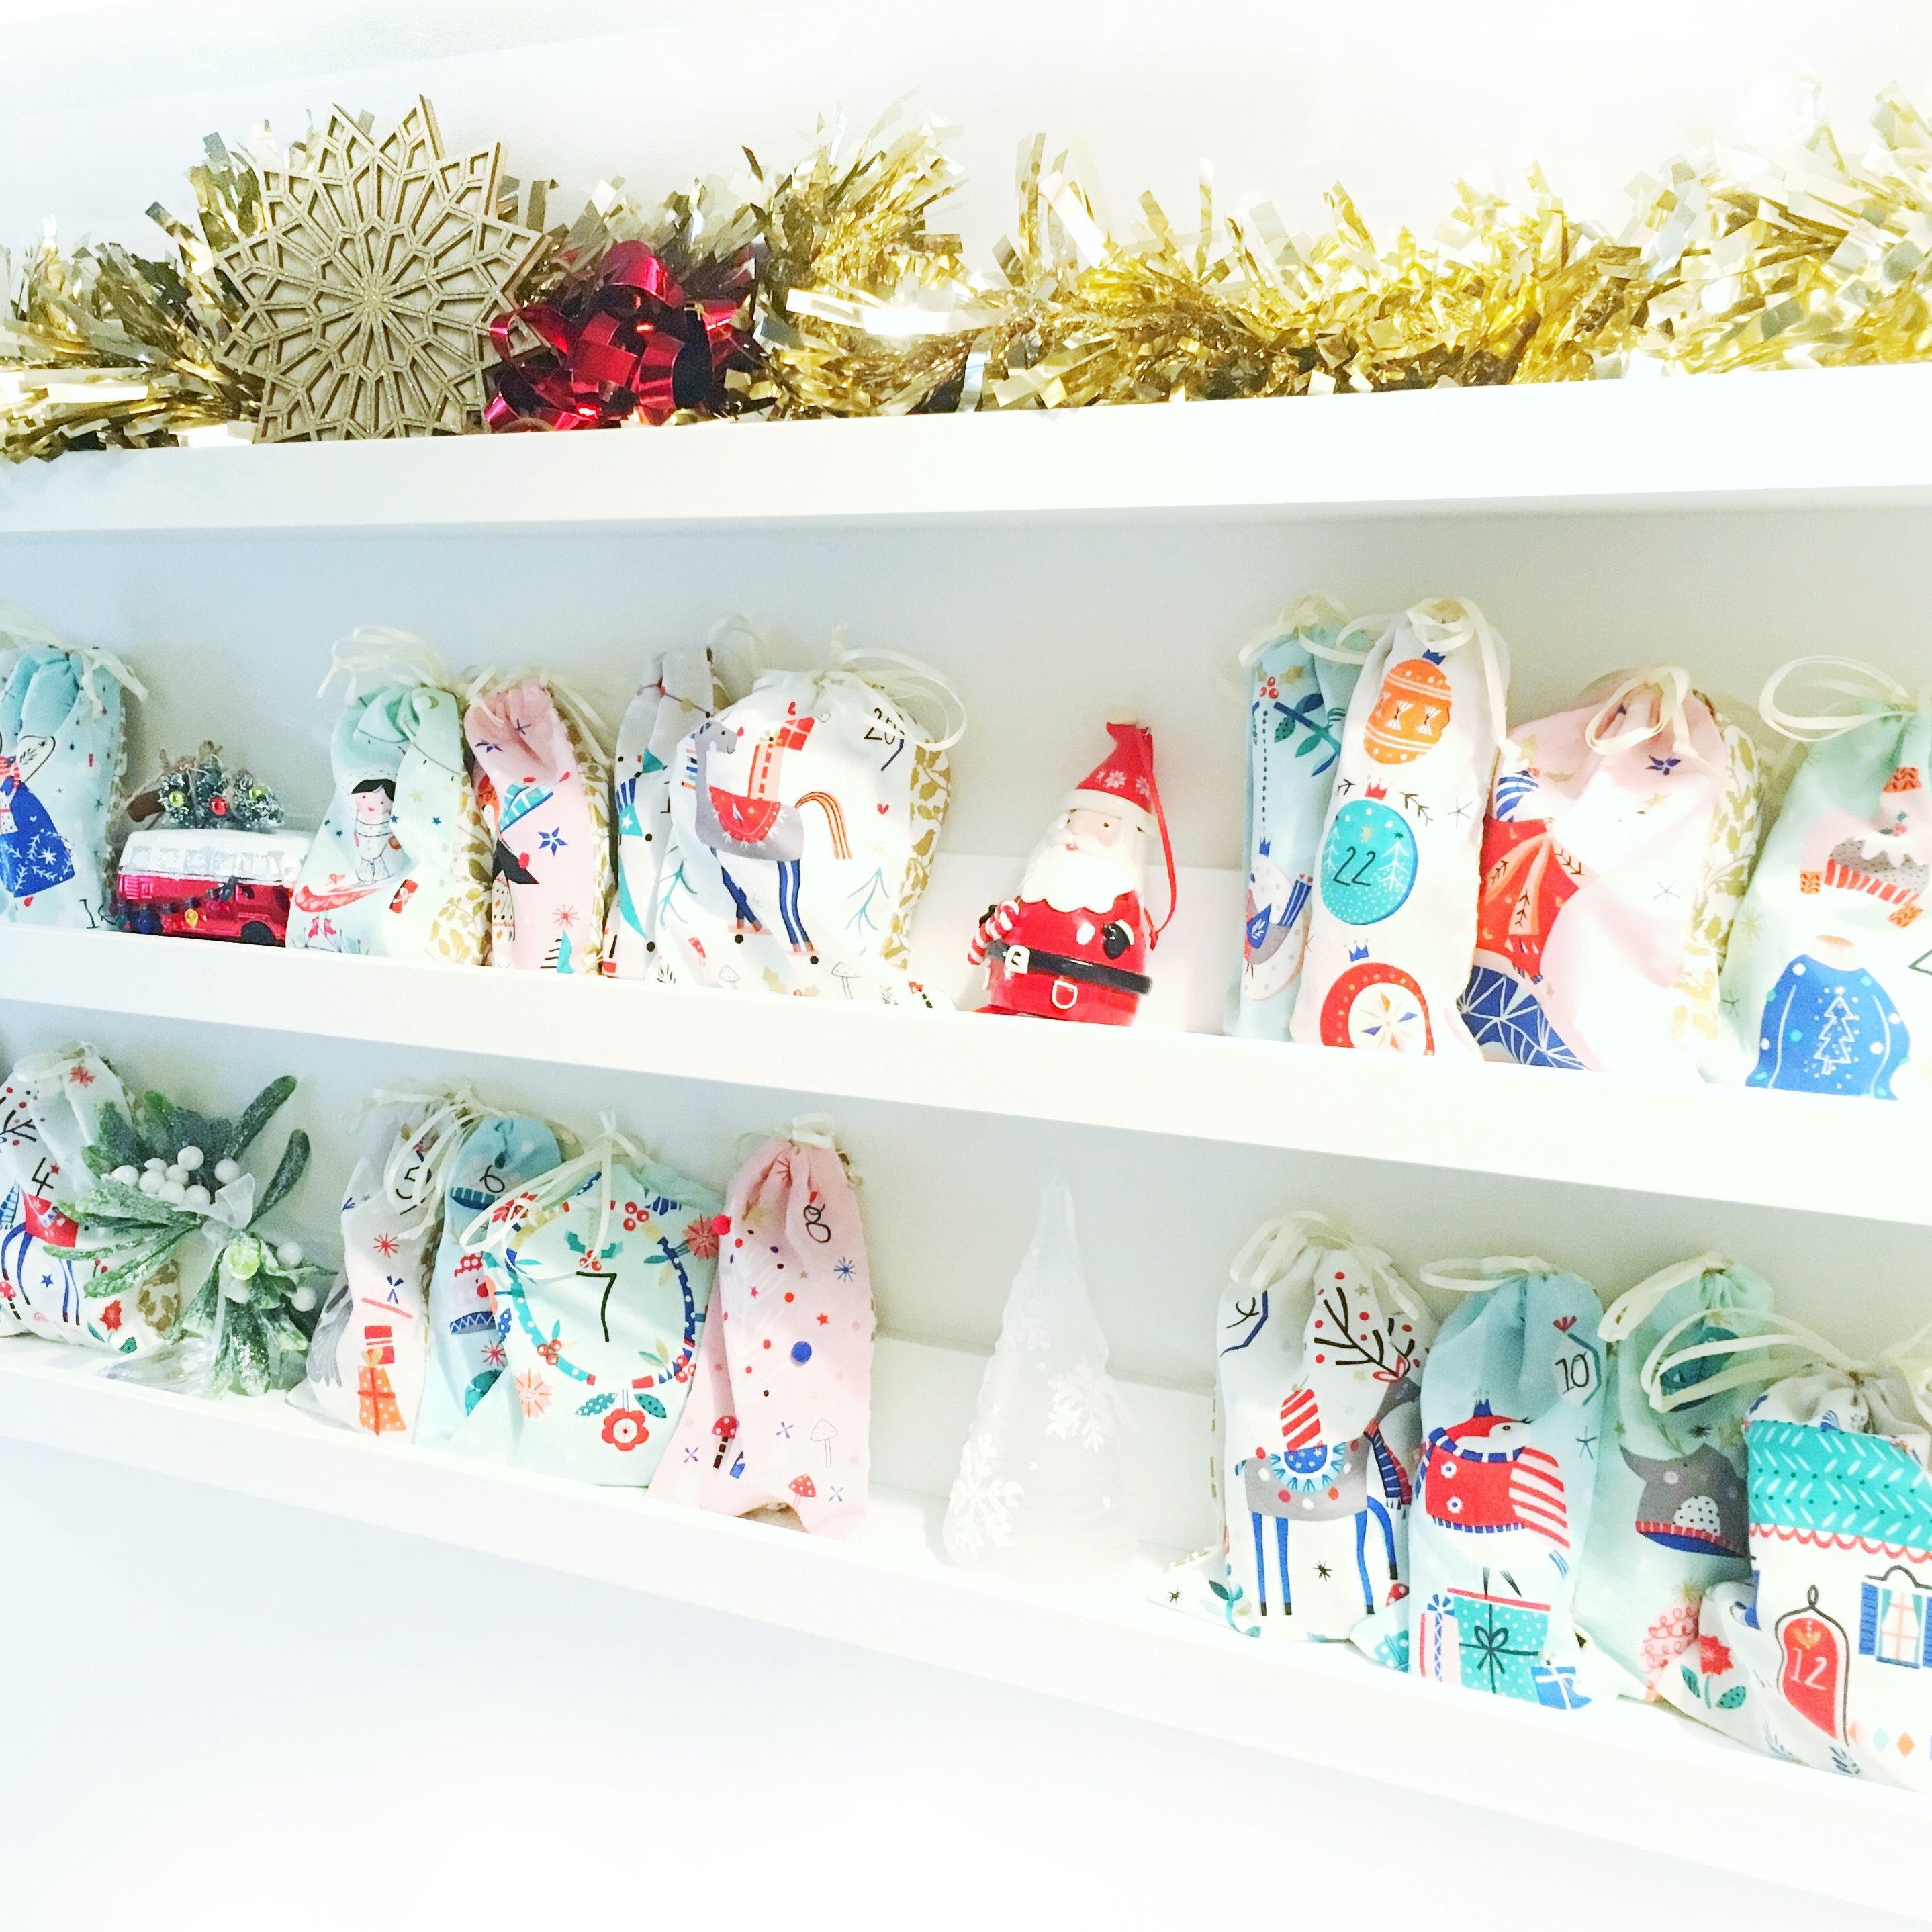
Dashwood Studios have just released this fabulous 'Merry & Bright' advent calendar panel by Ali Brookes.
Today I am going to show you how to use this panel to stitch up 24 beautiful Advent bags.
You will need:
1 x advent panel -
https://www.studiojepson.com/listing/709924284/advent-calendar-bag-kit-advent-panel
1 x metre of backing fabric
I used a gorgeous gold metallic foil bird print cotton
https://www.studiojepson.com/listing/685820303/gold-foil-christmas-printed-cotton

Approx 10m of narrow ribbon (I used 3mm ivory satin ribbon)
Sewing kit
Sewing Machine
Iron and ironing board
Safety pin or narrow elastic glider
Lighter
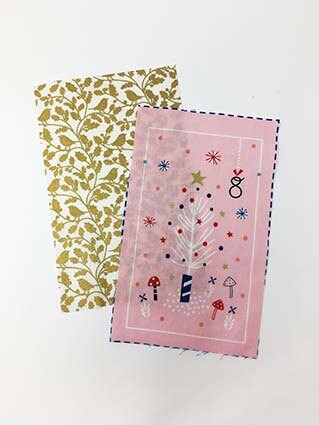
Step One: Cut out pieces.
If you are using different fabrics on the backs of the bags-the first step is to cut out all of the bags, following the dotted lines marked on the dashwood fabric. You then need to cut the backs out, using each of the advent pieces as templates.
If you are using the same fabric for all of the backs then cut out following the instructions marked on the panel. Lay the panel on top of your backing fabric and pin in place. Cut the panel following the dotted lines, thus cutting the back pieces at the same time.
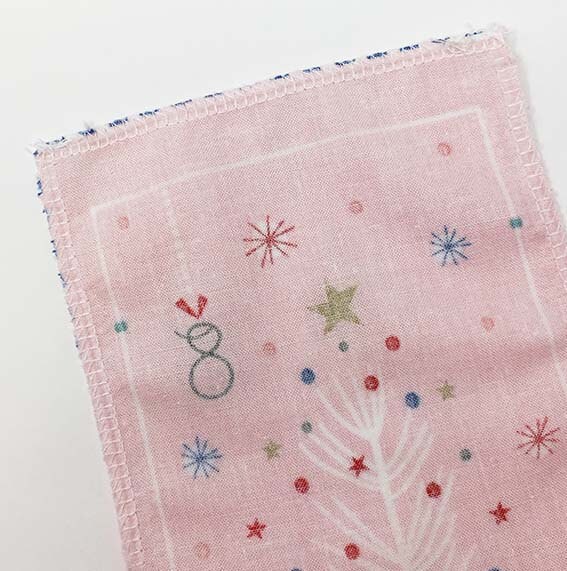
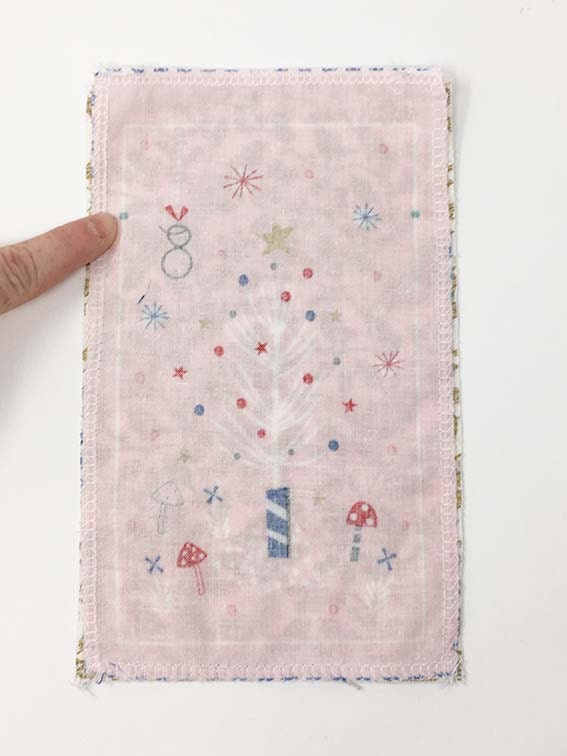
Step Two: Neaten edges.
To ensure you do not end up with a frayed inside the next step is to neated the raw edges. I used my overlocker (serger) but if you do not have one using a zig zag stitch on your machine or pinking shears will be fine.
Neaten all the edges of both the fronts and the backs.
Step Three: Join side seams.
Place 1 x front and 1 x back piece with right sides together.
Using your sewing machine and a 1/2inch seam allowance, stitch from one printed dot to the other (stitching down the side seam, the bottom edge and the other side seam), ensuring you reverse at the start and the end of your stitching.
Repeat this step with all of the bags.
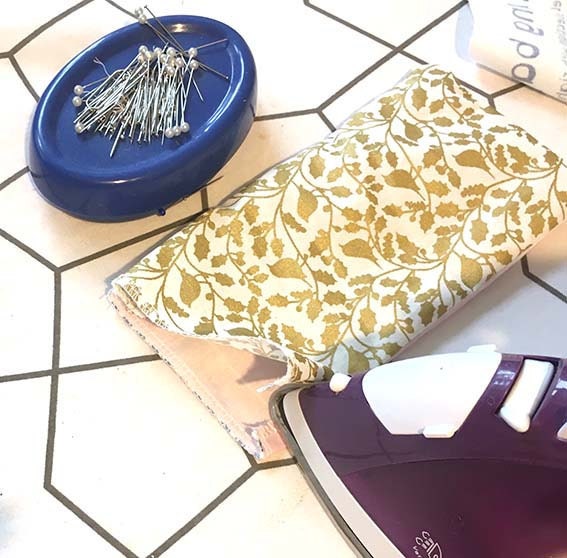
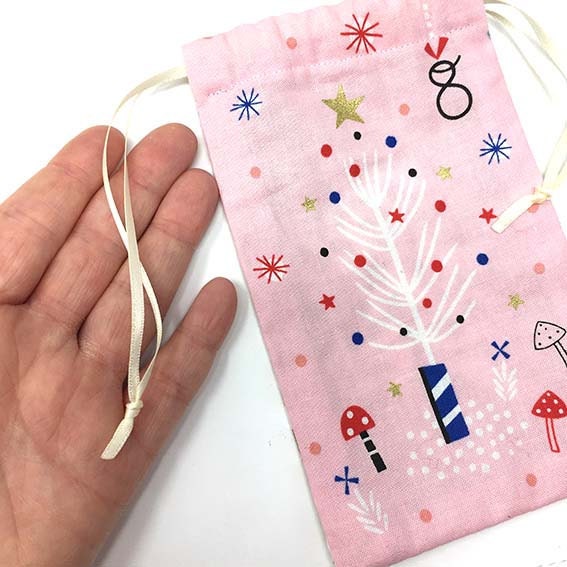
Step Four: Iron the top fold in place.
Turn each of the bags right side out. You will notice that the top unsewn part of the side seams folds in. Using your iron, press this in place. This is an important step as this edge needs to be turned under before the channel is made.
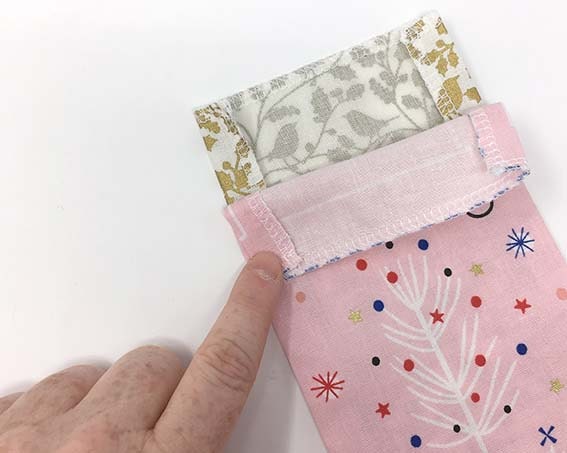
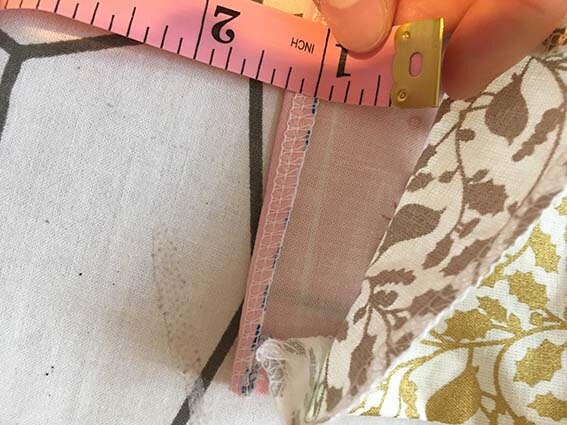
On the top edges press by 1/4 inch and then fold down by 3/4 inch to form your channel for the ribbon.
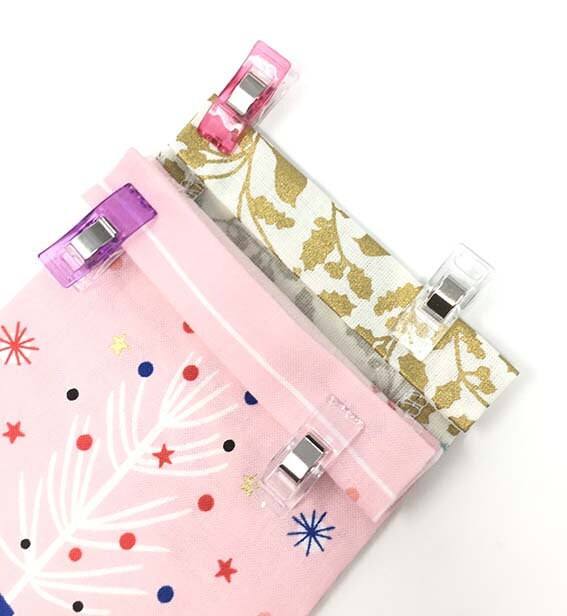
Repeat this step with all of the bags.
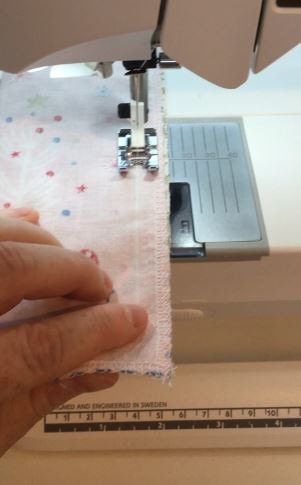
Step Five: Stitch channel in place.
Stitch the channel in place on both the front and the back piece. I like to use my edge joining foot for seams like this as it helps me to get nice and close to the edge with a really consitant position.
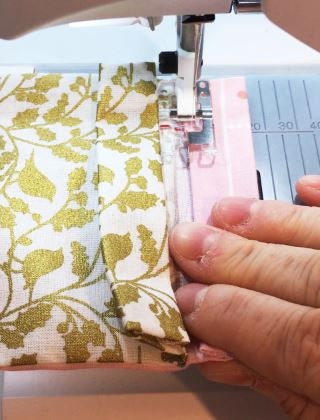
Repeat this step with all of the bags.
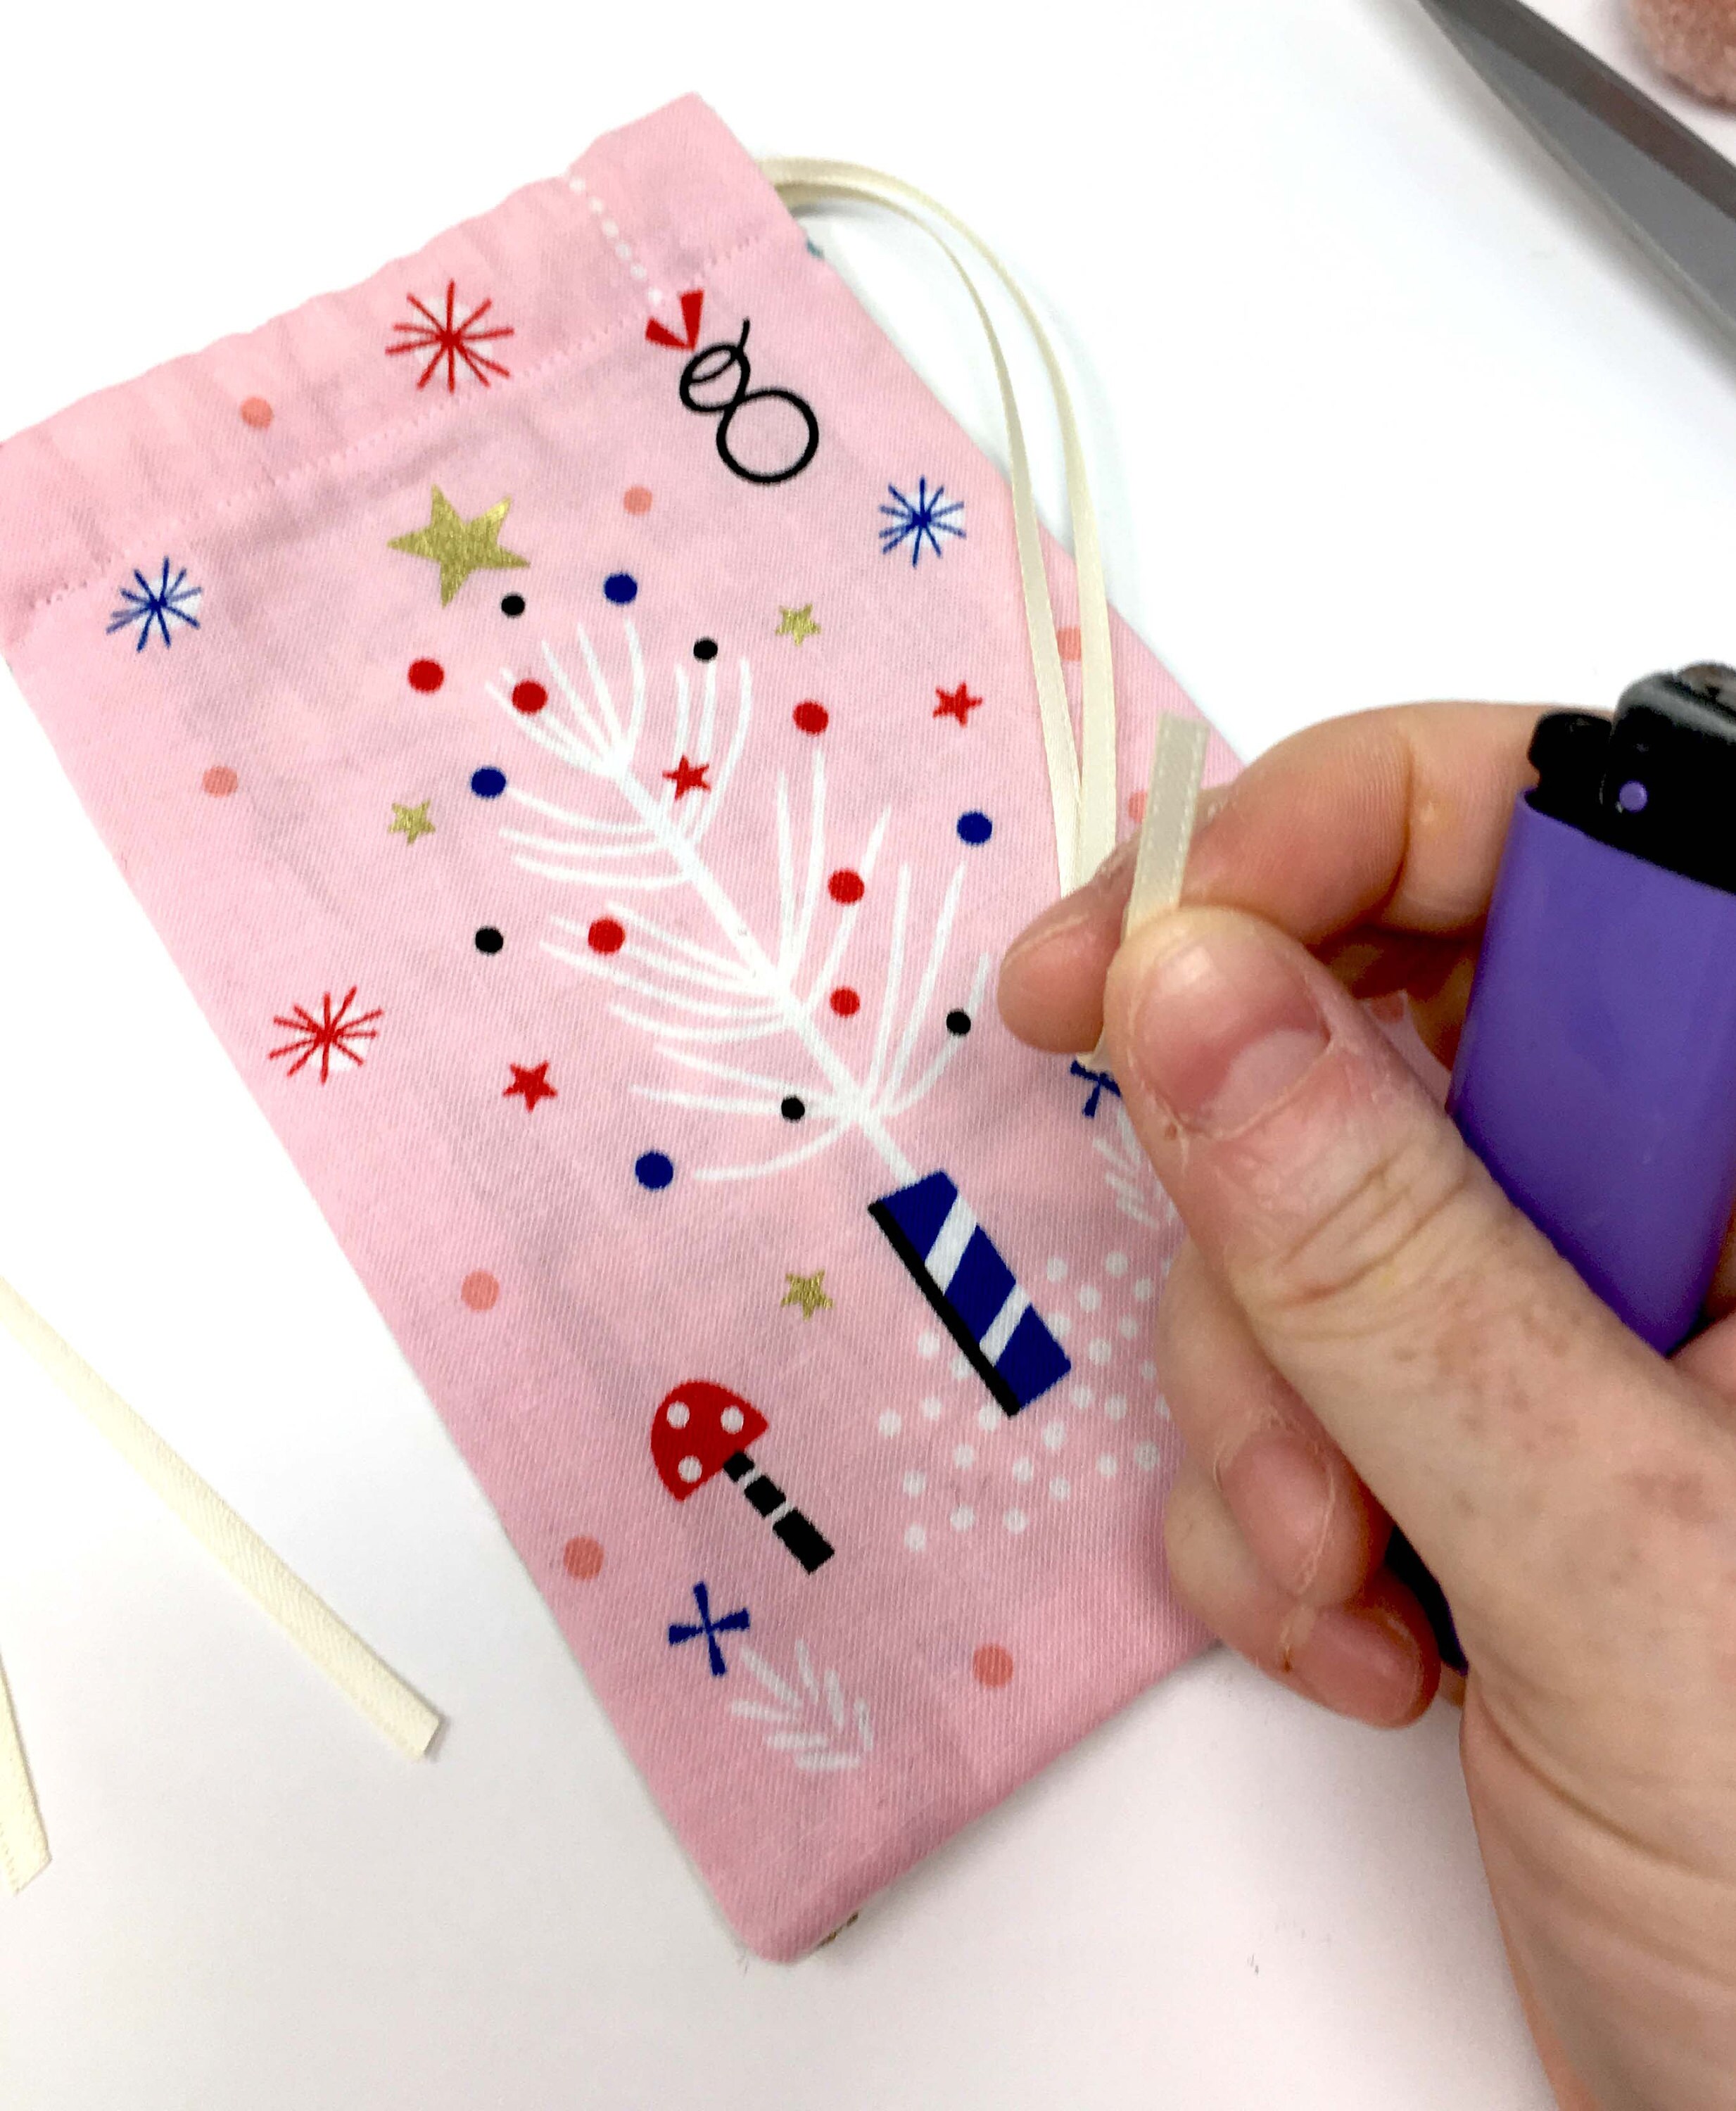
Step Six: Thread the ribbon through the channel.
Pin your safety pin through the ribbon end and feed the ribbon through the channel, starting at one edge of the front, then continuing through the channel on the back. When you have finished both ribbon ends should be on the same side.
Please note I used a elastic glider instead of a safety pin.
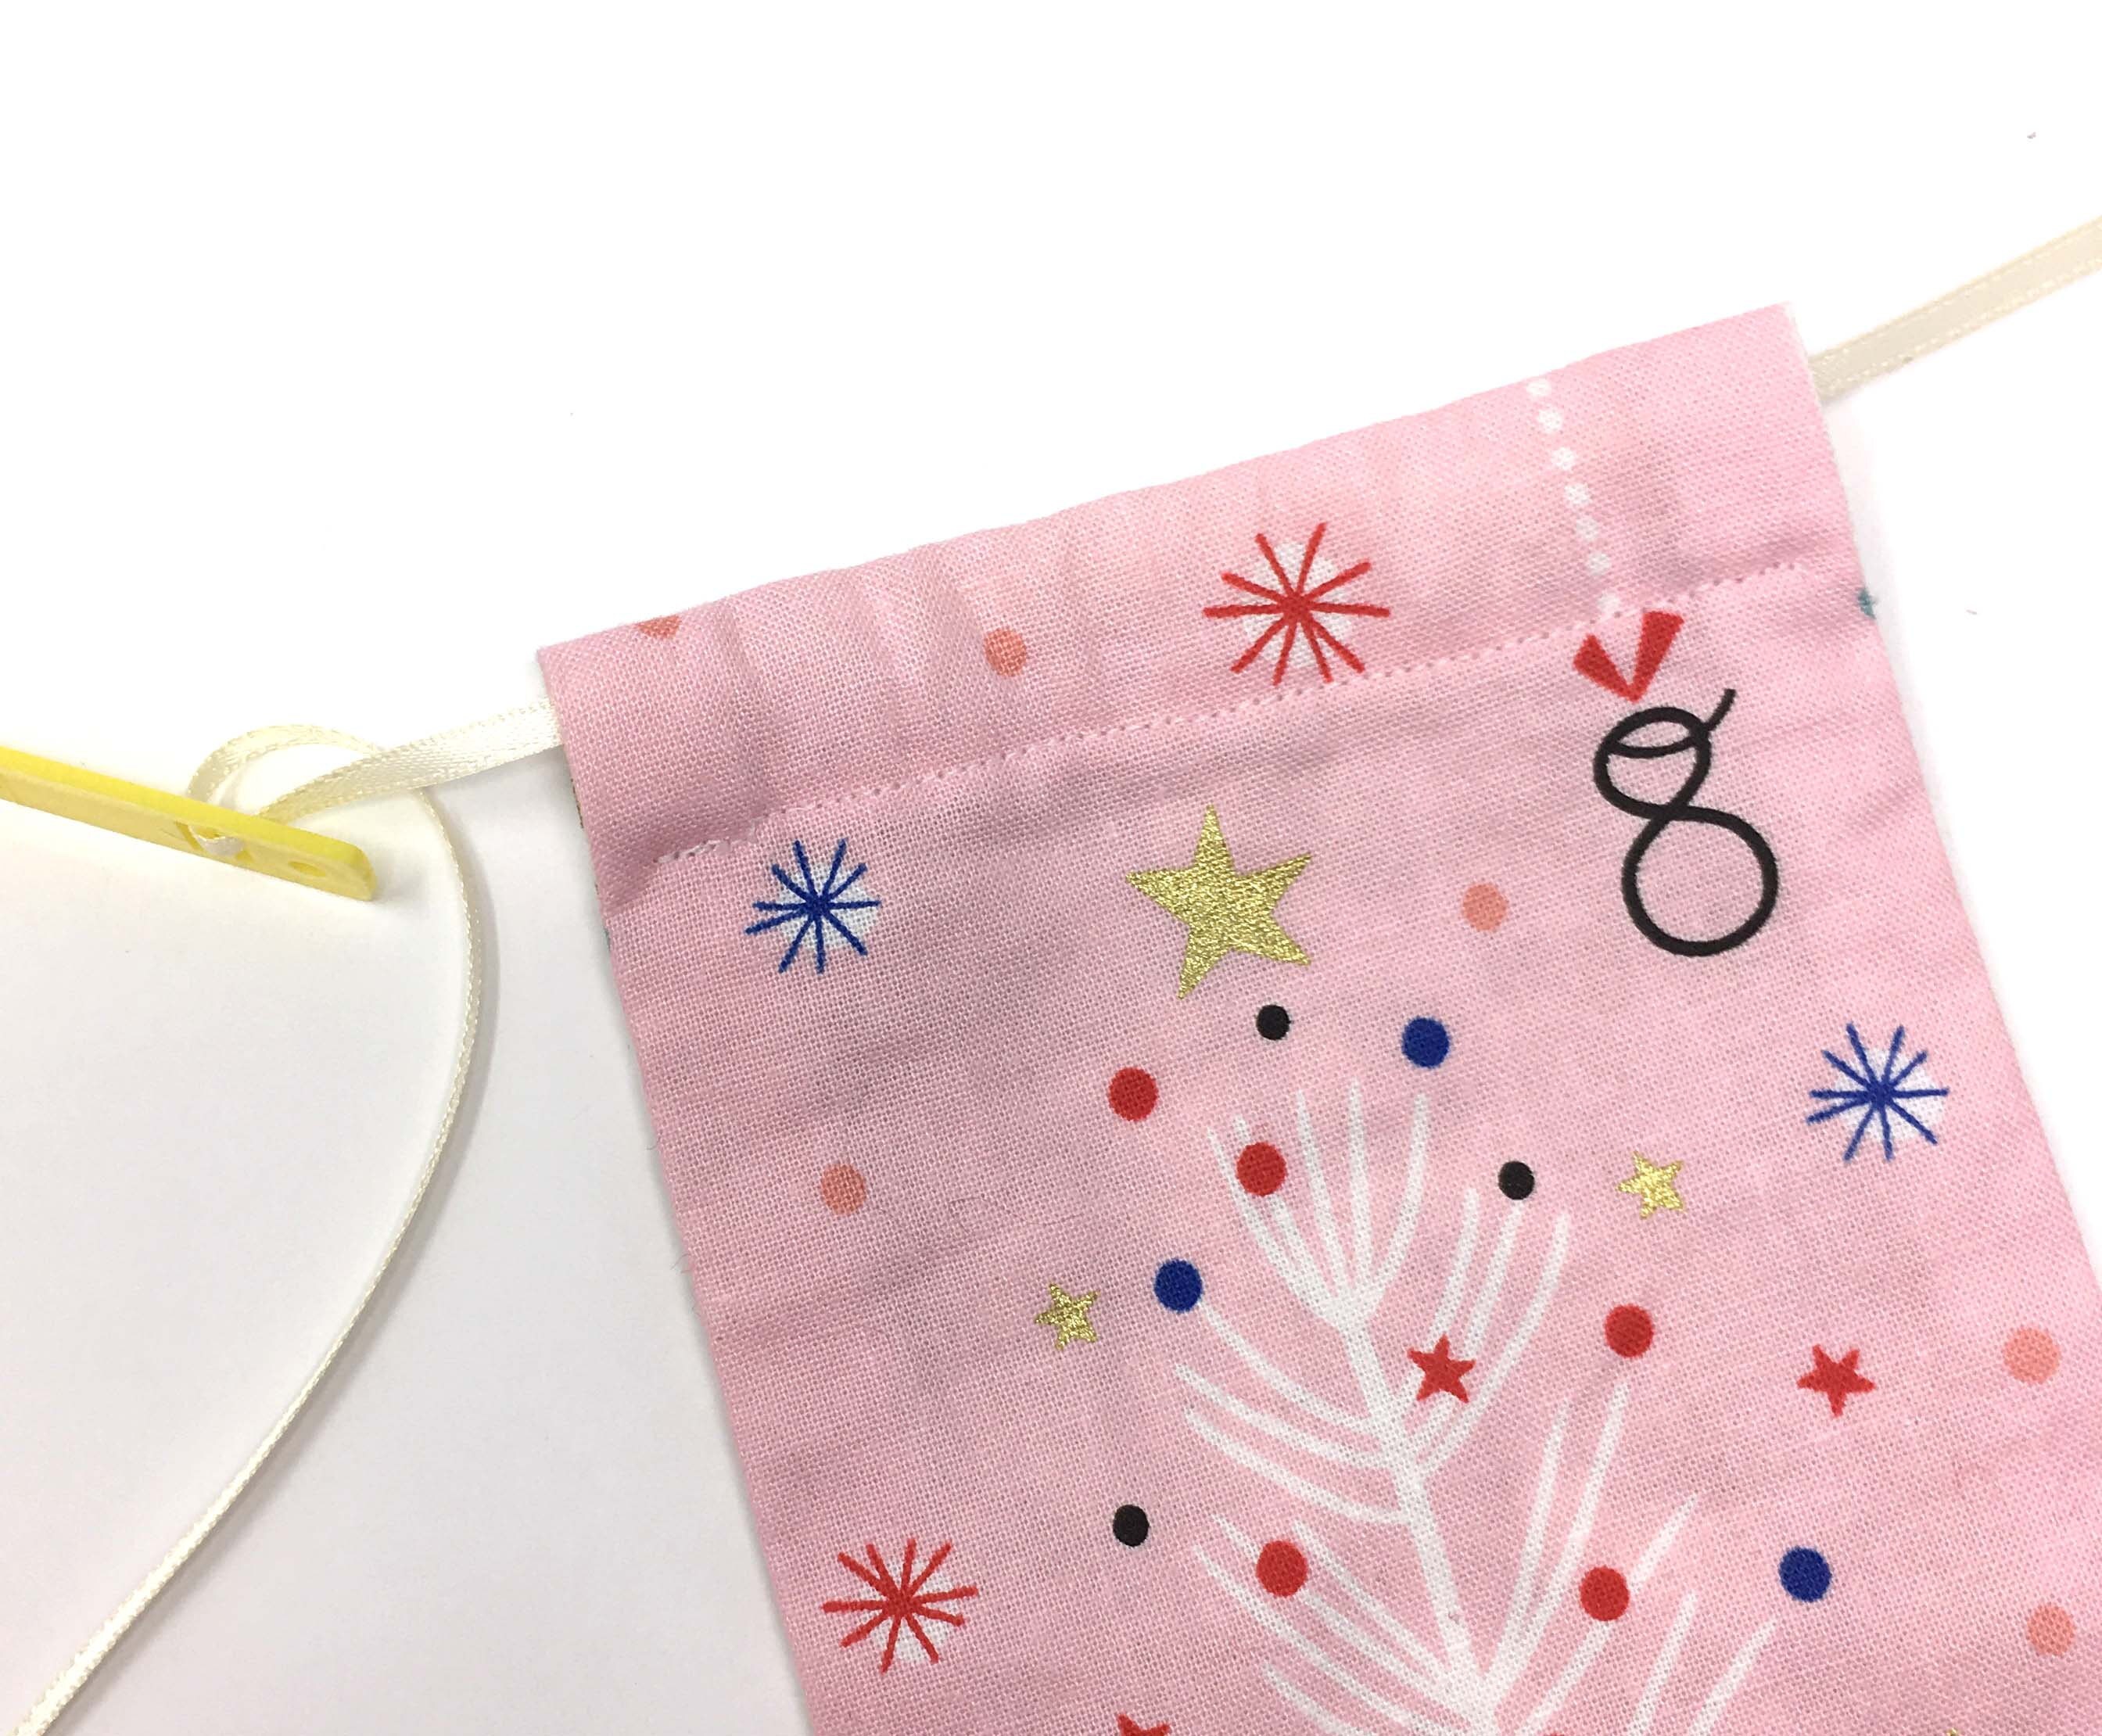

With another piece of ribbon start at the opposite end of the bag and thread through the front and the back as before.
Repeat this step with all of the bags.
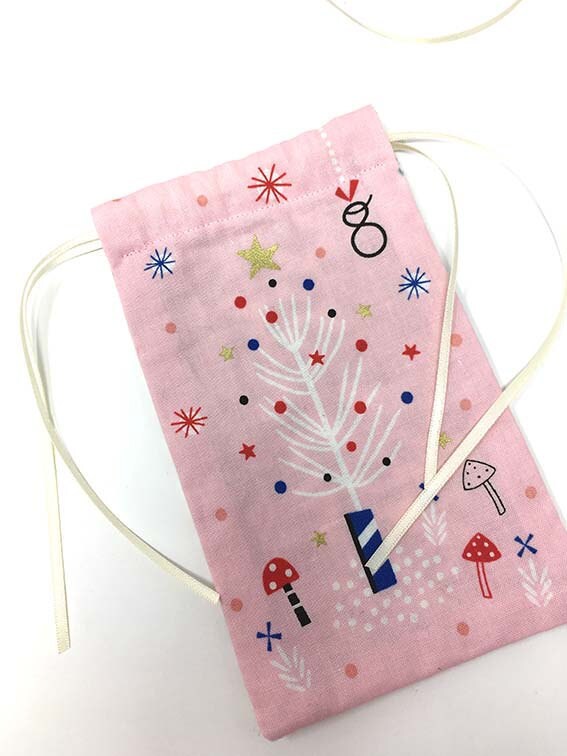
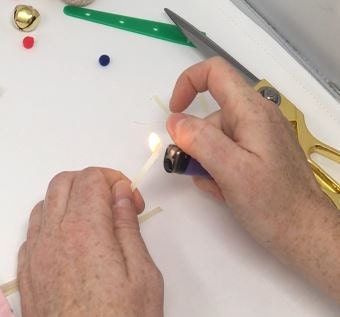
Step Six: Finish ribbon ends.
Knot the ribbon ends that are on each side. If the edges are getting a bit frayed then cut the edges again using sharp scissors.
To prevent the ribbons fraying we need to singe the edges. Take each end at a time and gently pass the flame over the edges until they seal.
Repeat this step with all of the bags.
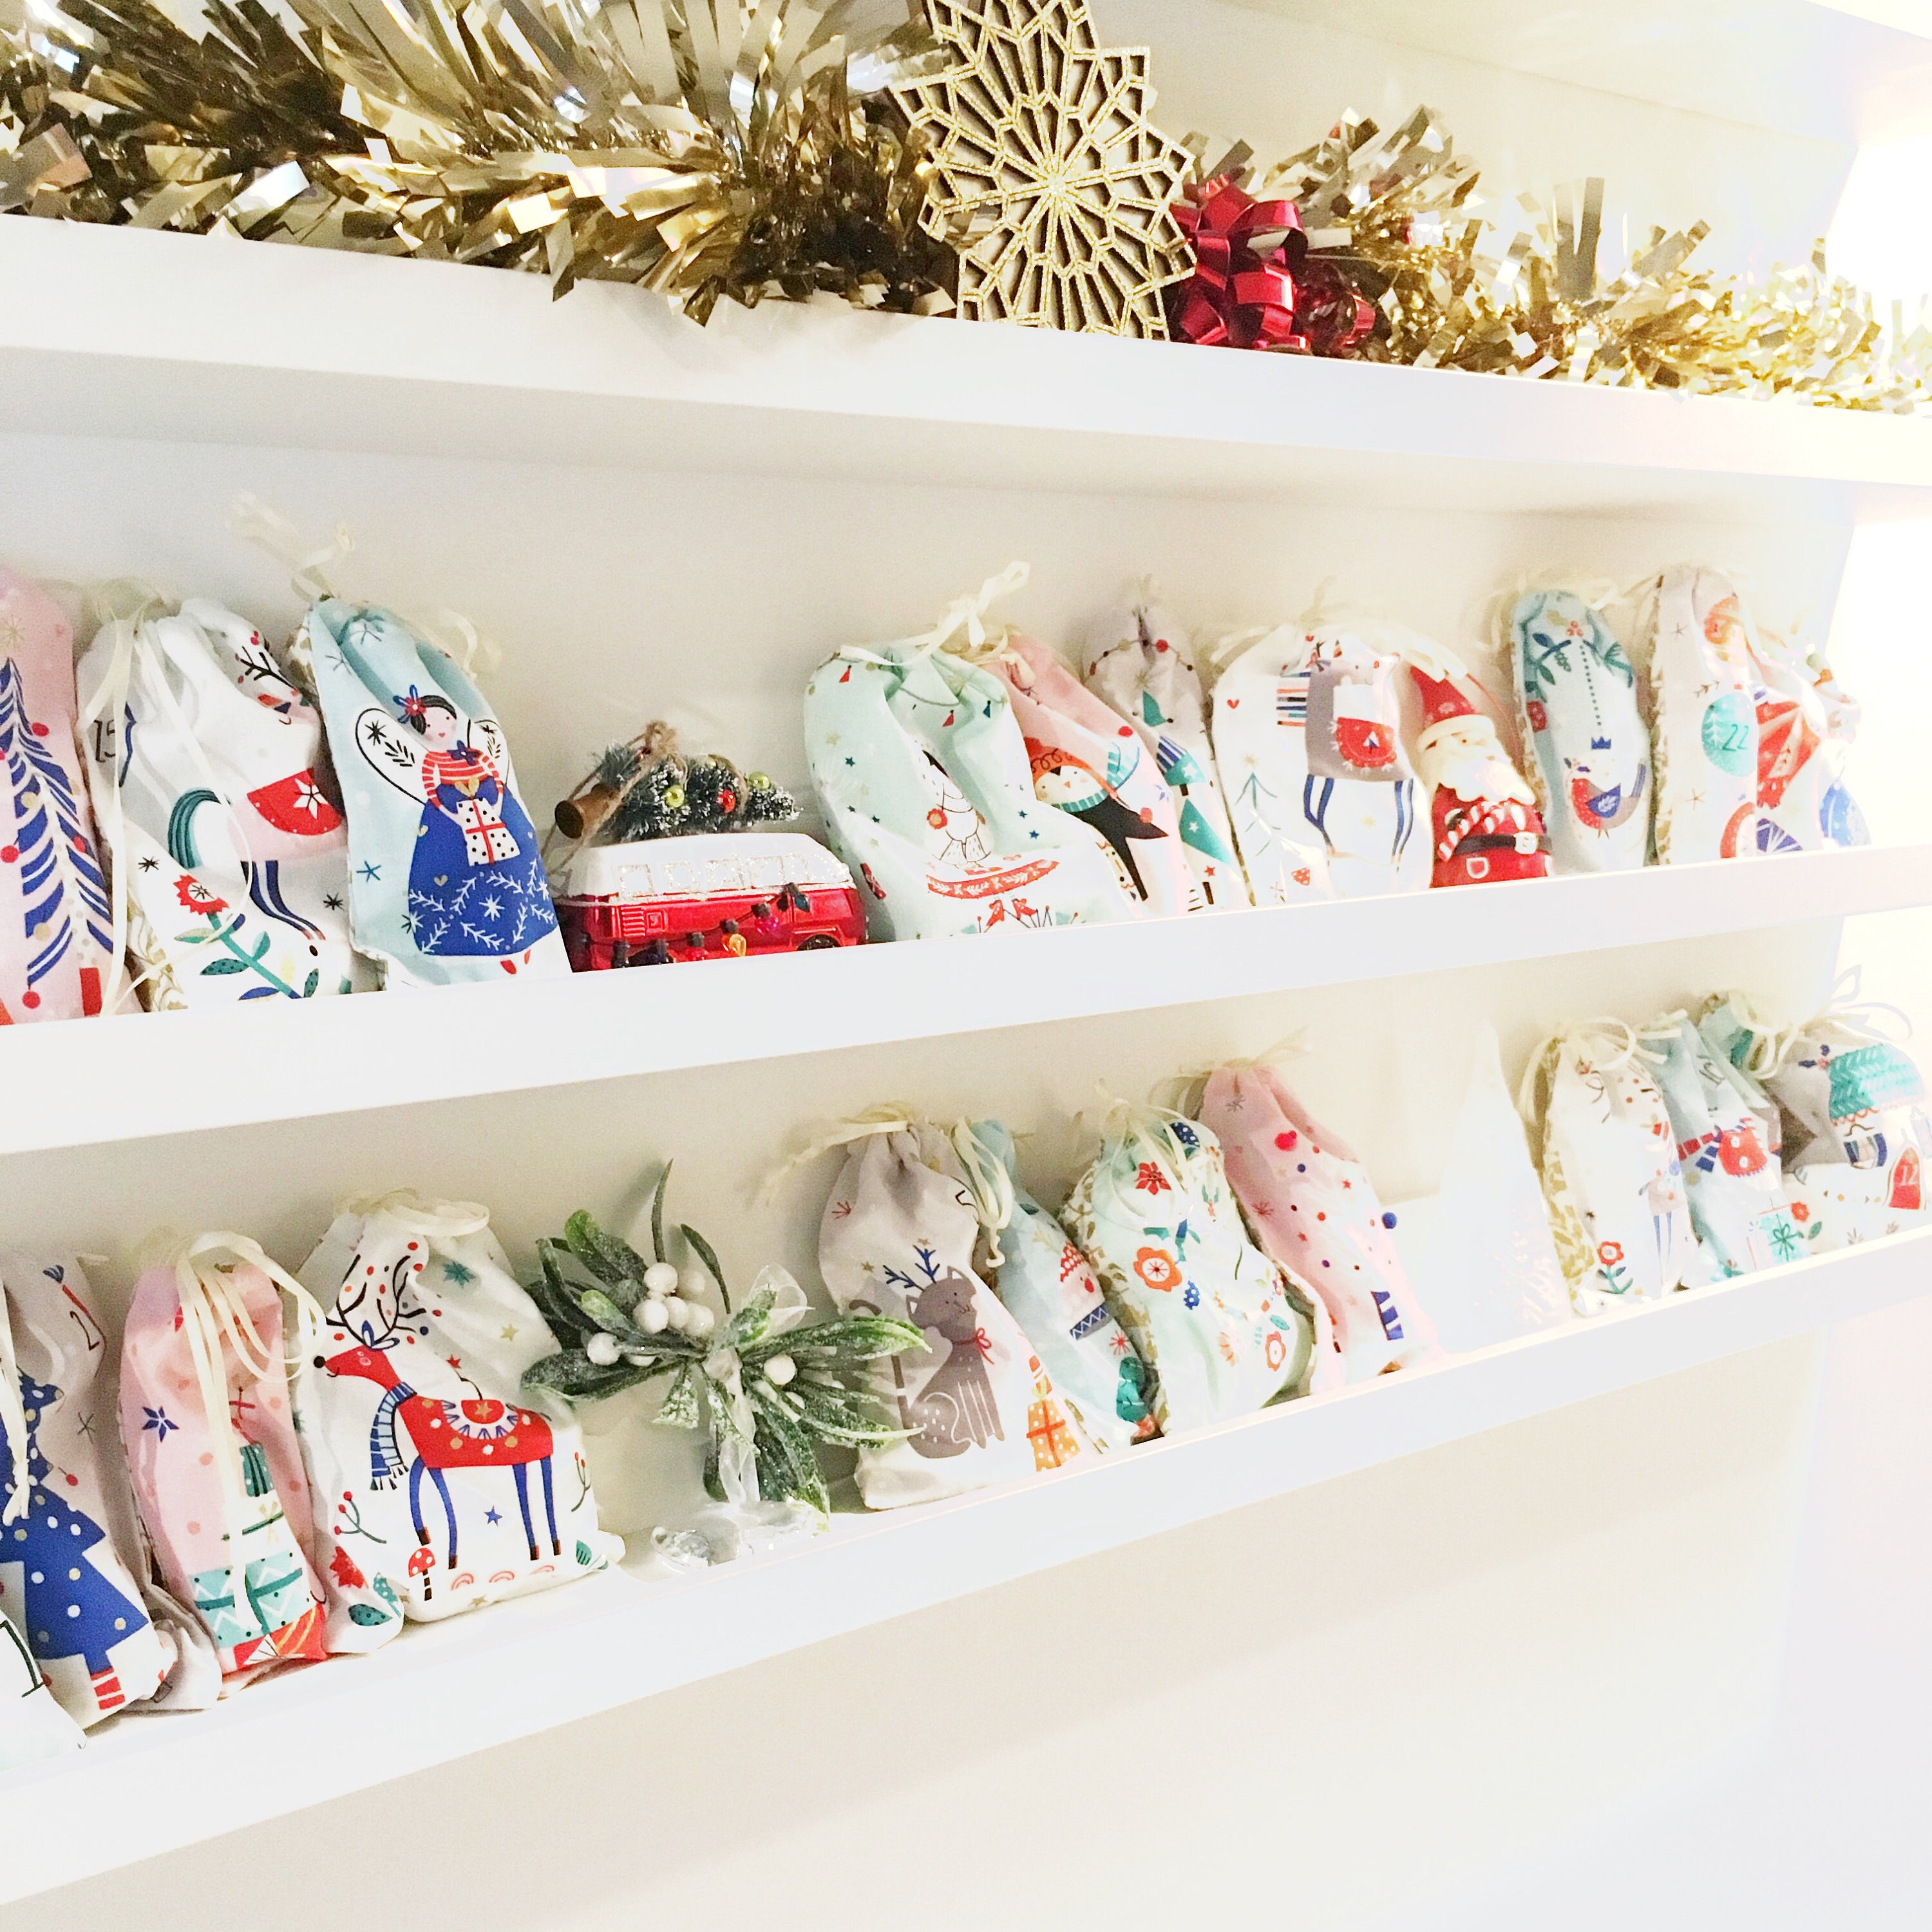
Congratulations your advent calendar is finished! Now all you have to do is decide what to fill the bags with.
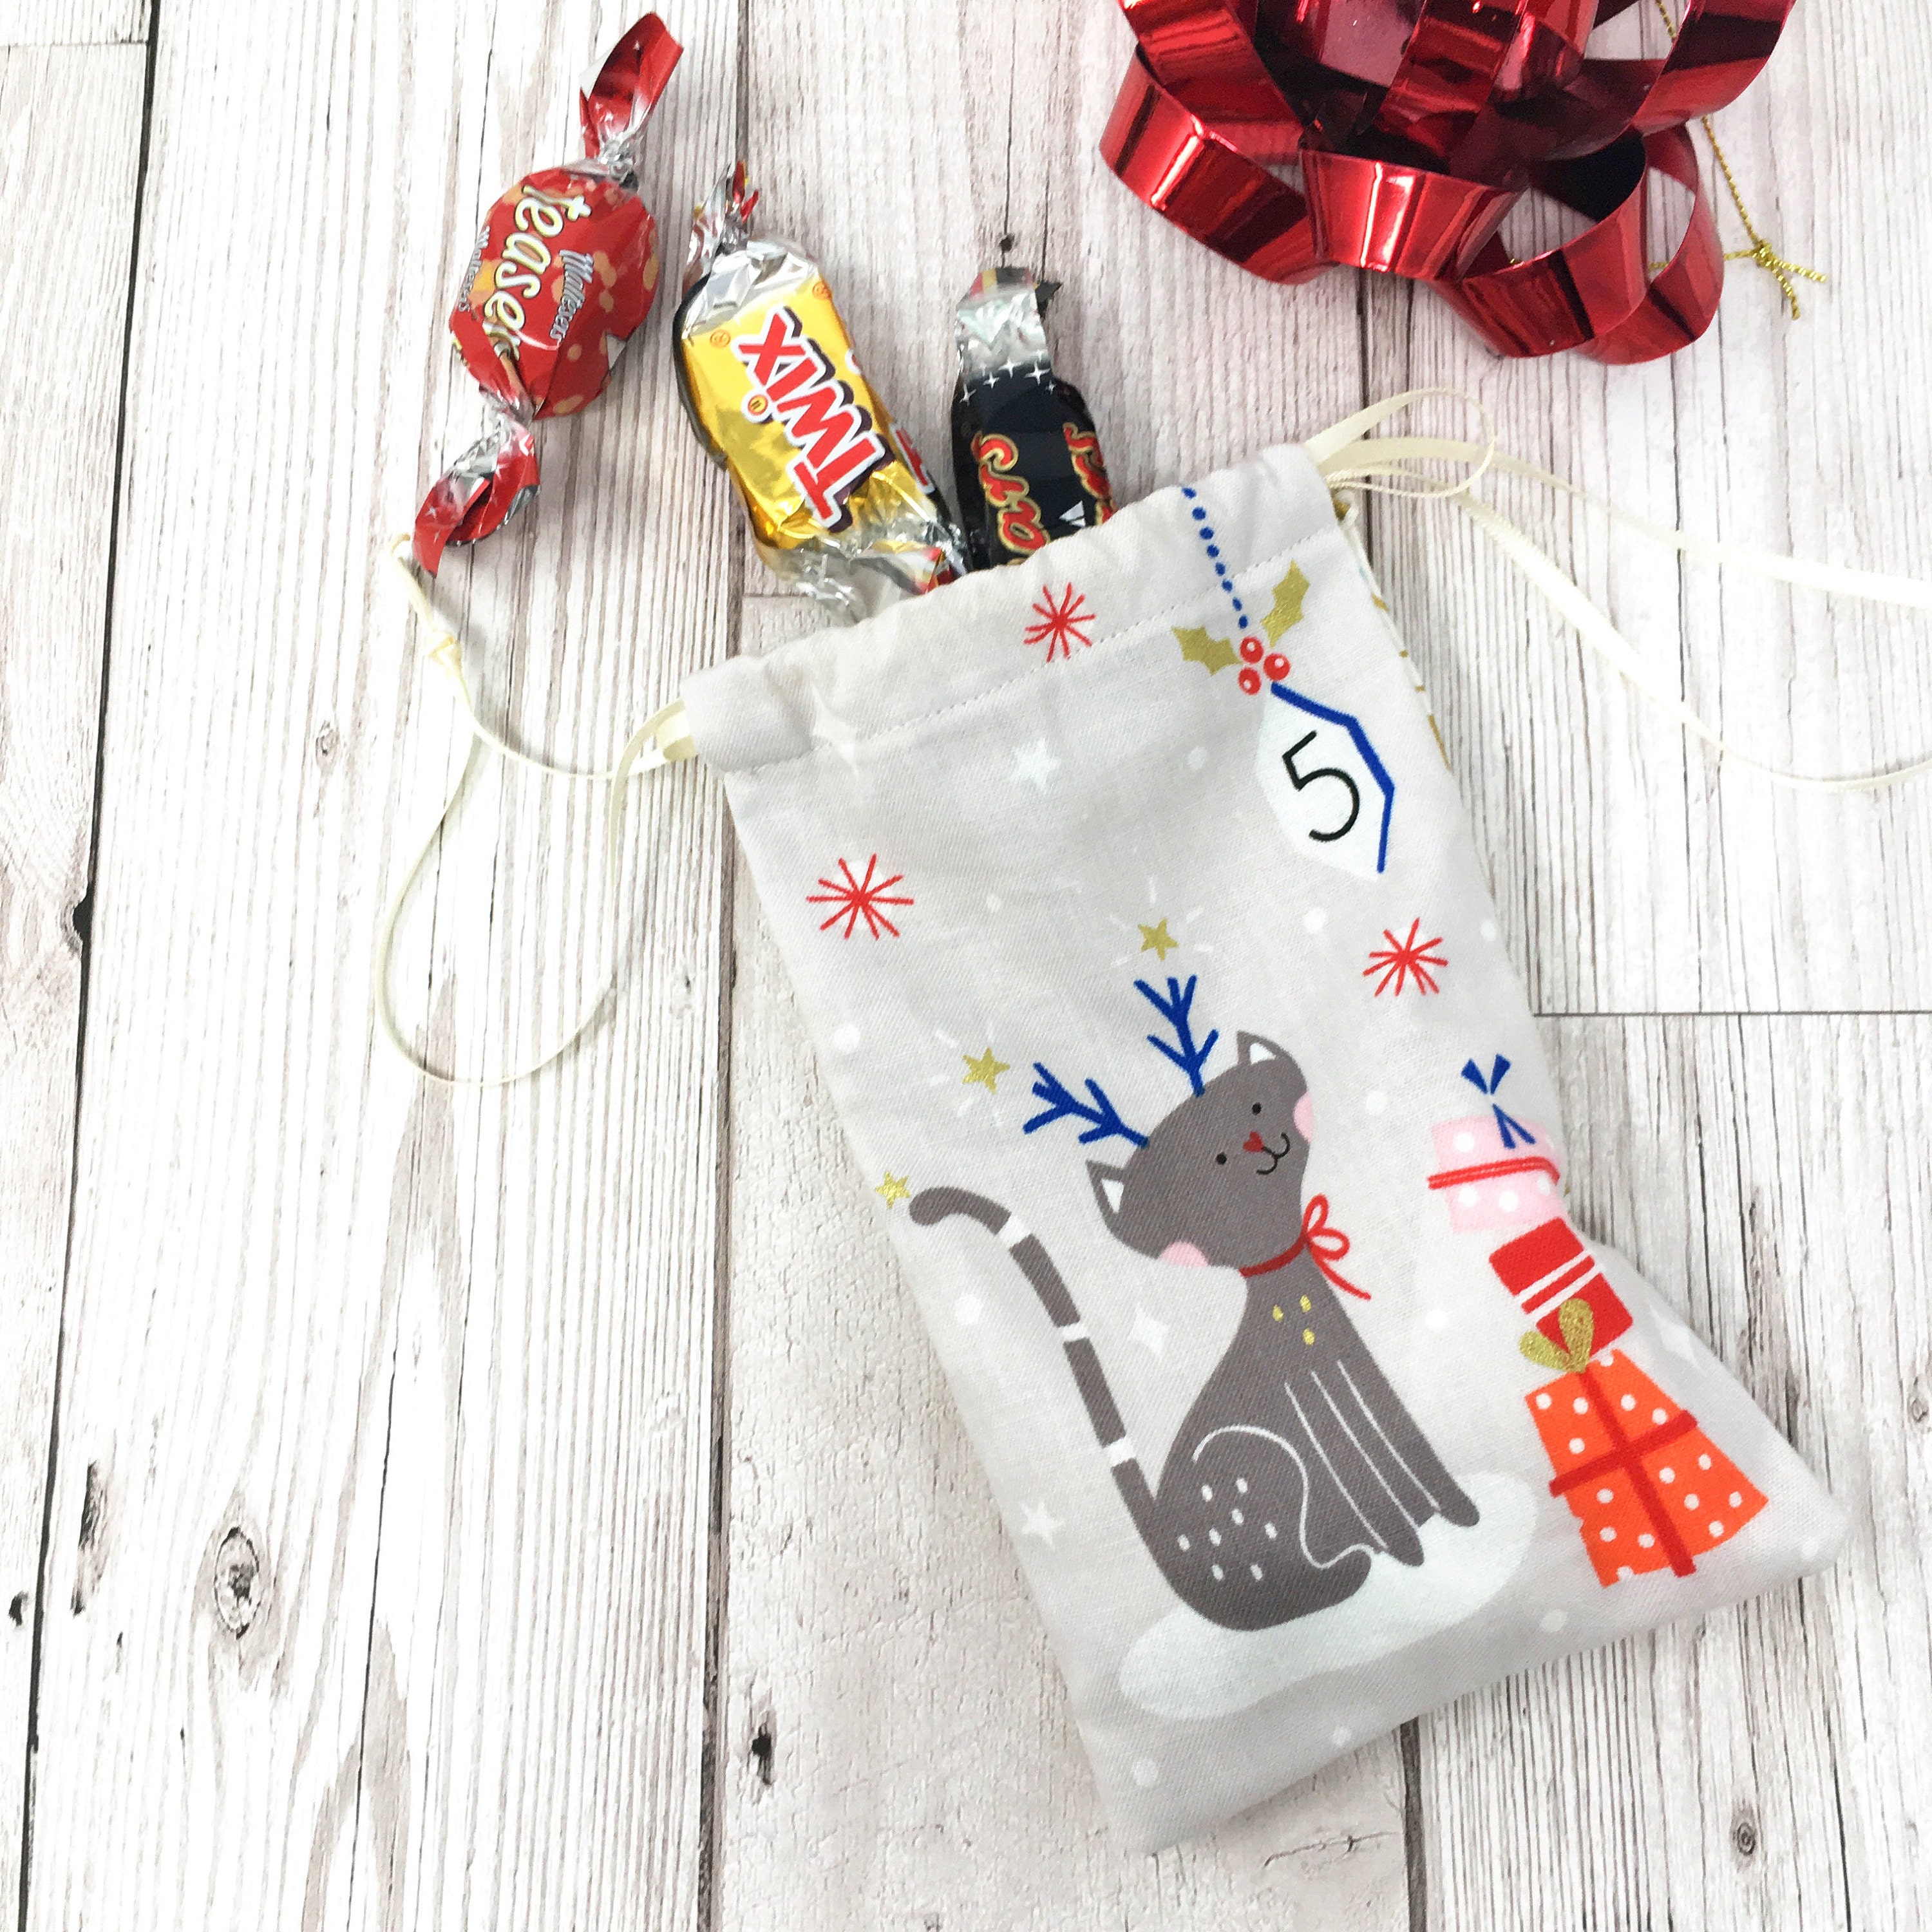


If you enjoyed this project why not check out my dolly tutorial at StudioJepson.com/blog